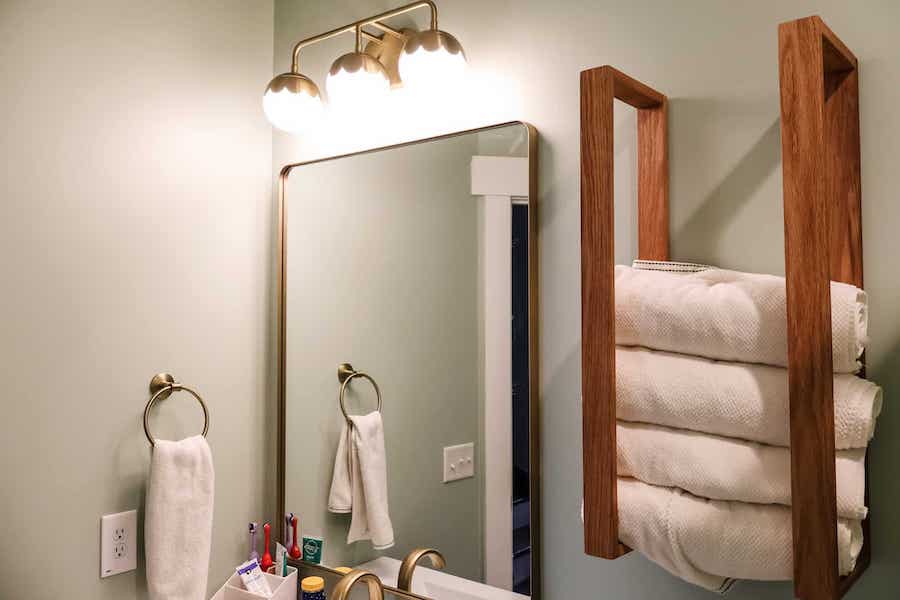
Modern towel rack for rolled towels
Difficulty
easy
Refine your home décor with our DIY floating shelf project plans. Choose from several designs to find the perfect plan to create stylish, space-saving floating shelves.
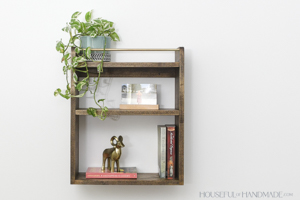

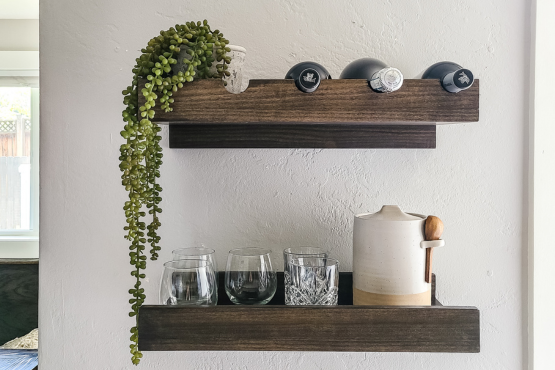
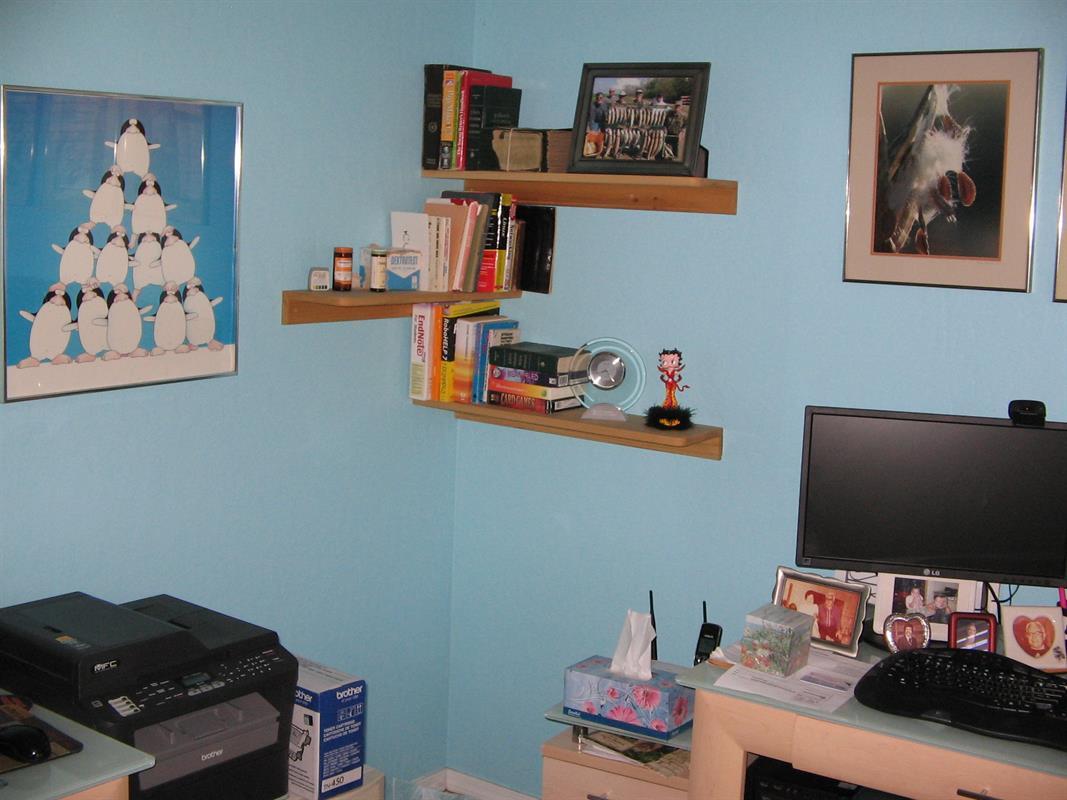
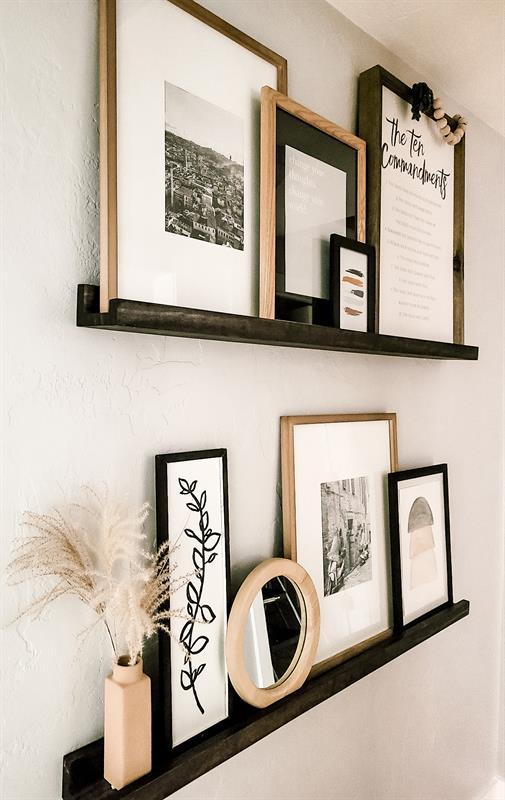
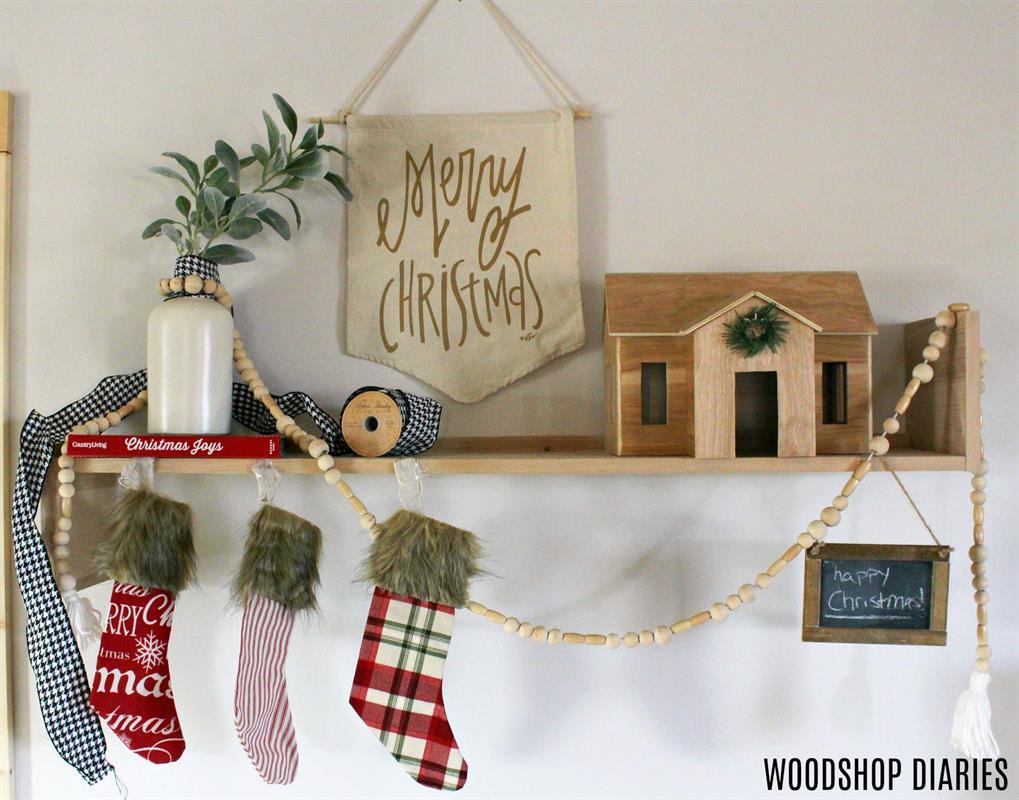
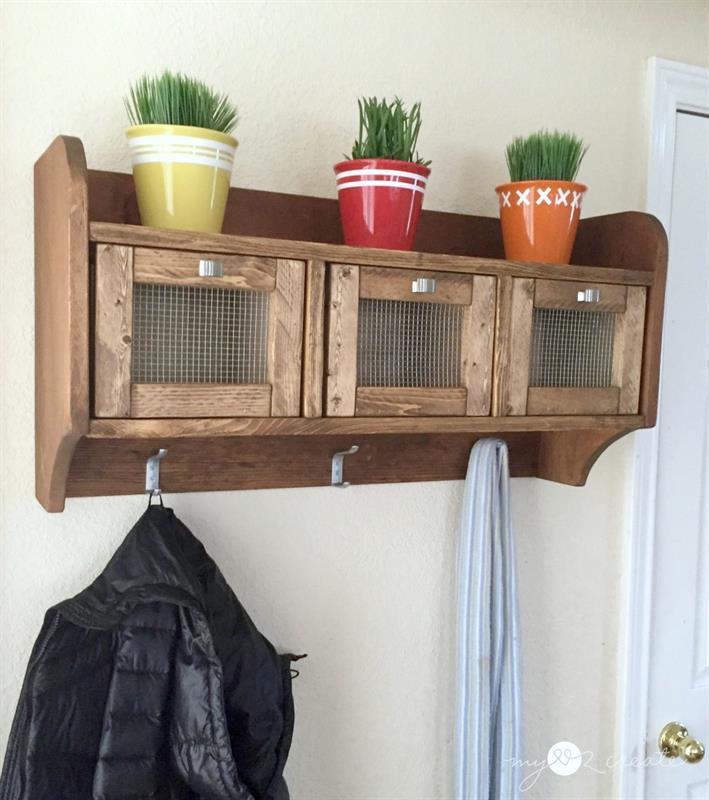
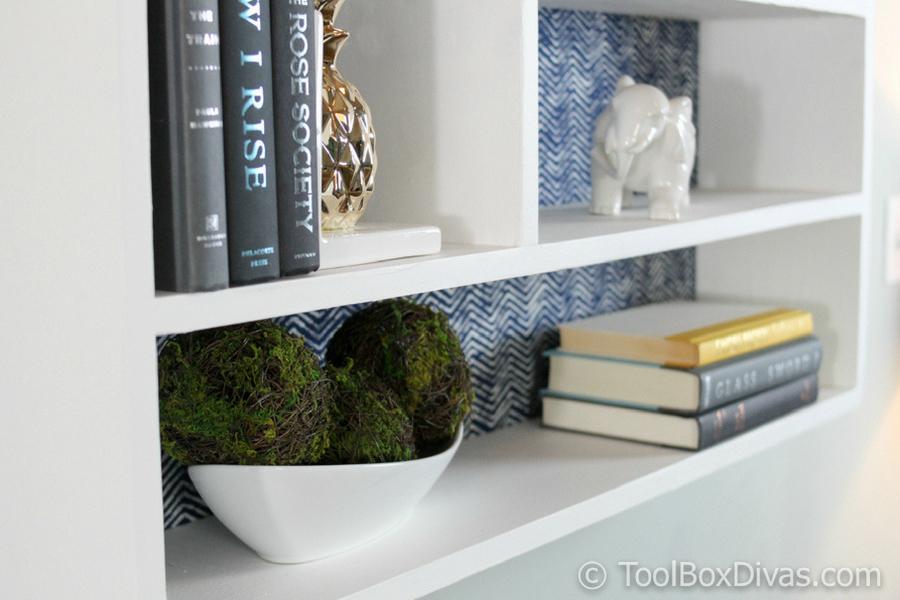
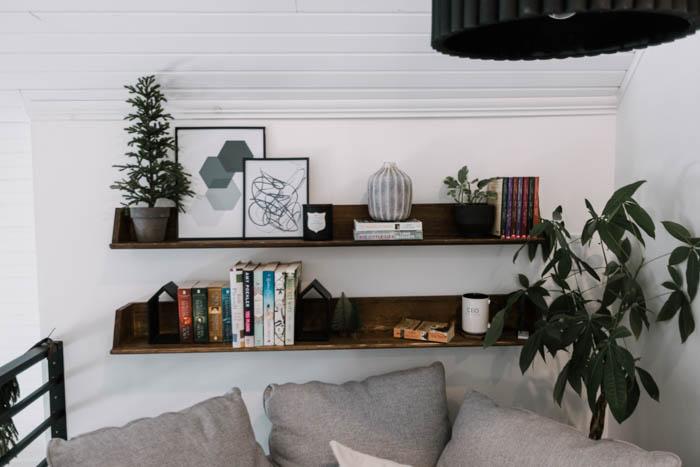
Floating shelves are a versatile and stylish addition to any room, offering both functional storage and decorative appeal. Consider incorporating them into your living room to display favorite books, artwork, or cherished mementos. In the kitchen, they can serve as sleek spice racks or showcase your collection of cookbooks and decorative dishes. Bedrooms and home offices can also benefit from the organizational capabilities of floating shelves, creating a clutter-free and visually appealing environment.
Best of all, building your own floating shelves is a rewarding and cost-effective DIY project that even beginners can tackle. Follow our comprehensive guide, and you’ll be showcasing your handiwork in no time!
Before diving into the project, be sure you have some basic tools and materials on hand:
Just avoid woods prone to excessive warping or splitting.
An affordable softwood that can be easily stained/painted.
A strong and attractive hardwood. Red oak is more economical than white oak.
A smooth, dense hardwood with a light color. Ideal for a natural finished look.
More affordable than hardwood boards and still has a nice grain pattern.
A good general guideline is:
For shelves up to 3 feet long, 3/4-inch-thick wood is sufficient for light to moderate loads.
For shelves 4-6 feet long, use 1-inch-thick wood.
For shelves over 6 feet, or bearing heavy loads, use 1.5 inch (2x material) or even 2 inch thick wood.
For a sleeker, more modern look, 1x boards with a thickness around 3/4 inch are often preferred.
Floating shelves are designed to appear as if they are suspended on the wall, creating a modern and minimalist look. Unlike traditional shelves, they don’t require visible brackets or supports, relying instead on concealed hardware that attaches directly to the wall studs or other solid surfaces.
Before cutting any wood, take precise measurements of the area where you plan to install the floating shelves. Consider the desired depth, length, and number of shelves you want. Remember to account for the thickness of the boards and any additional space needed for the shelf supports or brackets.
Once you have the measurements, calculate the required quantities of wood boards and shelf supports. It’s always a good idea to purchase a little extra material to account for any potential mistakes or adjustments during the building process.
Generally, most floating shelves can safely hold between 15 and 50 pounds per linear foot, but it’s essential to follow the manufacturer’s recommendations for your specific hardware.
For maximum strength and stability, floating shelves should be anchored directly into wall studs or other solid surfaces.
Using a stud finder, locate and mark the positions of the wall studs where you plan to mount the floating shelves. This step is crucial as the shelves will need to be securely anchored to the studs for maximum stability and weight-bearing capacity. A stud finder like the Kreg Magnetic Stud Finder with LASER-MARK™ is perfect for not only locating studs, but also for projecting the location up or down the wall when installing multiple shelves.
There are various options for supporting your floating shelves, each with its own advantages and considerations. Common choices include:
These are sturdy and designed specifically for floating shelves. They come in different sizes and styles to accommodate various shelf depths and weights.
Also known as invisible shelf supports, these small metal pins or rods are inserted into studs and the back of the shelf, providing a seamless, hidden support system.
This ingenious method involves mounting a cleat (a beveled wooden strip) to the wall studs and another matching cleat to the back of the shelf, allowing the shelf to be securely hung on the wall cleat.
Using a miter saw or circular saw, carefully cut the wood boards to the desired lengths for your shelves. Sand the edges and surfaces to ensure a smooth finish. If you plan to stain or paint the shelves, now is the time to do so before assembly.
If you’re using a bracket or shelf pin system, follow the manufacturer’s instructions to properly install the supports onto the back of the wood boards. For a French cleat system, attach the beveled cleat to the back of each shelf using wood glue and finishing nails or screws.
With the shelf supports or cleats securely attached to the back of the shelves, it’s time to mount them on the wall. Align the supports or cleats with the marked stud locations, and use appropriate hardware (such as screws or toggle bolts) to securely fasten them to the wall studs. Double-check the levelness of each shelf before tightening everything in place.
Use high-quality wood and materials.
Apply wood filler to any visible holes or imperfections, and sand smooth before finishing.
Incorporate lighting by installing LED strip lights along the underside of the shelves for a warm, ambient glow.
Add stain or paint, to complement your room’s aesthetic.
Failing to properly locate and secure the shelves to wall studs, compromising stability and safety.
Using inadequate support systems that cannot bear the intended weight load.
Neglecting to level the shelves during installation, resulting in an uneven and unsightly appearance.
Cutting the wood boards without precise measurements, leading to ill-fitting shelves.
Overlooking the finish, leaving the shelves looking unpolished and unrefined.
Floating shelves are a versatile and stylish addition to any room, offering both functional storage and decorative appeal. Consider incorporating them into your living room to display favorite books, artwork, or cherished mementos. In the kitchen, they can serve as sleek spice racks or showcase your collection of cookbooks and decorative dishes. Bedrooms and home offices can also benefit from the organizational capabilities of floating shelves, creating a clutter-free and visually appealing environment.