

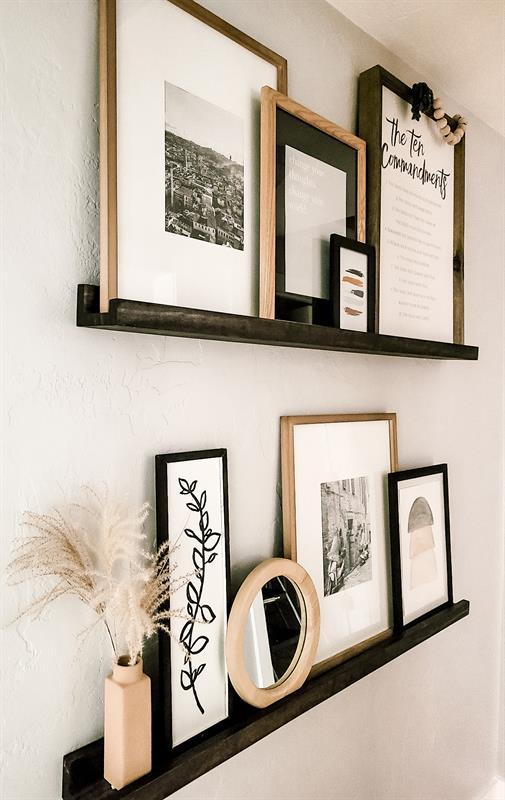
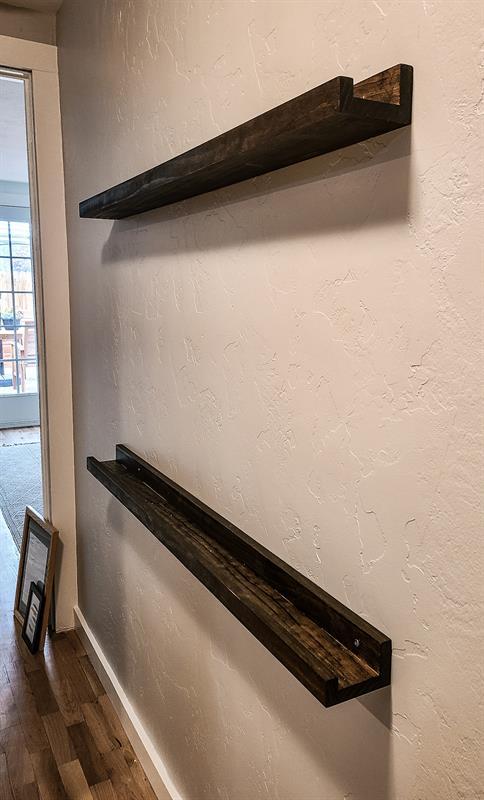
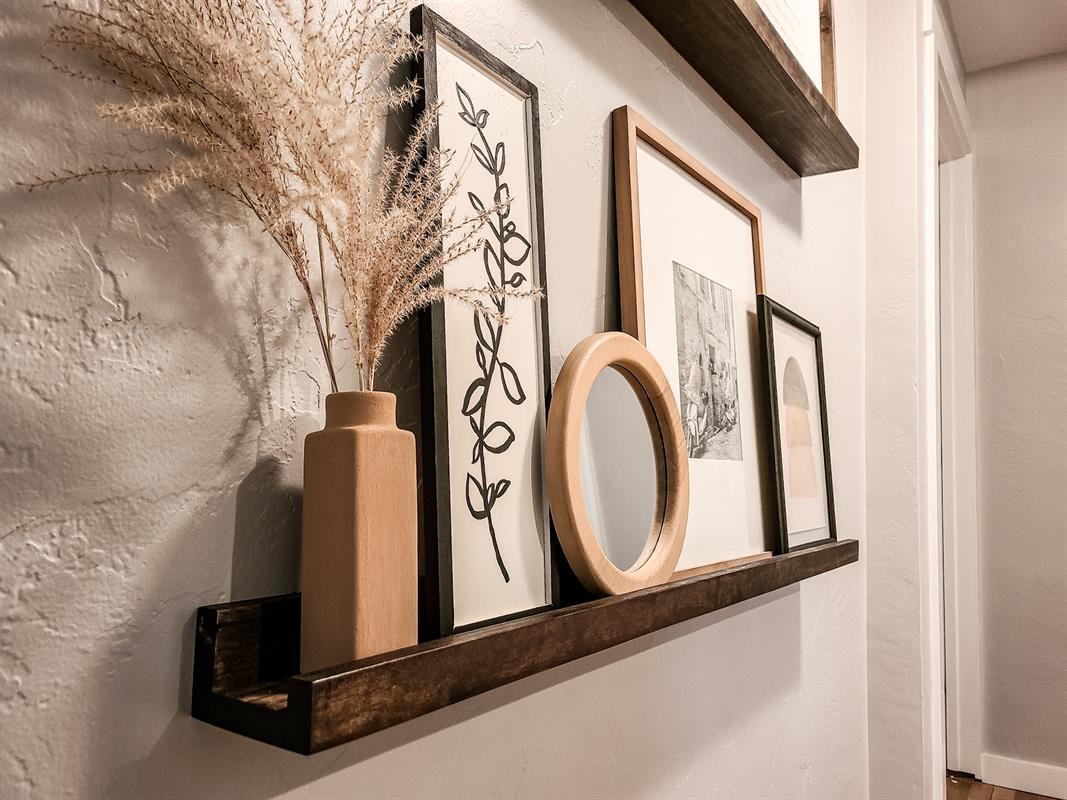


Build these quick and easy picture ledge shelves using pocket hole joinery to avoid nail holes on the front side. This is a perfect beginner woodworking project and they are very cheap to make. Hang them up in your home in the living room, hallway or bedroom and add some picture frames!
Tools
Kreg Tools


Other Tools
-
Miter Saw

-
Tape Measure
-
Clamps
-
Nail Gun
Materials
Wood Products
- 1 Board , 1x3 , 96"
- 1 Board , 1x2 , 48"
Hardware & Supplies
- 5 1 1/4" Pocket Hole Screws
- 1 Wood Glue
- 1 Wood Stain
- 12 2" Finish Nails
- 5 Pocket Hole Plugs
- 1 80 Grit Sandpaper
- 1 150 Grit Sandpaper
Directions
-
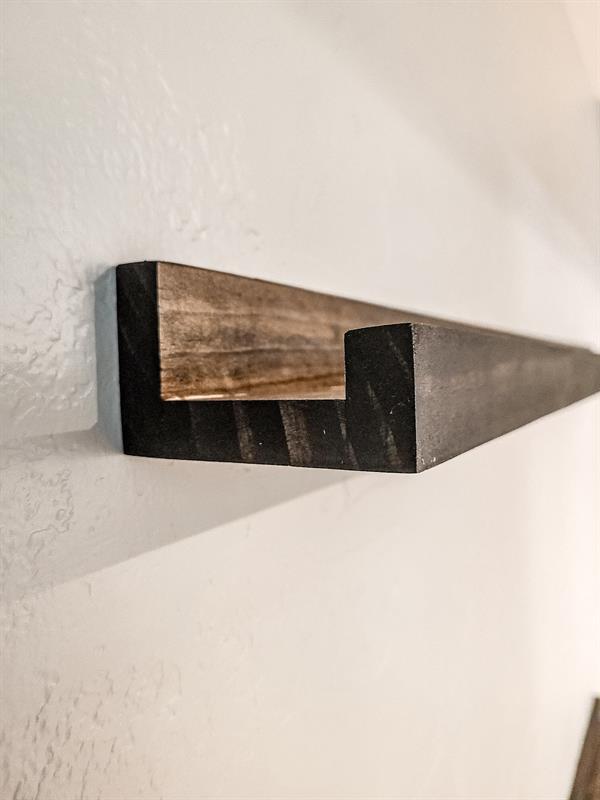
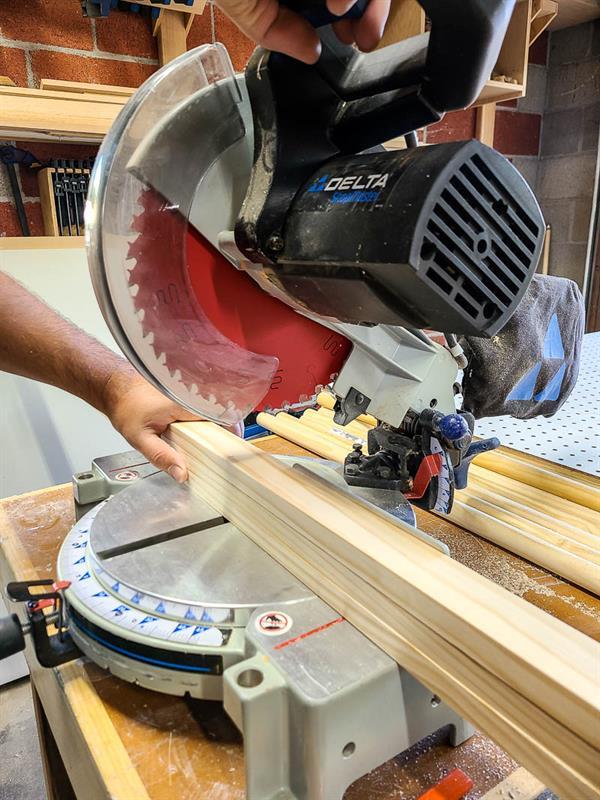
Cut wood.
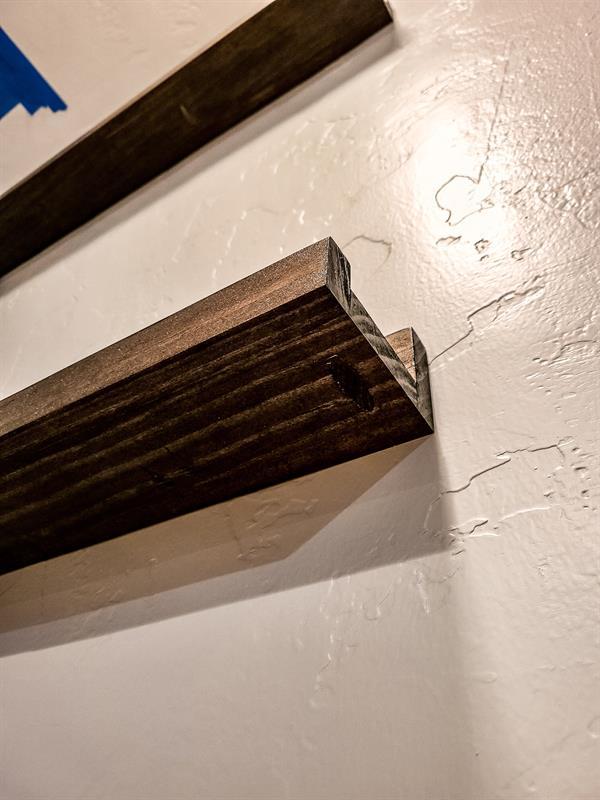
Using a miter saw, cut the wood down to size. There are three pieces total for each shelf. Our shelves were designed with a 1x3 piece on the back, 1x3 piece on the bottom and 1x2 on the front side.
Our shelves are 4 feet wide, which fits well in the hallway space that they are going in.
-
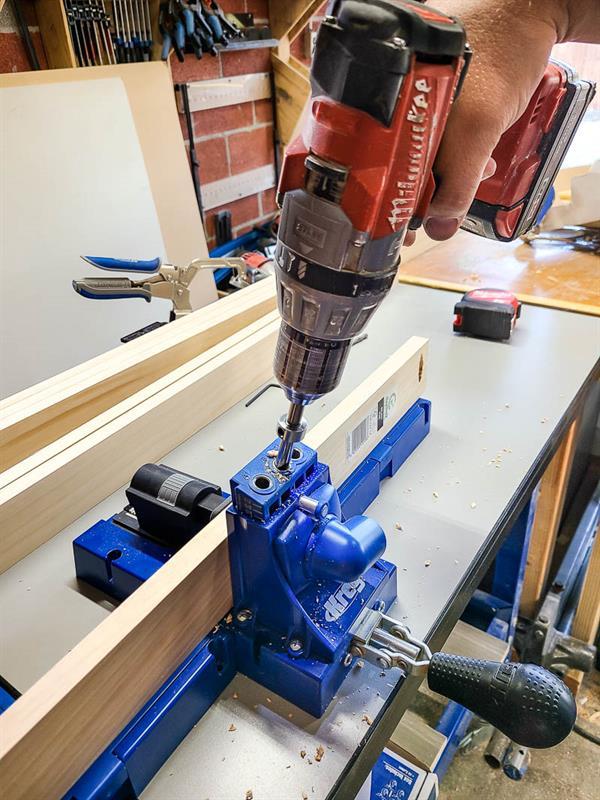
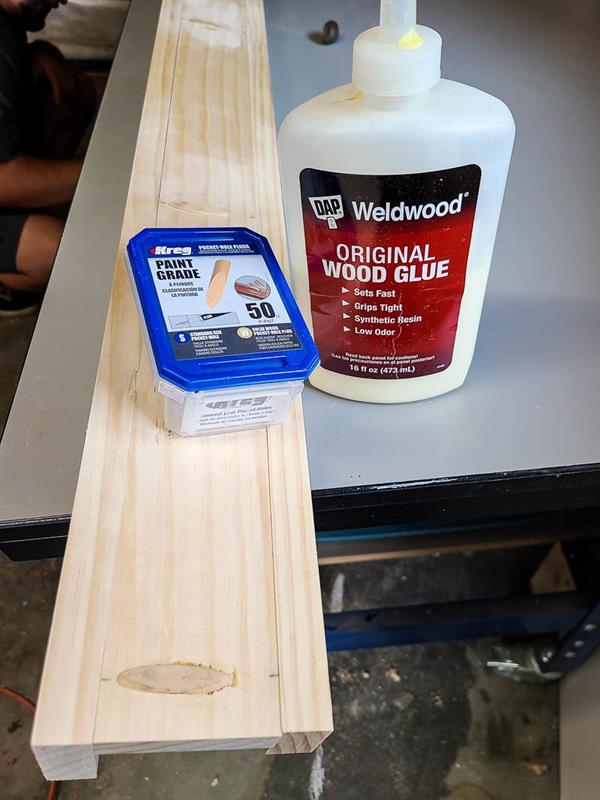
Drill pocket holes.
On the bottom piece of wood (one of the 1x3 pieces) drill 5 pocket holes with a Kreg Jig. We spaced them out 1" from the edges and then 1 foot spacing between each pocket hole.
The pocket hole placement is detailed in the woodworking plans, which can be found in the Extras tab.

-
Attach front.
Using 1 1/4" pocket hole screws, attach the front piece to the bottom.
-
Attach back.
Using wood glue and 2" finish nails approximately every 5 inches or so, attach the back piece.

-
Fill pocket holes.
Using pocket hole plugs and wood glue, fill pocket holes for a more finished look.
-
Sand.
Sand the entire shelf well with an orbital sander and 80 grit sandpaper for shaping and then with 150 grit for finishing.

-
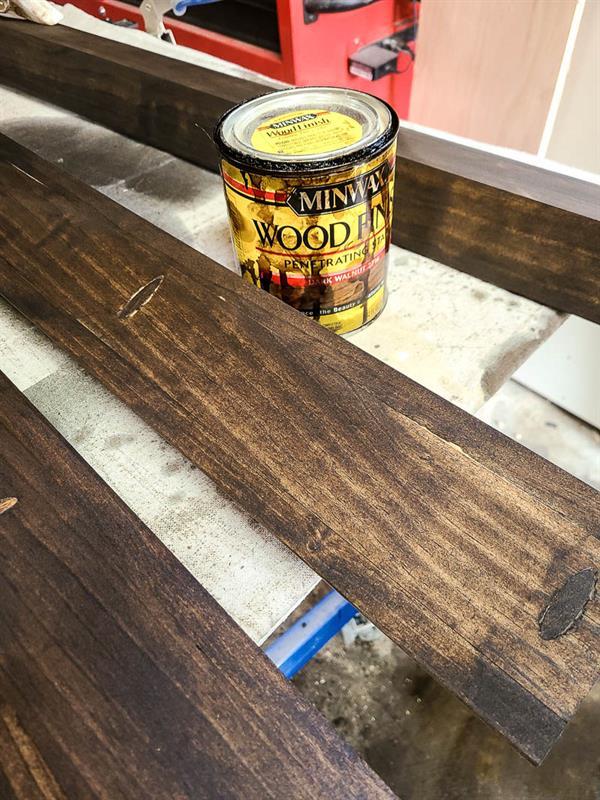
Stain.
With your stain of choice, apply stain on the entire shelf. Alternatively, you could also paint the picture ledge shelves!
We used Dark Walnut stain by Miniwax.
-
Seal.
Once stain has set in, apply polyurethane over the entire shelf.