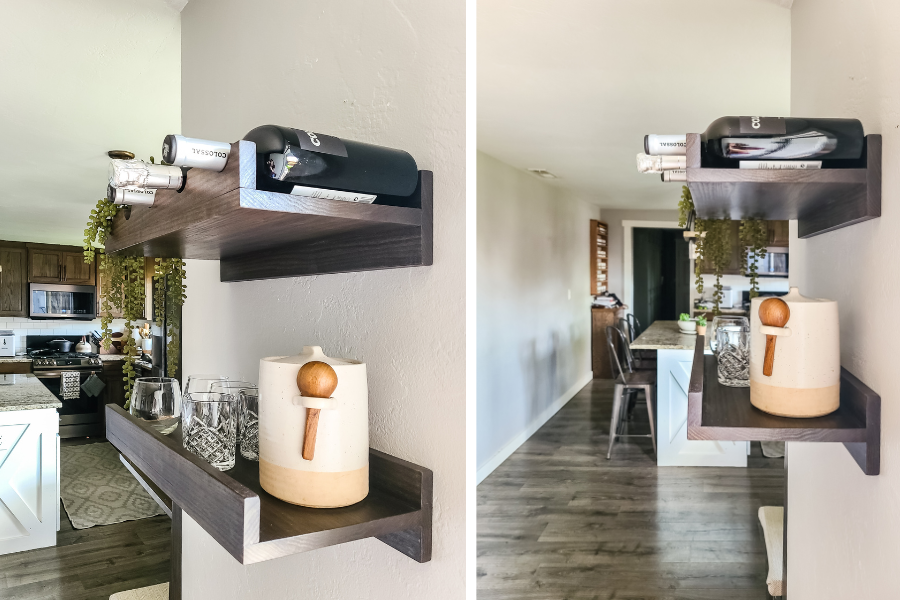

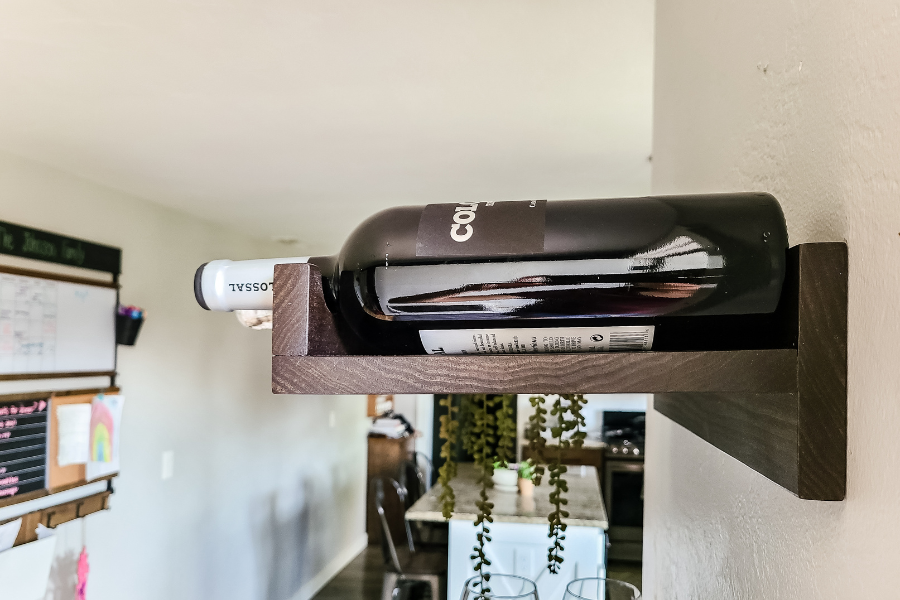


Looking for a place to store and display your wine bottles and glasses that is also a functional storage space? This wall-mounted wine rack shelf is the perfect solution! Follow along with the beginner-friendly plans to make this for your kitchen!
Tools
Kreg Tools


Other Tools
-
Miter Saw

-
Tape Measure
-
Level
-
Clamps
-
1 1/2" Hole Saw
-
Multi-Tool (or Utility Knife)
-
Rubber Mallet
-
Staining Rags
Materials
Wood Products
- 1 Poplar , ¾” x 10” x 4’
- 1 Poplar , ¾” x 6” x 4’
- 1 Poplar , ¾” x 3” x 4’
Hardware & Supplies
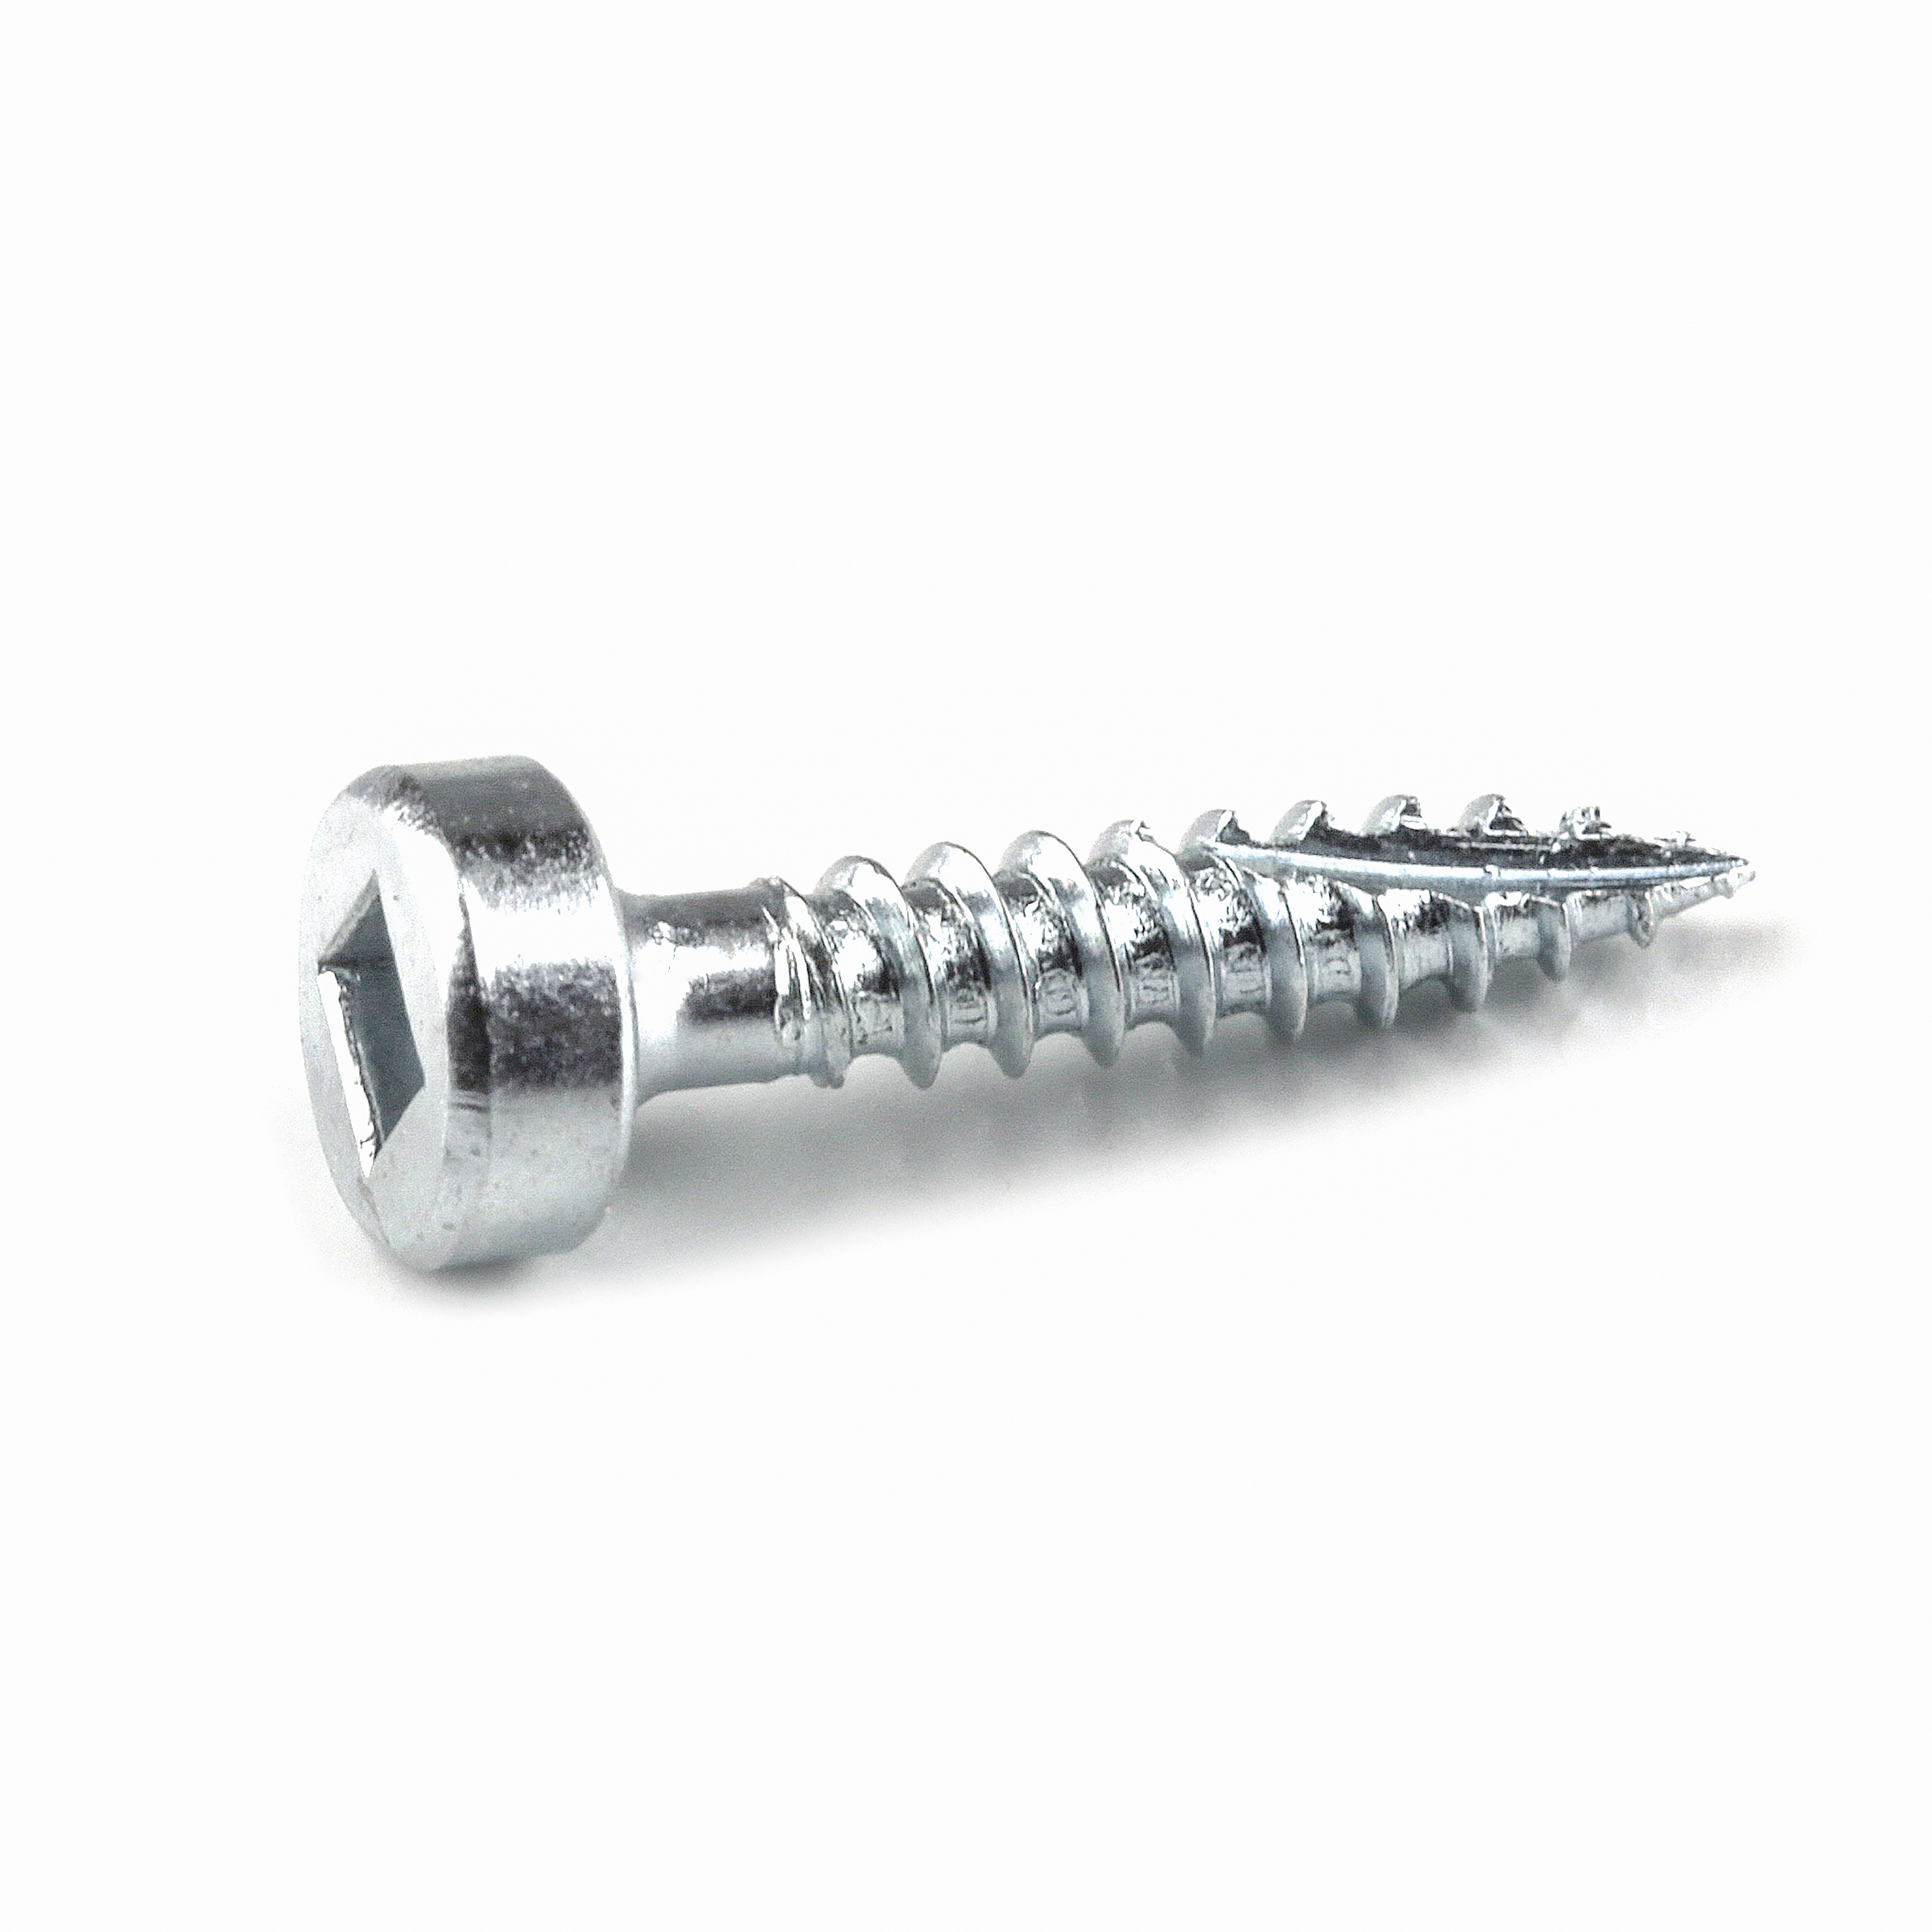
- -- Kreg pocket hole screws (1 1/4") - see tools list
- -- 80 - 150 grit sandpaper
- -- Wood glue
- -- ½” Dowel Plug
- -- Stain
- -- Sealer (we used aerosol polyurethane)
- -- Drywall screws and anchors (for hanging)
- -- Pocket hole plugs - we used Custom Plug Cutter to make our own with scrap Poplar
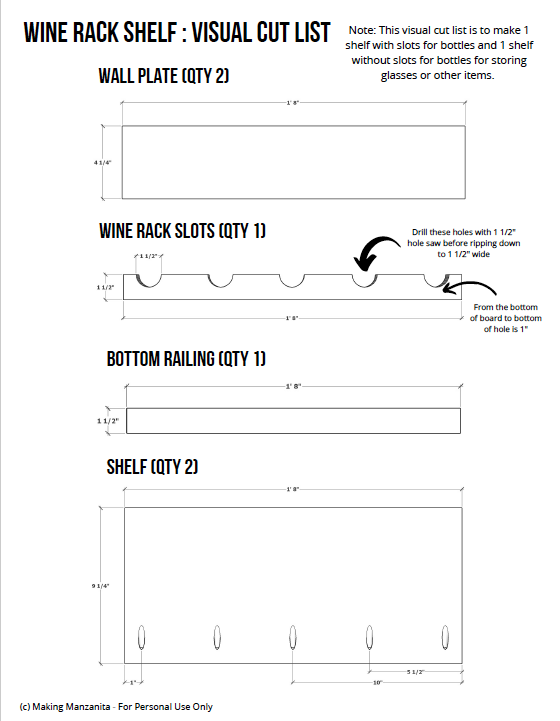
Cut List & Parts
- 2 Wall Plate , ¾” x 4 ¼” x 1’ 8”
- 1 Wine Rack Slots , ¾” x 1 ½” x 1’ 8”
- 2 Shelf , ¾” x 9 ¼” x 1’ 8”
- 1 Bottom Railing , ¾” x 1 ½” x 1’ 8”
Directions
-
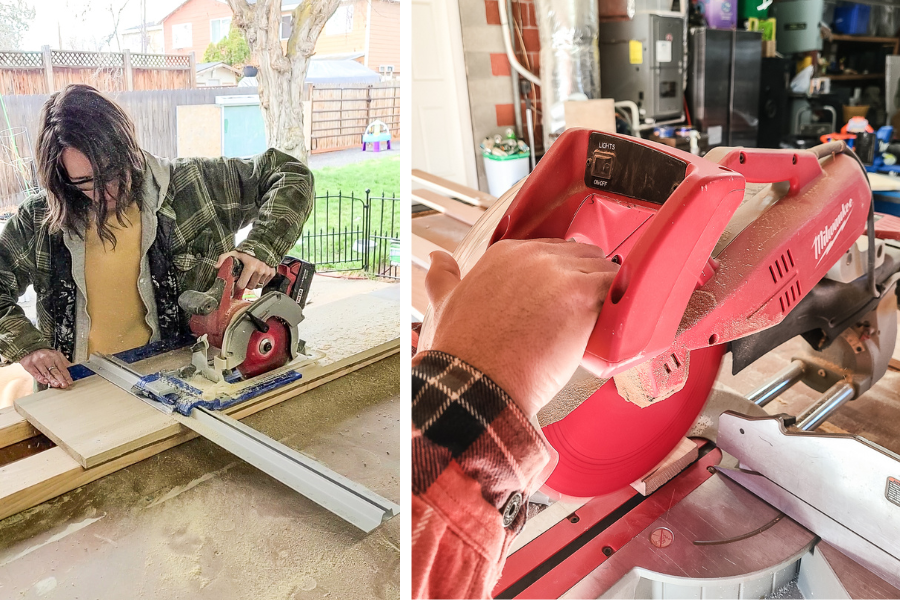
#1: Cut wood.
Cut wood according to the visual cut list in the woodworking plans. Use a miter saw for the lengths and a table saw or circular saw with Rip-Cut for the widths.
-
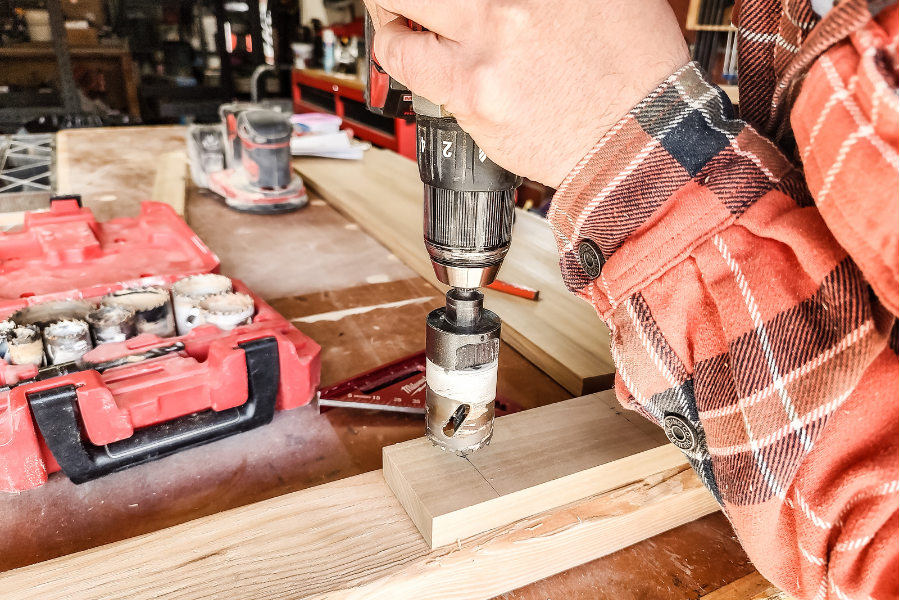
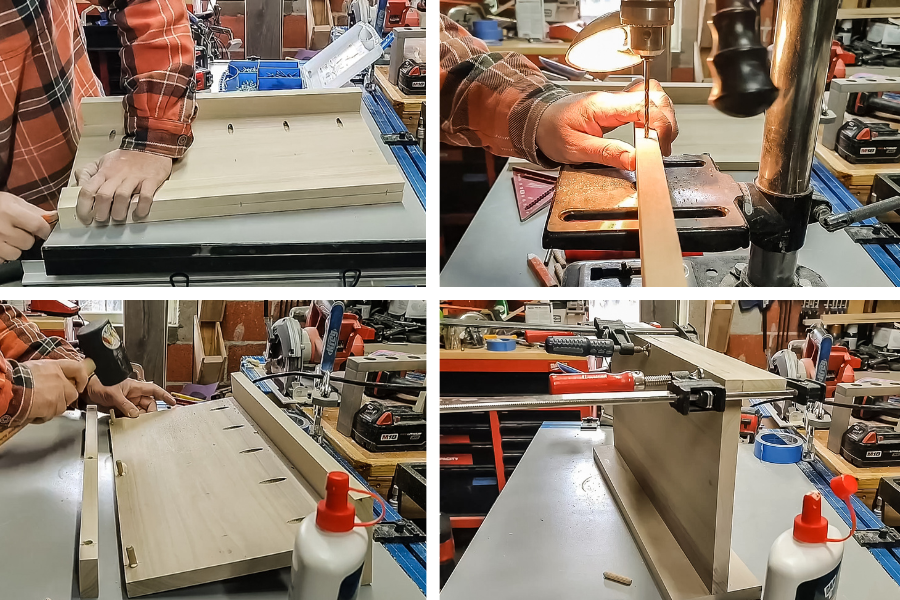
#2: Cut holes for wine bottles.
For the wine rack slots piece, use a 1 ½” hole saw to make the slots for the wine bottles first. Position the board over a scrap piece of wood when drilling holes. Next, rip the 1x3 piece down to 1 ½” after your holes are in.
-
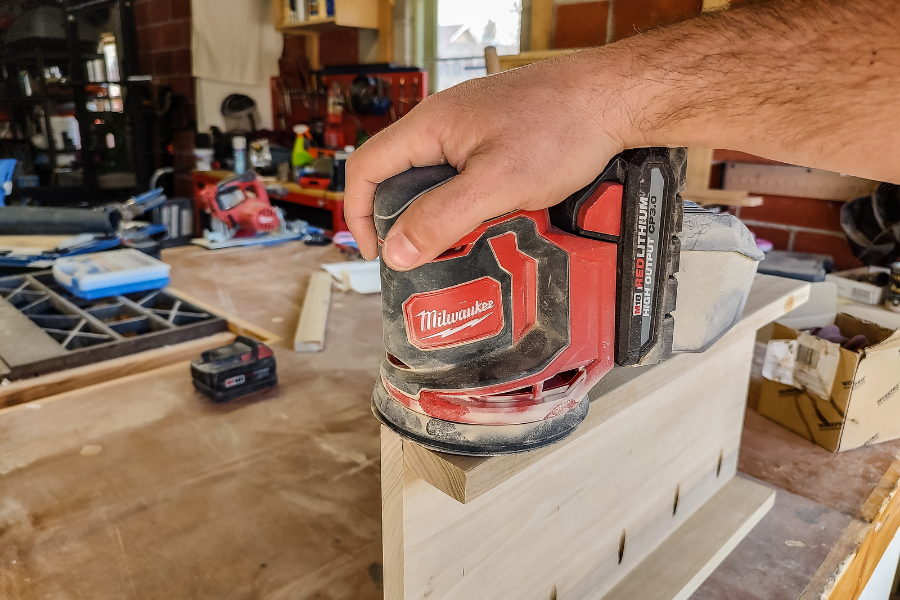
#3: Lightly sand.
Lightly sand all pieces with an orbital sander, 80-grit sandpaper, and then 150-grit sandpaper.

-
#4: Drill pocket holes.
Drill pocket holes as shown in the woodworking plans on the shelf. We used the Kreg 720 Pro.
Pilot holes recommended for hardwood.
Because the wood is poplar, be sure to also pre-drill the wall plates for the pocket hole screws with a ⅛” drill bit. The wood is very hard and is prone to splitting.

-
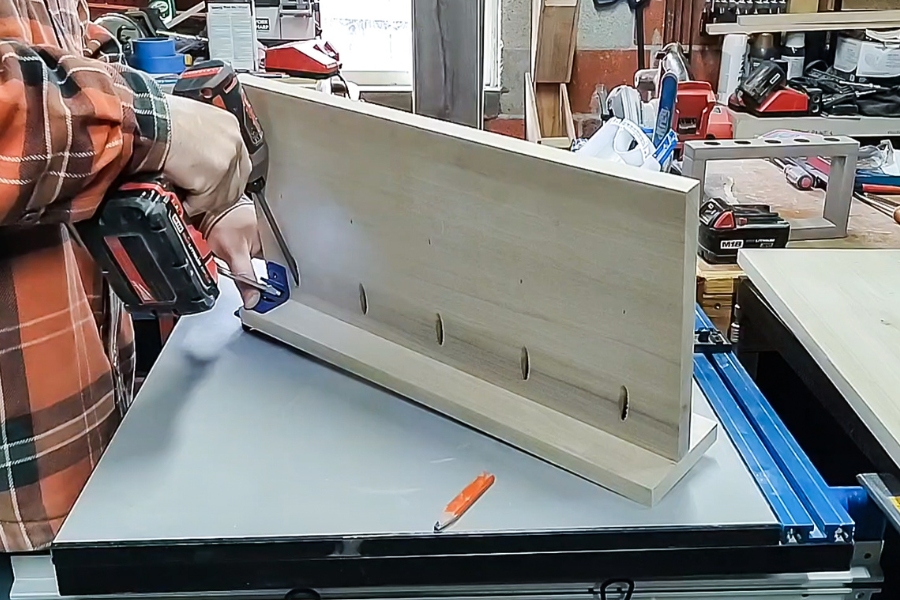
#5: Attach shelves to the wall plate.
Make a mark 1 ¾” from the bottom of the wall plate and use Kreg 90-degree corner clamp on the line and attach the shelf to the wall plate with 1 ¼” Kreg hardwood screws.
-
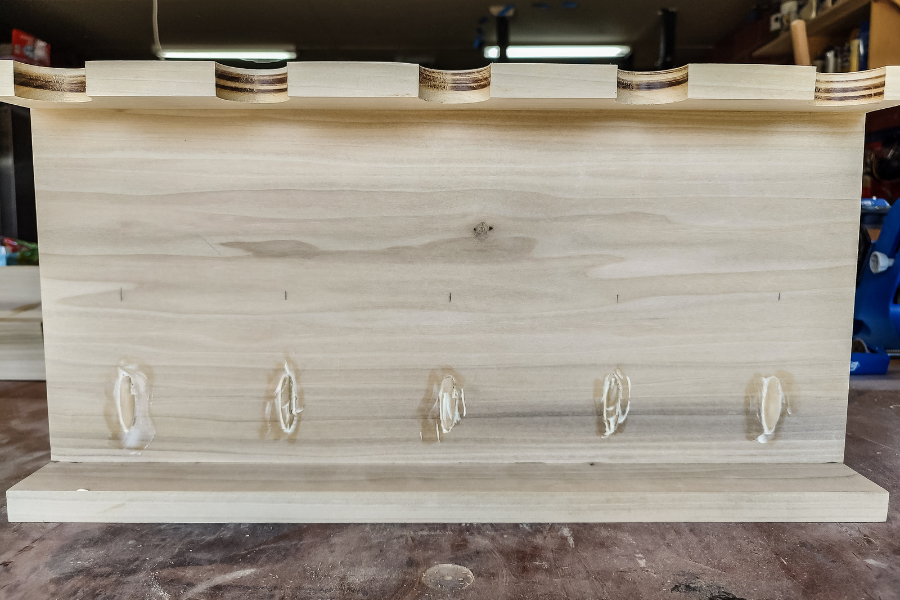
#6: Attach the wine rack slots and bottom railing to the shelves with dowels.
The front pieces of the shelves (bottom railing and wine rack slots) are too thin to use pocket hole joinery, so we attached them to the shelves with dowels instead. Start by clamping the wine rack slots and bottom railing on their shelves. Then make marks on the shelf and slots/railing where the dowels will go (we put one on each end 1” from the edge and one in the middle for three dowels altogether). Then fold the slots/railing down and make a mark in the middle of the edge (⅜” in), which is where you will drill the hole for the dowel. Lastly, measure ⅜” in on the top of the shelf from the front edge. This is where you will drill the other holes for the dowels. Then drill where your marks are on all pieces using a 5/16” drill bit and go in a ½” deep. We used a drill press, but you can also use a drill. Trim dowels down to size (slightly less than 1”) using a multi-tool or utility knife. Use a small amount of wood glue in the holes and place the dowels into these holes with a rubber mallet and clamp the wine rack slots and bottom railing into place on each shelf. Keep clamped until the wood glue dries.
Alternative method.
You could also nail the pieces on from the bottom with finish nails if you don’t want to mess around with the dowel joinery
-
#7: Fill pocket holes
We used the Custom Plug Cutter Drill Guide Kit to make our own pock hole plugs with the scrap Poplar wood we had leftover so that it would match. Fill all pocket holes with pocket hole plugs and wood glue. Once the wood glue is dry, sand smooth.
-
#8: Lightly sand.
Lightly sand the entire structure with an orbital sander with 150-grit sandpaper.
-
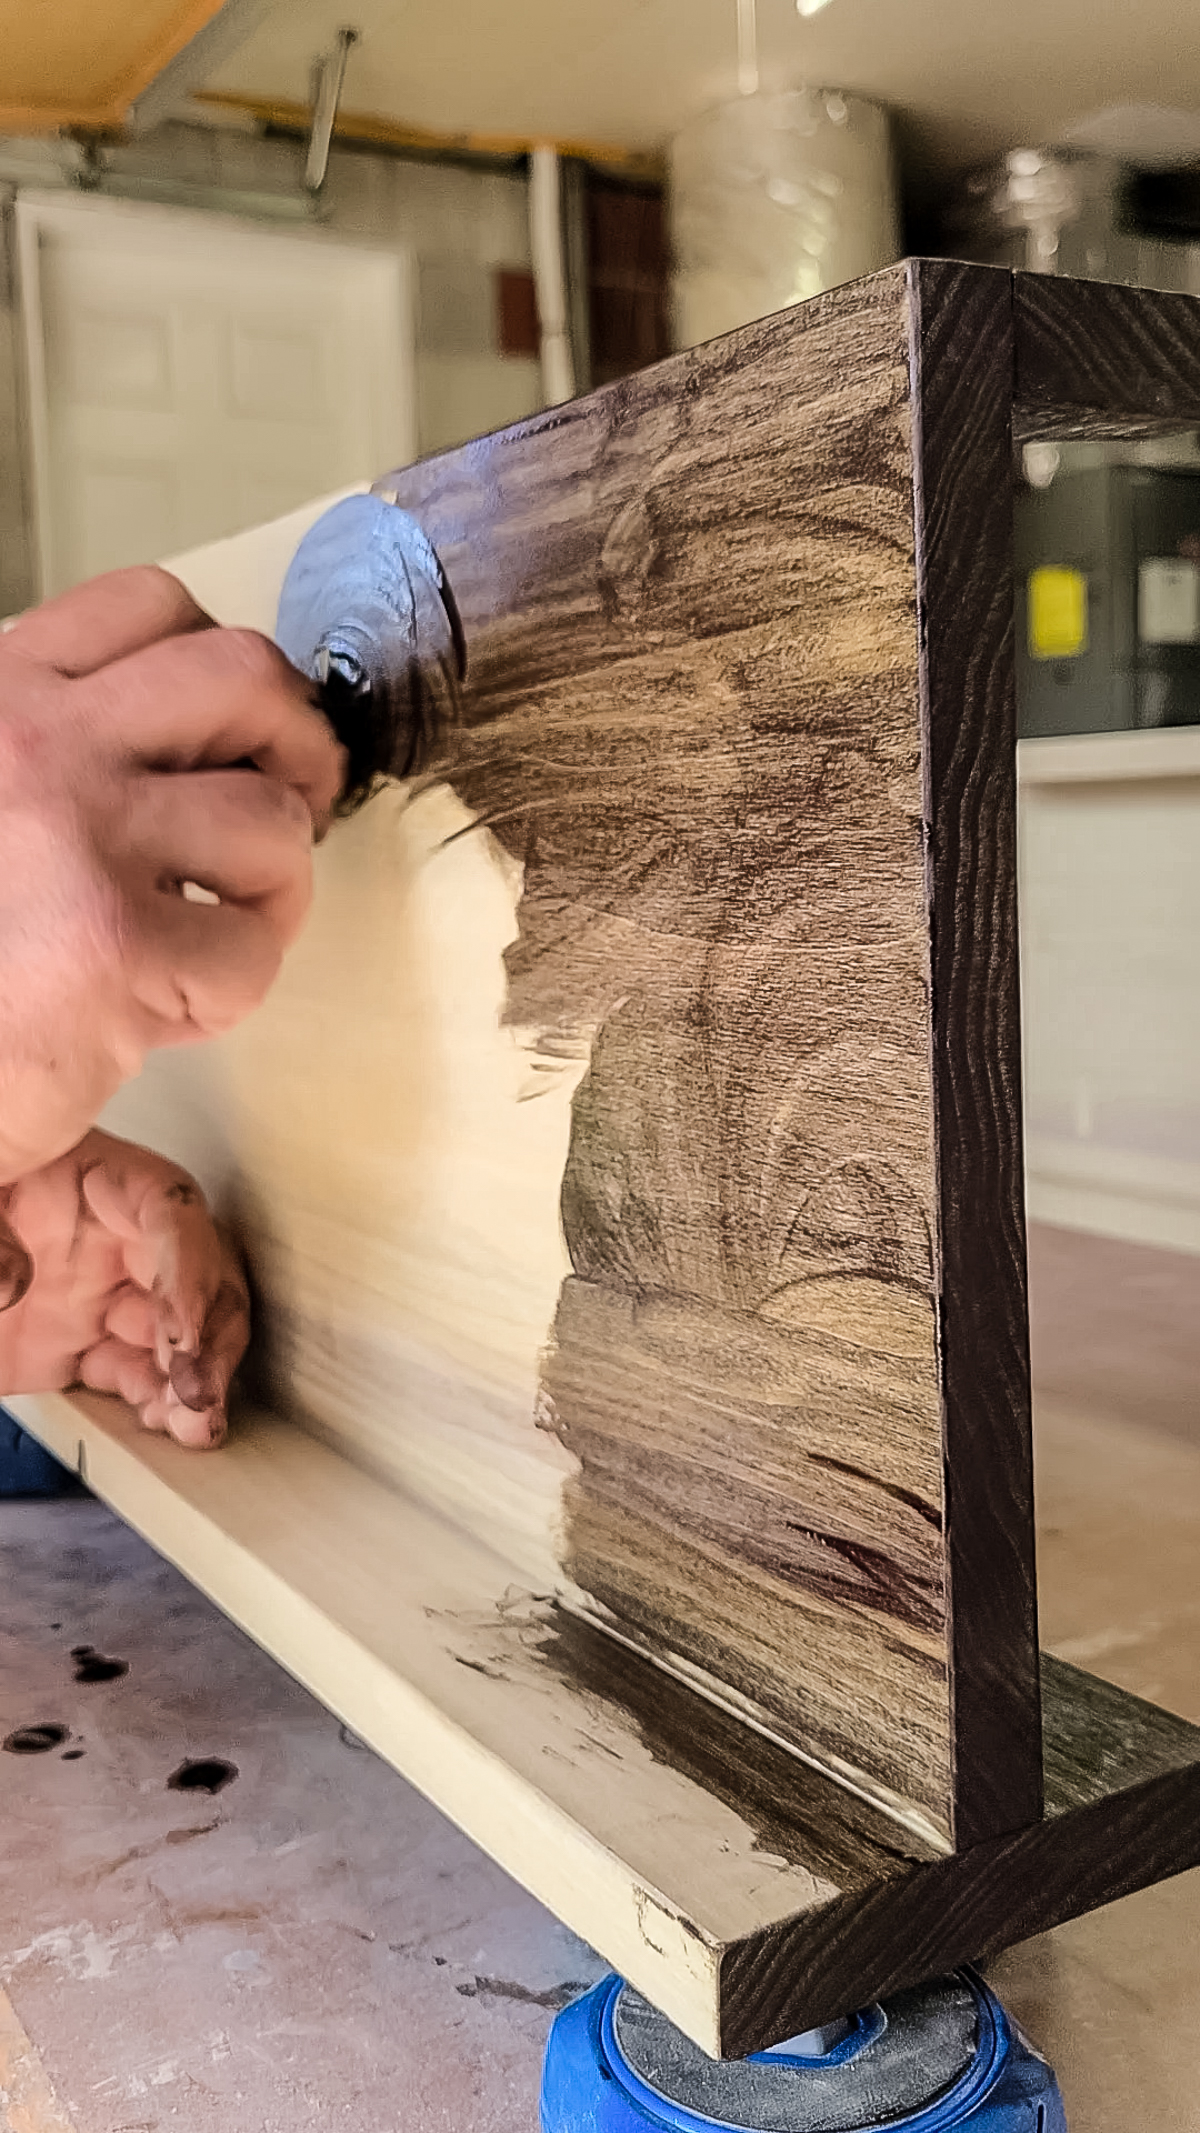
#9: Stain and seal your wood.
Apply the stain color of your choice to your wood then after it has time to dry, seal it with the finish and sheen you selected.
-
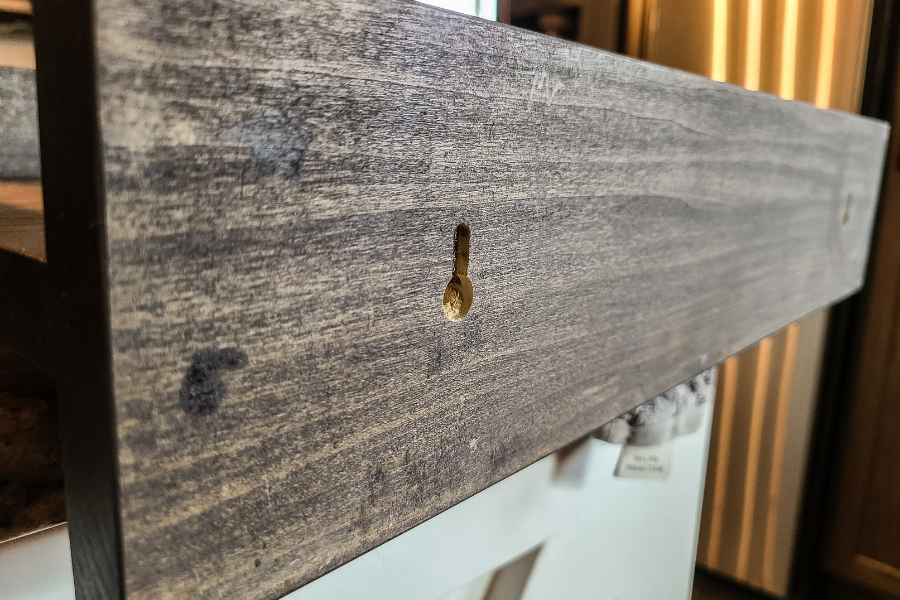
#10: Route the keyhole.
To hang it on the wall, we opted to add keyholes to the back of the shelves. Using a pencil measure where you want to make keyholes on the back side of the wall plates. Test this out with scrap wood and when you have it appropriately placed repeat on the wall plates.
Alternative method.
If you don't have a way to make keyholes, you could also screw right through the wall plate and into the wall to mount it. The screws will be blocked by the items on the shelf.
-
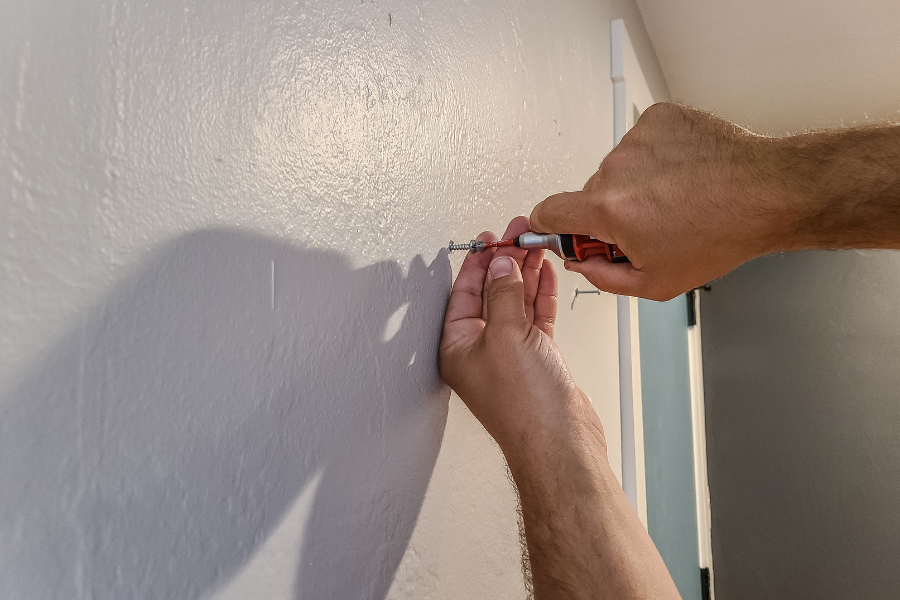
#11: Mount on interior wall.
Finally, mount your wine rack on the wall using some drywall screws. If you can position it so that it is drilled into wall studs, that is ideal. If not, use wall anchors.