You can create a hardworking temporary project space in your garage, on the driveway, or almost anywhere
If you like to build projects—and who doesn’t, right?!—you probably dream of having a dedicated place where your tools are at the ready, you have plenty of workspace, and your supplies are all organized.
It’s a great dream.
In reality, though, most of us have to set up temporary workspaces in the garage, out on the driveway, or on the patio. That brings some compromises, but it doesn’t mean you can’t have a great workspace. With a bit of creativity and a few essentials, you can set up a temporary workspace that works great.
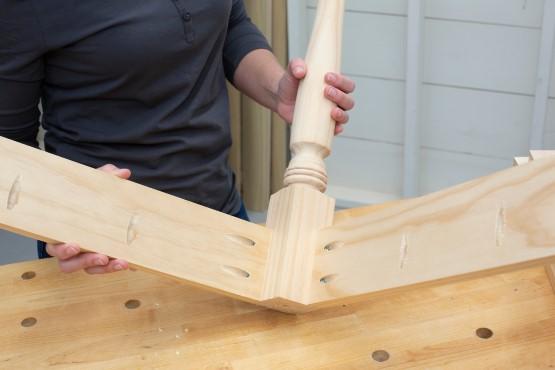
1. Start with a good work surface
A hardworking work surface makes everything you do when building projects easier
One of the biggest drawbacks to a temporary workspace—or working in a shared space—is that you can’t have a big workbench. But that doesn’t mean you can’t have a great work surface in your temporary space. You’ll want something that’s sturdy, versatile, that helps you support and hold things you’re working on, and that, of course, is easy to move.
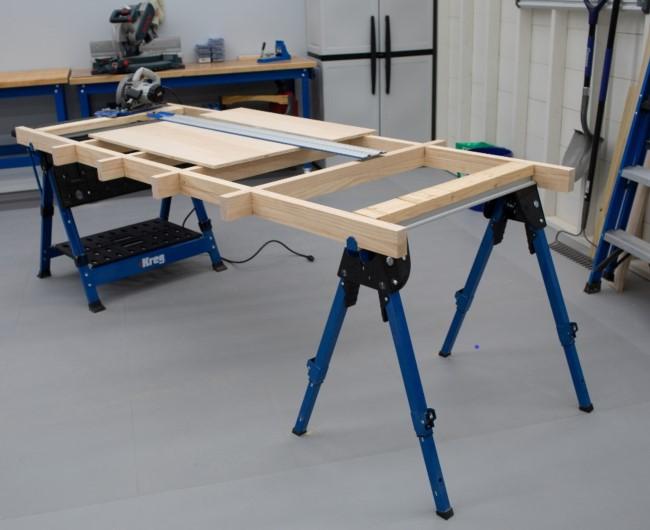
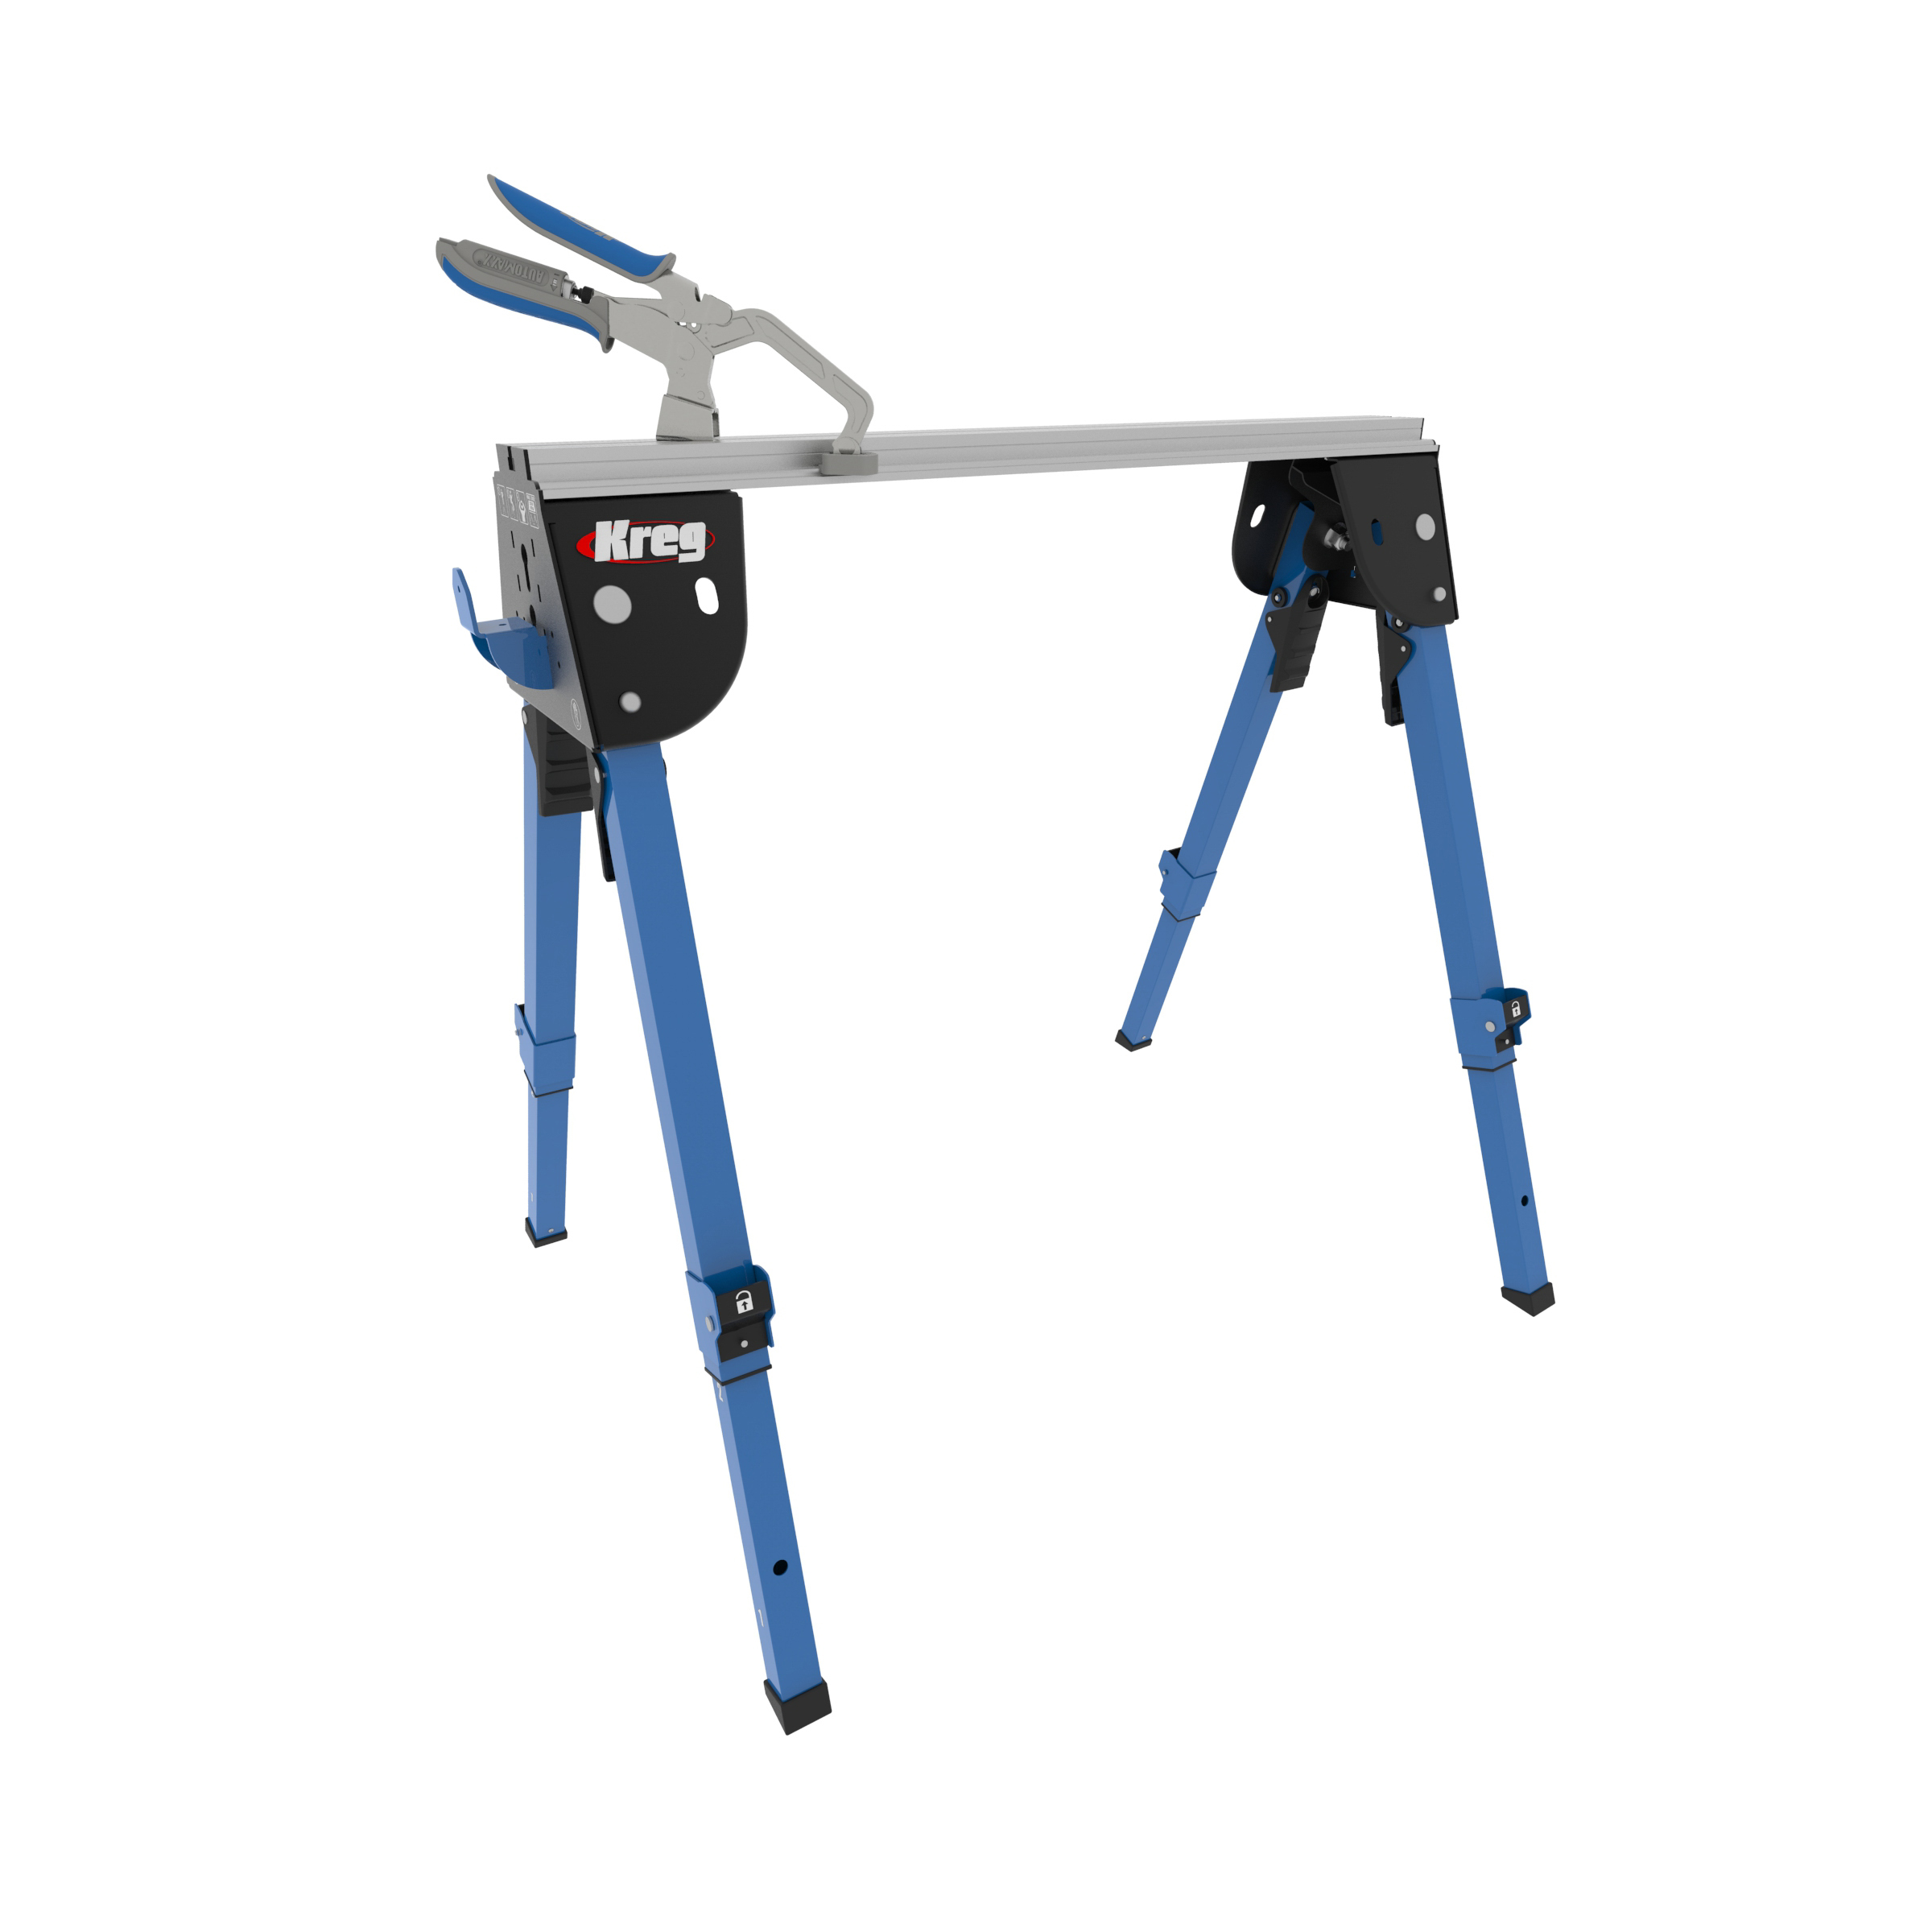
A great place to start is with a pair of sawhorses. They’re easy to move and store, and designed to hold a lot of weight. Add boards that span between, and then set a piece of plywood on top, and you have a very passable workbench.
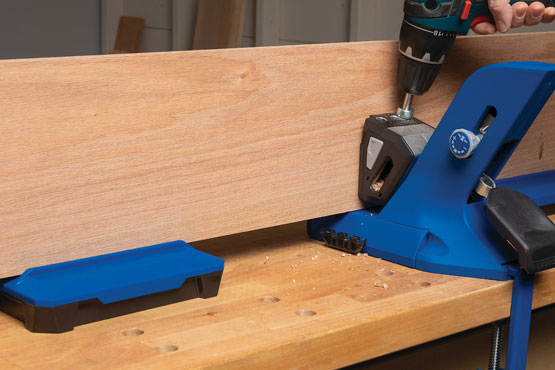
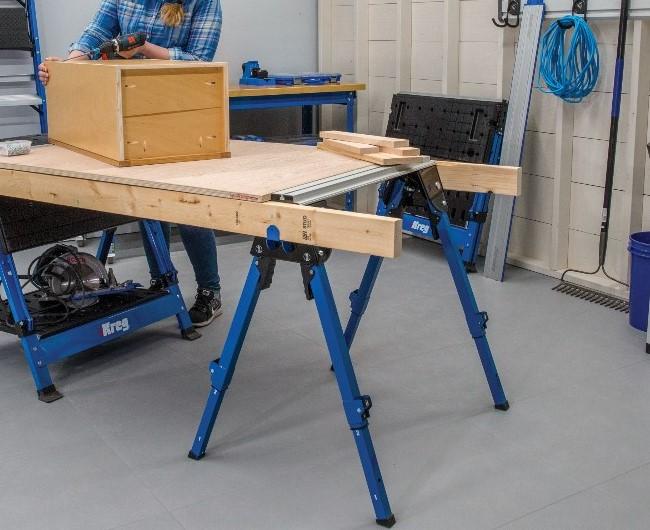 Some sawhorses have features that make them even better for creating a workspace. The Kreg Track Horse, for example, comes with a clamp that can be used in multiple ways to help hold pieces while you work. Plus, the Track Horse offers adjustable-height, so you can set your worksurface at a comfortable height, and even drop it down super low for working on taller assemblies.
2. Set up a staging area
Keep the things you need close at hand without having to keep them on your work surface
Whatever work surface you use, one of the first things you’ll probably do is start setting all your project supplies and materials on it. That means you soon won’t have any place to work.
This is where a folding table can be handy. Use it as a staging area for all your stuff, and to hold parts after you cut them. That way, you’ll keep your work surface clear for, well, work.
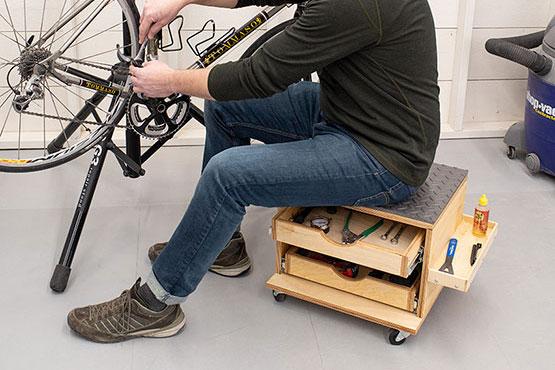
3. Keep tools organized
Cut way down on your “Now where did I last have my…” time, and you’ll get a lot more done
When you don’t have a dedicated project workspace, storing tools can be a challenge. That means finding them or having a place to put them when you’re ready to build can be challenging.
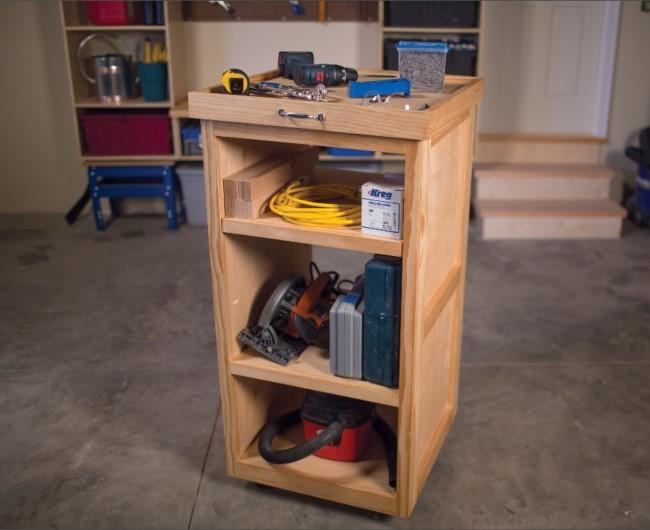 You can solve your storage issues and make it easy to move all your tools to your workspace, by building something like this rolling tool cart. You’ll have fun building it, and you’ll be happy to have it every time you set up to build. Just roll it out, and you’ll have tools close at hand but not in the way.
4. Get all charged up
Make sure your cordless tools are ready run when you’re ready to build
Speaking of tools, make sure before you build that all your cordless tools are charged up and ready to go. There’s nothing worse than making that first cut or drilling a few holes and having your battery go dead. So, dig out your tools, batteries, and chargers the day before you plan to build, and start charging.
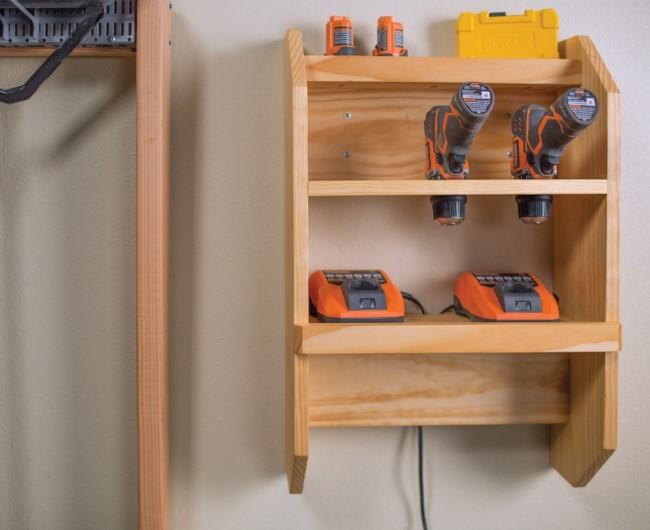 Better yet, create this cordless tool charging station so you always can keep your batteries charged and ready. It holds a couple chargers and drills, but it hangs out of the way on the wall.
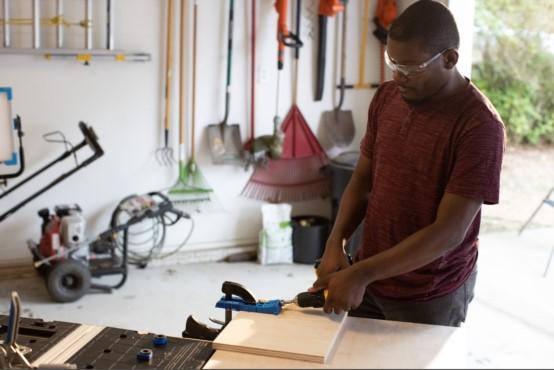
5. Create a space for cutting
Make accurate, safe cutting easier by setting yourself up for success wherever you work
Cutting is a big part of project building. It can be challenging in any workspace, but even more so in a temporary workspace. To cut successfully, you need setups that will ensure accuracy, of course. But you also need to hold pieces while you cut, so that you can stay safe, and so your pieces can’t bind, kick back, or fall and get damaged.
 One great way to set up a temporary cutting area easily is with a knock-down cutting support grid like this one that’s great for cutting boards and plywood.
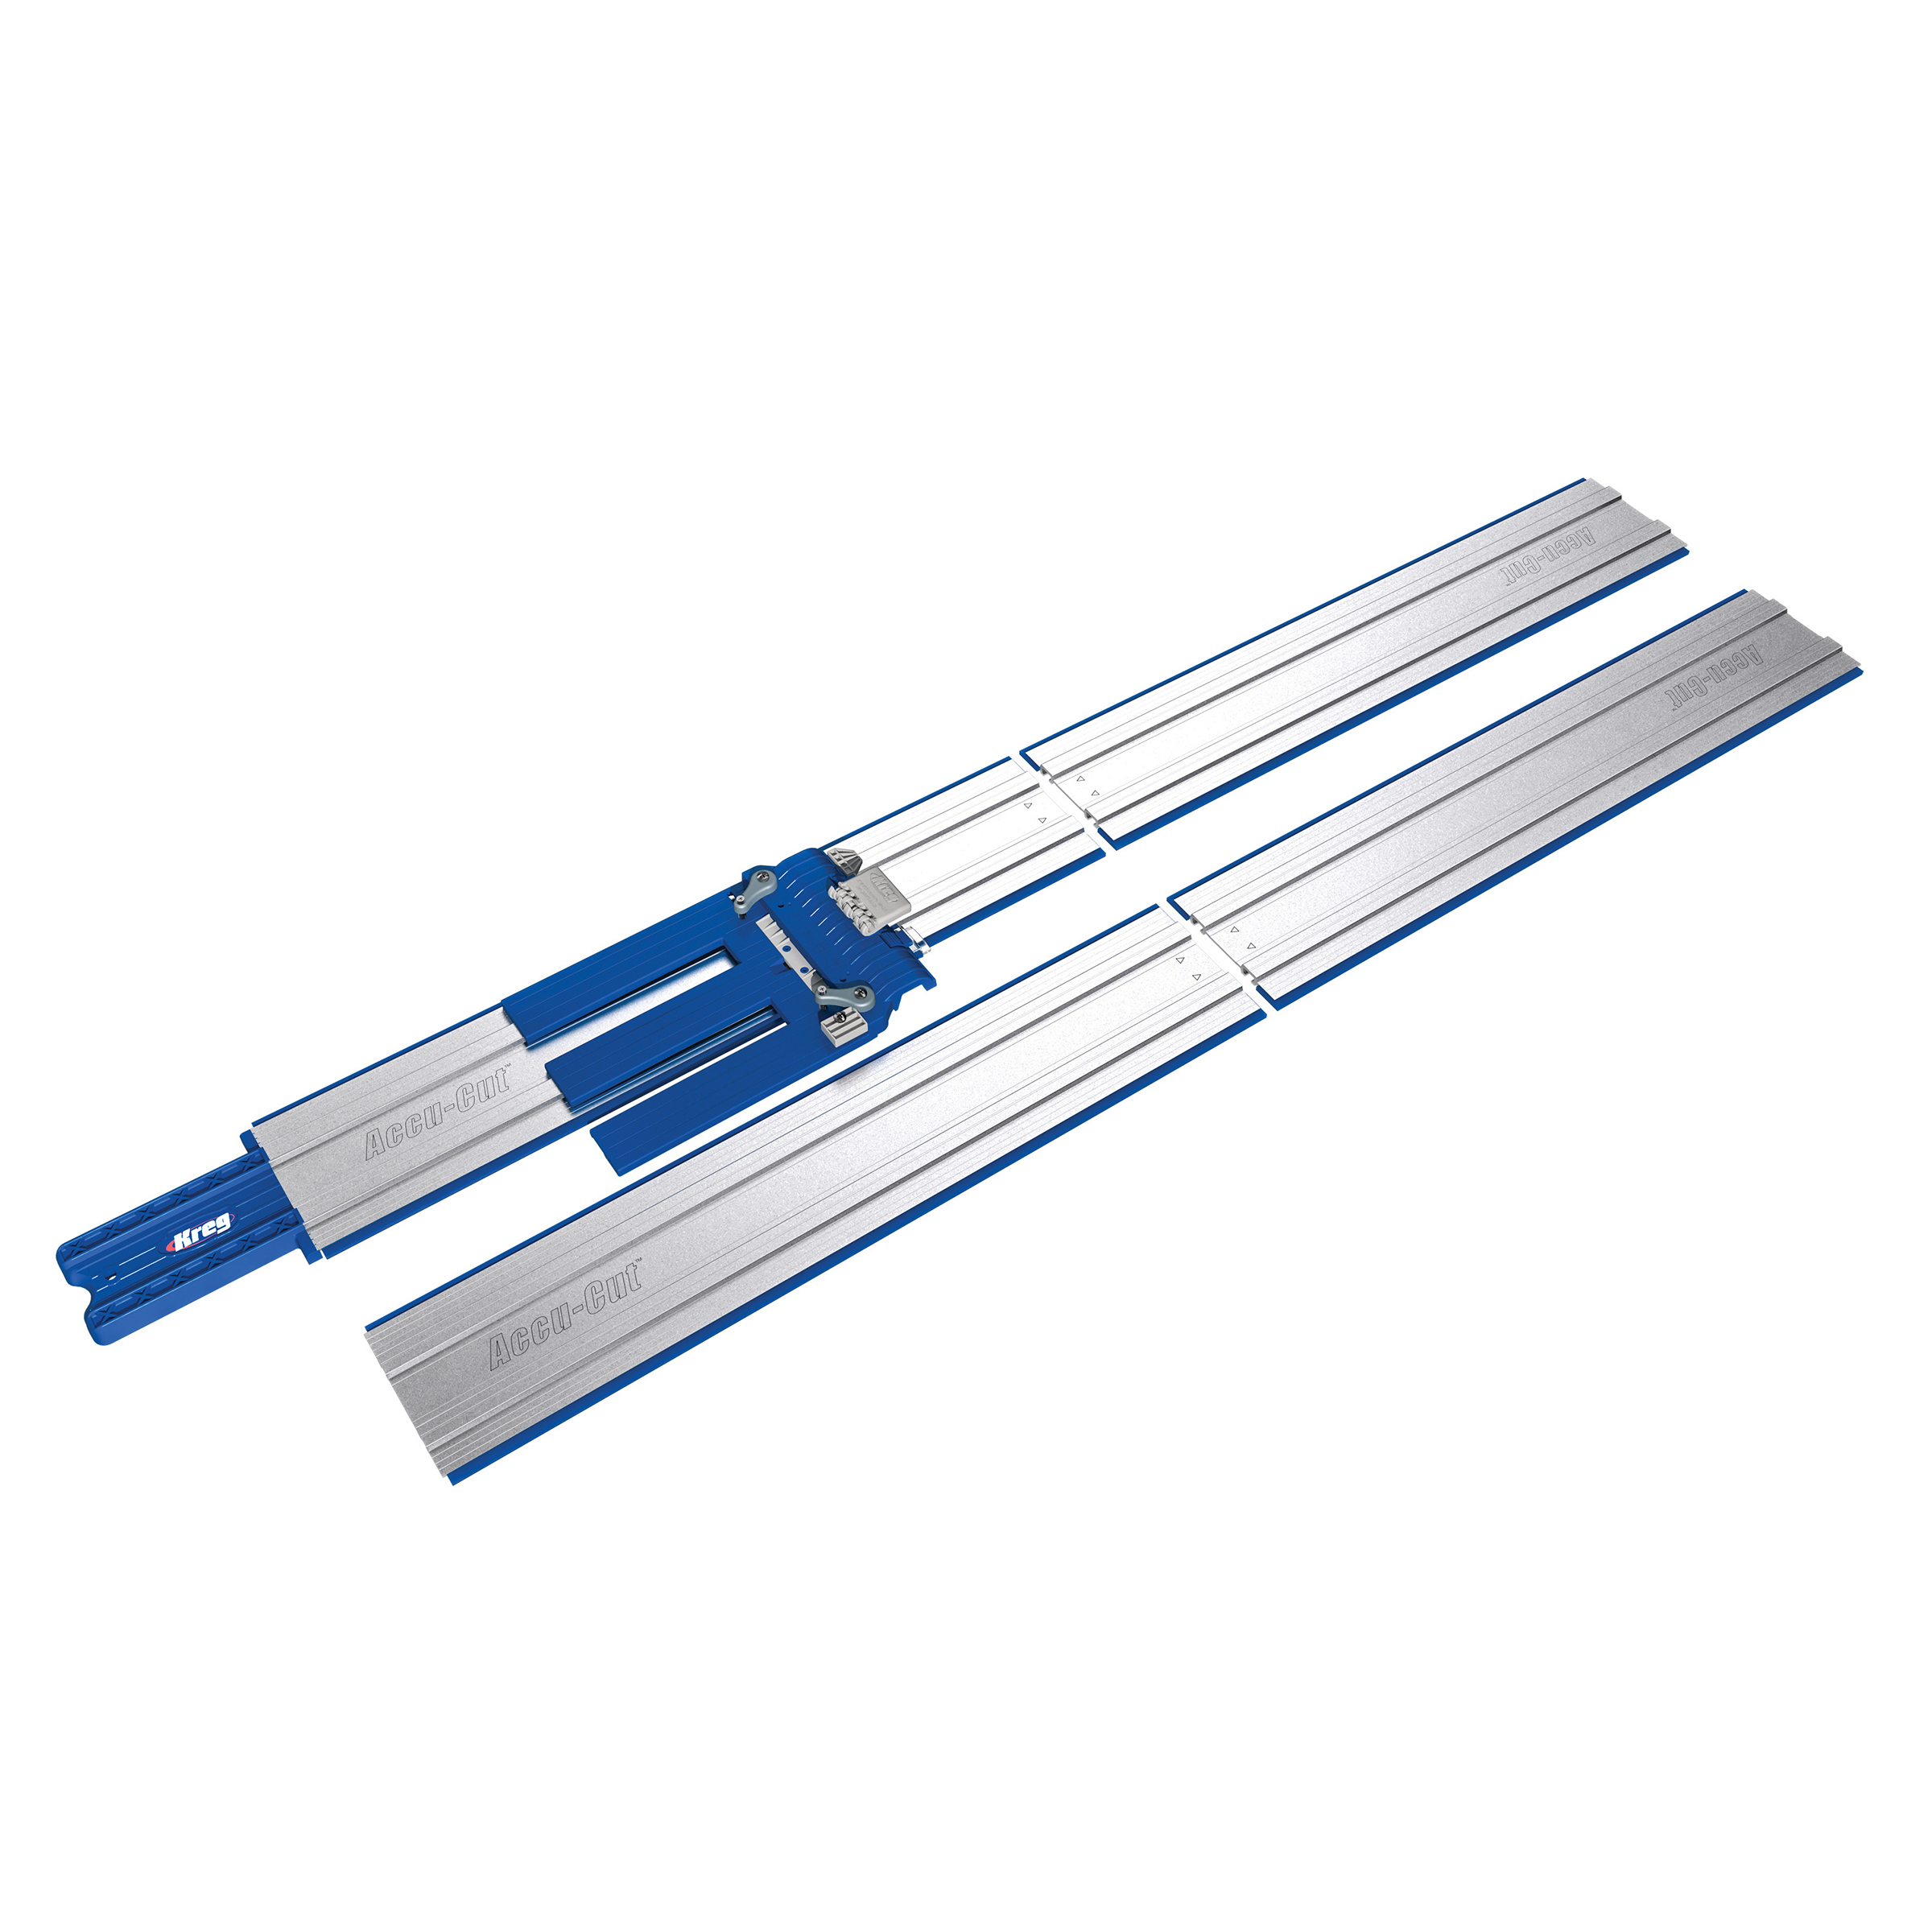
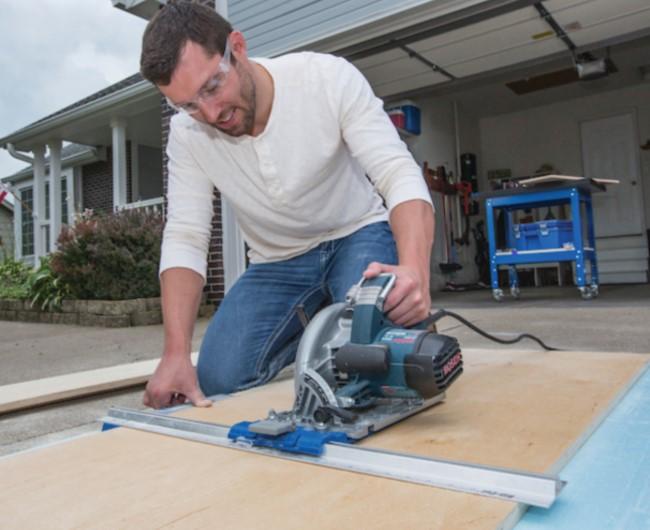 You can also use a sheet of rigid foam insulation for cutting plywood. Just lay it on the ground, lay the sheet of plywood on top, and you can cut without worrying about the plywood moving or falling. Add a cutting guide like the Kreg Straight Edge Guide, Accu-Cut™, or Rip-Cut™, and you can cut plywood and sheets like a pro with your circular saw.
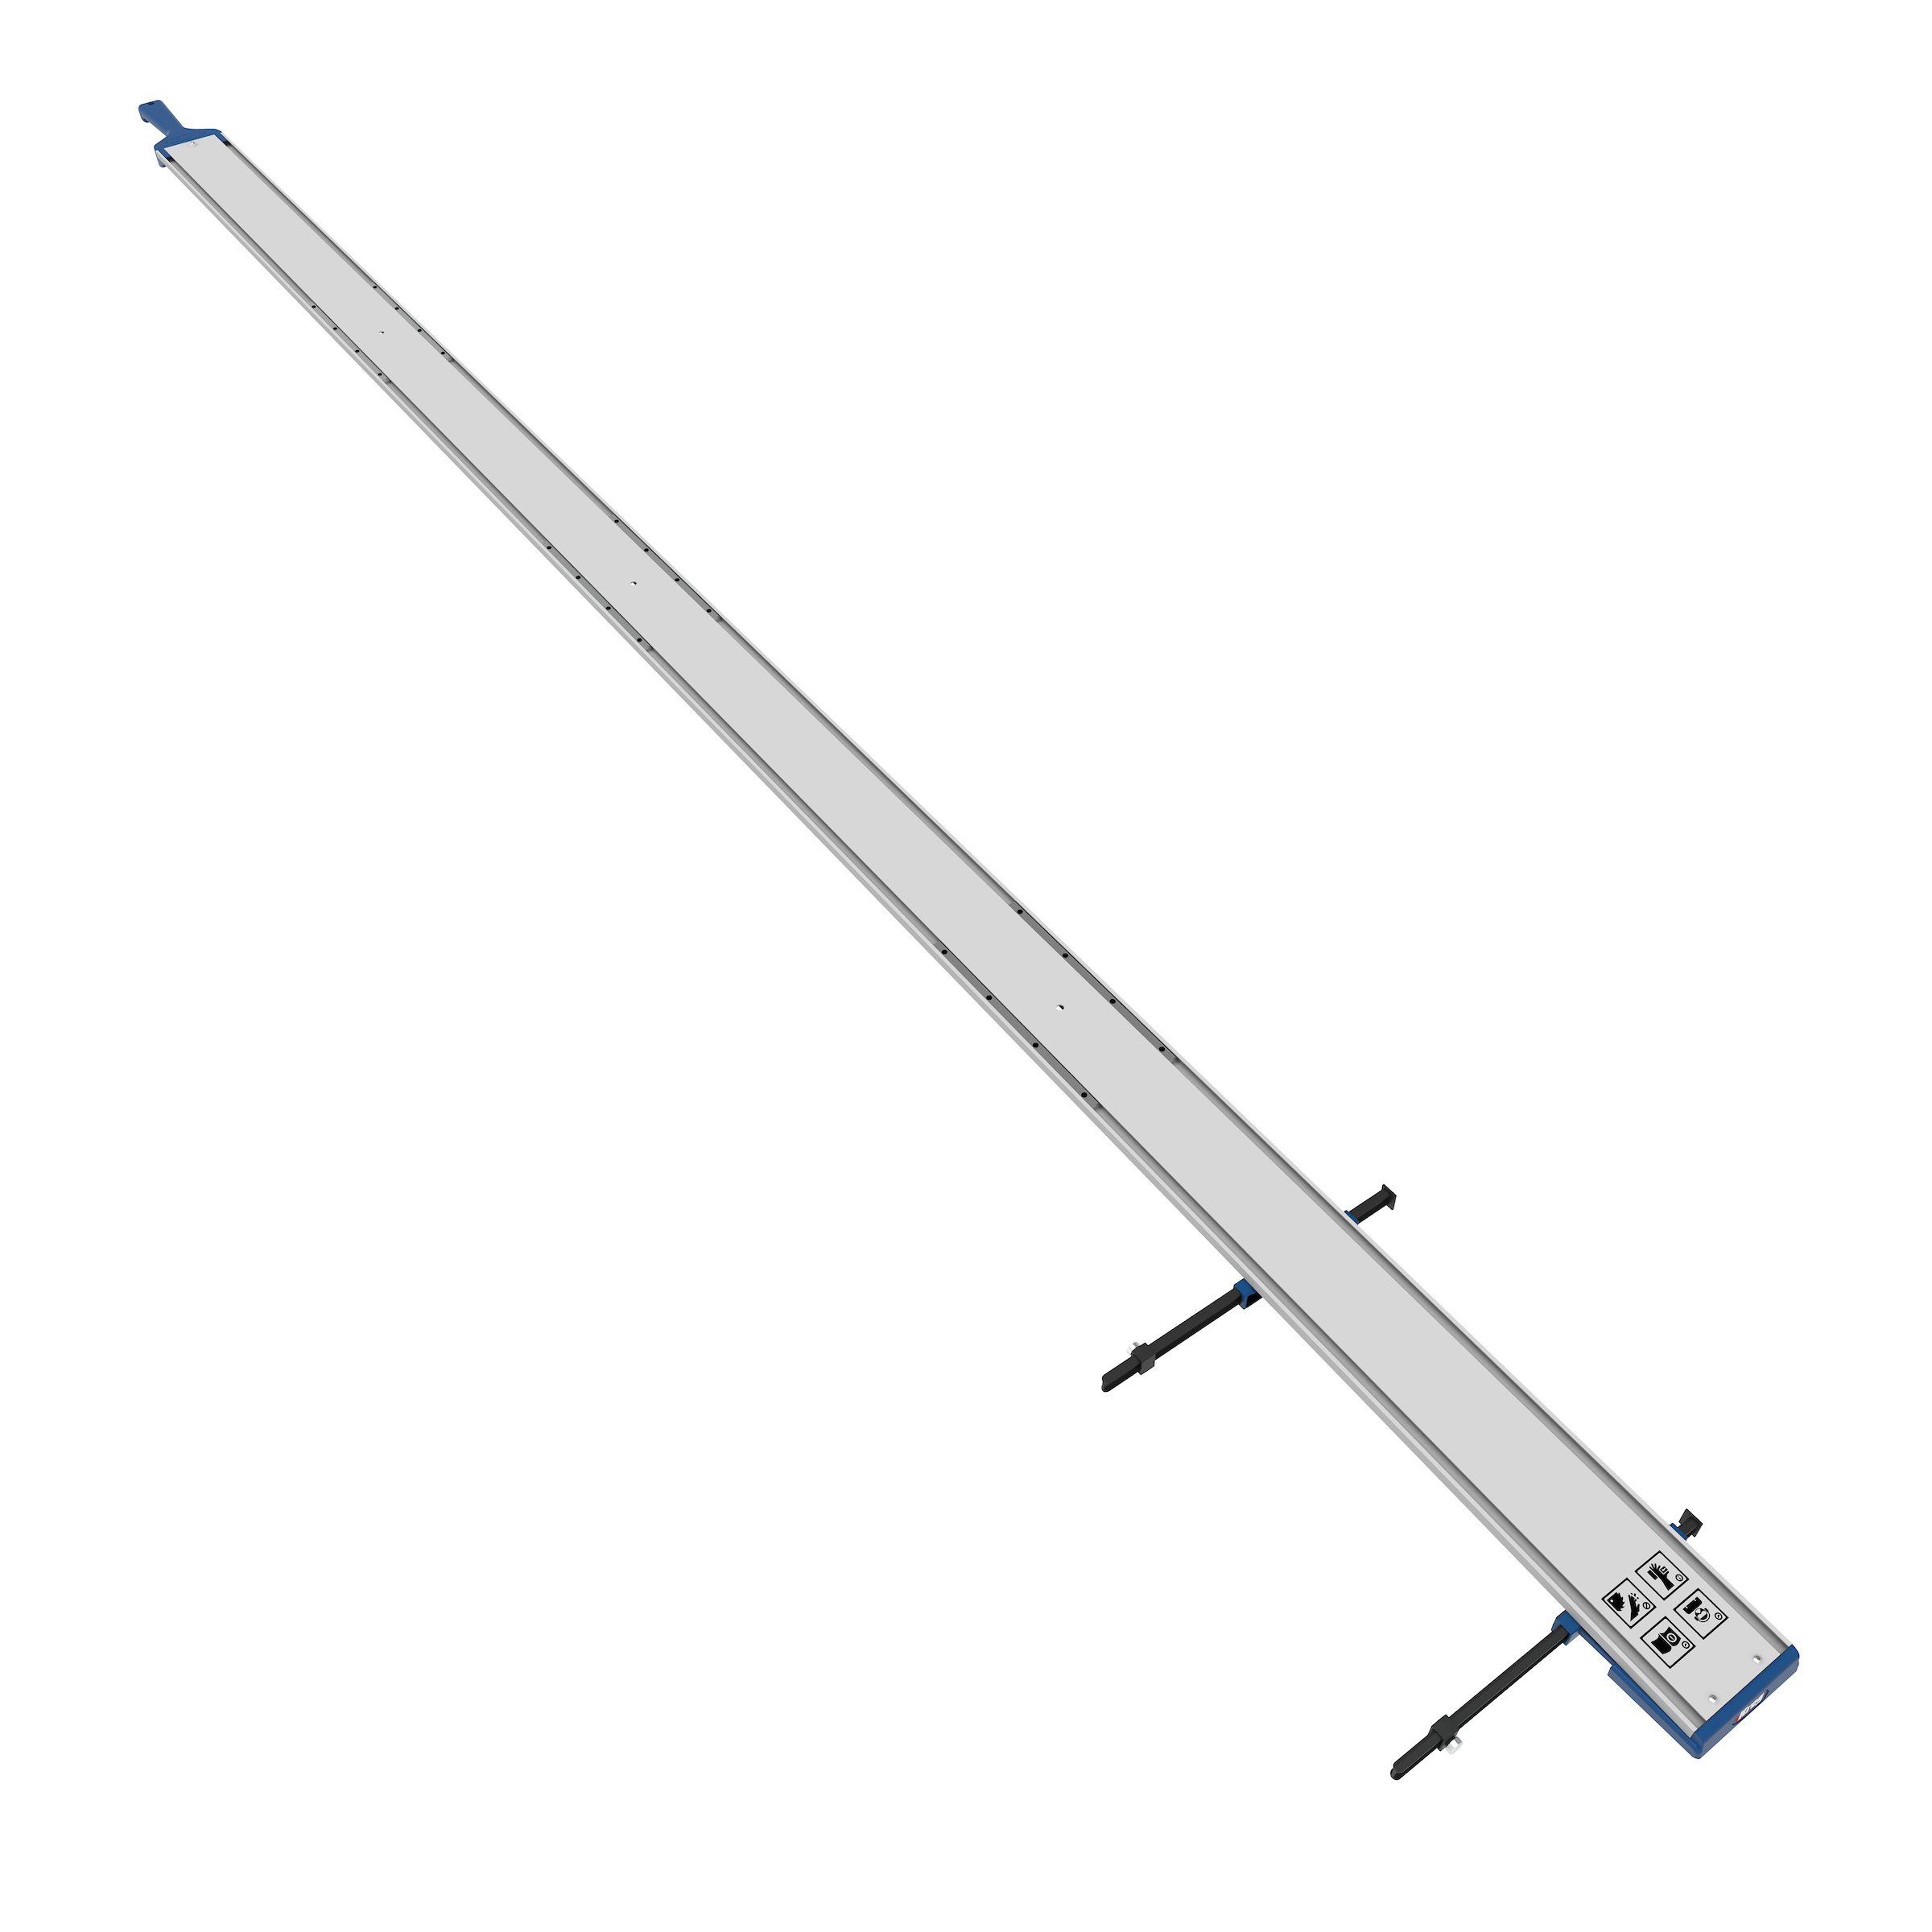
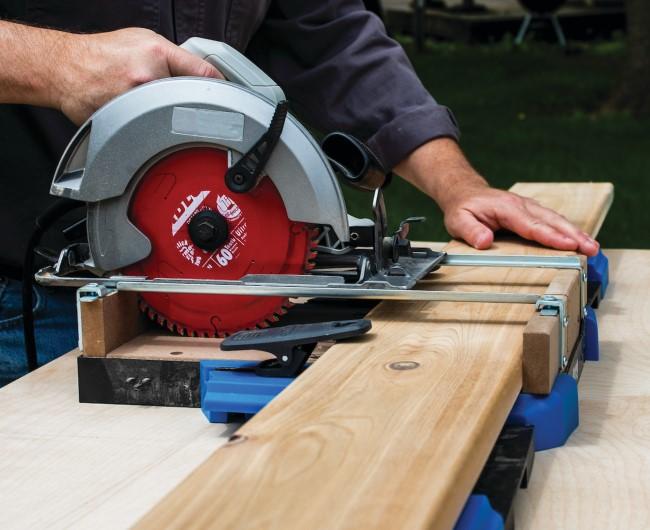 You don’t even need to have miter saw to cut boards precisely and accurately. A miter saw can be tough to store, and tough to set up effectively in a temporary workspace. Instead, you can once again use your circular saw and a guide like the Kreg Crosscut Station or Portable Crosscut.
As can see, with a few basics, it’s possible to set up a temporary workspace that works great. And that means you can build great projects just about anywhere.
Associated Products

Track Horse

Crosscut Station

Kreg® Pocket-Hole Jig 520PRO

Straight Edge Guide


Portable Crosscut

Kreg® Pocket-Hole Jig 320