Maximize your project-building time and get better results with this easy-to-follow plan.
Most of us who build projects agree, that one of the biggest limitations is having enough time. With competing demands, it can be tough to carve out time to start a project, let alone complete it. So, when you do get time, you want to make the most of it. Here are a few things you can do that will help you make the most of your time, and help you get better results, as well.
1. Understand your project plan
You’d never think about starting a project without fully understanding the instructions, right? Then you’d be surprised how many people jump in without reading through the plan first.
 When you start a project from a plan, take time to read through the whole process (or watch if it’s a video plan). Make sure you understand the steps, and what needs to happen in what order. Too many people get burned by plans that aren’t written in a linear way, and they get caught by “do this … but first.”
Going through the plan ahead of time also let’s you learn more about the terms, techniques, or tools used if you’re not familiar with them.
2. Buy a bit of extra wood
Nobody wants to spend more than necessary on materials, and we don’t want to have a lot of extra lying around when we’re done. But buying only the exact amount that’s stated can lead to problems.
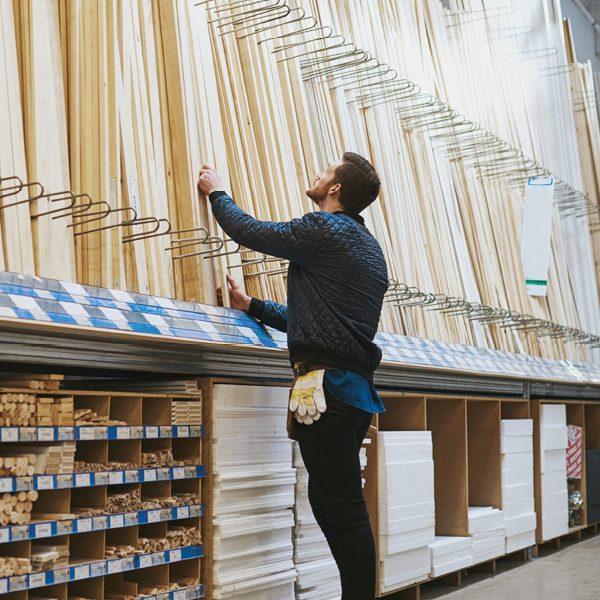 When you buy wood for a project, you’re bound, for starters, to find boards with some bad spots—knots, splits, dents, or defects that you’ll need to work around, which can leave you short. With extra material, you’ll also have some around for the inevitable “oops.” That means a wrong cut, improperly placed hole, or another mistake won’t stop you from completing your project. Just grab a spare piece and get right back to work.
Also, no matter how much experience you have, a project may involve techniques or tools you’re not familiar with. Having extra material allows you to practice. If your test piece turns out great, you can use it. If not, you’ll still have enough to complete your project.
A good general rule is to buy 10-15% more than you need. The extra cost up front is far lower than the cost of having to make another run for materials. Plus, chances are you can use any leftovers you have on another project later.
3. Have your hardware on hand
If your project calls for hardware, such as certain fasteners, hinges, drawer slides, specific knobs or pulls, make sure you have it on hand before you start.
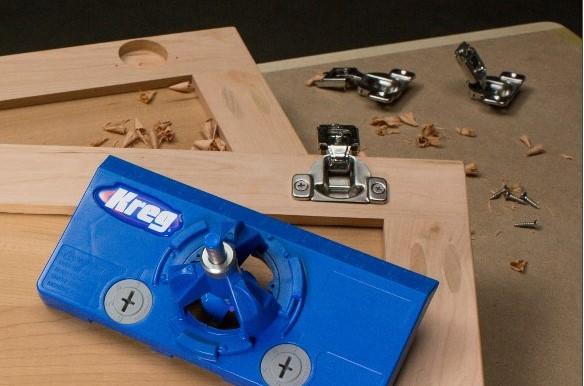 If you have all your hardware and fasteners on hand, you’ll be ready to move forward without having to make a supply run or wait for an online order. You’ll know you have what you need, since substitute hardware may not look or fit the same. Plus, you can test-fir your hardware as you build, so you won’t run in to surprises at final assembly.
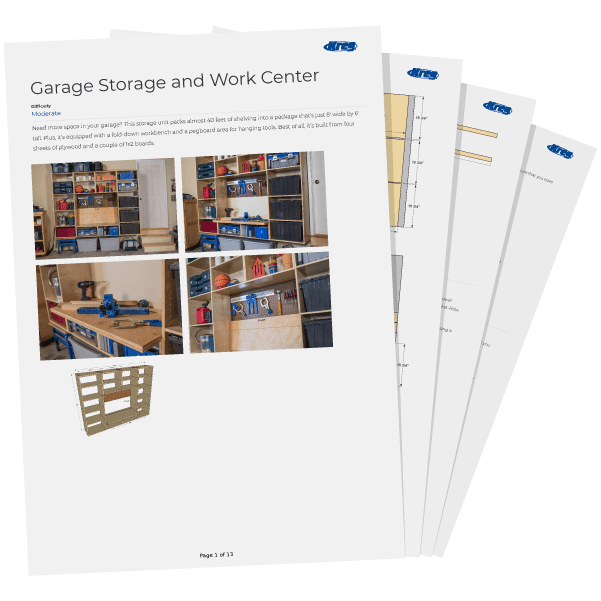
Bonus: Downloadable Project Checklist
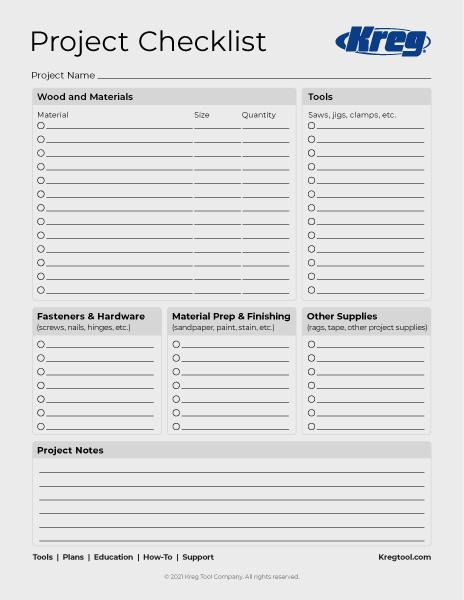 One easy way to make sure you have everything you need is to create a checklist where you can write down everything and make notes about your project. We’ve made this easier with a Project Checklist you can download free, and then print out any time you need it.
4. Measure twice, cut once
This phrase is old for a reason. It’s easy to mix up or mismark measurements.
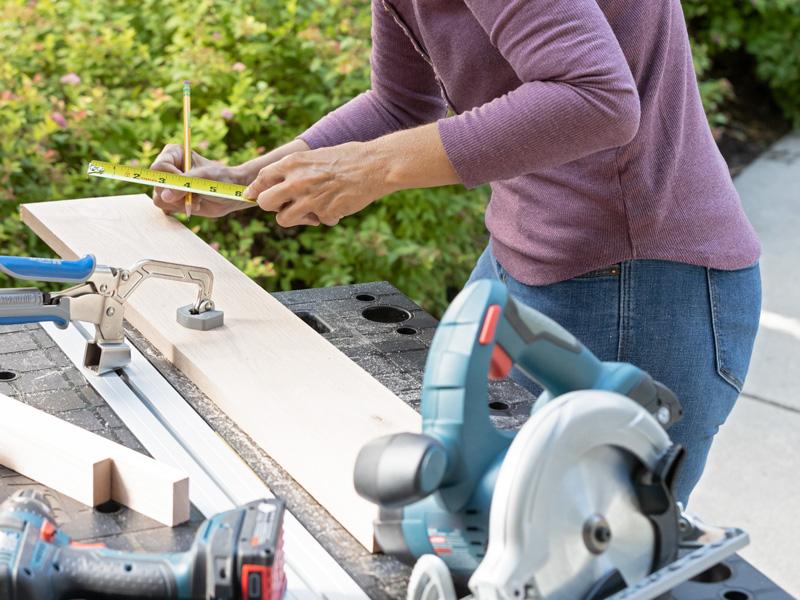 When you’re working on a project, it’s all-too easy to rush some steps. Measuring should never be one of them. Spend a little more time making sure you have the measurements right, and you can save a lot of time when you don’t have to recut parts later.
Be sure that you have good measuring tools, too. Click here to learn about selecting a good starter set.
Of course, sometimes making sure something fits is much more important than making sure it’s a specific size. So don’t be afraid to “adjust” slightly if necessary to make sure a part fits properly.
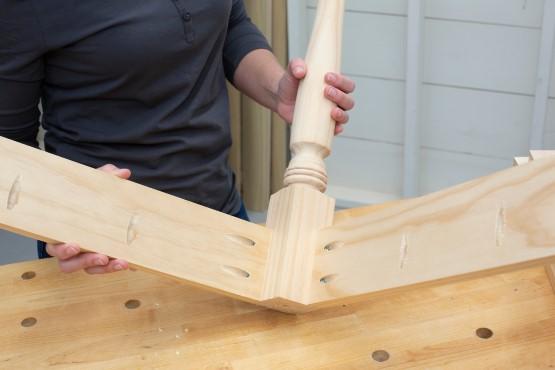
5. Test fit as you go
A little pre-assembly as you work can save a lot of frustration when the time comes to put things together for good.
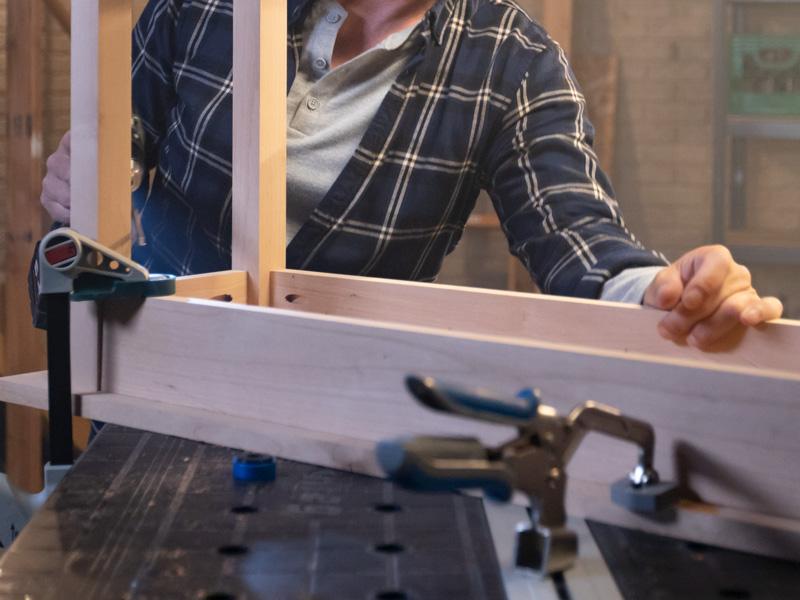 Want to get frustrated? Get to a late project stage and find out then that something didn’t fit. To prevent this, lay out your parts into assemblies to make sure parts fit together right before you’ve gone too far.
6. Label your parts
Prevent mix ups by making sure you know which part is which while you work.
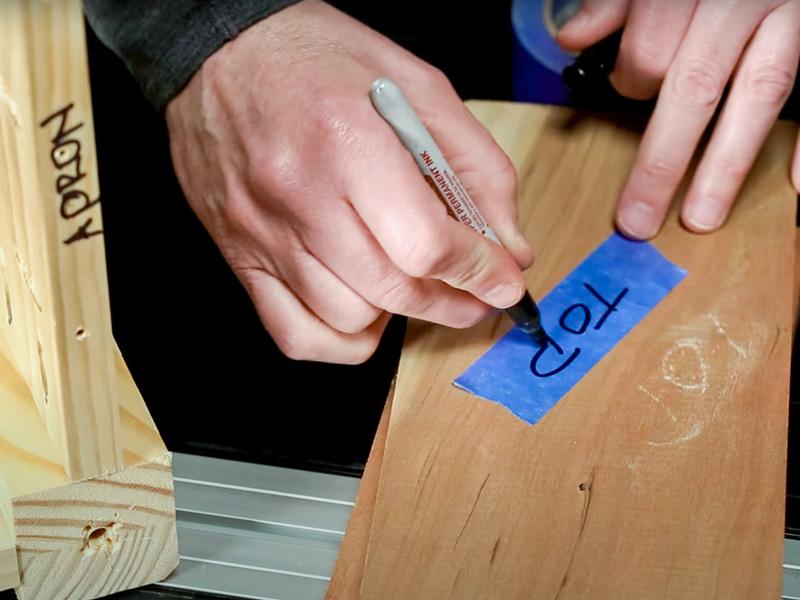 Oftentimes, project parts start to look the same, especially if they are sized and shaped similarly. To prevent mixing them up, label them.
Check out this video for some great tips on labeling project parts.
Plus, if you have to walk away from your project for a while—whether that’s an hour, a week, or a month—you will be able to pick up the parts and know exactly what you’re working on.
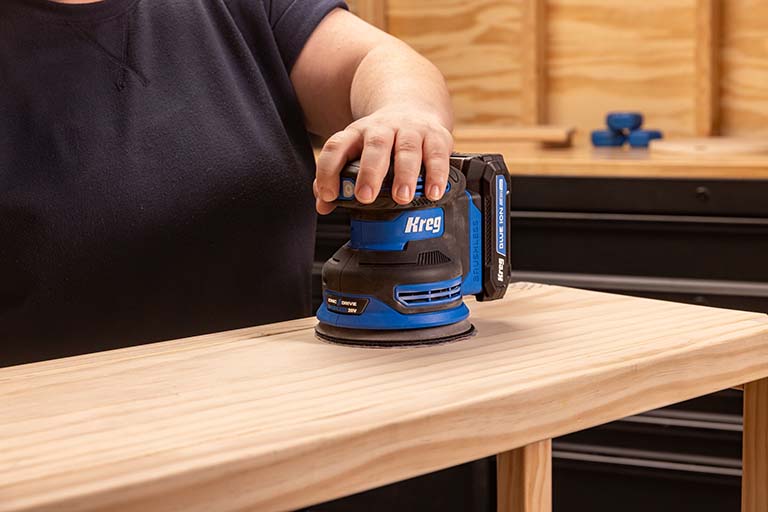
7. Sand before assembly
Sanding can be tedious, but it’s a lot easier if you do it as you make parts, instead of after you assemble them.
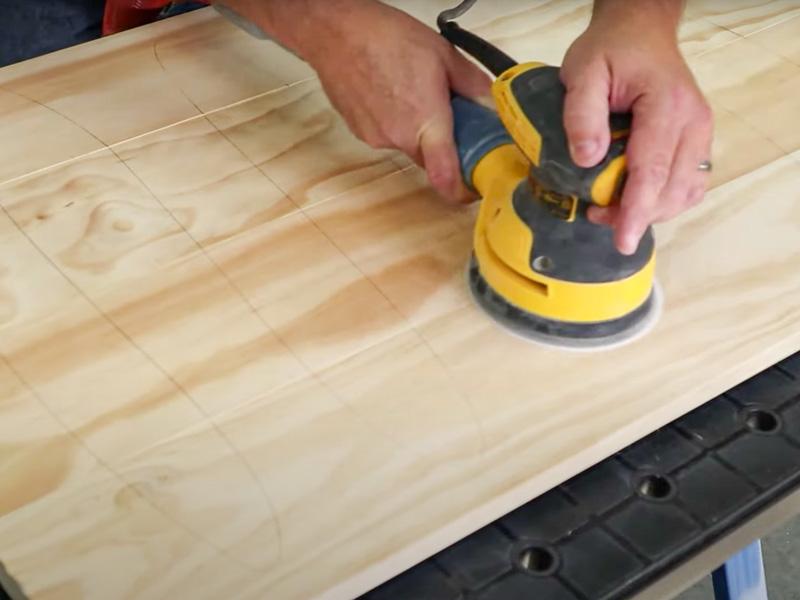 Nobody likes sanding. But you’ll find sanding less of a hassle, and you’ll get much better results, if you sand individual parts rather than full assemblies. Sand after you’ve cut the parts and drilled pocket holes or other holes, but before assembly. That way, you can reach all the faces and edges more easily, and you’ll do a better job. You may still have to do some sanding after assembly, but you’ll cut way down if you sand the parts first.
Be sure to sand consistently, too, especially if you’ll be staining your project. What that means is make sure if you sand one part with 150-grit paper, sand all the parts that fit to it with 150, as well. If you sand inconsistently, you’ll see it later because rougher wood stains darker than wood with a smoother surface. You can learn more in this video.
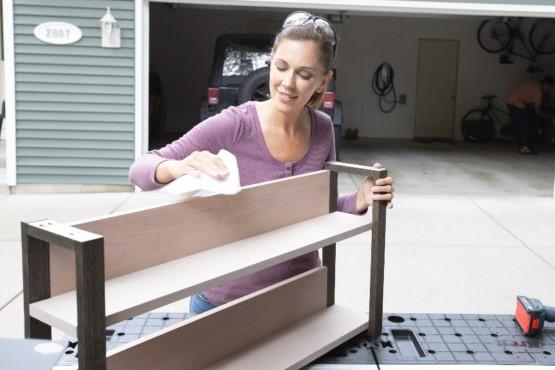
8. Test paint and stain before you commit
Make sure you like the color you’ve chosen before you apply it to your project.
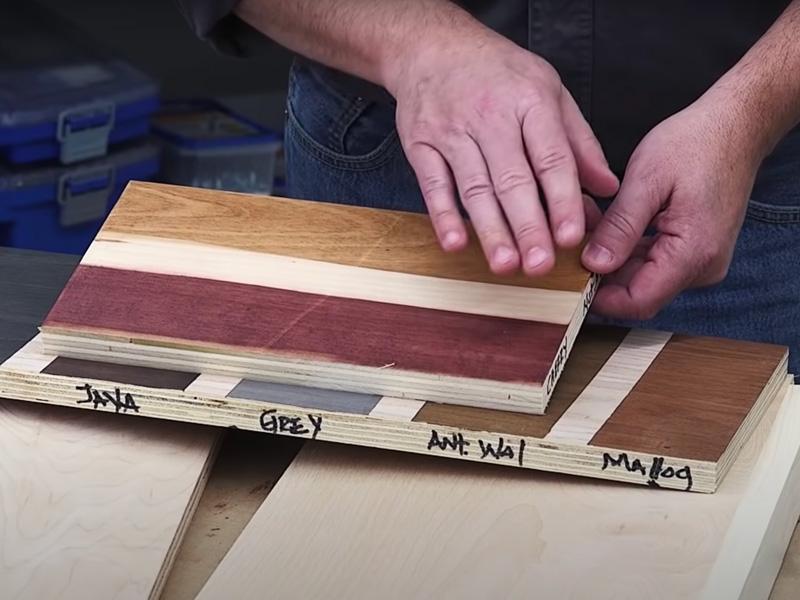 Most people get paint samples before painting a room, just to test it out. But very few test stain out a stain or paint before applying it to a project. And after all your hard work, now is NOT the time to run into an unwanted surprises. So, if you’re not sure about color, try a few different ones on leftover project materials, so you can get a good look at the color before you commit.
Related Plans

Associated Products


Straight Edge Guide


Crosscut Station

Portable Crosscut

Multi-Mark™
In-Line Clamp