Optimize your garage space with our DIY garage shelf plans. Organize tools, equipment, and supplies efficiently with sturdy and customizable shelving solutions. Declutter your garage and create a well-organized workspace.

Beginner Miter Saw + Planer Stand

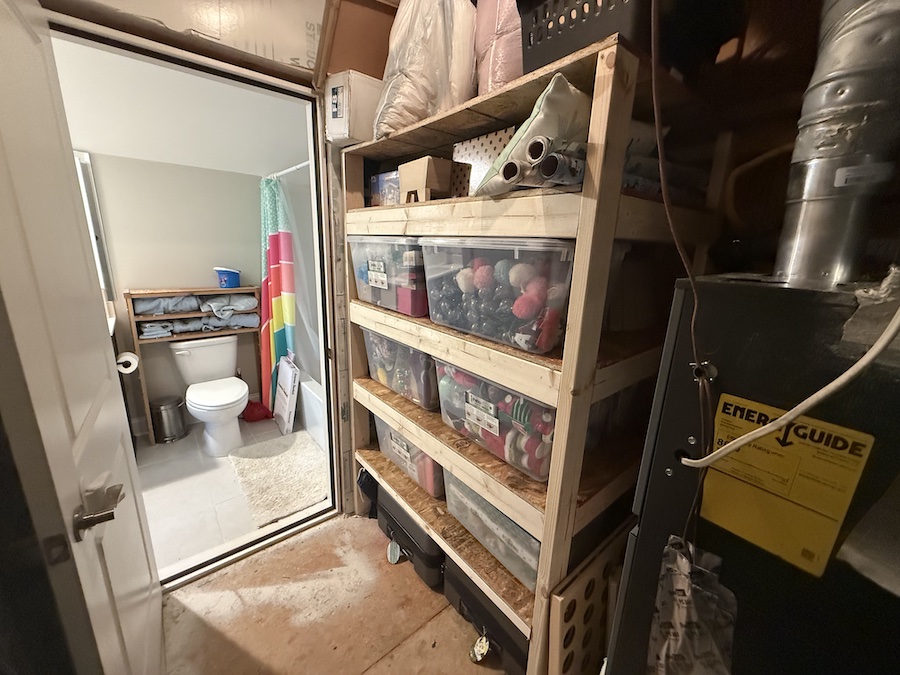
2×4 Garage Shelves
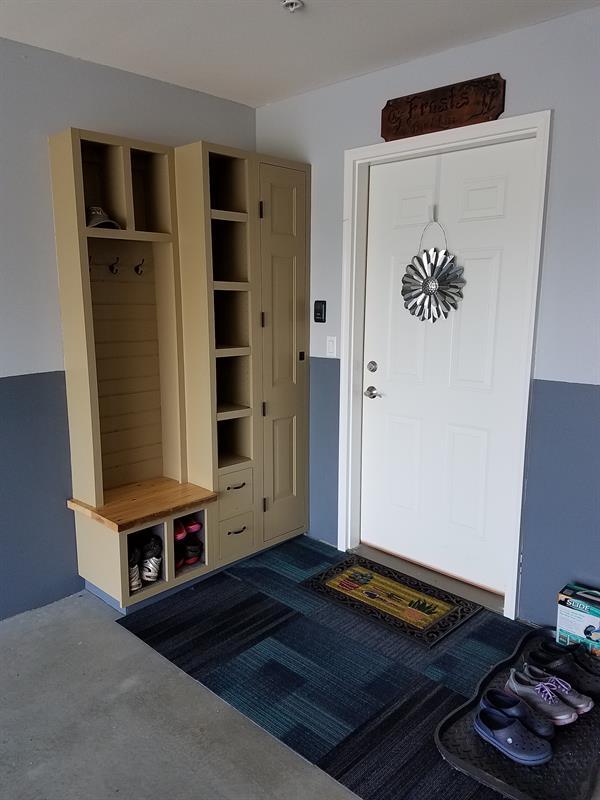
Garage/Mudroom Storage and Organizer

How To Build Garage Shelves – DIY Garage Storage Shelves
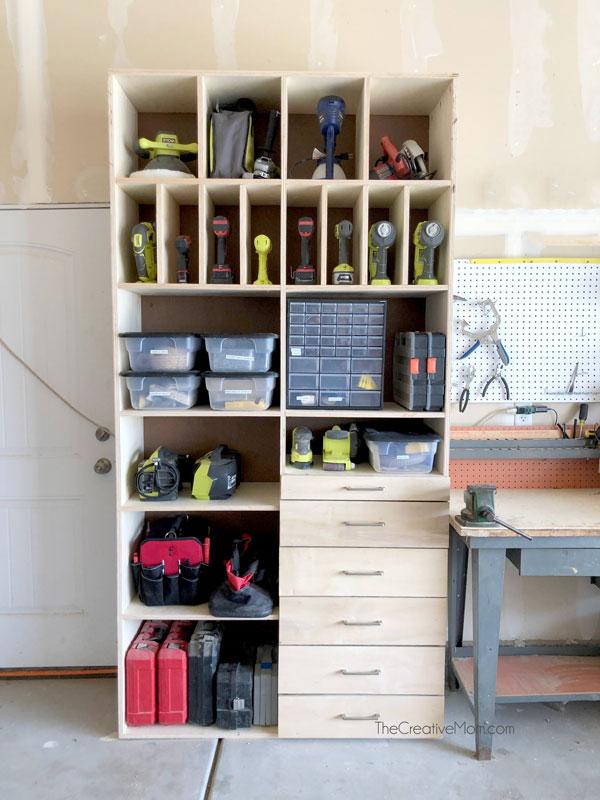
Tool Storage Shelf
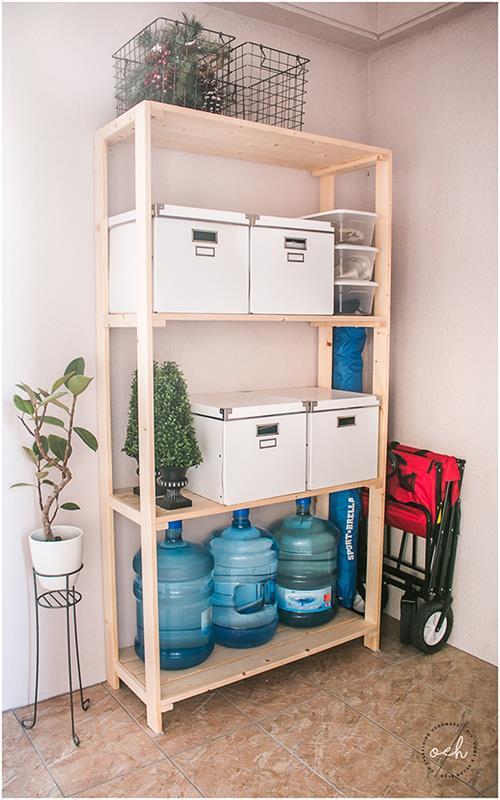
Budget Friendly Storage Unit
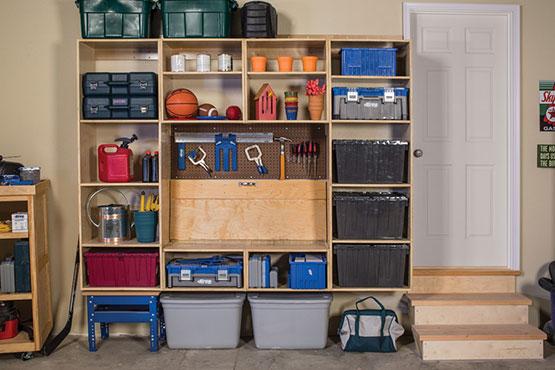
Garage Storage and Work Center
How to Build DIY Garage Shelves: Step-by-Step Guide
Looking to maximize your garage storage space? Building your own garage shelves is a rewarding weekend project that can significantly improve your garage organization while saving money. This comprehensive guide will walk you through creating sturdy, custom garage shelves that perfectly fit your space and storage needs.
Introduction to Building DIY Garage Shelves
Custom-built garage shelves offer an excellent solution for organizing tools, seasonal items, and household supplies. While store-bought options might seem convenient, DIY garage shelves provide several significant advantages:
– Custom dimensions to maximize your specific space
– Superior strength and durability compared to pre-made units
– Cost savings of 50-70% over comparable store-bought shelving
– Ability to modify design based on storage needs
– Satisfaction of creating something yourself
– Better material quality than most commercial options
– Easy repairs and modifications when needed
– Perfect fit for your garage’s specific layout
Tools & Materials Needed for DIY Garage Shelves
Before starting your project, gather these essential tools and materials:
Tools Required:
– Circular saw or miter saw
– Power drill and drill bits
– Level (4-foot recommended)
– Measuring tape
– Pencil and speed square
– Stud finder
– Safety glasses and hearing protection
– Work gloves
– Dust mask
– Carpenter’s square
– Sawhorses or work table
– Socket wrench set
– Clamps (at least 4)
Materials Needed:
– 2×4 lumber for frame and supports
– Amount depends on shelf size and number of units
– Generally 12-15 boards per standard unit
– 3/4″ plywood or MDF for shelf surfaces
– Typically 2-3 sheets per unit
– 3″ construction screws (1 box)
– 1-5/8″ wood screws (1 box)
– 3/8″ lag bolts with washers
– Concrete anchors (if mounting to concrete wall)
– Wood glue (optional but recommended)
– Deck screws for shelf surfaces
– Wall mounting brackets (optional)
Planning Your Garage Shelf Design
Choosing the Right Shelf Design for Your Space
Two main design options exist for garage shelves:
Wall-Mounted Shelves:
– More stable and sturdy
– Doesn’t take up floor space
– Requires solid wall attachment
– Better for heavy items
– More permanent installation
– Typically higher weight capacity
– Can be adjusted for uneven floors
Freestanding Shelves:
– Portable and adjustable
– No wall attachment needed
– Easy to modify or relocate
– Good for renters
– Requires more floor space
– May need additional bracing
– Better for lighter items
Weight Capacity Considerations:
– Standard 2×4 construction can hold 50-100 pounds per square foot
– Deeper shelves need more support
– Consider weight distribution
– Add extra support for heavy items
– Plan for future storage needs
– Account for dynamic loads
– Factor in shelf span distances
Measuring Your Garage Space
Proper measurement ensures your shelves fit perfectly:
1. Measure Wall Space:
– Width of available wall area
– Height from floor to ceiling
– Depth from wall to desired shelf edge
– Location of obstacles (windows, doors)
– Account for car parking space
– Note electrical outlets and switches
– Mark stud locations
2. Planning Considerations:
– Allow for workspace around shelves
– Consider door swing clearance
– Plan for proper lighting access
– Account for seasonal temperature changes
– Leave room for future modifications
– Consider ventilation needs
– Plan for electrical access
Step-by-Step Tutorial for Building Garage Shelves
Step 1: Cut Wood for Shelf Supports
Accurate cutting is crucial for stable shelves:
1. Cutting Vertical Supports:
– Measure height minus floor clearance
– Mark cuts with speed square
– Cut verticals all same length
– Sand cut edges if needed
– Label pieces for assembly
– Check for square cuts
– Set aside in organized manner
2. Cutting Horizontal Supports:
– Measure desired shelf depth
– Account for shelf thickness
– Cut front and back supports
– Ensure identical lengths
– Label for easy assembly
– Check all cuts for square
– Organize by shelf level
Safety Tips for Cutting:
– Wear eye and ear protection
– Use sharp saw blades
– Support wood properly
– Keep hands away from blade
– Work in well-lit area
– Use appropriate saw guides
– Clean work area regularly
Step 2: Assemble Shelf Frames
Create sturdy frames for each shelf level:
1. Frame Assembly Process:
– Layout pieces on flat surface
– Check for square corners
– Pre-drill screw holes
– Apply wood glue if using
– Attach with 3″ screws
– Check diagonal measurements
– Allow glue to dry if used
2. Quality Checks:
– Verify square corners
– Check level on flat surface
– Ensure screws are flush
– Test joint stability
– Look for splitting wood
– Confirm measurements
– Mark shelf heights
Step 3: Attach Vertical Supports to the Wall
Proper wall attachment is crucial for safety:
1. Wall Preparation:
– Locate and mark studs
– Check for plumb walls
– Mark mounting heights
– Pre-drill pilot holes
– Clear mounting area
– Verify stud location
– Plan anchor placement
2. Mounting Process:
– Start at corner
– Use level frequently
– Install lag bolts
– Check for plumb
– Secure all supports
– Verify stability
– Double-check measurements
Step 4: Install Shelf Frames onto Vertical Supports
Proper installation ensures stability:
1. Frame Installation:
– Start with bottom shelf
– Check level during install
– Secure with screws
– Verify shelf spacing
– Add support blocks
– Check stability
– Test weight capacity
2. Quality Checks:
– Verify level shelves
– Check secure attachment
– Test joint stability
– Confirm spacing
– Check alignment
– Test shelf strength
– Look for weak points
Step 5: Add Plywood or MDF Shelf Boards
Proper shelf surface installation is key:
1. Board Preparation:
– Measure shelf openings
– Cut boards to size
– Sand edges if needed
– Pre-drill screw holes
– Apply finish if desired
– Label board positions
– Check fit before securing
2. Installation Process:
– Place boards carefully
– Secure with screws
– Check for proper fit
– Add edge support
– Verify level surface
– Test weight distribution
– Clean finished surface
Step 6: Optional Additions for Strength and Stability
Diagonal Braces for Added Support
– Cut 45-degree braces
– Install at corners
– Secure properly
– Check stability
– Add where needed
– Verify strength
– Test load capacity
Adding Back Panels or Enclosures
– Measure opening size
– Cut panels to fit
– Install securely
– Add ventilation
– Consider access needs
– Paint or finish
– Check functionality
Tips for Organizing and Storing on Your Garage Shelves
Maximize your new storage space:
1. Organization Strategies:
– Group similar items
– Use clear containers
– Label everything
– Rotate seasonal items
– Keep heavy items low
– Plan access frequency
– Maintain organization
2. Storage Solutions:
– Plastic bins for small items
– Heavy-duty containers
– Label makers
– Storage hooks
– Shelf liners
– Drawer organizers
– Stack similar containers
FAQs About DIY Garage Shelves
Can I Build Garage Shelves Without Anchoring to the Wall?
Yes, freestanding garage shelves are possible but require additional bracing, wider bases for stability, and careful consideration of weight distribution – they’re best suited for lighter storage needs and situations where wall mounting isn’t possible.
What Type of Wood Is Best for Garage Shelves?
Pressure-treated lumber or standard construction-grade pine 2x4s work well for the frame, while 3/4″ plywood or MDF is ideal for shelf surfaces – avoid untreated particleboard as it can sag and deteriorate in garage conditions.
How Much Weight Can These Shelves Hold?
Properly built garage shelves using 2×4 construction and 3/4″ plywood can typically hold 50-100 pounds per square foot when properly supported and anchored – always build with a safety margin and distribute weight evenly across the shelves.
Remember to always prioritize safety during construction and use, regularly inspect your shelves for any signs of wear or damage, and never exceed the designed weight capacity of your storage system.
