

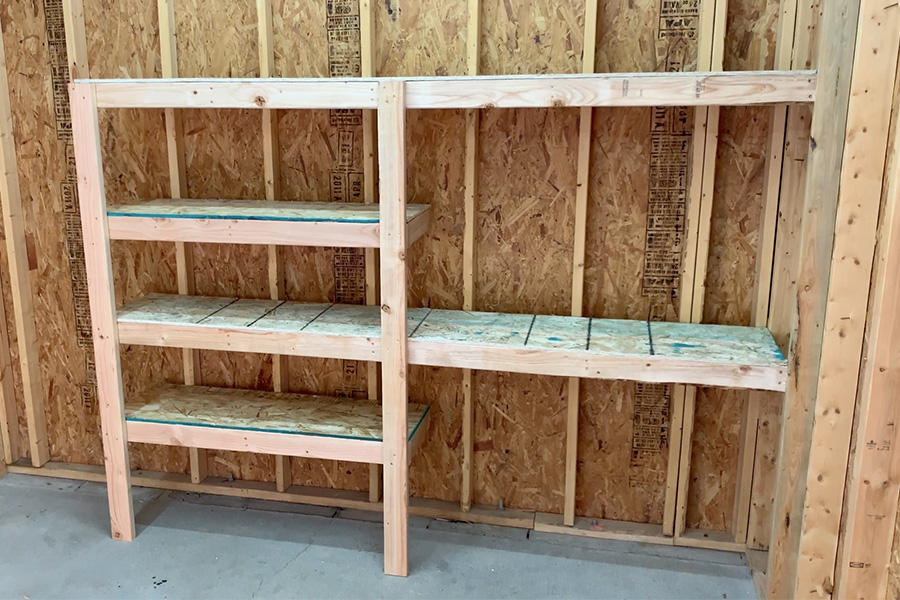
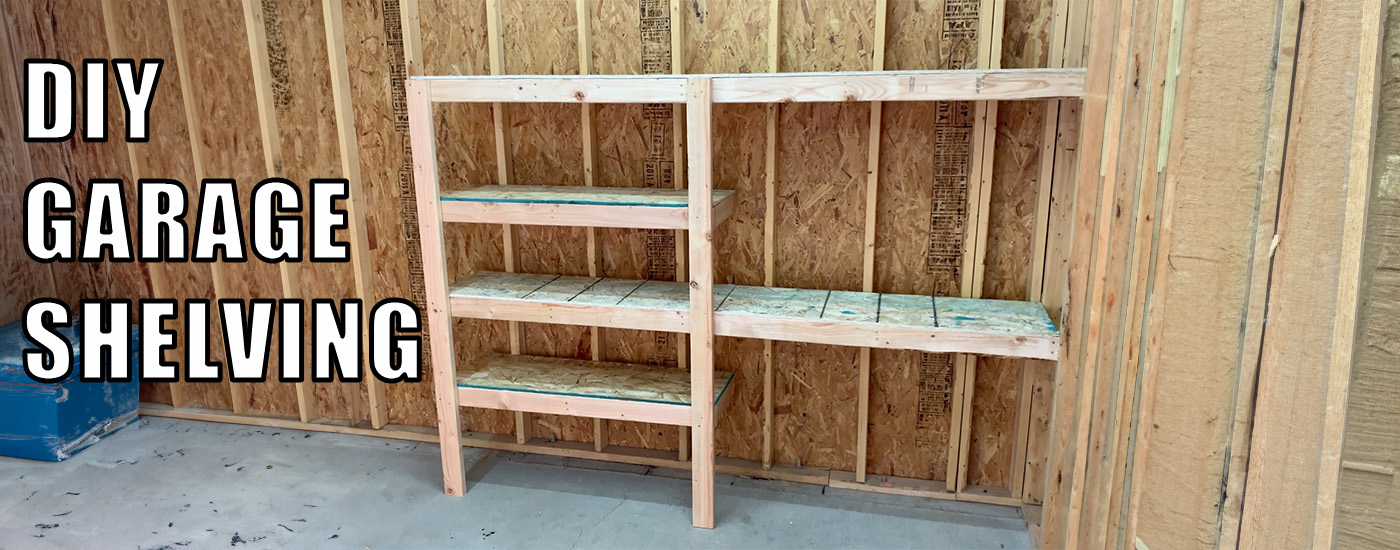


These garage shelves are a simple yet effective way to add tons of storage and keep your garage organized
Tools
Kreg Tools


Materials
Wood Products
- 1 1/2 Thick OSB Sheet , 4' x 8'
- 10 2x4's , 1.5" x 3.5" x 96"
Hardware & Supplies
- -- 3" Construction Screws
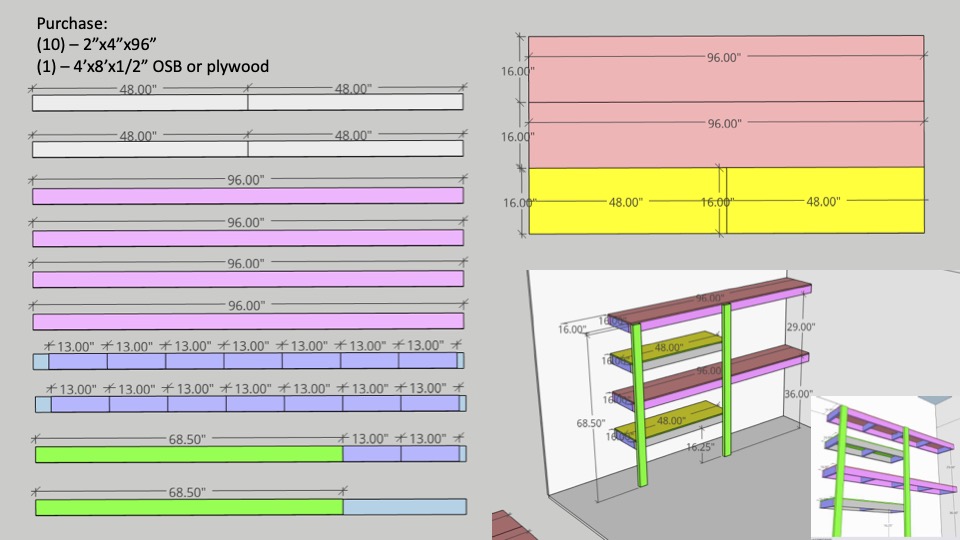
Cut List & Parts
- 4 Boards , 2"x4"x48"
- 4 Boards , 2"x4"x96"
- 16 Boards , 2"x4"x13"
- 2 Boards , 2"x4"x68 1/2"
- 2 Pieces OSB or plywood , 16"x96"x1/2"
- 2 Pieces OSB or plywood , 16"x48"x1/2"
Directions
-
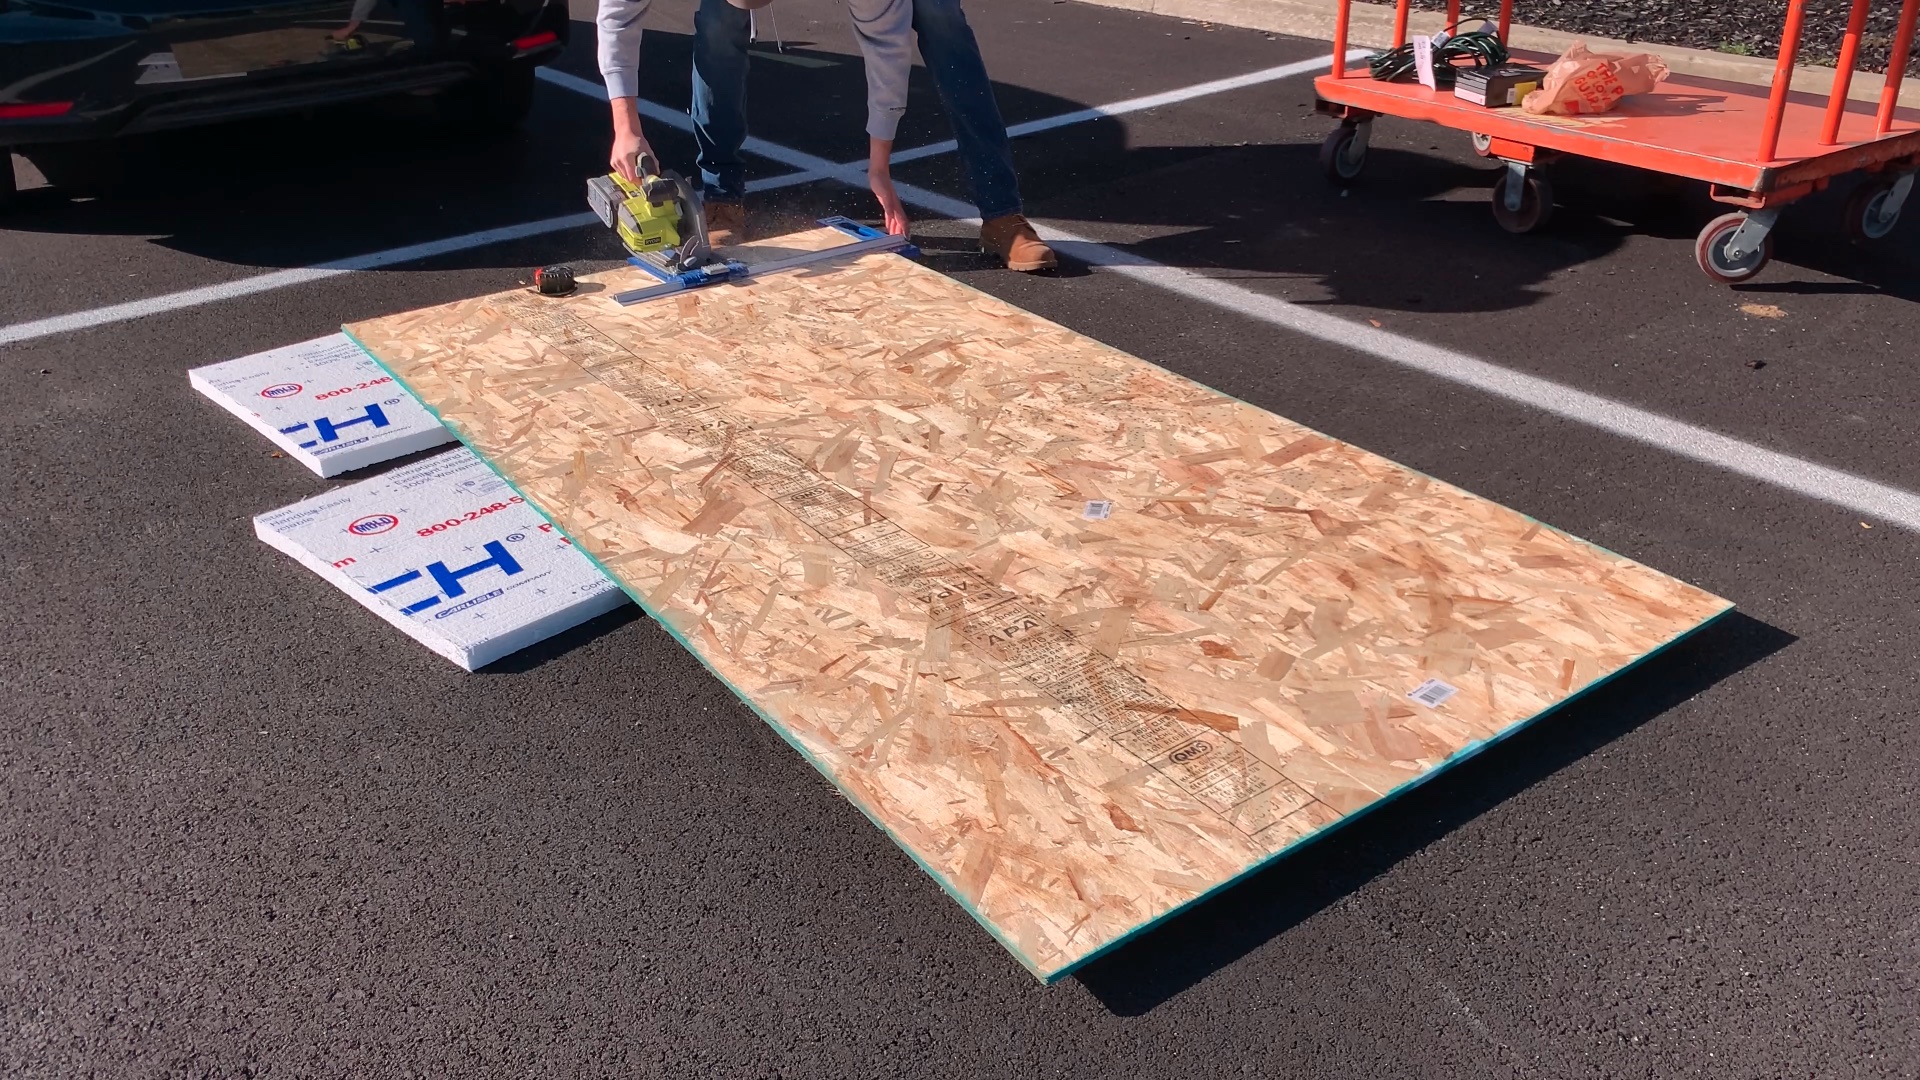
Cut pieces of OSB down
Using the Kreg Rip Cut, break down the OSB plywood into the sizes listed on the cut sheet
-
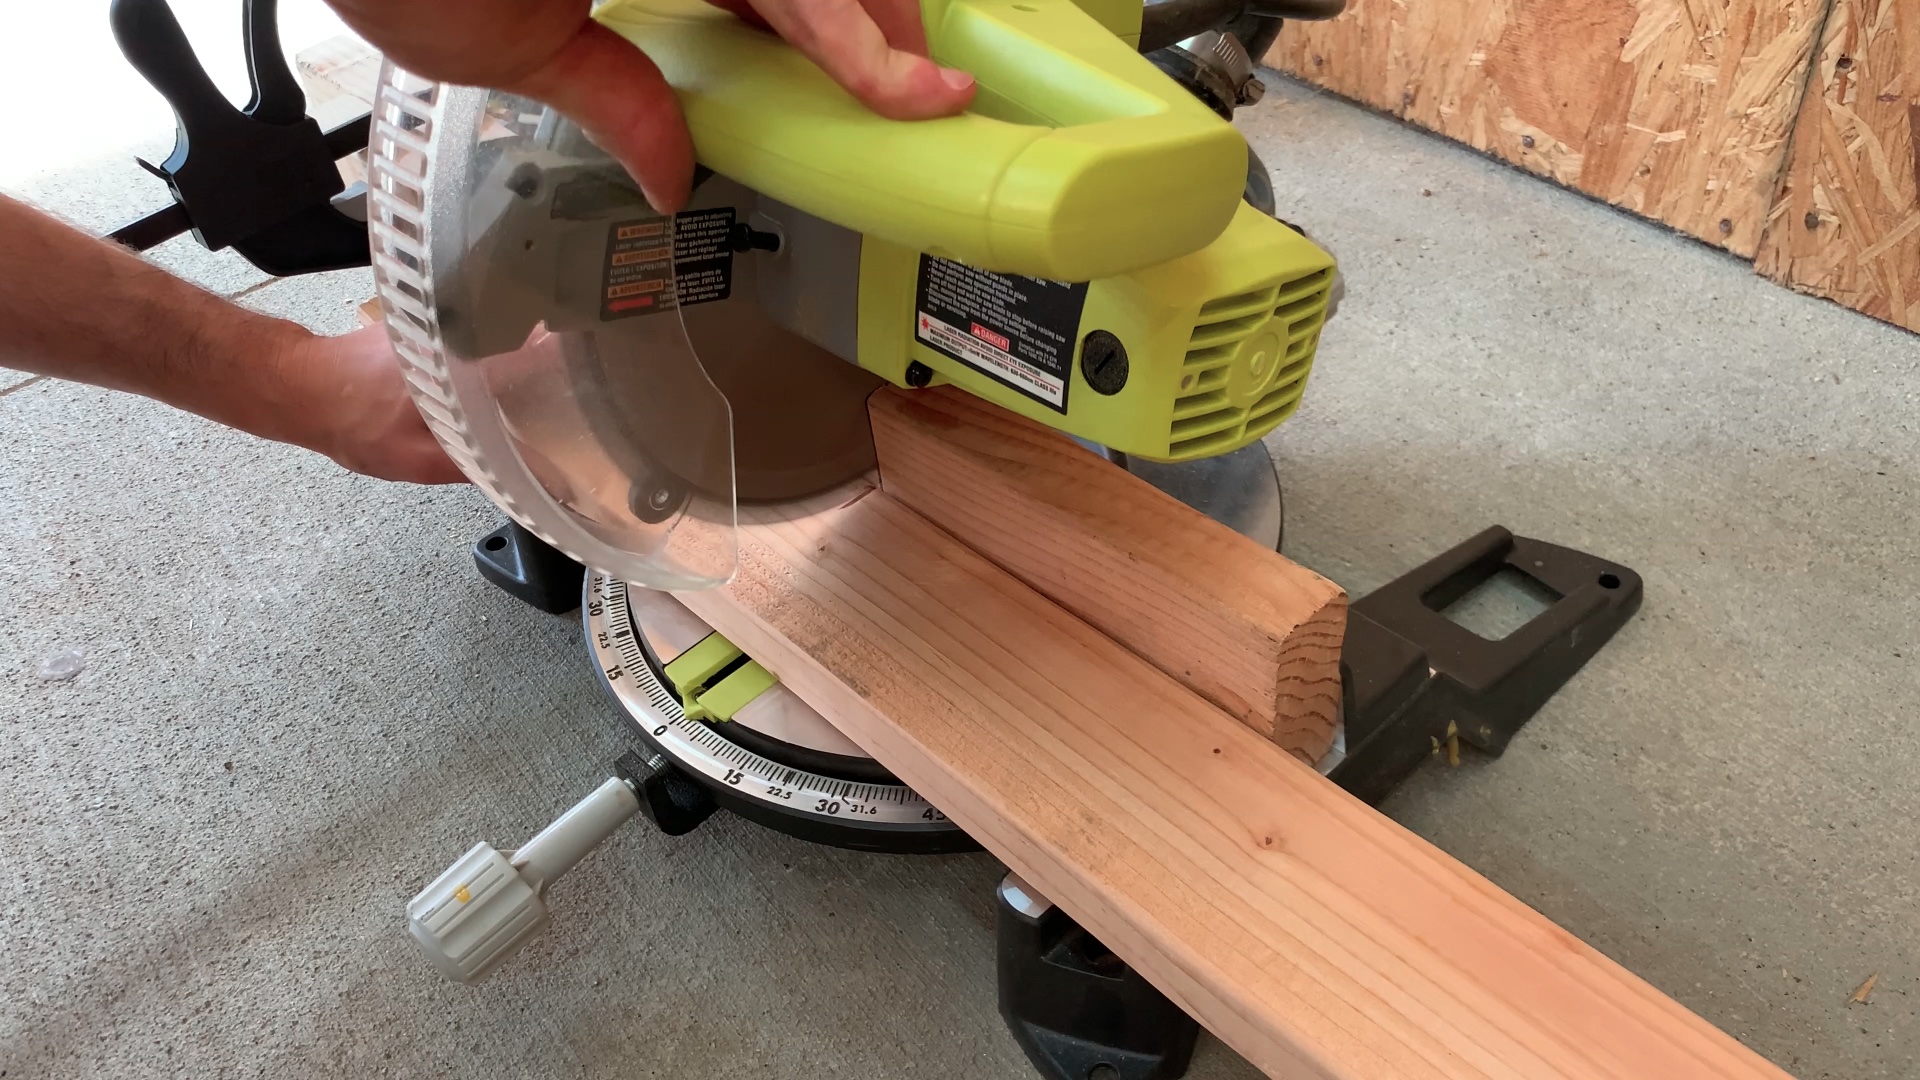
Cut 2x4 pieces
Cut down pieces of 2x4 into the sizes listed on the cut sheet
-
Prepare shelf brackets
Gather your cut 2x4 pieces and lined them up to create your shelf brackets. There will be 2 short shelves and 2 long shelves

-
Assemble shelf brackets
Assemble shelf brackets by driving screws through the outerboards and into the interior boards. If you want a cleaner look, use one of the Kreg pocket hole jigs to create hidden joinery!

-
Attach shelf brackets to wall
Attach vertical supports to the shelf brackets, and attach shelf brackets to the wall. Make sure you are attaching the brackets to the walls on the studs and not just the drywall!

-
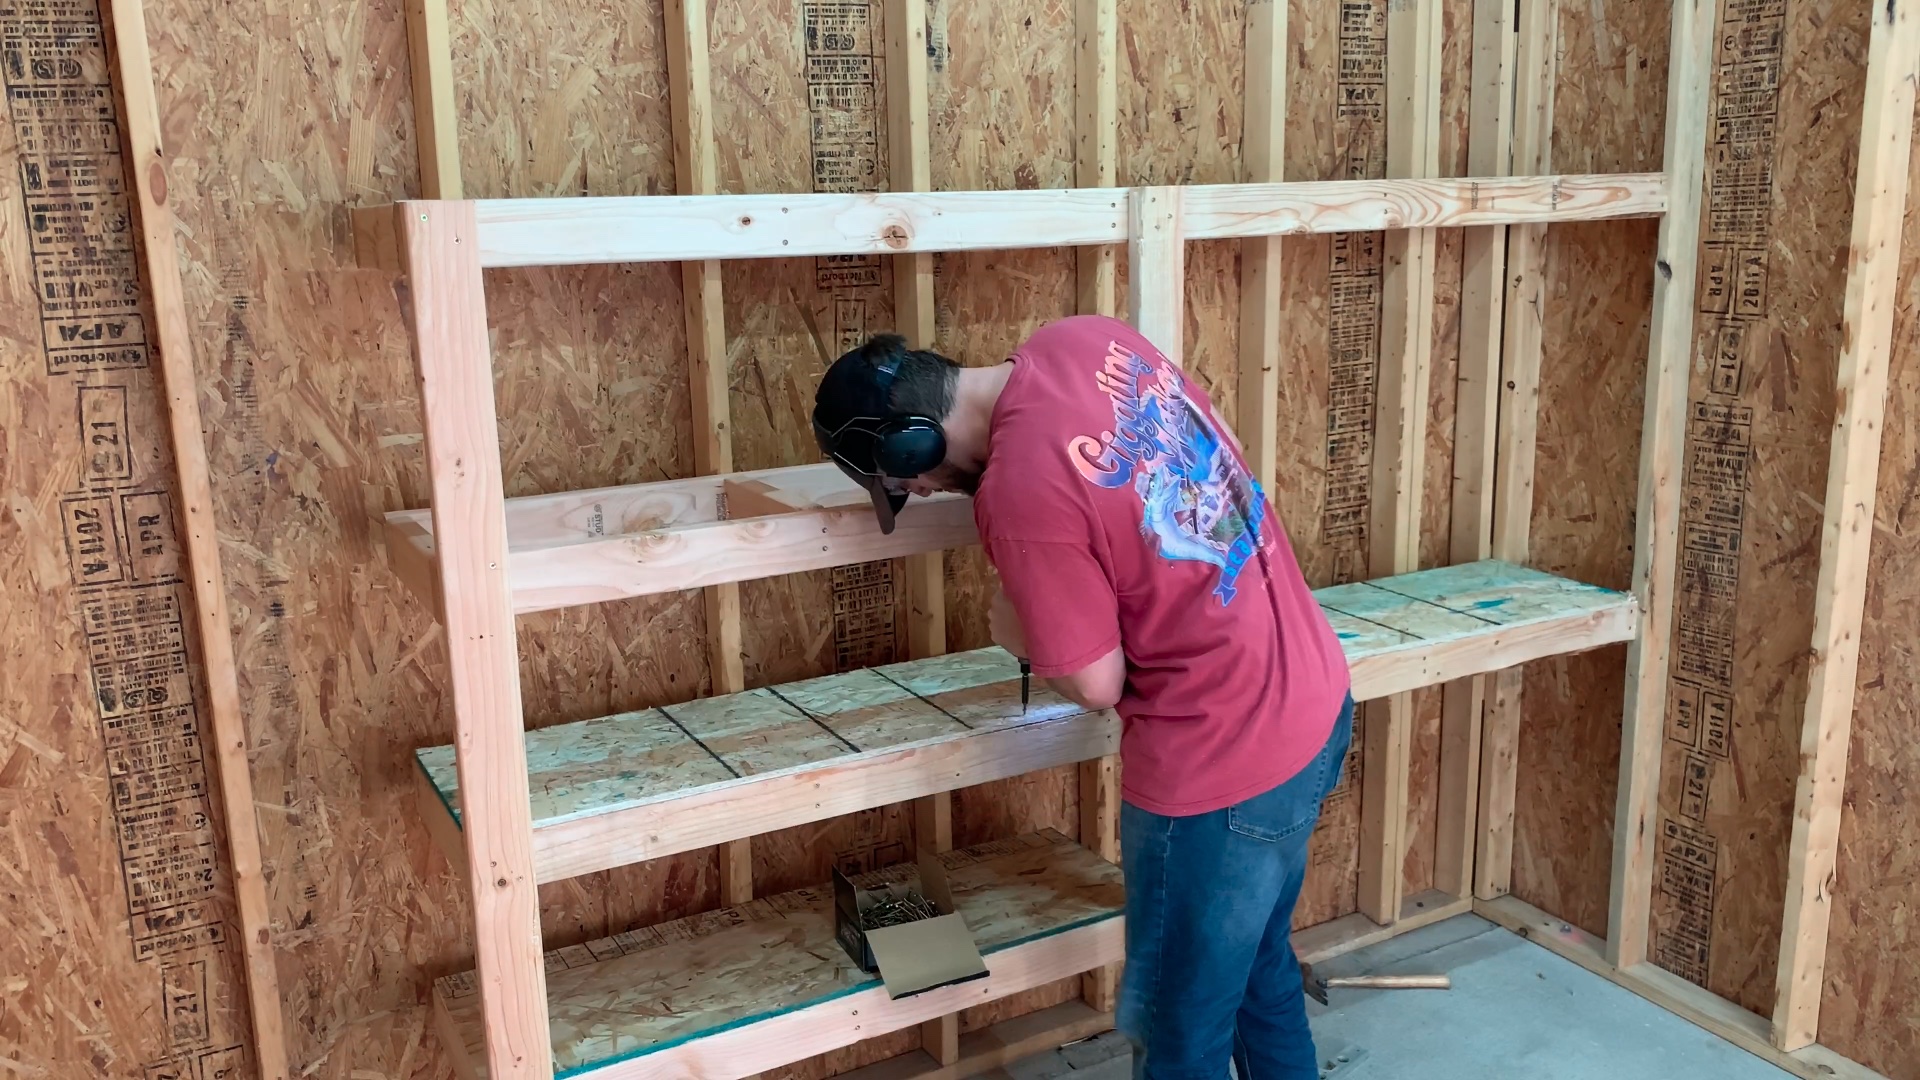
Attach OSB shelf panels
Attach OSB shelf panels on top of shelf brackets. You do not “have to” use screws here, but it will keep things for sliding around if you drag items off the shelves. The benefit of not using screws is that you can easily replace the panels if they get beat up over time of it you spill something like oil or paint on them
-
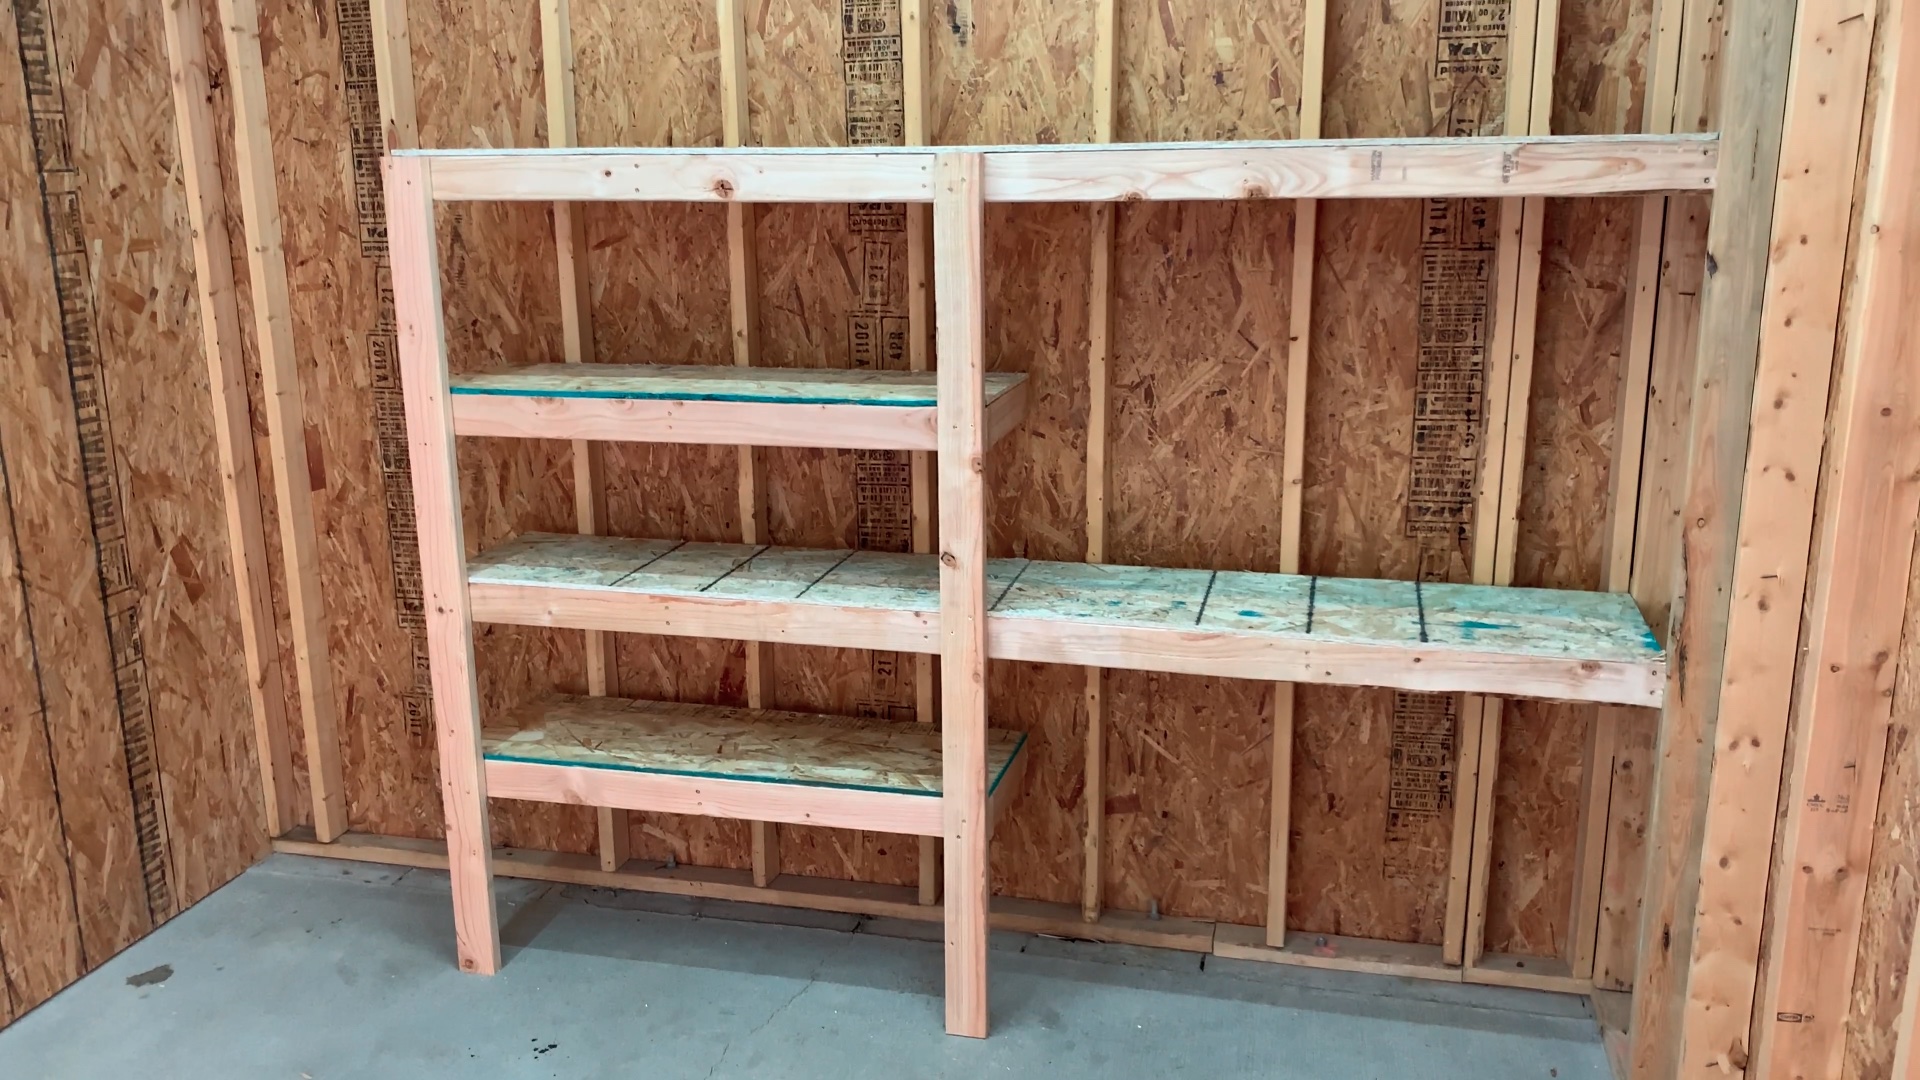
Project complete
Once all of the OSB panels are in place, the project is done! Now get organized and make your space look great!
- Find More Projects at SpencleyDesignCo.com
- https://www.spencleydesignco.com/all-videos
- Spencley Design Co on YouTube
- https://youtube.com/spencleydesignco
- Spencley Design Co on Instagram
- https://www.instagram.com/spencleydesignco/?hl=en
- Spencley Design Co on TikTok
- https://www.tiktok.com/@spencleydesignco
- Spencley Design Co on Facebook
- https://www.facebook.com/spencleydesignco