Modern Lego Table
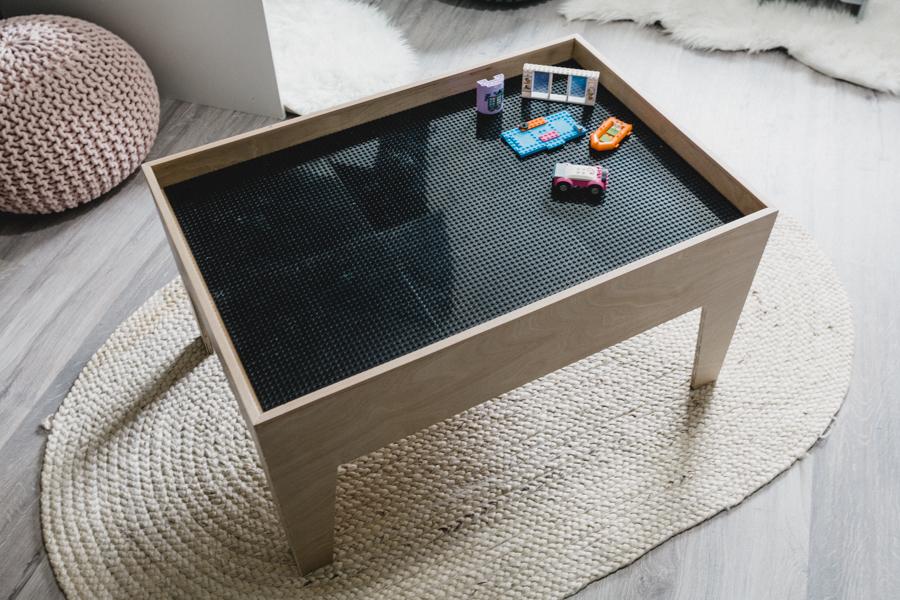
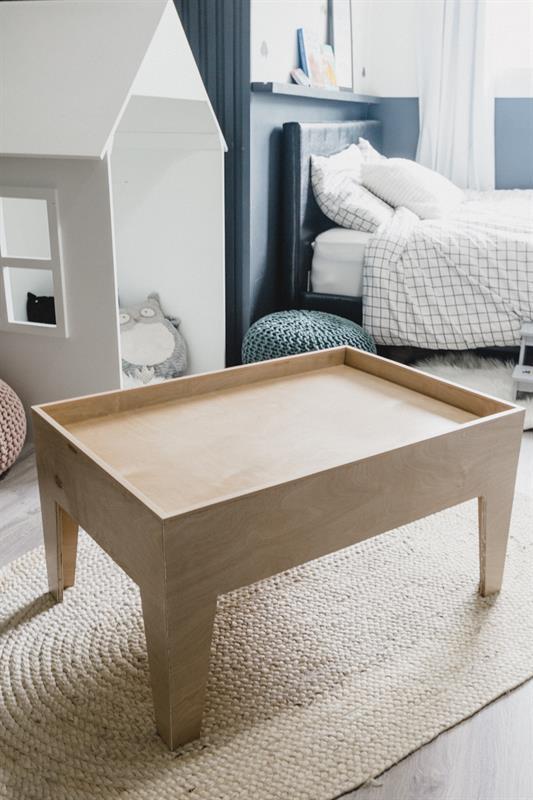
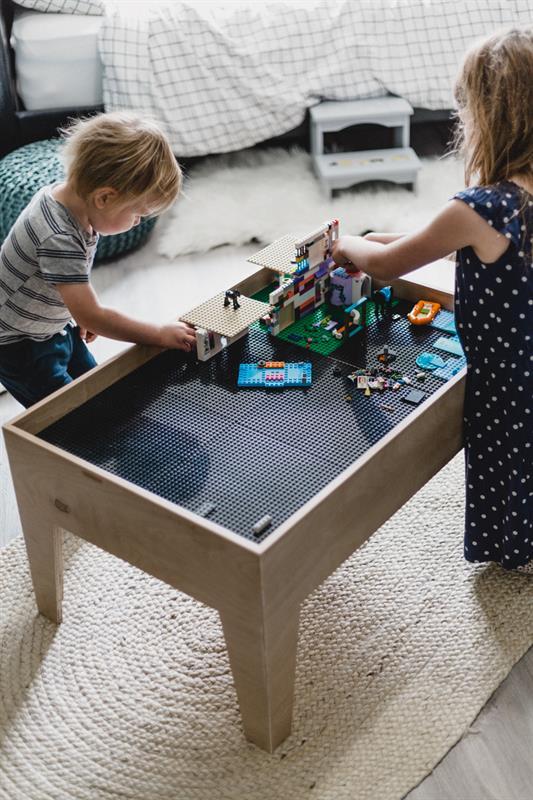
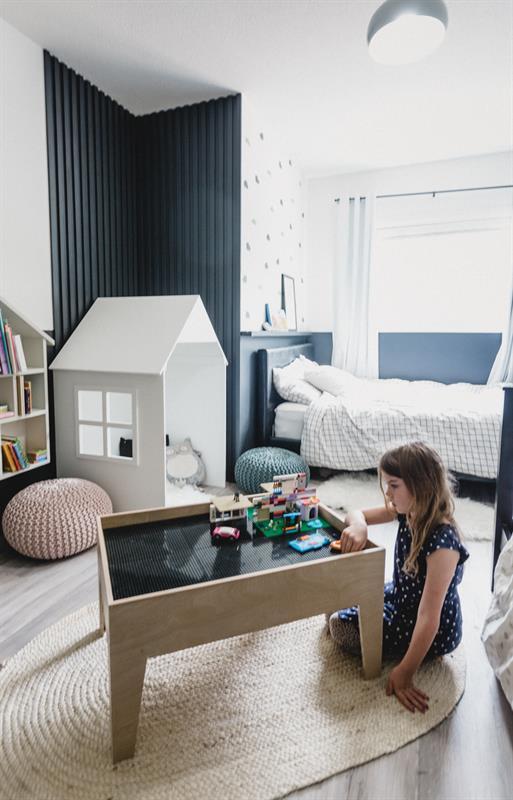
By Love Create CelebrateQuick and easy Modern Lego Play Table for your kids, easily finished in afternoon.
Directions
-
Cut Pieces as per plans
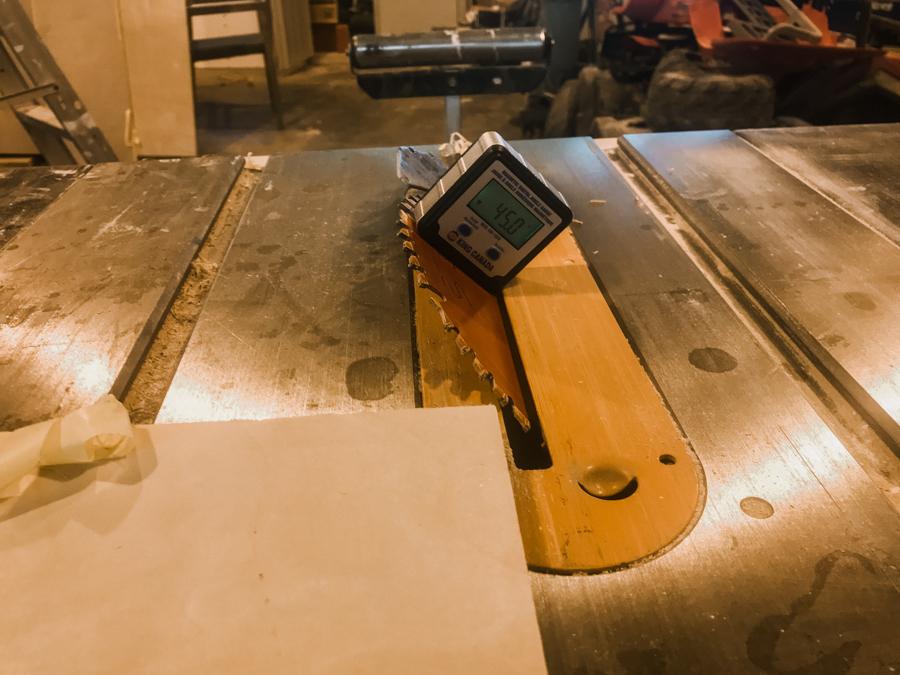
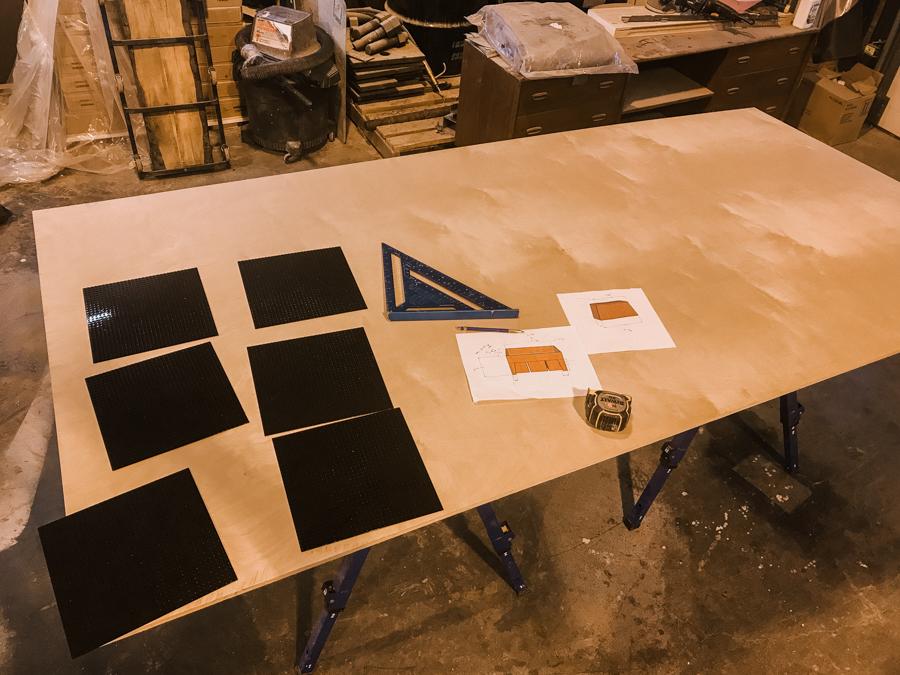
Cut Pieces A, B, C as per plans. I used my Track Saw, Table Saw, and Pull Saw to complete all the cuts. You can use tape and a fine tooth blade to minimize tear out along your plywood cuts.
Note edges (16" tall sides of Parts A and B) are cut at 45 deg angle to allow for a mitre joint once assembled.
-
Drill Pocket Holes
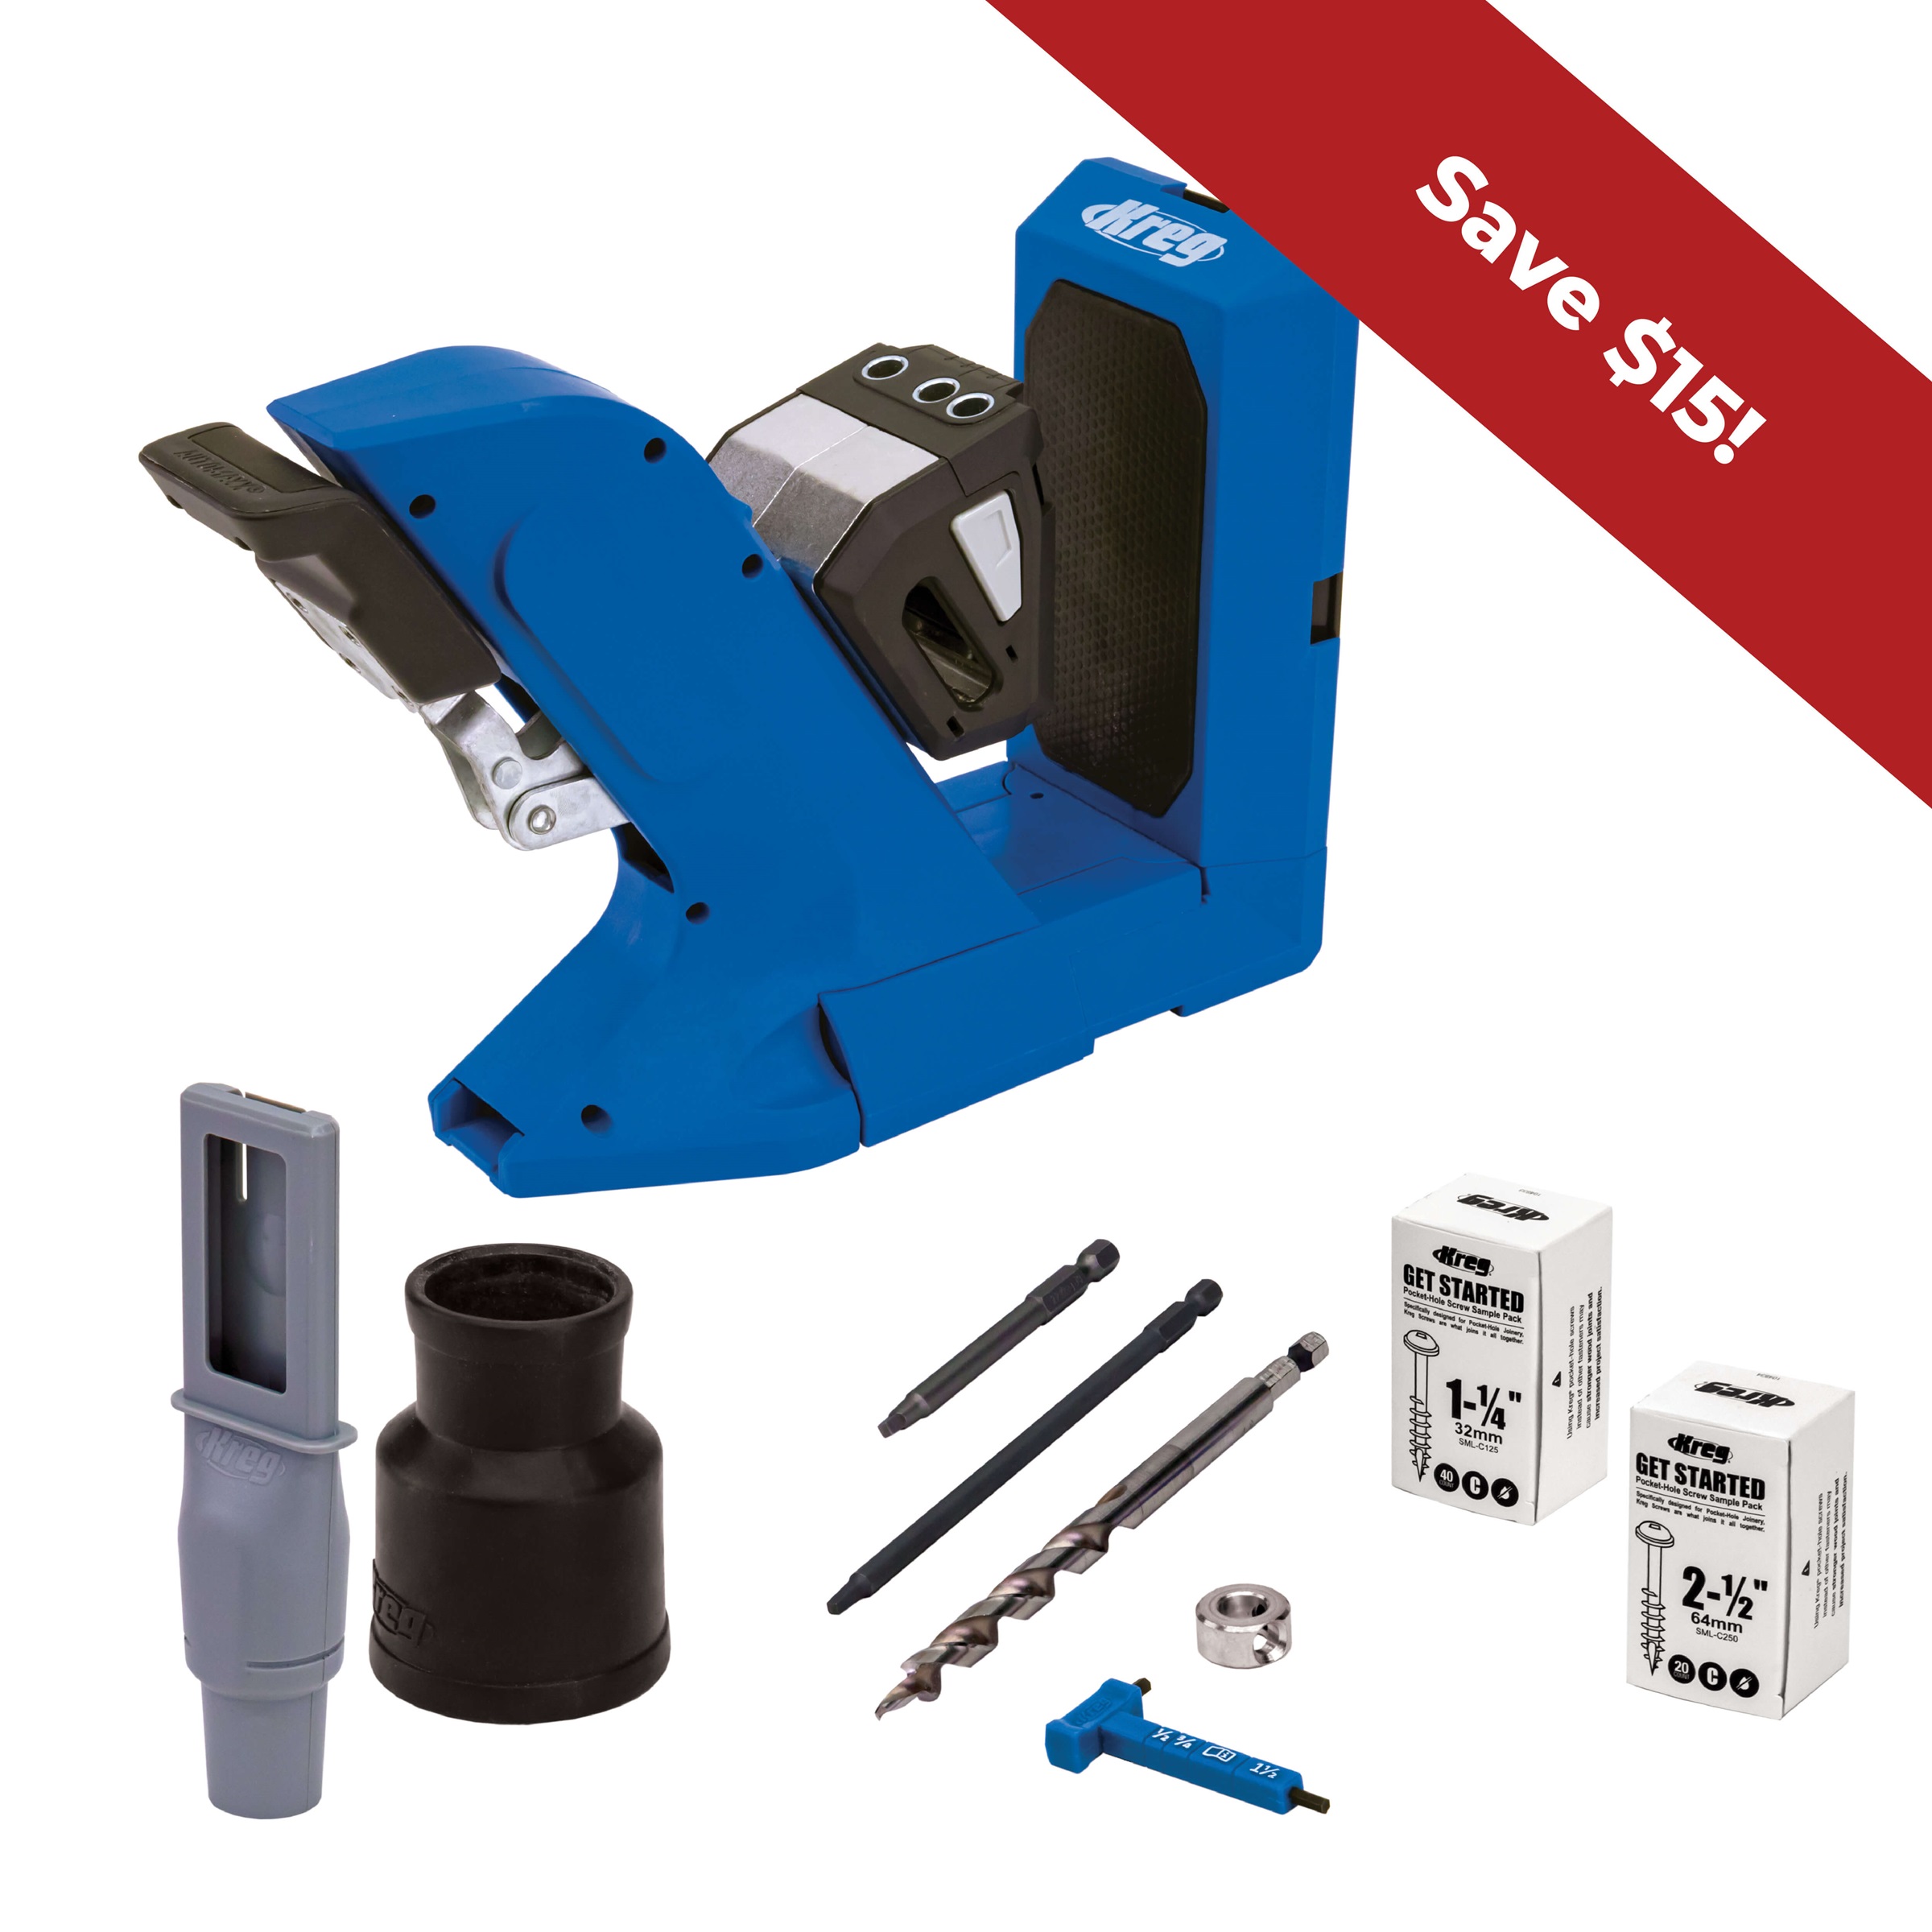
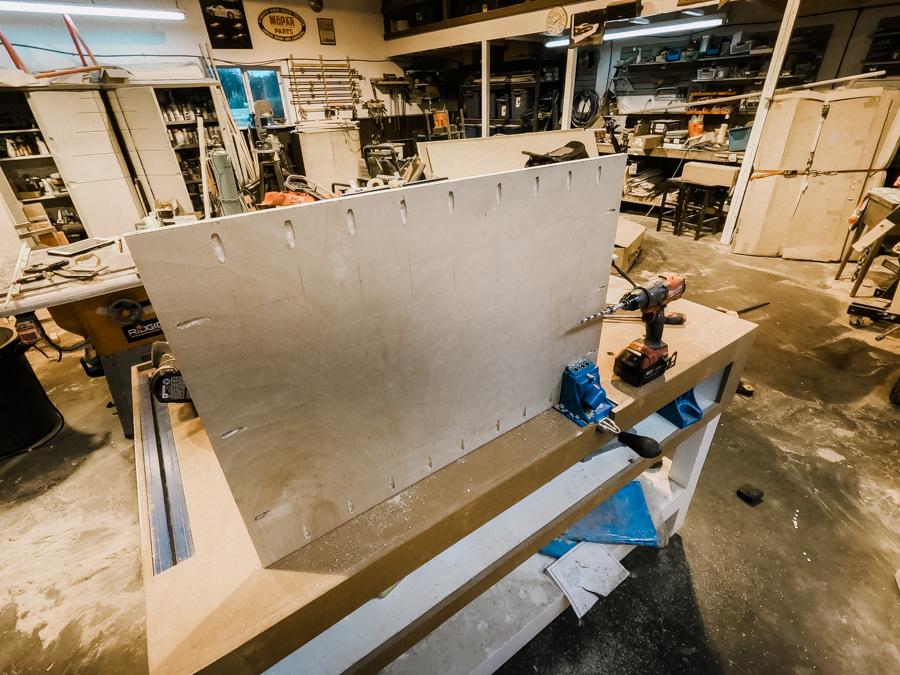
Drill Pockets Holes in the bottom of piece C as per the plans. I may have added an excessive amount of screws, but did so thinking the table will likely have to support a child at some point :)
-
Attach Part B to Table
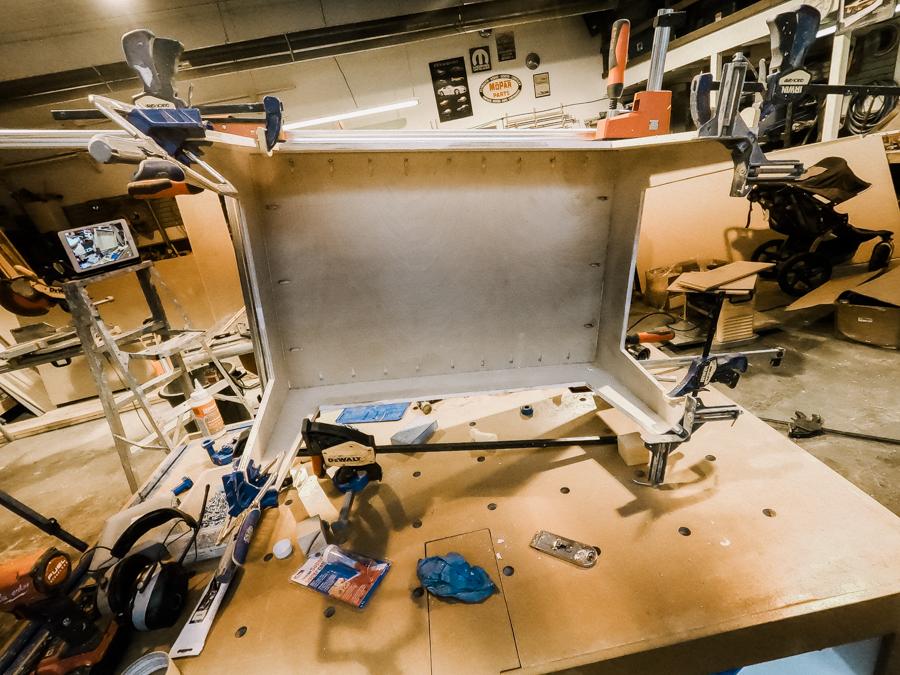
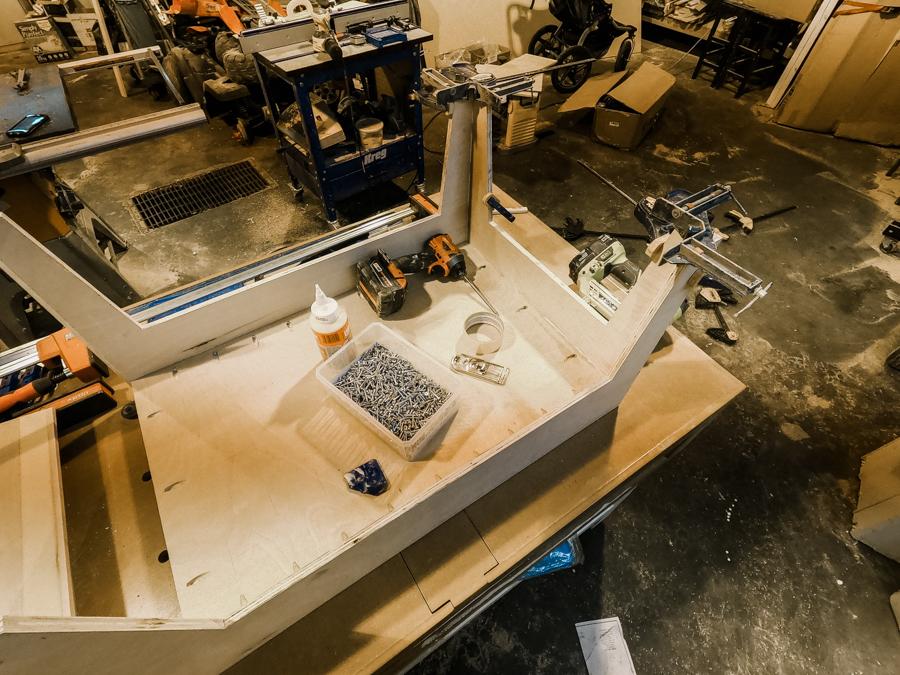
With Parts A attached to Part C You can the glue together the rest of your table. I applied Glue to the ends of Parts B and put in place. I used a pin nailer and clamps to help hold the corners together. Once I was happy with the fitment and how all the parts aligned I screwed Parts B to Part C via the pocket holes and clamped everything tightly together.
-
Attach Part A to Part C
Once you have all your pieces cut, and pocket holes drilled give everything a light sand (being careful to not sand through the plywood veneer).
I used 2" blocks of scrap wood to hold Part C at the correct height. I then glued and screwed Part C to Parts A (long sides). Making sure the piece was centered properly to allow Parts B to sit flush at the ends.
-
Make Banding
I had some scrap Maple Wood lying around the shop. I used this to band the top of the plywood to give it a nice finished look. I made the banding 1/4" thick and slightly wider than 1/2" (thickness of plywood).
-
Attach Banding
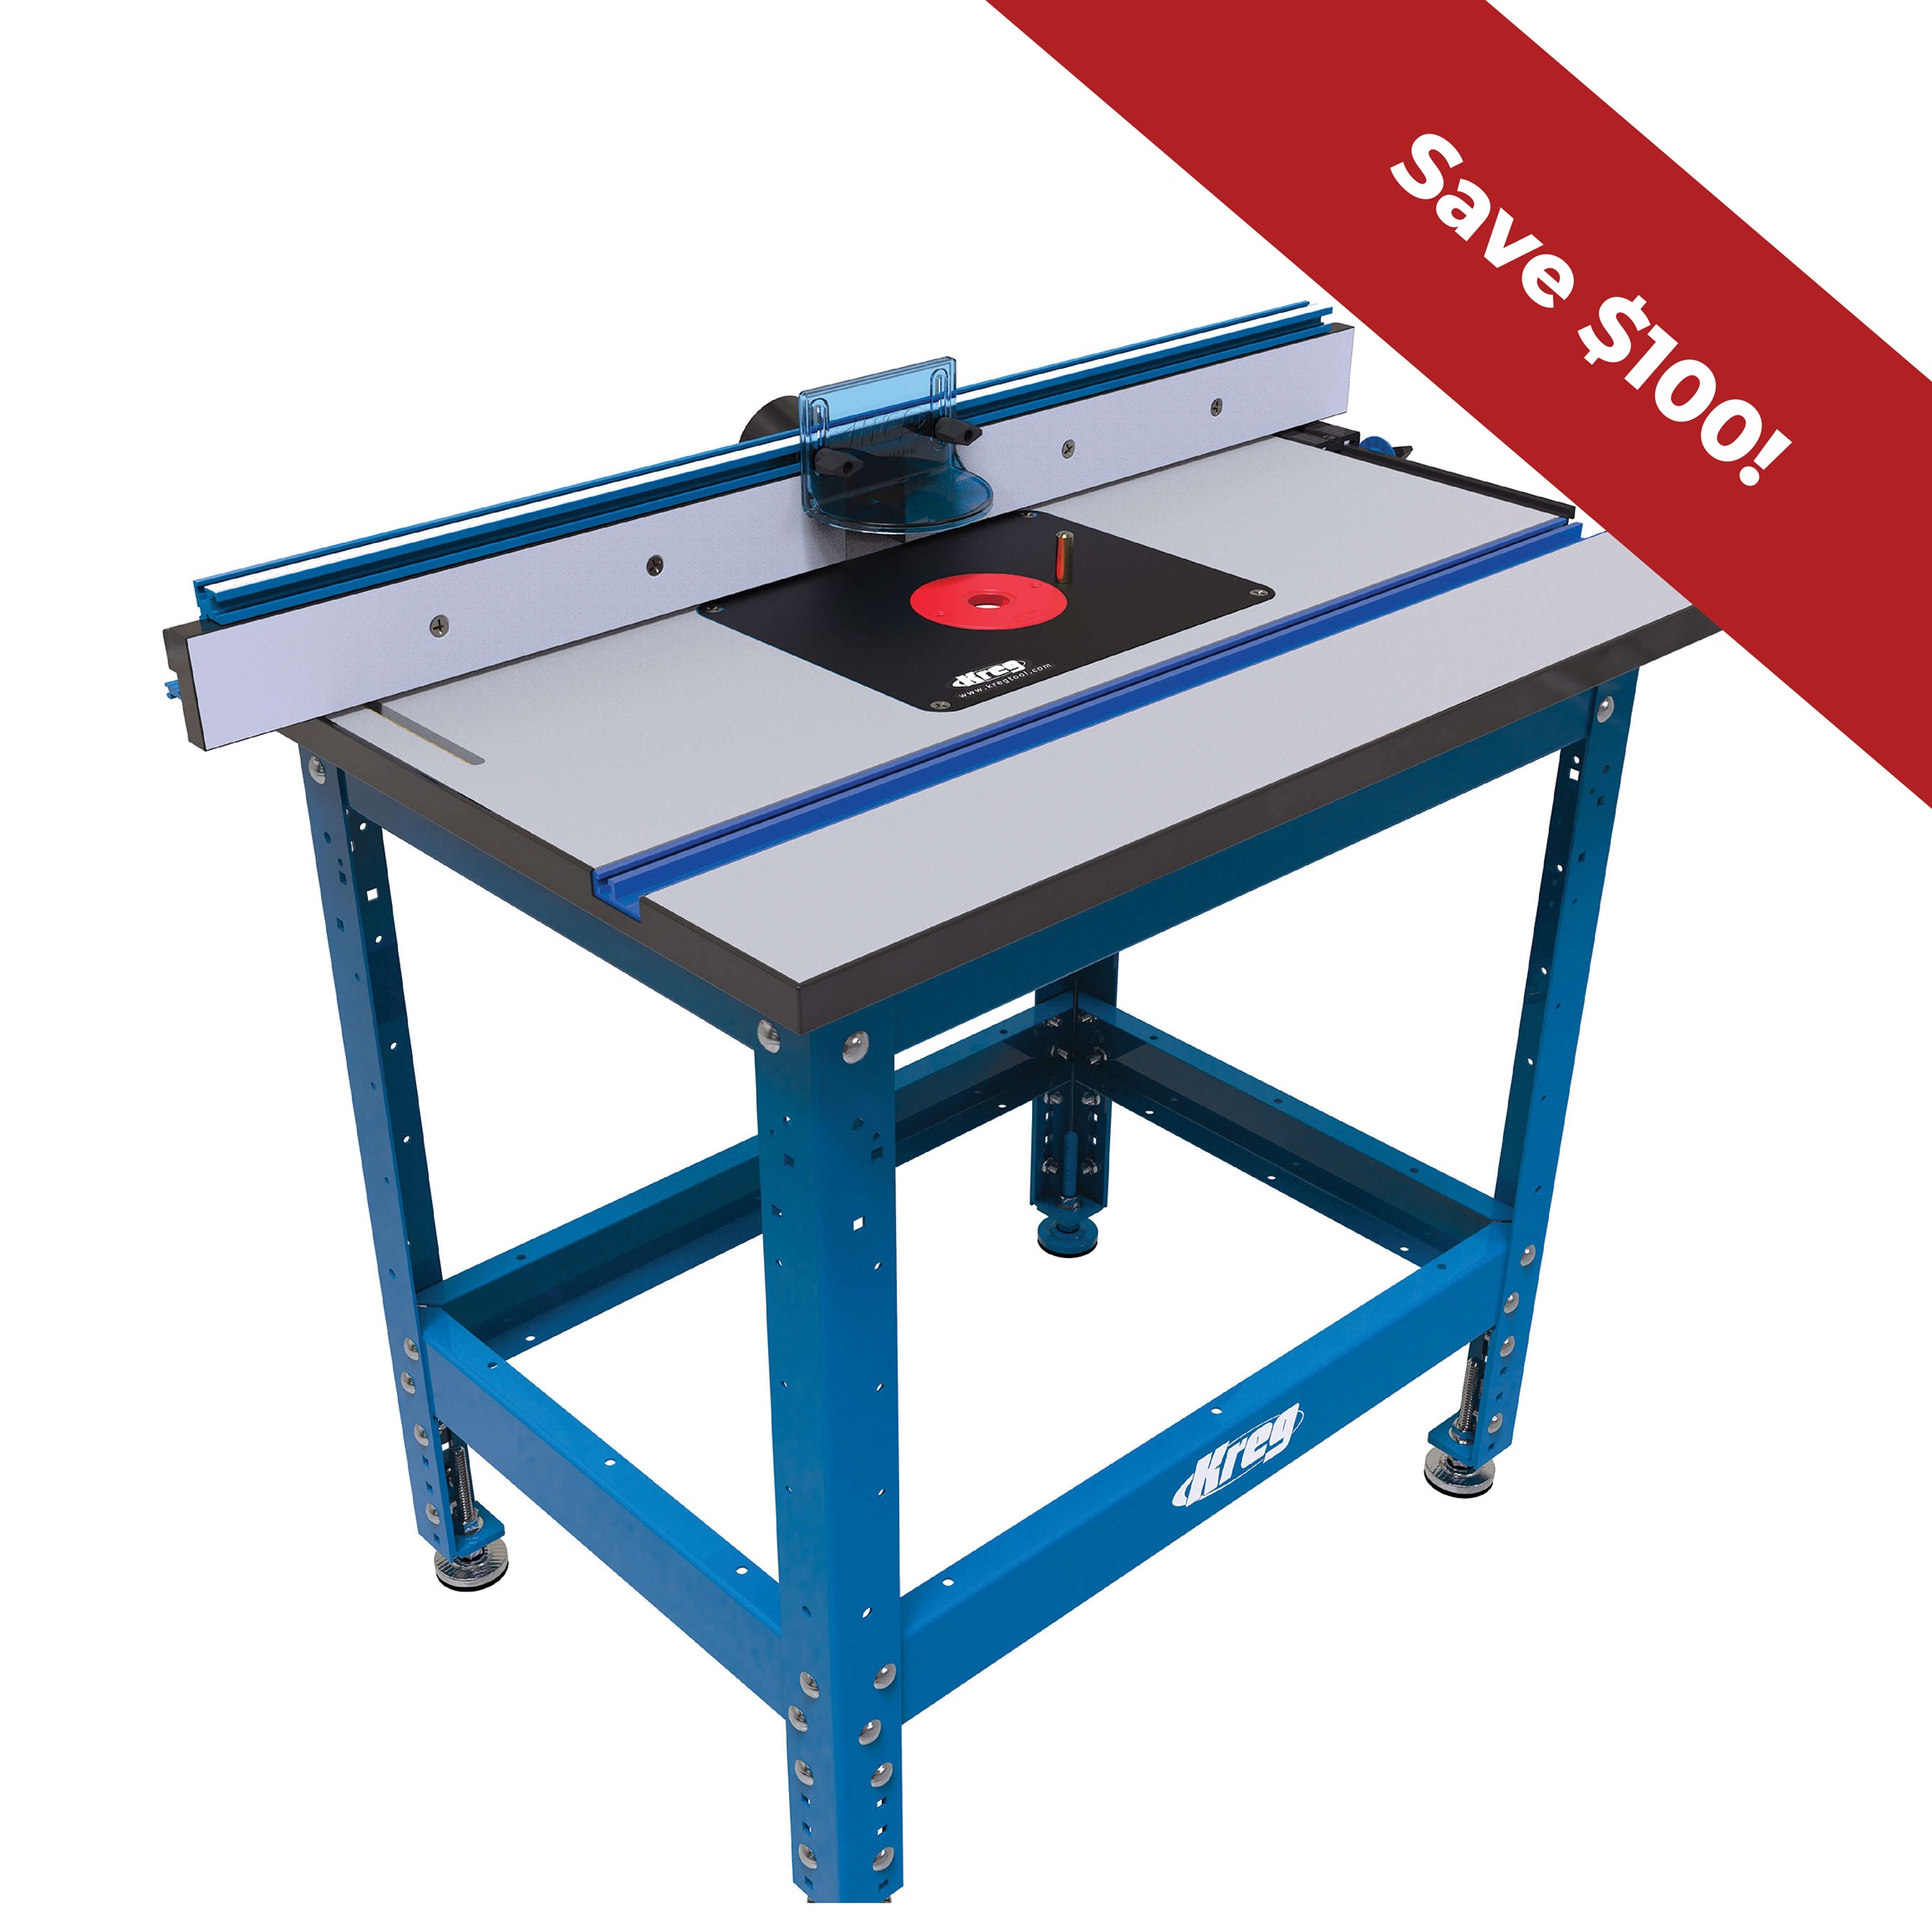
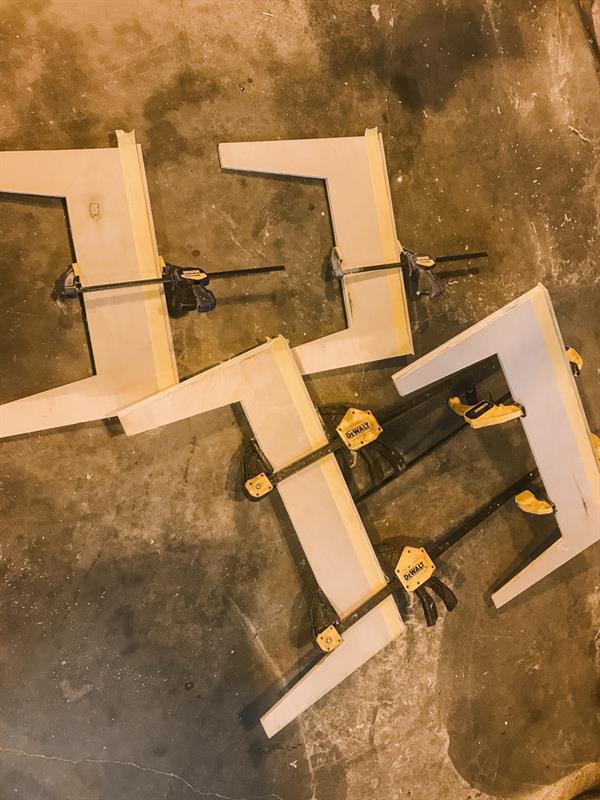
I glued the banding into play leaving a bit of overhang on both sides. I used a pin nailer and clamps to hold the wood into place. Once the glue set I used my router table to flush cut the excess and gave the banding alight sand.
-
Light Sand
Once your glue sets I gave everything a light sand (again being careful to not sand through the plywood veneer) and prepped for varnish.
-
Finish
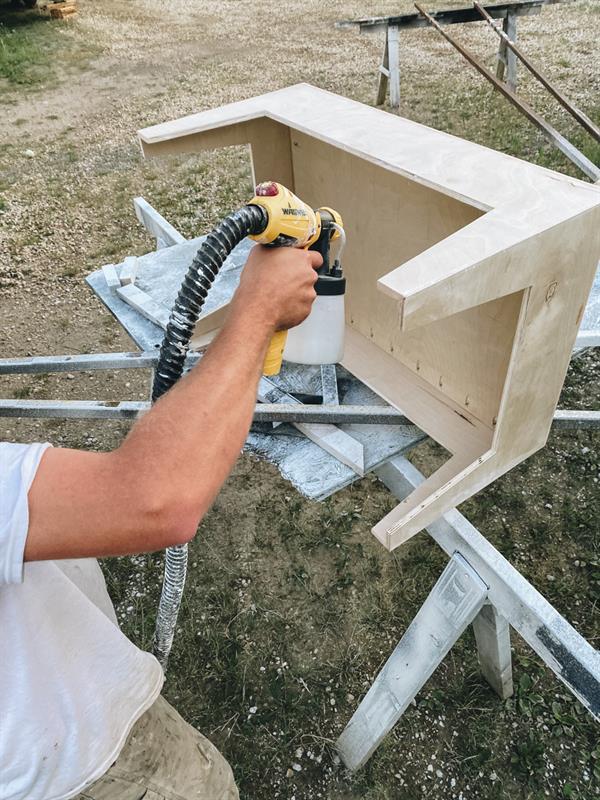
We decided to go with a natural look so didn't stain first and just used Minwax Polycrylic Protective Clear Gloss Finish as it goes on clear and doesn't yellow the wood. We used our Wagner paint sprayer to apply the finish, however you can also use a brush. I sprayed the finish onto the table, and let dry overnight.
-
Add Base Plates
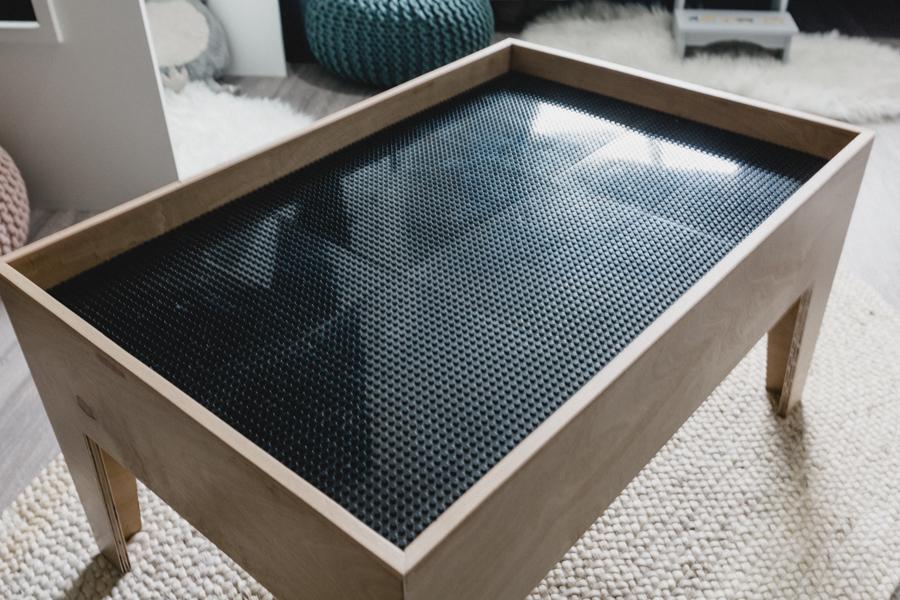
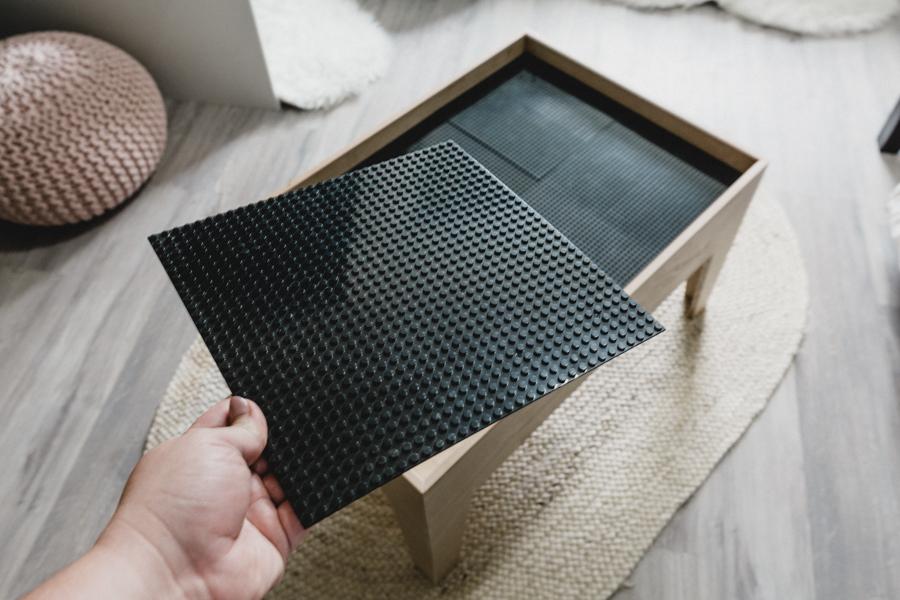
I just let my Base plates sit in the table as my kids wanted to be able to switch out the colors. However, if you would like you could adhere the baseplates to the table top also. You can use a Lego brick to attach the base plates together to make sure they get set into place with the proper alignment. Your Modern Lego Table is now complete!
-
Review Plans
See plans in "Extras" tab below


