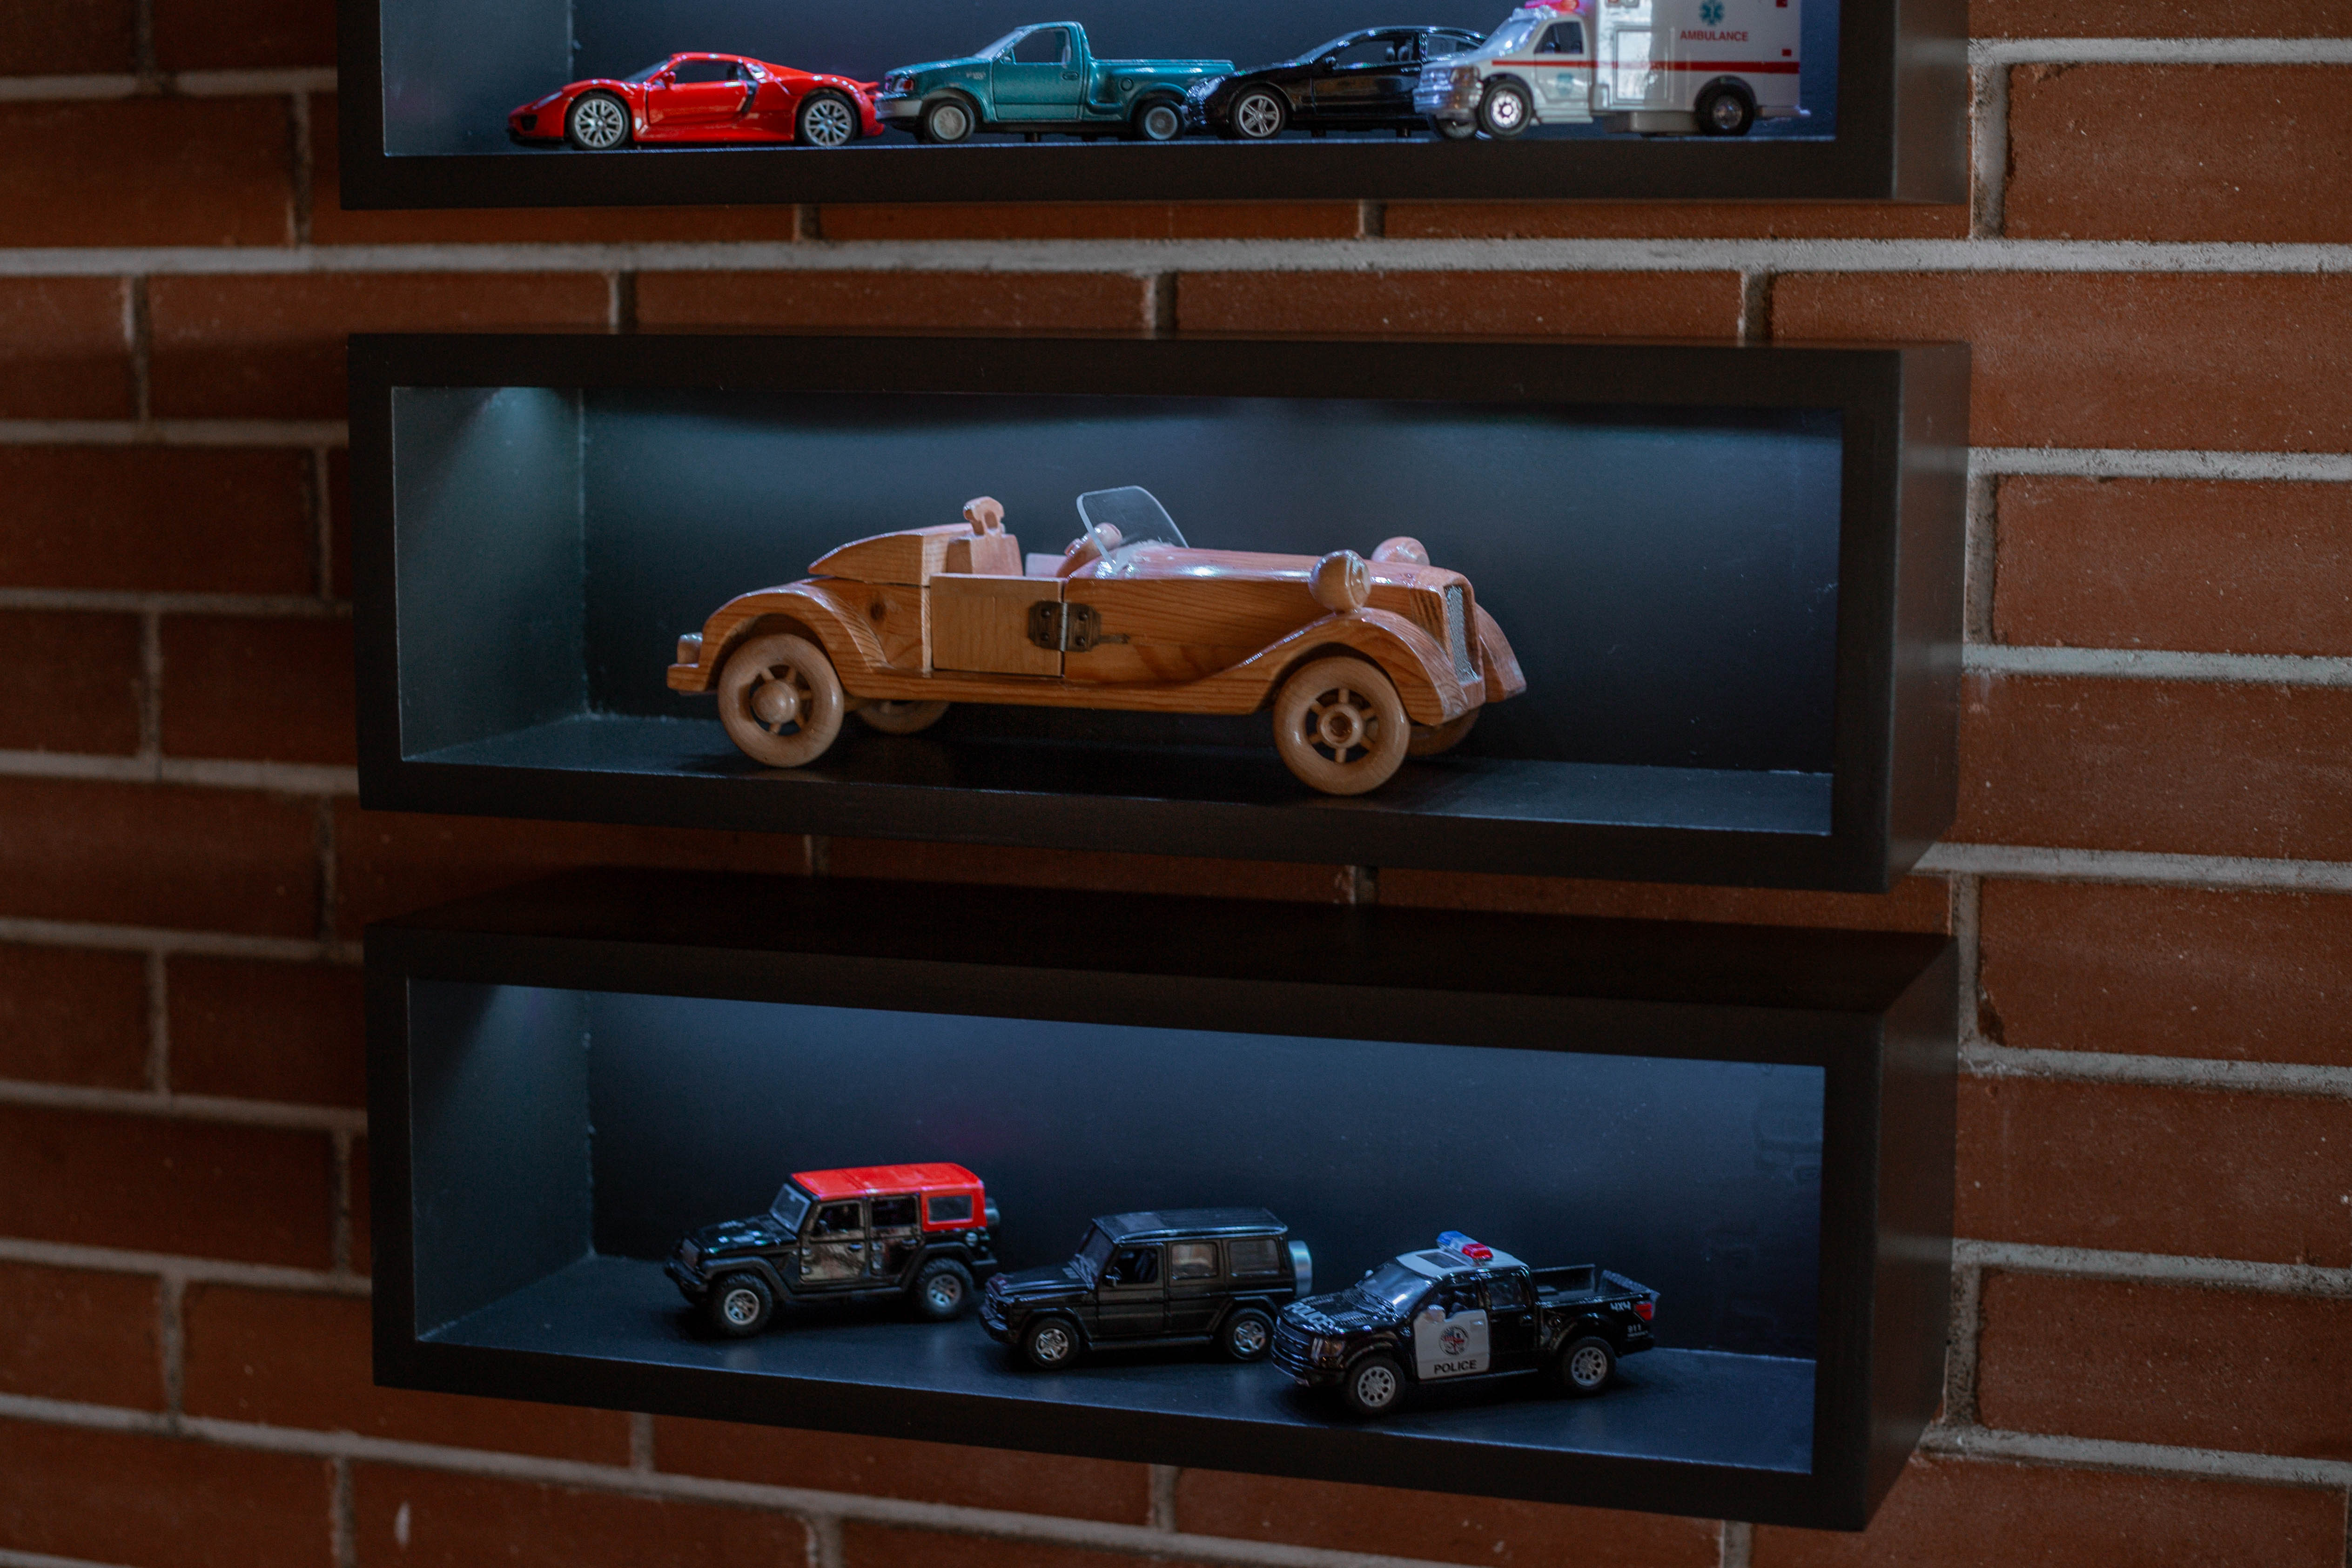
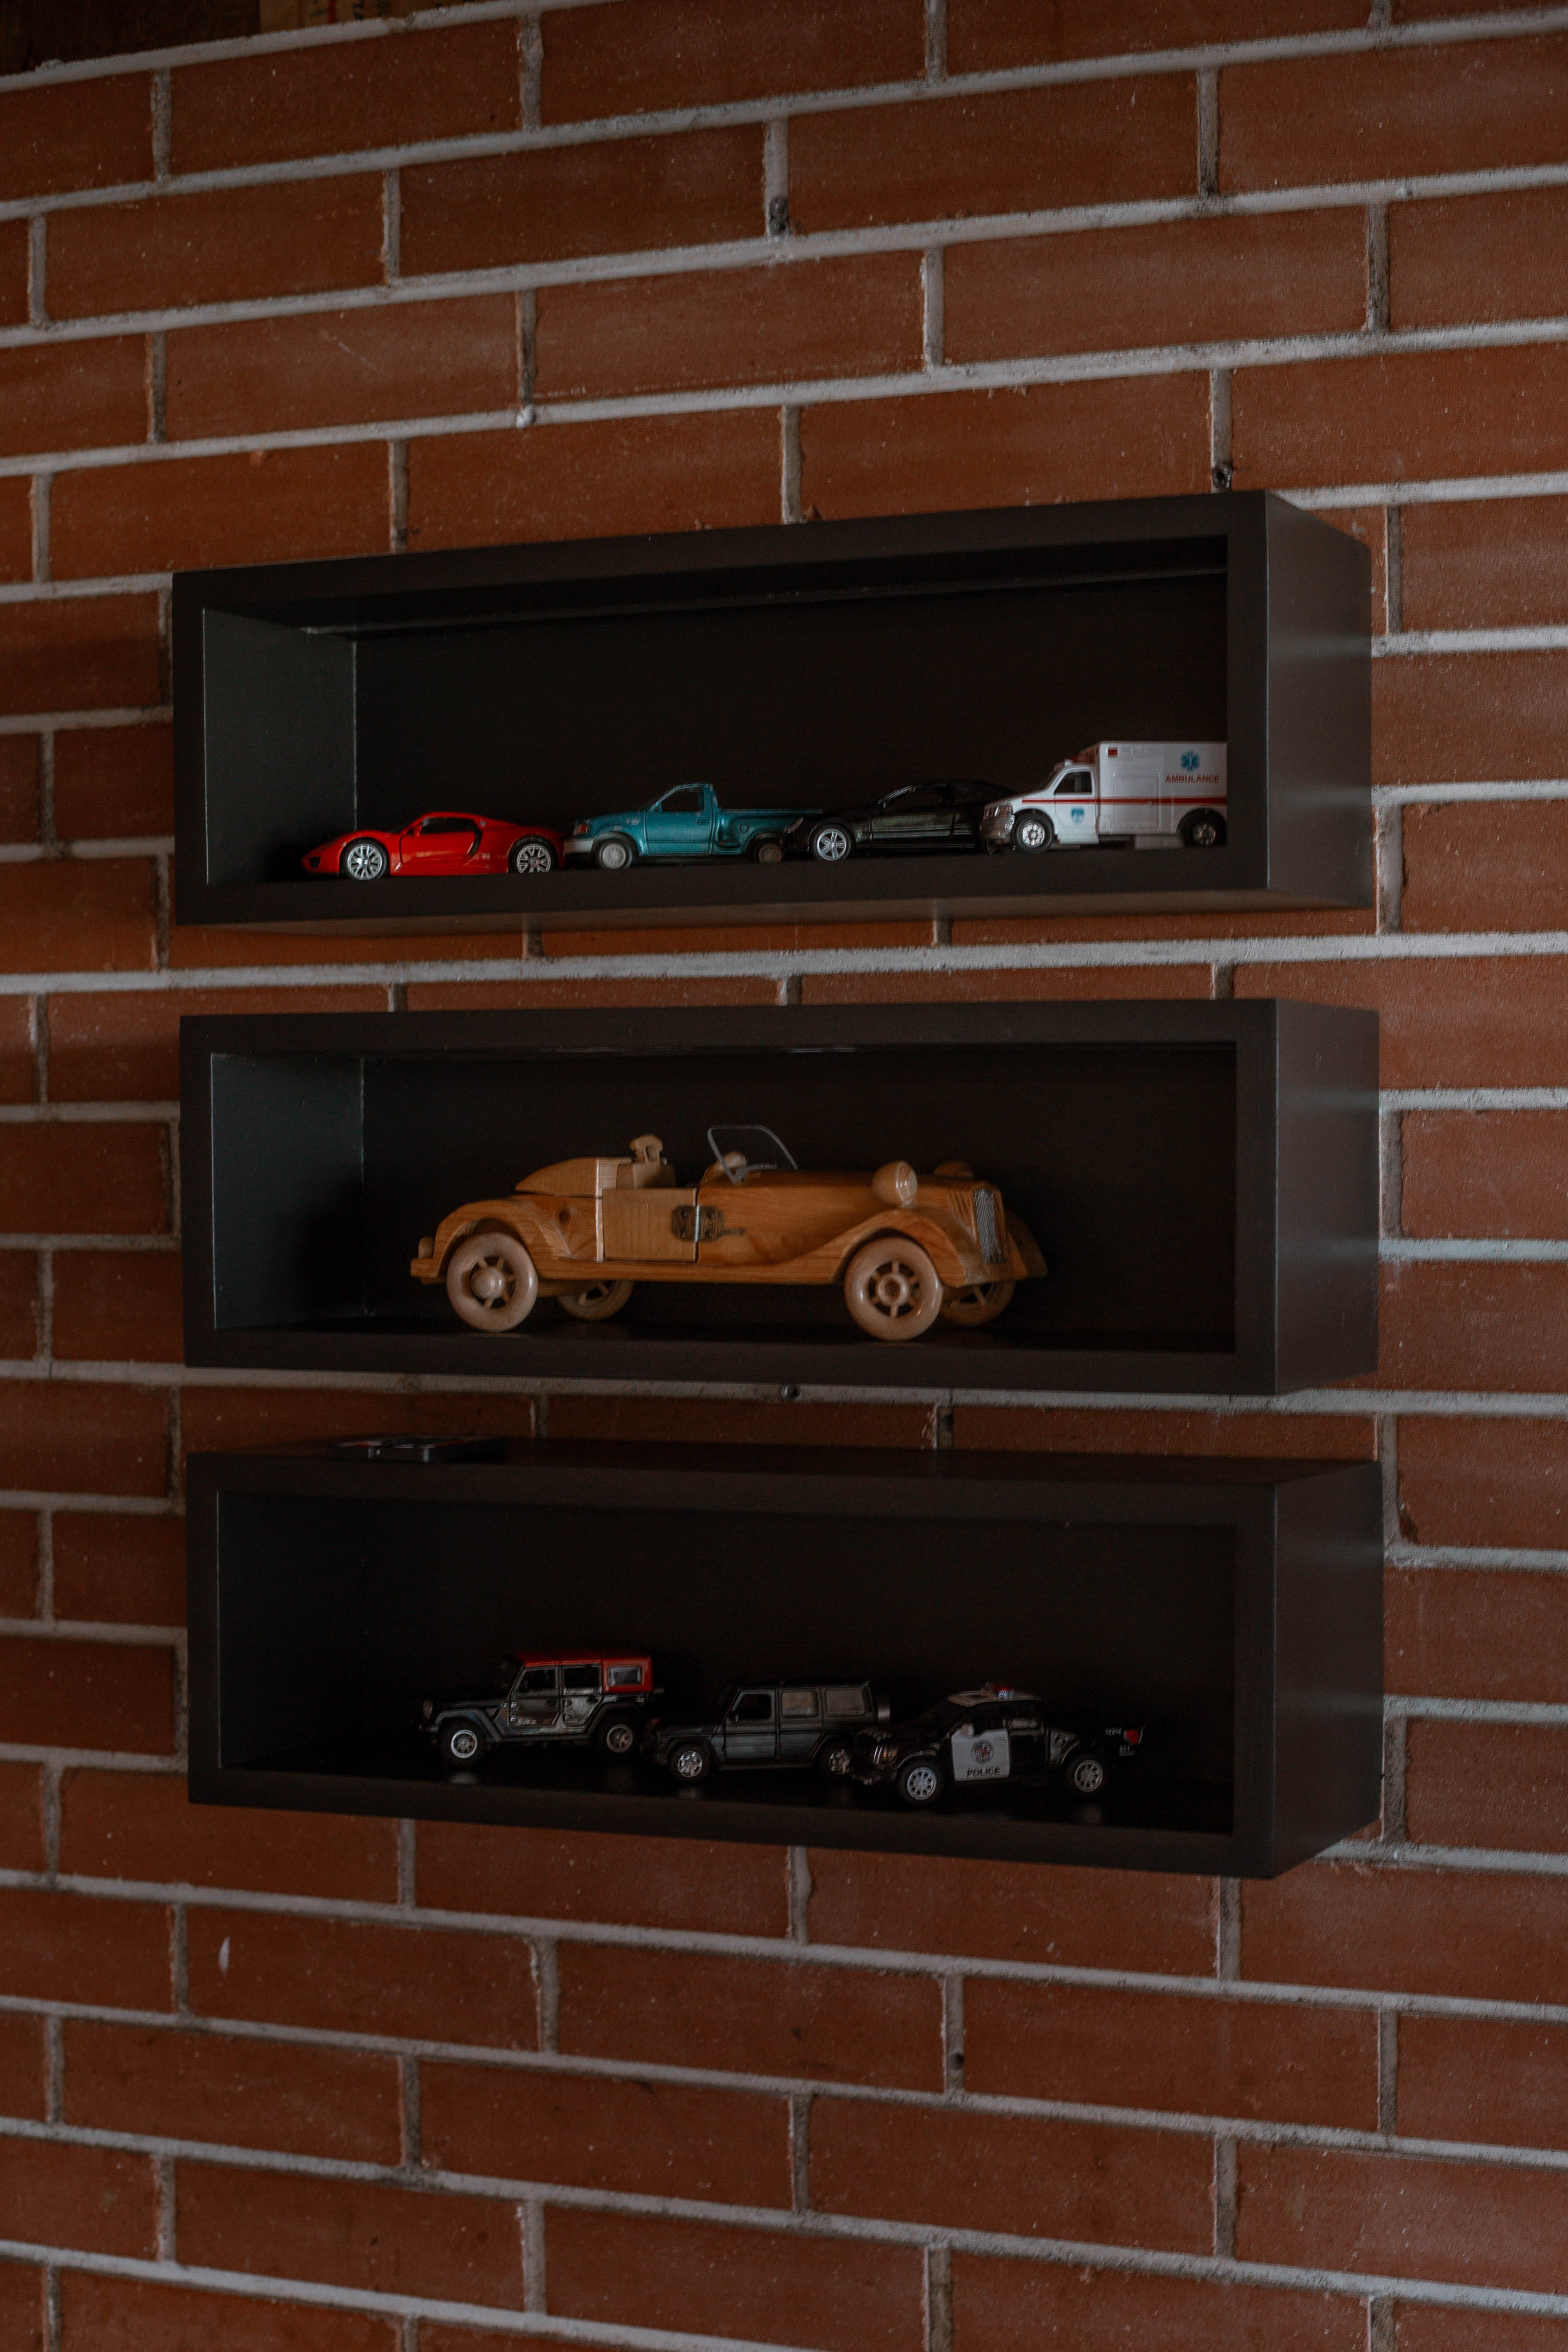
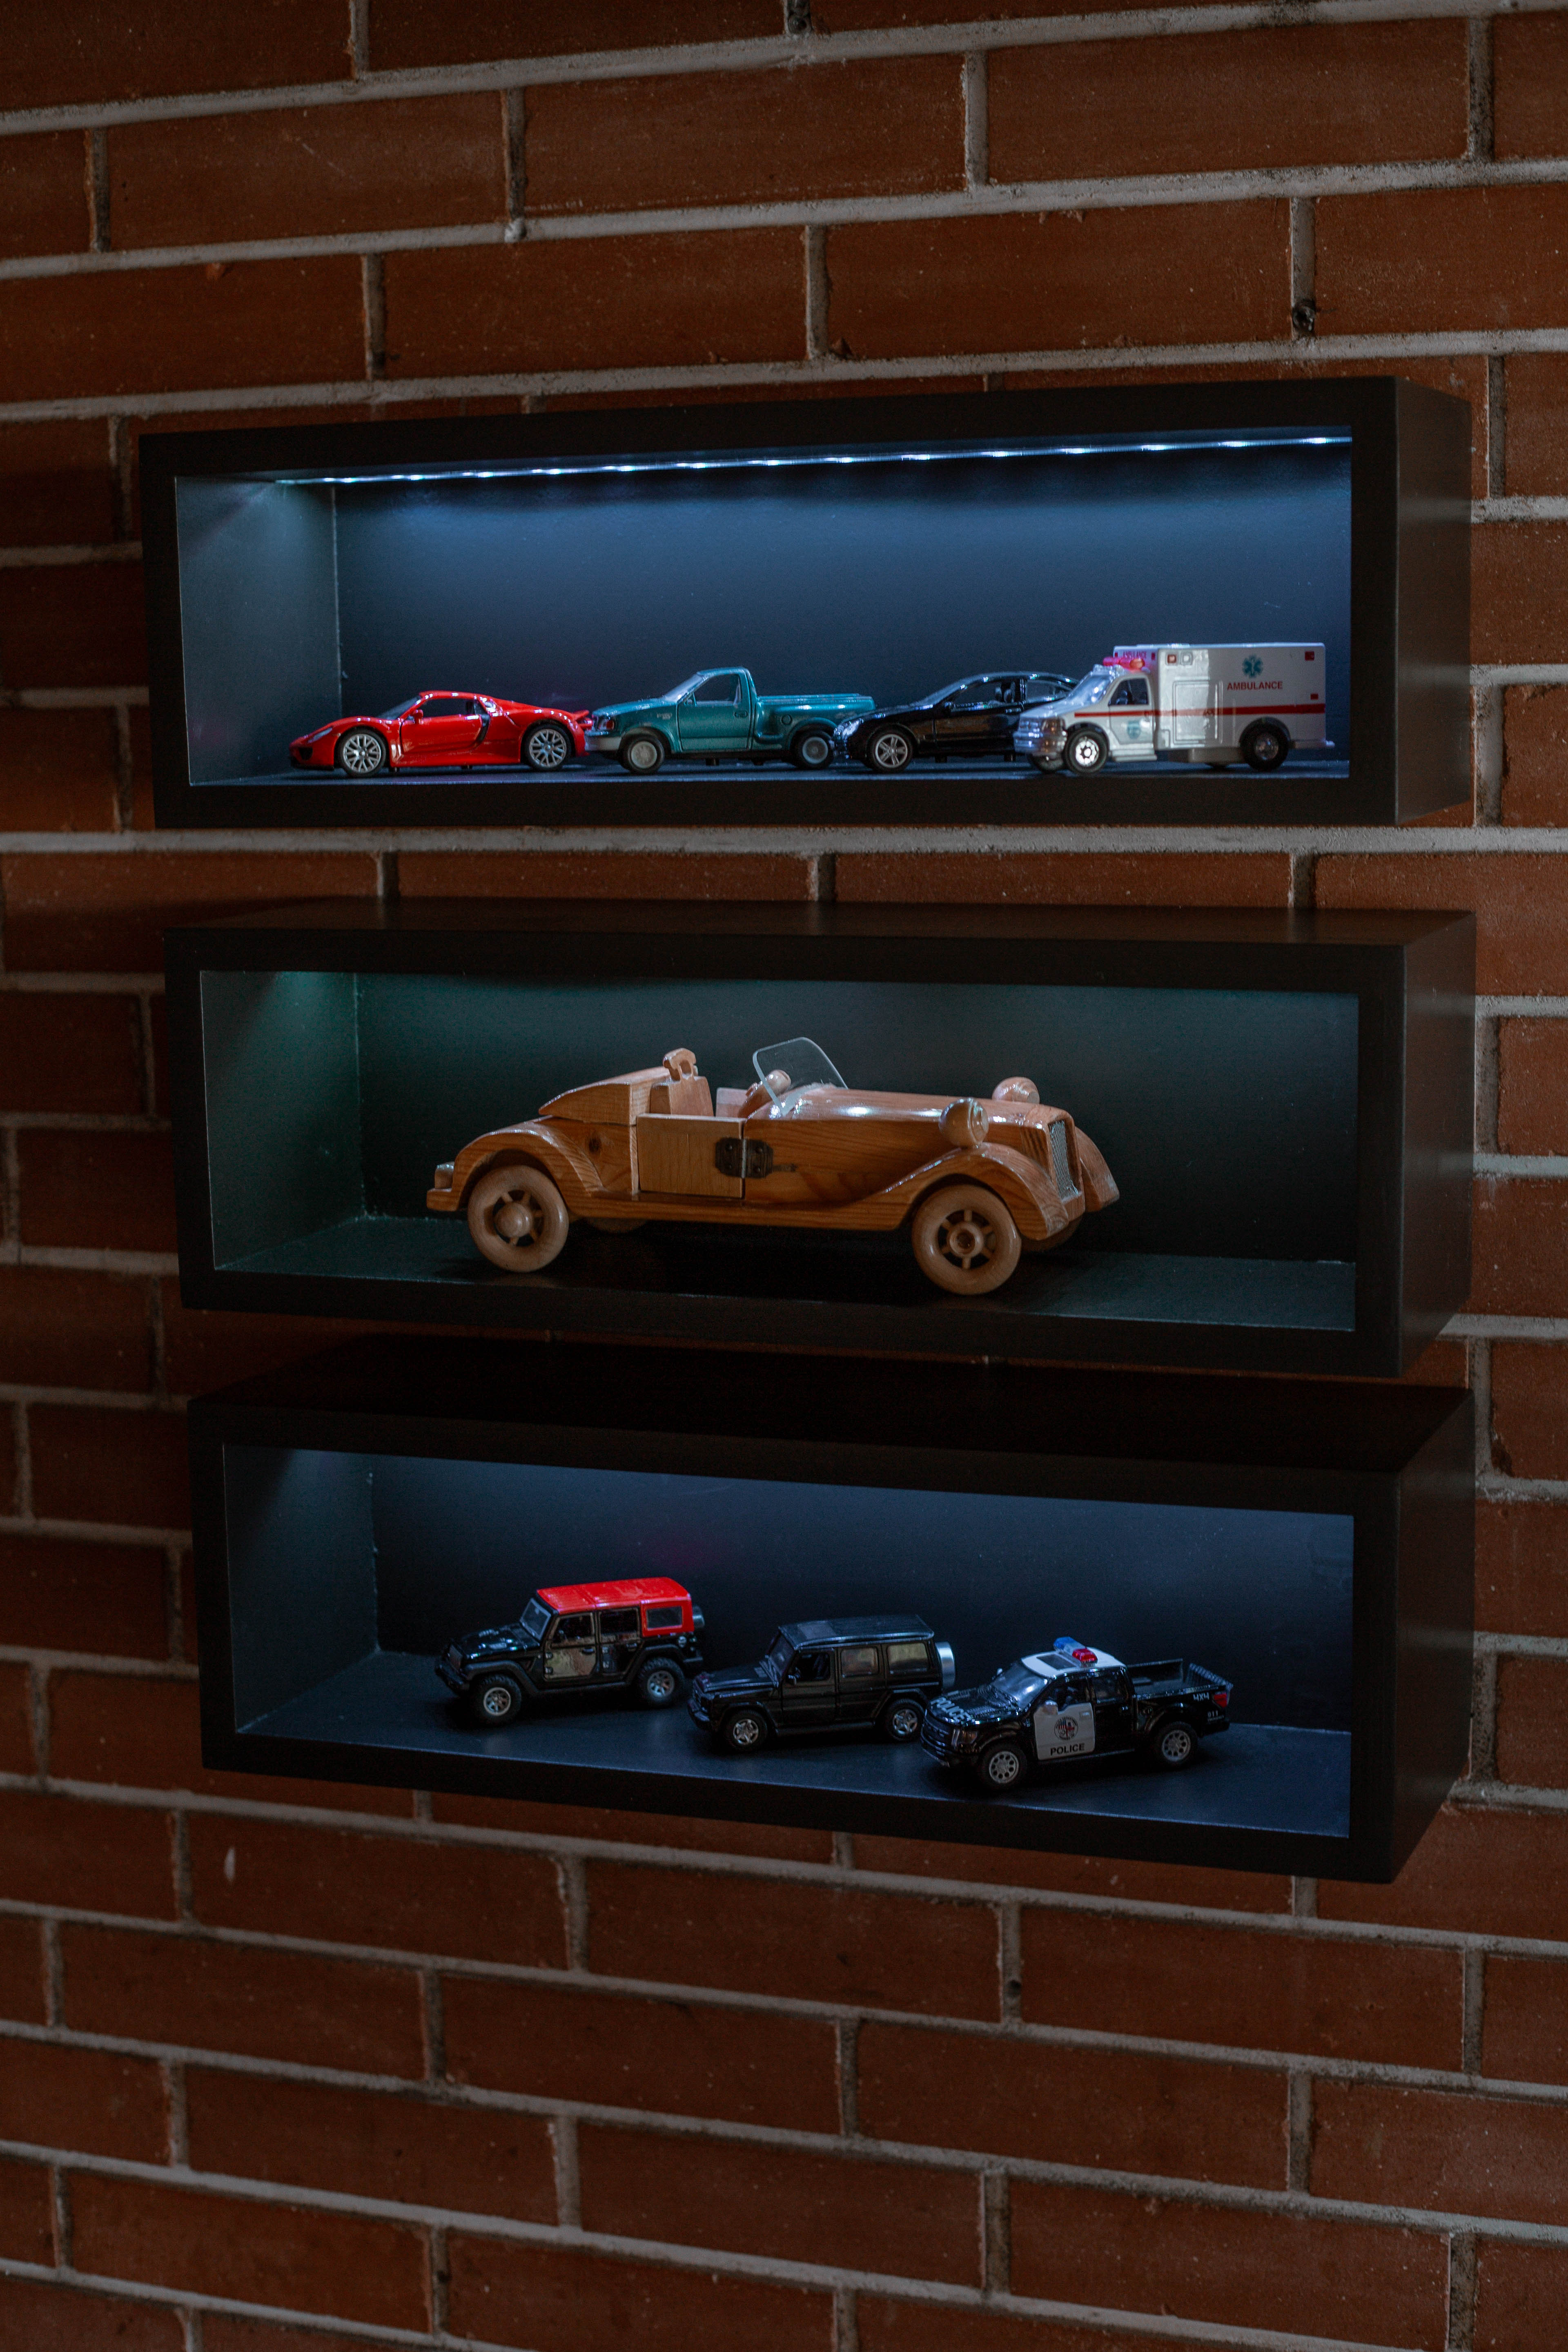
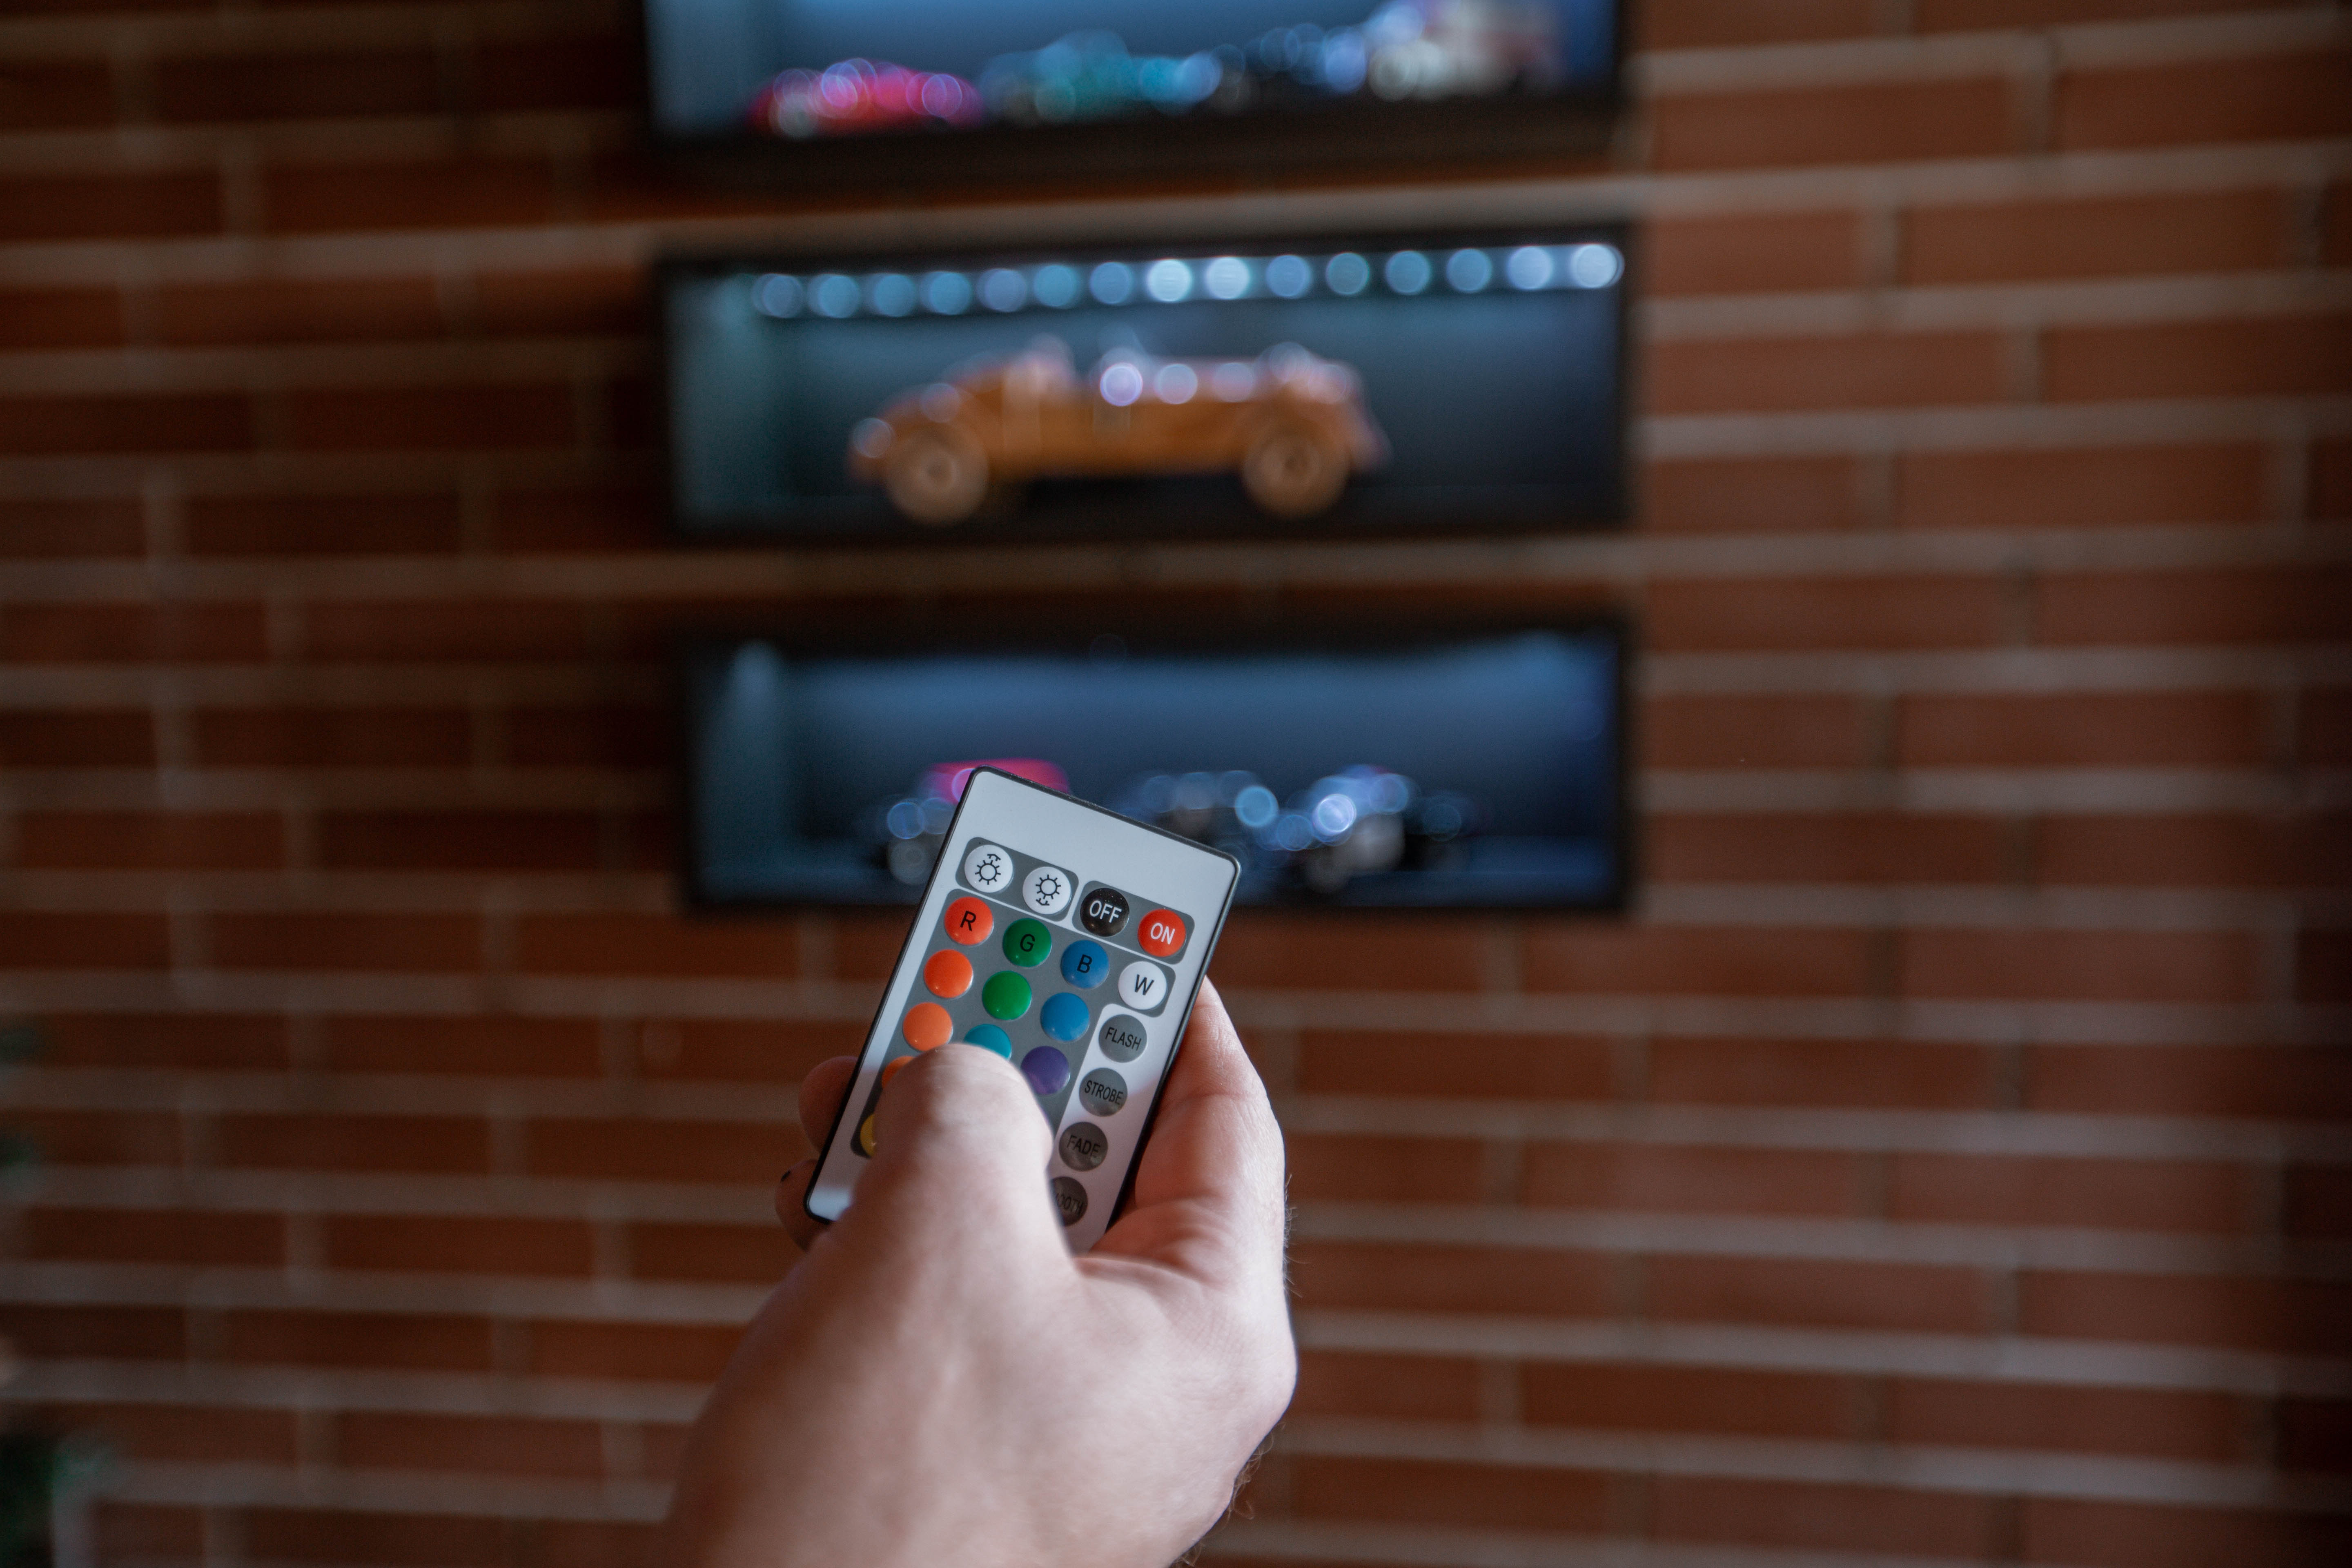


LED Display Shelf. This shelf has built in LED lightning to display lego, die-cast cars, etc! This plans notes materials to make one (1) shelf.
Tools
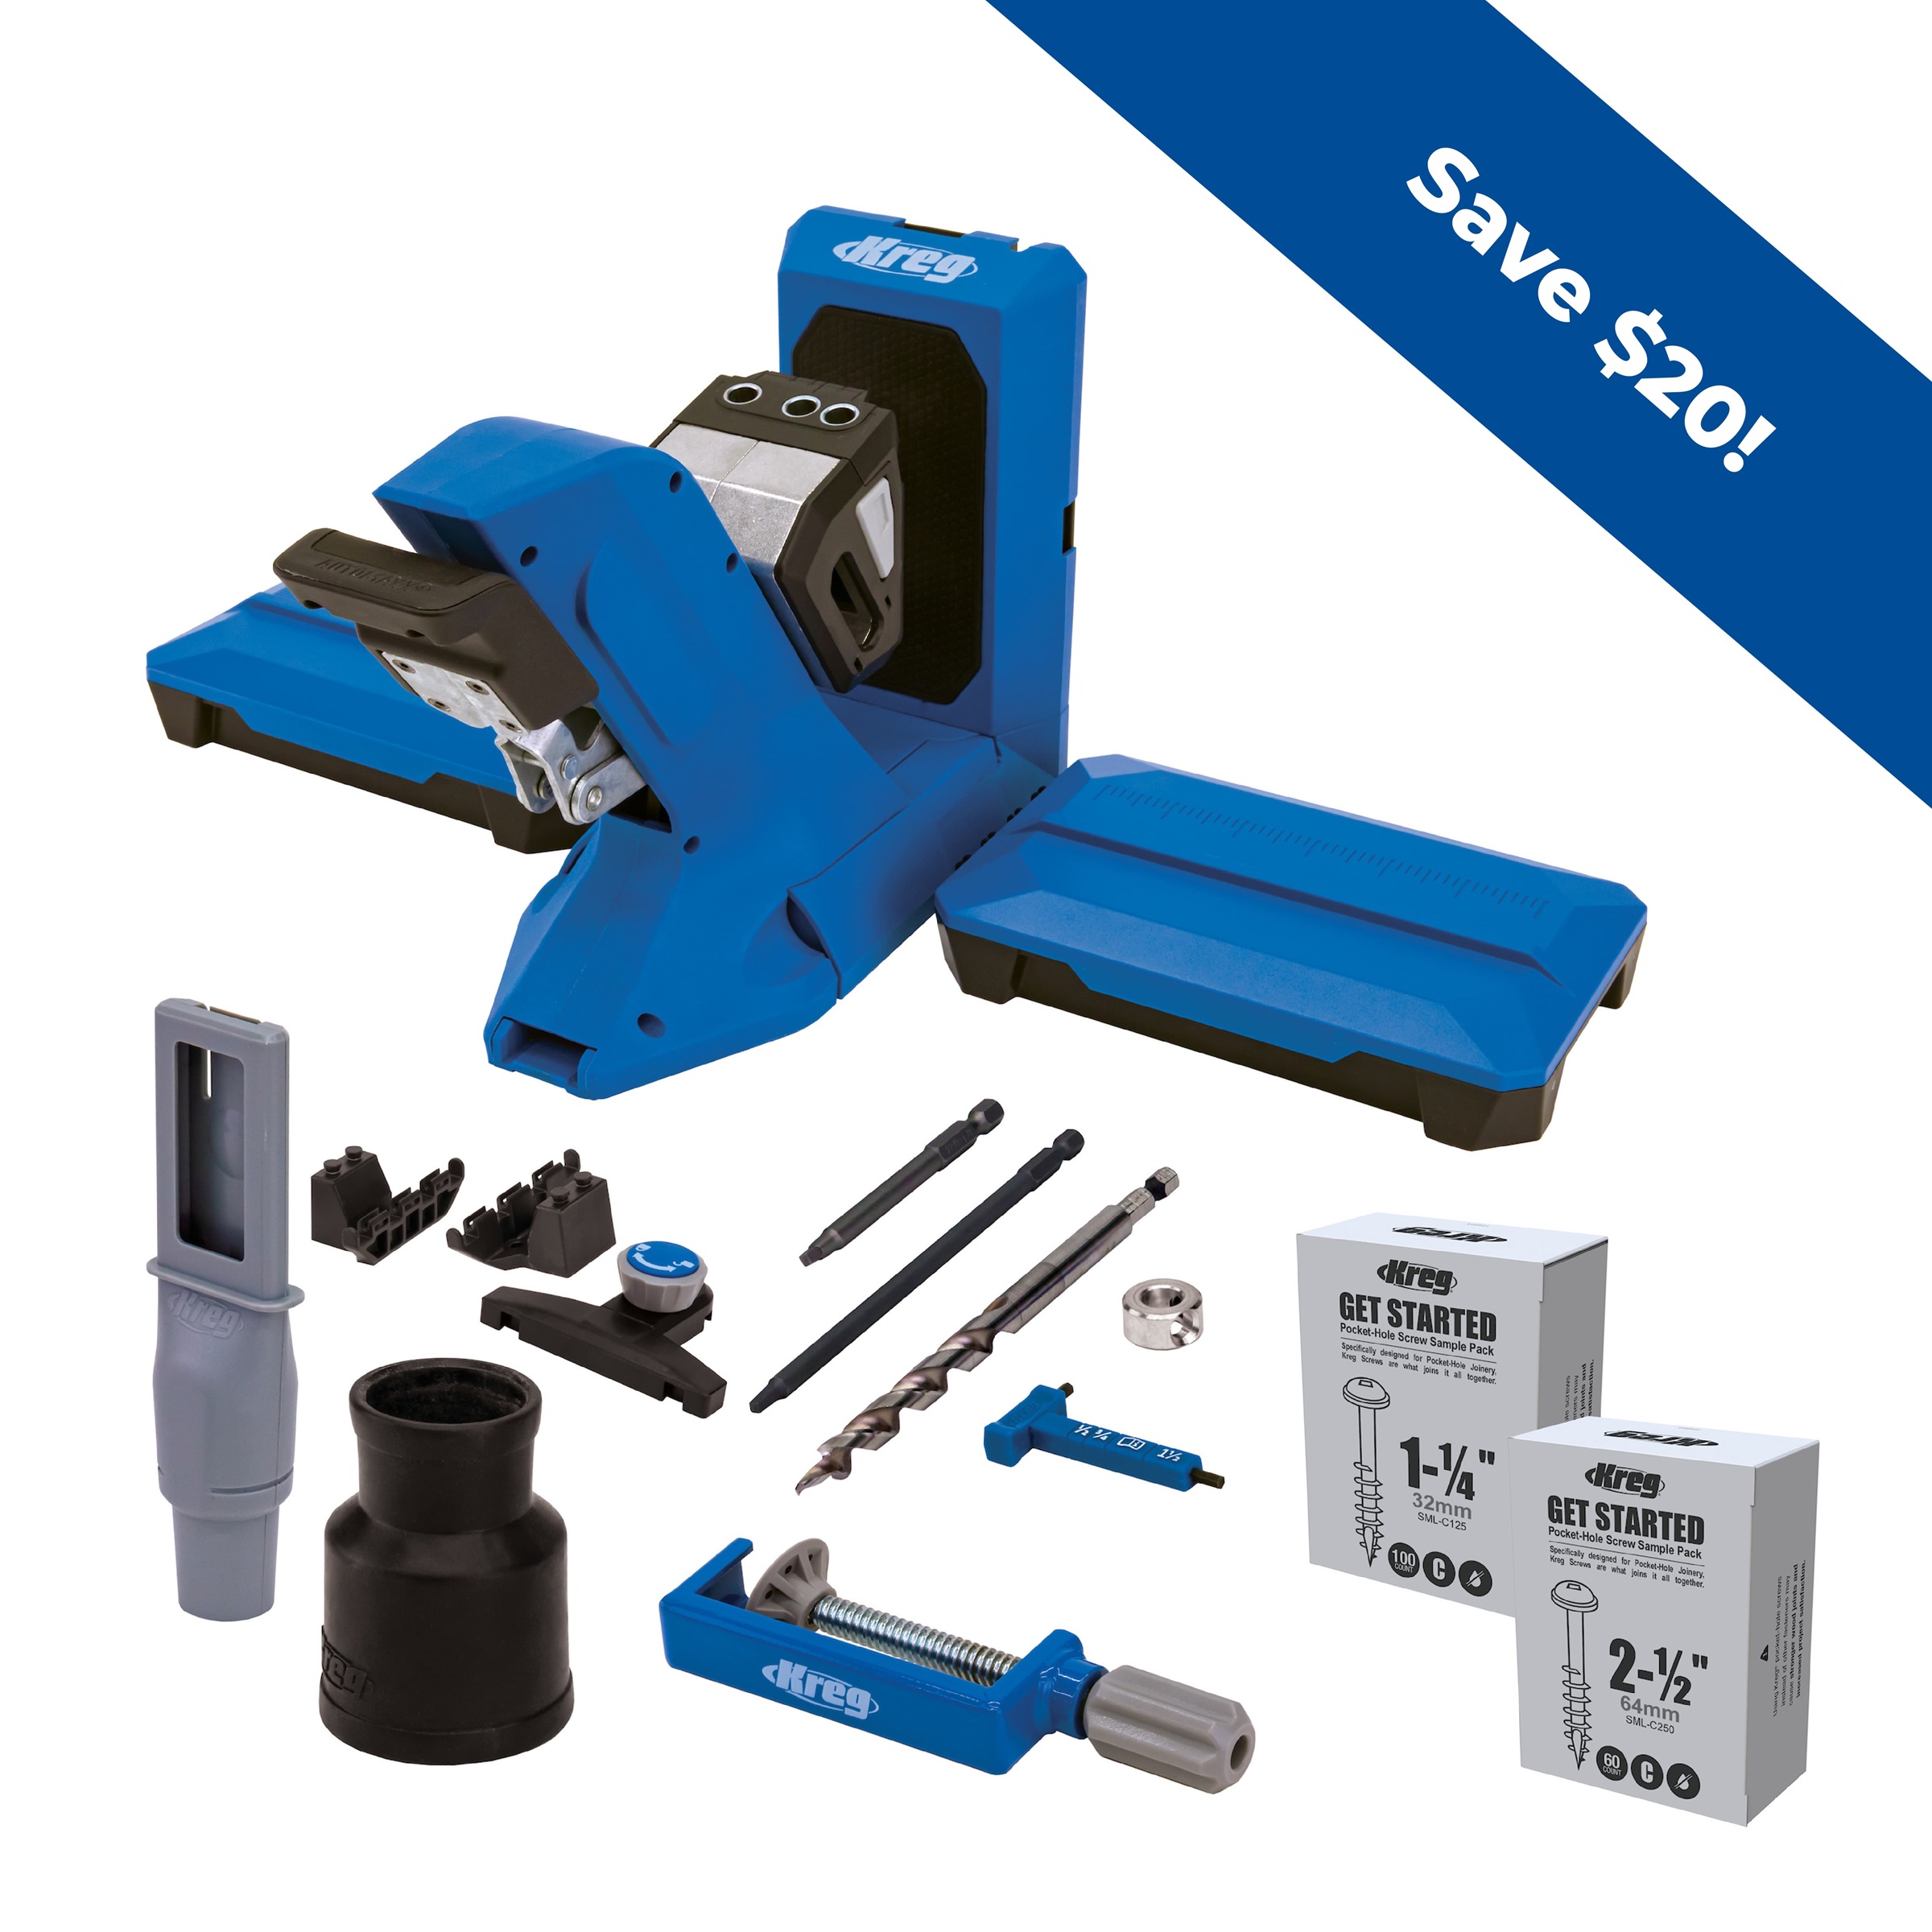
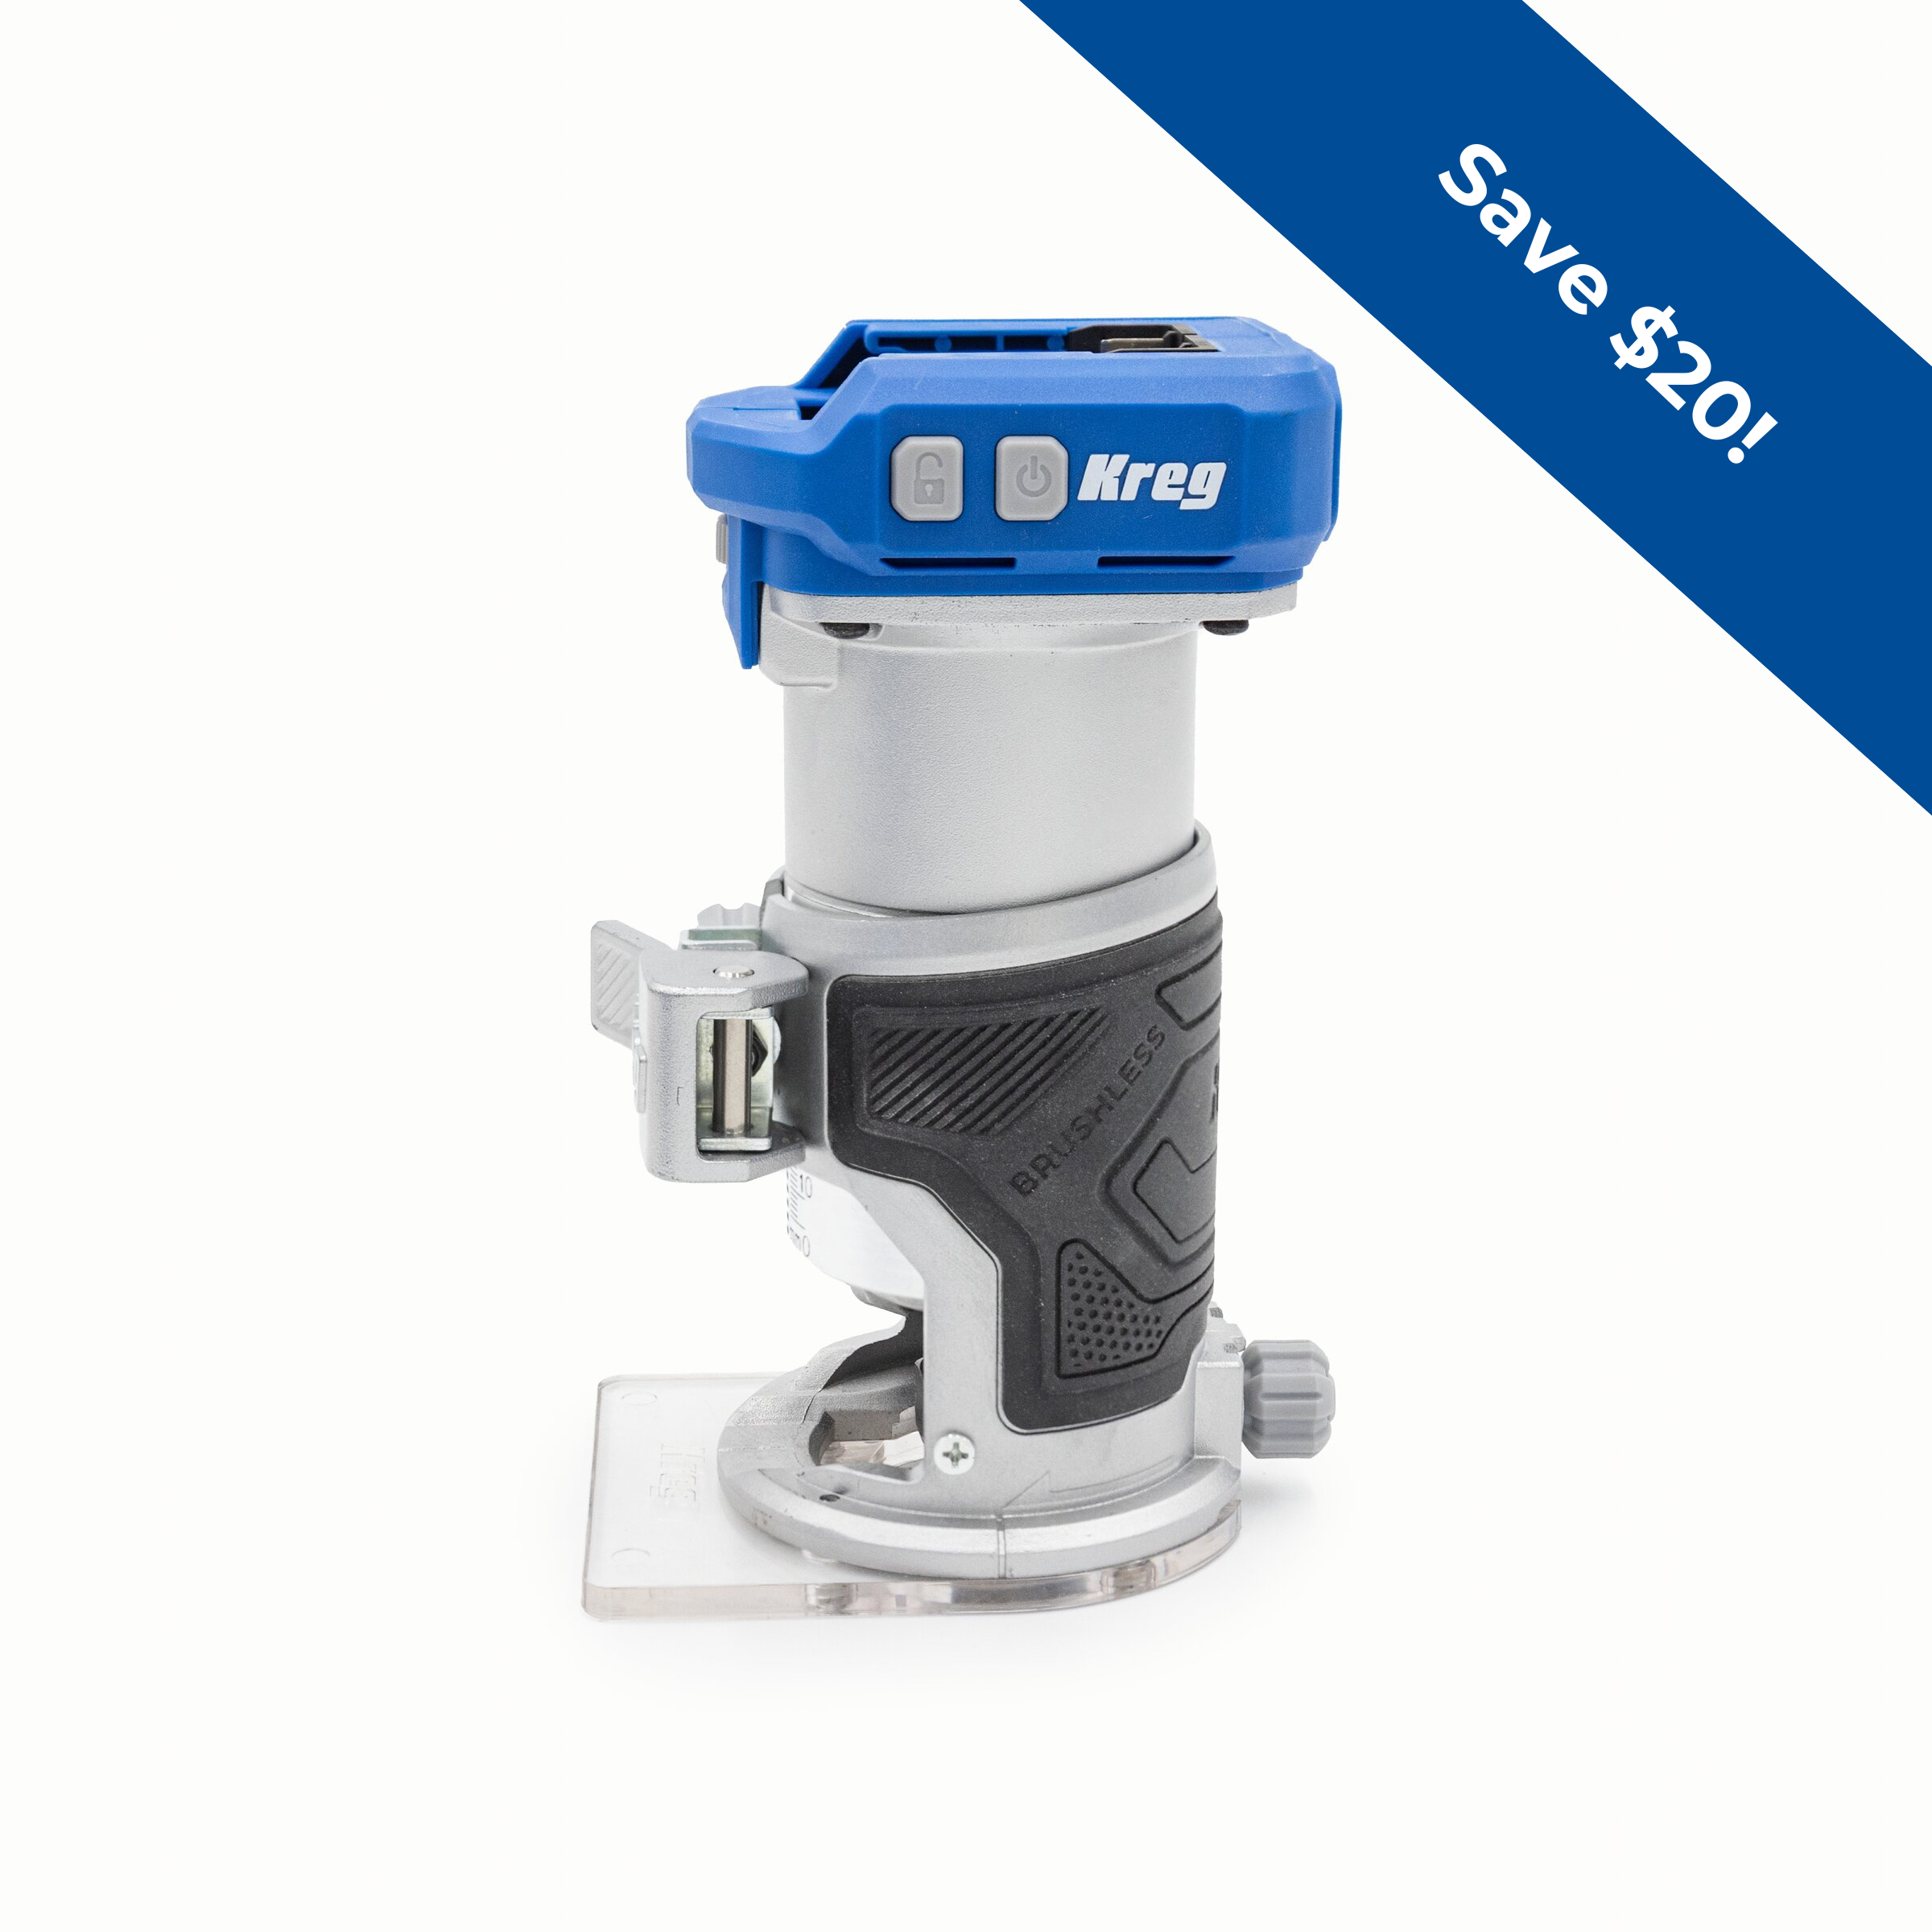
Kreg Tools
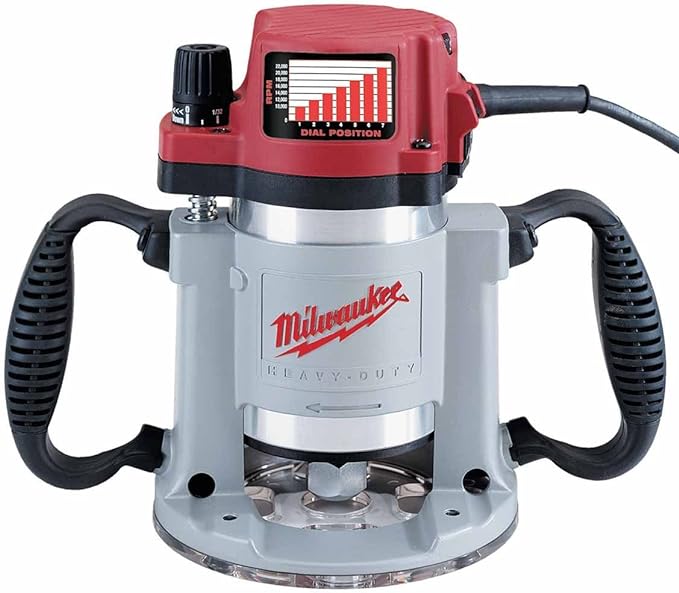
Other Tools

Materials
Wood Products
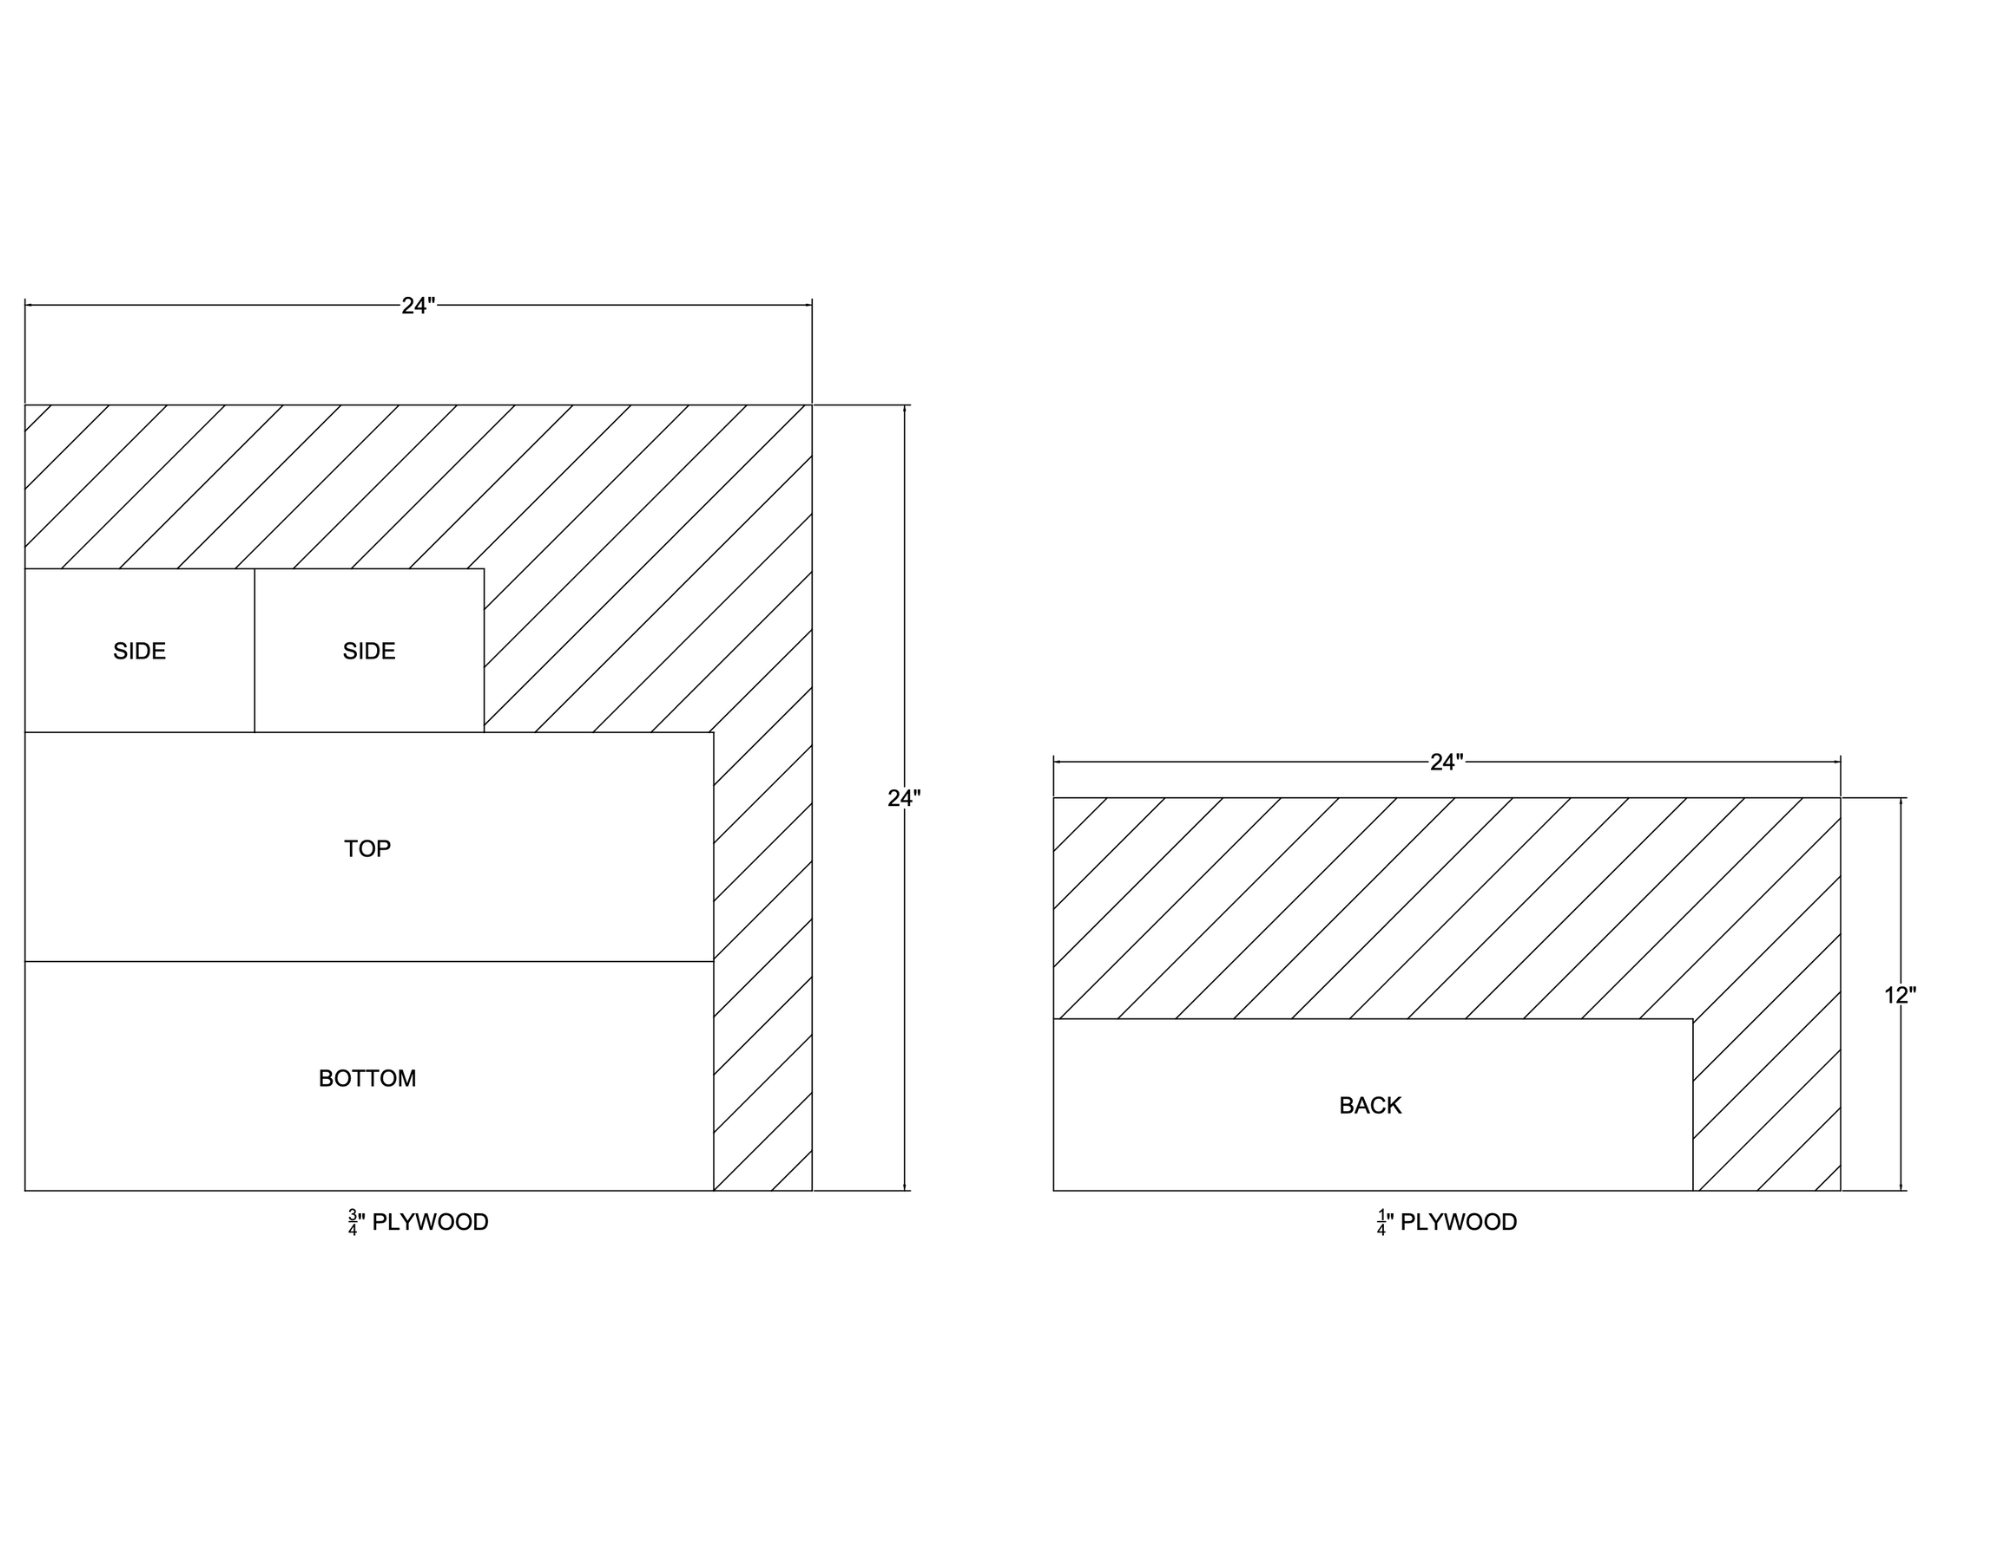
- 1 Plywood , 2'x2' , 3/4"
- 1 Plywood , 1'x2' , 1/4"
- 1 Clear Acrylic , 20" x 1" , 1/8"
Hardware & Supplies
- 1 LED Light kit (linked in "Extras")
- 1 Kreg wood plugs
Cut List & Parts
- 1 Bottom , 20 1/2" x 7" x 3/4"
- 1 Top , 20 1/2" x 7" x 3/4"
- 2 Sides , 5" x 7" x 3/4
- 1 Back , 19 1/2" x 5 1/4" x 1/4"
Directions
-
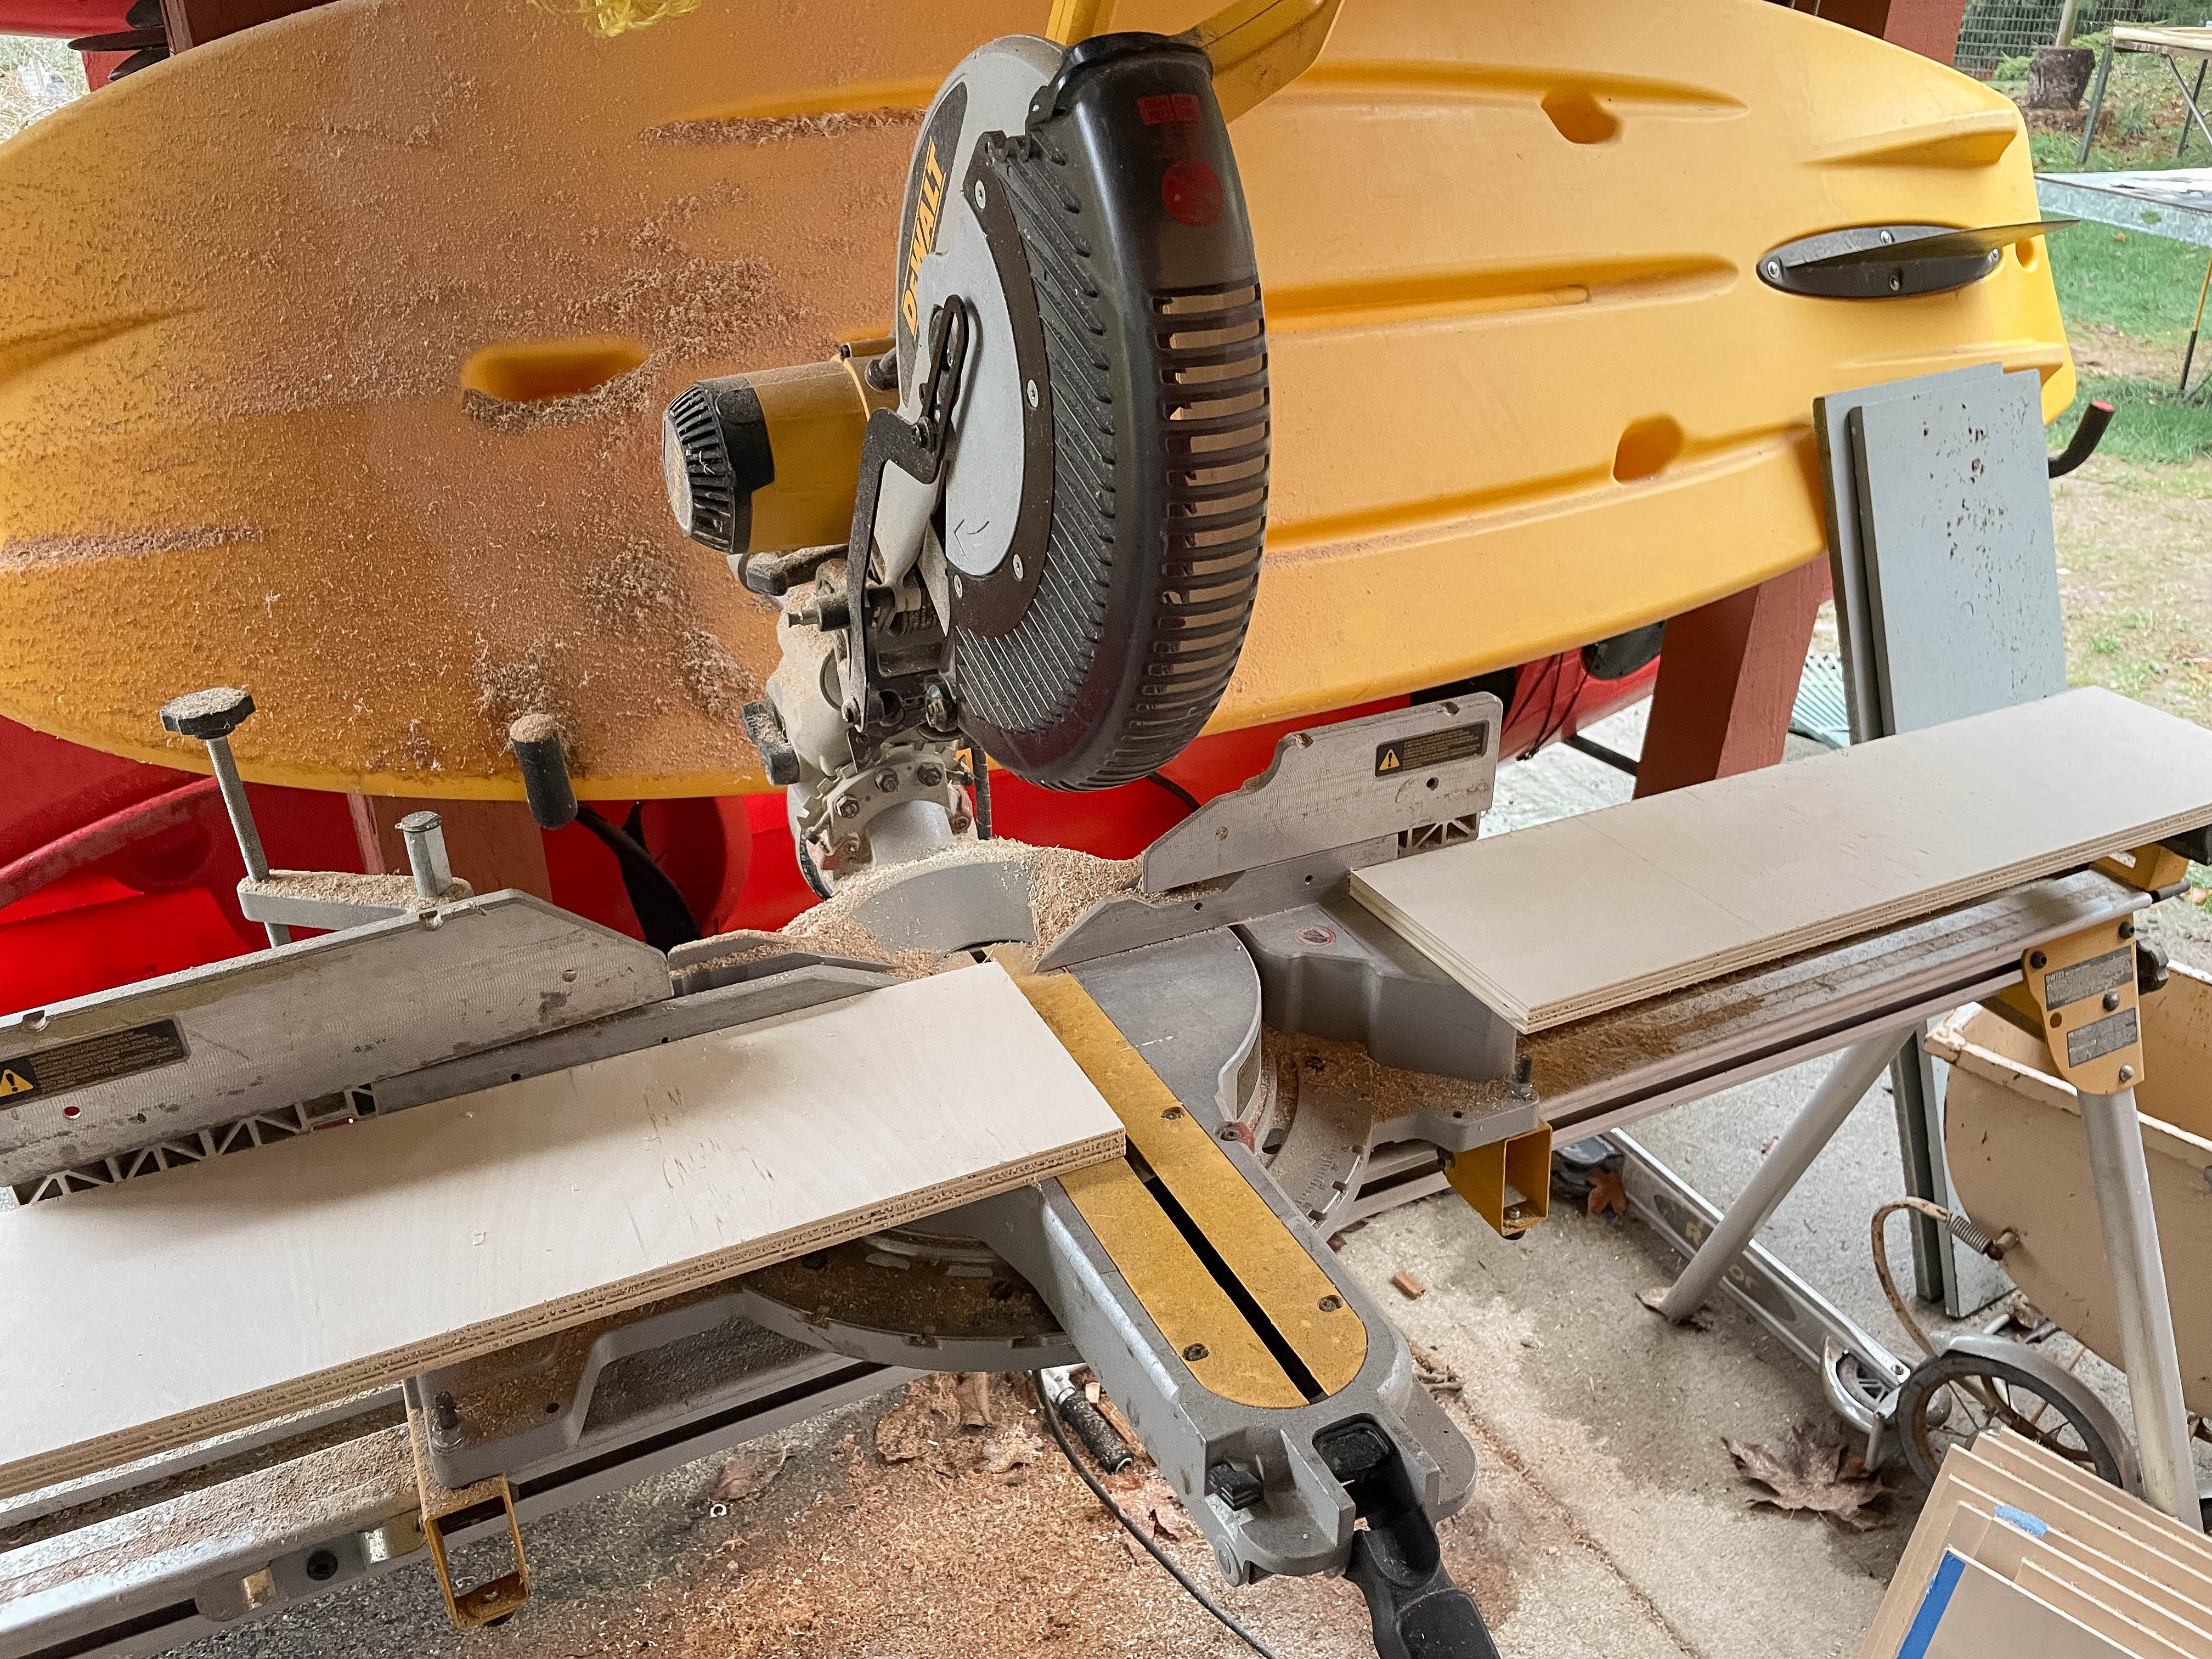
Cut Materials to Size
Working off the cut list and building plans cut the sides, top, bottom, and back to size
Tip:
Try to match the grain pattern/direction when cutting out your pieces from the wood if you plan to stain. This will give the project a professional look when complete
-
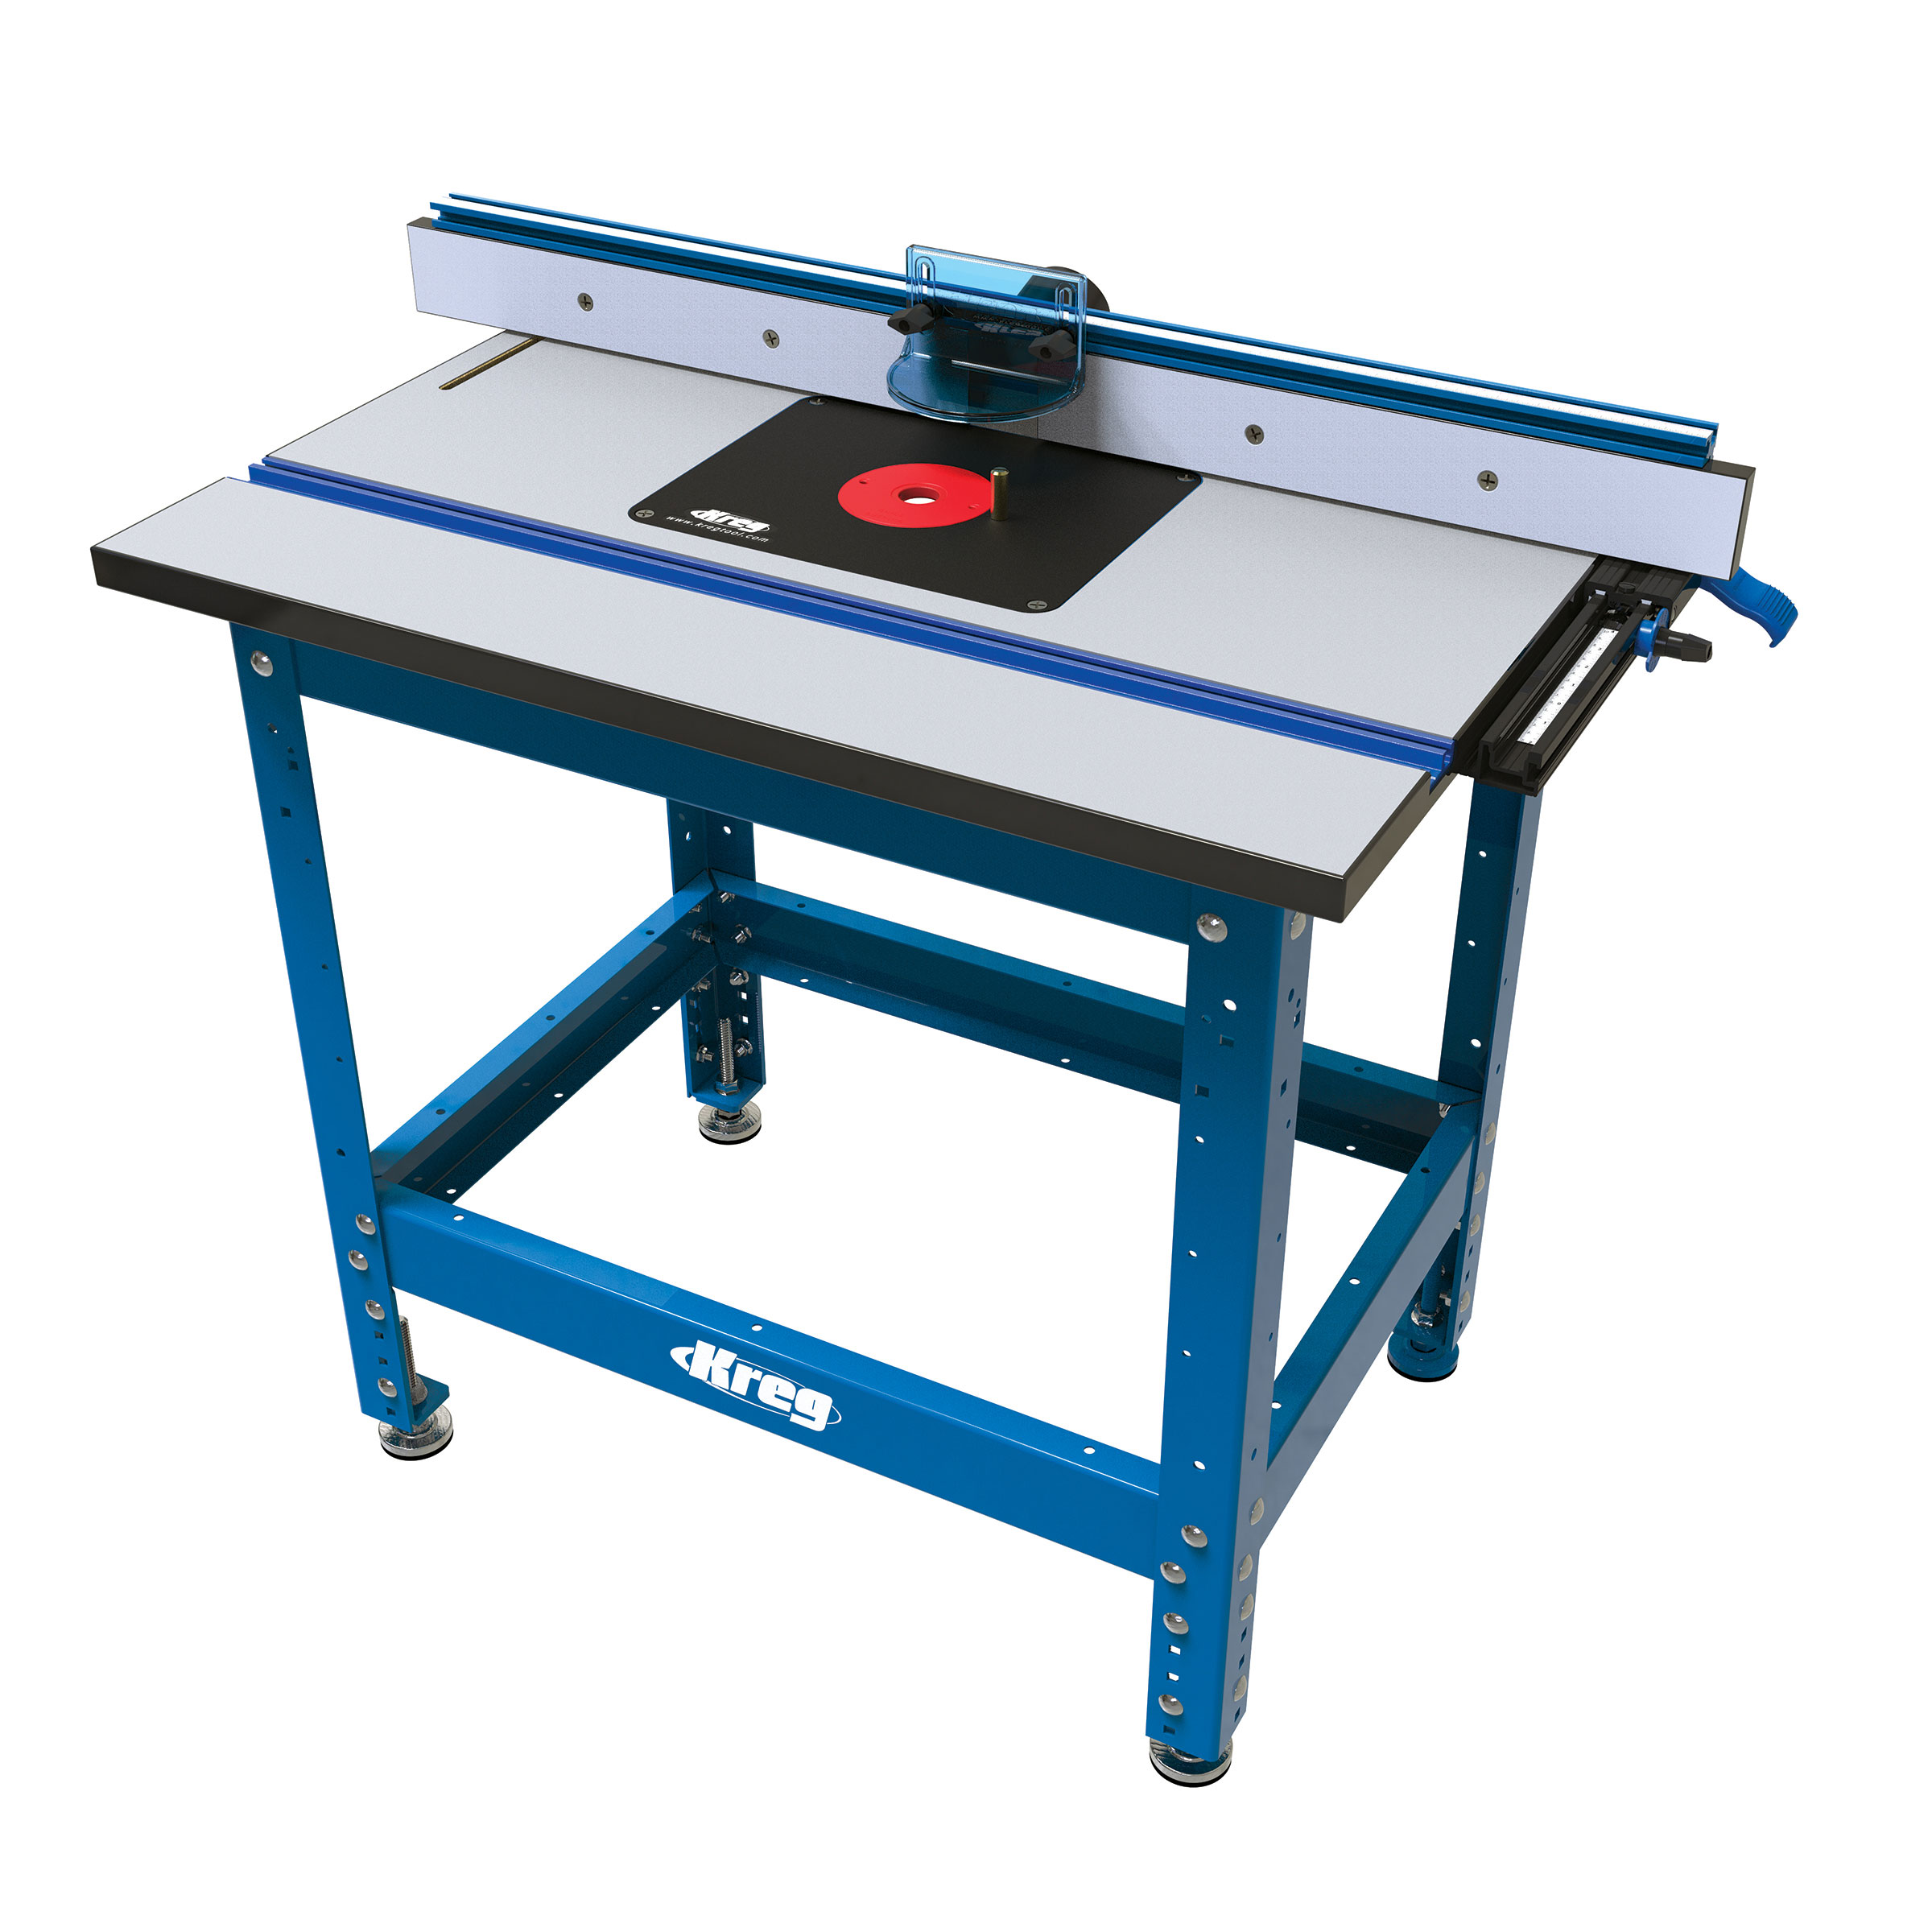
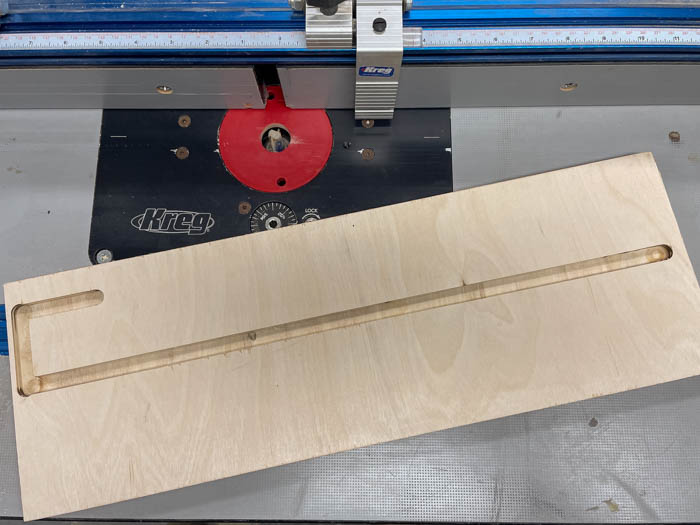
Route Channel for LED strip - 1/2" Channel - top piece
Using a router and router table, route a 1/2" channel as noted on the plans 3/8" deep on the top piece. This is where the LED strip will sit.
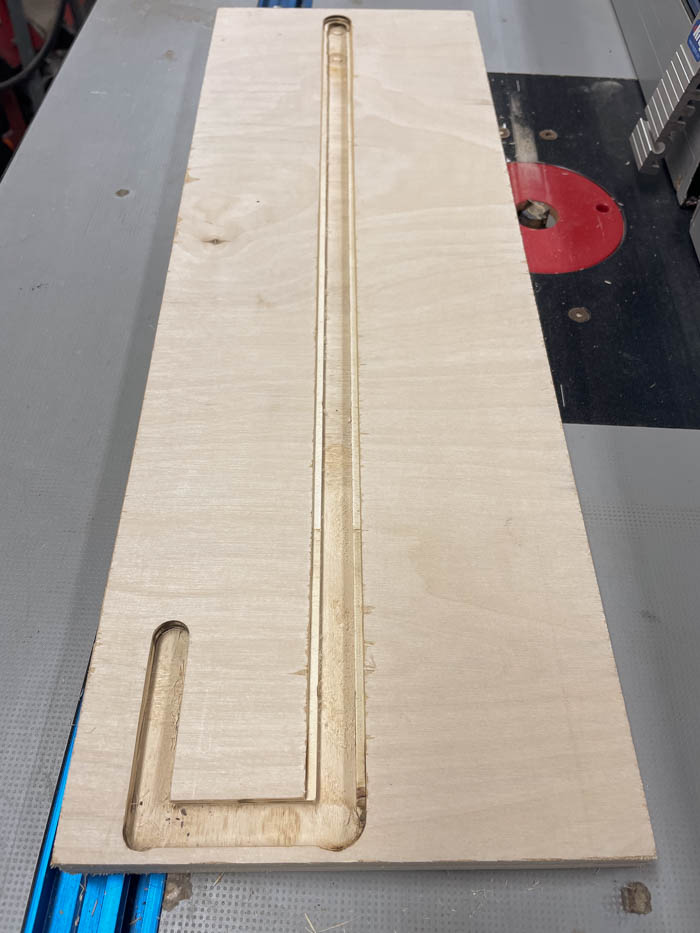
Tip:
Using Kregs router table guides will let you stop at ends and prevent over router the channel
-
Route Channel for LED strip - 3/4" channel - top piece
Using a router and router table, route a 3/4" channel as noted on the plans 1/8" deep on the top piece. This is where the acrylic lens will sit. You can adjust depth of this cut depending on your acrylic's thickness. Or you can delete this step and just leave the LED strip exposed.
-
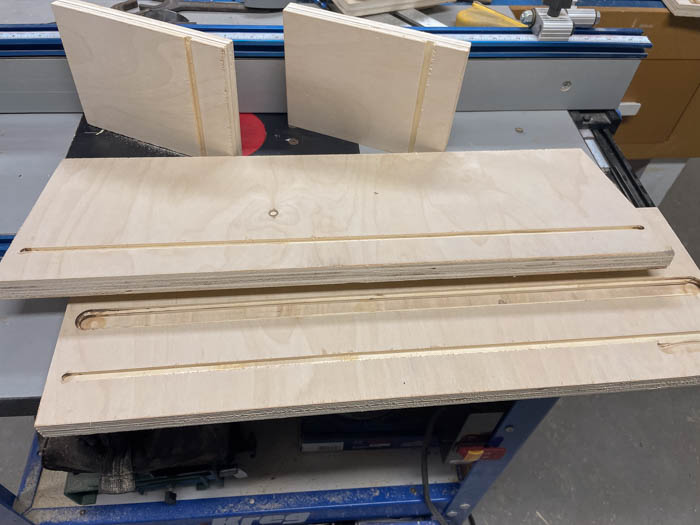
Route channel for backing
Set you Router table fence and route all the groves for the backing to sit in. The channel can be the entire heigth of the sides. For the top and bottom leave about 1/8" at the ends of the channel
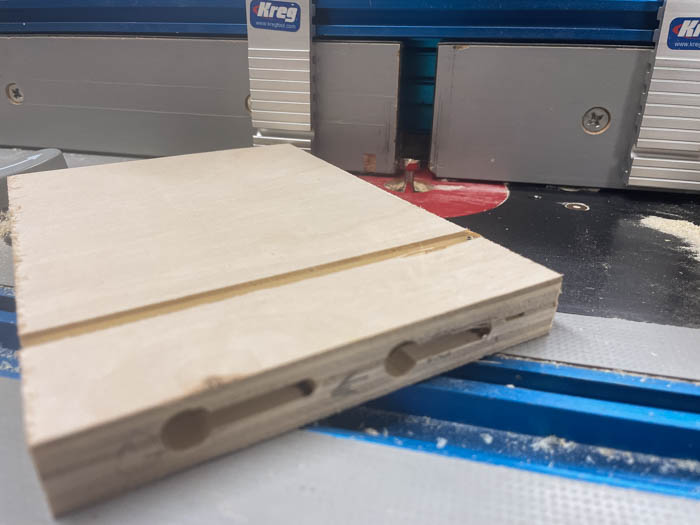
Add Pocket Holes
Add the pockets holes to both sides, noting the orientation of the piece (no pocket holes at the back to avoid LED wring and key holes).
-
Add Key Holes
To easily and securely hand this on the wall you can add key holes to the back. Note the orientation of the pieces as the keyholes need to have the correct way (and at the back). You can ignore this step if you wish to hang the shelf in an alternative way.
-
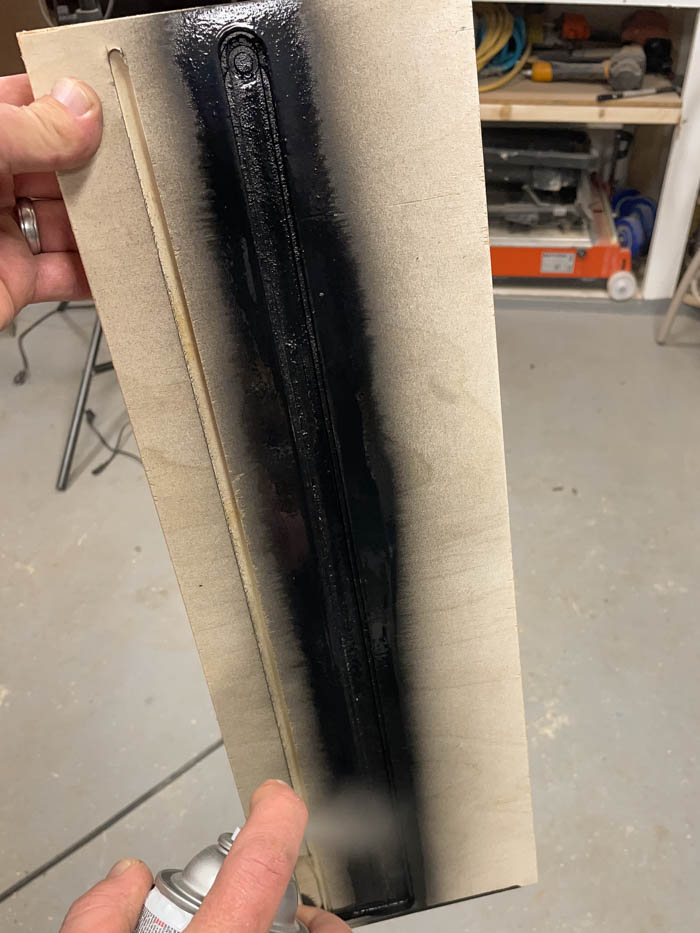
Paint LED Strip Channel
Optional step - you may want to finish or paint the channel the LED strip goes in ahead of time as it will be more difficult to finish once the LED strip is installed.
-
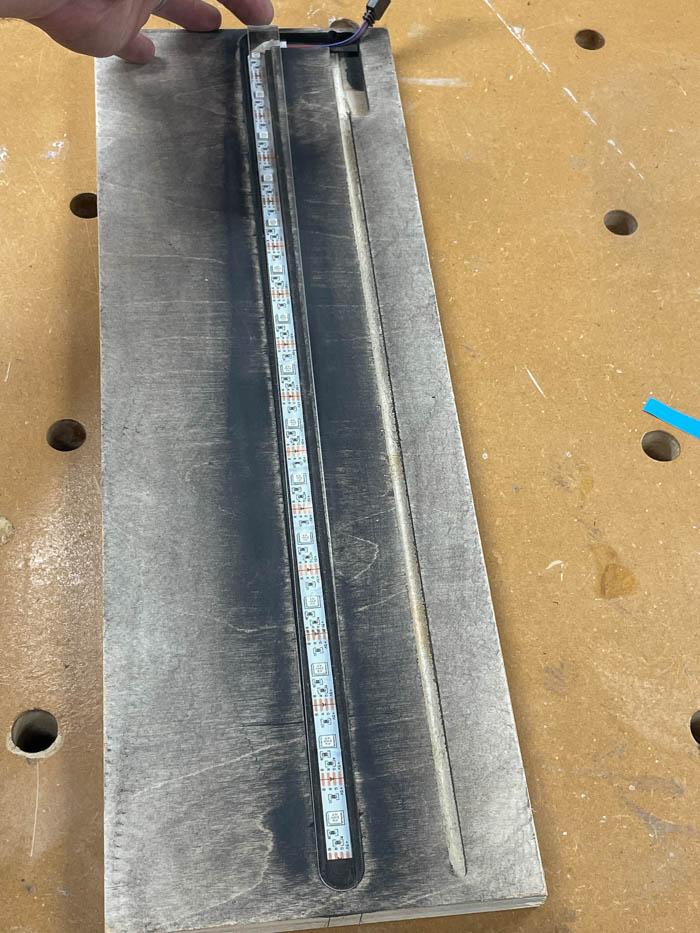
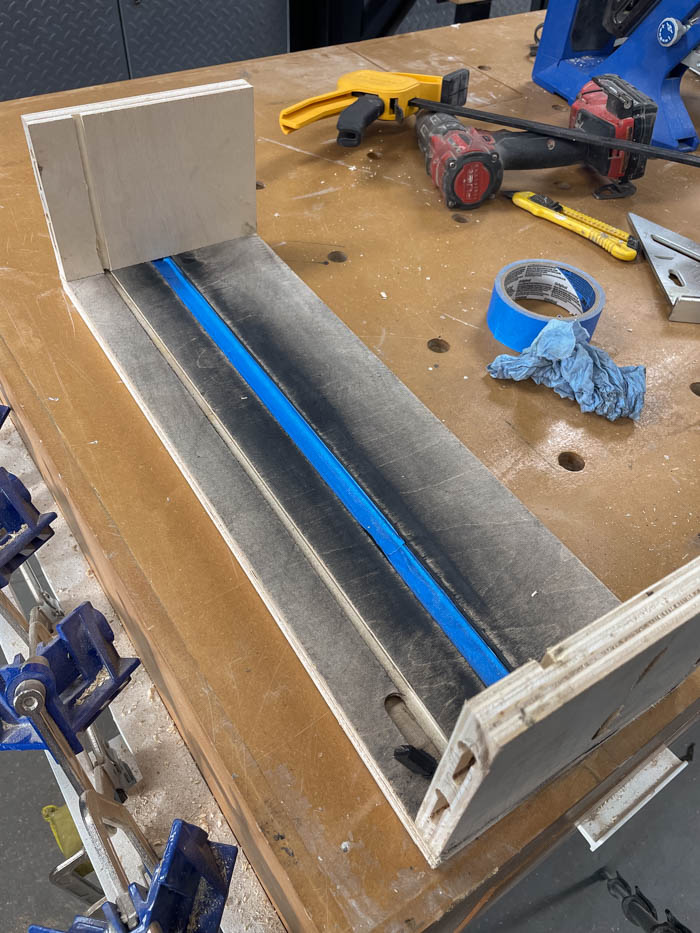
Add LED strip
Secure your LED strip. Ours had double sided tape. Once installed cover you strip with painter's tape to prevent finish from getting on the LEDs.
-
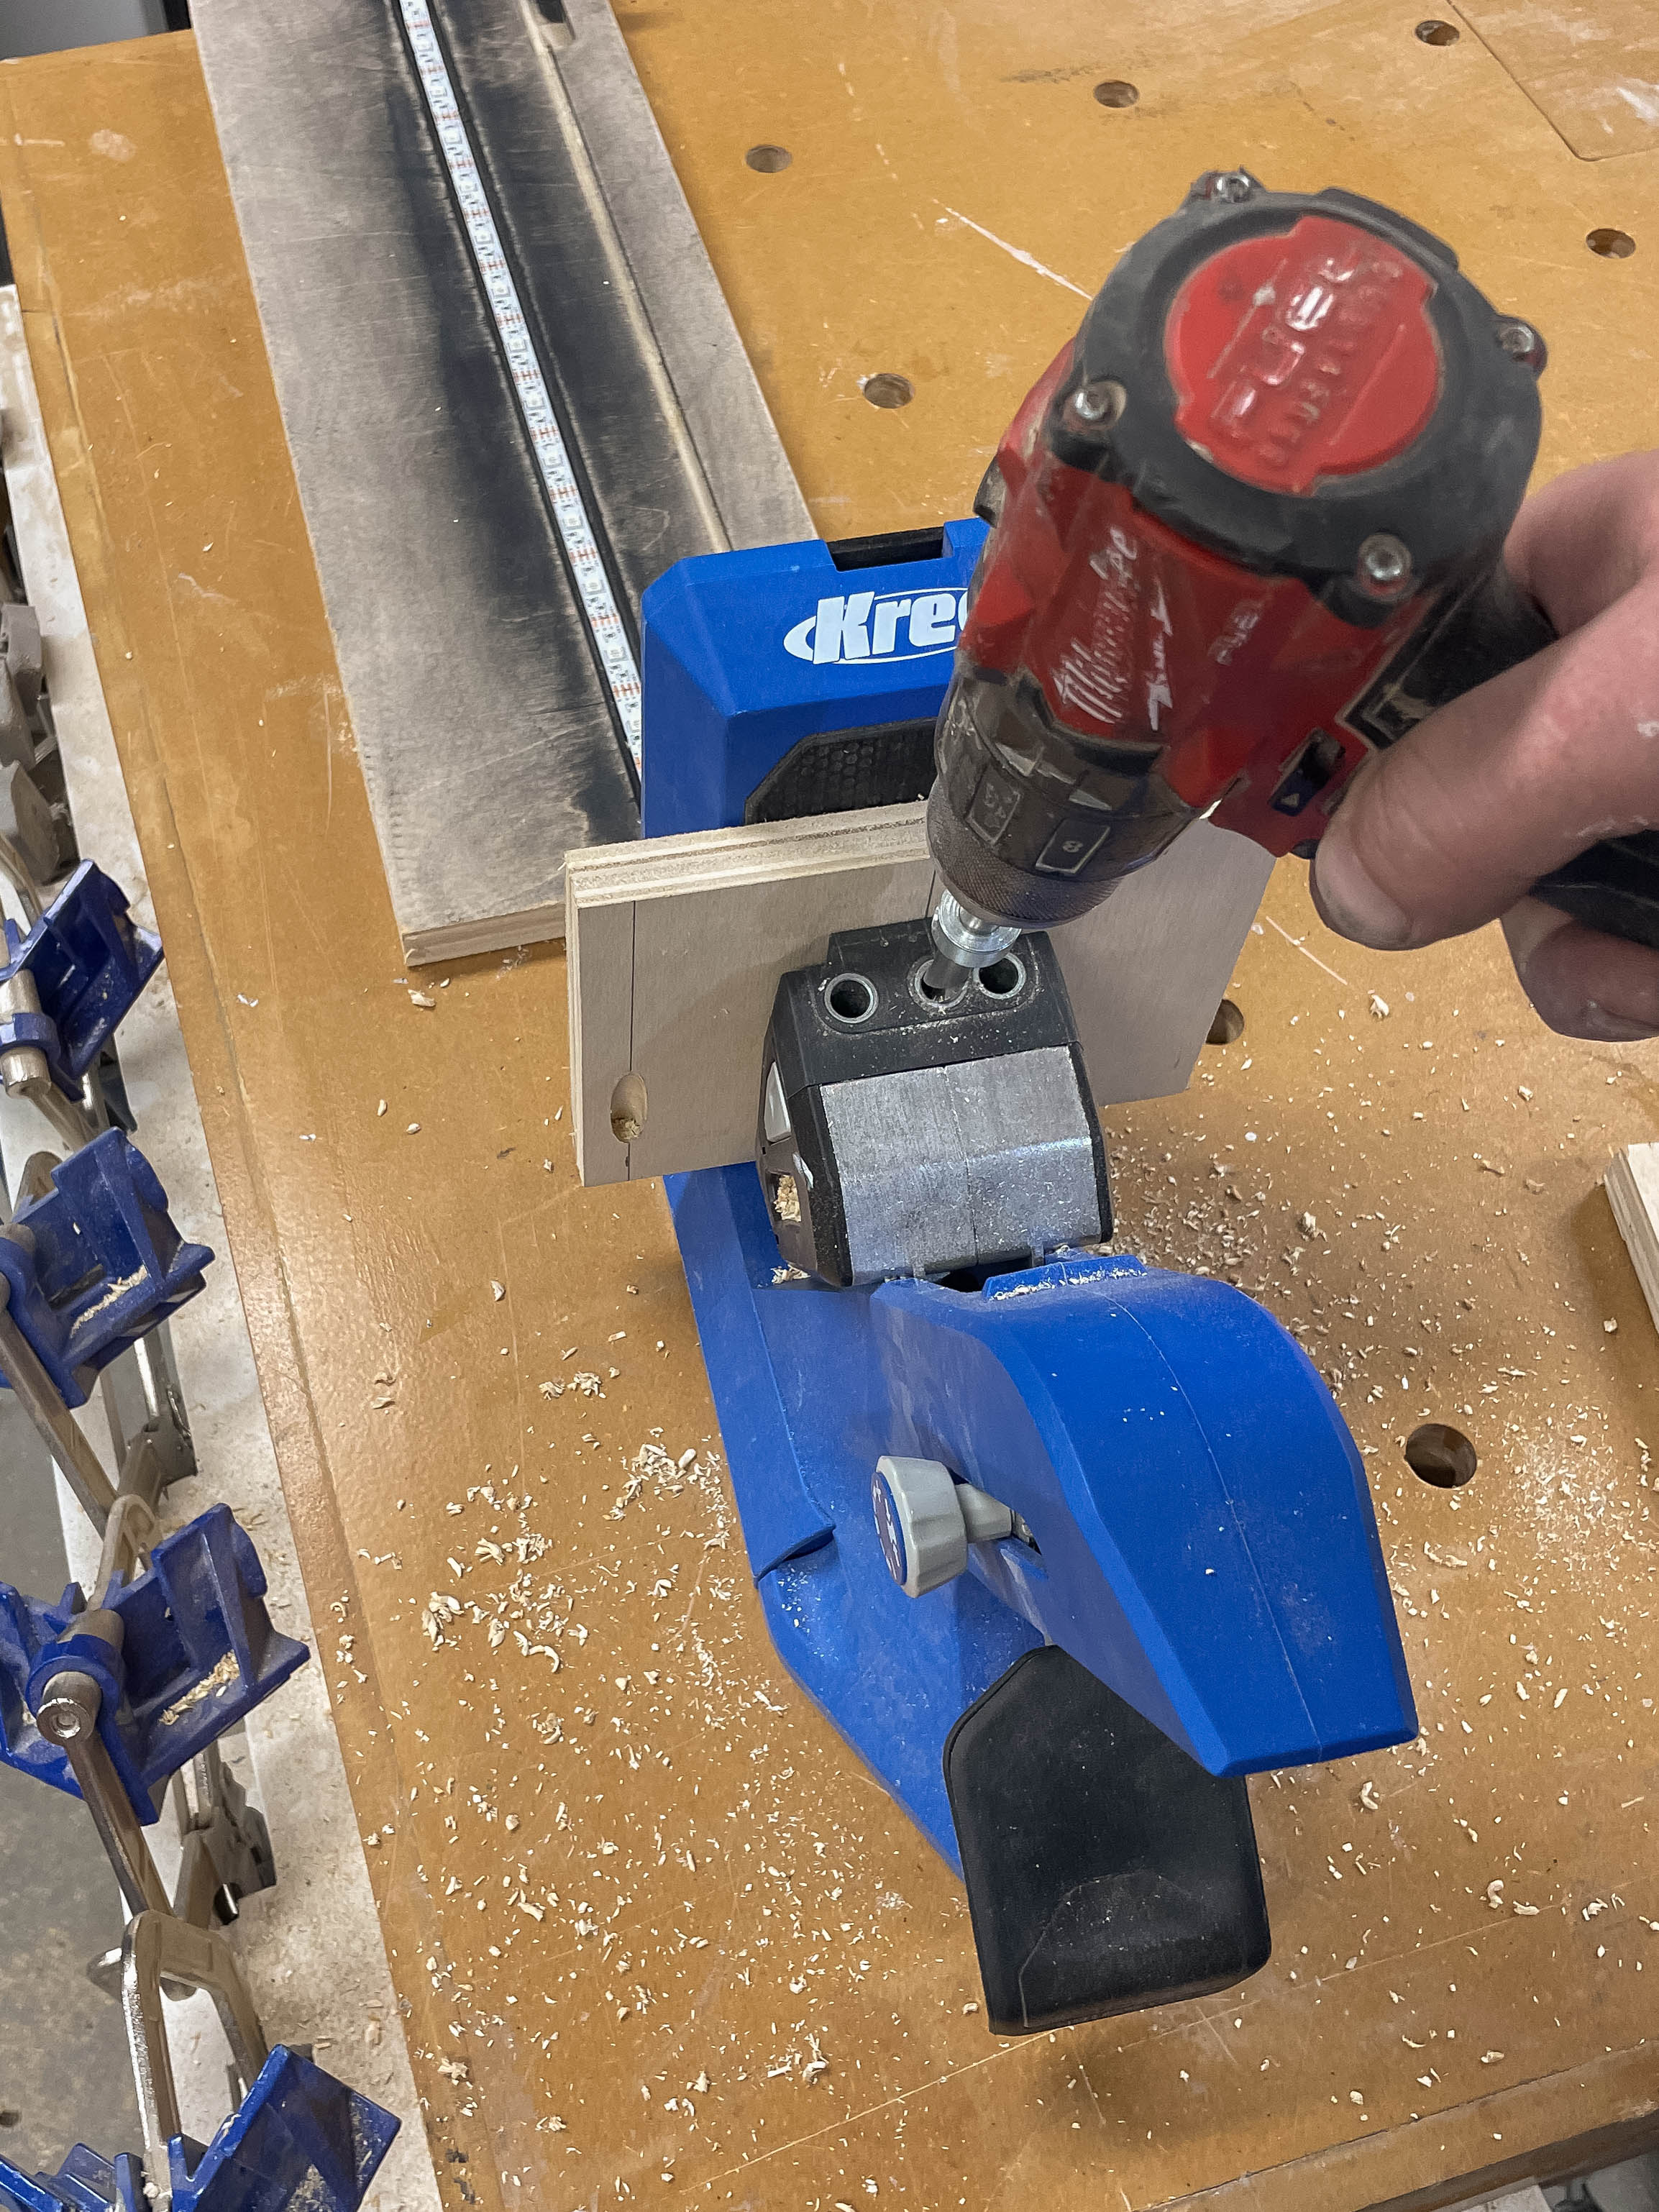
Add Pocket Holes
Add four pocket holes to each side
-
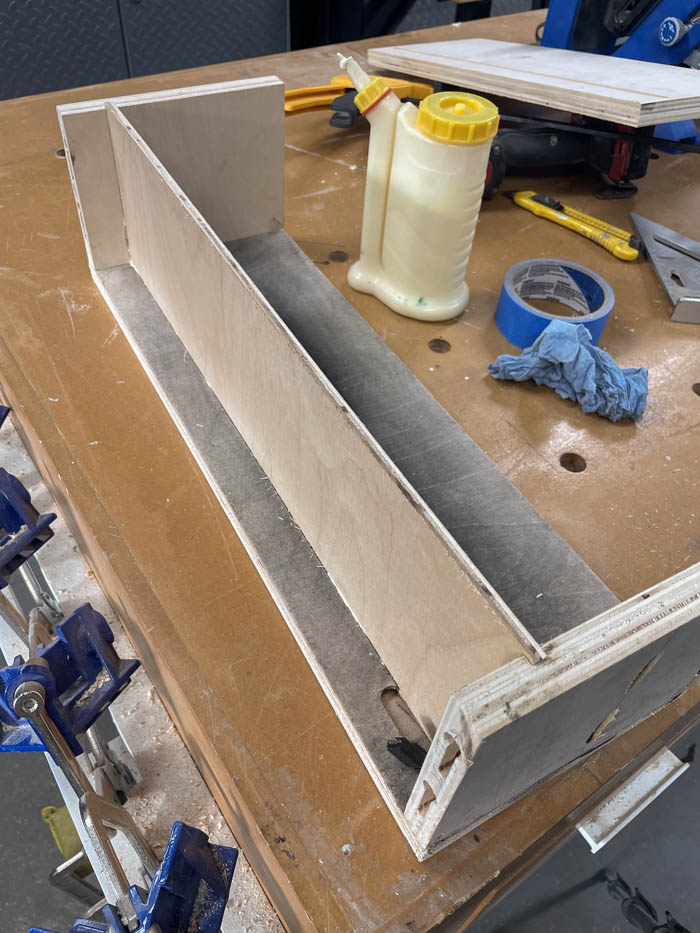
Assembly - Part 1
Glue and screw the two sides to the top of the shelve. Ensure the wiring is in the correct placement and the key holes point the right way.
-
Drill hole for LED strip controller
If your LED's have a controller and switch. Add a hole to the back (noted in drawings for the linked LED kit) to allow the remote to active and control the LED lightning.
-
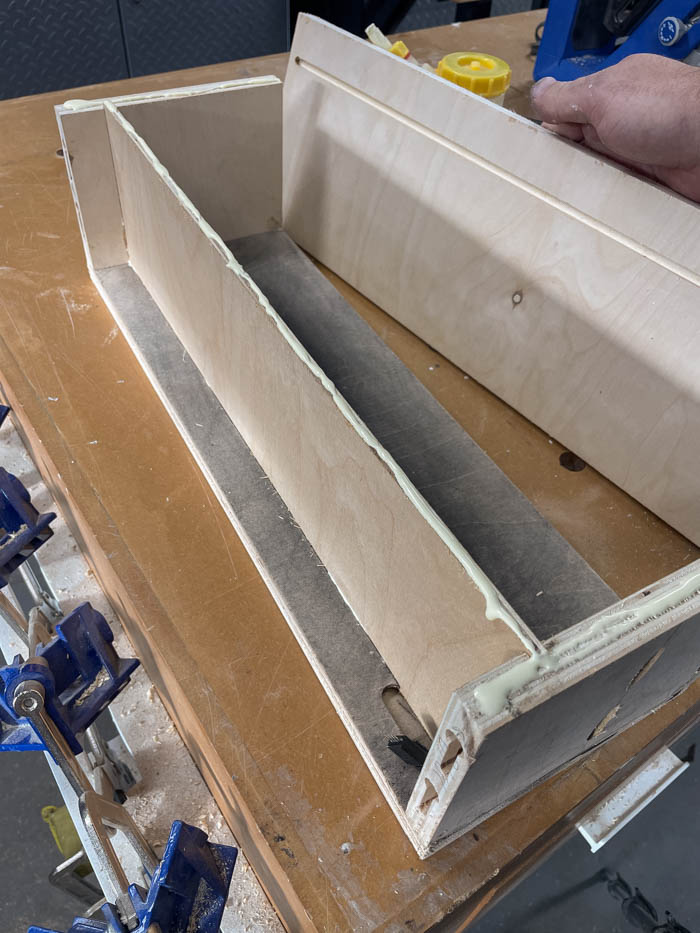
Assembly - Part 2
Add glue and slide the backing into place, ensuring the hole for the LED 's controller is in the right position.
-
Assembly - Part 3
Add the bottom to the shelf and glue and screw into place with the pocket holes
-
Fill Pocket holes
Using Kreg's wooden plugs, fill the 8 pocket holes
-
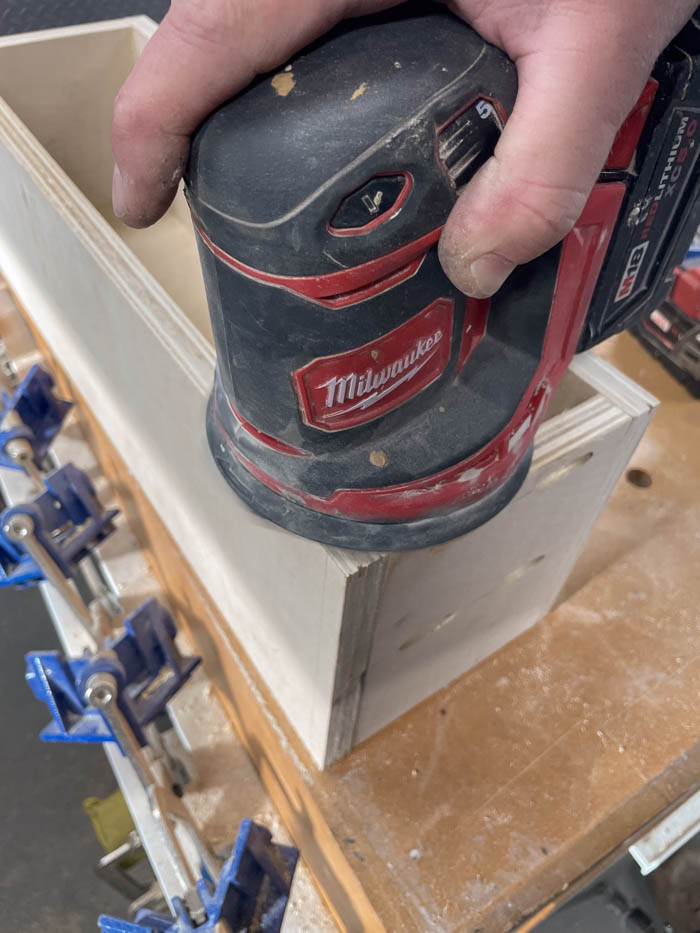
Sand
Fill and cracks, nicks and sand entire box to prep for finish
-
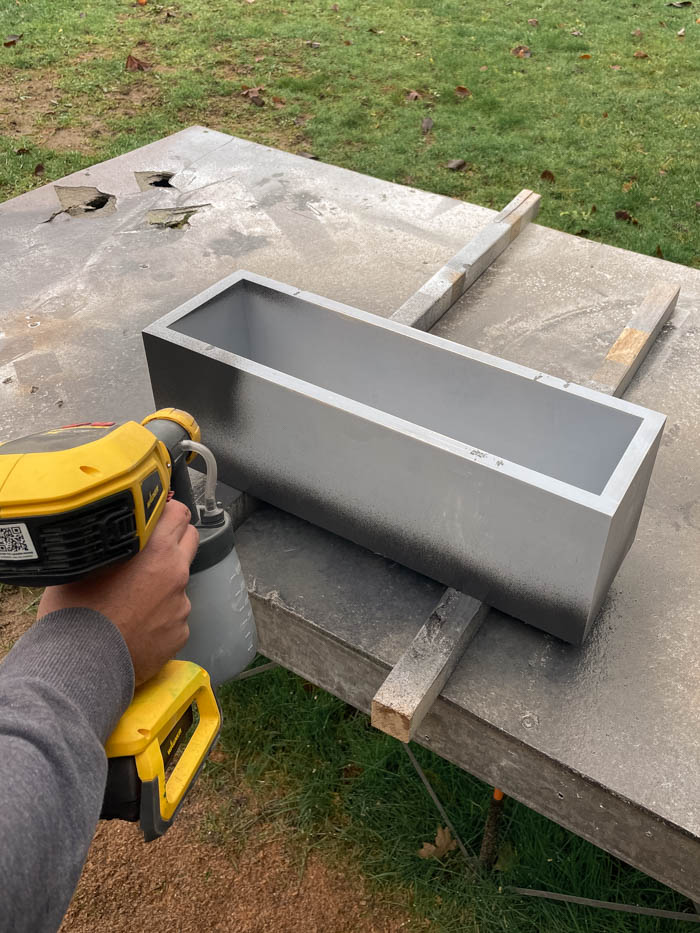
Apply Finish
Add your desired finish, we primed and painted the shelf black
-
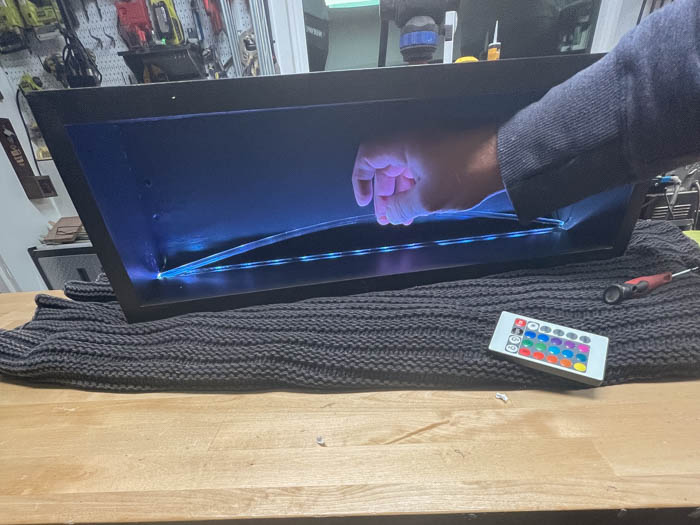
Add Acrylic
Add and secure the Acrylic lens in place using silicone or glue. You can install by bending the middle up, inserting the ends under the shelf's sides. You can use hot glue to secure the lens into place.
-
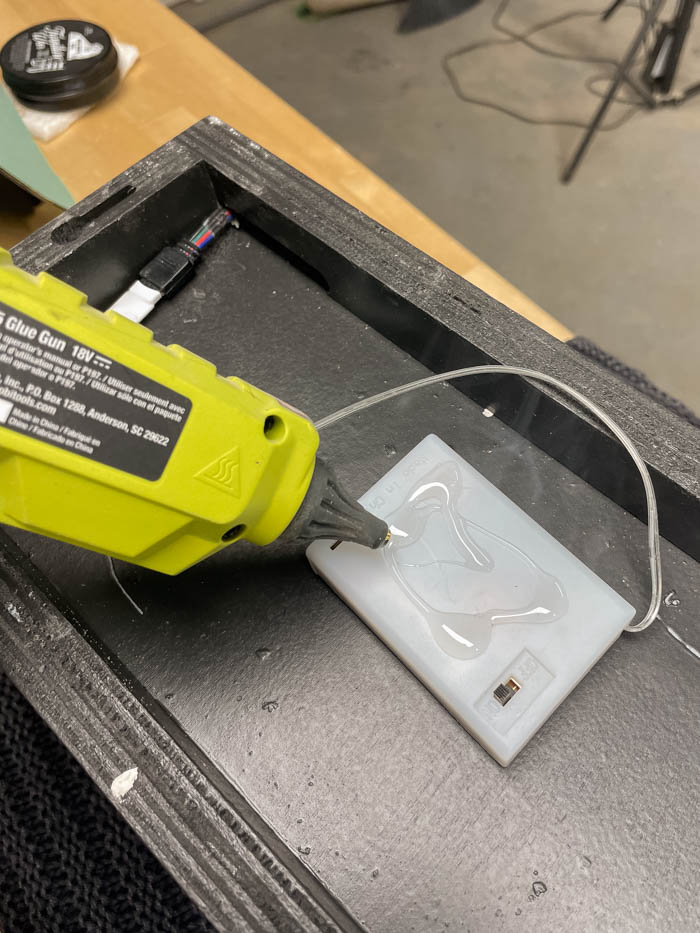
Add LED Battery and Hardware
Secure the LED hardware and battery to the back of the shelf. Have the controller's "eye" go through the hole of the backing. You may need to slightly modify to have it sit flat.