How To Build Floating Shelves – DIY Floating Shelves
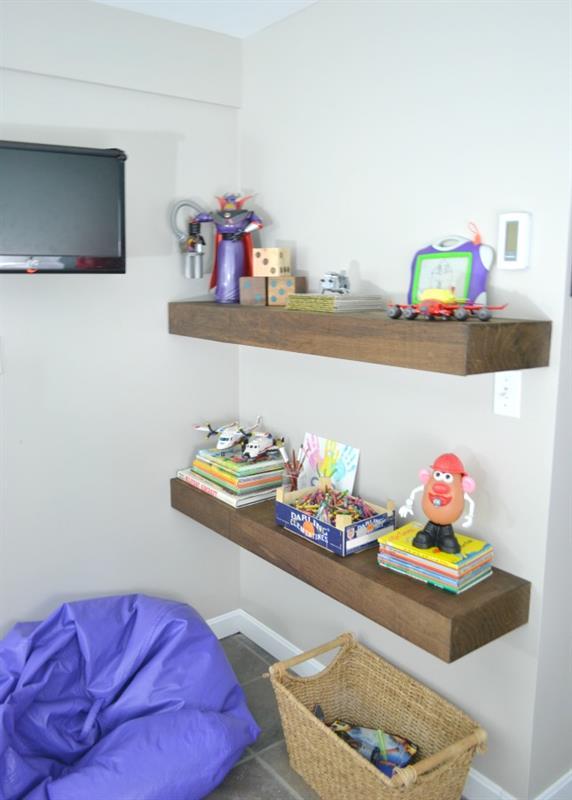
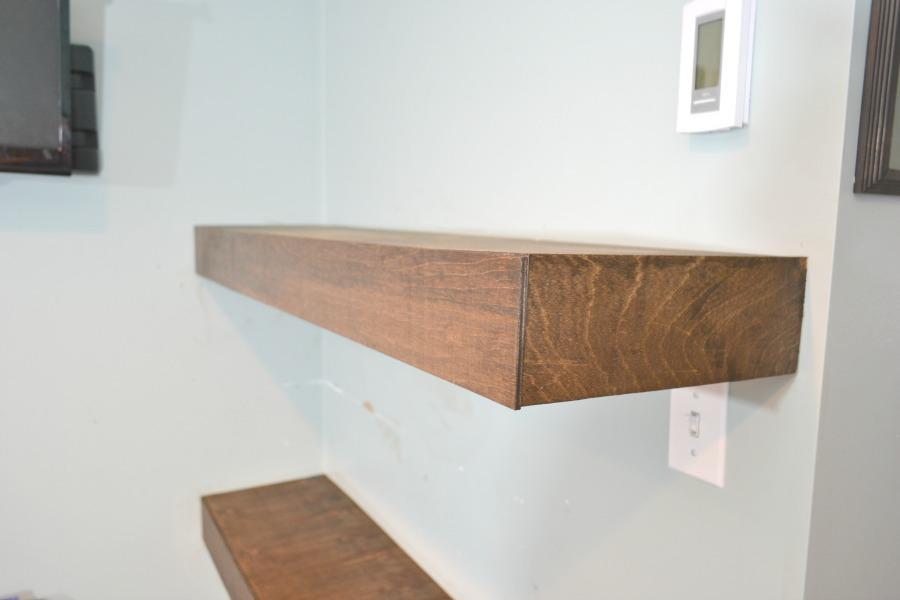
By Jill ApprovedFloating shelves don't have to be expensive. These simple playroom shelves can be customized to the size you want and don't require any fancy cuts. These shelves are large enough to handle some heavy duty storage. They measure 48"x11 3/4"x4" but are easily customized.
Directions
-
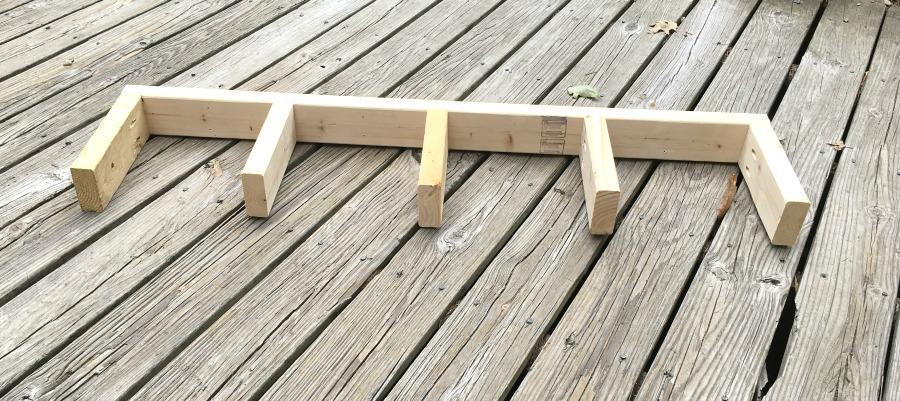
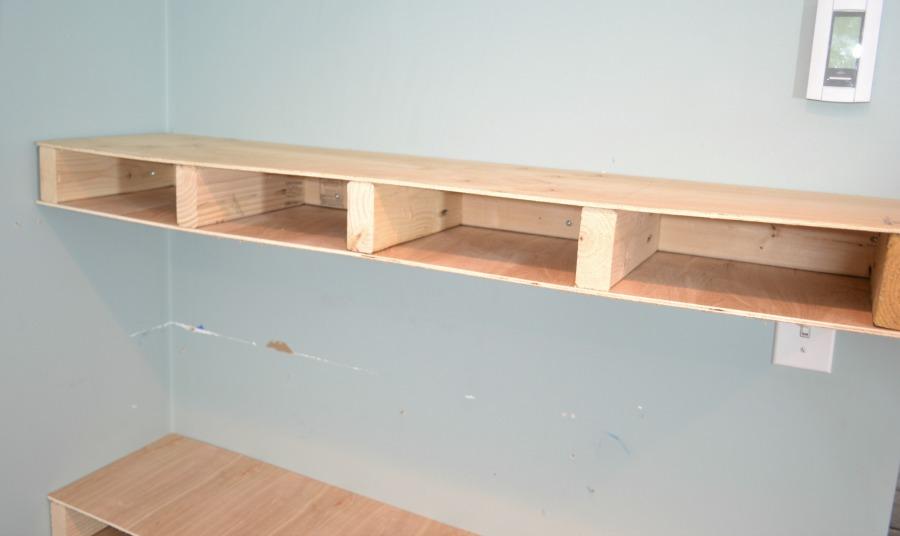
Step 1. Attach the 5- 10" 2x4s to the 47 1/2" piece
Attach the 5- 10" 2x4s to the 47 1/2" piece. Space them 10" apart and attach using pocket hole screws.
-
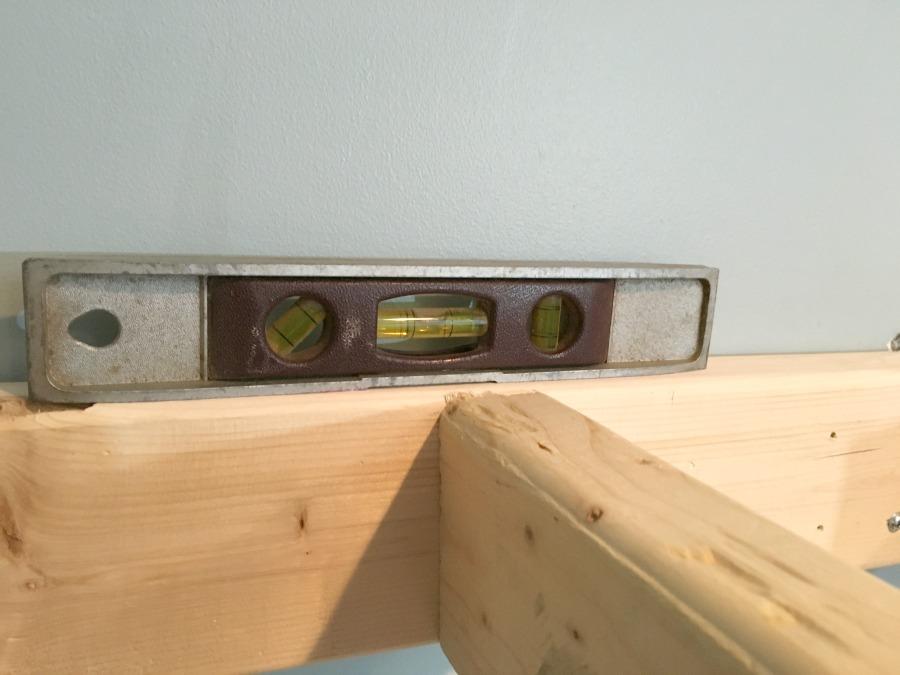
Step 2. Mark the placement of the shelf base using a level
Find and mark studs on the wall using a stud finder, then mark the placement of the shelf base using a level to be sure your shelf is properly placed.
-
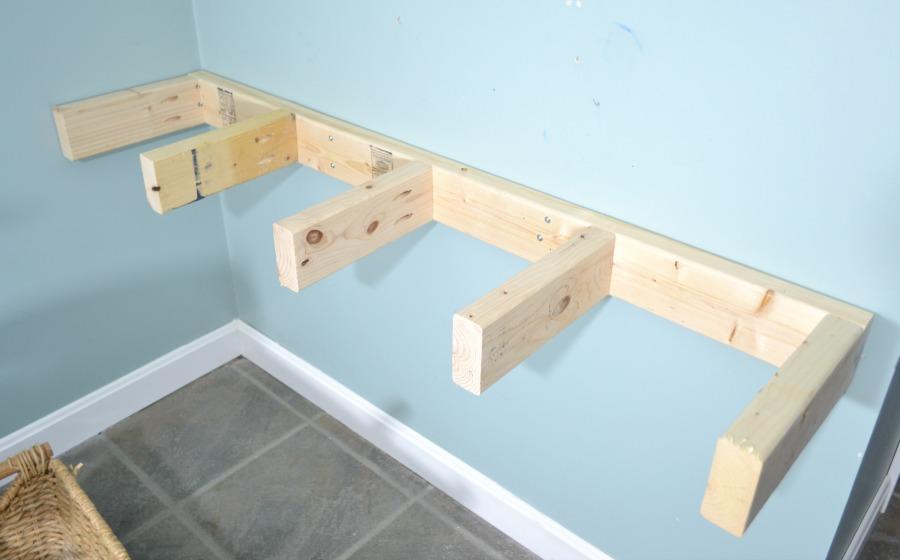
Step 3. Attach the shelf base using two screws at each stud.
Attach the shelf base using two screws at each stud. If you do not have studs to utilize, choose anchors that are rated for the appropriate weight of your shelf.
-
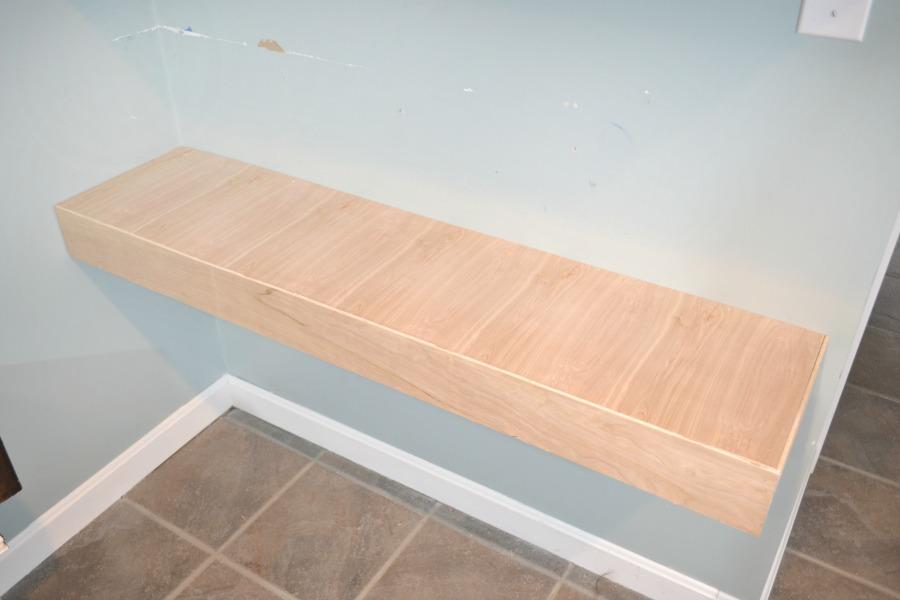
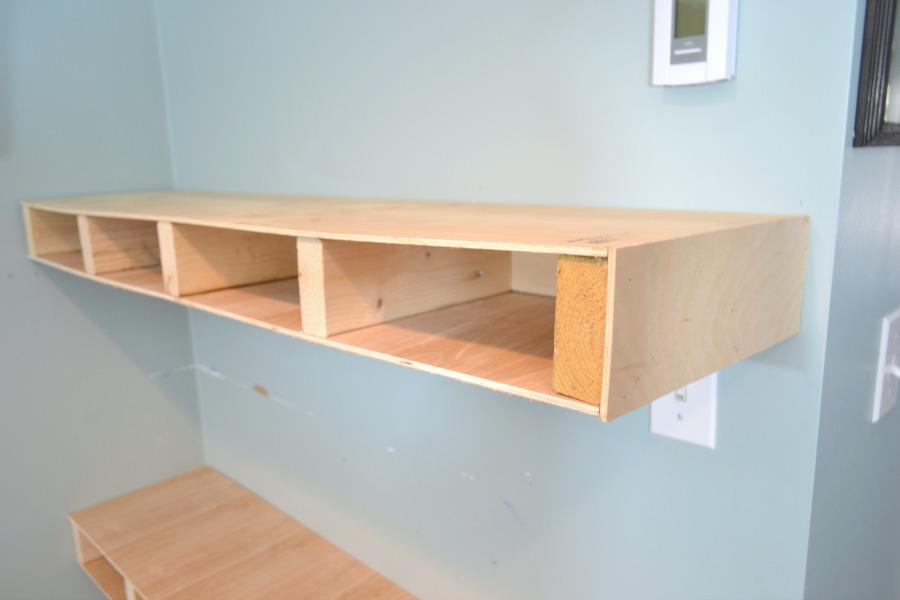
Step 4. Nail 47 1/2" plywood to the top and bottom of each shelf.
Use a brad nailer and 3/4" nails to nail 47 1/2" plywood to the top and bottom of each shelf.
-
Step 5. Attach each 4"x11 1/2" plywood piece to the sides of the shelves
Attach each 4"x11 1/2" plywood piece to the sides of the shelves using brad nailer and 3/4" shelves.
-
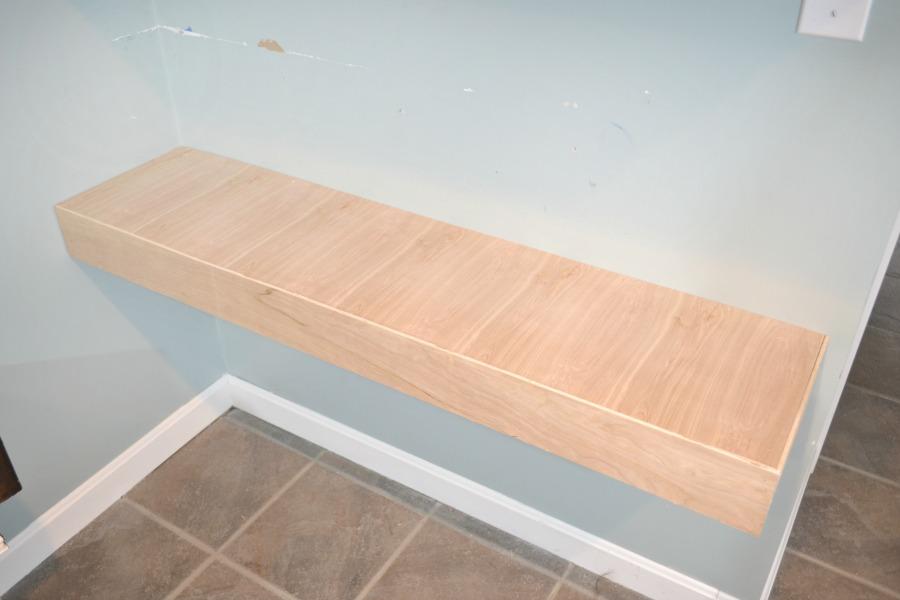
Step 6. Attach the 48"x4" plywood as the front of the shelves
Attach the 48"x4" plywood as the front of the shelves using a brad nailer and 3/4" brad nails.
-
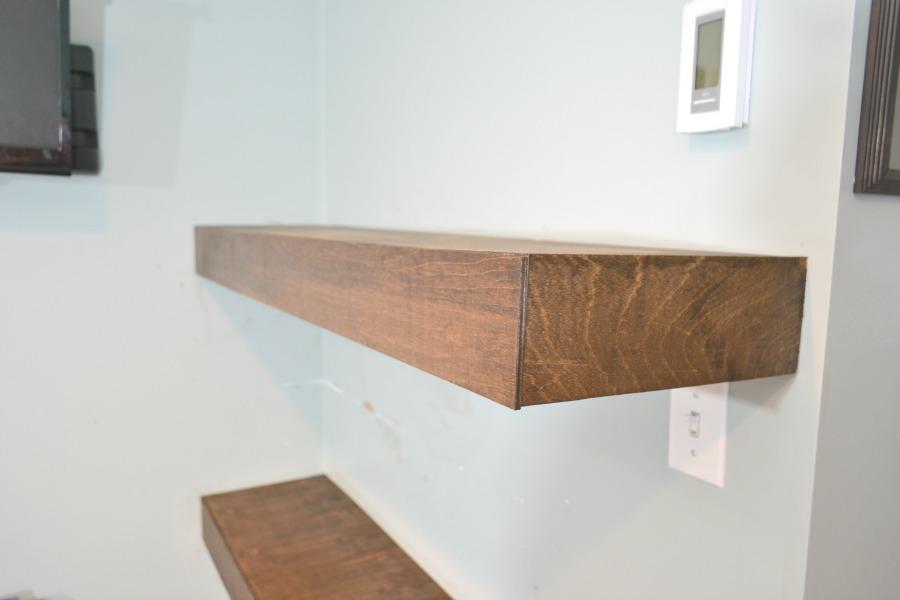
Step 7. Sand, stain and polyurethane your shelves
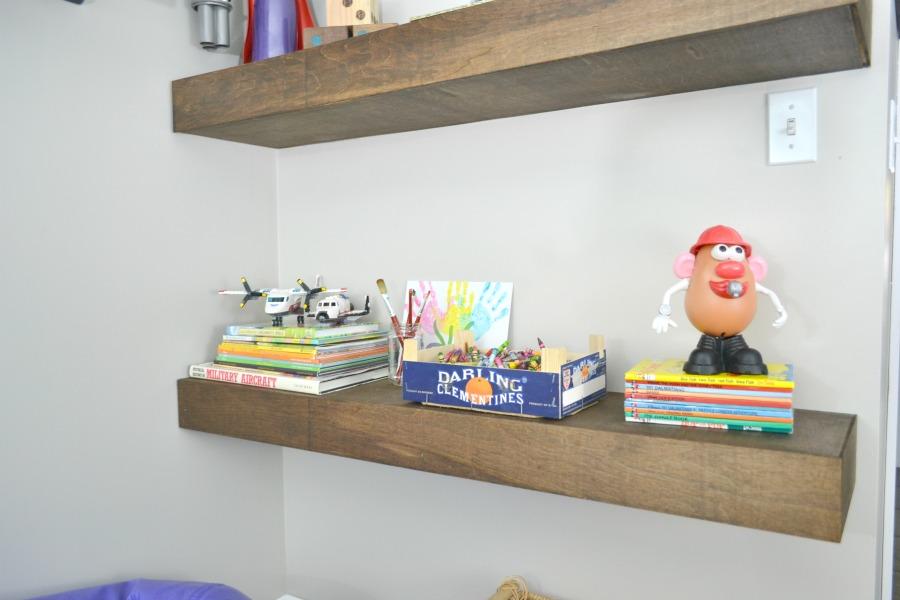
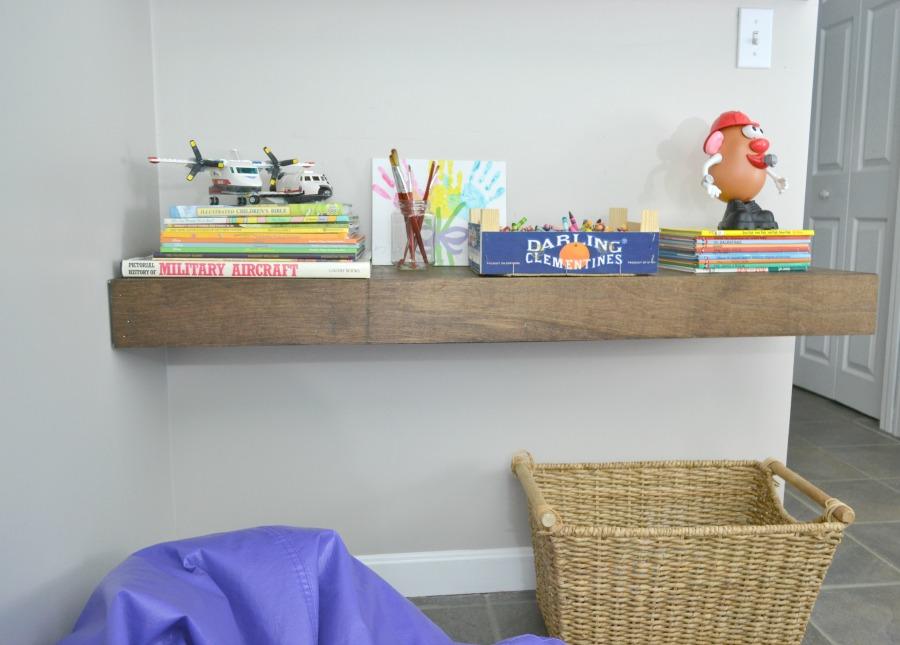
Sand, stain and polyurethane your shelves as desired. You could also sand, stain and polyurethane the plywood before you attach it, and that may be a better idea. I am not a tidy finisher so let's just say I'm glad these walls were ready for a fresh coat of paint. By the time I was done staining, they needed it.
-
Preparation:
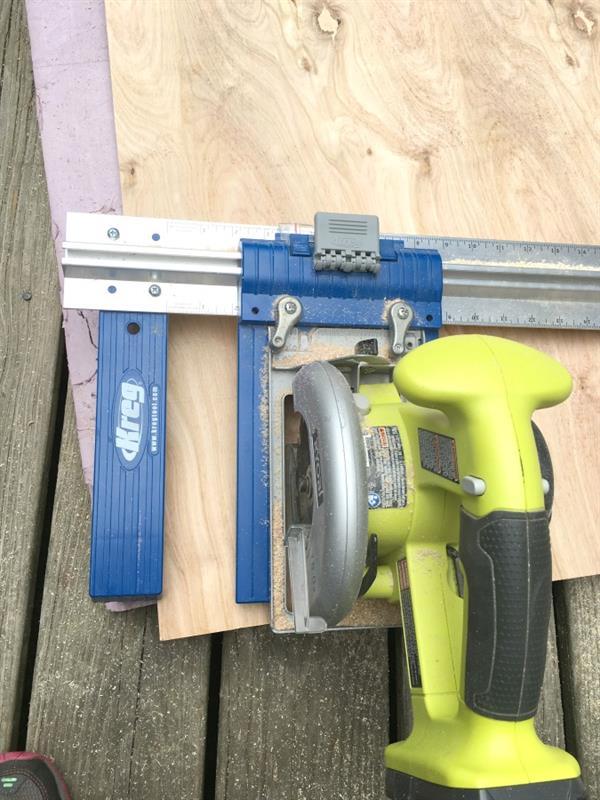
Cut all of your wood and drill pocket holes in one end of the 10" 2x4 pieces.
The Kreg Rip Cut is a great accessory for a plywood job like this one because you are using many of the same size pieces.
To see my post on the Kreg Rip Cut, you can visit http://www.iamahomemaker.com/the-kreg-rip-cut/
Be sure to check out our top 20 plans for DIY floating shelves:


