


Get your tools organized in your shop with this rolling tool cart with pegboard storage.
Tools
Kreg Tools


Other Tools
-
Miter saw

-
Table saw (or AccuCut)
-
Tape measure
-
Finish nailer
-
Rubber mallet
Materials
Wood Products
- 1 Plywood , 4x8 Sheet , 3/4"
Hardware & Supplies
- -- Kreg pocket hole screws 1 ¼”, zinc, coarse grit (see tools list)
- -- 1 1/2” finish nails
- 4 16x16 metal pegboards
- 4 Casters
- -- Pegboard baskets and accessories
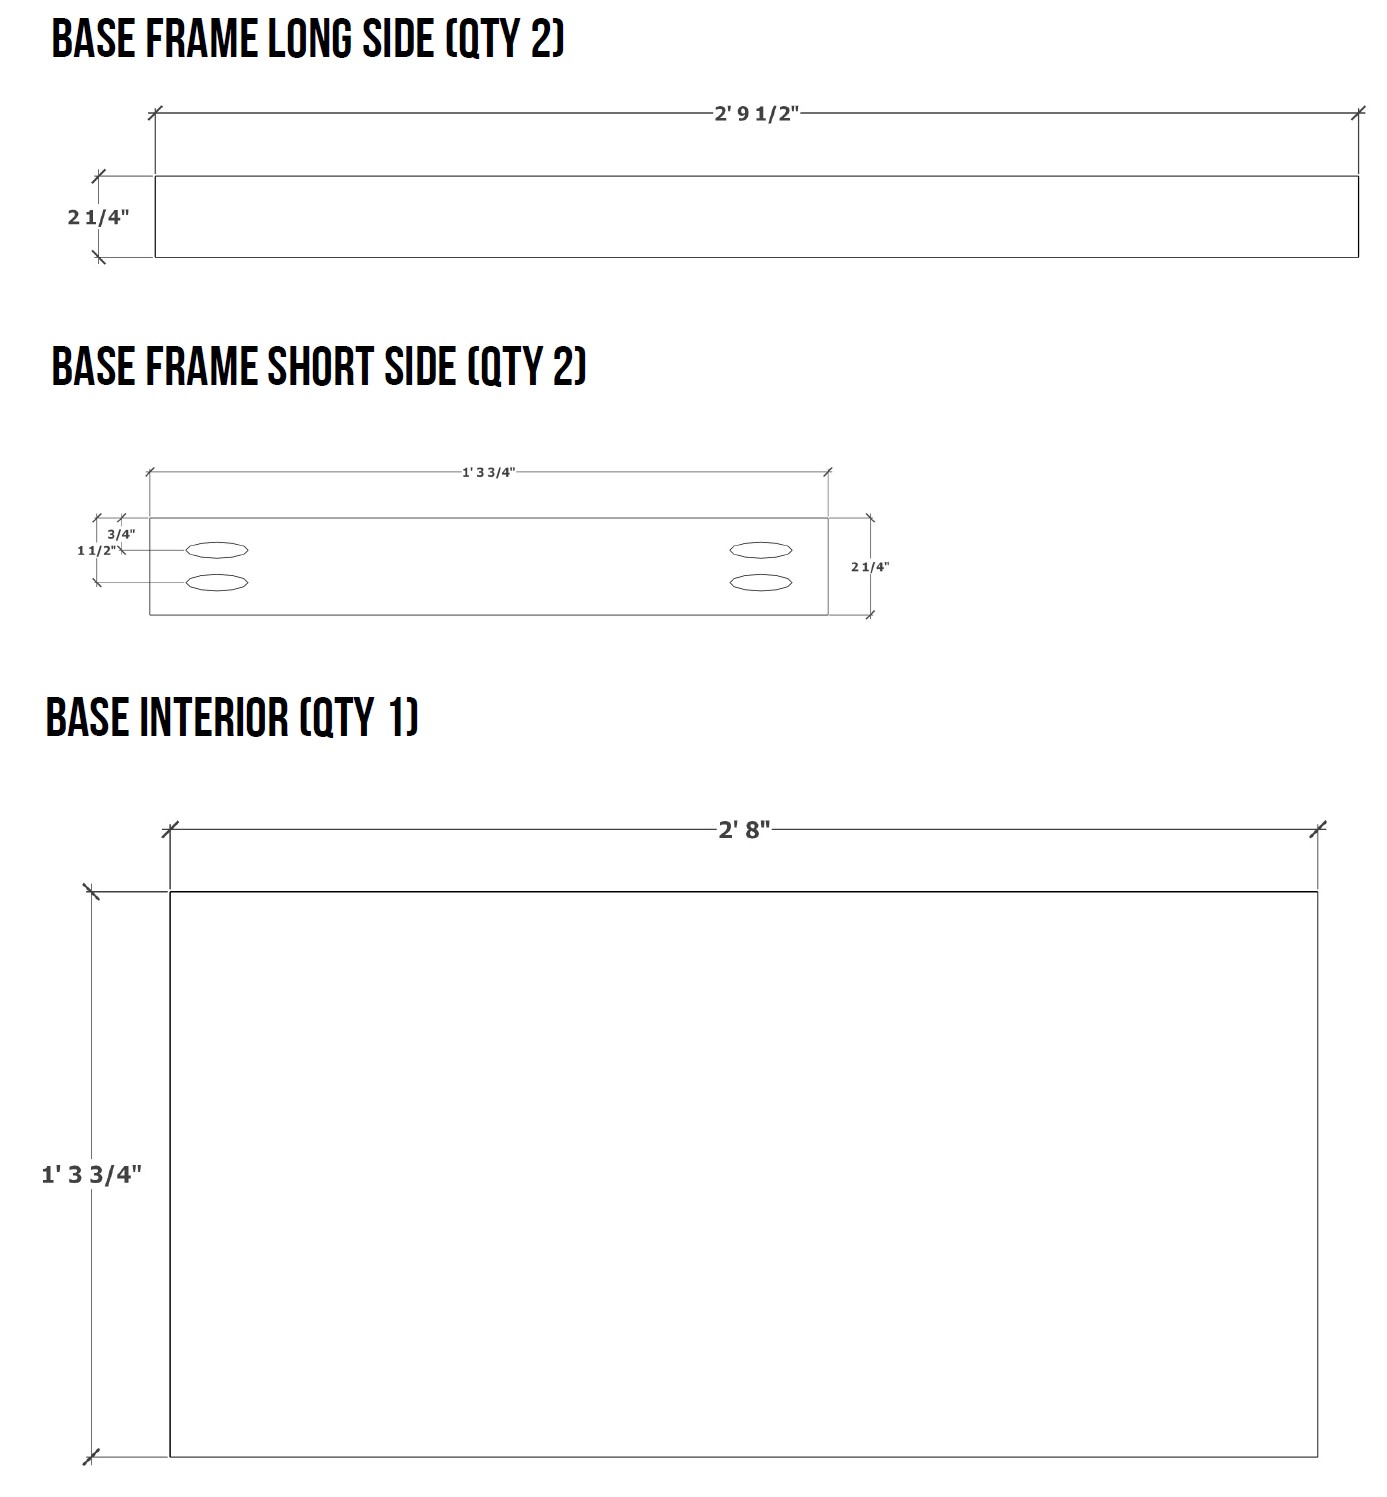
Cut List & Parts
- 2 Base Frame Long Side , 3/4" x 2 1/4" x 2' 9 1/2"
- 2 Base Frame Short Side , 3/4" x 2 1/4" x 1' 3 3/4"
- 1 Base Interior , 3/4" x 1' 3 3/4" 2' 8"
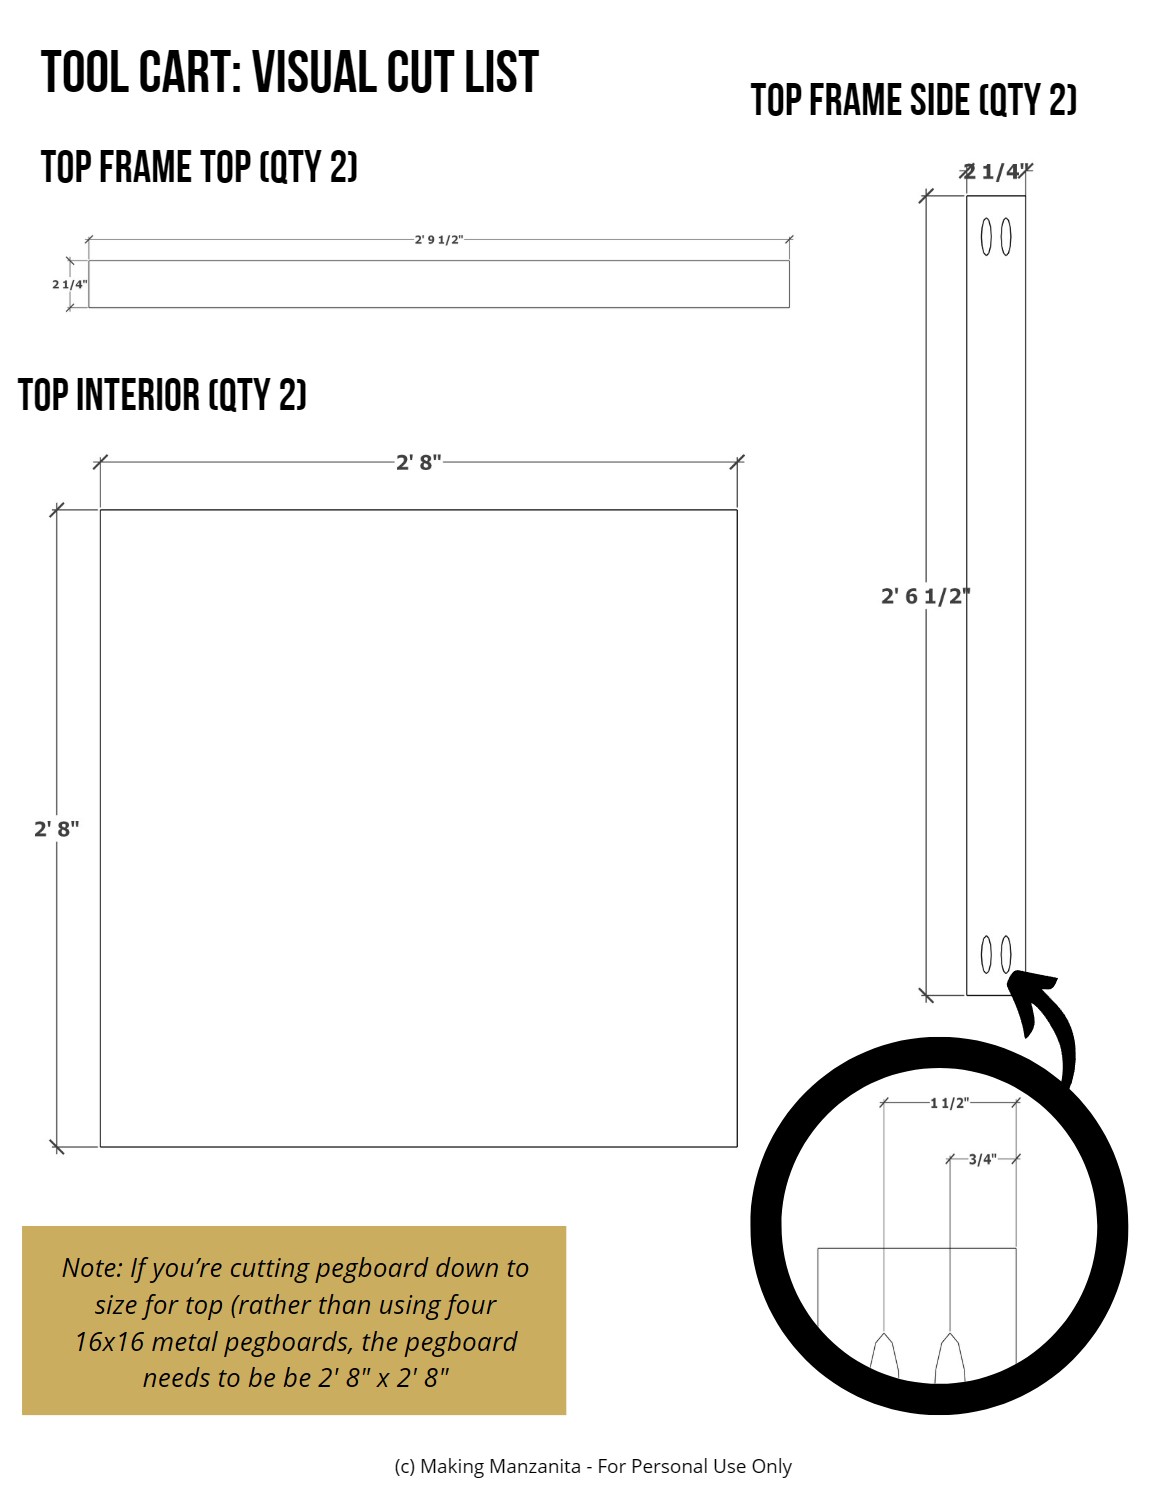
- 2 Top Frame Top , 3/4" x 2 1/4" x 2' 9 1/2"
- 2 Top Frame Side , 3/4" 2 1/4" x 2' 6 1/2"
- 2 Top Interior , 3/4" x 2' 8" x 2' 8"
Directions
-
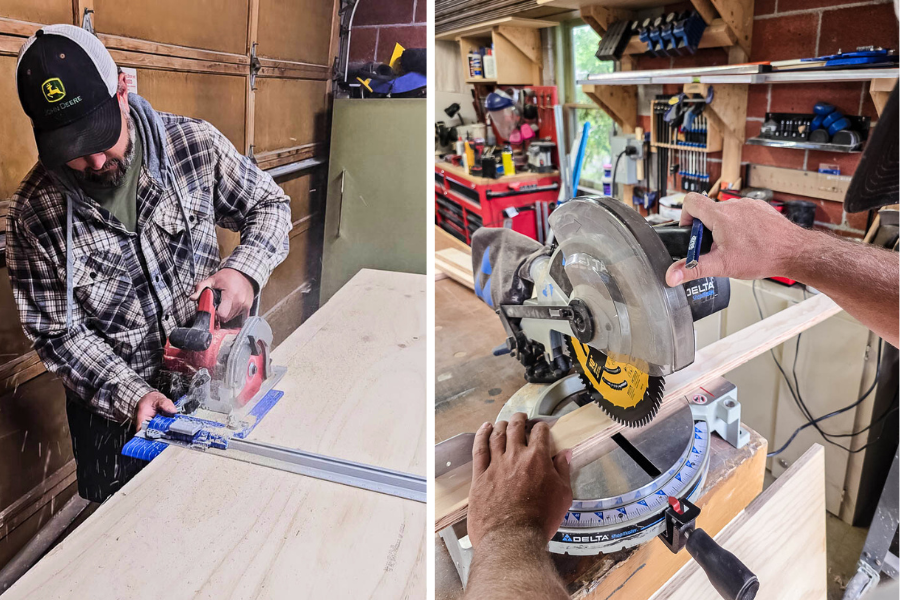
Cut wood
Cut the plywood down to size according to the visual cut list in the woodworking plans with a miter saw for the lengths and a RipCut, AccuCut and/or table saw for the rip cuts.
-
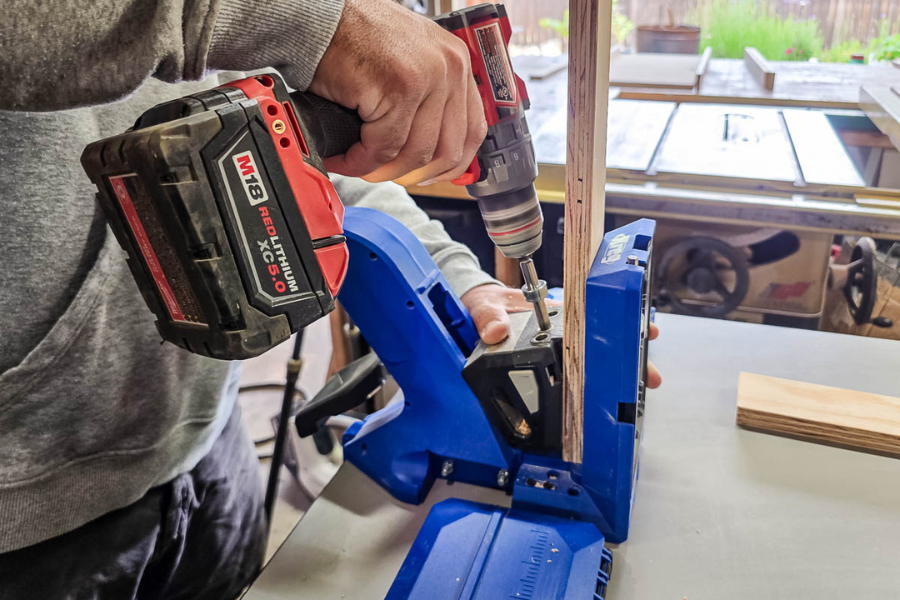
Drill pocket holes
Drill pocket holes as shown in the woodworking plans. We’re using the 720Pro jig.
-
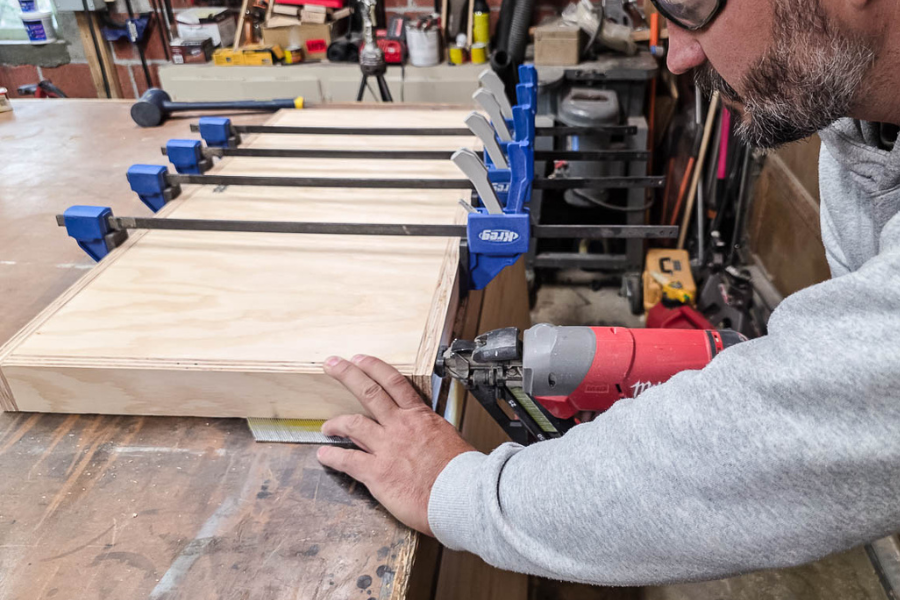
Assemble the base
Attach the four outside pieces of the frame of the base using the predrilled pocket holes and 1 ¼” pocket hole screws. Slide the base interior piece into the frame and clamp into place so that it is flush on one edge of the frame. Nail the interior piece into place using a finish nailer and 1 ½” finish nails.
-
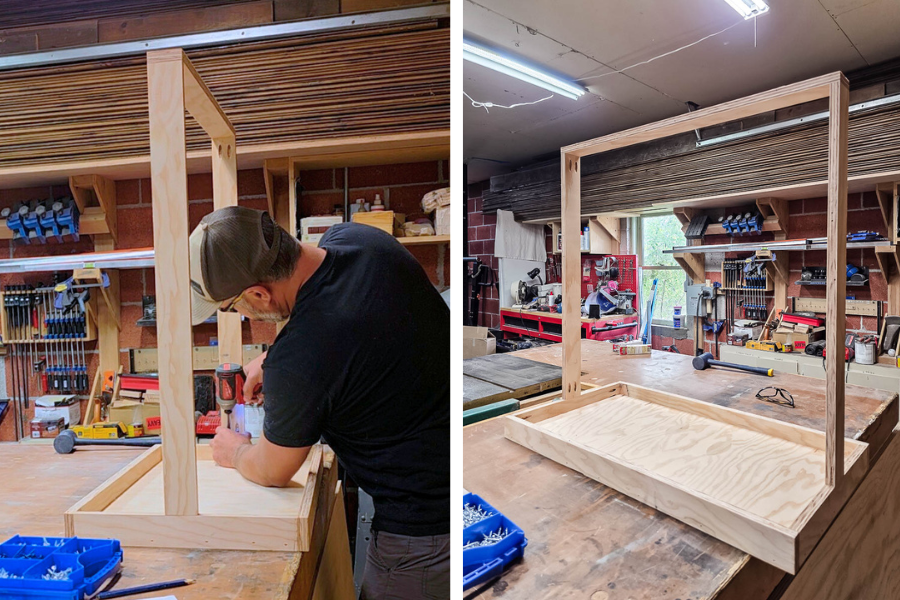
Assemble and attach top frame
Attach the three pieces of the frame for the top using predrilled pocket holes and attach into place in the middle of the base, standing up.
-
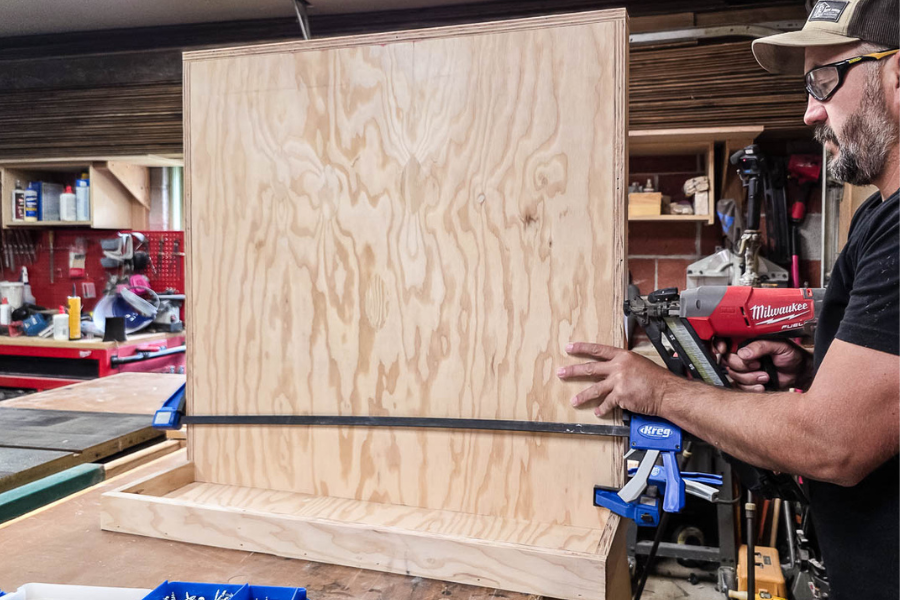
Add interior piece for top
Slide the first interior piece for the top into place. You may need to tap it gently with a rubber mallet. It should be flush on one side of the top frame. Clamp into place and secure from the outside of the frame with a finish nailer and 1 ½” finish nails. Follow up with second interior piece stacked next to the first to make it thicker. Attach with nails from the outside as well.
-
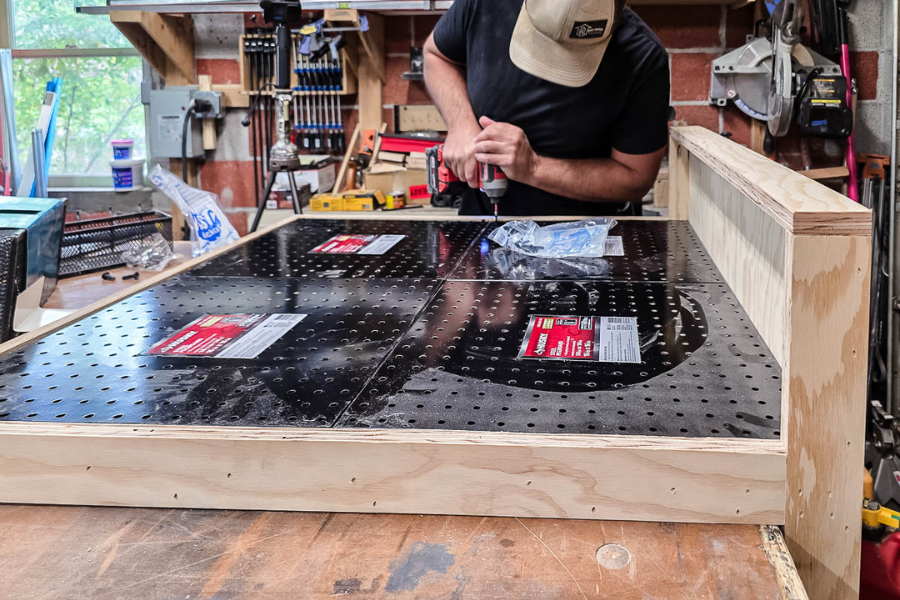
Add pegboards and casters
Add metal pegboards and secure into place with screws provided with the pegboards. Add casters to the bottom of the base in each corner.
-
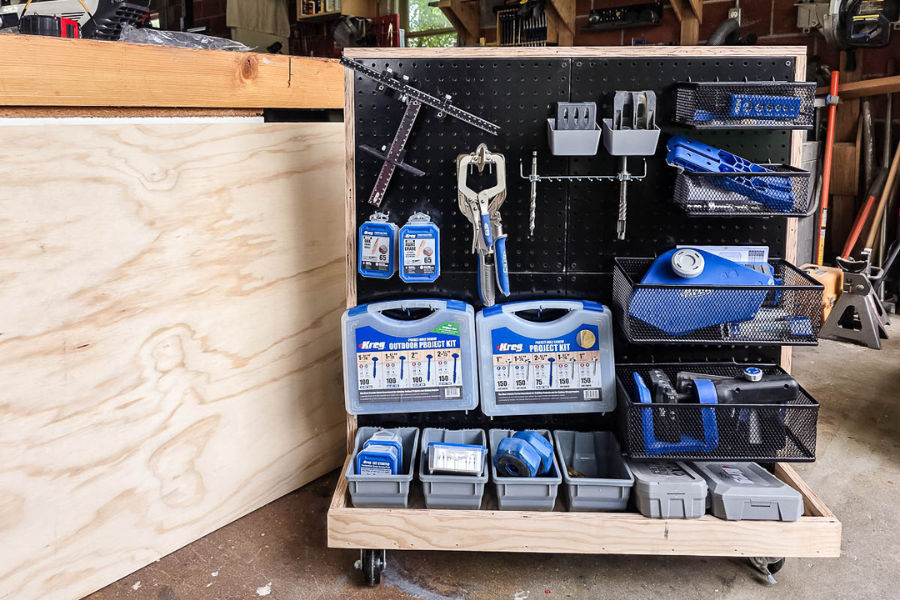
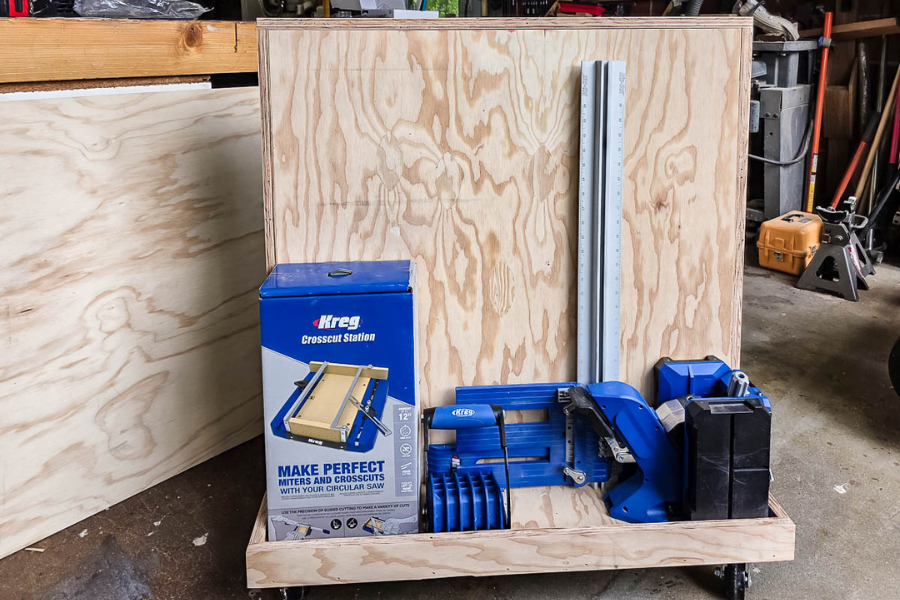
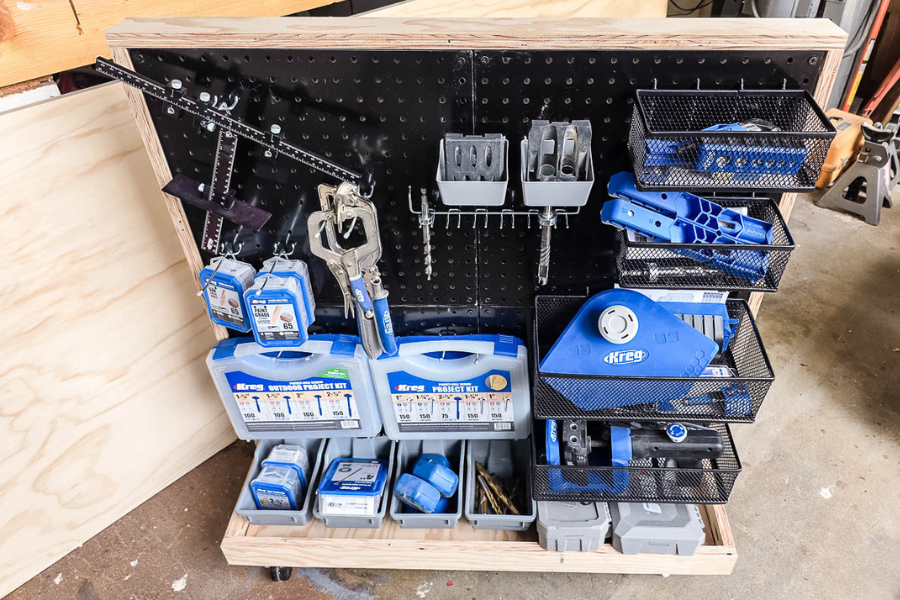
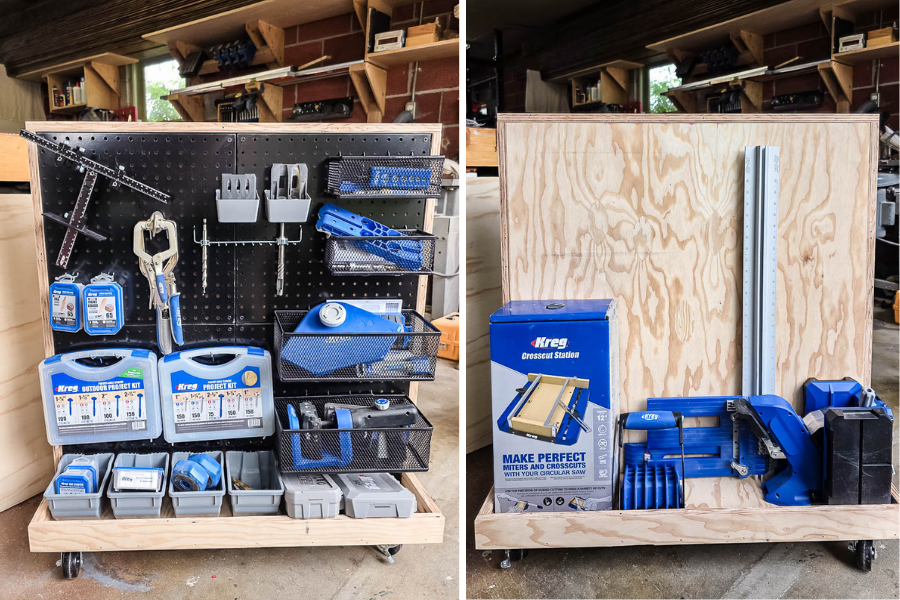
Add baskets, accessories, and tools
Lastly, you can add your baskets and pegboard accessories to organize your tools. We were able to fit so many tools onto the cart. The backside (without the pegboard) can be used for larger tools (like the RipCut, 720Pro, and cutting station). You can also use this area to stand up larger bar clamps.
