Tall Tapered Planter Boxes
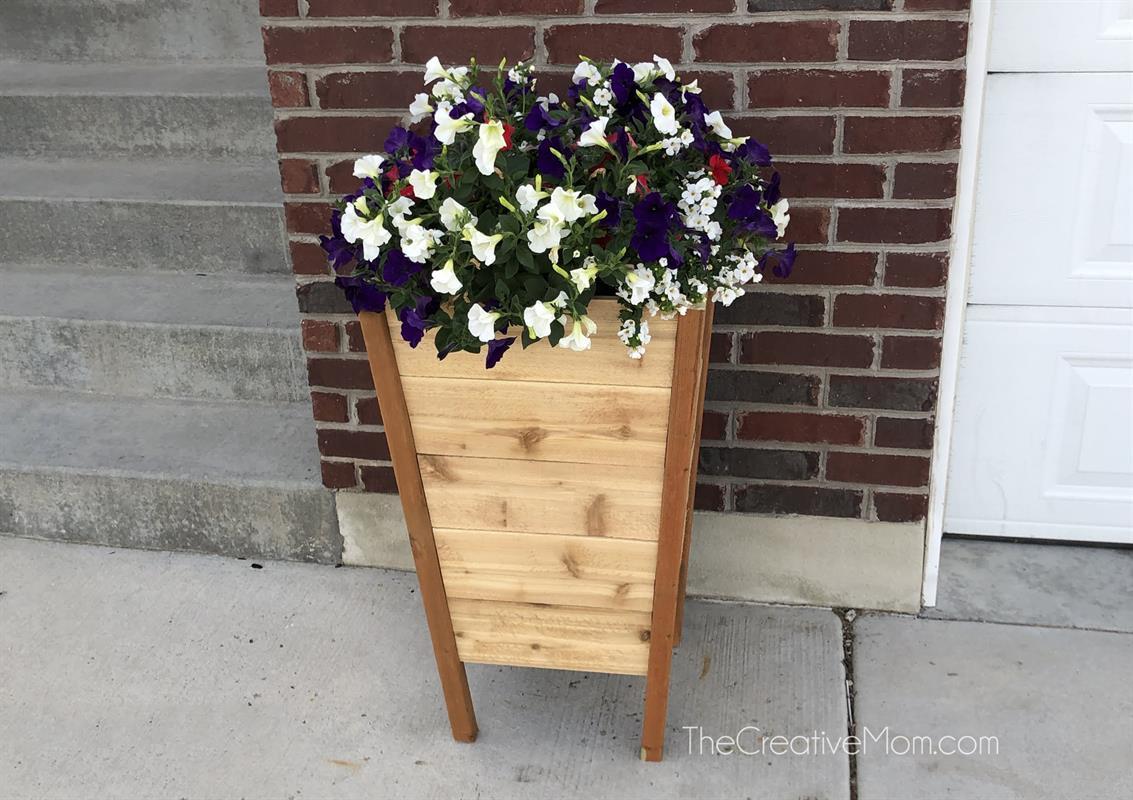
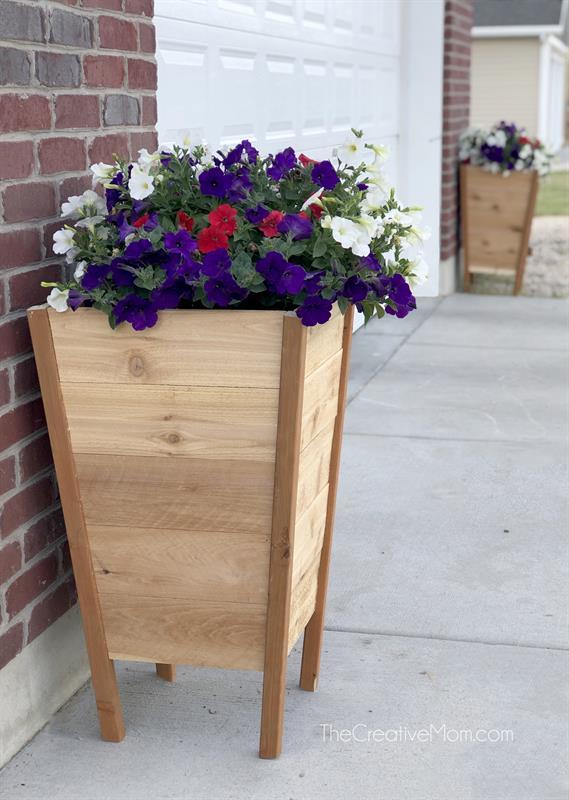
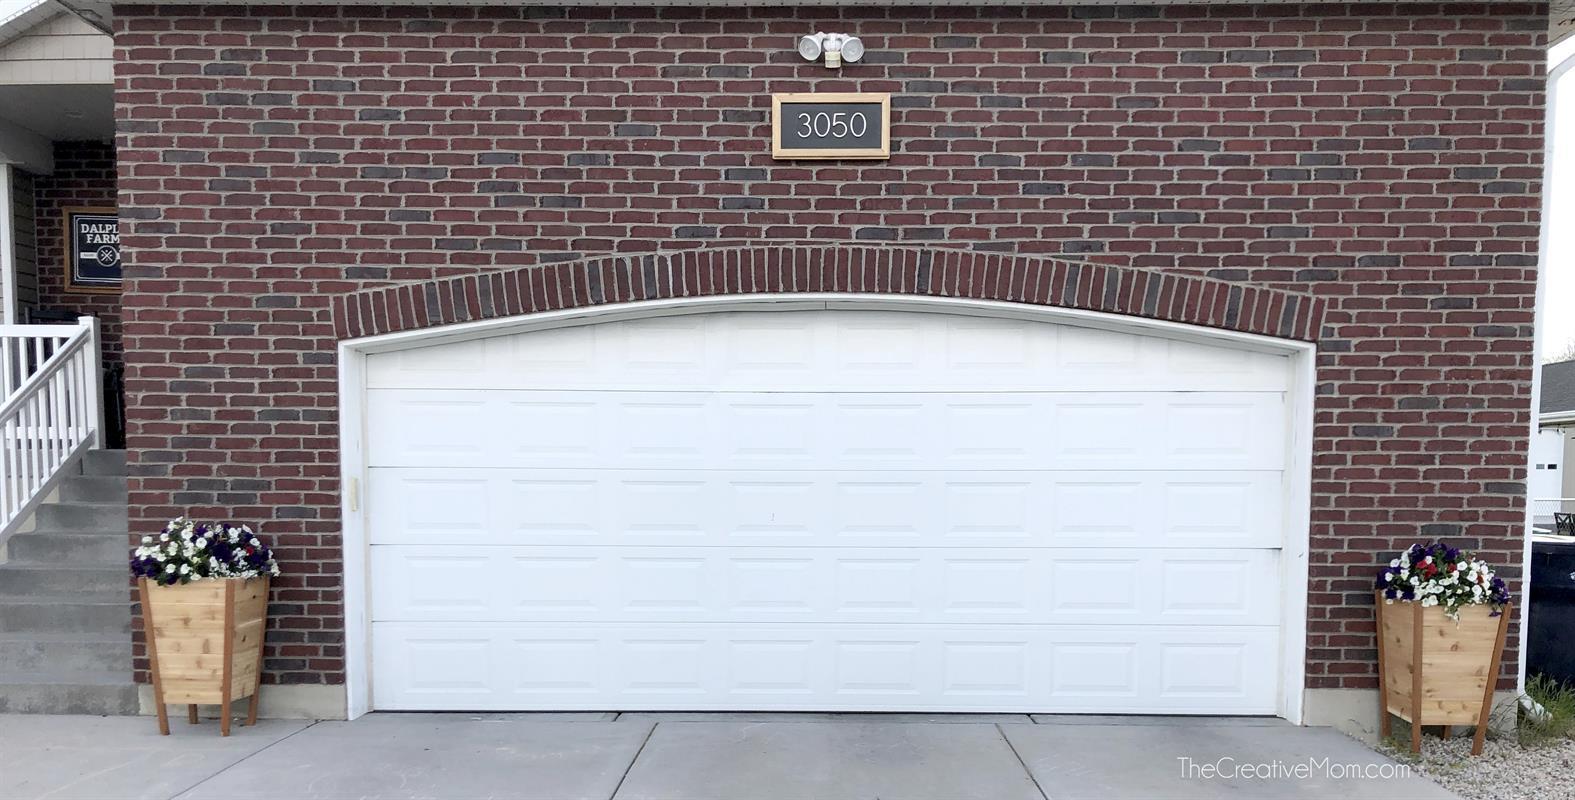
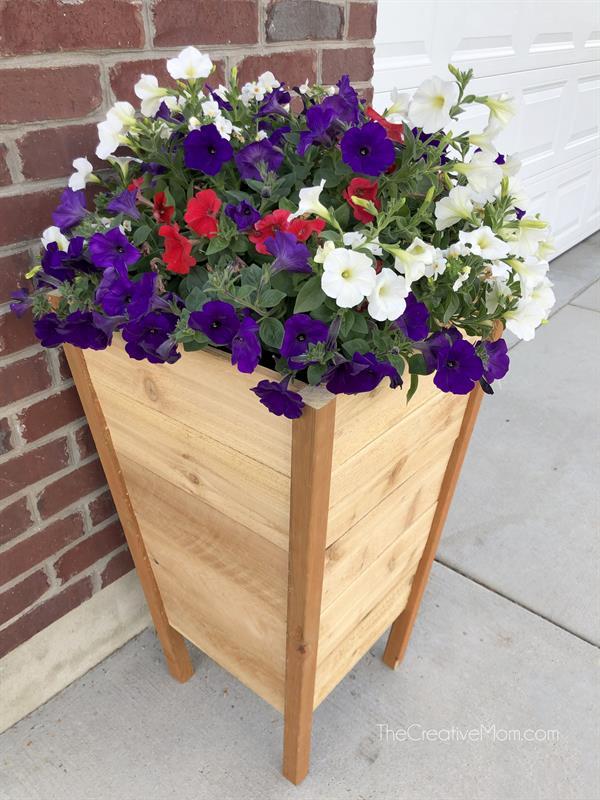
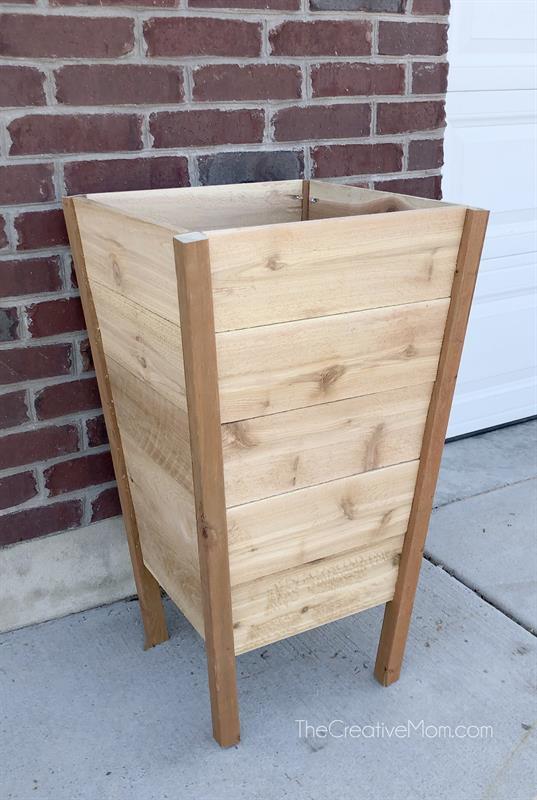
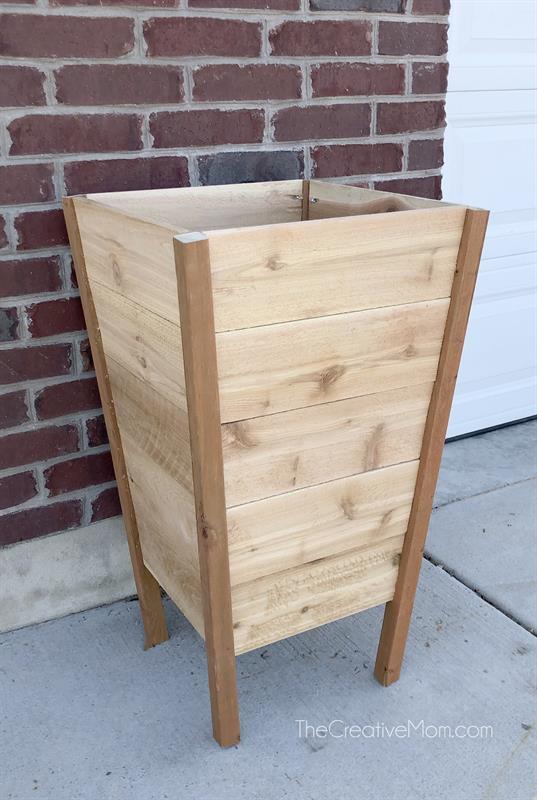
By The Creative MomThis planter box is more of a modern style, with it's tapered sides. It is taller than most planter boxes, and stands about 34 inches tall. It is a pretty simple build, although there are some angled cuts. Build this planter box with cedar, redwood, or pressure treated lumber for outdoors.
Directions
-
Choosing Lumber
This planter box calls for 1x6 and 2x2 lumber. If you plan to use the planter box outside, it is recommended that you use cedar, redwood, or pressure treated lumber. When choosing your lumber, look for boards that are straight, with no bends or curves. Also, make sure you look for boards that are dense and strong. Cedar fence pickets generally would not work for this build, because they are too thin and brittle.
-
Cut Planks
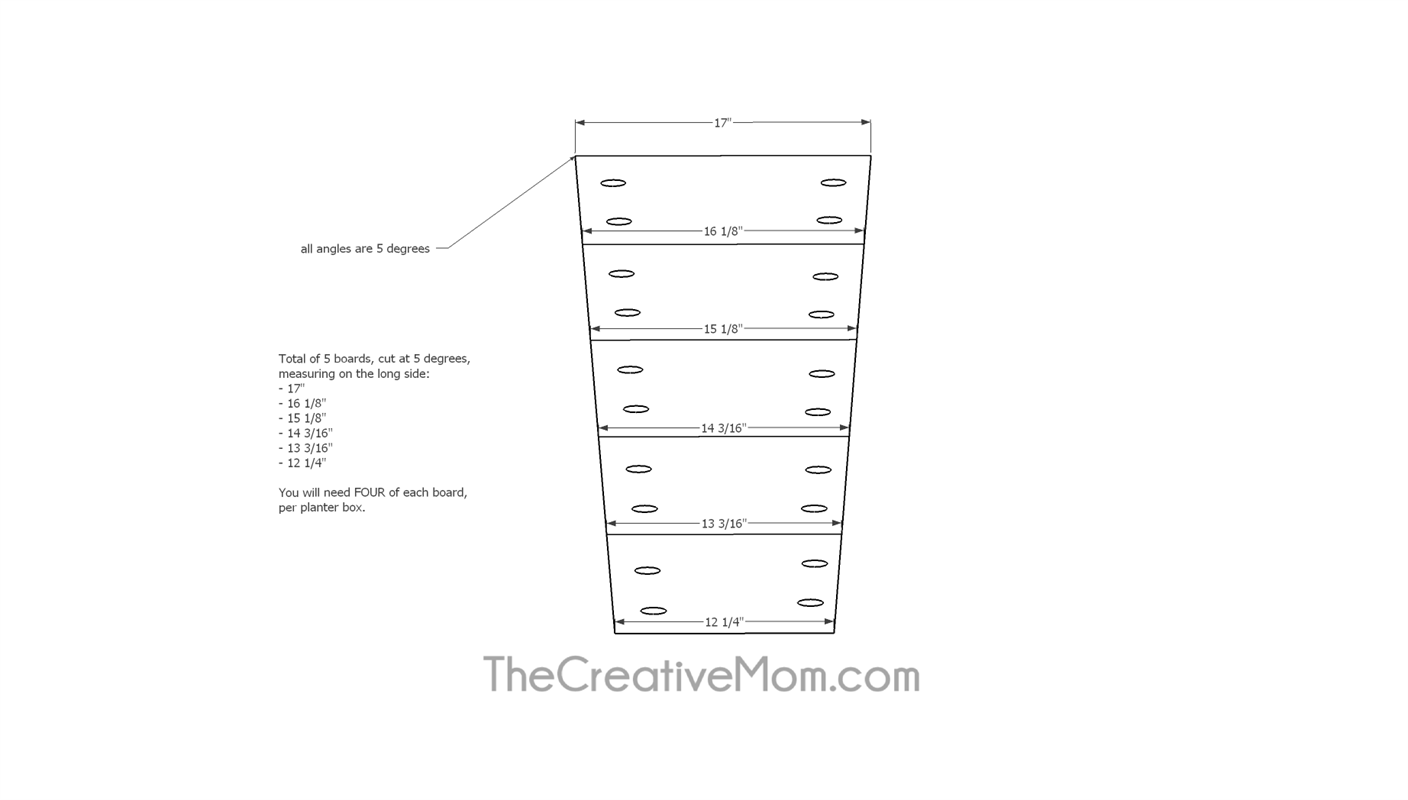
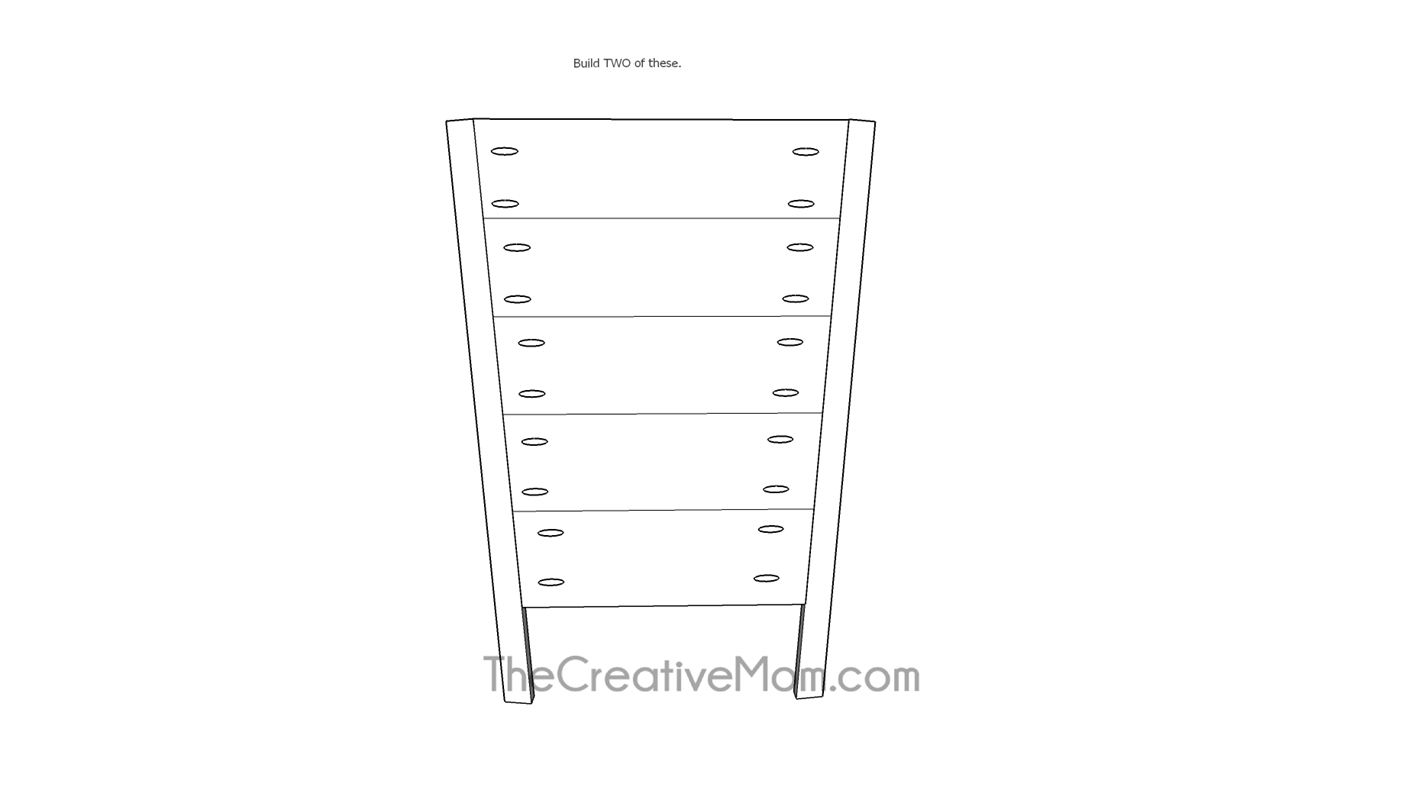
Cut the following boards. You will need FOUR of each board, per planter box. Please note: All boards are cut at a 5 degree angle, and the measurements are taken on the long side. You will drill pocket holes in both ends of each board.
-17"
-16 1/8"
-15 1/8"
-14 3/16"
-13 3/16"
-12 1/4"
( Note: I have a video on my blog showing how to make these cuts pretty easily- https://www.thecreativemom.com/how-to-build-a-modern-planter-box/) -
Cut Corner Posts
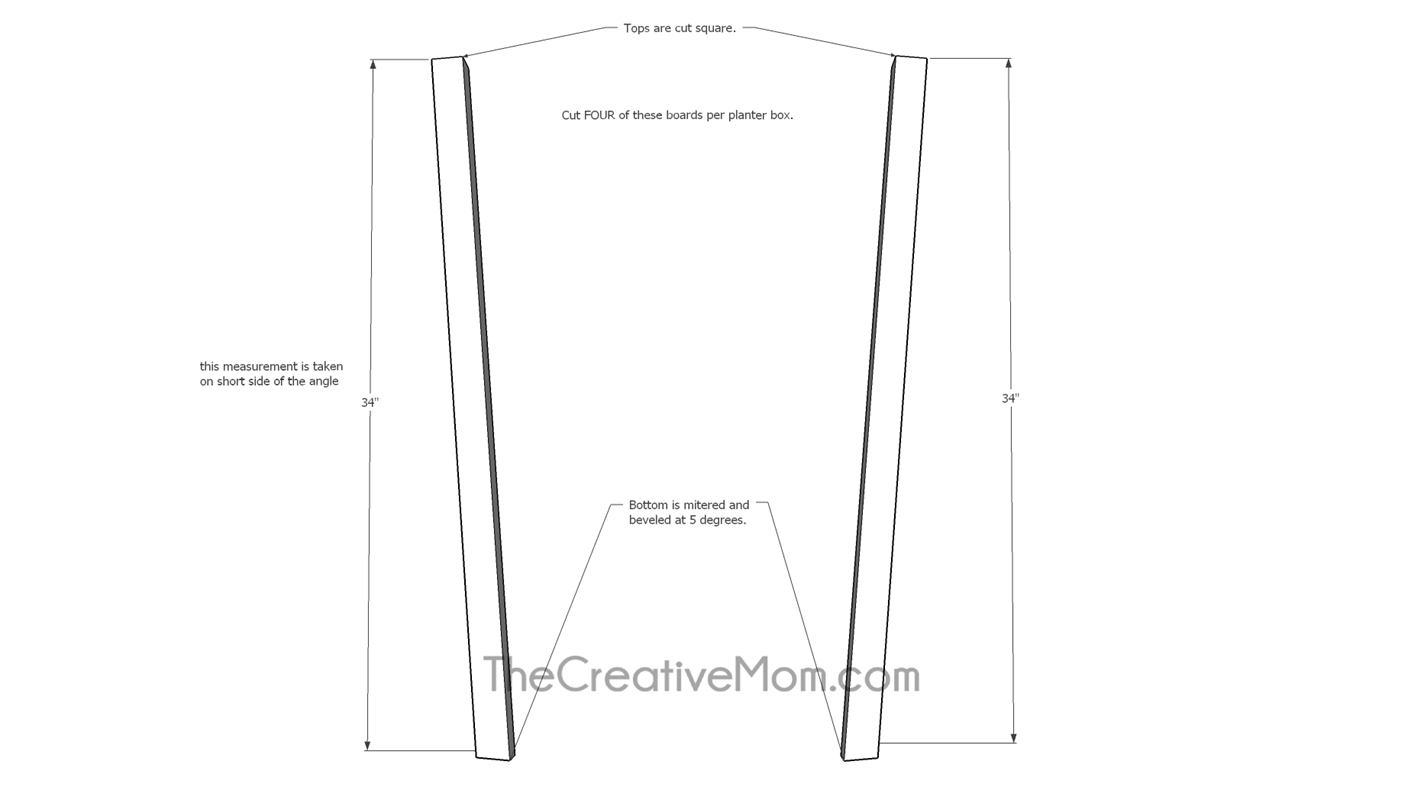
Cut FOUR 2x2 posts at 34". One end of the board should be mitered AND beveled at 5 degrees. (measurements are taken on the SHORT side here.)
-
Build Sides
Using wood glue and 1 1/4" pocket hole screws, attach your planks to your corner posts. Make sure your posts are oriented the correct way. You will want the longest corner of your mitered posts to be on the very inside of your planter boxes.
You will need to build TWO of these sides.
Also, make sure to use Blue-Kote or stainless pocket hole screws, as they are more weather resistant. -
Add Sides
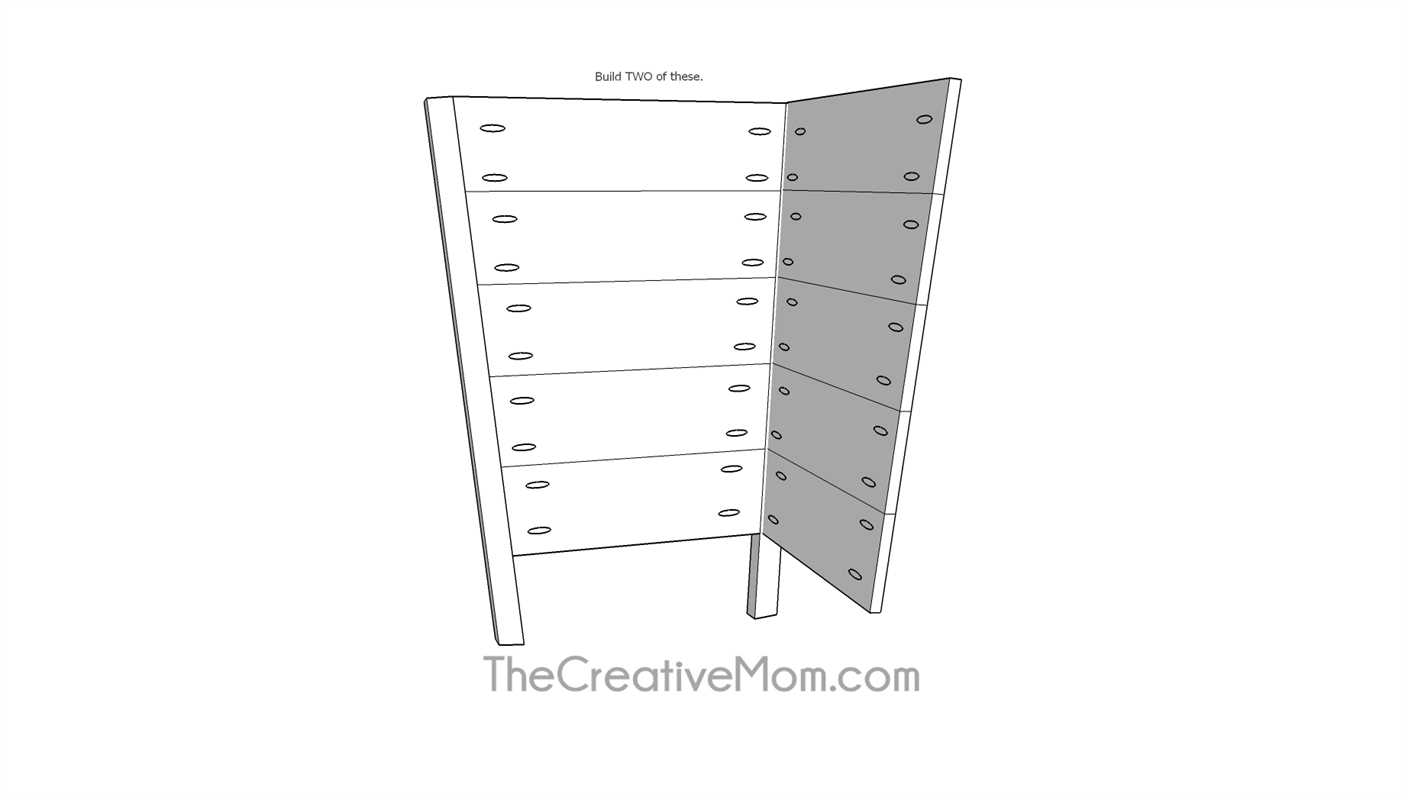
Using wood glue and 1 1/4" pocket hole screws, add the next side of planks to your corner posts. You will do this to both of your already built sides.
Make sure to check for square as you attach the planks to the posts. A speed square will come in handy here. -
Check for Square
Although this is a pretty simple build, the hardest part is keeping everything square. So as you attach your planks to your posts, I suggest keeping a speed square handy and check for square as you go.
-
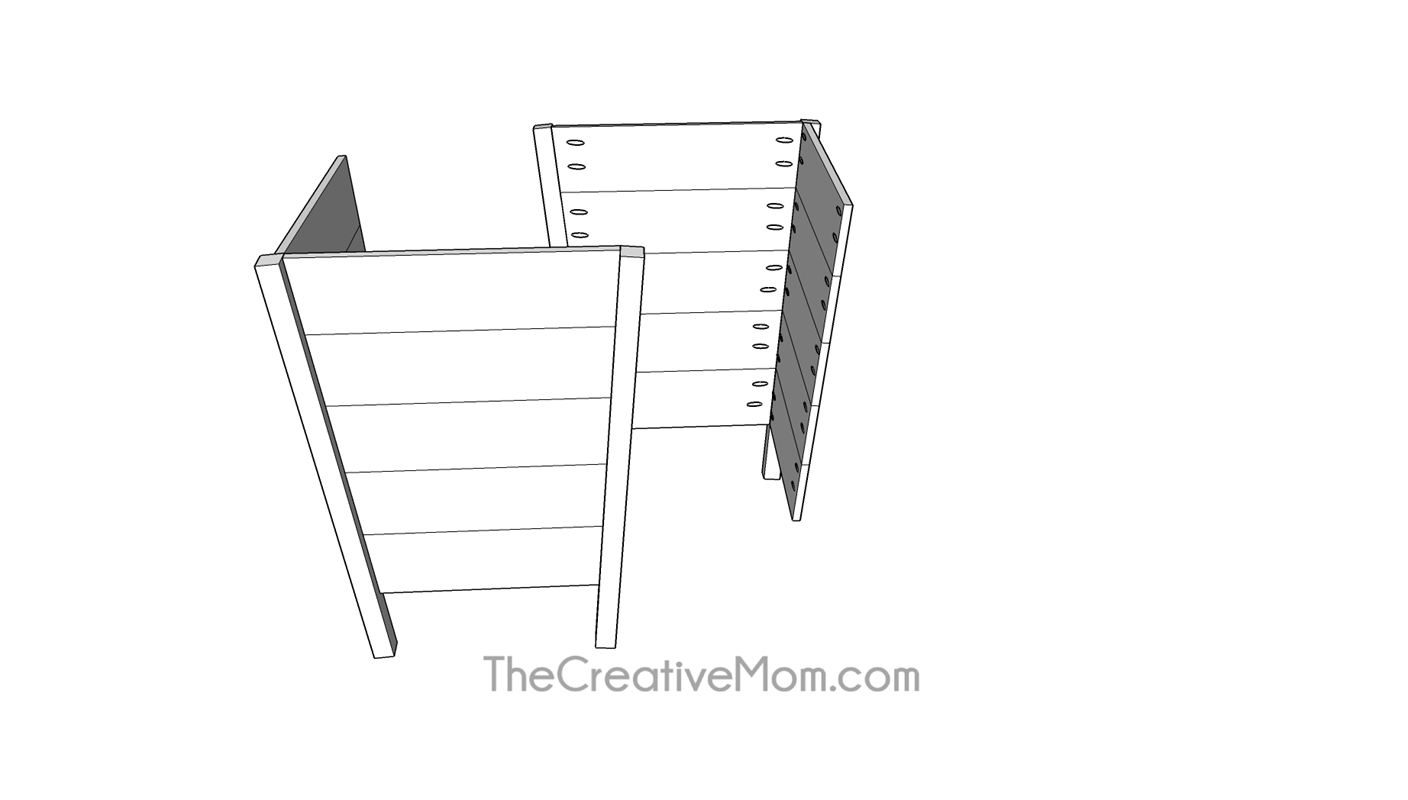
Attach Sides
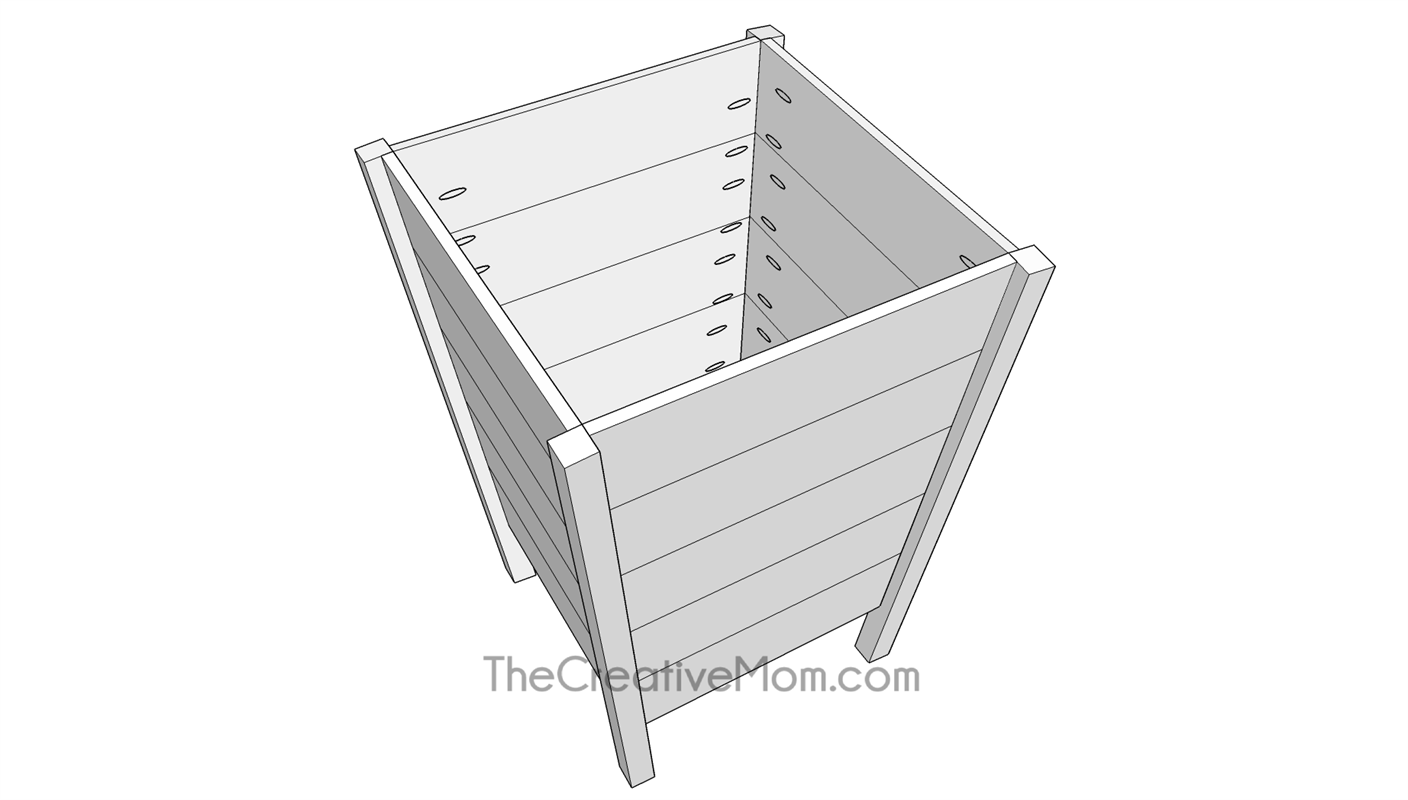
Using wood glue and 1 1/4" pocket hole screws, attach your two corner pieces together to create a box. Continue to check for square as you attach them together.
-
Attach Supports
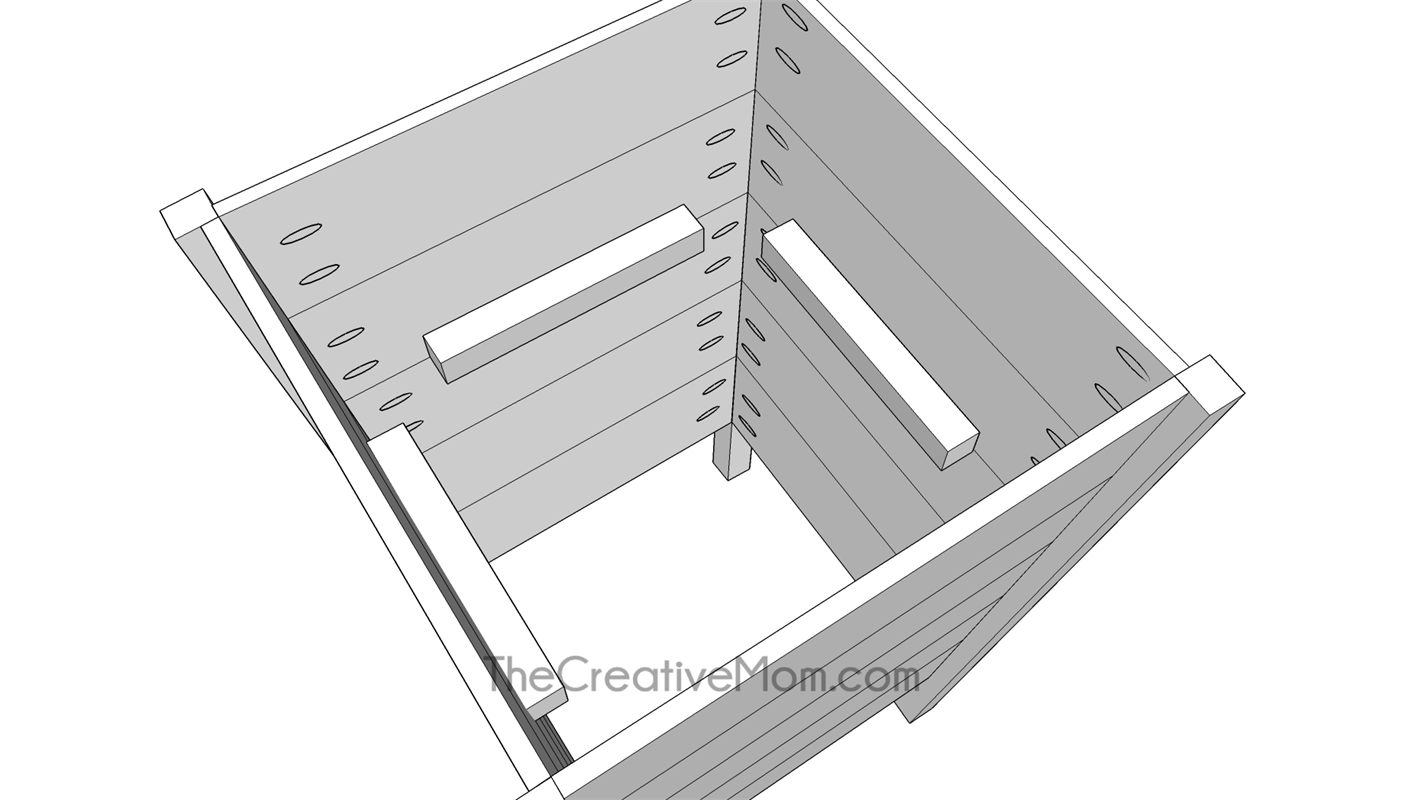
Cut some scrap 2x2's, about 12 inches long (I had some leftover from cutting my corner posts), and attached them to the sides of the planter boxes with 1 3/4" wood screws. Make sure to predrill so you don't split your wood, and be very careful not to drill through your cedar planks.
-
Create False Bottom
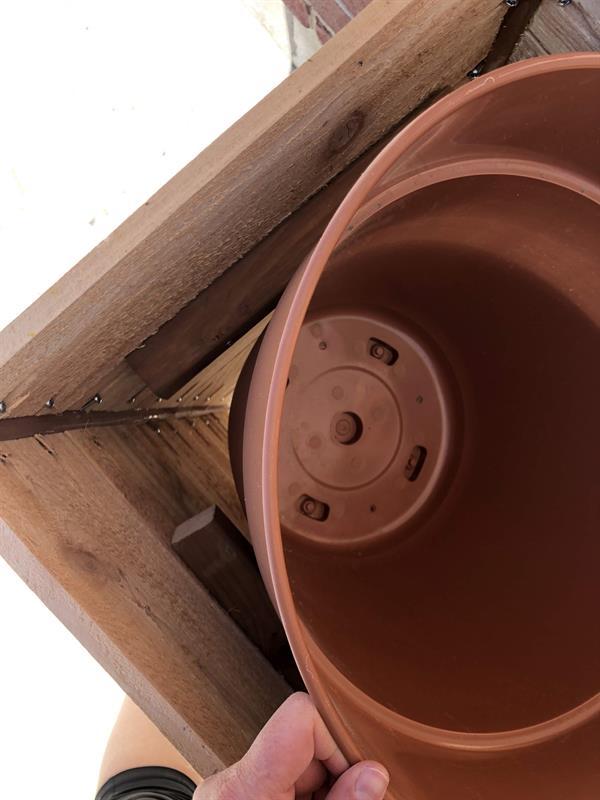
You have two choices with your planter boxes. You can either fill with soil, or use a pot inside. Either way, we will want to create a false bottom.
You can determine where you want your false bottom, by holding your pot in place. Or decide how deep you would like your soil. -
Add Bottom Planks
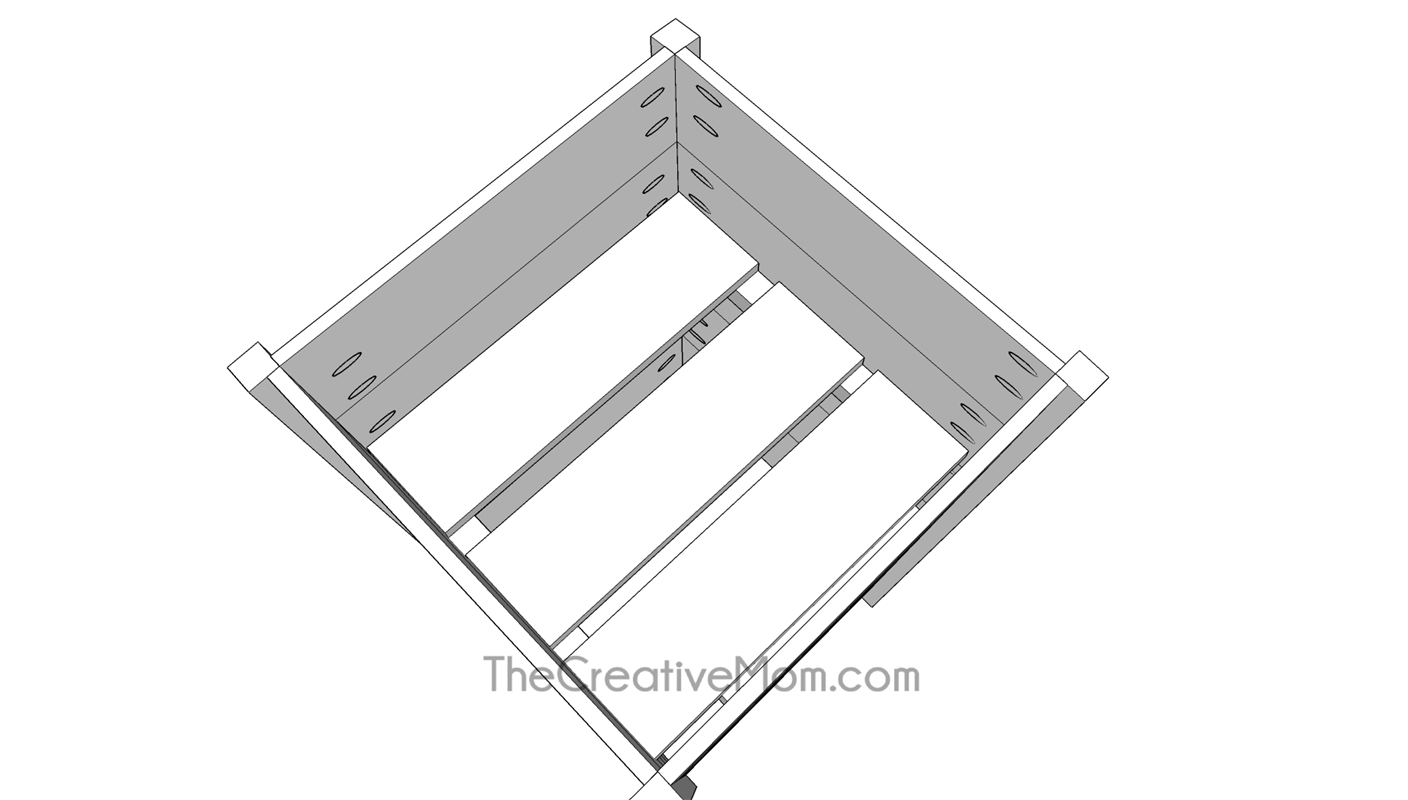
Using leftover scraps, add some planks to the inside of your planter boxes. You will have to measure the distance, since the supports will be placed at different heights depending on your preference.
If you are using a pot, the pot can simply sit on this false bottom.
If you are filling with soil, you will want to line the planter box with plastic sheeting, or gardener's fabric. Make sure you add some small holes in the bottom to allow for drainage. -
Add Flowers
Your planter box is ready to go! You may stain, paint, or finish with a polyurethane if desired.
PLEASE NOTE- These planter boxes can tend to be top heavy. To fix this problem, I installed a false bottom in the VERY bottom of the planter and set a large bucket of rocks on that false bottom.


