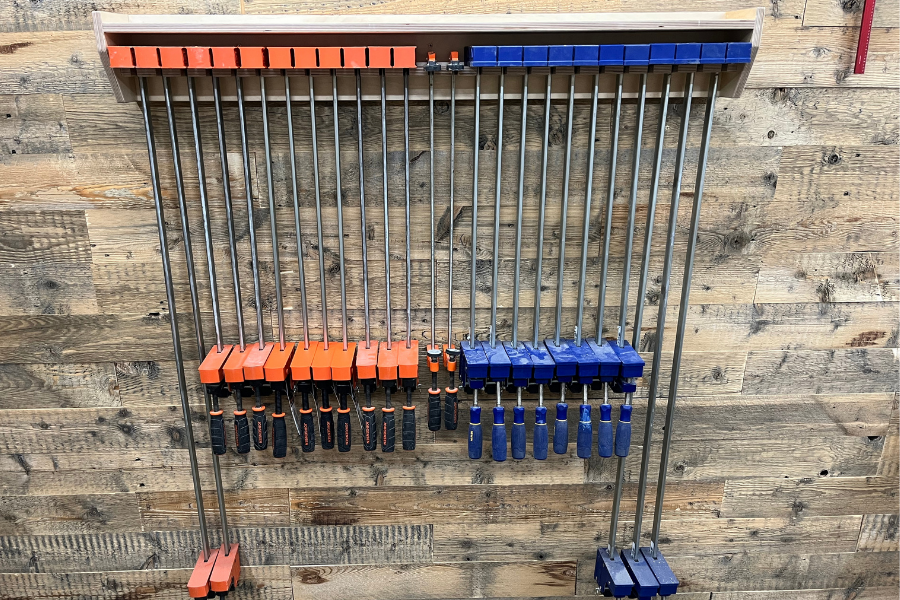
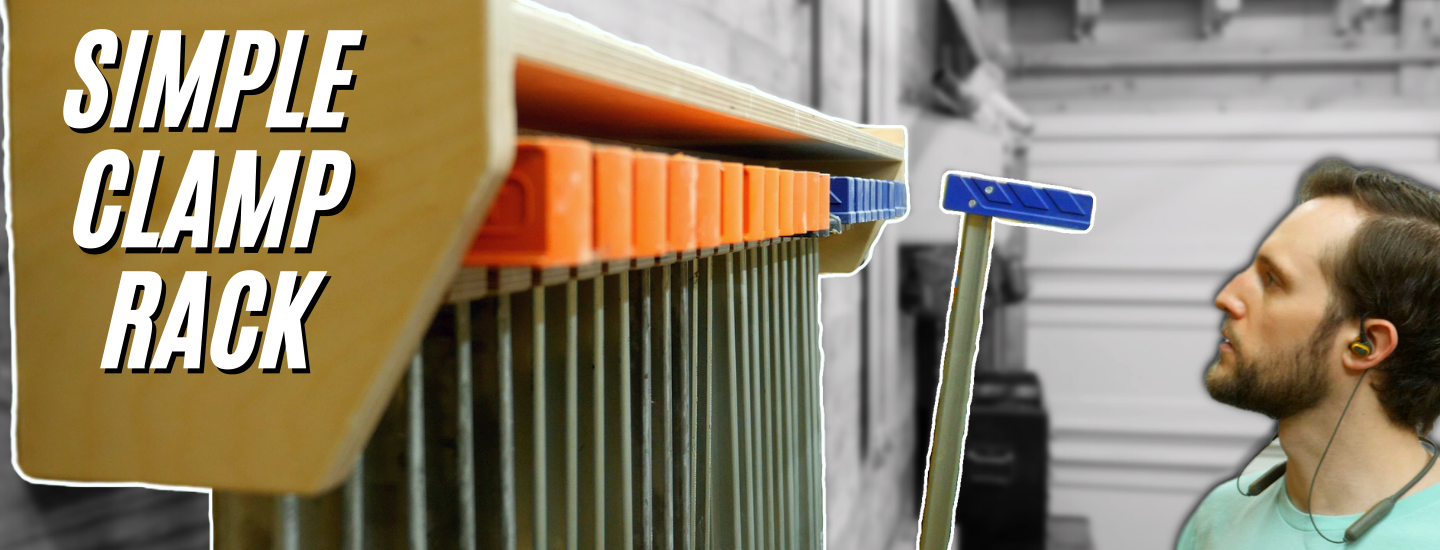


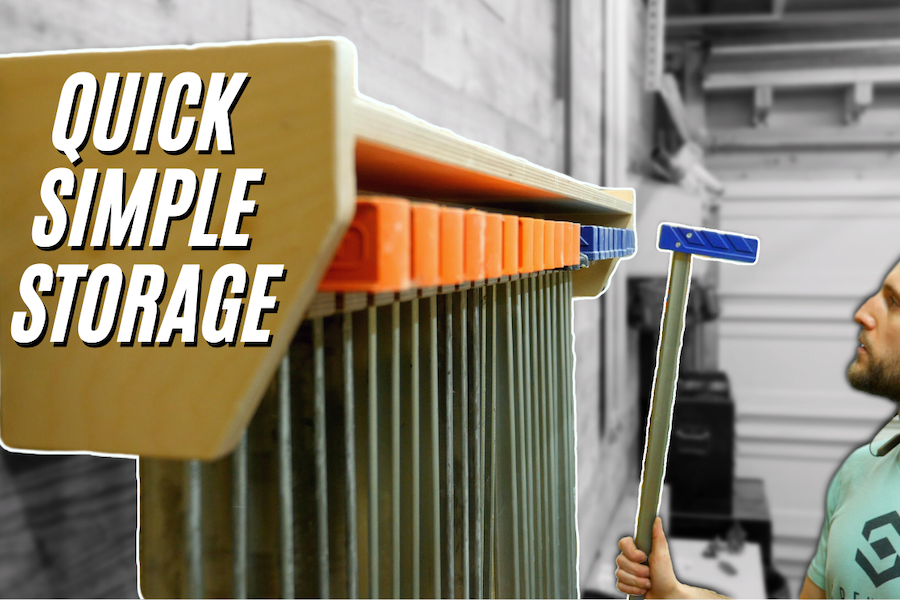
This clamp rack holds up to 25 clamps and is the perfect way to organize all those different sized clamps in your shop!
Tools
Kreg Tools


Other Tools
-
Precision miter gauge

-
Table saw
Materials
Wood Products
- 1 Plywood , ¾’ x 4 x 8
Hardware & Supplies
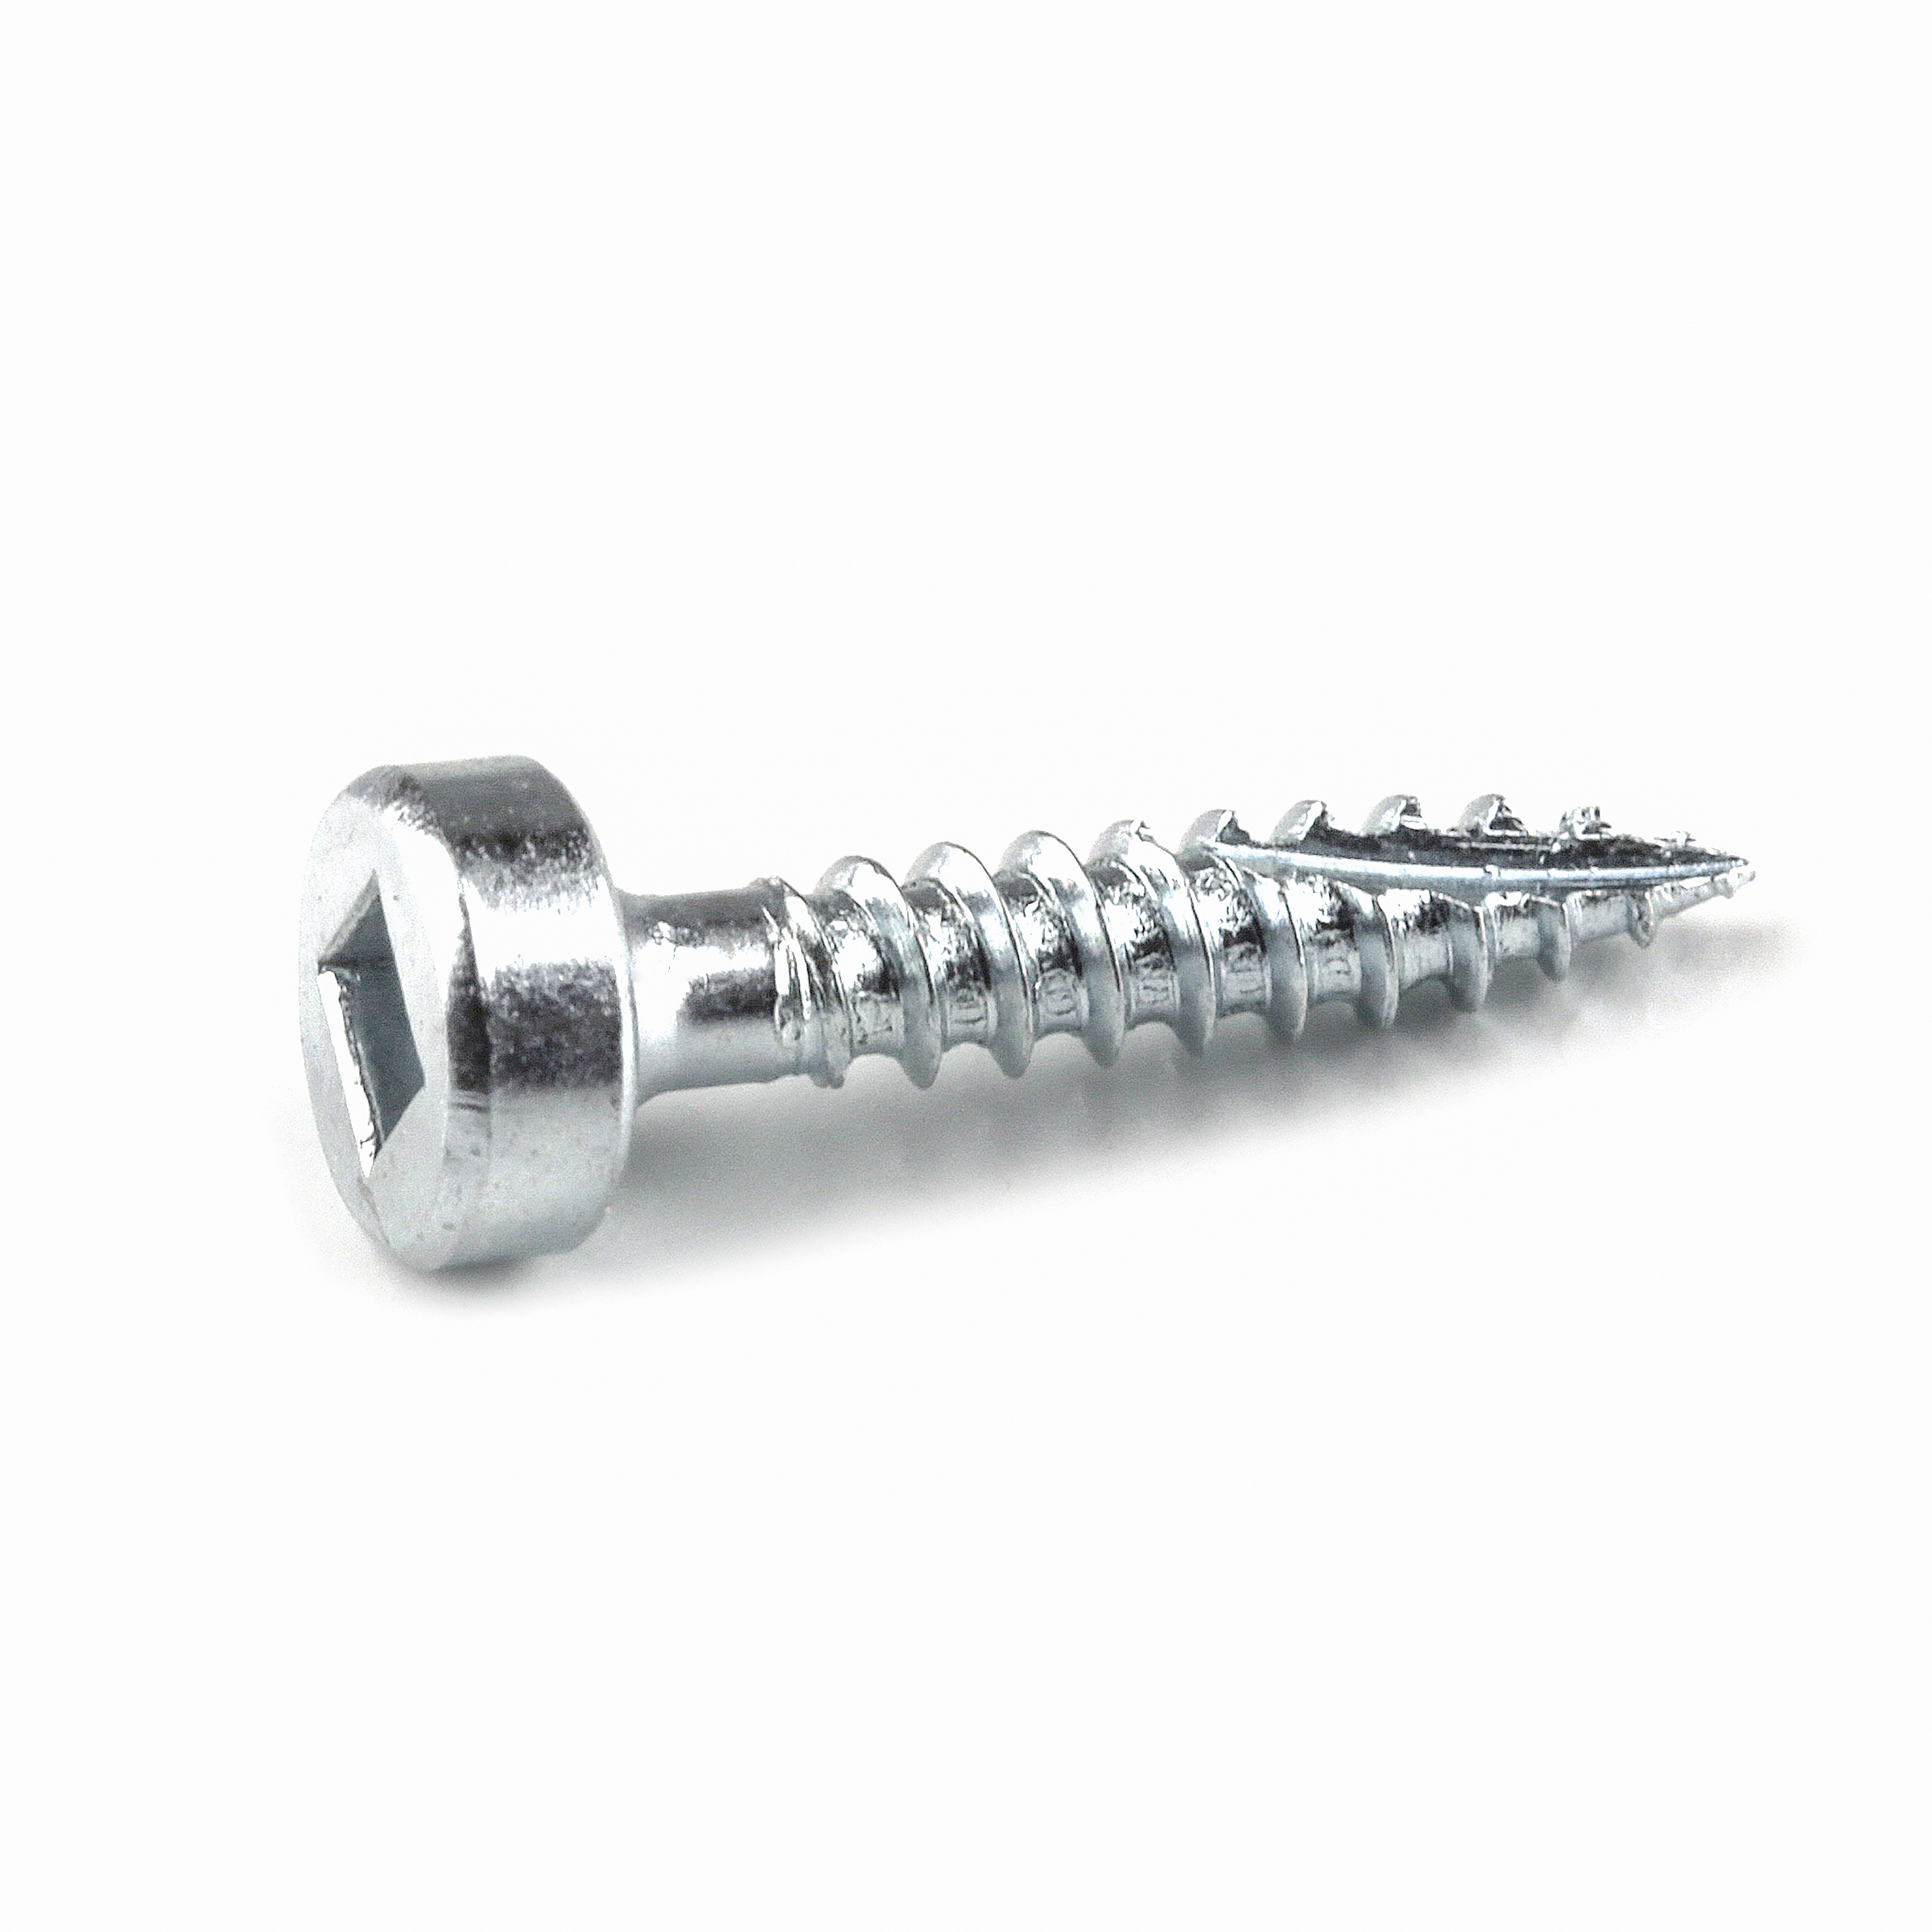
- 1 Box of 1 ¼” pocket hole screws (See tools list)
Directions
-
Watch Build Video
I highly recommend watching the full build video (linked below) to help you better understand how this project comes together. There are many aspects that are better explained through video compared to text.
-
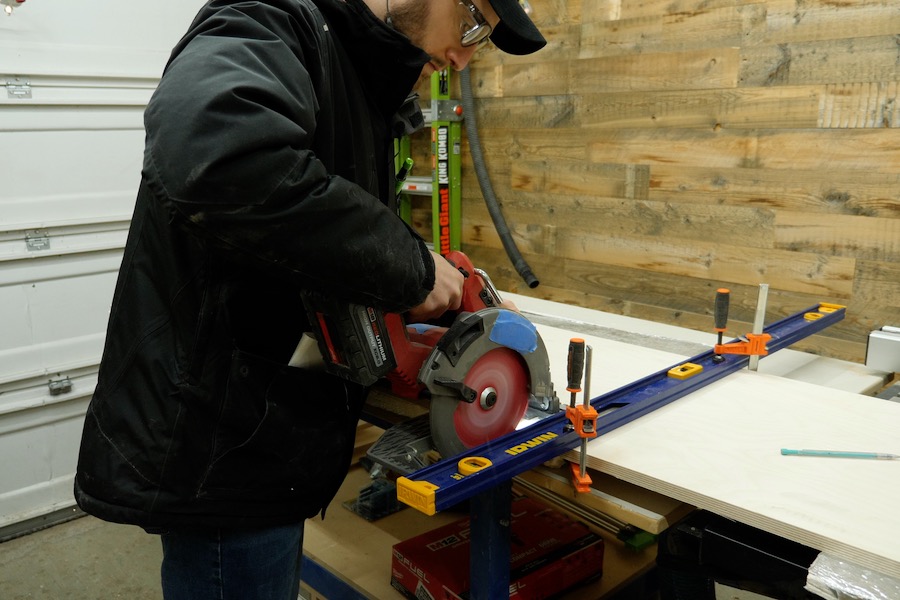
Cut plywood
Cut all pieces according to the cutlist. Note that all of the pieces on this project are made out of ¾” plywood. Feel free to substitute thinner plywood, but ¾” thick would be your best bet to ensure stability of the clamp rack.
-
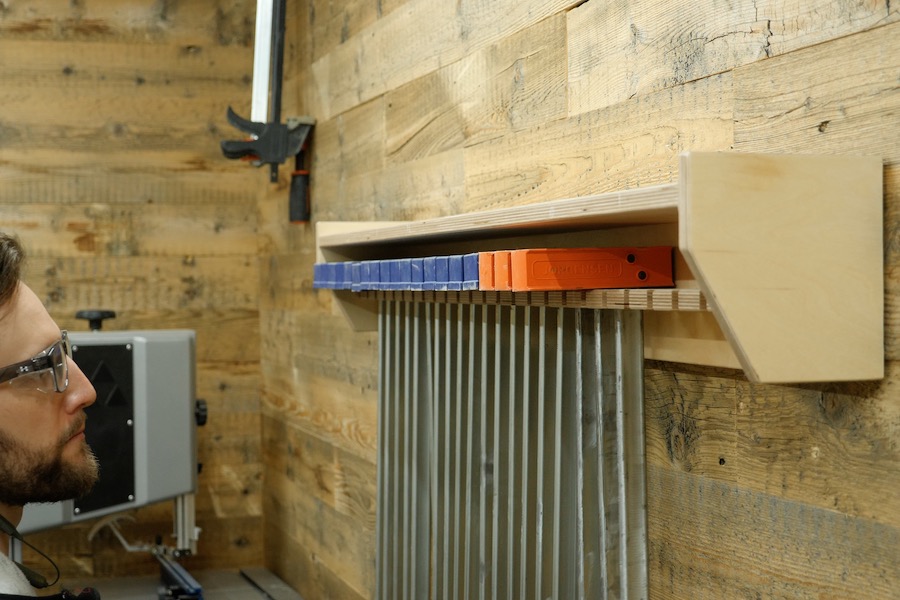
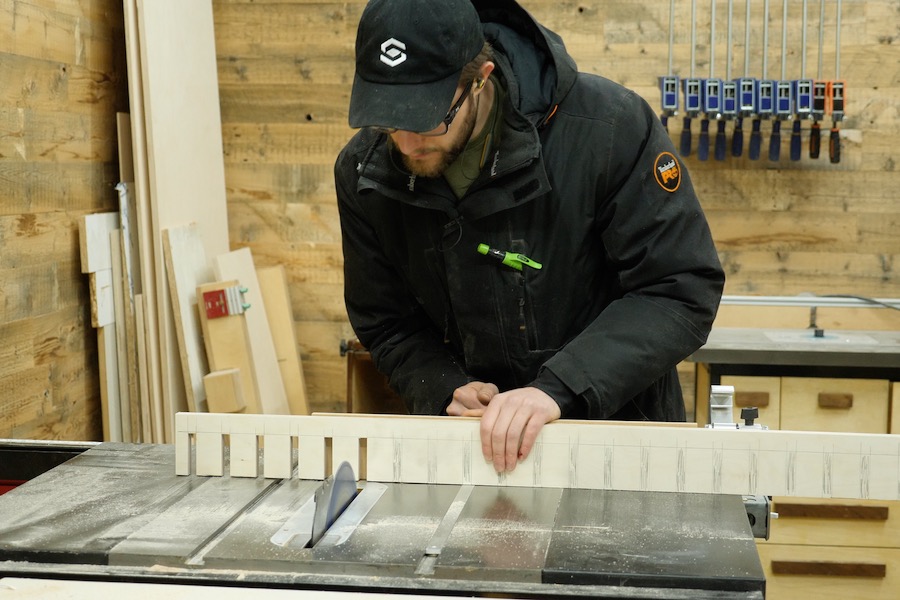
Cut out clamp notches
Referring to the downloadable plans, cut out all of the notches that are going to hold the clamps.
-
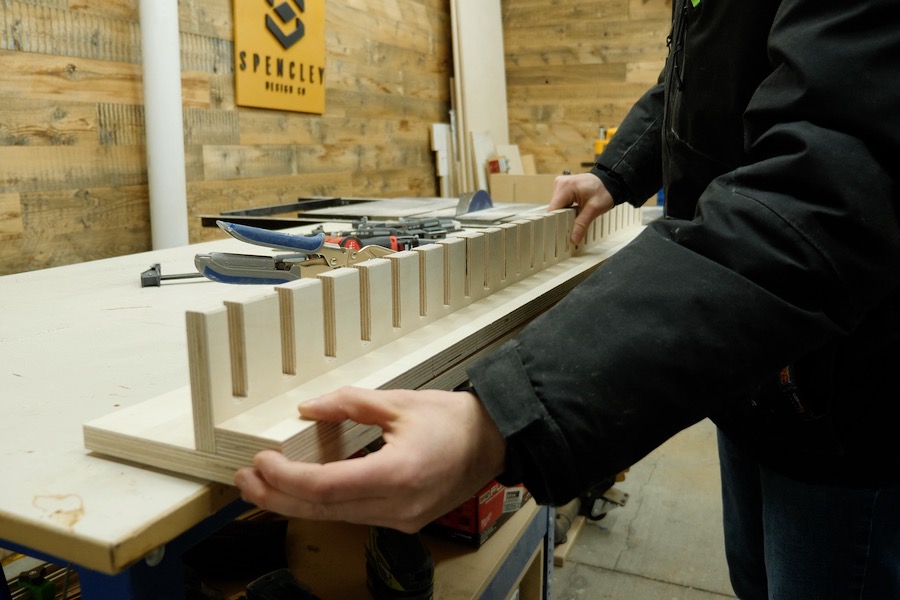
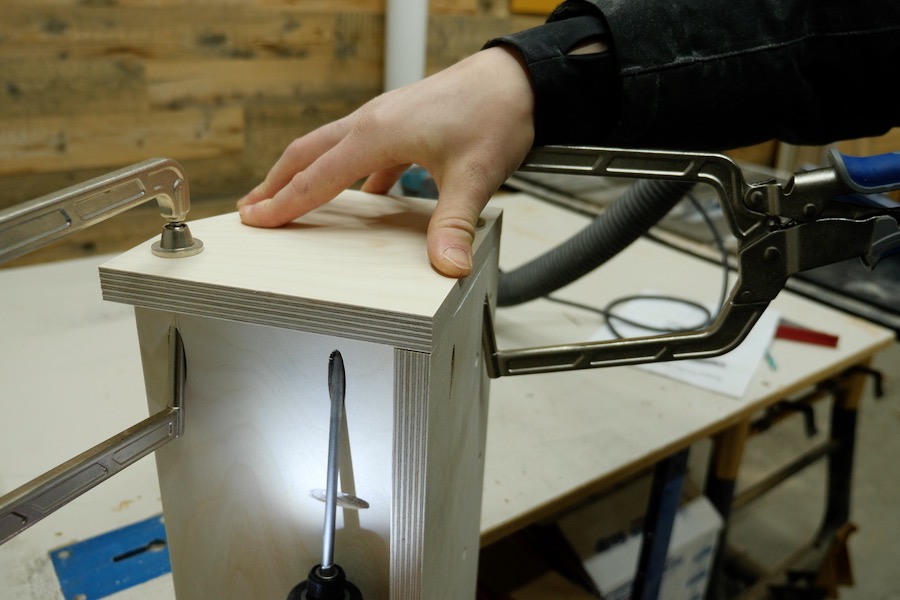
Start to assemble clamp rack
Attach back panel, clamp bracket, and support bracket together with glue and screws.
-
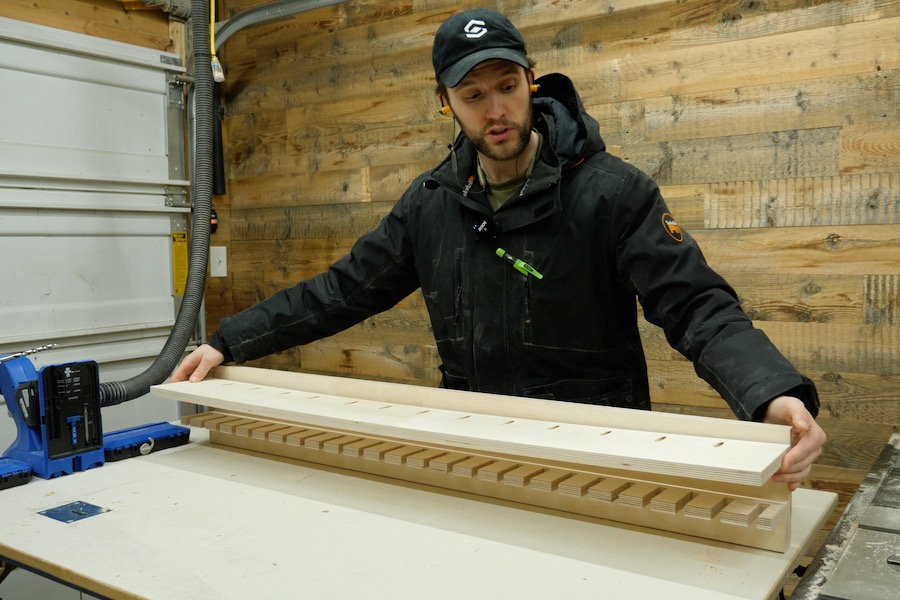
Attach top shelf
Secure the top shelf to the back panel using 1 ¼” pocket hole screws.
-
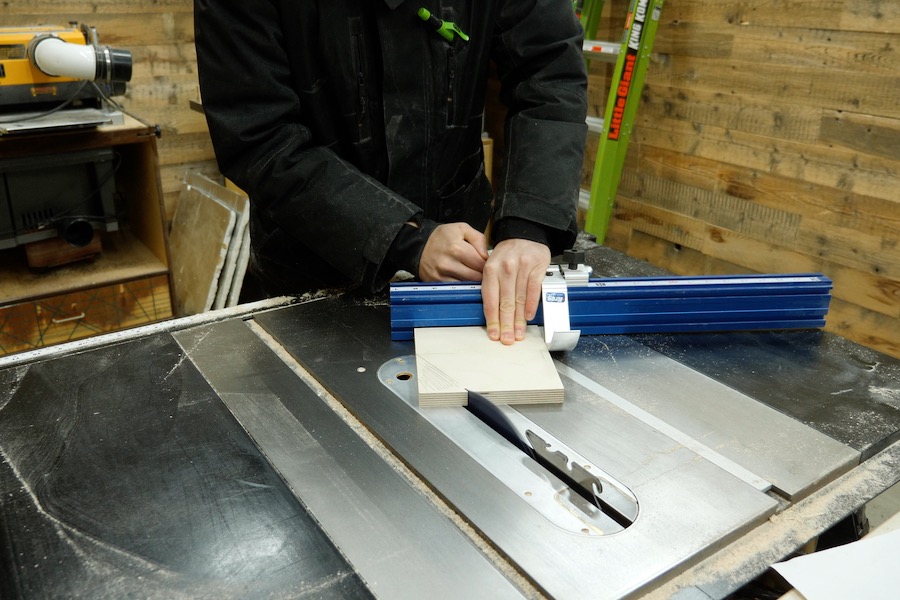
Cut angle on side panels
Referring to the dimensions in the downloadable plans, cut at 30 degree angle on both side panels.
-
Attach side panels
Attach the side panels to the clamp rack assembly and you are finished!
-
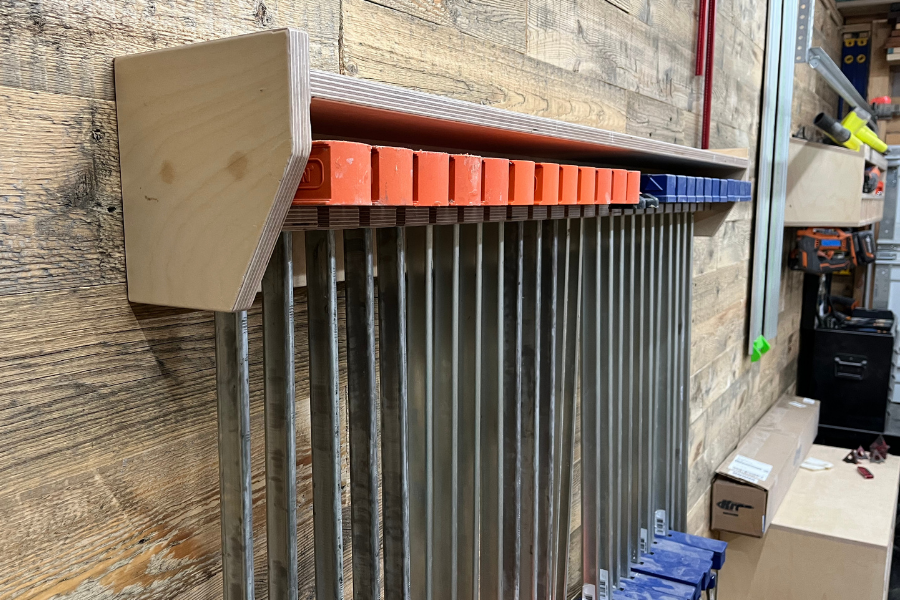
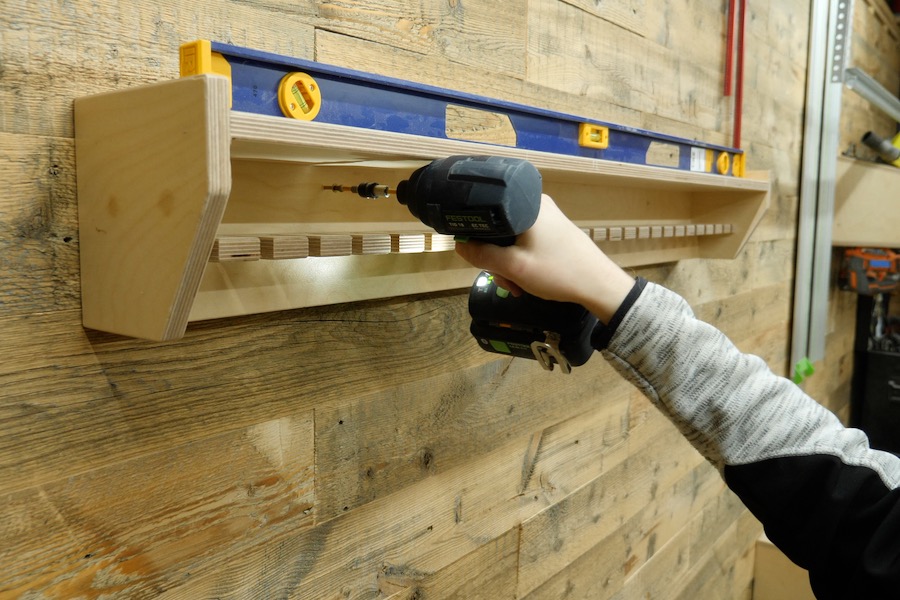
Mount to wall
Using appropriate wall mounting hardware, mount the clamp rack to the wall.
-
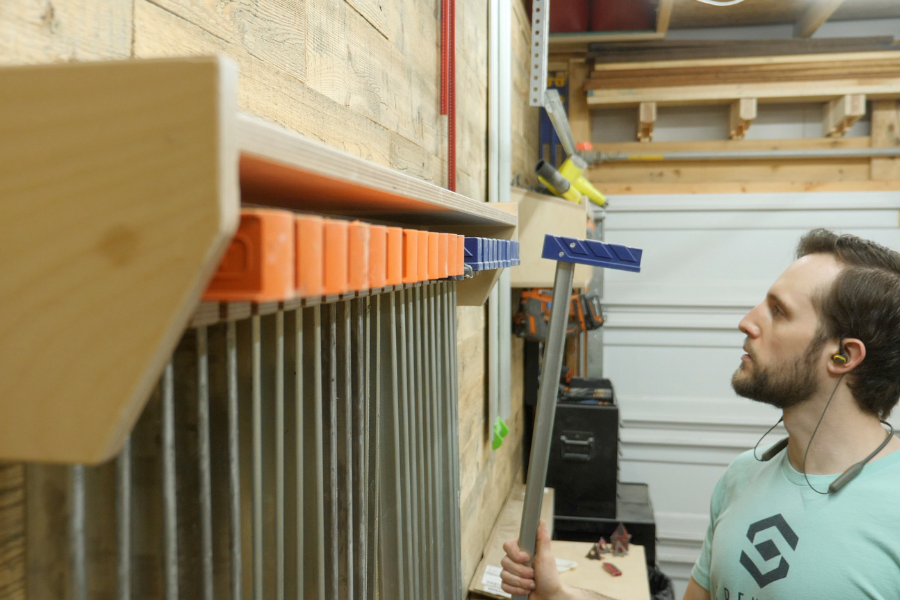
Insert clamps
With the clamp rack mounted to the wall, you can now insert all of your clamps!