


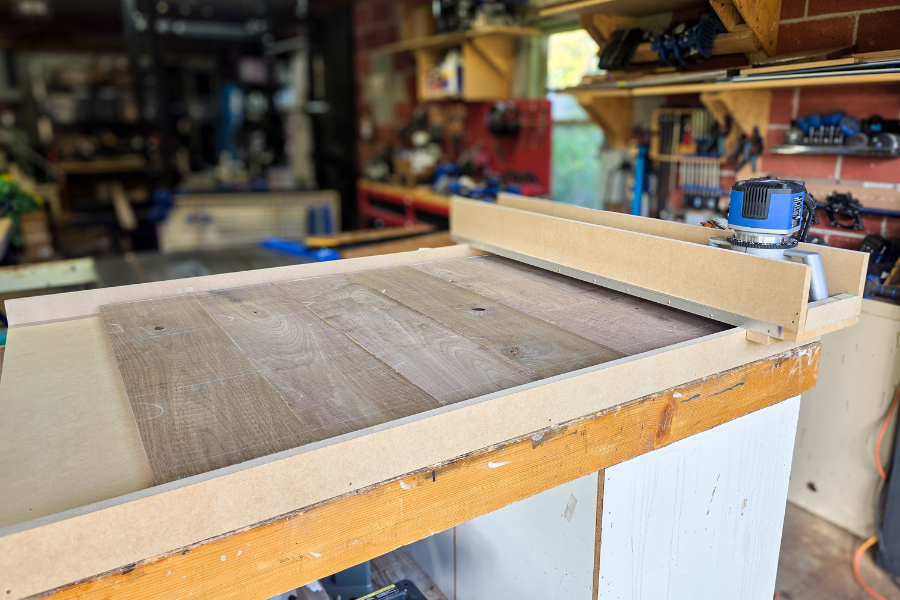
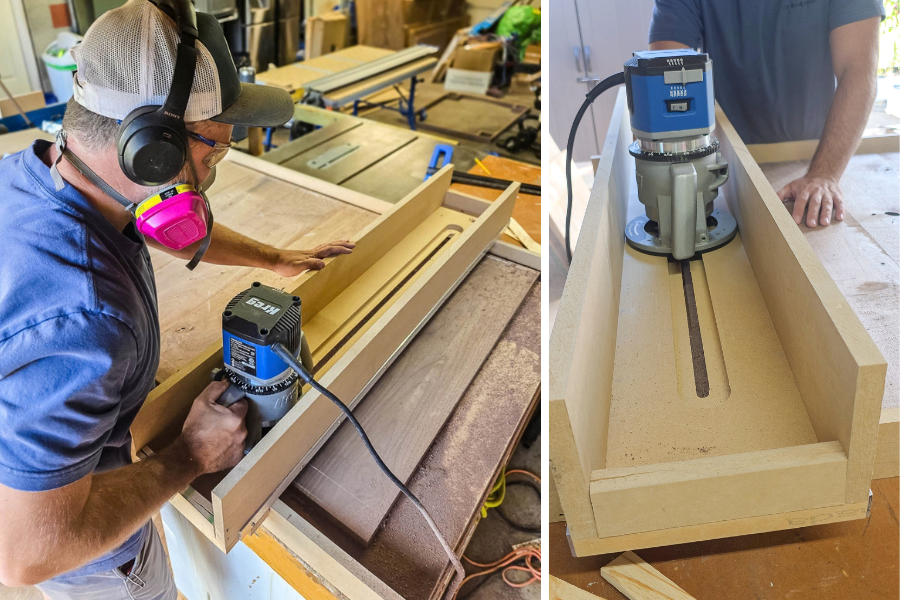


Build this router sled for the Kreg 3 1/4 HP fixed base router to plane down glue-up panels or slabs for your woodworking projects.
Tools
Kreg Tools
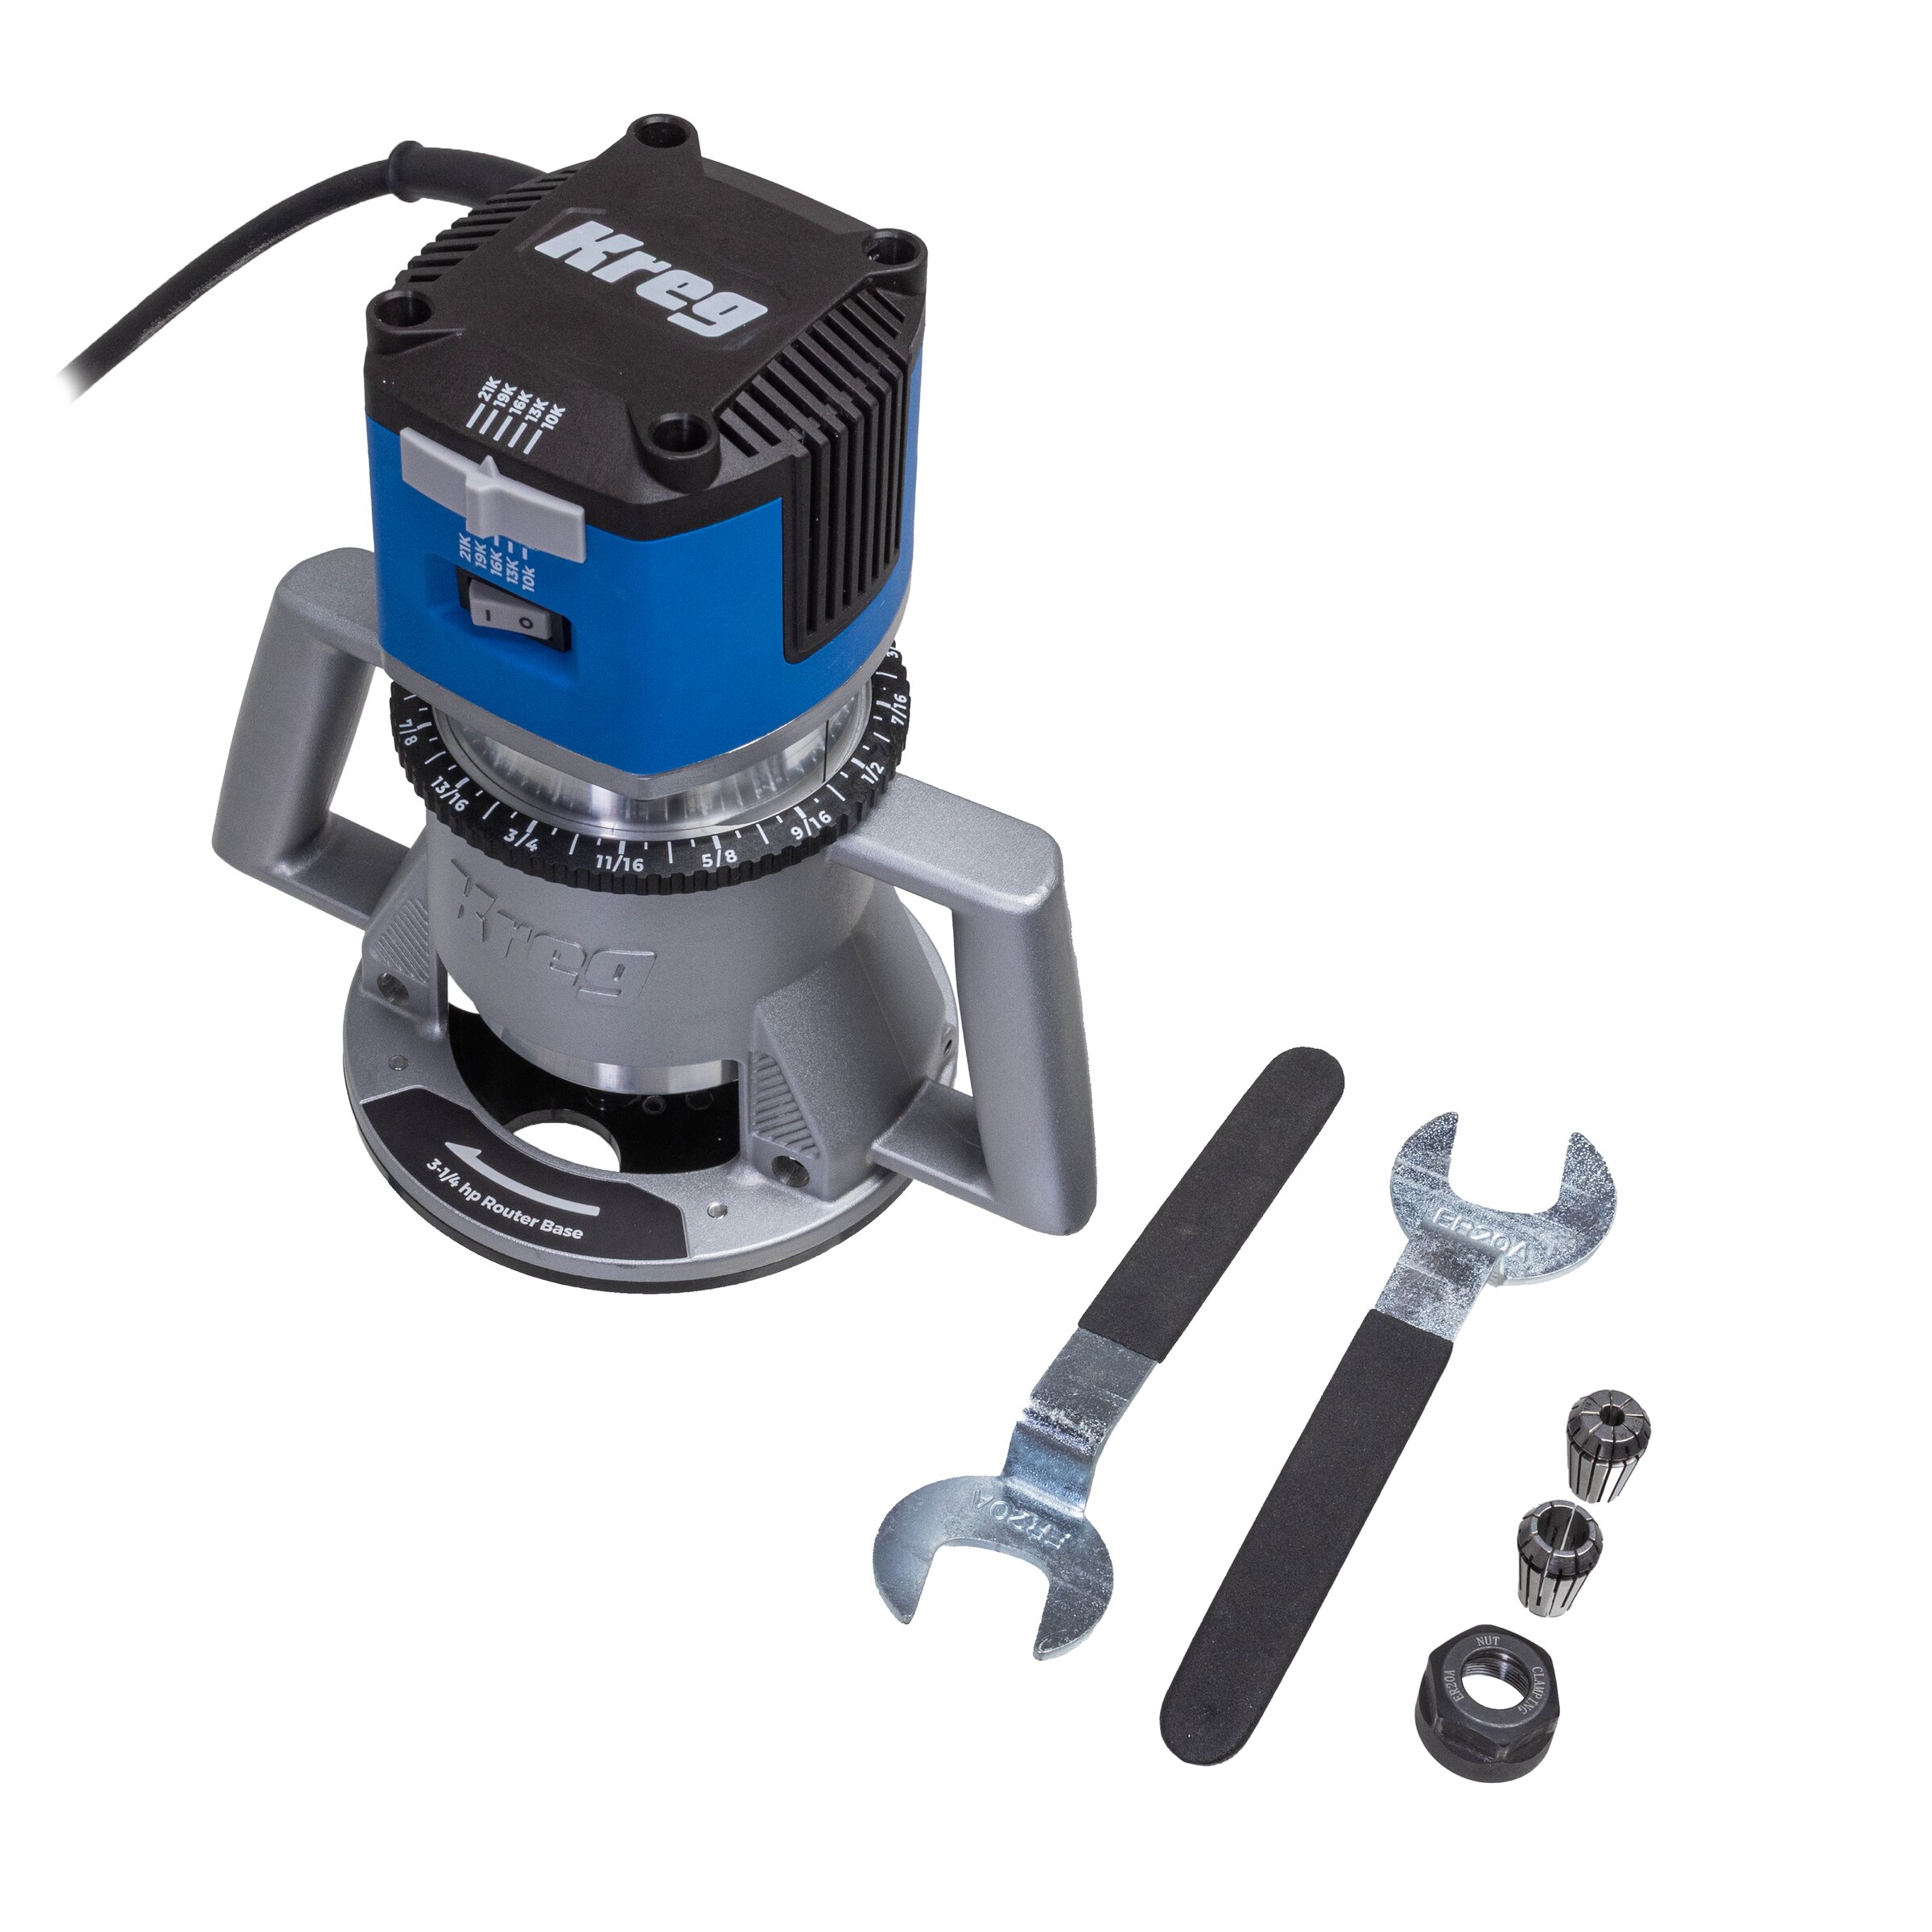
Other Tools
-
Miter saw
-
Table saw (or Rip-Cut)
-
2 1/4" hole saw
-
⅝” straight router bit ¼” shank
-
3 flute slab flatting router bit ½” shank
-
Dremel with metal cut off wheel
-
Tape measure
-
⅛” drill bit
Materials
Wood Products
- 1 MDF sheet , ¾” x 4’ x 8’
Hardware & Supplies
- -- #8 x 1-½” trim screws
- -- 1” x 8’ x ⅛” aluminum flat bar
Directions
-
Cut wood
Start by cutting the MDF sheet down to make pieces as shown in cut list.
-
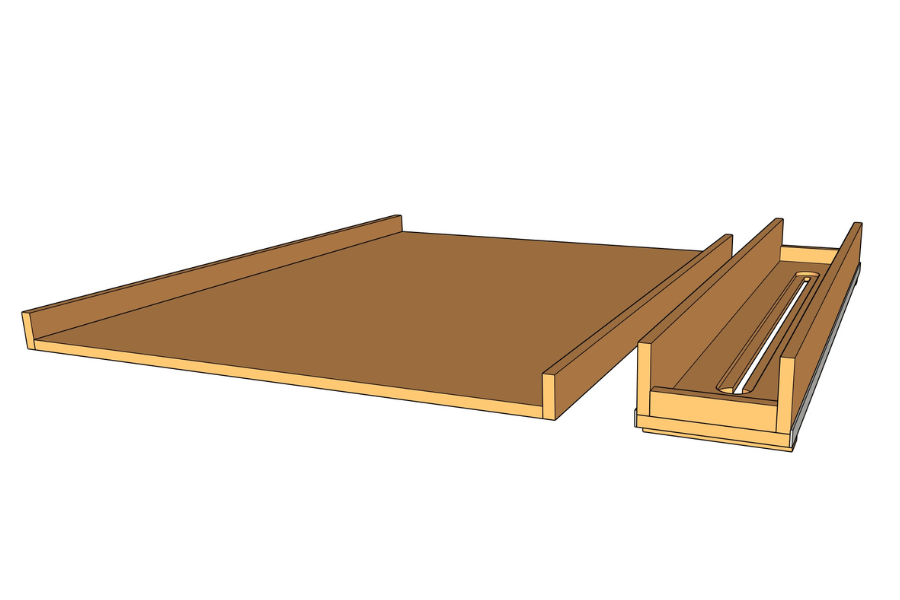
Assemble the platform
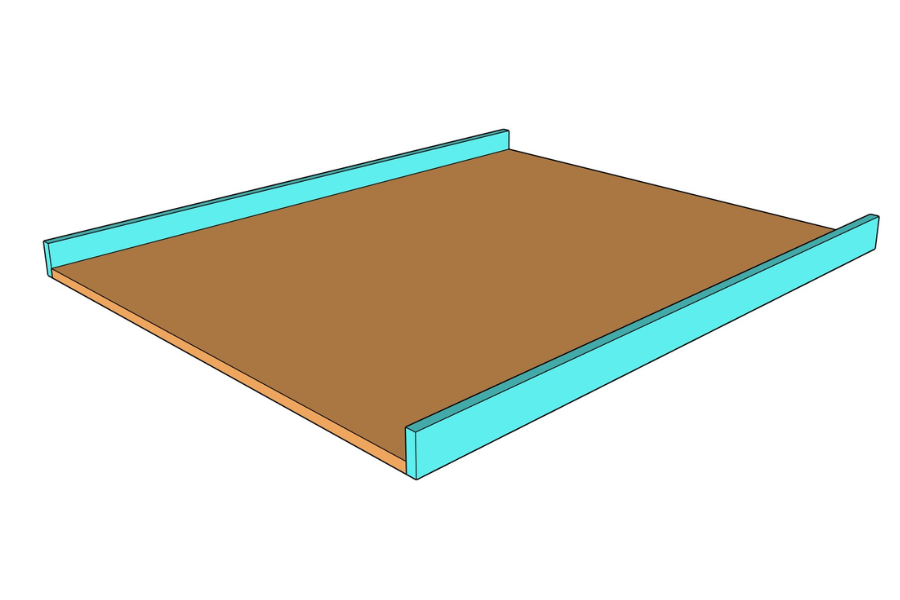
Attach the platform sides to the bottom with screws (roughly 1 screw every 6"). Using the compact drill and ⅛” drill bit, start by predrilling the pilot holes for the trim screws so the MDF doesn’t split. As you go, be sure that the rails sit at an even 2” above the bottom of the platform.
Tip:
This router sled is designed to take 1" boards down to 3/4" or 1/2" stock. If you are working with thicker or thinner boards and/or desire a different thickness, you'll need to adjust the platform sides accordingly.
-
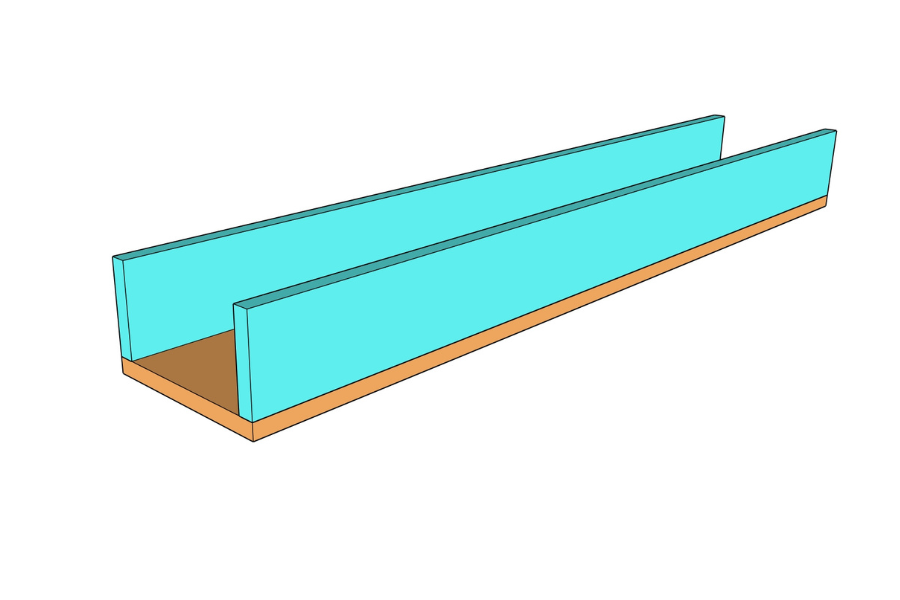
Attach sled bottom and sides
Start putting the sled sides on top of the sled bottom. Pre-drill pilot holes from the bottom and attach with trim screws (do not skip pilot holes because MDF has a tendency to split).
Screw spacing
Space trim screws out roughly every 6 inches during assembly.
-
Add bar
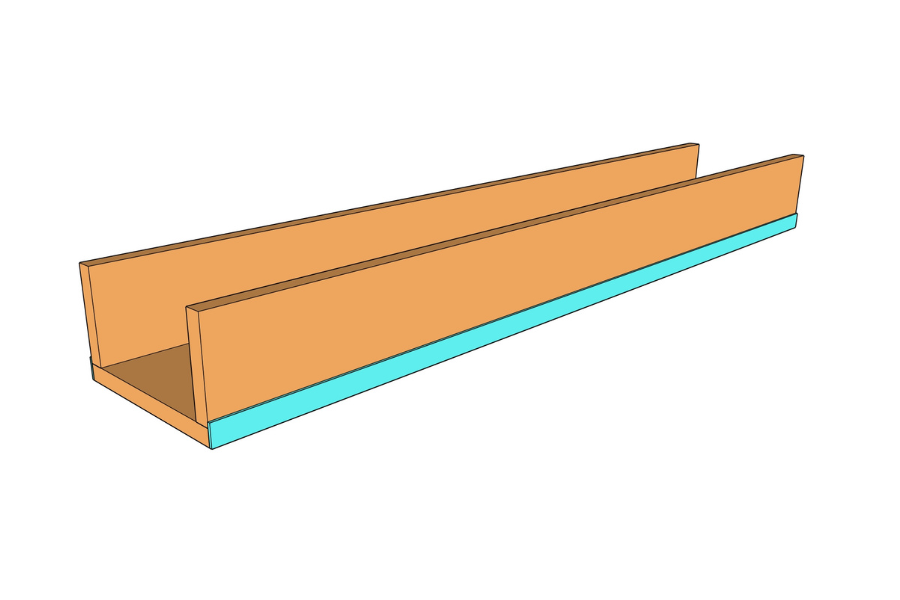
Cut down the aluminum flat bar with Dremel. Using the same ⅛” drill bit, pre-drill the aluminum flat bar and attach to the sled with trim screws.
-
Add stops
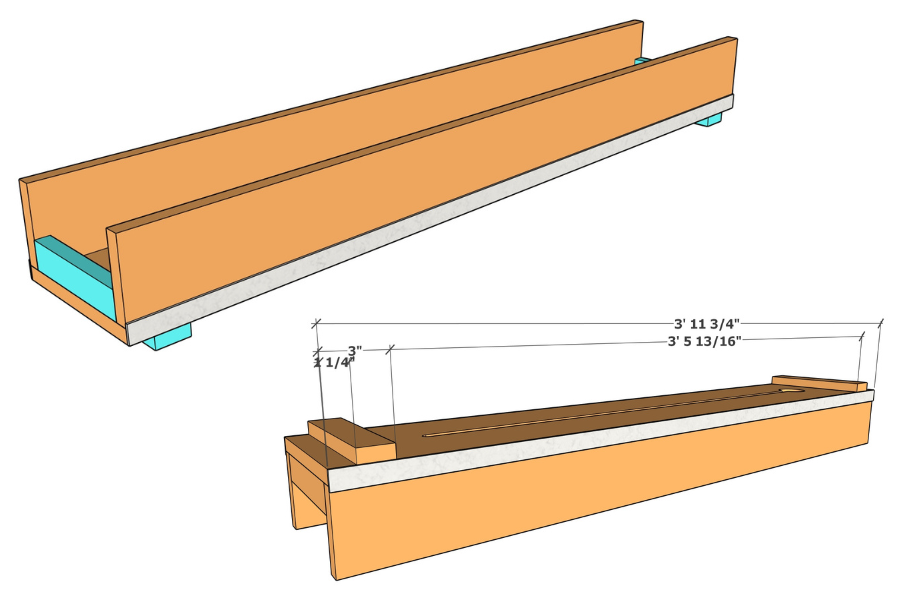
Add the router and sled stops according to the woodworking plans with trim screws.
-
Drill hole in sled bottom
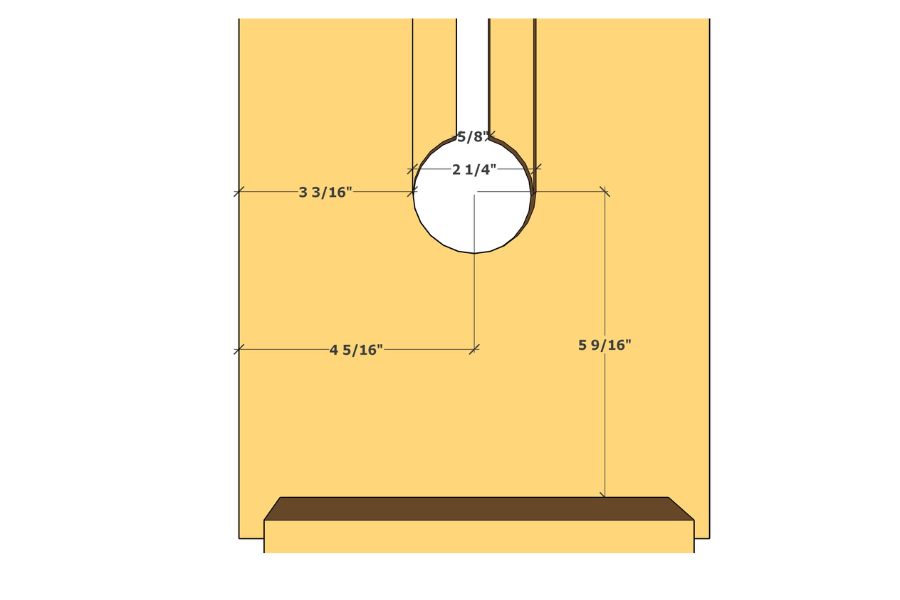
Use the 2 ¼” hole saw to drill a hole for the router flattening bit in the sled bottom according to the woodworking plans.
Marking hole location
The location of this hole is very important, so double check all measurements before drilling. To help make sure the location is correct before drilling, you can put the router bit into the router and set it into place after you have marked it, to make sure eveyrthing lines up.
-
Route the collet and nut relief
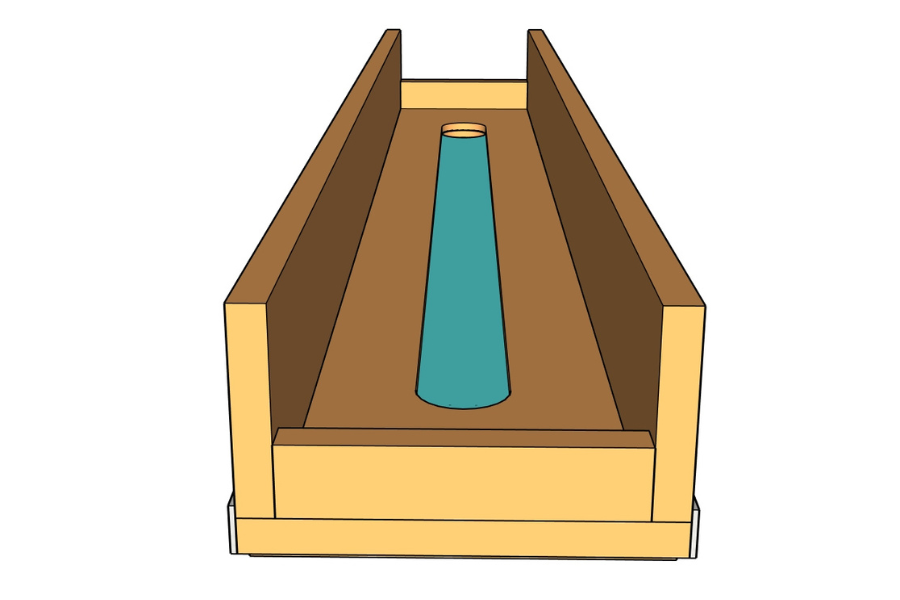
Attach the 3 flute flattening bit to the 3 1/4 HP router and put the router into the hole in the sled bottom. Set the 3 ¼ HP router to 10K RPM to reduce chatter. You want to route out 3/8" of the MDF. Route all the way across the sled, hitting the stops on each side of the sled. This creates space for the collet and nut to get more depth for flattening later when using the router sled for planing.
-
Cut the router bit shaft channel
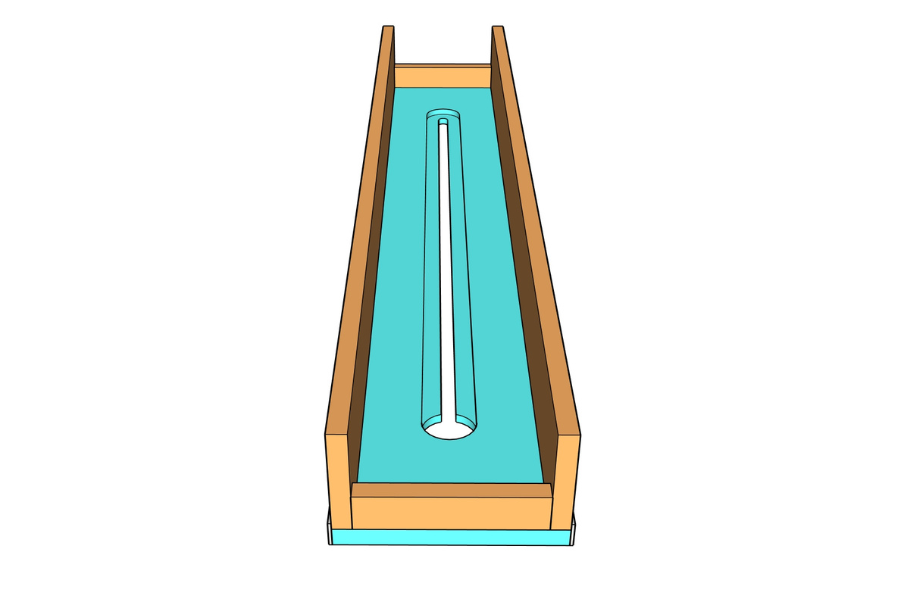
Using ⅝" straight router bit, set the router into the hole and cut the channel out of the center of the sled. The base of the router should glide on the rails to make enough from for a ½” shank. Pay attention and keep the material you are cutting on the left when using the router.
-
Using the router sled
When using the router sled, it is recommended to clamp down your work piece while planing. Go slow to reduce chatter. Keep the material on your left. Keep moving to avoid burn marks. Just plane 1/8" max at a time.
See more on their website! (coming soon)
Router Plans Woodworking Plans
Making Manzanita on Facebook
Making Manzanita on Instagram
Making Manzanita on YouTube
Making Manzanita on TikTok