

The fun, modern style birdhouse is the unique addition your yard needs! Inexpensive and easy to make yourself, the birds will be thanking you for their fancy new house.
Tools
Kreg Tools


Other Tools
-
Tape Measure

-
Saw (Miter saw is ideal but you could do this with a hand saw as well)
-
1½” forstner bit, hole saw, or spade bit. Any of these will make the hole for birds to enter the house.
Materials
Wood Products
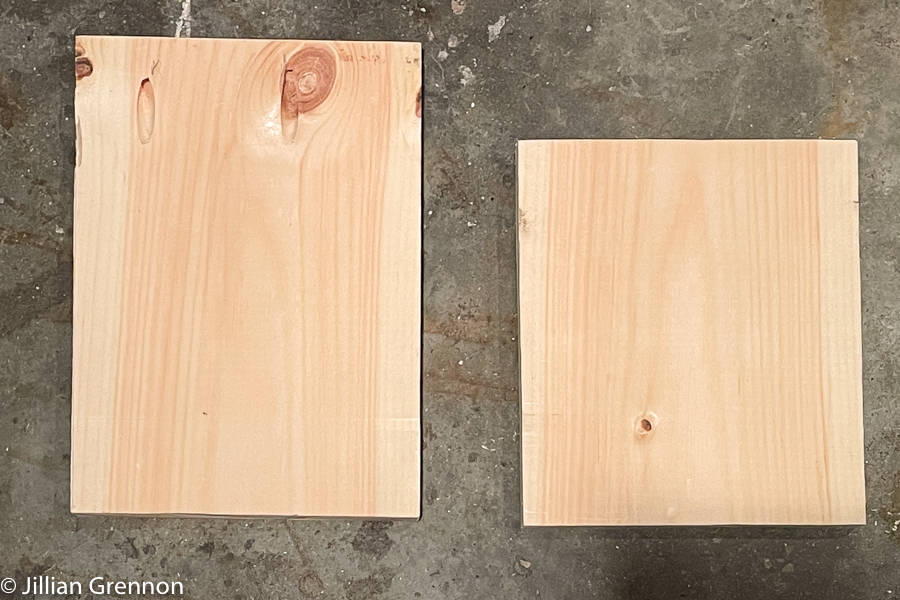
- 1 Board , 1"x8"x18.25"
- 1 Board , 1"x6"x28.5"
Hardware & Supplies
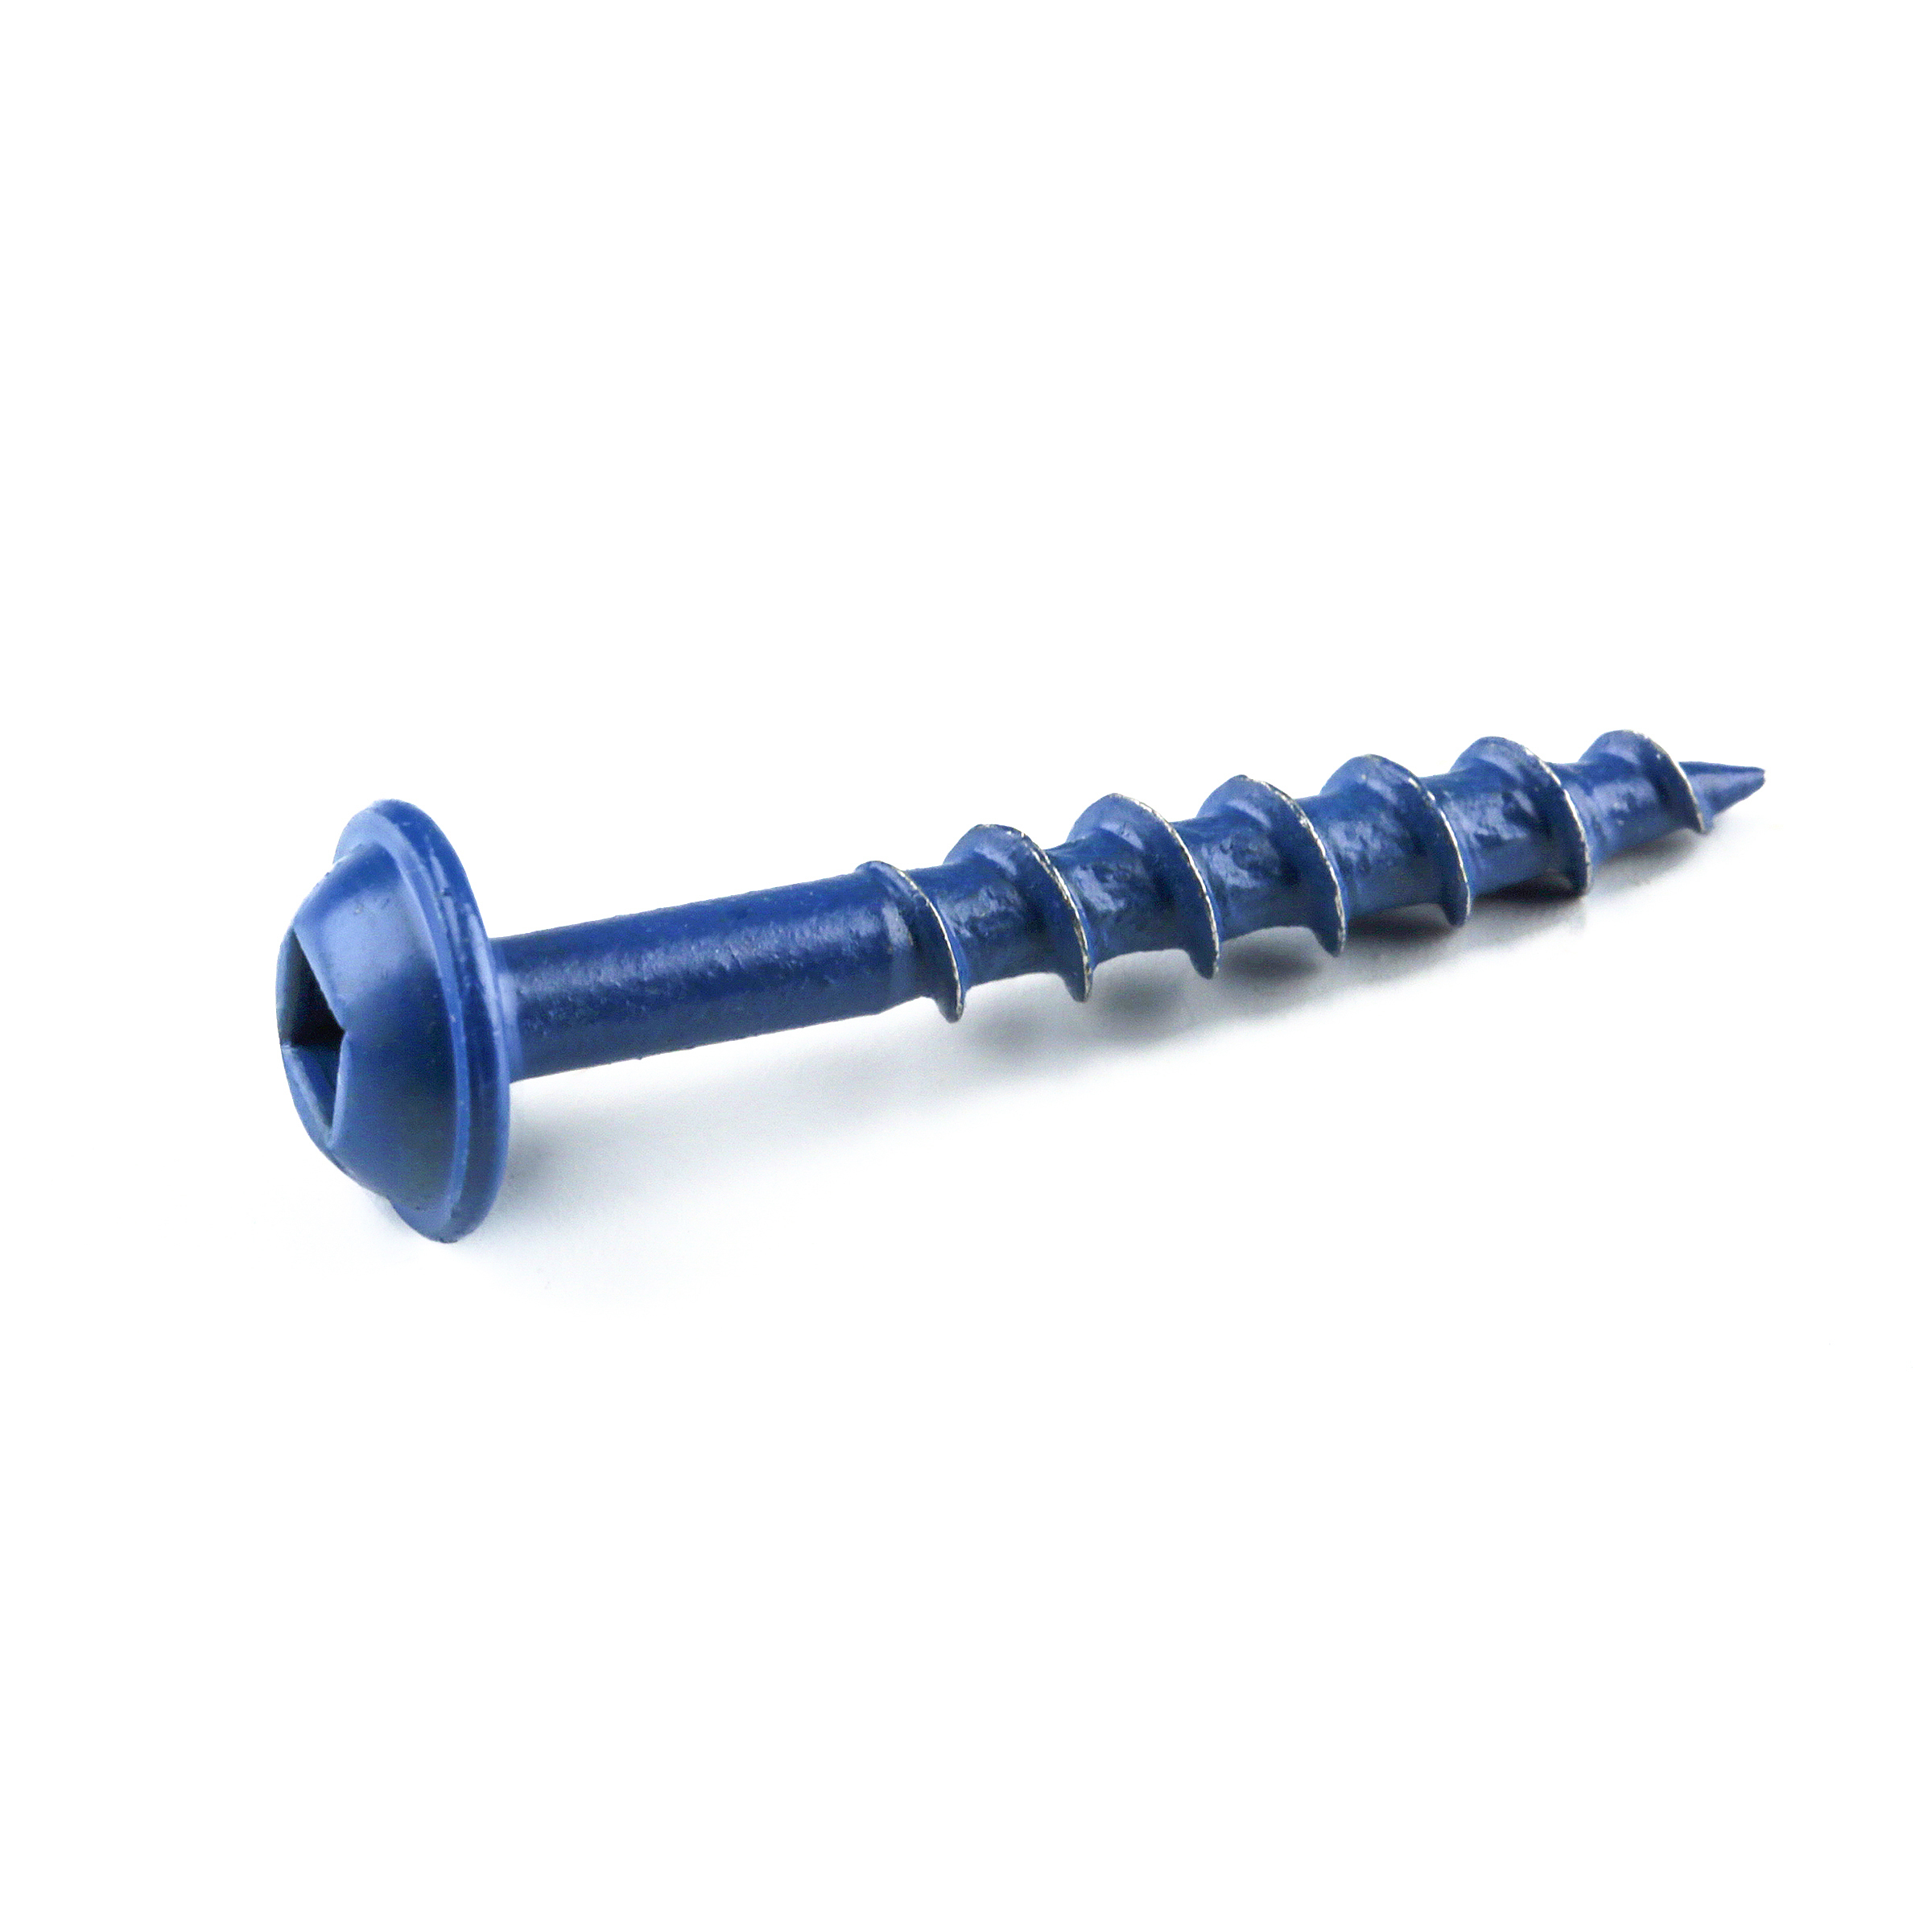
- 1 Box of 1¼” Outdoor Kreg Screws (see tool list)
- 2 1" hinges suitable for outdoor use
- 1 Cabinet latch magnet
- 1 Paint or stain of your choice, or you can skip it and go au naturel
- 1 Mount of your choice
Directions
-
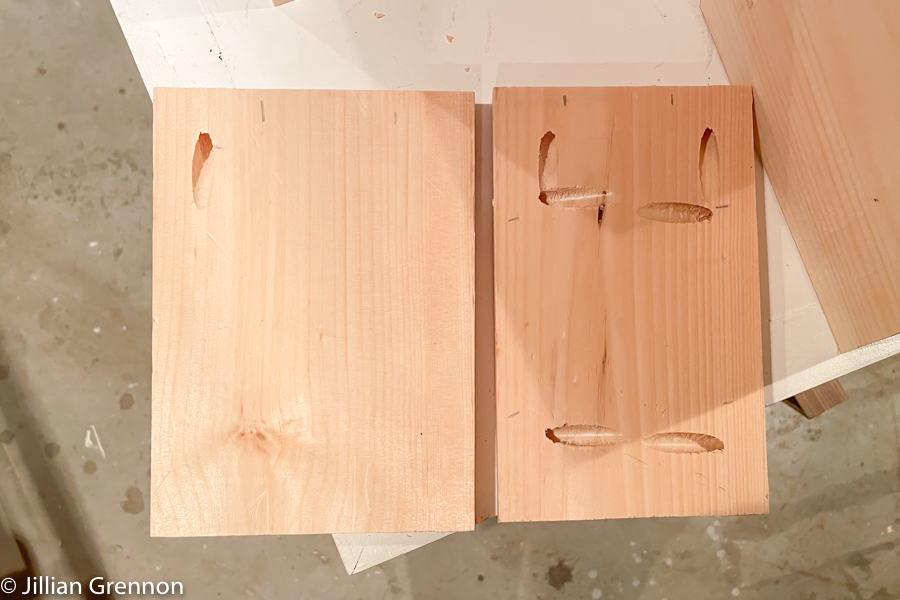
Drill holes
Use your Kreg Jig to drill two pocket holes on the inside of the R side at the top. Keep in mind that the body of the house is smaller so be sure to drill the forward most pocket hole at least 2¾” in from the front. The second hole is 5 ¼” from the front.
-
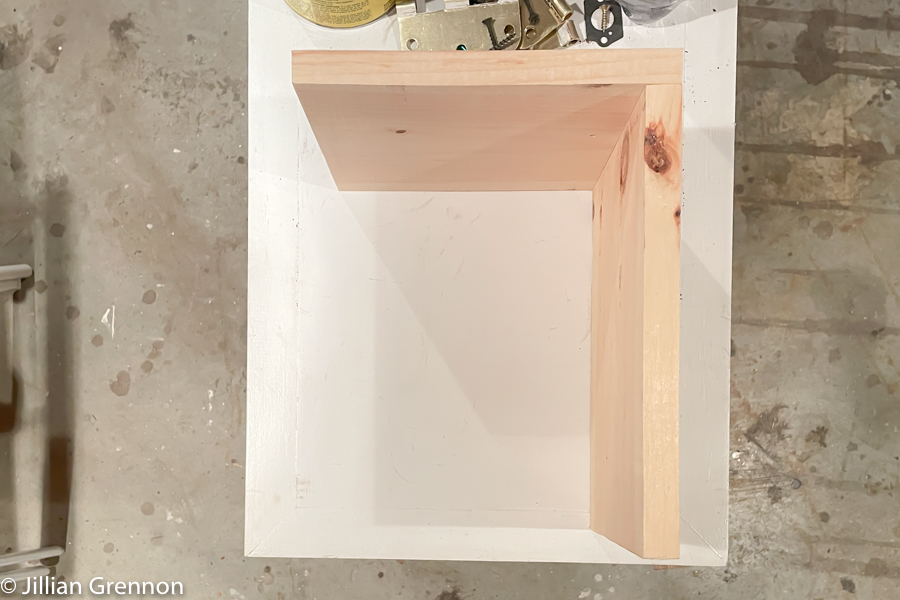
Create the frame
Using your right angle clamp, secure the R side to the roof and attach using 1 ¼” outdoor Kreg Pocket Screws.
-
Drill holes for the back and left side
The back piece will need two holes drilled on three sides. This piece will attach to the right side, left side and roof.
The left side will secure to the roof on the inside with one pocket hole screw just to prevent any warping of the roof over time. Use your Kreg Jig to add this hole about 1 inch in from the front.
-
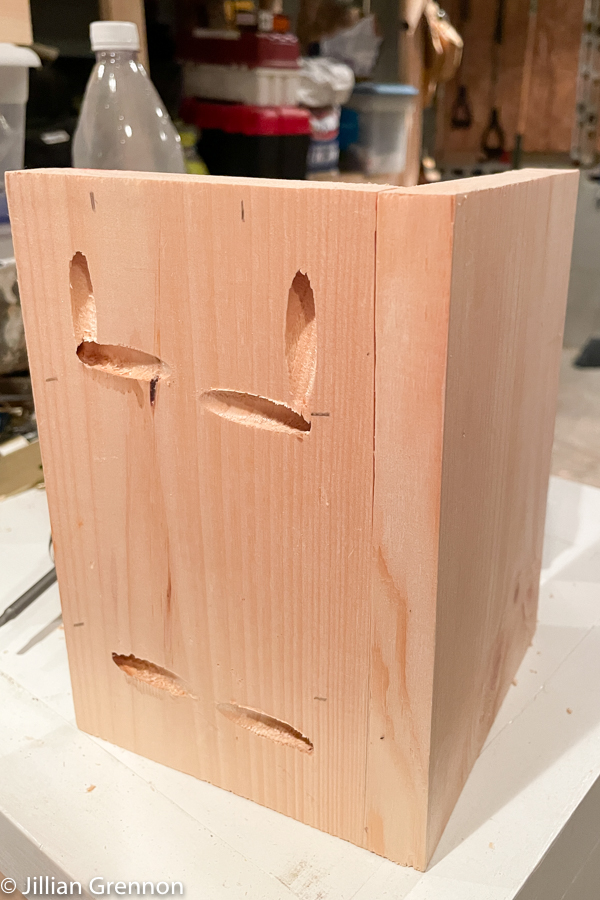
Attach left side and back
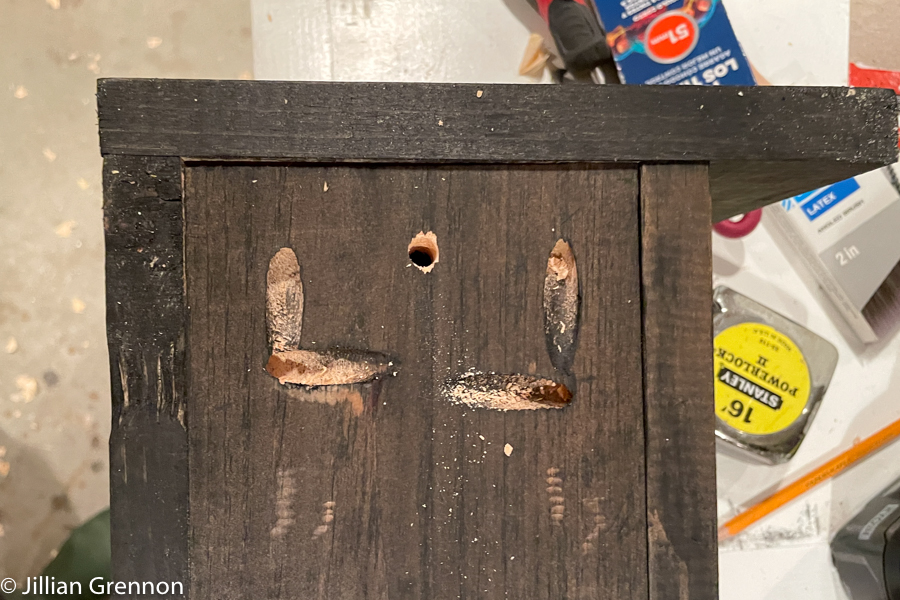
Secure the back to the left side temporarily, using your right angle clamp and then permanently secure it with screws. The pocket holes will be on the outside of the back. This shouldn’t matter much unless you plan to mount this with the back visible. If that is the case, don’t worry! Kreg sells plugs you can use to fill the holes.
-
Drill holes and attach bottom
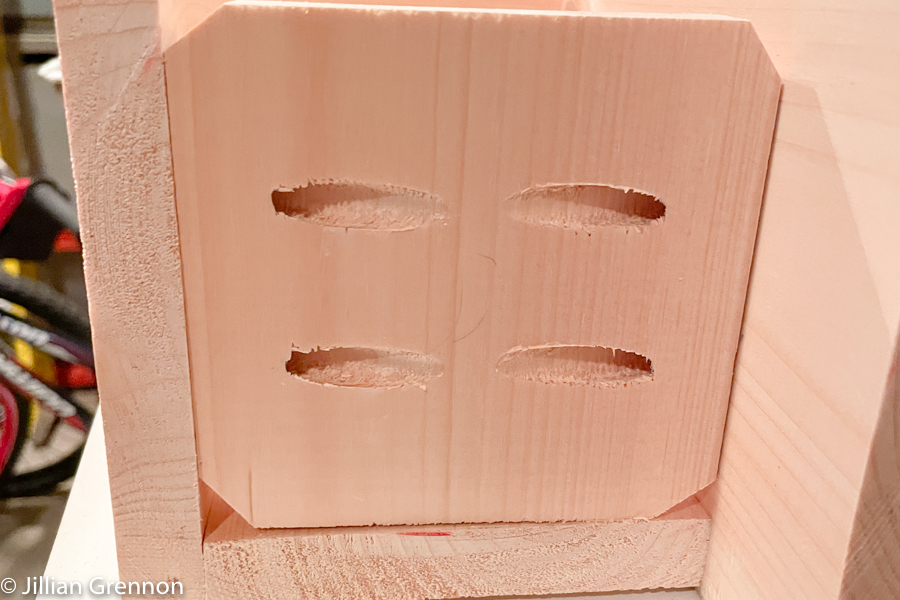
Drill 4 pocket holes on the bottom of the bottom piece. These holes will go toward the left and right sides.
Be sure you have your vent corners cut and attach it to the left side.
-
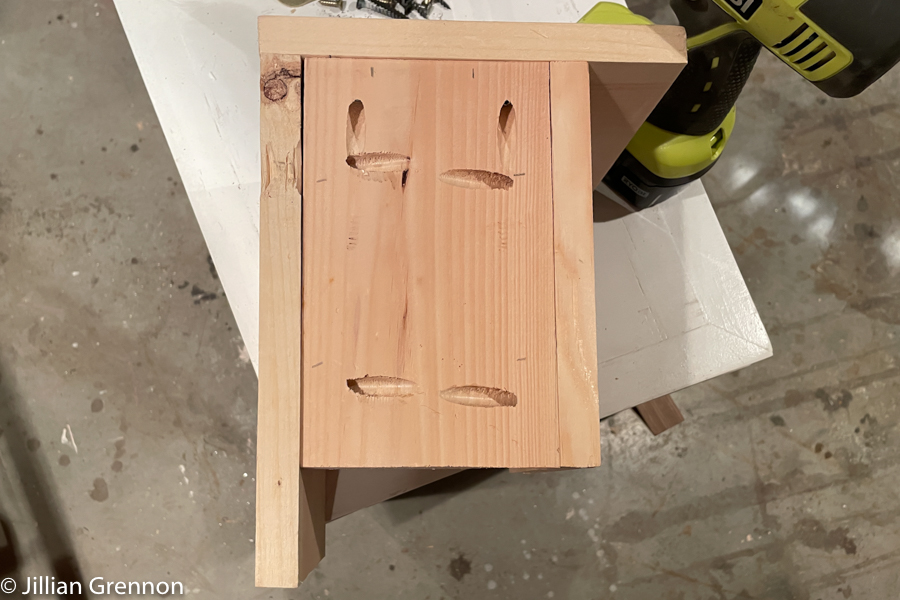
Attach the house to the frame
Using the remaining pocket holes, attach the back piece flush with the back of the frame. This will create an overhang on the front that provides a bit of protection from weather for the birds once they move in.
Then use one screw to secure the left side to the roof and the remaining two pocket holes to secure the bottom to the right side.
I chose to stain the birdhouse at this point because I am painting the door a different color. You could do the same or wait until the entire piece is complete. I left the interior unfinished. I don’t think the birds will mind.
-
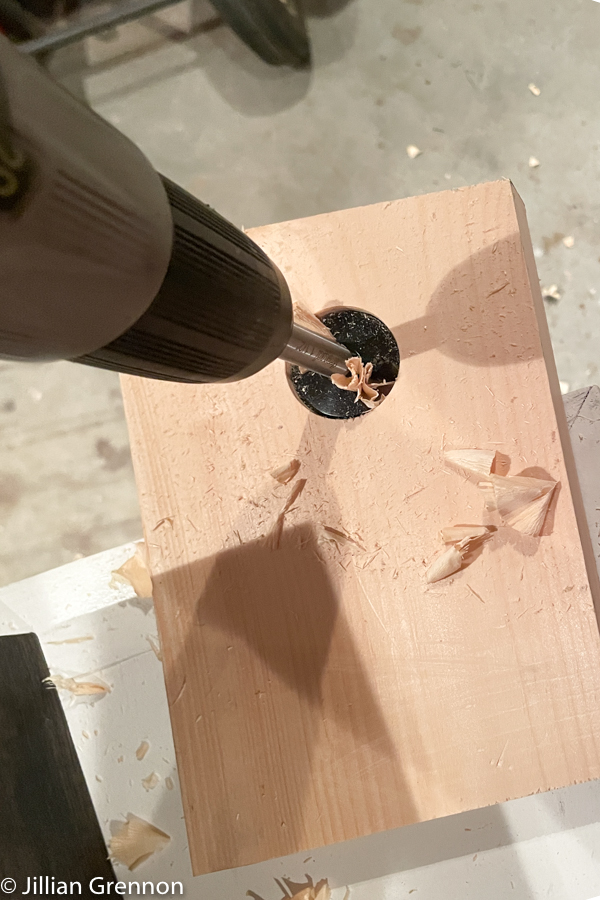
Drill hole in the front door
Using the 1 ½” forstner bit/hole saw/spade bit, drill a hole with the center point 6” up from the bottom and 2 ¾” in from the side.
-
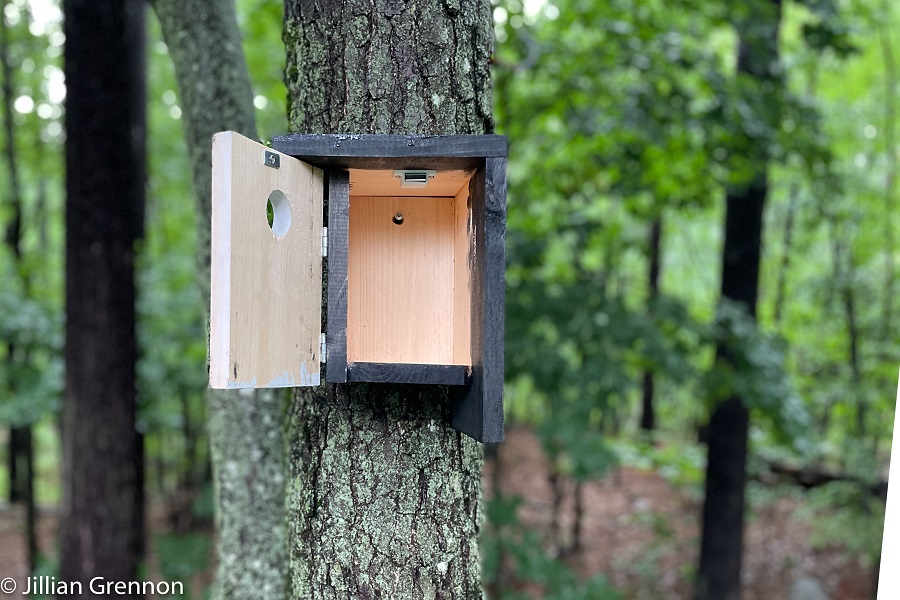
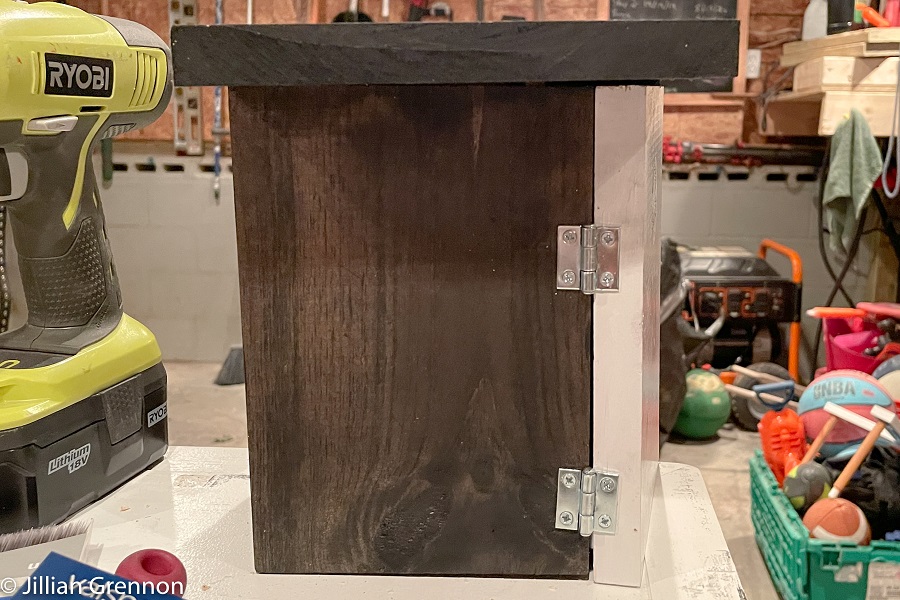
Attach door
Attach the door to the house using the hinges and magnet. I chose to create a front panel that can open for easy clean out.
-
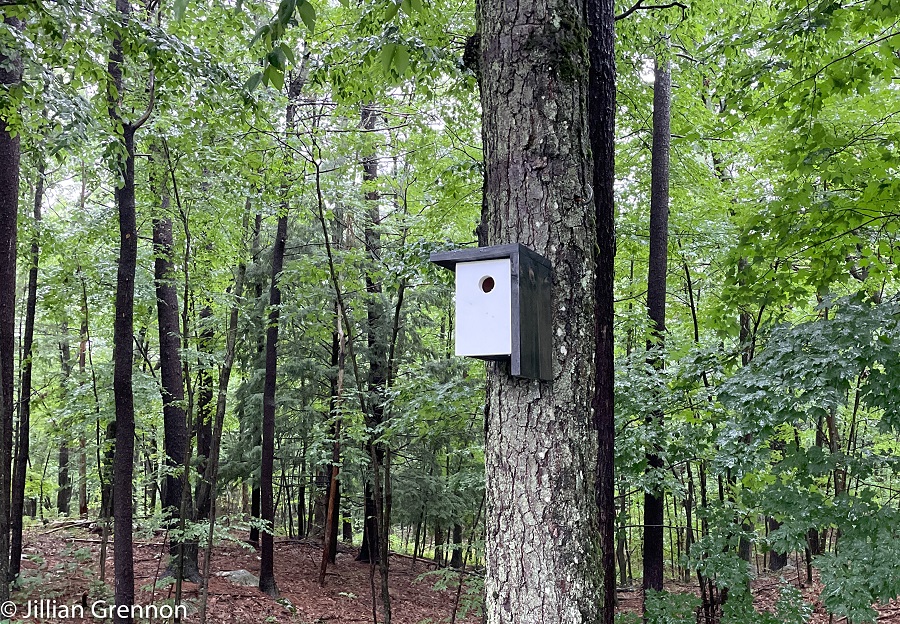
Mount your birdhouse and wait for visitors
After painting or staining the house to your liking, choose your mounting method and location. There are plenty of options but I think the simplest would be to drill a hole through the center of the back and hang it on a nail on a post or a tree. For a more secure house, you could open the door and drill through the back right into the tree as well.