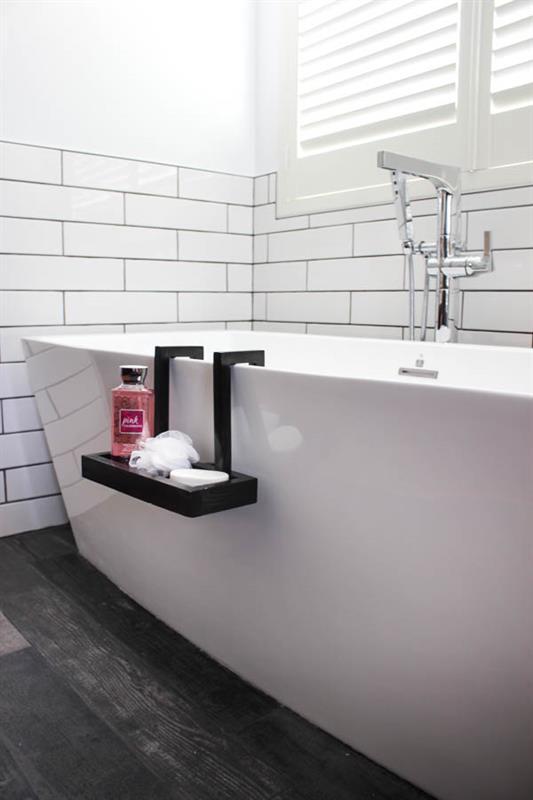


Build this beautiful modern bath caddy for your freestanding tub! It's simple to modify to fit your own tub design. The perfect bathroom accessory.
Tools
Kreg Tools


Other Tools
-
Miter Saw

-
Table Saw
-
Tape Measure
-
Workbench
Materials
Wood Products
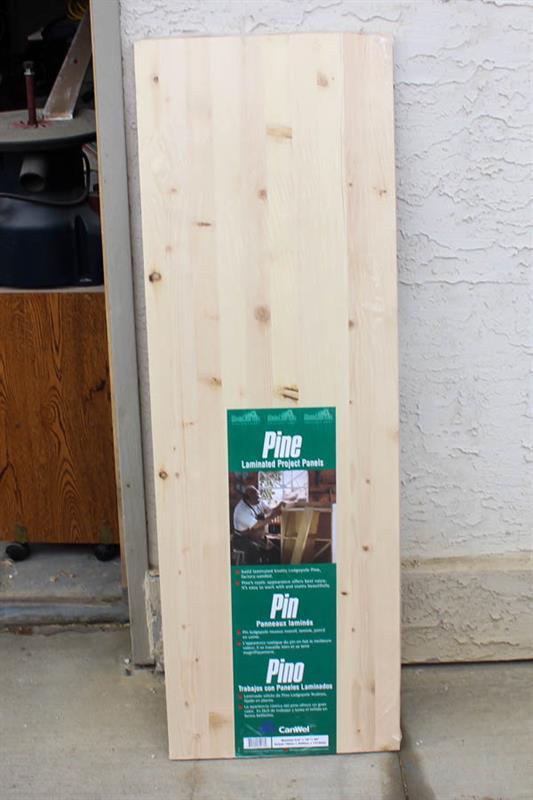
- 1 Board , 3/4" Thick , 20" x 3ft.
- 1 Plywood , 3/16" thick , 12" x 3.75"
Hardware & Supplies
- 1 PL Premium
- 10 Hexagon Tiles (optional)
- 1 Resin
- 1 3/8 Dowel
- 2 Kreg Pocket Hole Plugs
- 6 Screws
- 1 Wood Glue
- 8 Finishing Nails
- 1 Rubber Stopper (end of part C)
- 1 Wood Stain
- 1 Wood Varnish
Directions
-
Cut Wood for Arms
Cut Parts A, B, C, and E as per the cut list in the attached plans. We used one pine board to make the entire piece. Lengths for part A and C can be customized depending on the style of your tub. See plans for details on changing lengths.
-
Drill Holes
Drill holes for parts B and E from attached plans. Part B will require a 3/8" diameter hole drilled 1/4" deep. Part E will also require a 3/8" diameter hole drilled 1/4" deep, plus a pocket hole using your Kreg jig.

-
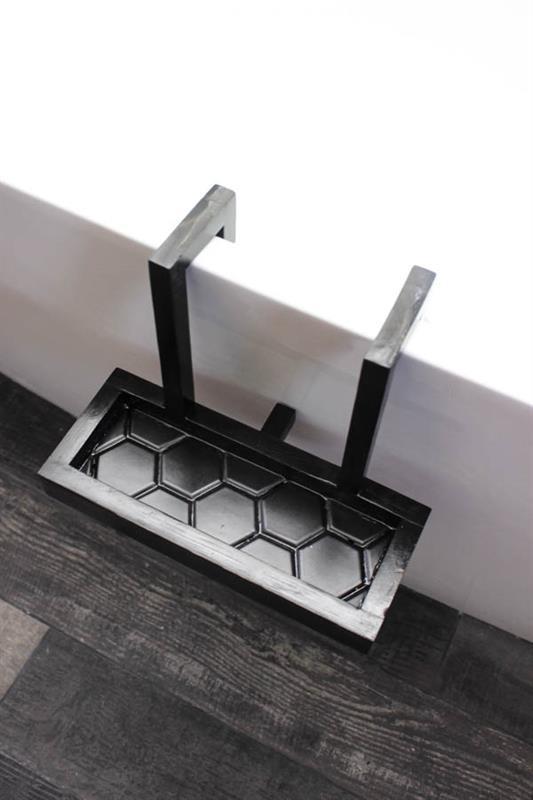
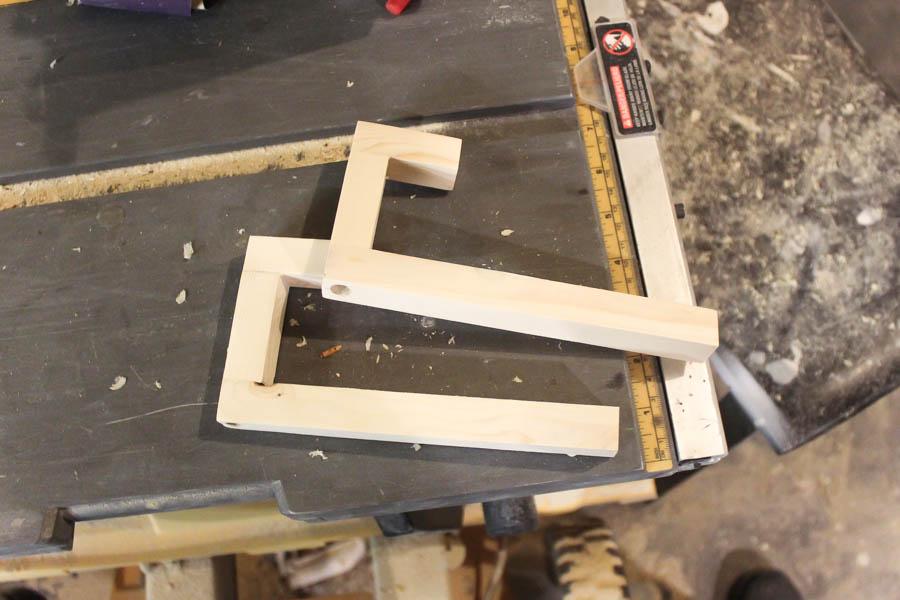
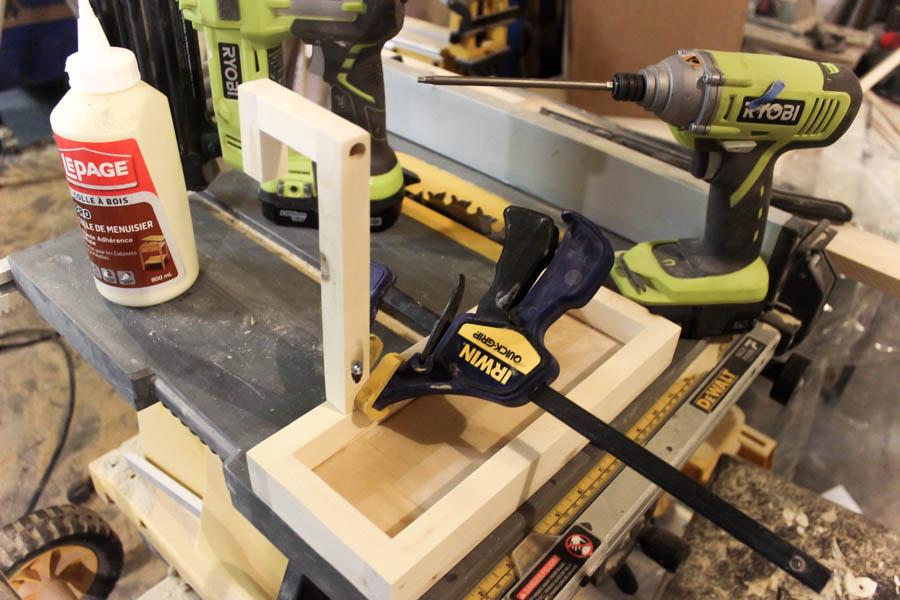
Assemble Arms/Hooks
Using wood glue and screws assemble parts A, B & E (twice - one for each arm).
-
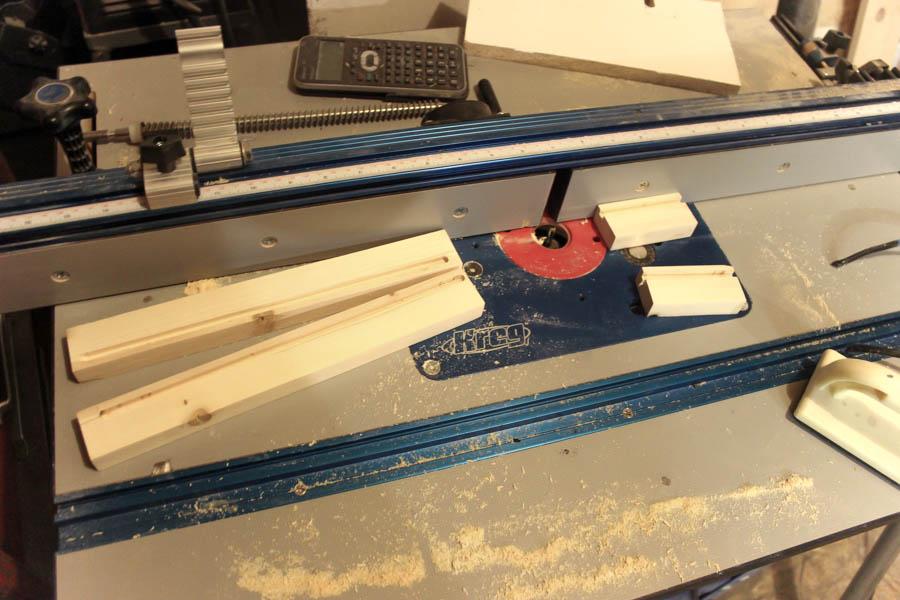
Cut Wood for Tray
Cut parts D, F, & G to length (as per the attached plans). Using a Kreg router table, route grooves into F & D. The grooves should be 1/8" from the bottom of the tray.
-
Assemble Tray
Take pieces F, D, & G. Glue edges and routered groove, and clamp and nail pieces together.

-
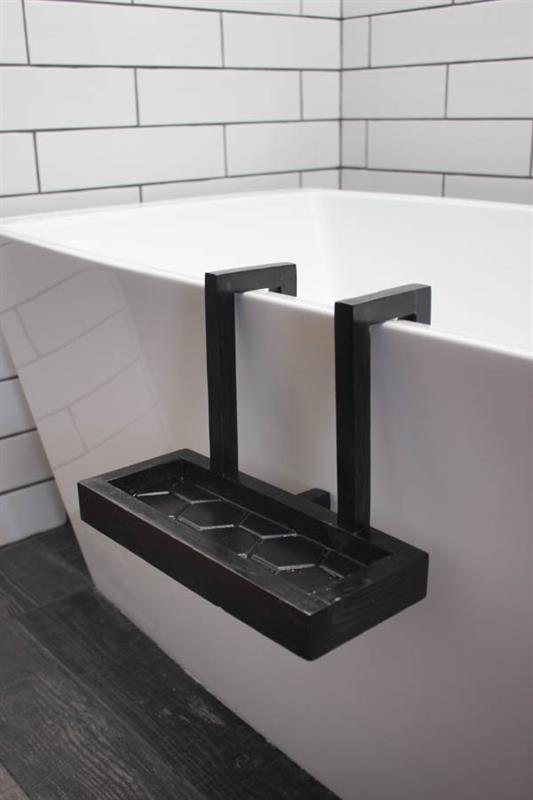
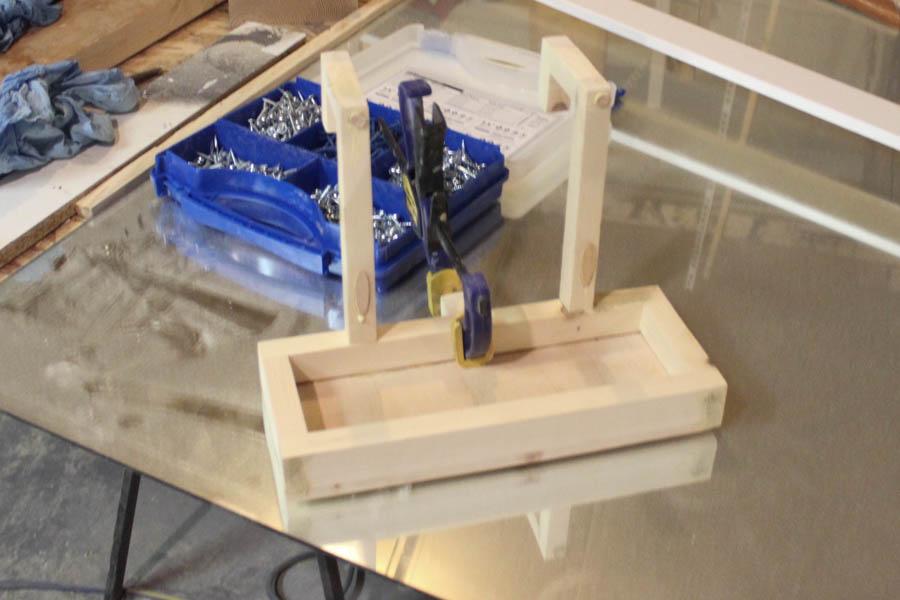
Install Arms
Using clamps, place arms onto tray. Glue and screw arms into place.
-
Install Part C
Glue part C to back of Caddy.
-
Install Plugs
Cut 4 plugs from 3/8" dowels. Plus parts B & E with plugs. The pocket hole can also be plugged at this time.

-
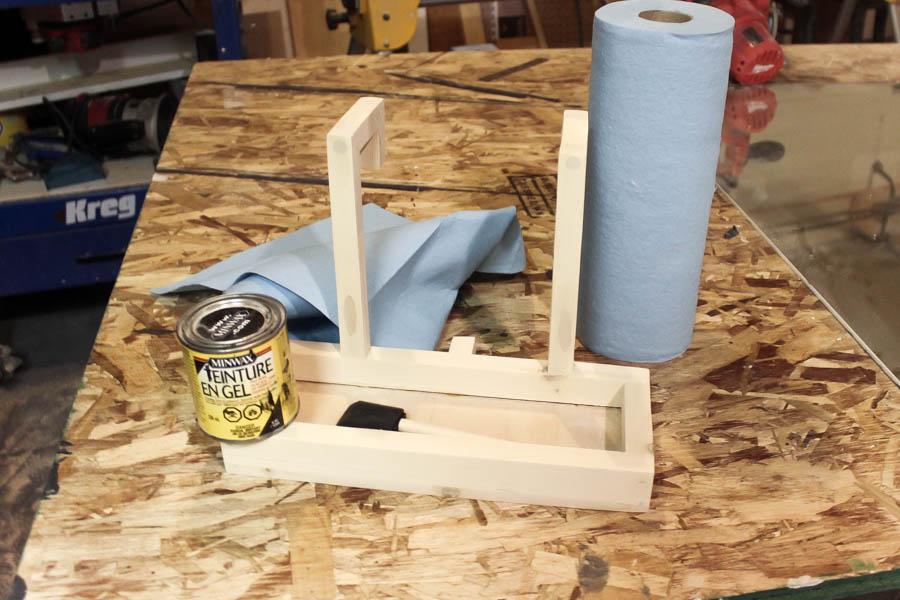
Finish Tray
Once the glue has set, putty all holes and around all dowels. Sand until smooth. Once smooth stain caddy.
-
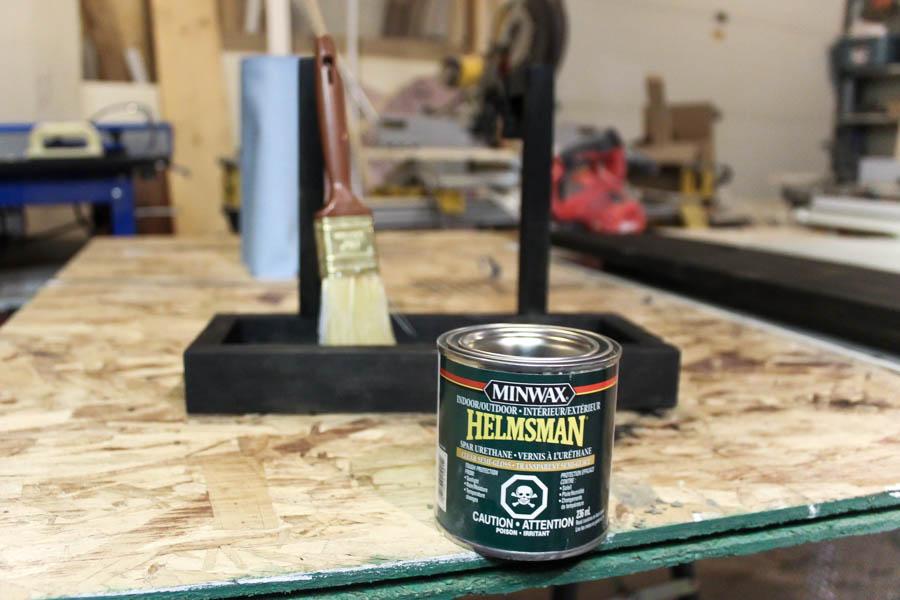
Varnish Caddy
Since this was going to be in a wet environment, we chose to use a sealer that was moisture resistant.
-
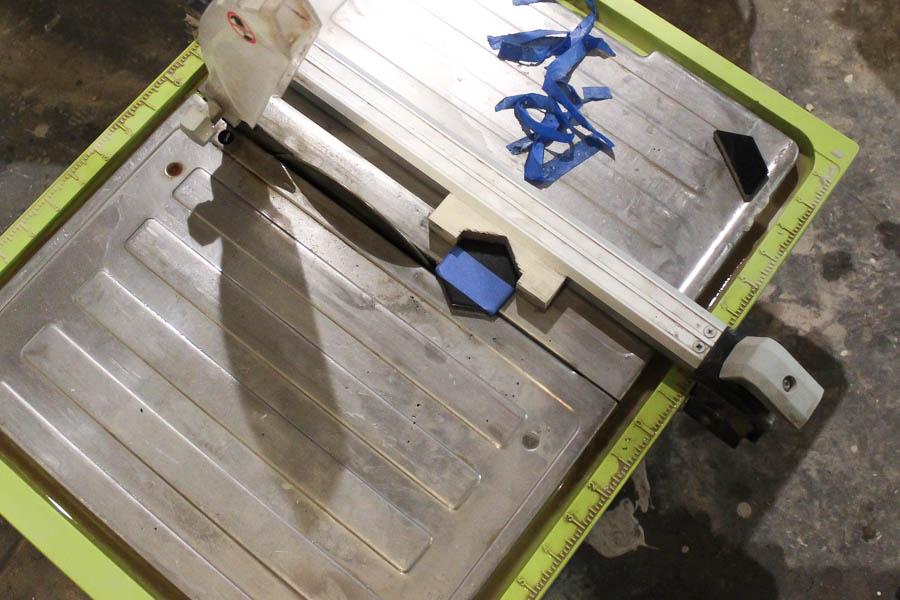
Place Tile (optional)
Your caddy could be done at this point, and it would look amazing! We chose to inlay the floor of the caddy with some 2" hexagon tiles. If you chose to do this, place your tiles on the floor, and cut tiles to fit as required.
-
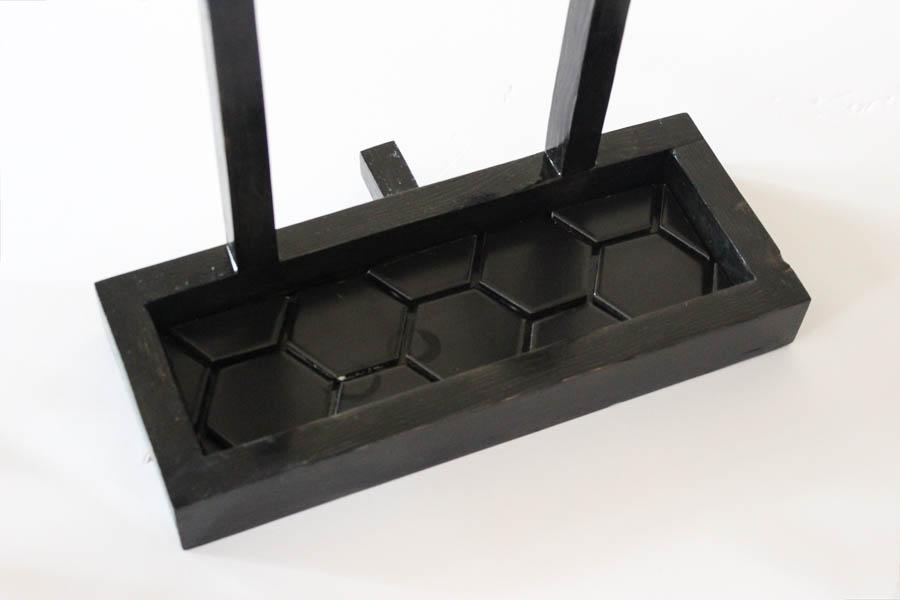
Set Tile (optional)
Do a dry fit to make sure that the tiles fit with similar spacing in caddy tray. Glue tiles in place once fit is confirmed.
-
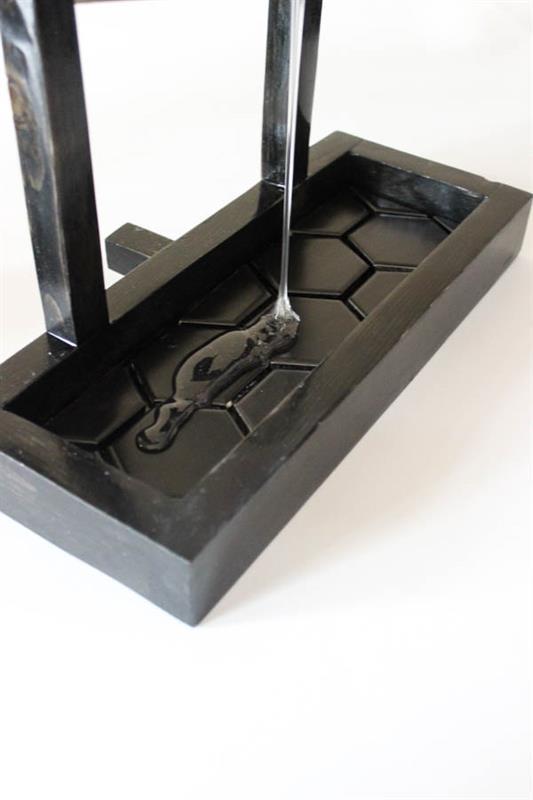
Resin Tiles (optional)
Mix resin, as per manufacturer directions. Pour mixtures overtop of tiles in a thin layer. We tried to fill all of the gaps and thinly cover the tiles.
-
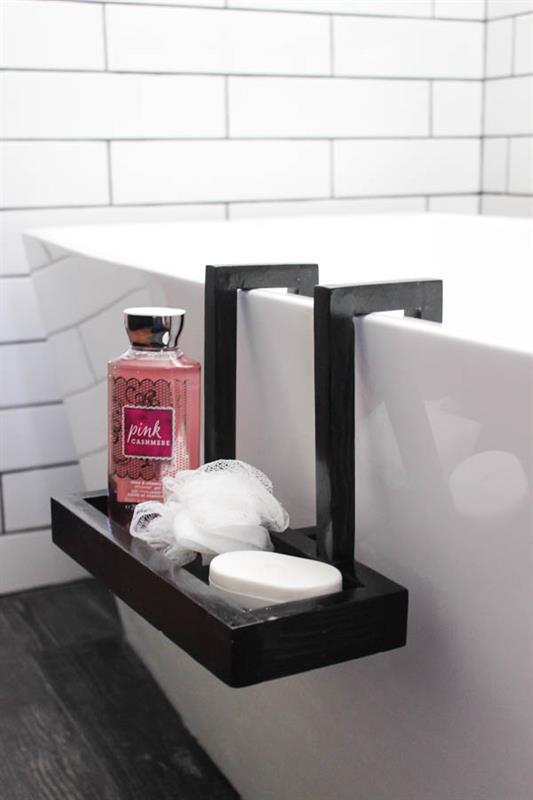
Finished
Let resin set and enjoy your new bath caddy!