

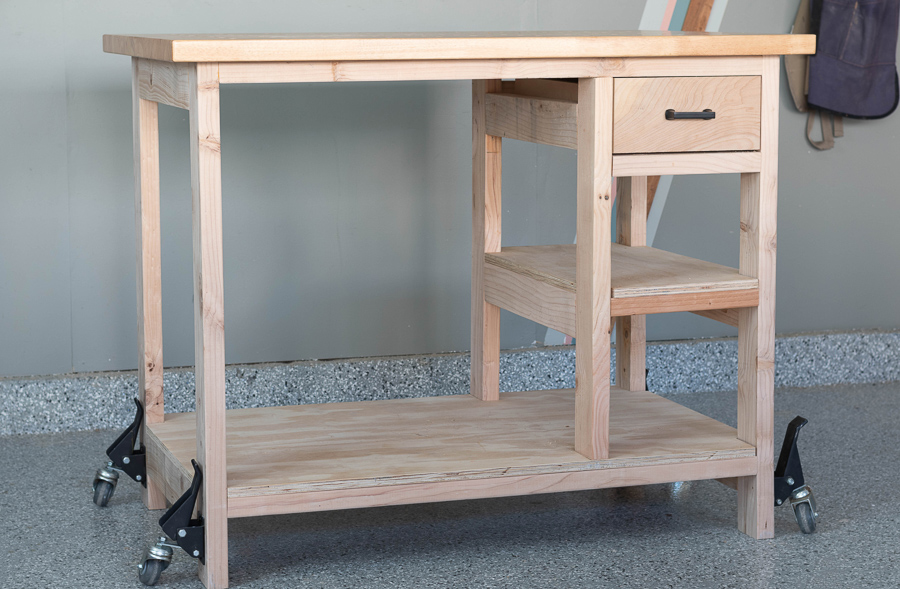


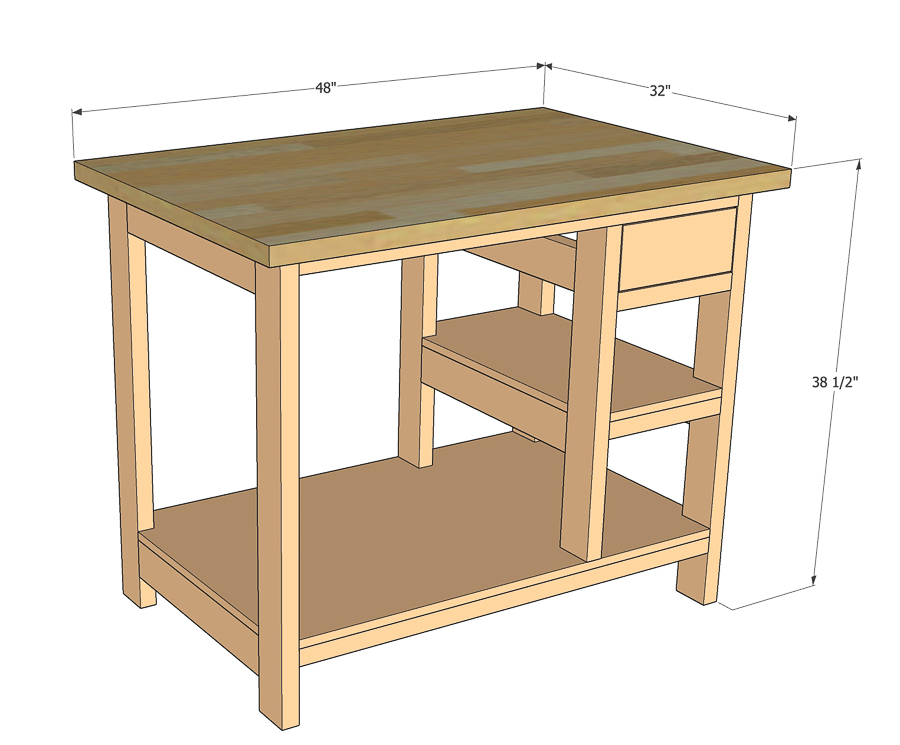
Add this beginner-friendly DIY workbench to your workshop with this weekend project. It is a great sturdy starter workbench with a drawer and open shelves for storage and organization and can be easily customized.
Tools
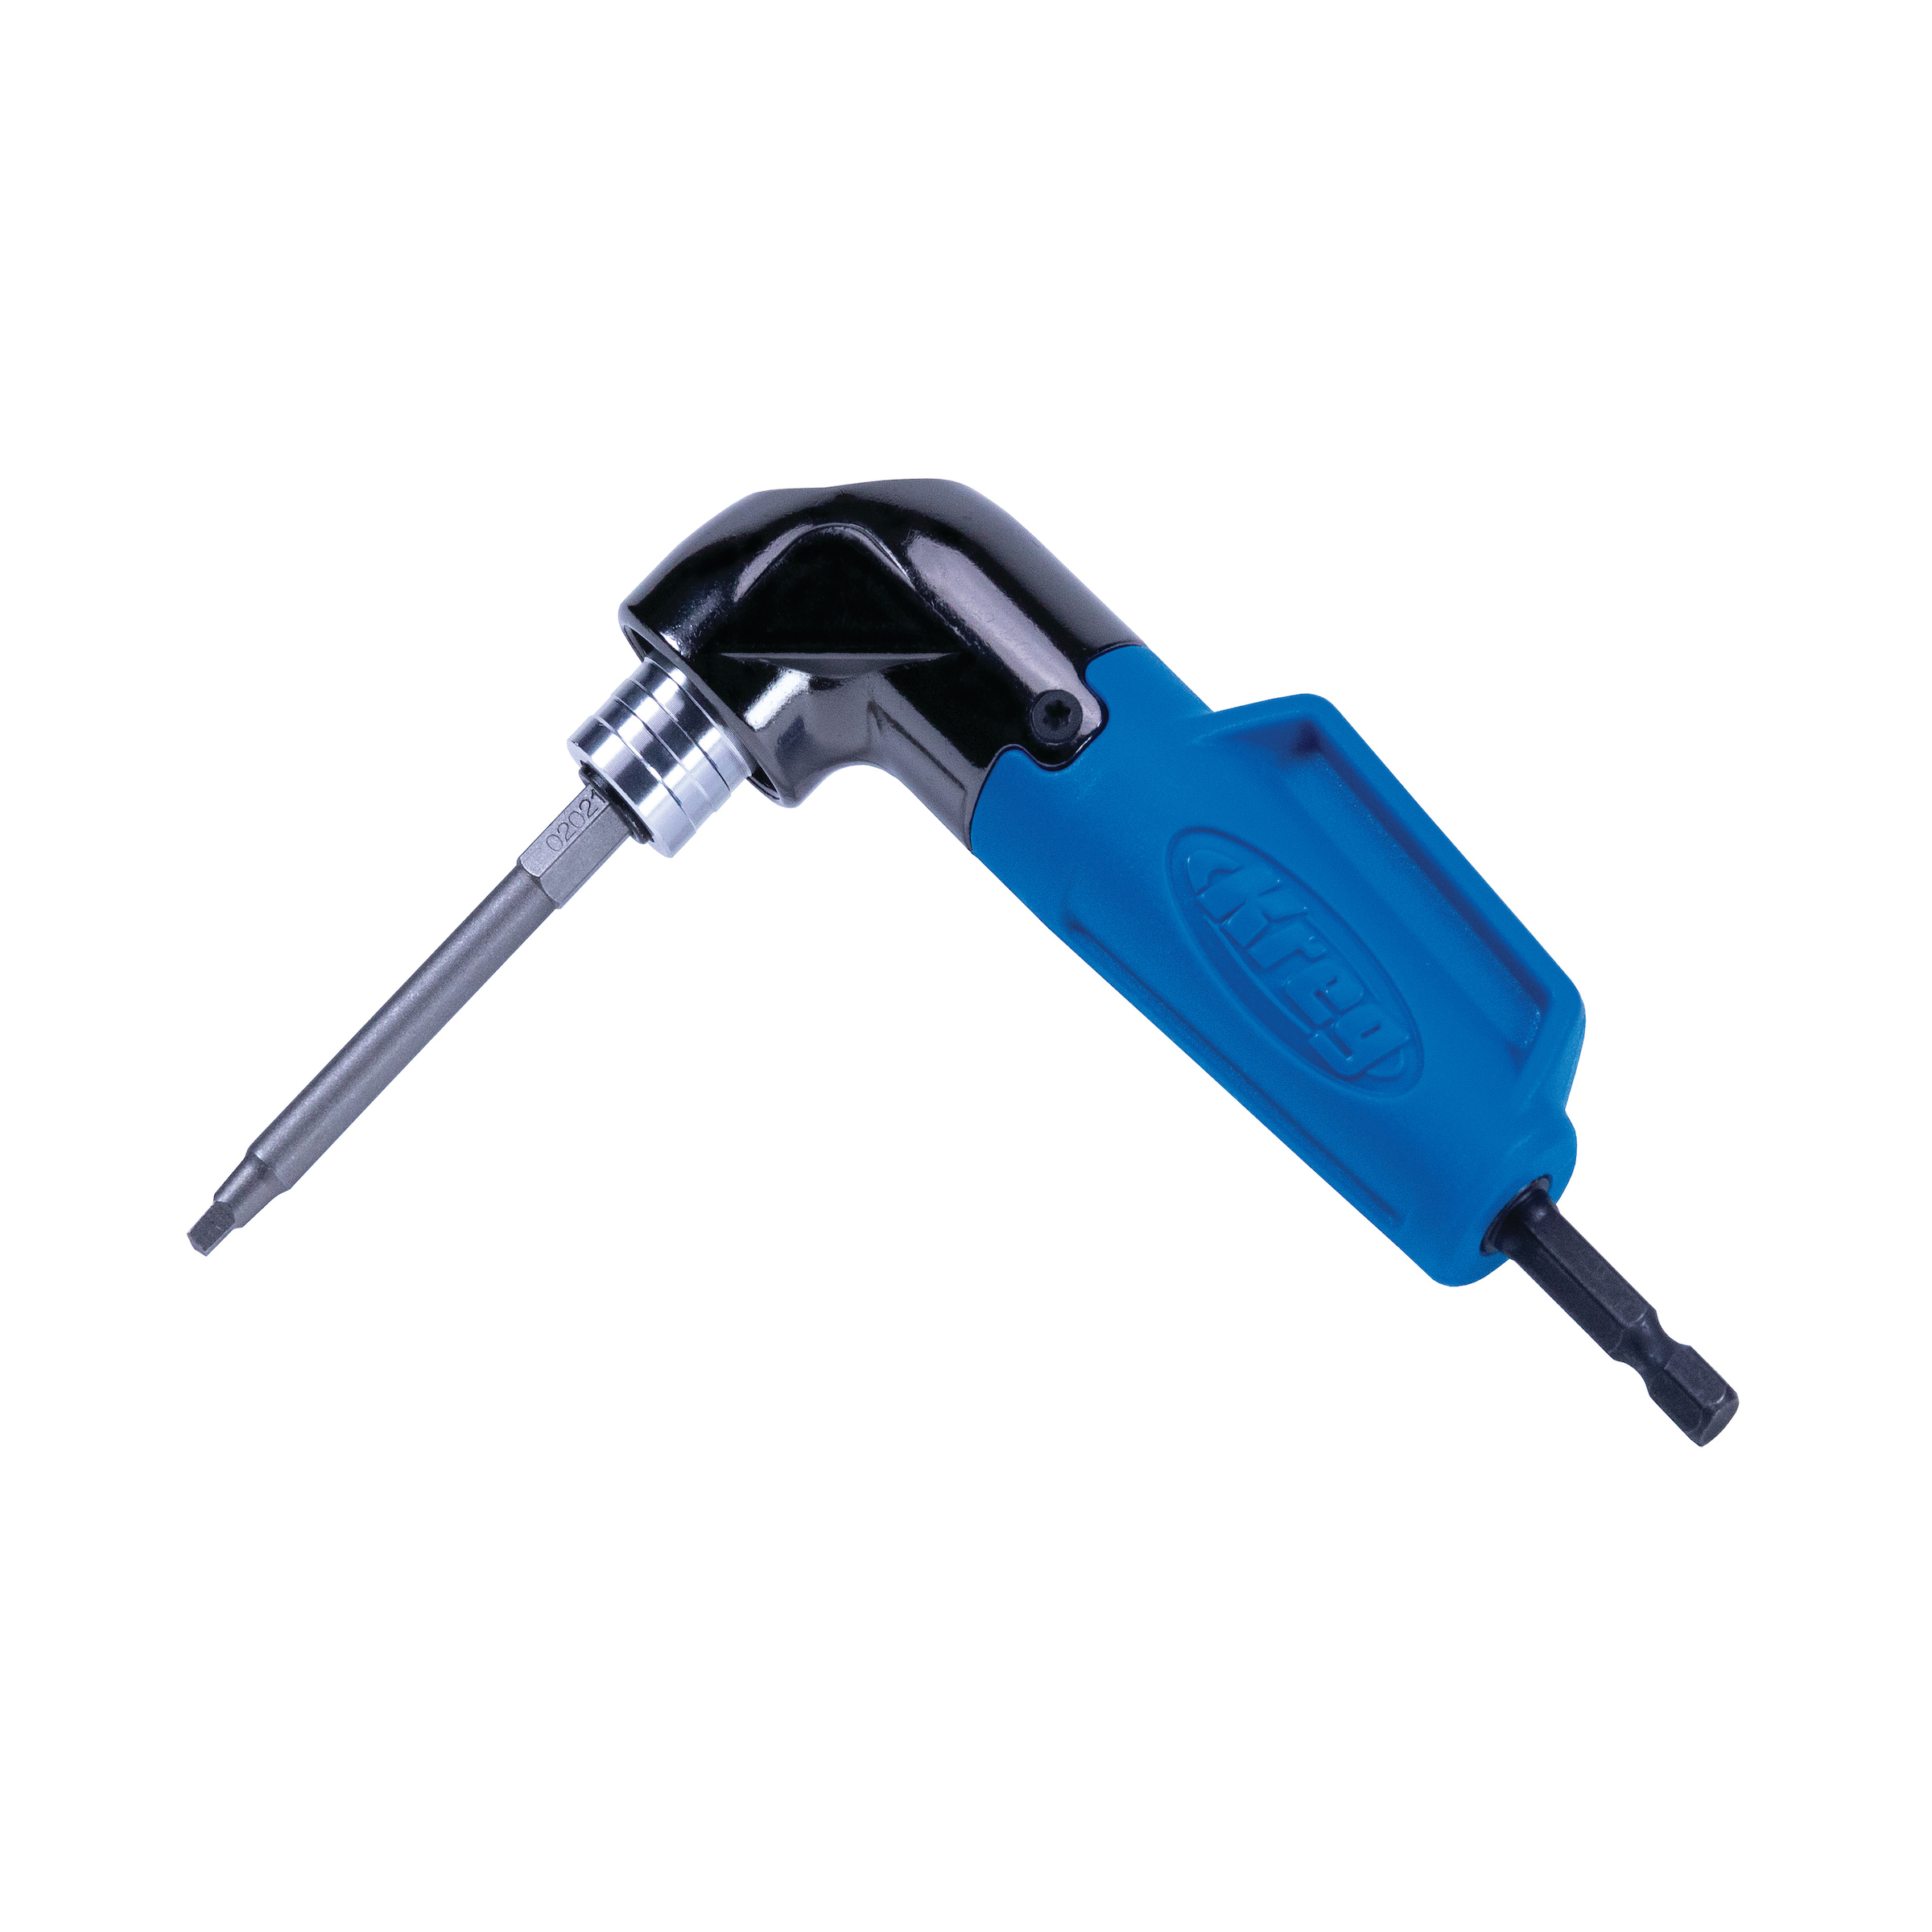
Kreg Tools


Other Tools
-
Miter Saw

Materials
Wood Products
- 7 2x4 boards , 3 1/2" x 1 1/2" , 96"
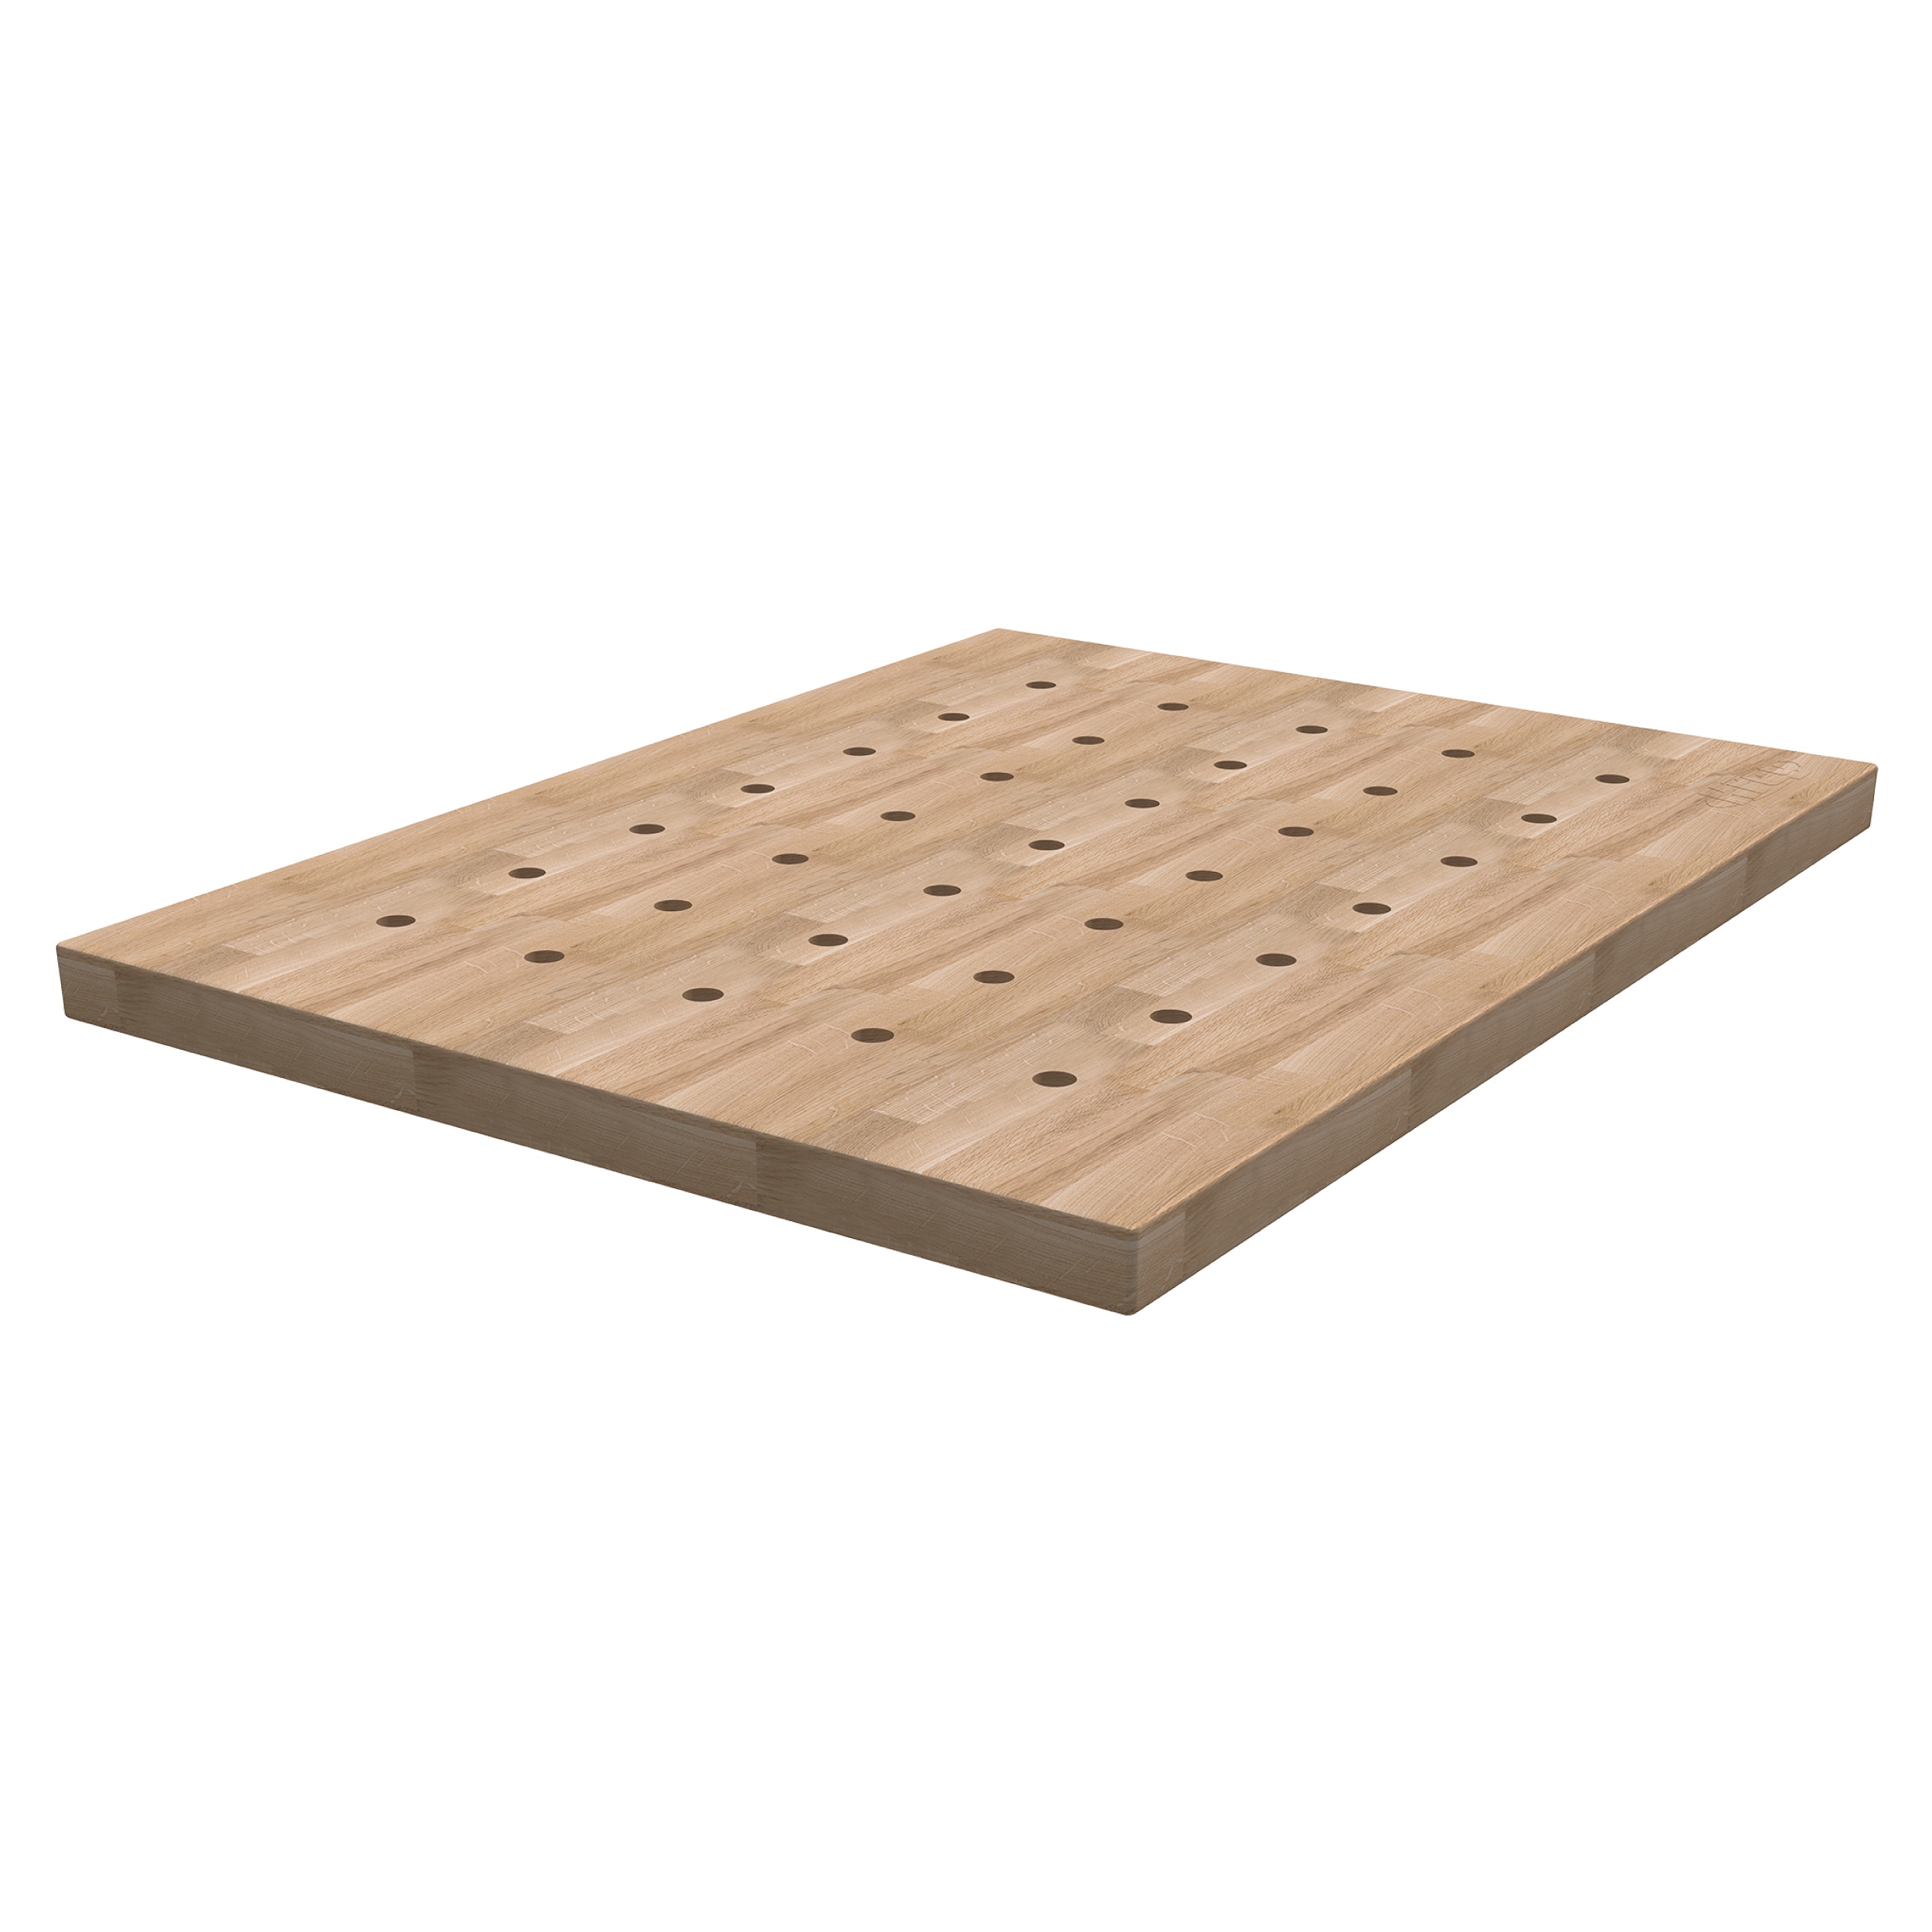
- 1 Plywood , 3/4" , 4' x 8'
- 1 Plywood , 1/4" , 2' x 4'
Hardware & Supplies
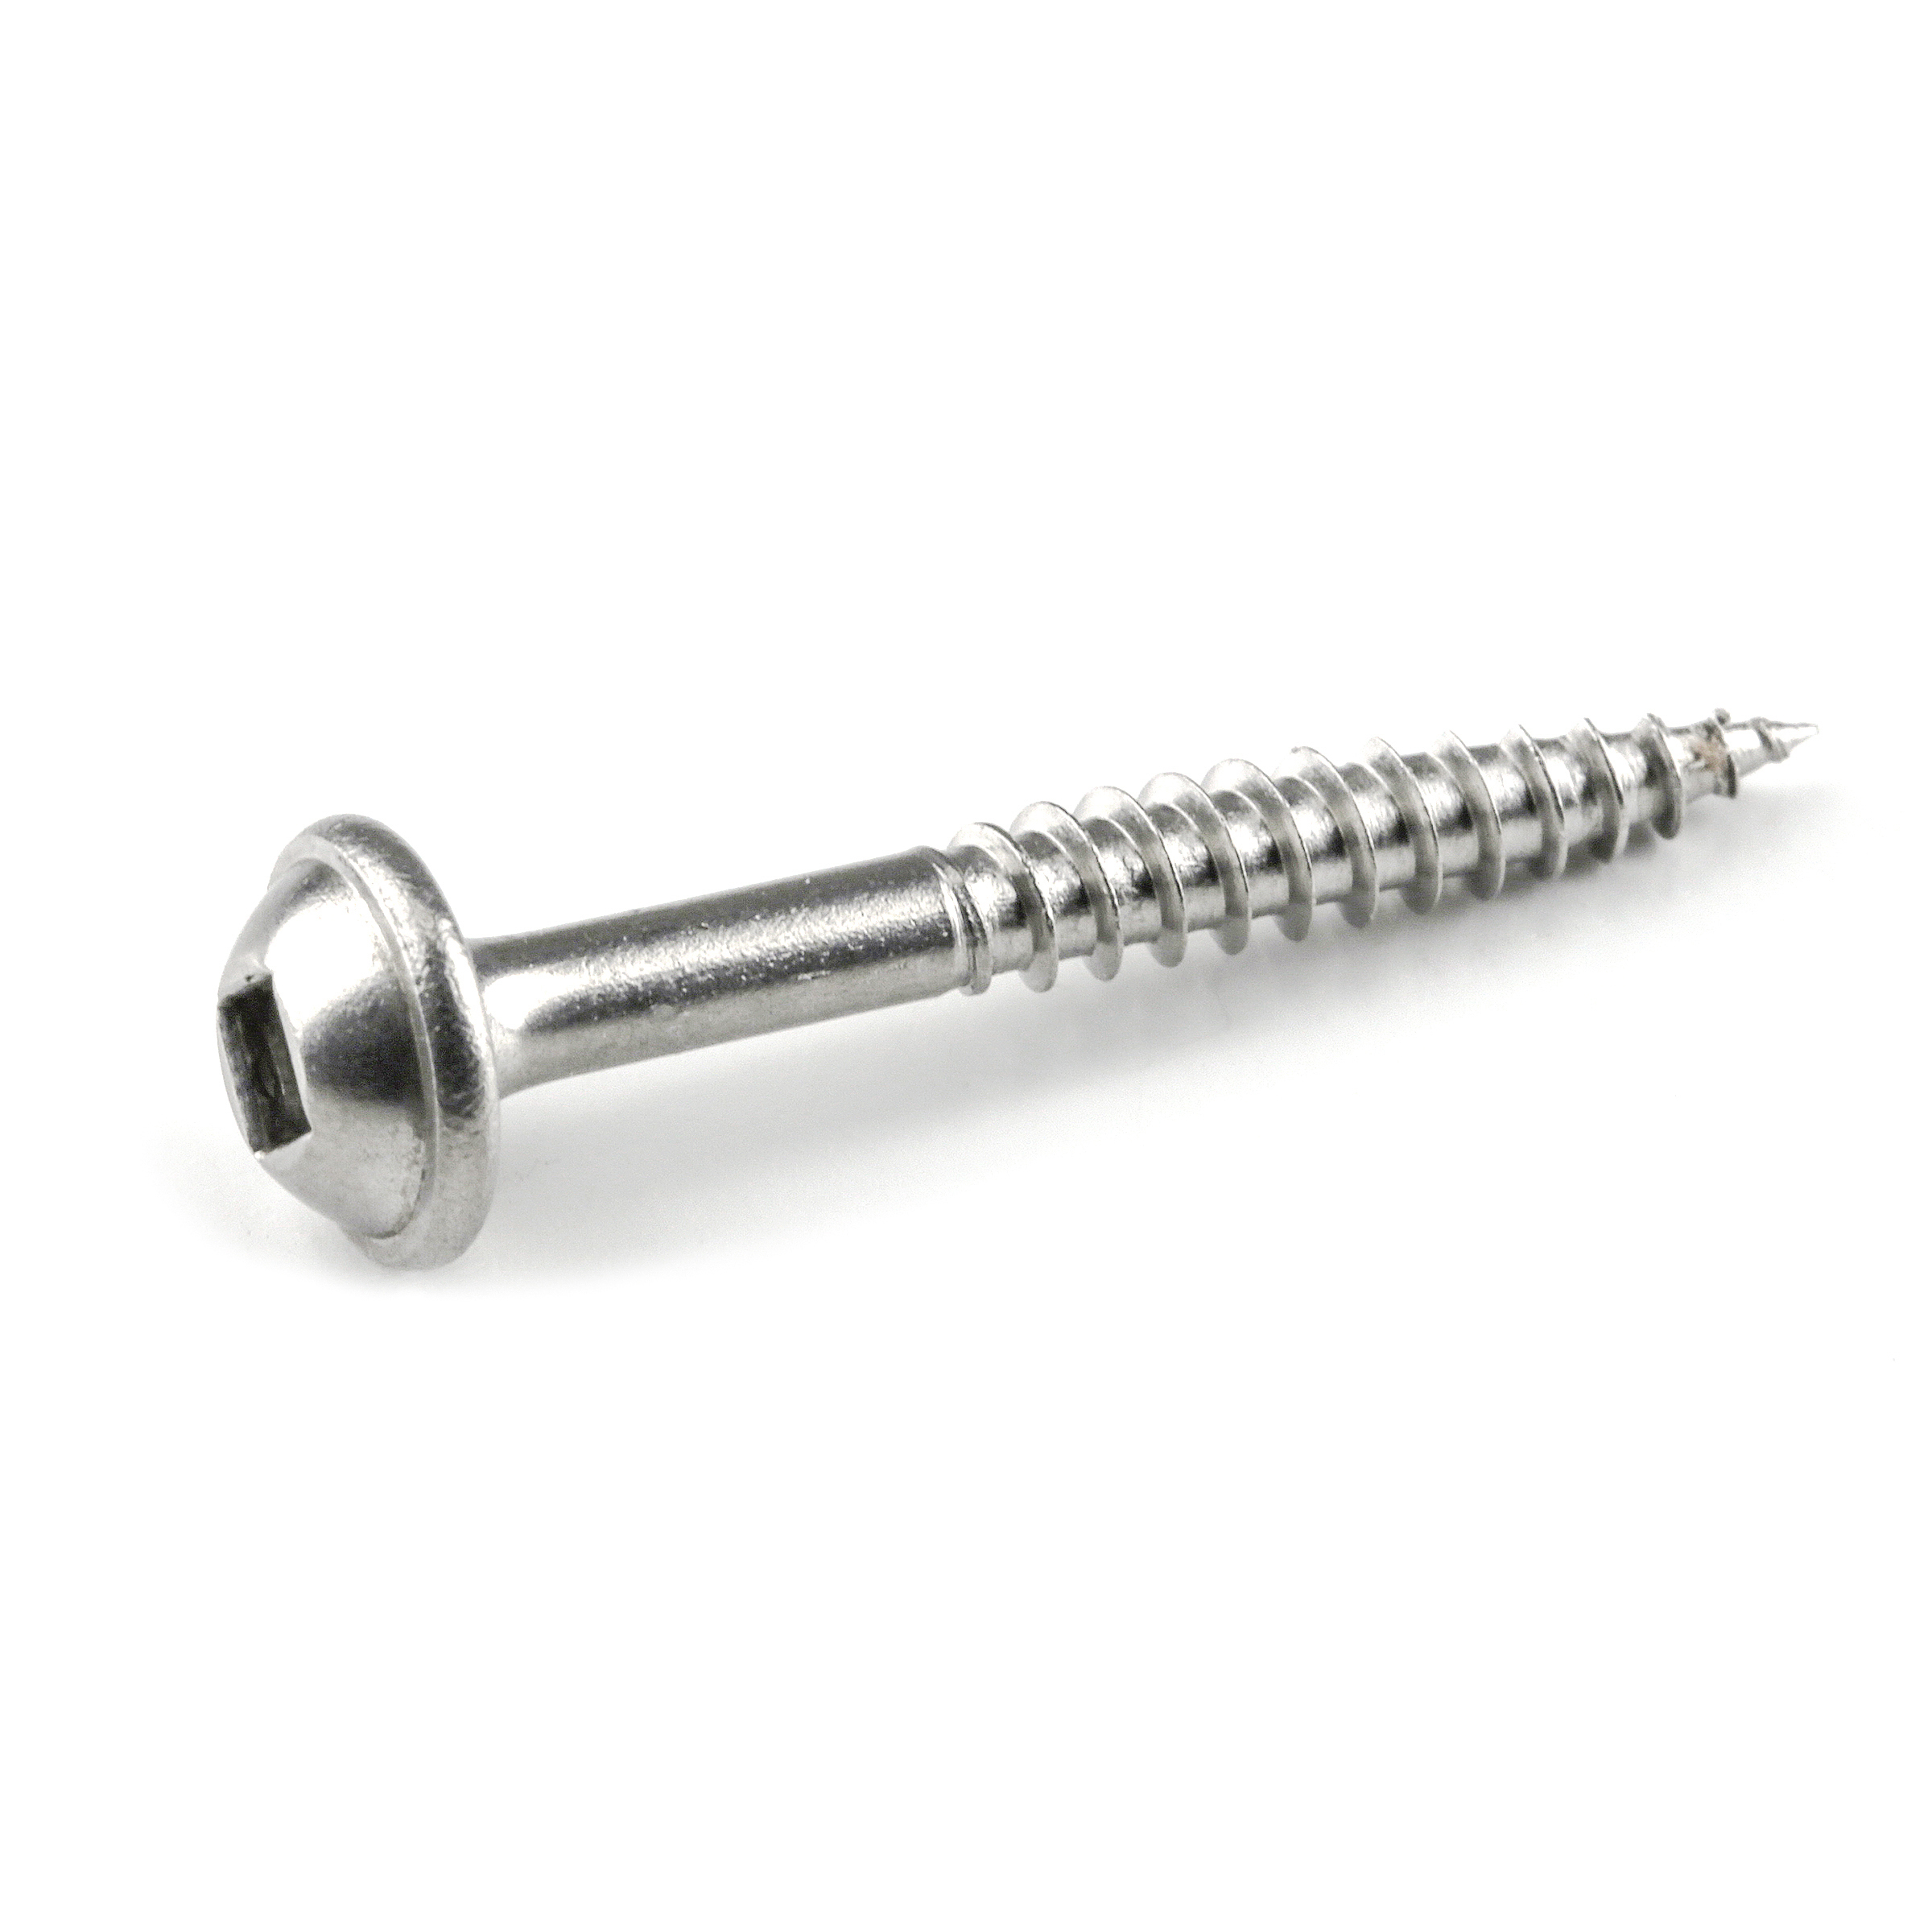
- 1 Drawer Slides
- 1 Drawer pull
- 4 Drop down casters
Directions
-
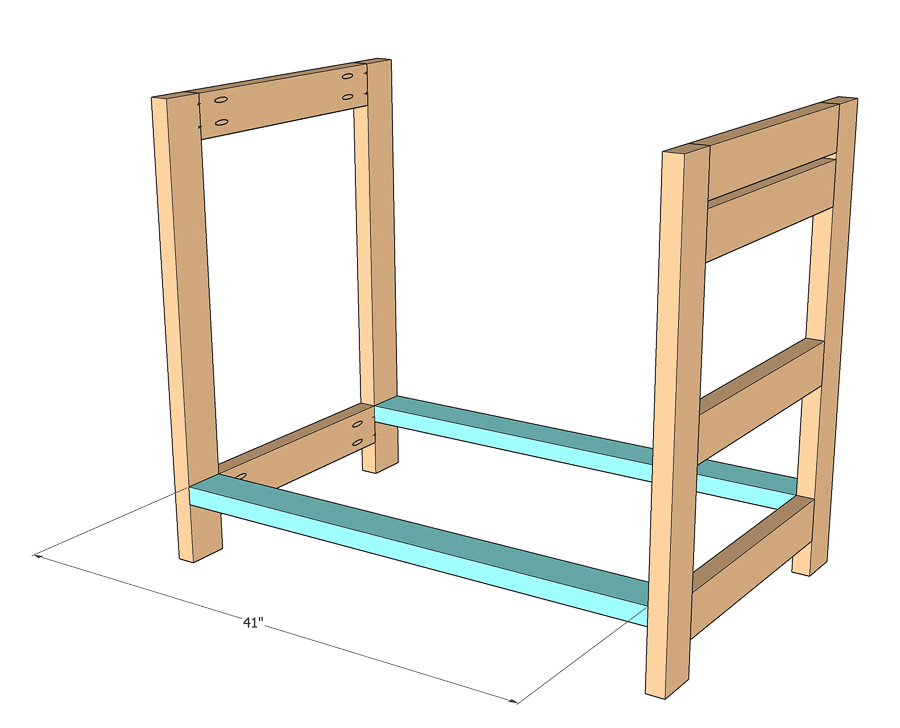
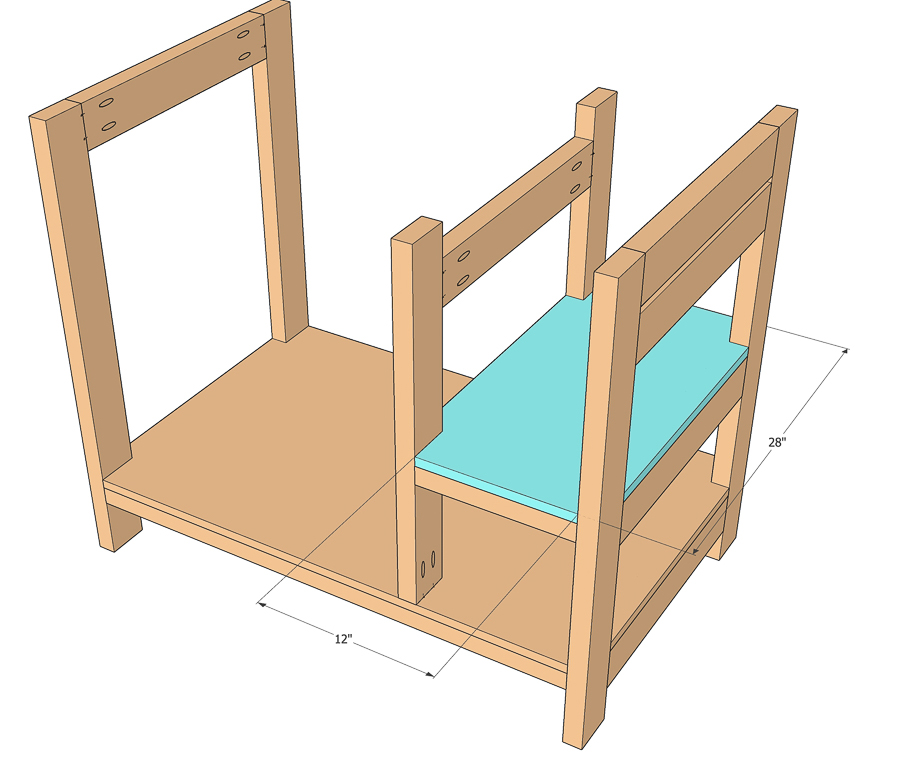
Build the legs
Build the two sides of the leg frame by attaching the short aprons to the legs. Note that one side has 2 short aprons and the other has 4 short aprons. The extra short aprons will help support the shelves and the drawer slides. Use 2 1/2" pocket hole screws and wood glue.
-
Attach the long aprons
Attach the long aprons to the bottom of the leg frames using 2 1/2" pocket hole screws and wood glue. Once attached to one side, attach to the other side. This will make the support for the bottom shelf
-
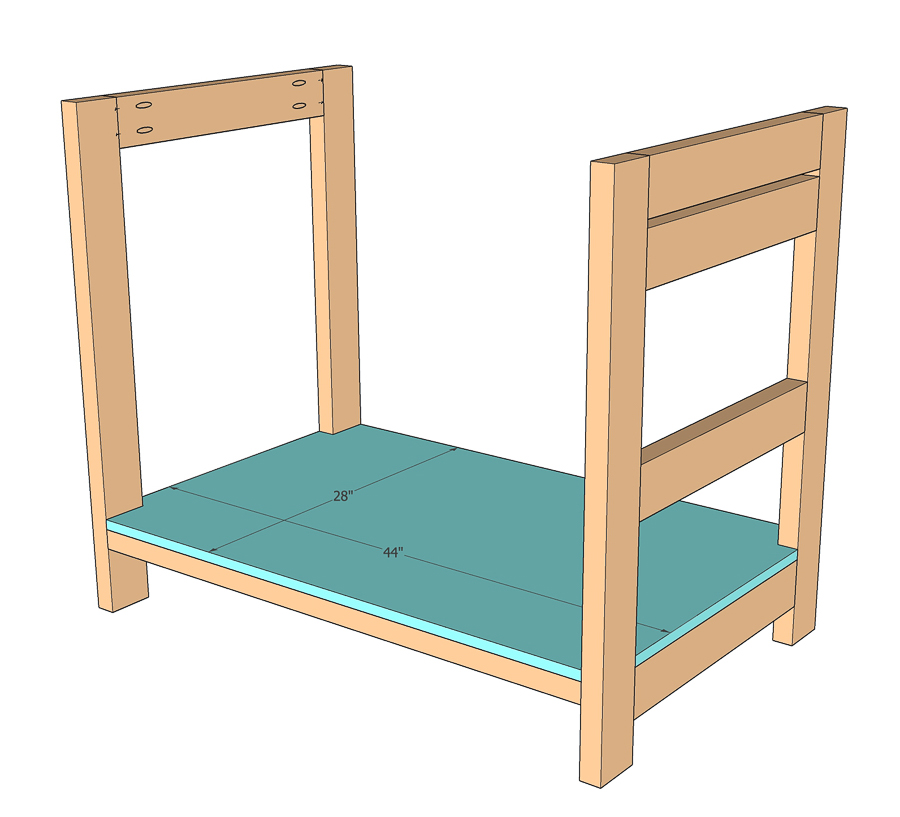
Add bottom shelf
Cut 3.5" x 1.5" notches in plywood using a jigsaw on all corners to accommodate the legs and attach to the frame using 2" countersunk screws or trim head screws
-
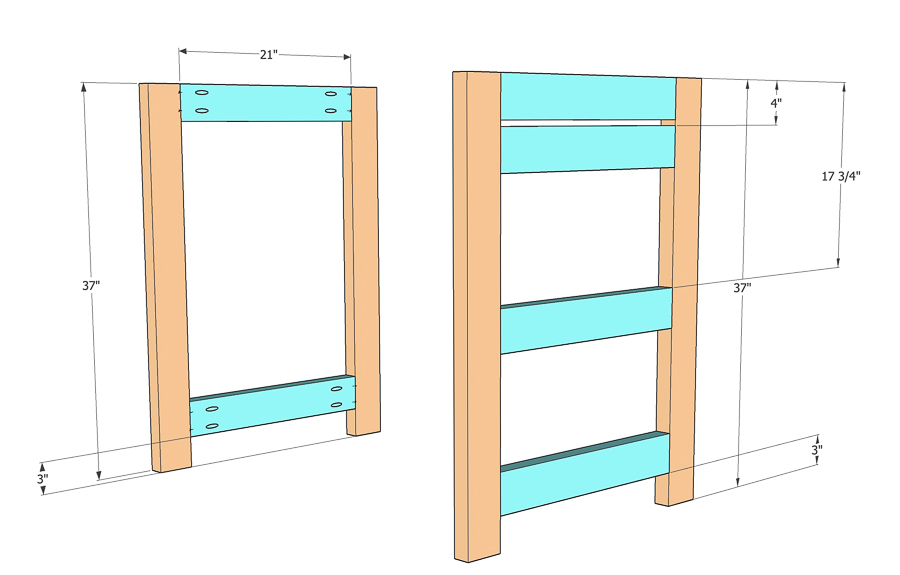
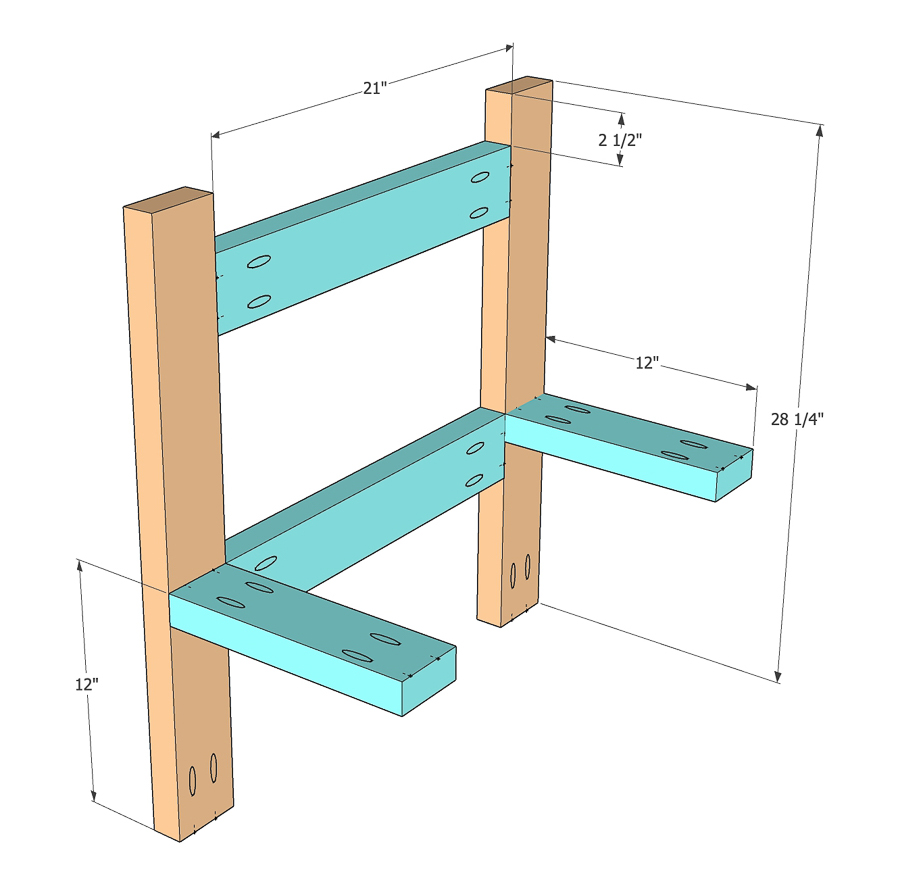
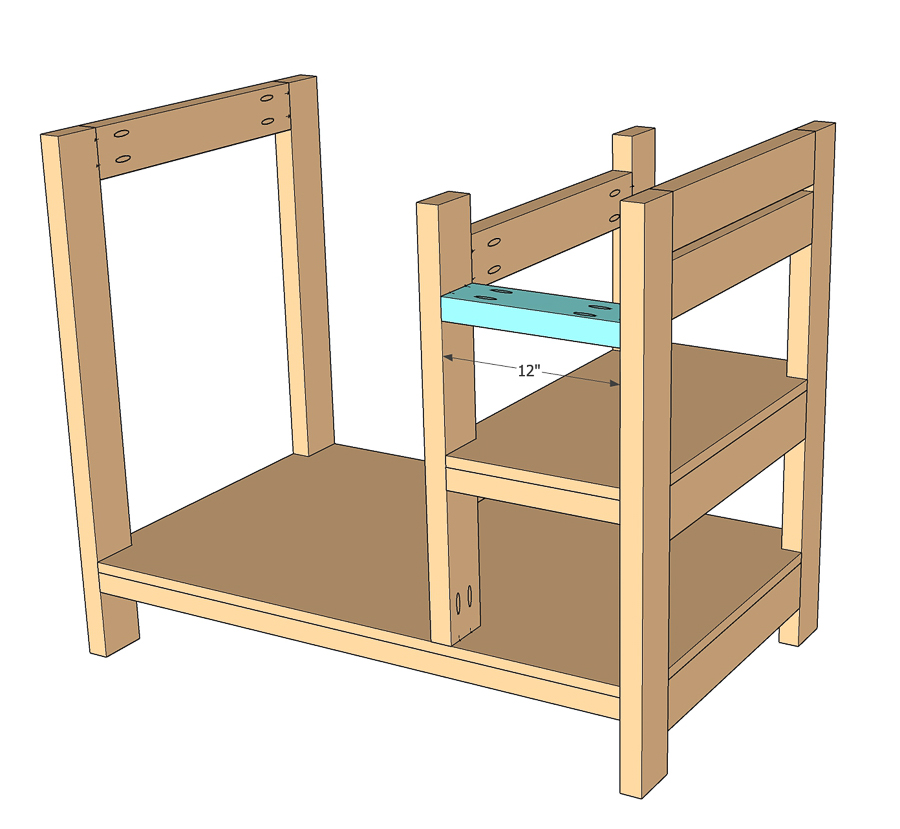
Build the center divider
Build the center divider as shown in the diagram. The boards are all joined using 2 1/2" pocket hole screws and wood glue.
-
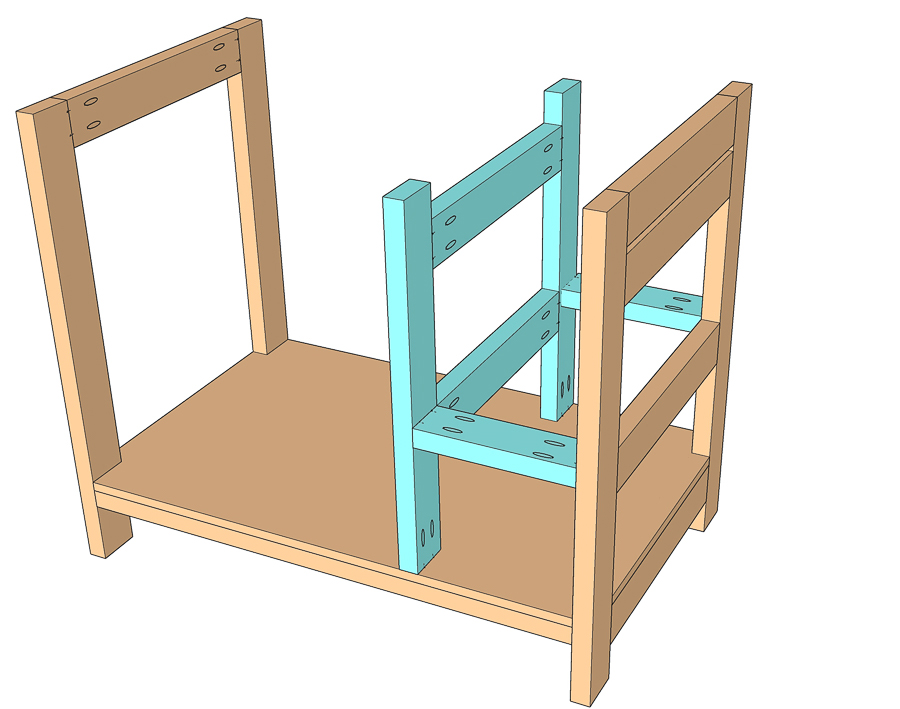
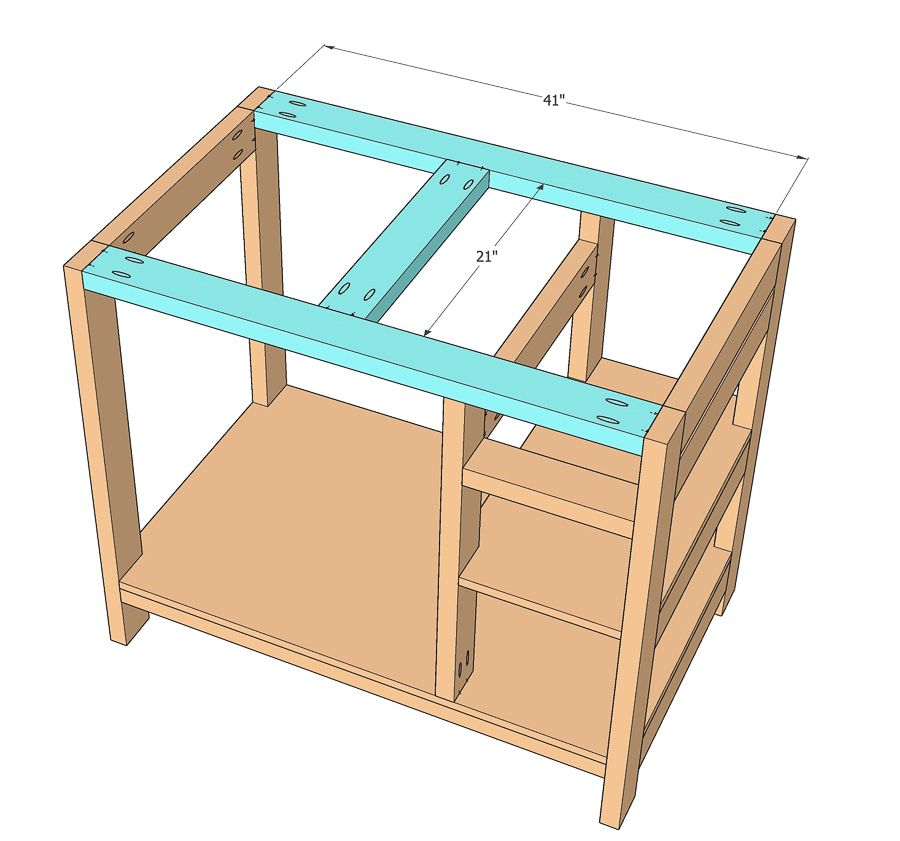
Add center divider to workbench
Attach the center divider to the workbench using 2 1/2" pocket hole screws and wood glue. It is important to keep everything square as you attach.
-
Add small shelf
Cut out the 3.5" x 1.5" notches in plywood using a jigsaw on all corners to accommodate the legs and attach to the frame using 2" countersunk screws or trim head screws
-
Add front support
Using 2 1/2" pocket hole screws and wood glue, attach the support in the front as shown in the diagram.
-
Attach top apron and supports
Attach the top apron and the support brace using 2 1/2" pocket hole screws and wood glue.
-
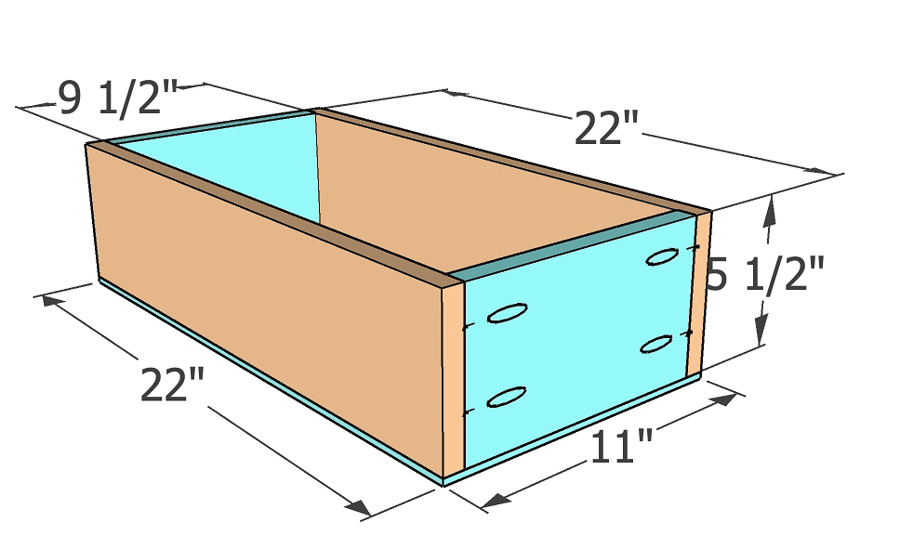
Build the Drawer
Build the drawer using 1 1/4" pocket hole screws. The drawer can be made longer or shorter as needed.
-
Attach the drawer front
Attach the drawer front ensuring that there is a 1/8" gap on all sides.

-
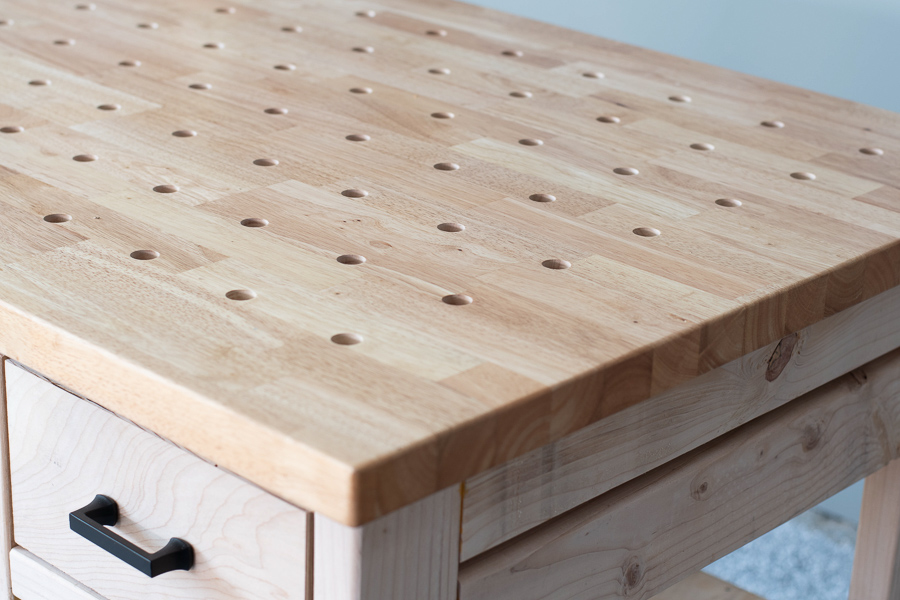
Attach the Workbench top
Finally attach the workbench top to the top and support aprons using countersunk 2" pocket hole screws. Ensure that there is a 2" overhang on all sides.
-
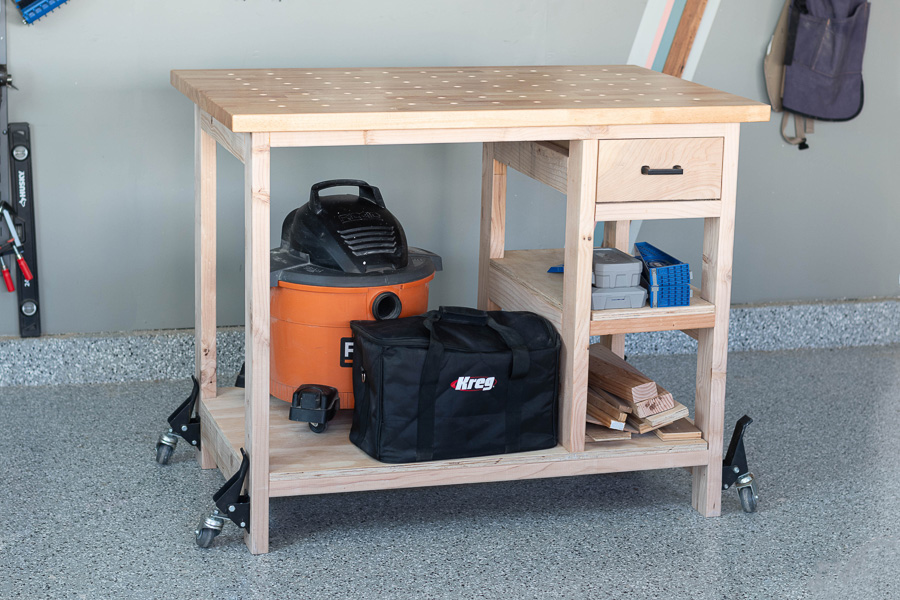
Done!
Load it up with all your tools and get building!