Mobile Router Table Combo (Foreman)
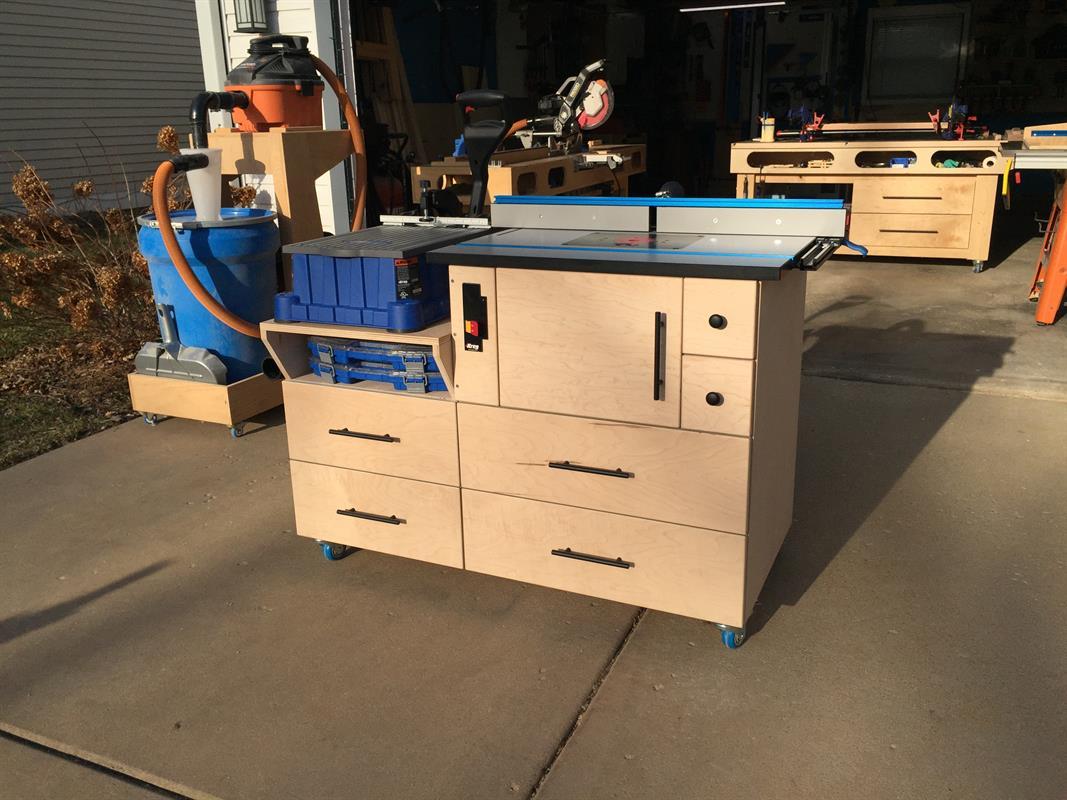
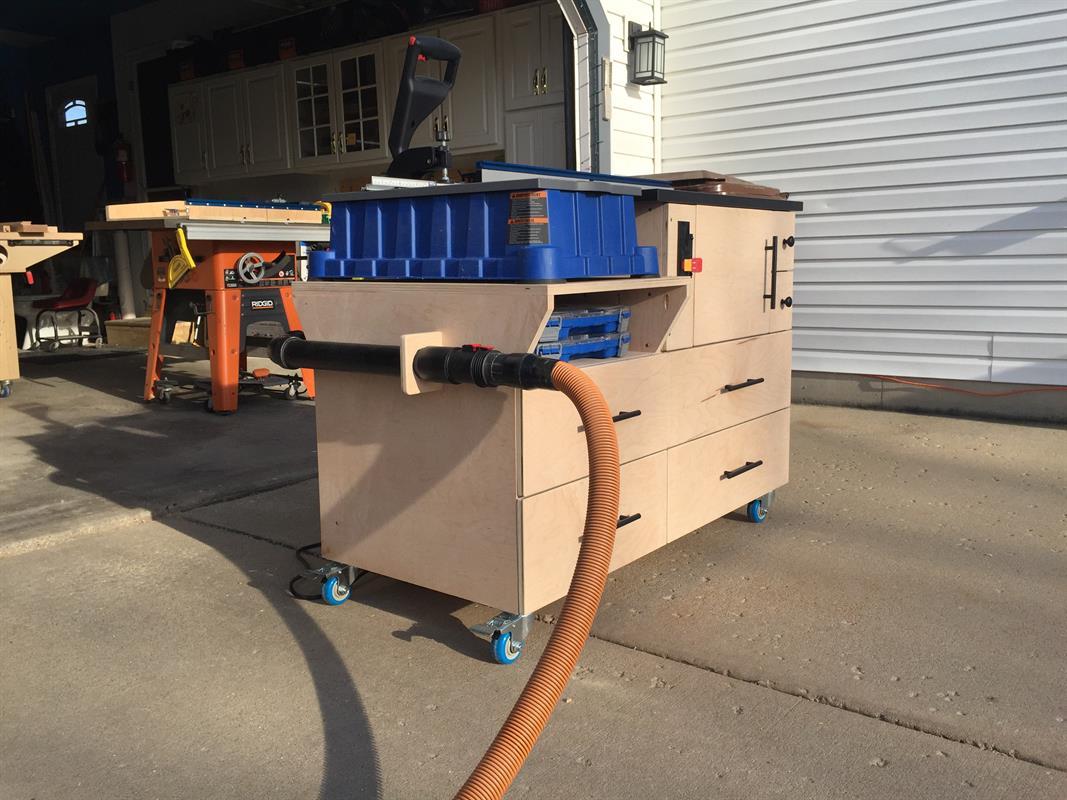
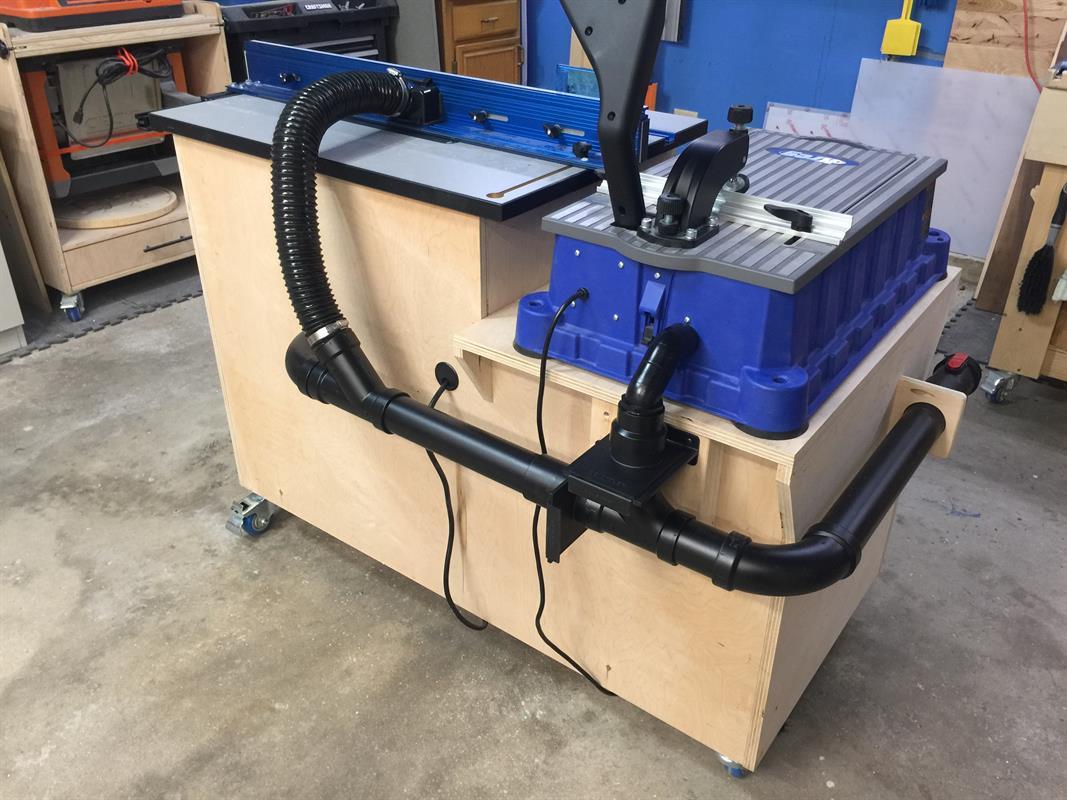
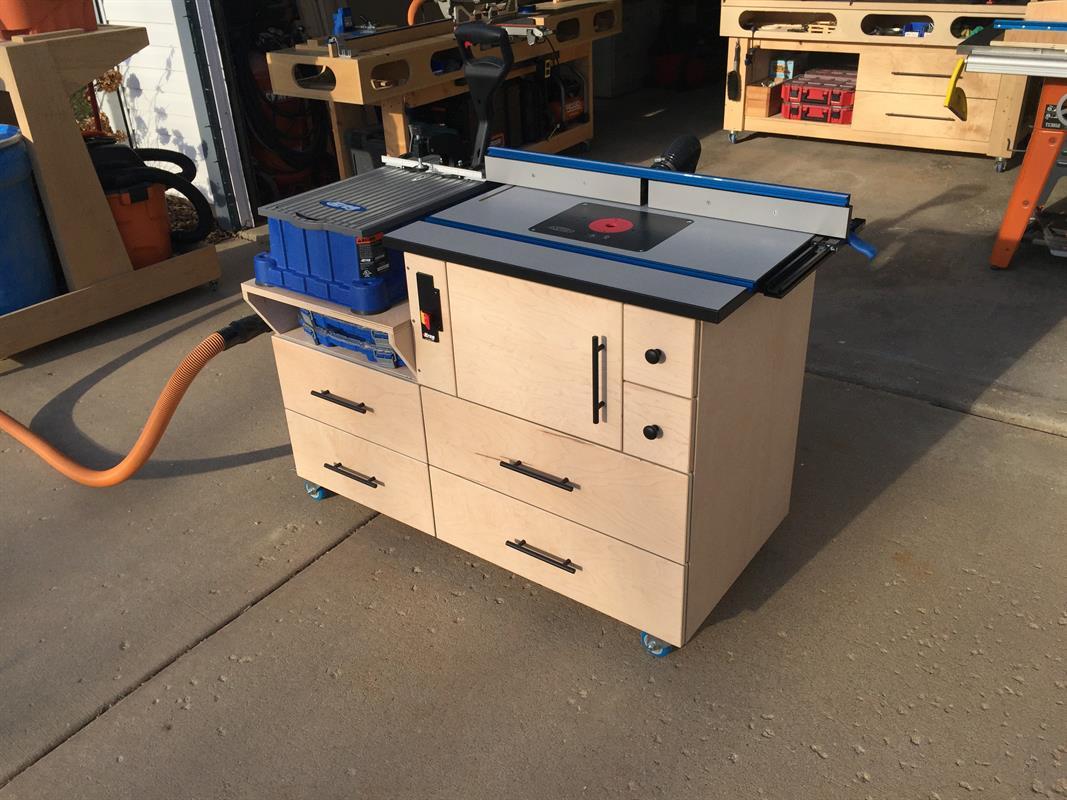
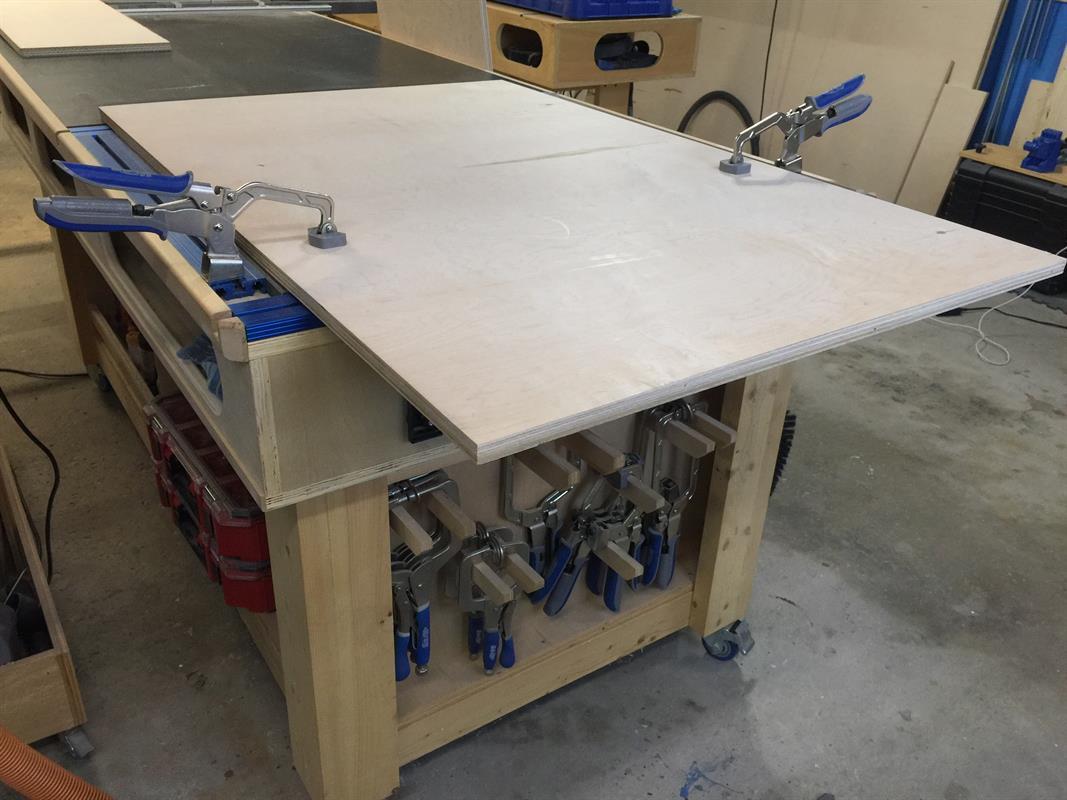
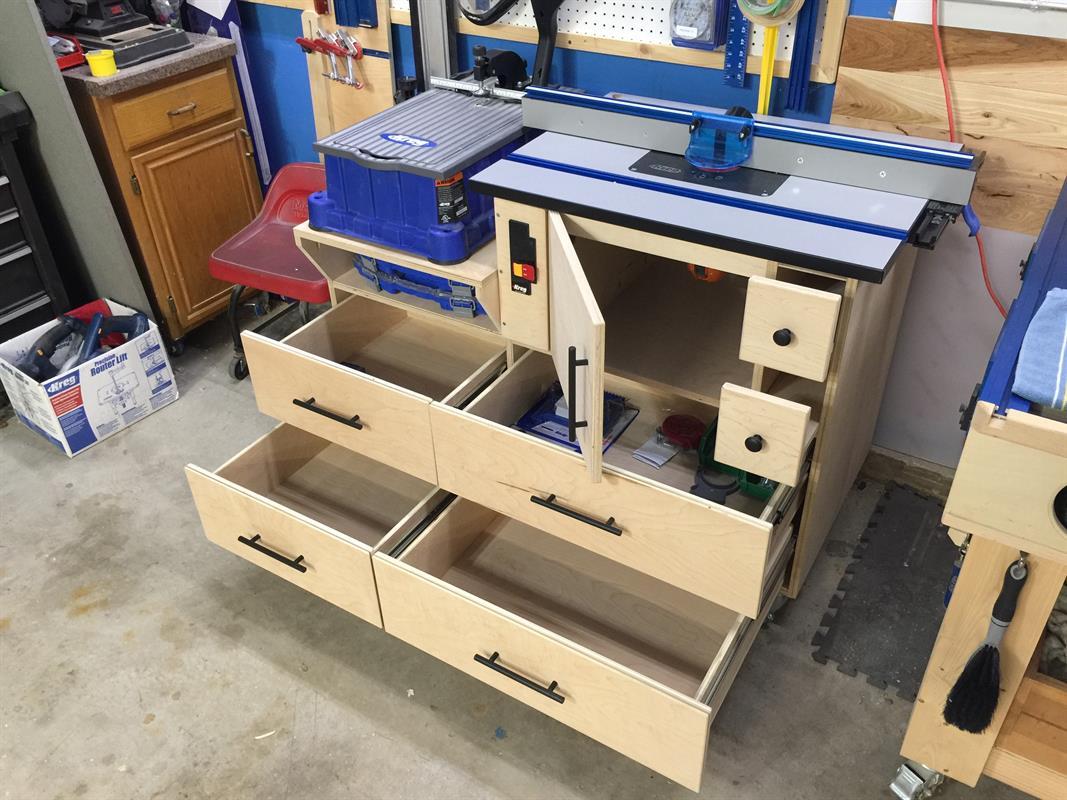
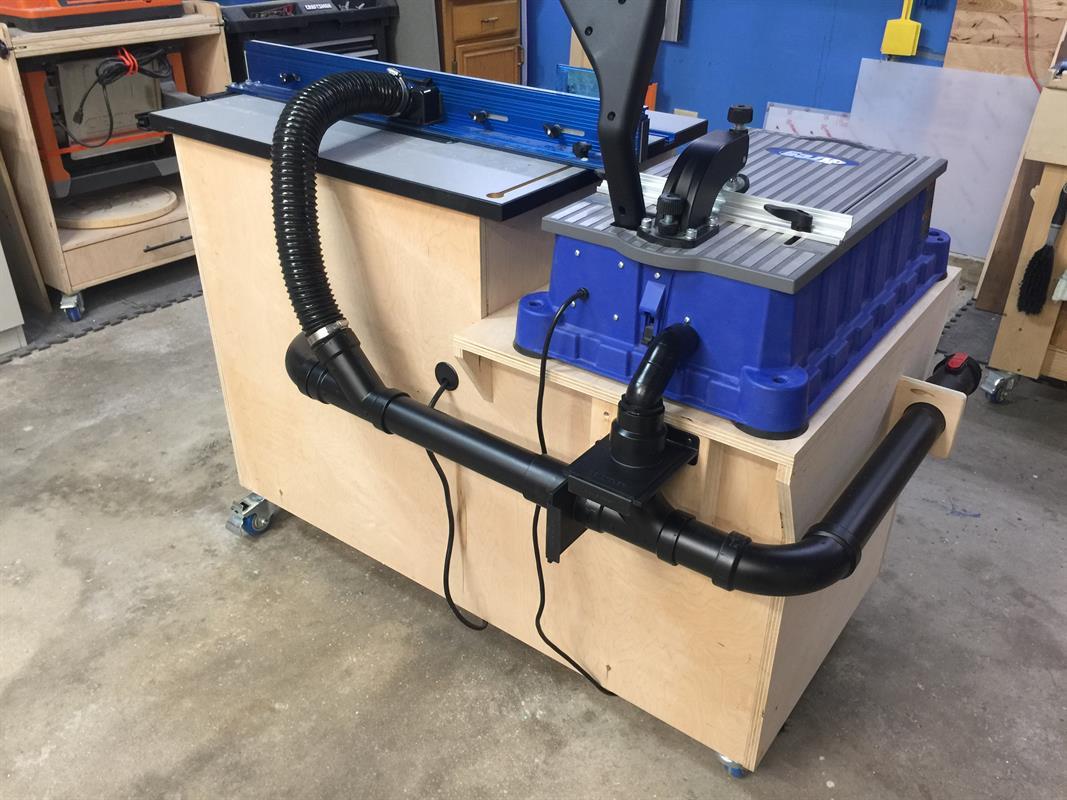
By CReeves MakesFor this build, I knew that wanted to fit two tools into a relatively small footprint. Having a small shop that shares its space with vehicles, I needed it to be mobile as well. The icing on the cake was the addition of a full dust collection plumbing system complete with blast gates.
Directions
-
Assemble Kreg Router Table
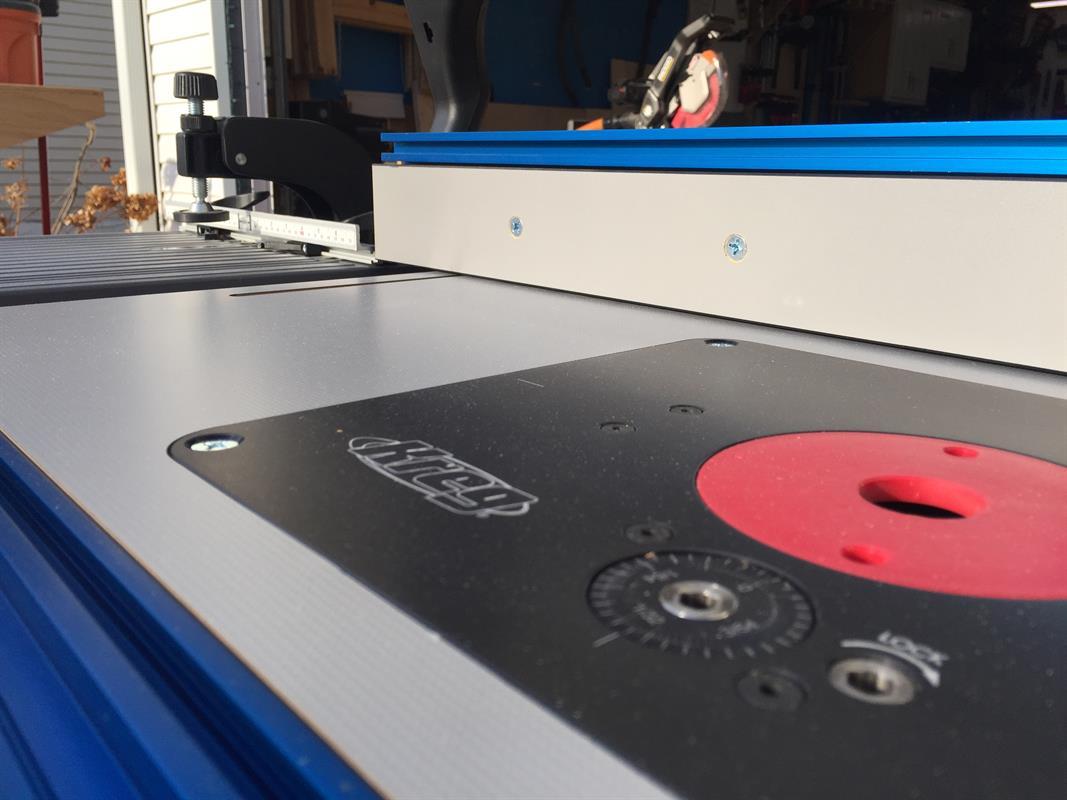
The reason I started here is that I wanted to measure out the Kreg Foreman's height to be the same as the router table top. Also, the width and range of the router fence compared to the Foreman was a concern. The fence overhangs the table edge and I didn't want that to interfere with the Foreman.
-
Material Break Down
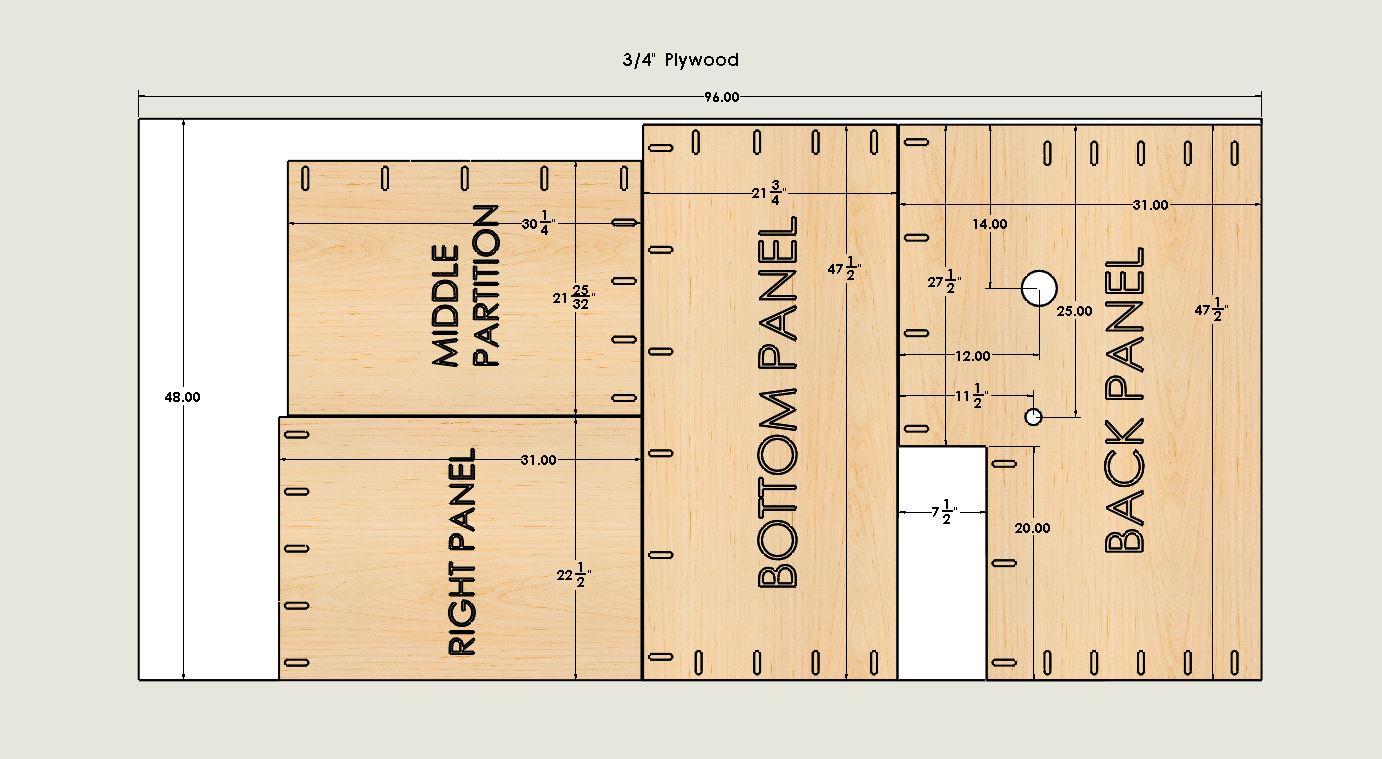
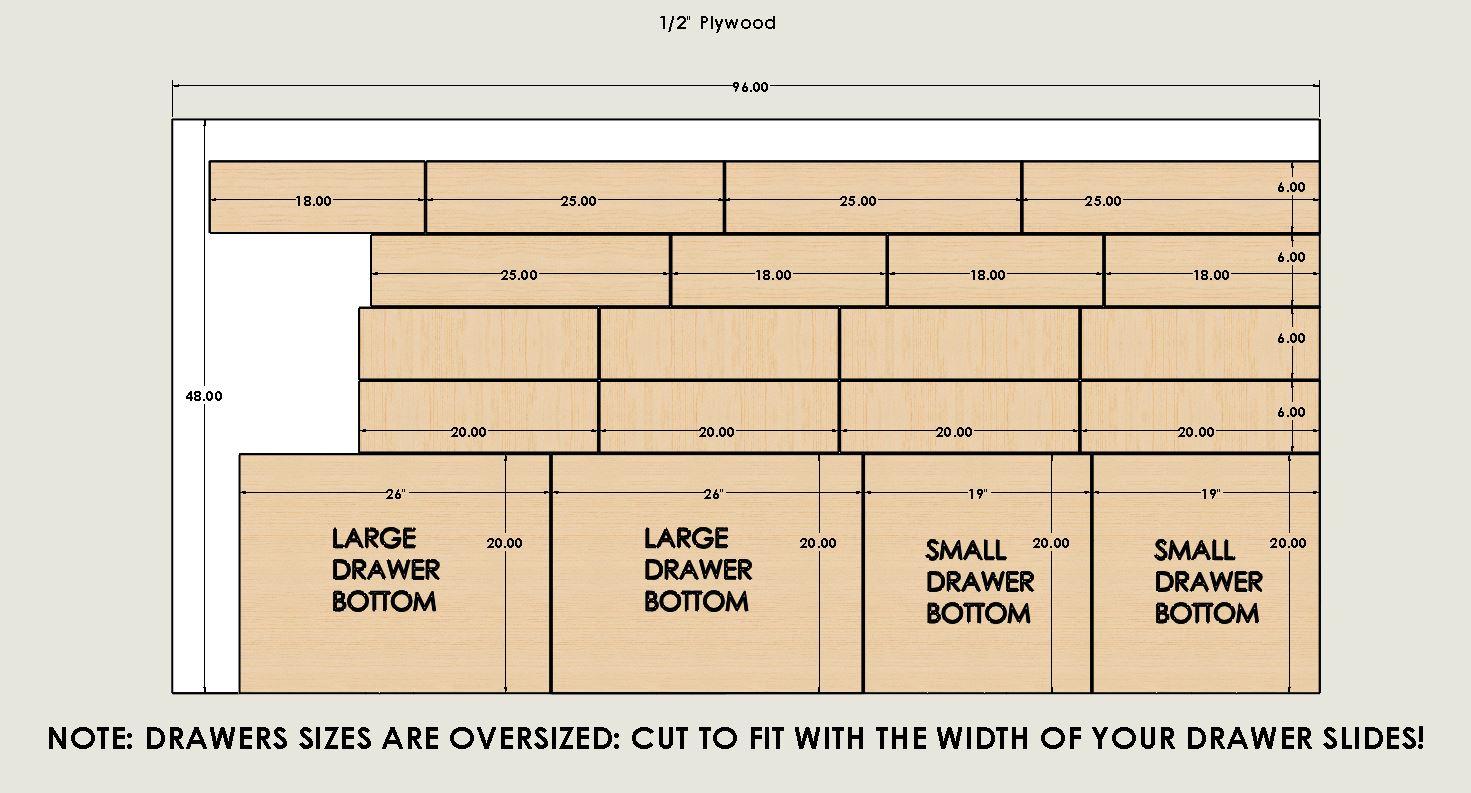
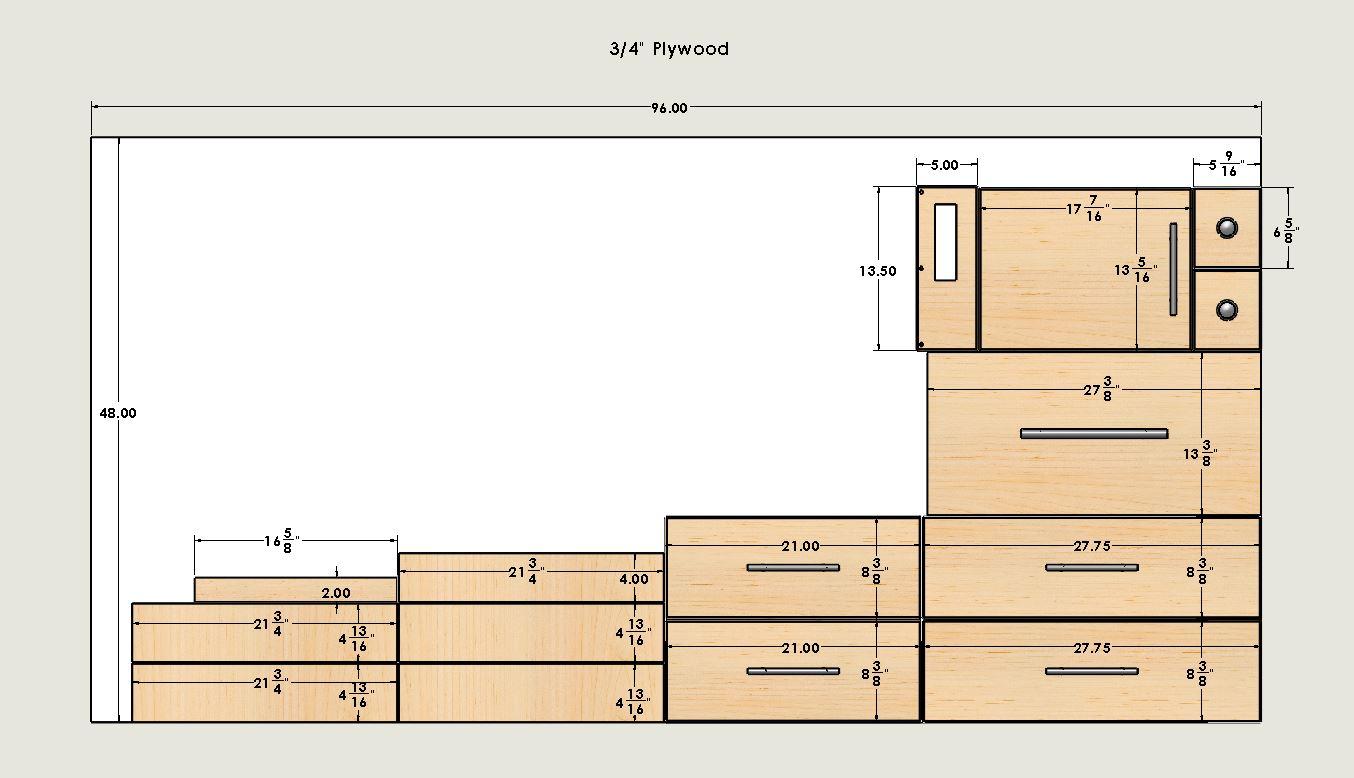
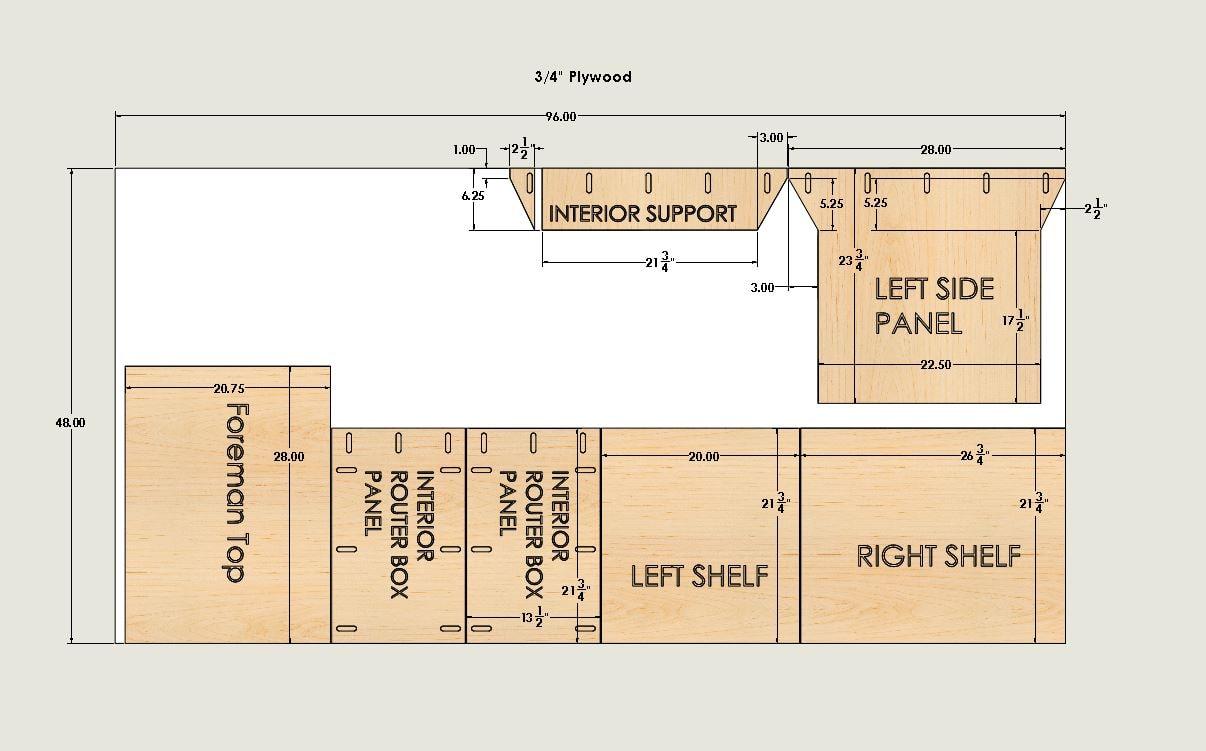
Once I had a design and plans for the build, I started breaking down my sheet goods. I did not cut the drawer fronts or the Foremans top mounting panel until AFTER the carcass was built and assembled. This entire builds is built from 3/4" plywood with the exception of the drawers, which are 1/2". You can use 3/4" for the drawers, you just need to adjust your sizes. The overall height of my bench is 36" to match all of my other tools in my shop.
-
Cutting the Angles
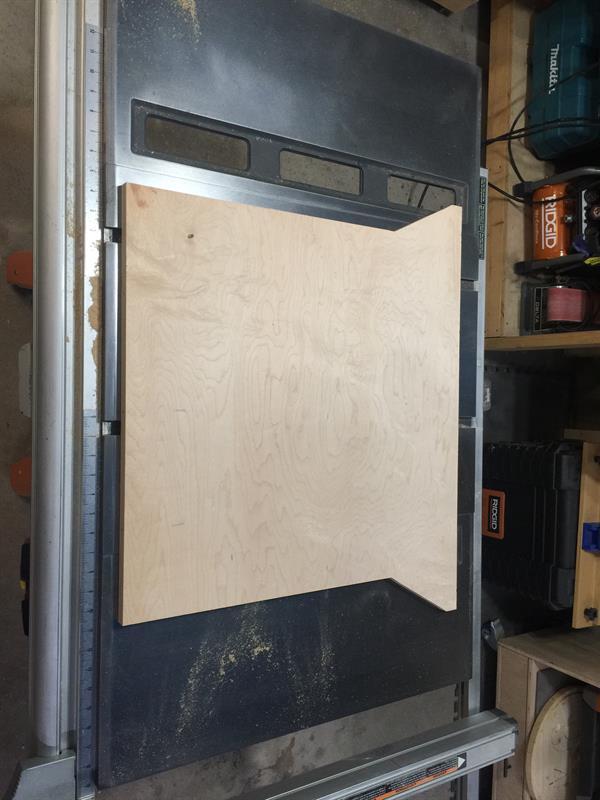
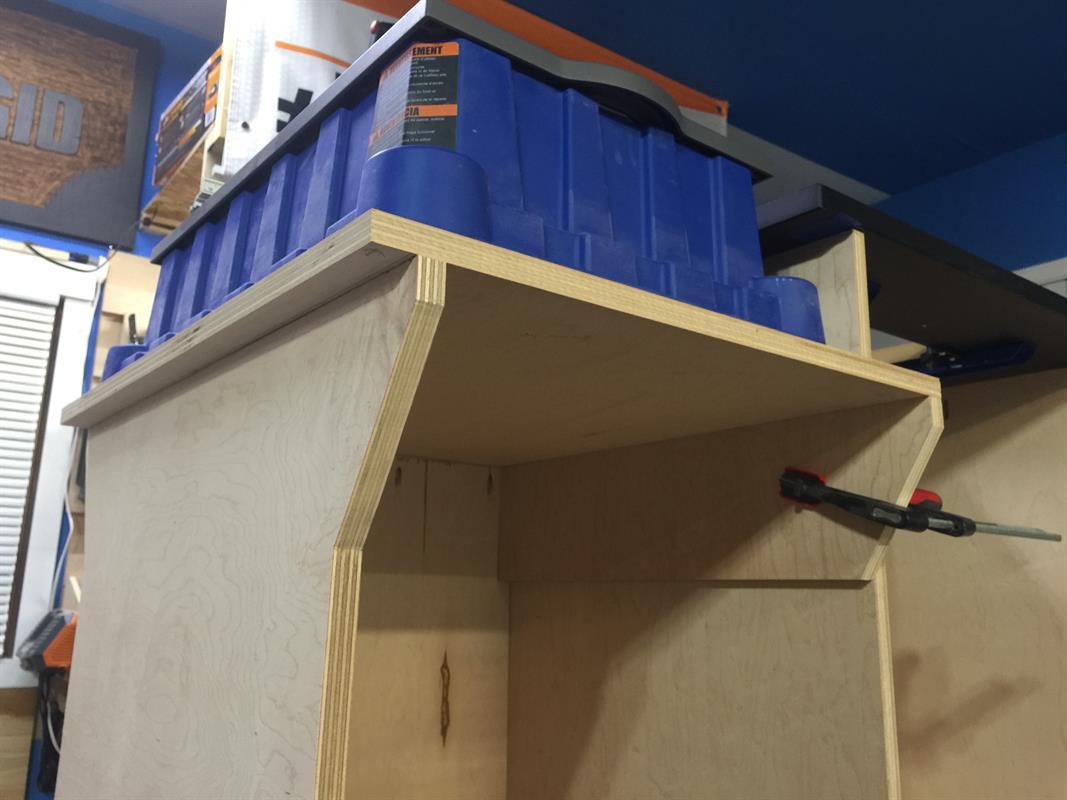
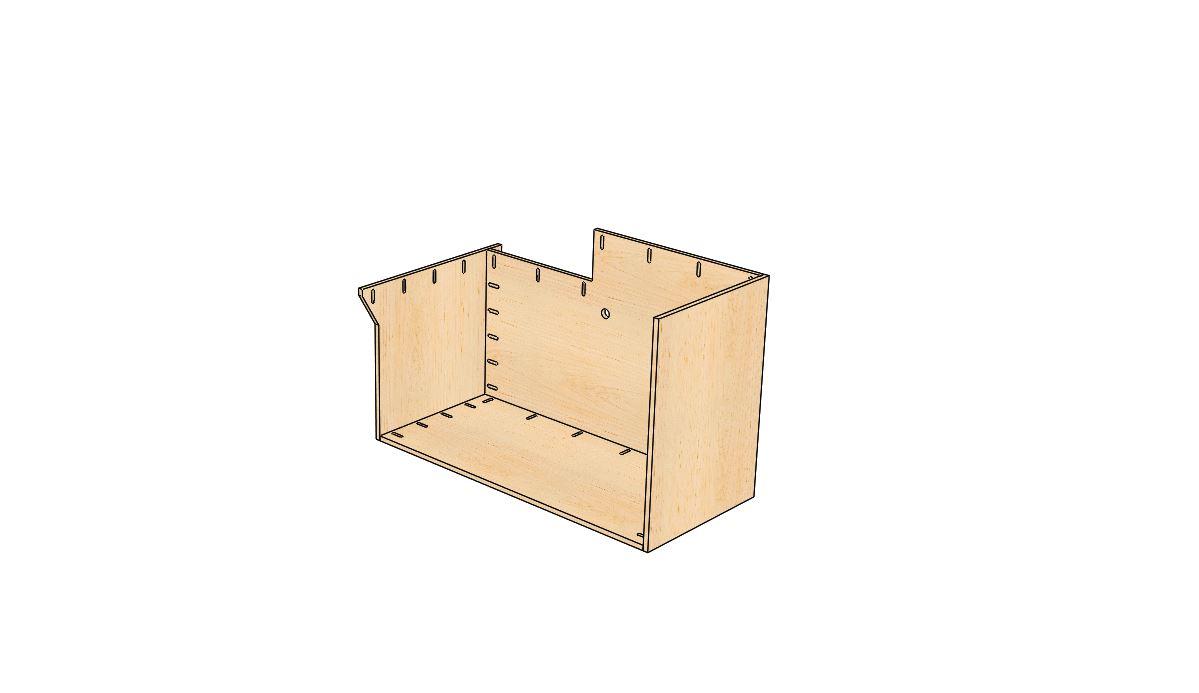
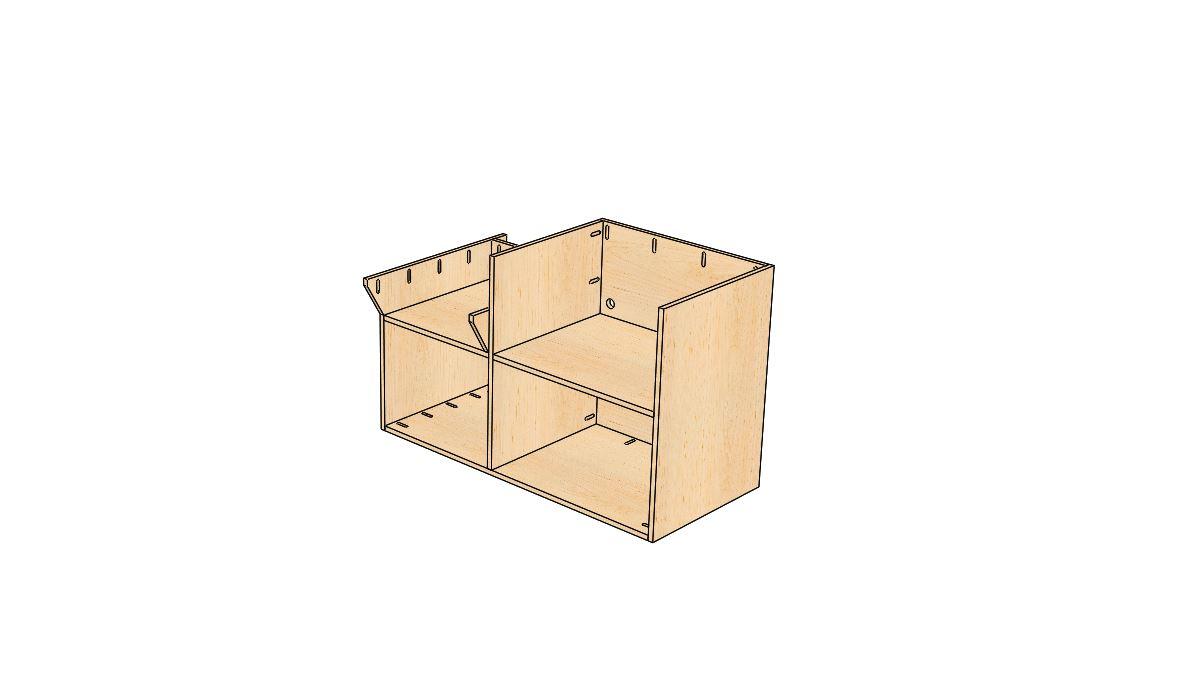
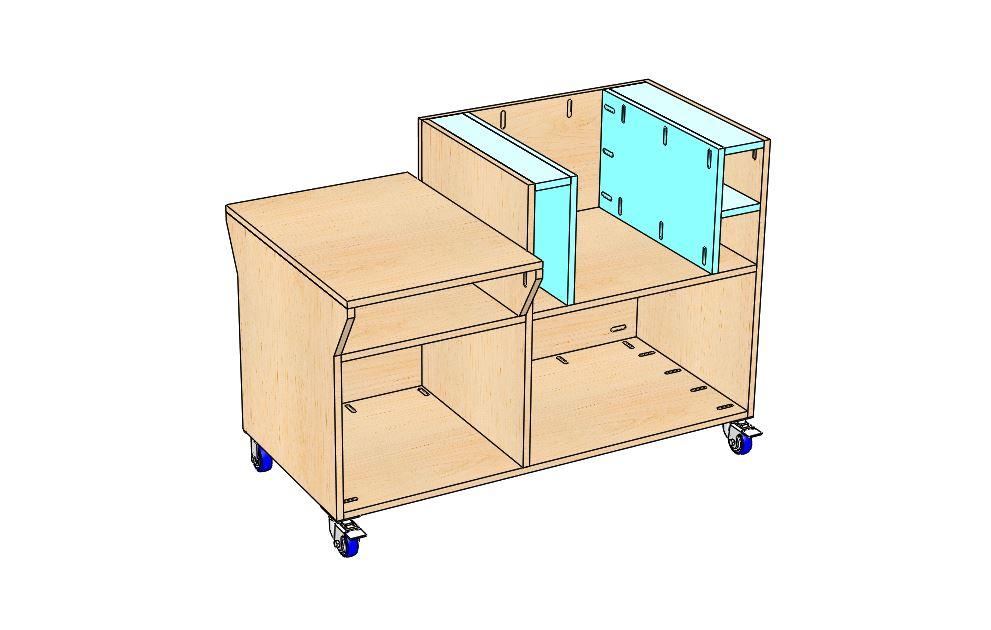
The Foreman is deeper than the router table so I needed to build out that platform to accommodate the footprint and still keep it suitable to the size of the cabinet. So, I chose to add these little angled areas to the Left side panel and then I added an interior support panel that also came out and matched the side. The angles to the front of the cabinet, protrude by 3.0" and the angle to the back of the cabinet is 2.5". There is no math or reason to the angle other than I just matched it up with where the cubby and drawers fell into place.
-
More on the Angles
NOTE: the Cutlist calls out 23.5" tall on the far left side panel. If you want the Foreman to be the same height as the 1" router table top, adjust this dimension to 23.75". Here is another image to illustrate the angles.
-
Pocketholes!
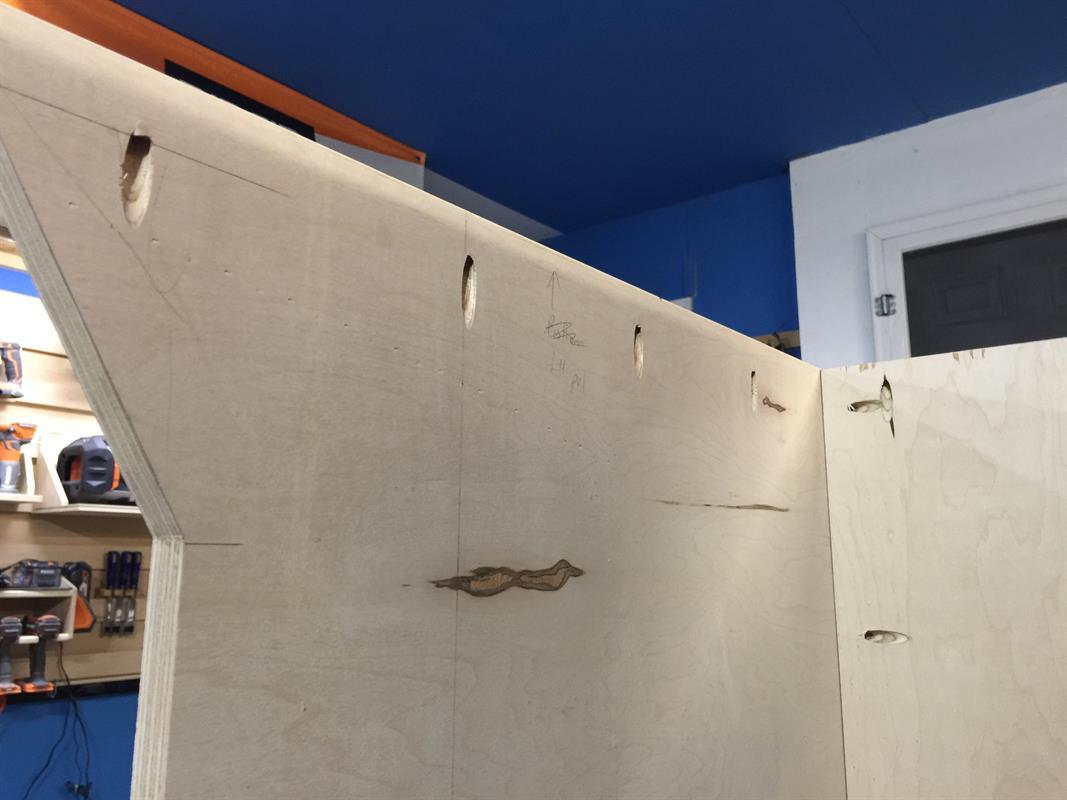
Obviously with the Kreg Foreman, you will get addicted to doing pocketholes! So much so, that I accidentally put pocketholes in the bottom portion of the side panel. Oh well, they will be hidden and not affect the function of the cabinet. Unlike me, CAREFULLY lay out your pockethole locations and then have fun putting them in!
-
Building the Main Cabinet
I chose to glue this structure together to help keep it stable and solid as I roll it around my shop and outside. I started by screwing the base to the back panel using 1-1/4" Kreg pockethole screws. The I added the left and right side panels.
-
Adding the Interior Panels
Using a square and double checking the alignments and heights, install the middle partition panel. Then I cut 2 large pieces of plywood to be spacers to install the shelves at the same height.
-
Adding the Interior Support Panel
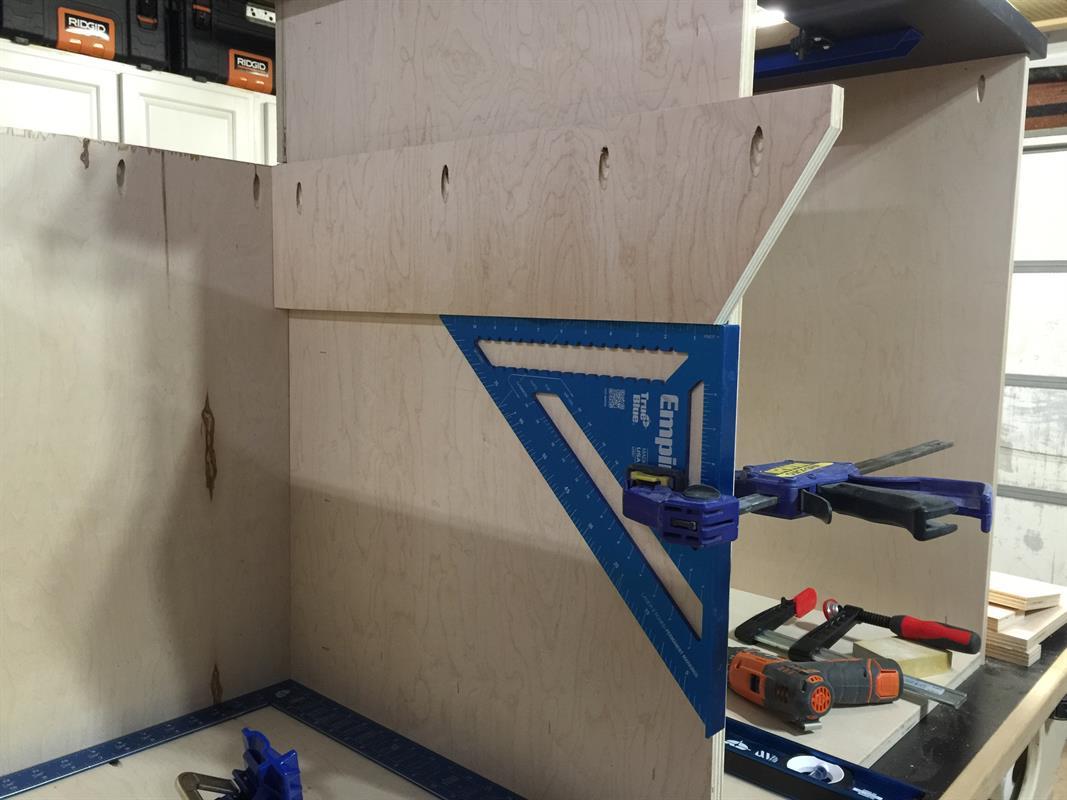
I predrilled and countersunk holes into the interior support panel and then, using a square and clamps, secured it to the middle partition. I used 1-1/4" construction screws for this. Make sure that the panel height is the same as the back panel.
-
The Foreman Top Panel
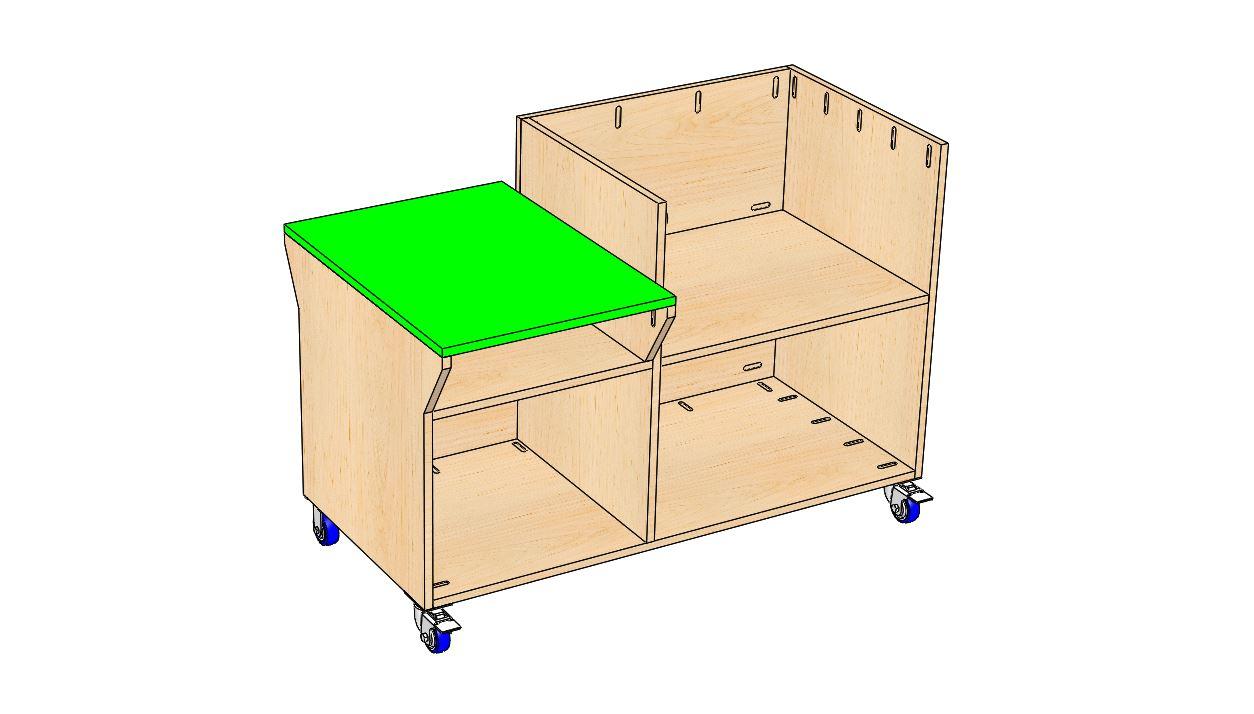
Add glue to the top edges of the area and set the top panel in place. I then added weight and let it sit for several minutes before adding the 1-1/4" screws. This ensures that the panel wont shift when securing it.
-
The Dust Cabinet/ Router Access
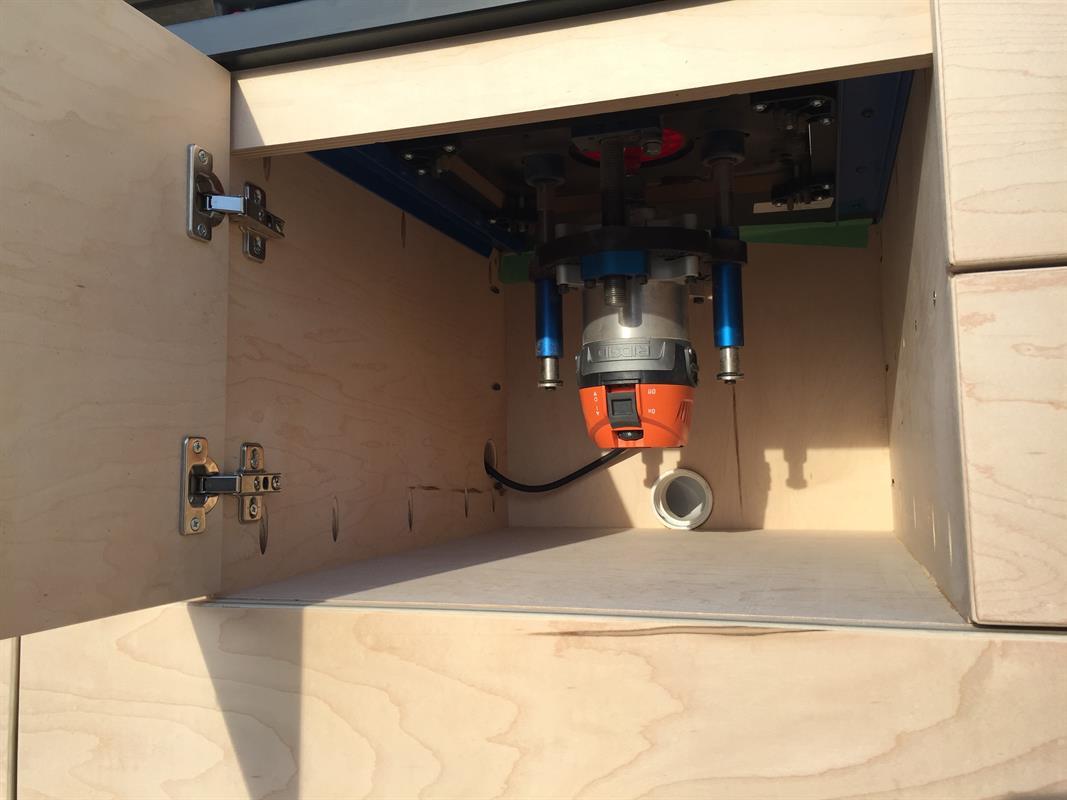
This area of the build is completely up to you and your needs as the cabinet door and bit storage areas can be any size or even one large door if you want. KEEP IN MIND, if your router table top has support gussets or braces on it, you will need to account for these with the interior panels. I chose a smaller door with an electrical panel to the left and two small bit storage areas to the right. Again with basic pocketholes and some regular butt joint methods, I built out this area.
-
Drawers
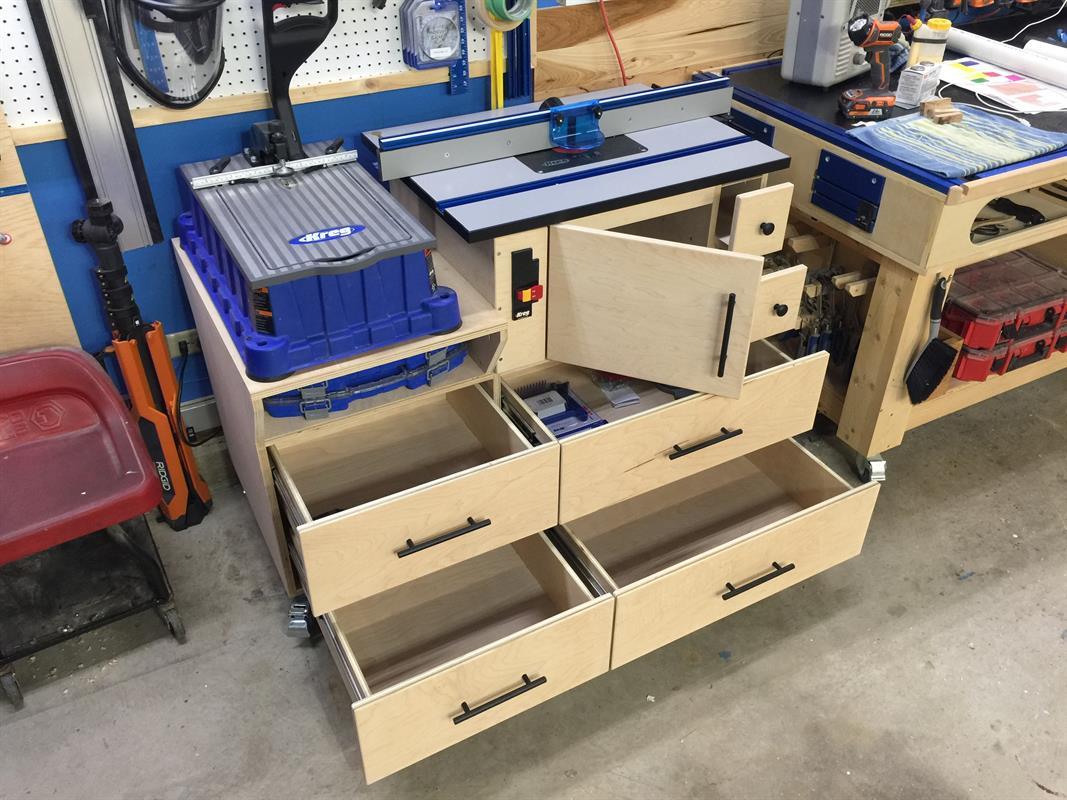
My drawers are 20"x 18-7/8" and 20"x 25-7/8". You can make these whatever size you want based on the cabinet size and middle partition layout. Just keep in mind that the standard drawer slides require the drawer to be ~1" narrower than the panel opening. Check out Brads video from Fix This Build That where he explains how he builds drawers. There are several different methods and all are good. It just depends on what kind of weight you want to put in them.
-
Drawer Fronts
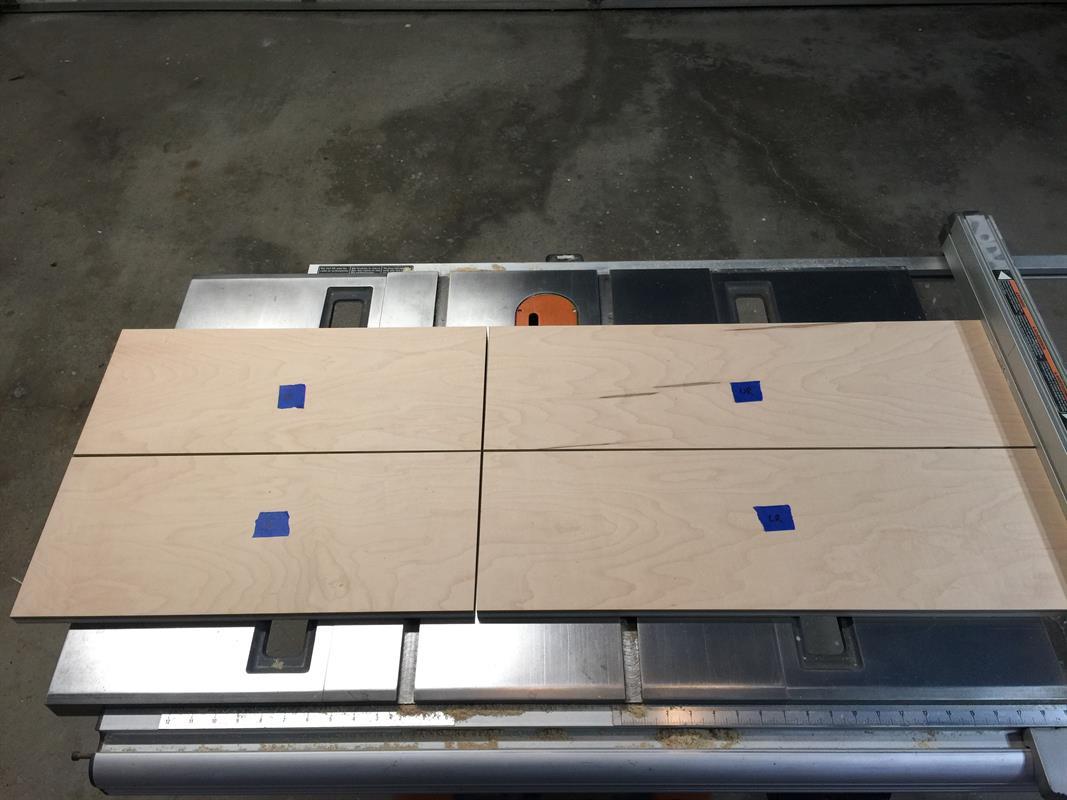
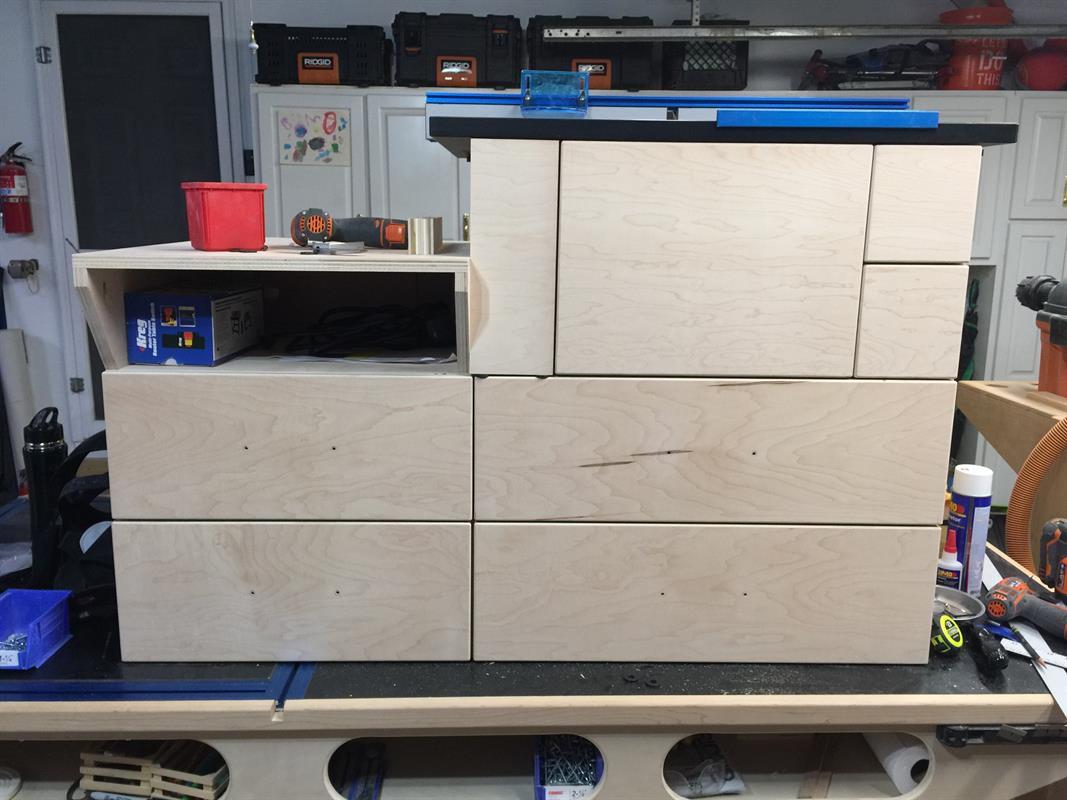
For the drawer fronts, I took one large sheet of plywood and then placed it over the front of the cabinet and aligned it to the edges of the carcass. I then, marked the center of the middle partition on the drawer front panel. I ripped the panel in half symmetrically and then bisected this line at the table saw. This gives you your 2) small and 2) large drawer fronts. I marked the fronts with tape and a marker to keep track of the grain pattern.
-
Door and Storage Drawer Fronts
I followed a similar procedure to get the door and drawer fronts for the upper section. One thing I took into account was keeping an air gap around the bottom and right edge of the front door. This will assist the dust collection in clearing dust from the router bin. Again, these are based on the sizes you choose for your build.
-
Installing the Drawers
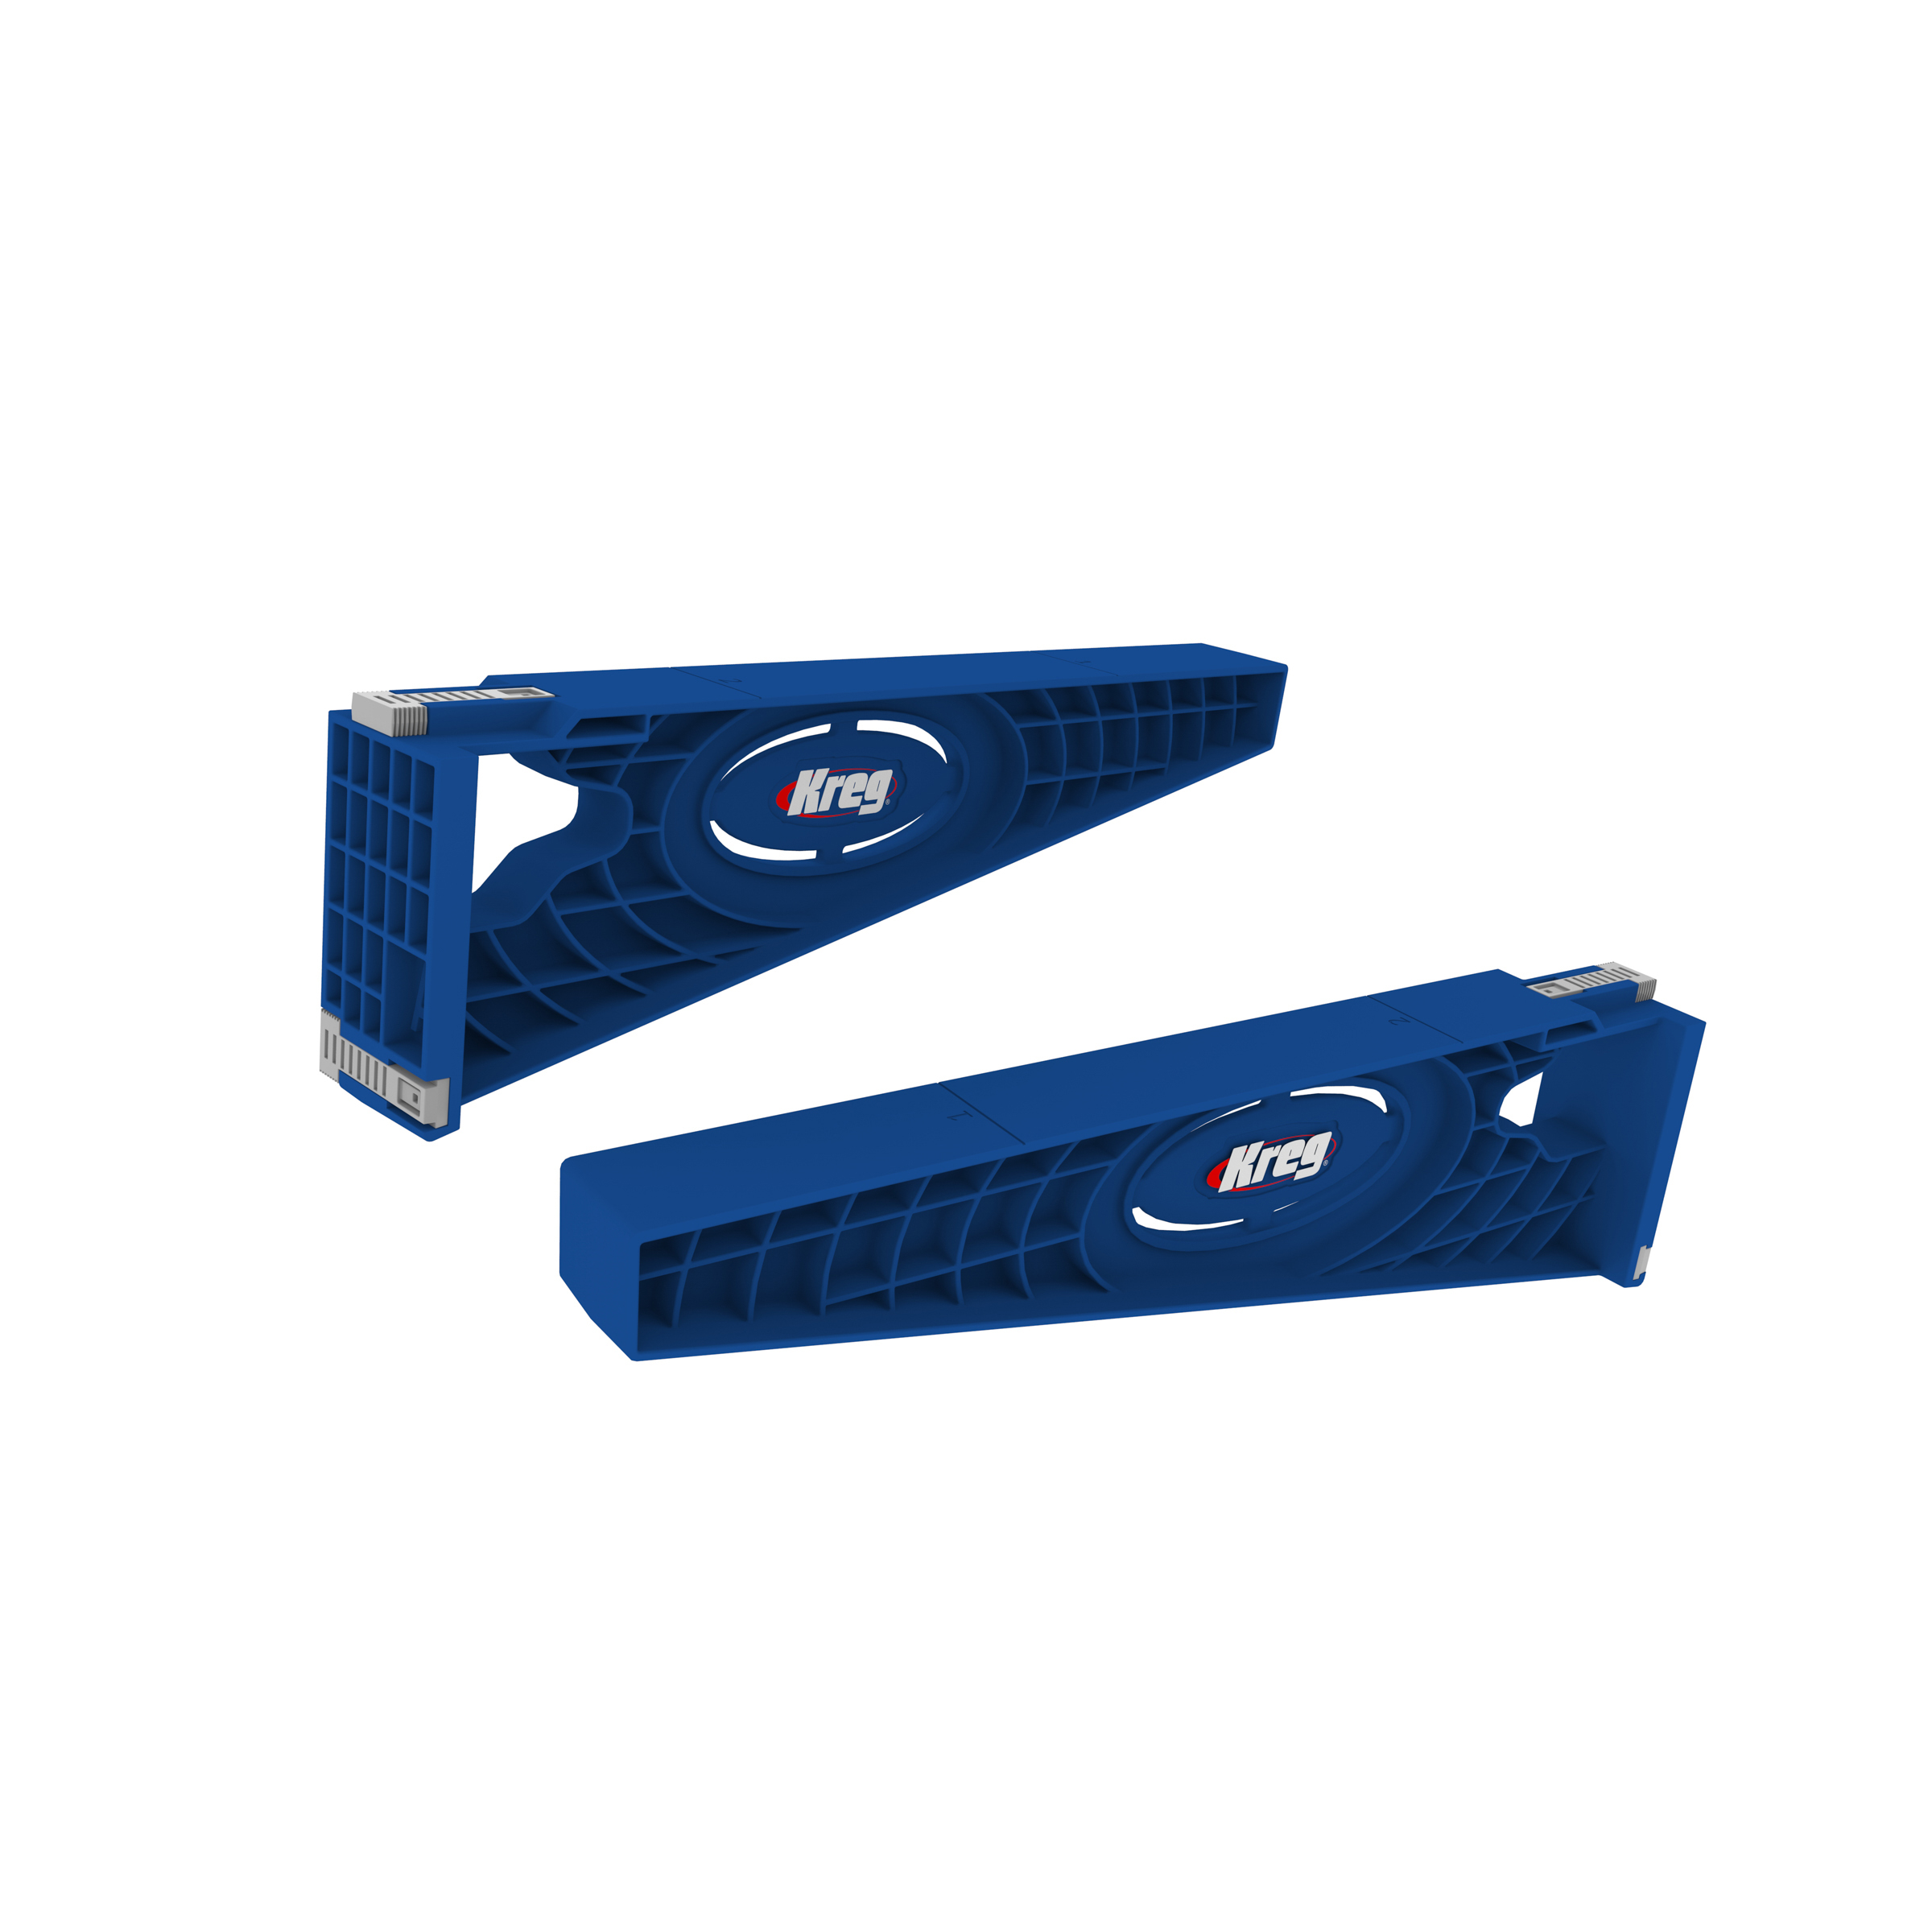
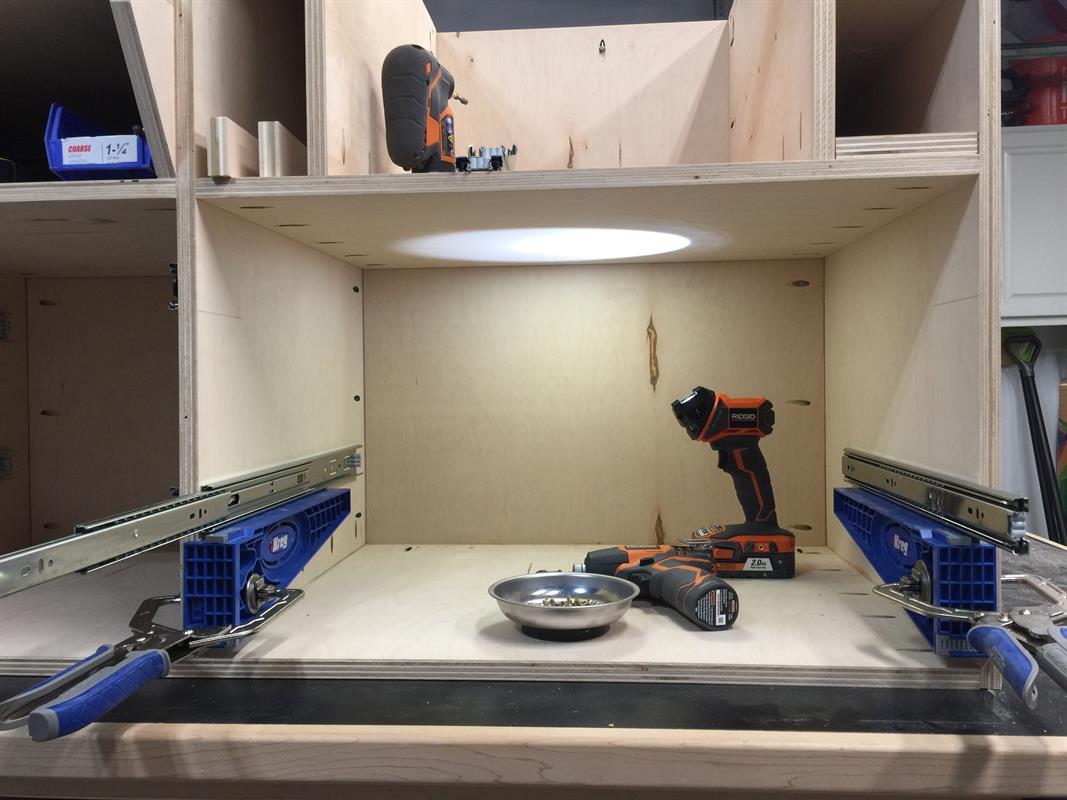
For this step, I used 2) scrap pieces on the bottom of the cabinet and set the lower drawers in place and mounted them to the slides. I then added two scraps to the top of the bottom drawers and set the upper drawer on them and then mounted them to the slides. Use the slides instructions for installation procedure. I use the Kreg Drawer Slide Jig for the installs and they work great for supporting both the slides and the drawers.
-
Mounting the Drawer Fronts
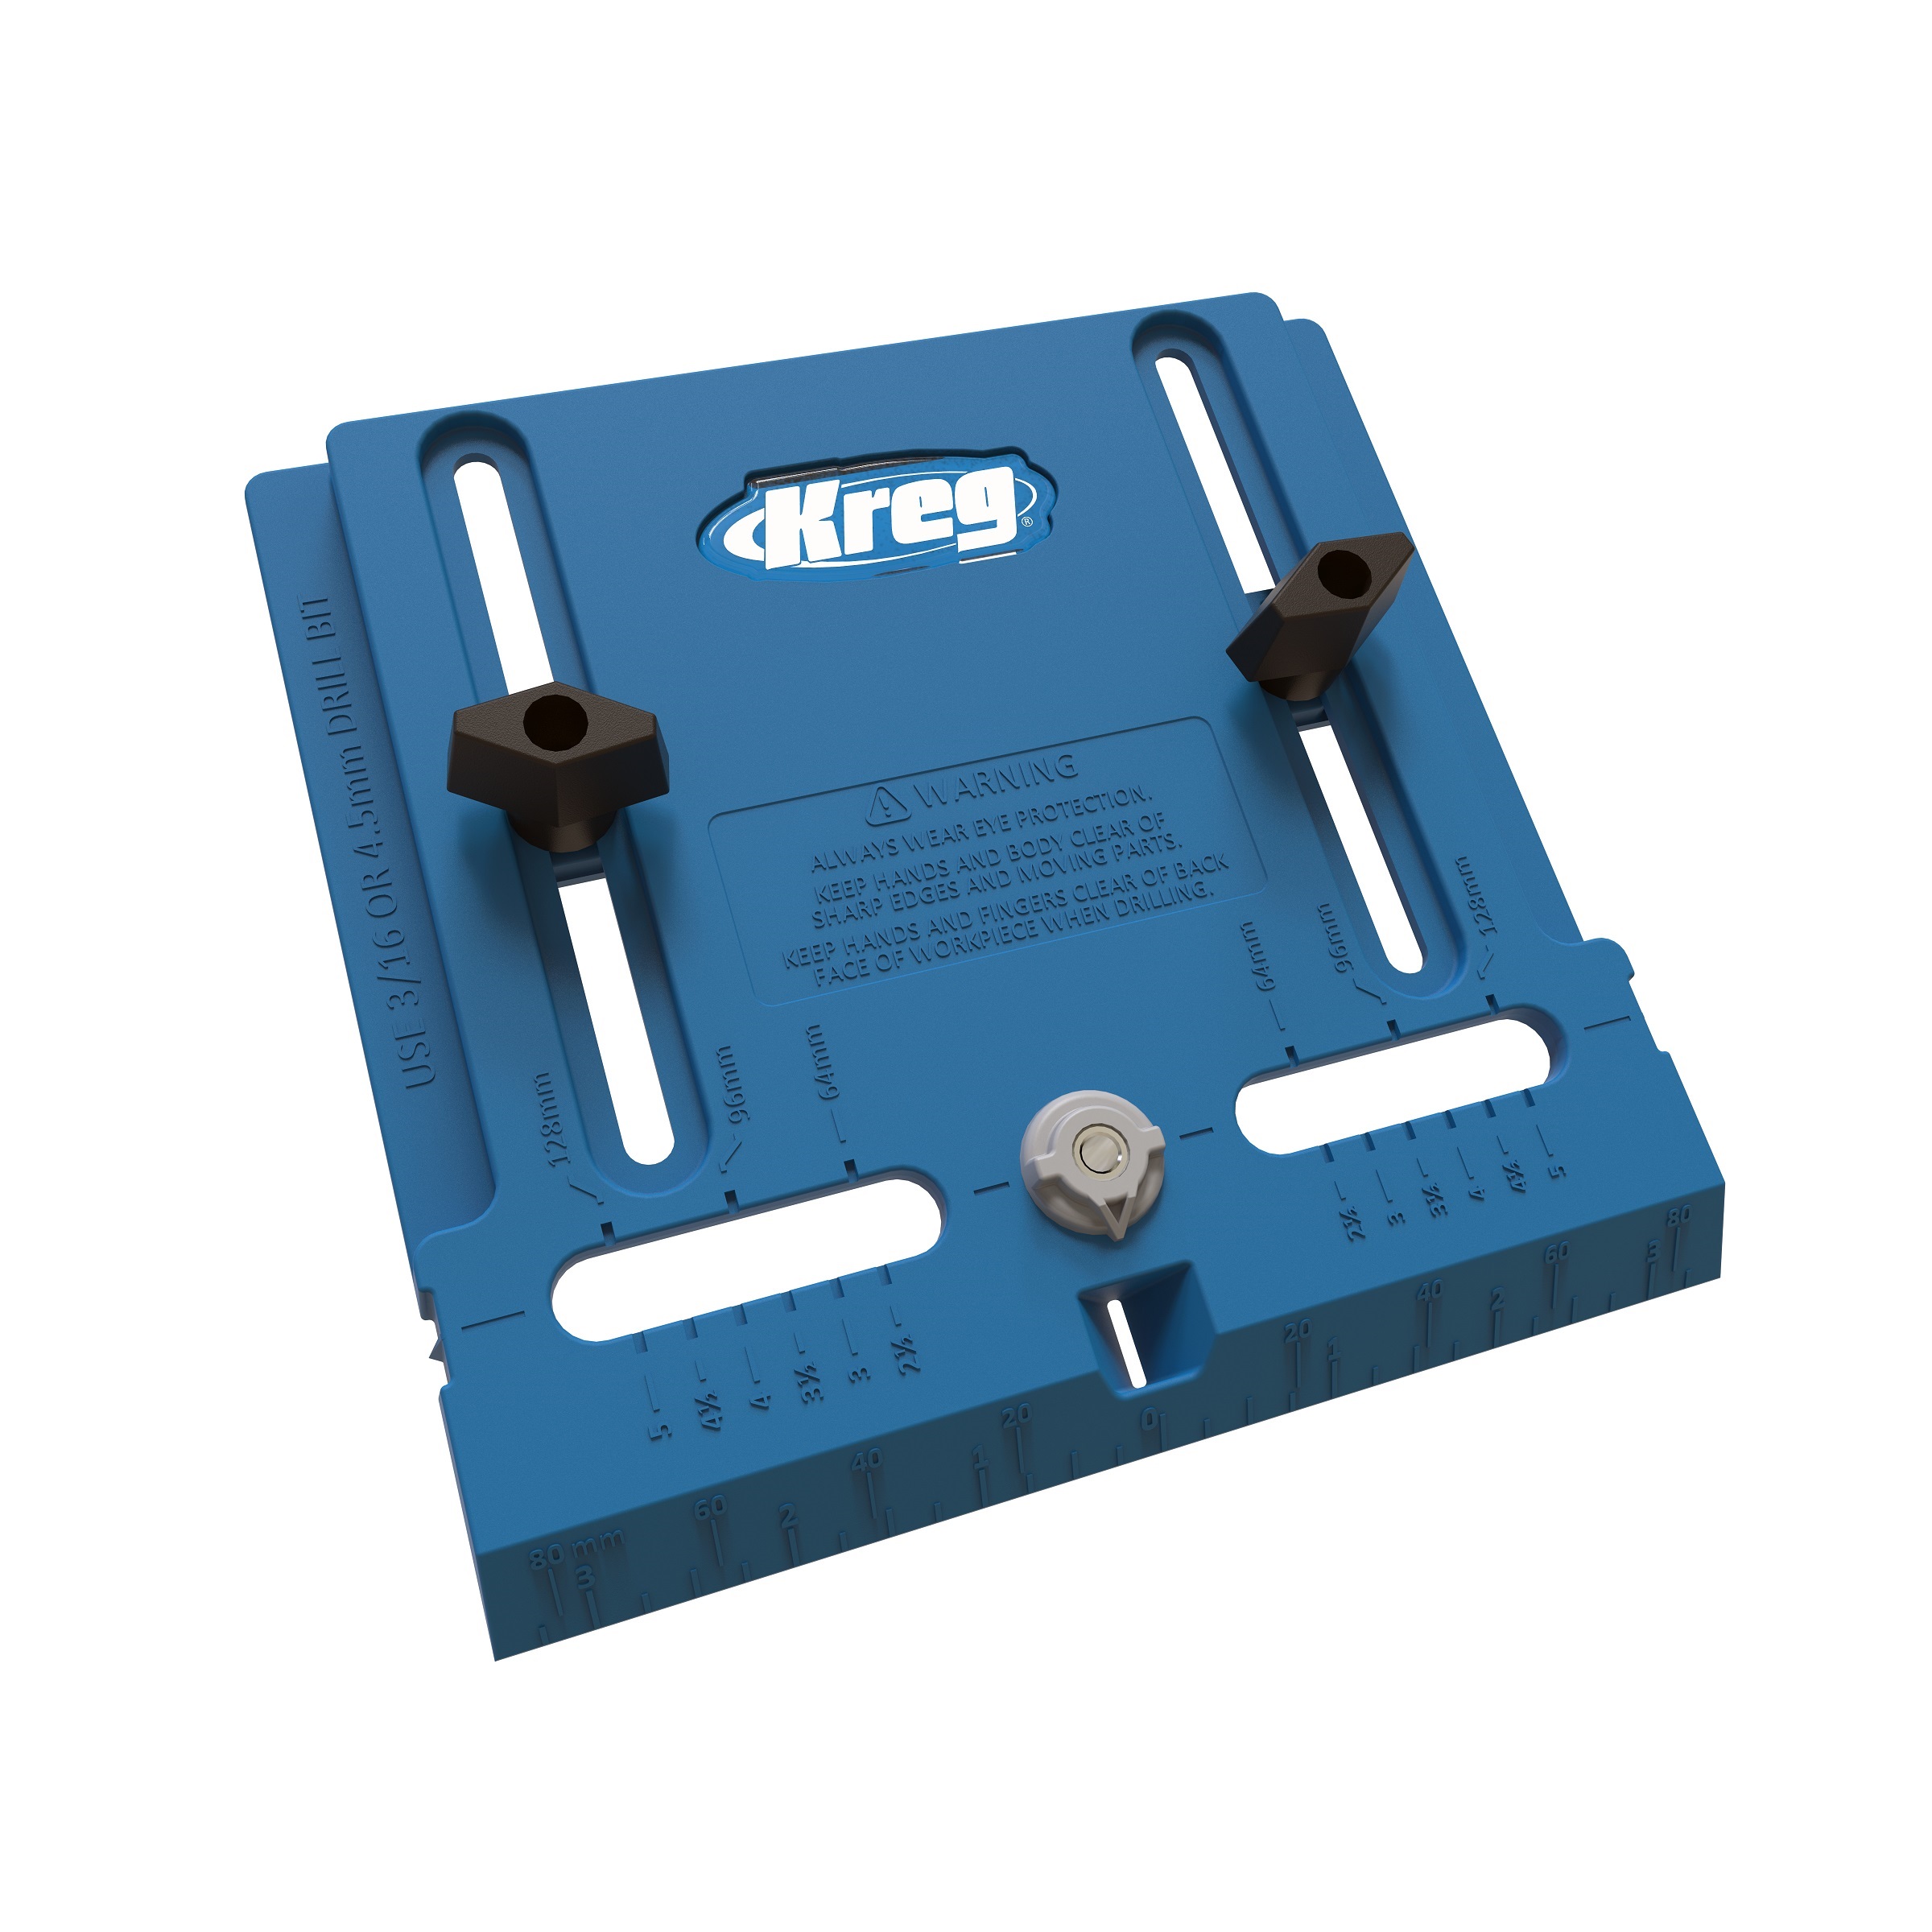
First, I drilled random holes into the front of the drawer boxes. I marked the center of each front and then drilled my hardware mounting holes using the Kreg Hardware Jig. To mount the drawer fronts, I placed an old ruler on the bench and then set the lower drawer fronts on it to space them up. I then added thick washers to the top of the lower drawer fronts and set the upper fronts on top of them. This gives an 1/8" gap all around. I used a small ruler placed vertically between the drawer fronts to act as the spacer. With all the spacing set, I screwed the fronts to the drawers by using the hardware locations. I then removed all of the spacers and pulled the drawers out. I then, screwed the fronts into place from the inside.
-
Door Mounting
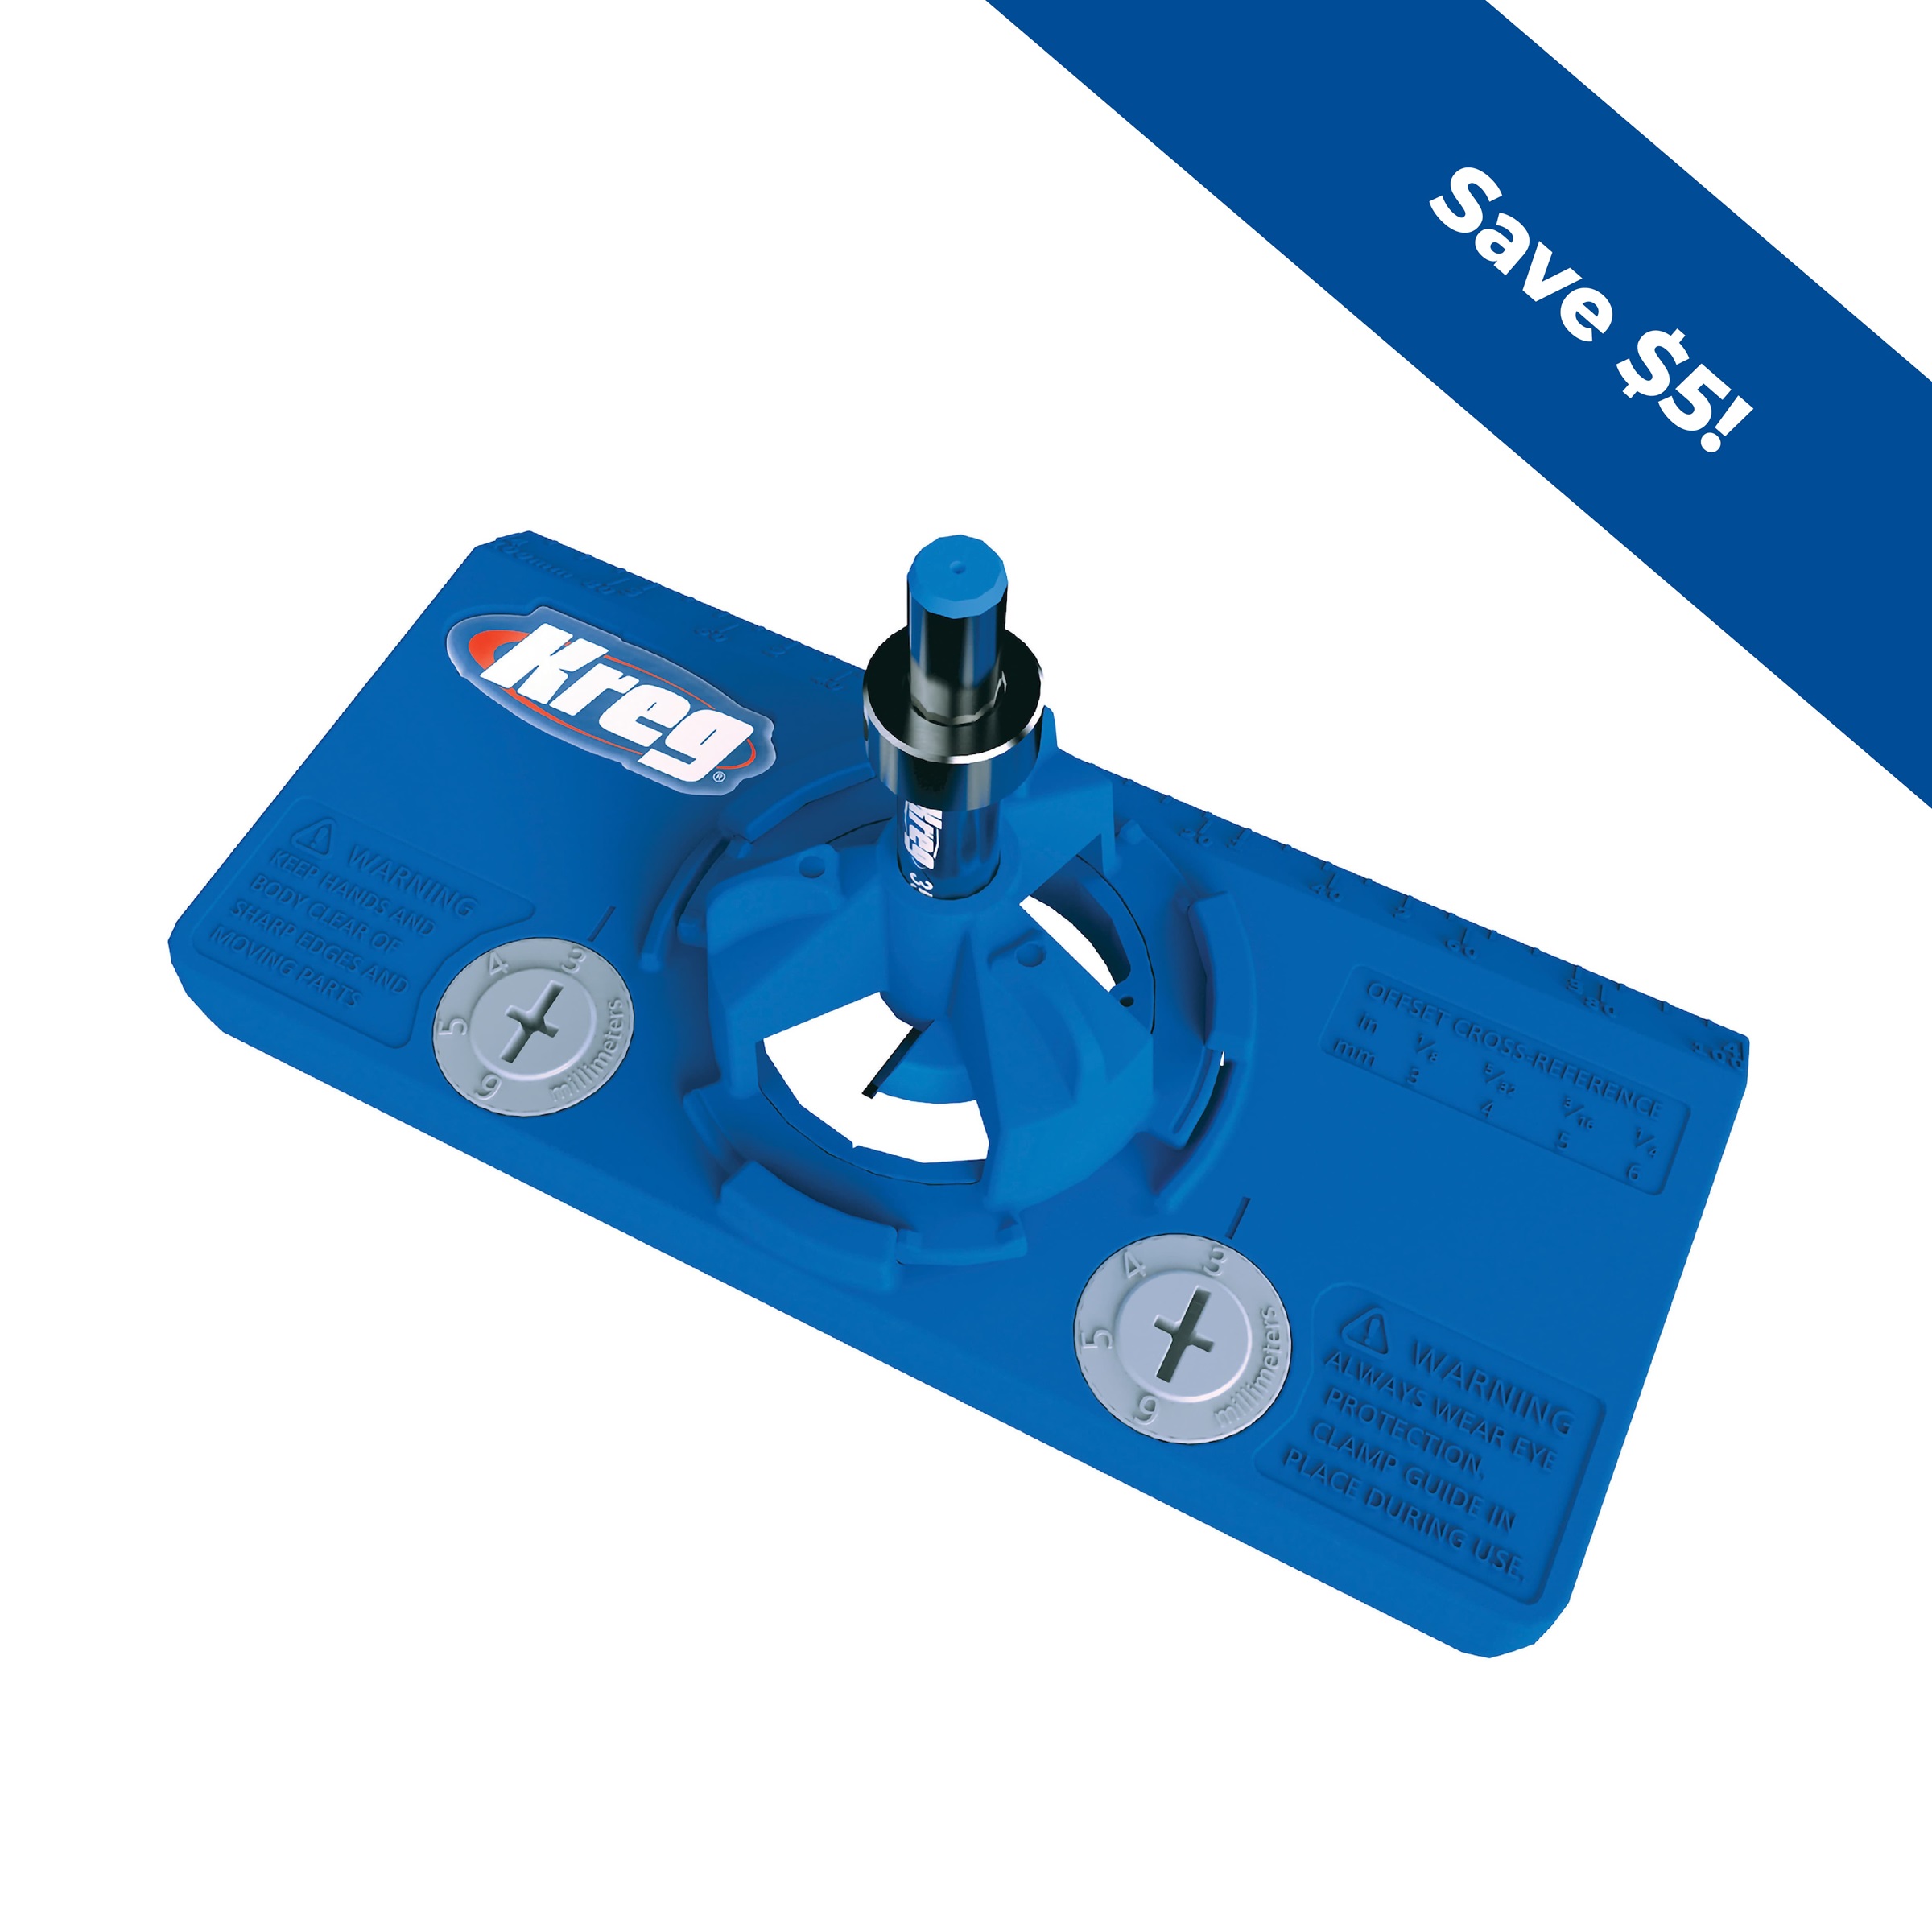
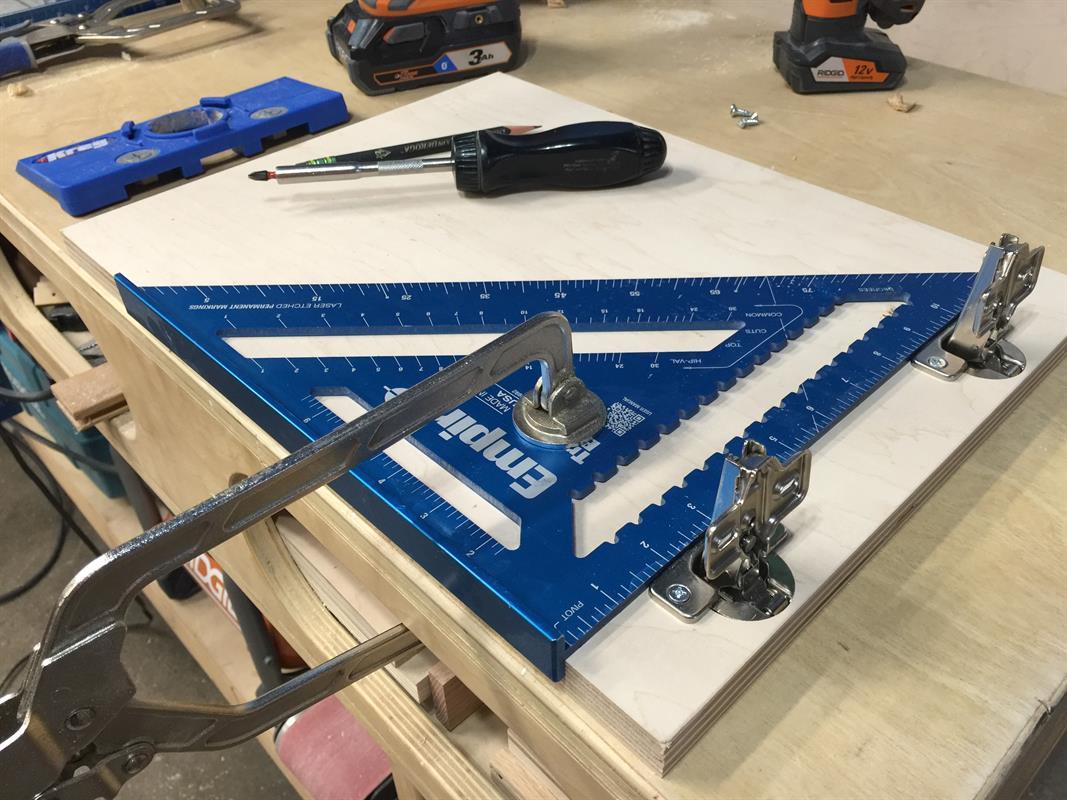
I used the same spacing method for mounting the door. I used concealed hinges and the Kreg Concealed Hinge Jig. Follow the hinge instructions for mounting.
-
Bit Storage
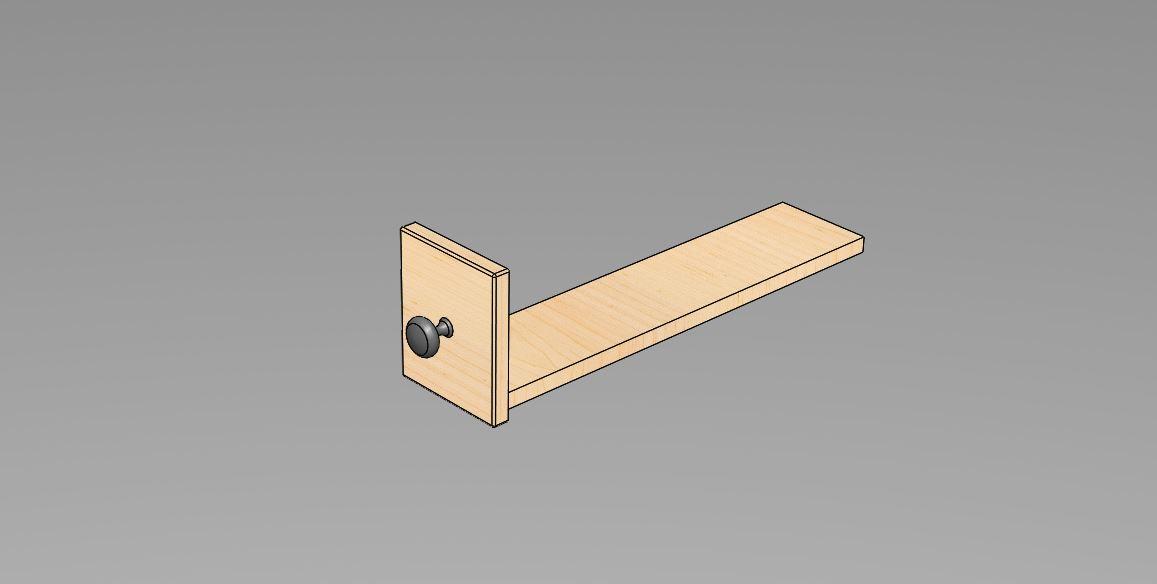
For these two small areas, I started by making a platform that fit cleanly into the cubby and then mounted the front to it using pocket holes. I may eventually make these into mini drawers or secure some bit holders directly to them. I will add small pieces of wood to act as guides and stops for these. As my bit collection grows, I am not sure what approach to take. Here is a basic shot of my starting point. Comment below on what you would do for yours! Tips appreciated! LOL
-
Electrical Panel Install
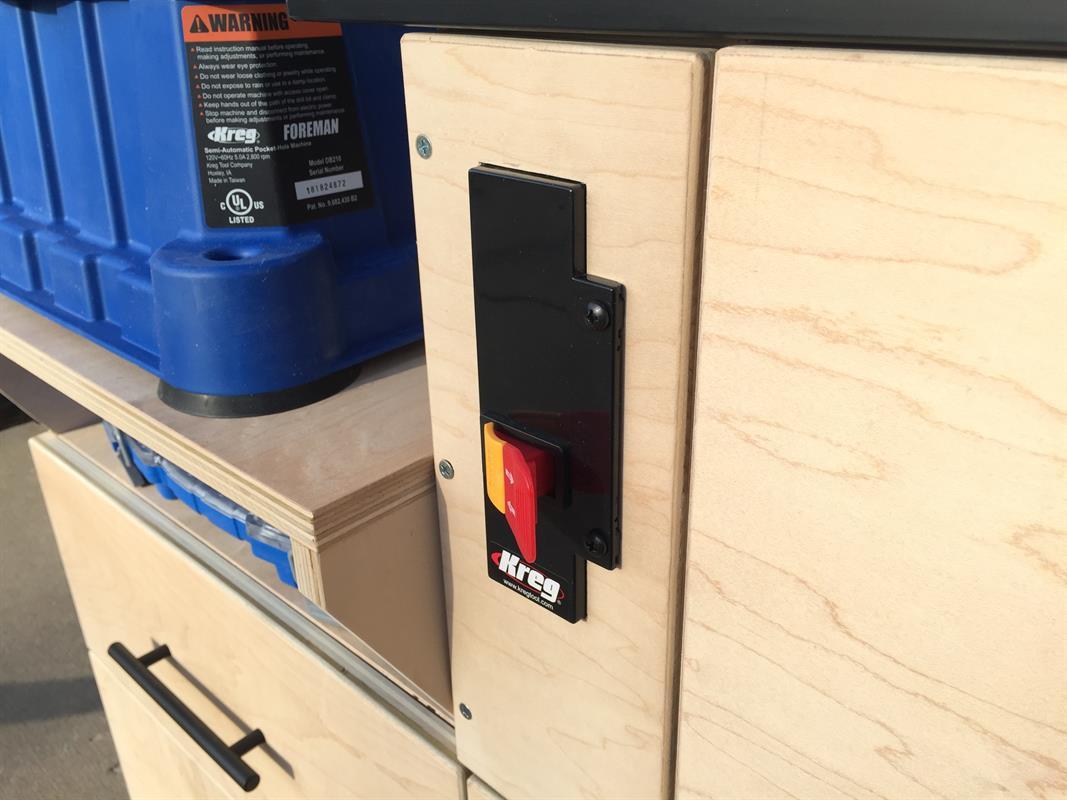
For the on/off switch, I cut a hole right into the panel and passed the cords through it and out the back. I used 3 basic construction screws to mount this as I may need access to it in the future. The router cable plugs into the switch and you can also add a vac to it so that both will cycle at the same time. You can use this mounting method for any switch but the Kreg switch needed slight modification to get it to sit flush on the panel.
-
Casters
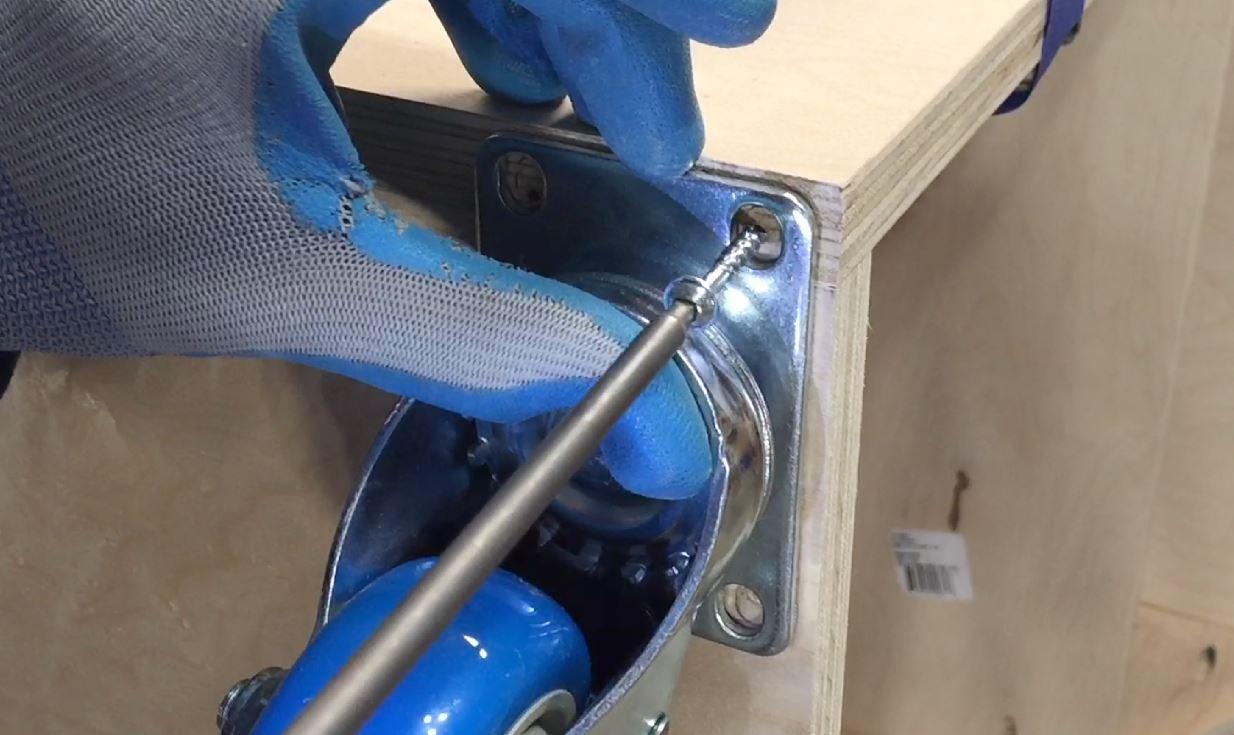
I removed all of the drawers and components from the cabinet and then set it on its side on the floor. I marked out and predrilled for the casters at each corner. I used fender washers and short screws to mount the casters. I would have used larger lag type screws but I did not have any and the stores where closed.
-
Foreman and Router Top
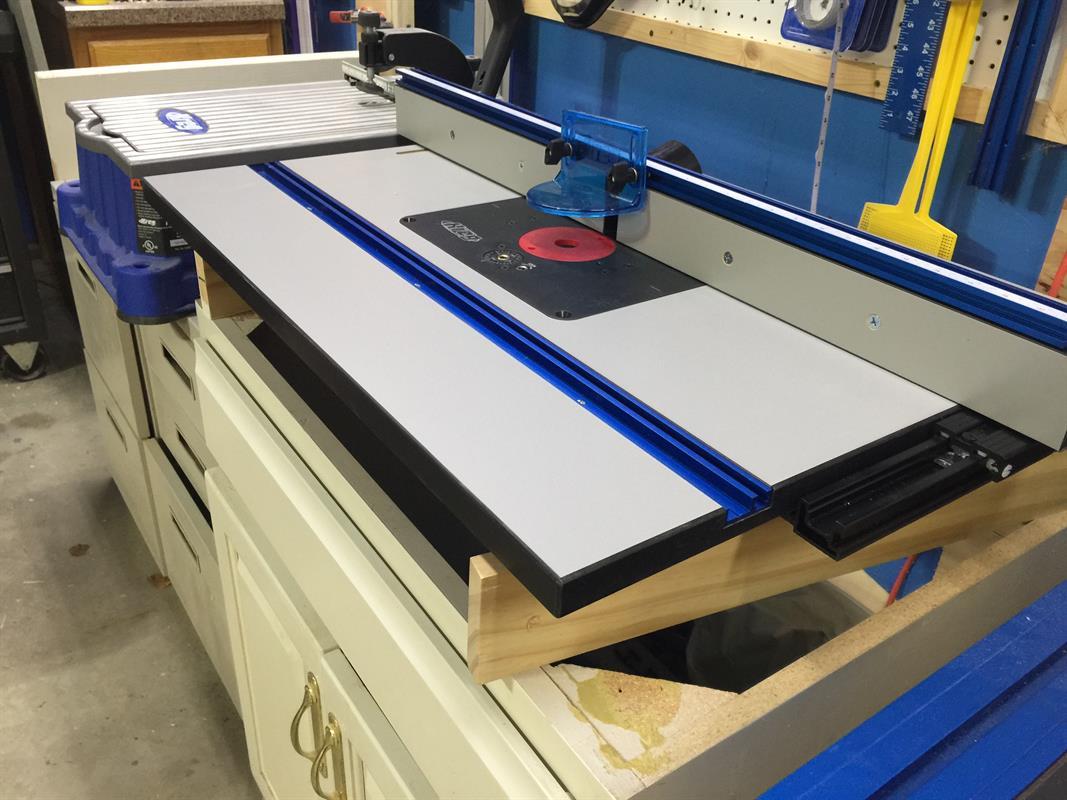
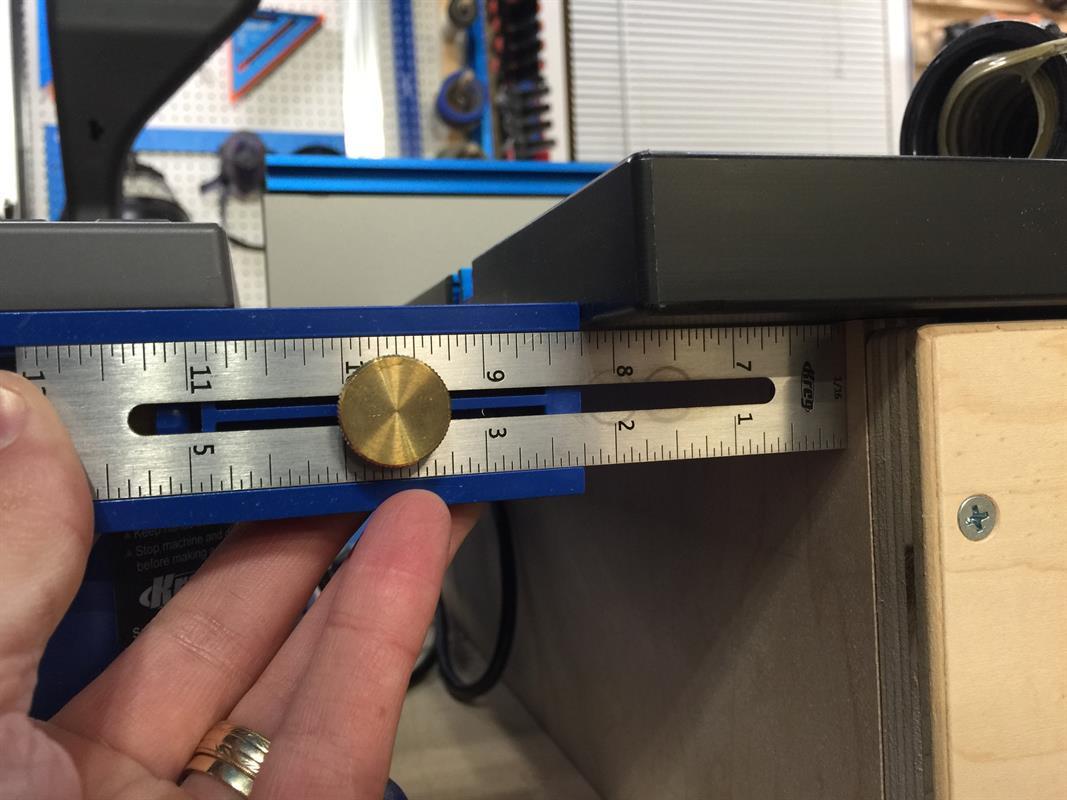
After the cabinet is upright and back in order, we can now set the Foreman and Router top into place. Align both of them where the fences clear and they look symmetrical to the cabinet. Using a Multi-Mark, you can make sure the top is parallel to the cabinet sides and mark its location. After the top is marked, align the Foreman and screw it into place. I used small fender washers to assist in securing it. Then open the cabinet door and secure the router top from the inside pockethole locations.
-
Dust Collection!
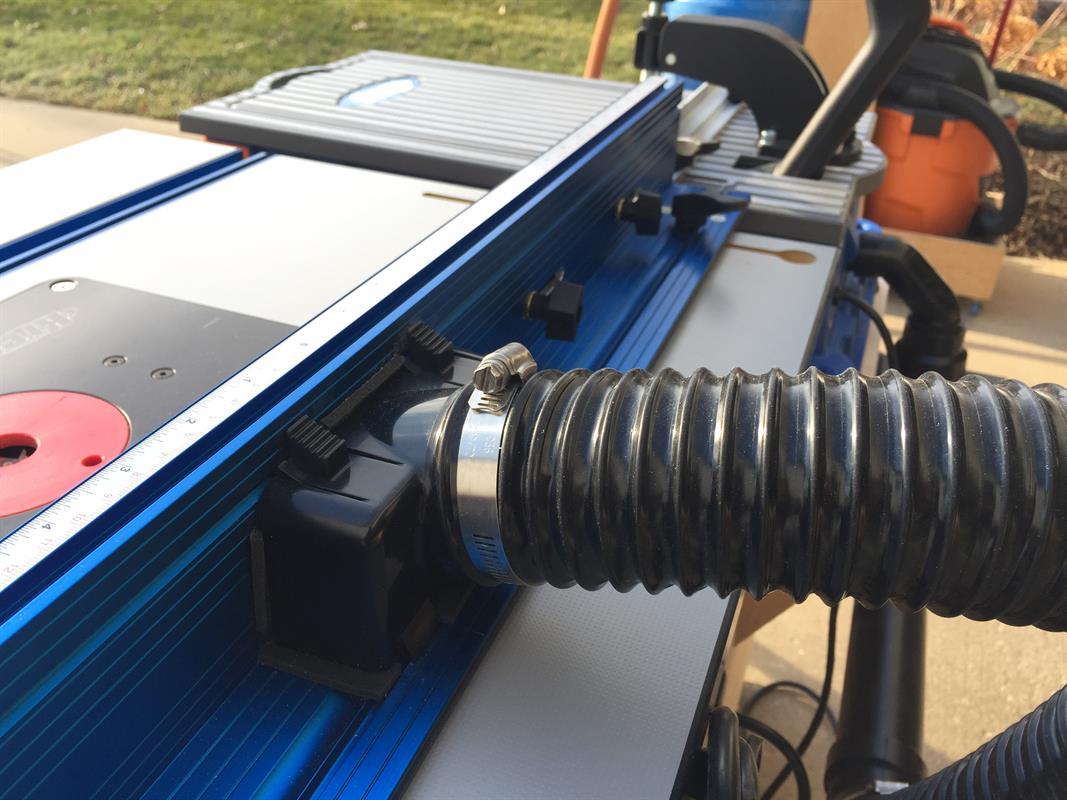
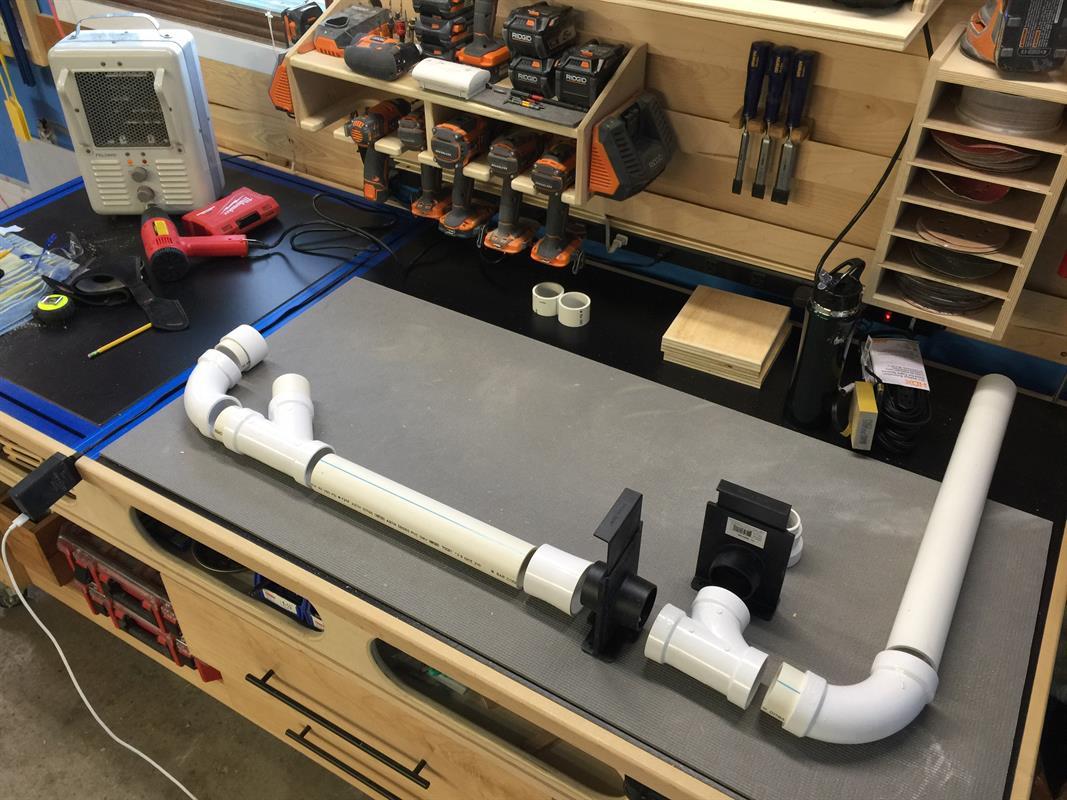
This is one of those steps that can be written 100 different ways. All I can say is, do what you want and your results will be the same. I chose two Rockler blast gates a leftover Ridgid shop vac hose adapter and the rest was 2" schedule 40 PVC. For the connections that went to the blast gates and the Foreman, I used a heat gun to relax the PVC and slide it on. Then I let it cool in that position. Once I had the layout completed, I used purple PVC cement for all the PVC/PVC joints and I used 5 minute epoxy for all the PVC/ ABS joints. I then painted everything flat black with Krylon Fusion paint. I used 2-1/2" flexible hose from Woodcraft to connect the fence with the lower PVC section. I had to custom make the Foremans connection.
-
More Dust Collection!
You can use a hose for the Foreman as well but I chose to make this coupling from misc PVC joints. Also, on the side of the cabinet where the inlet is, I added a small piece of plywood to hold the pipe securely in place.
-
Power Strip
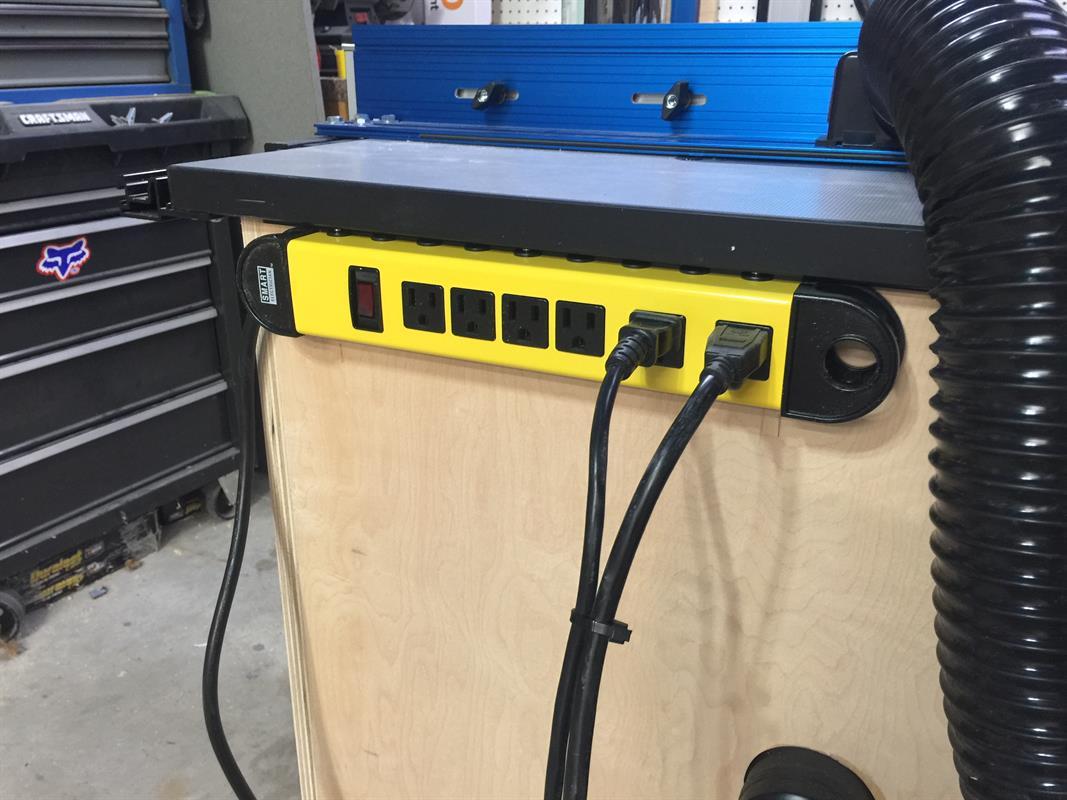
I also added a power strip to the back of the cabinet, This strip has a 15' cord and gives me some more freedom around the shop.


