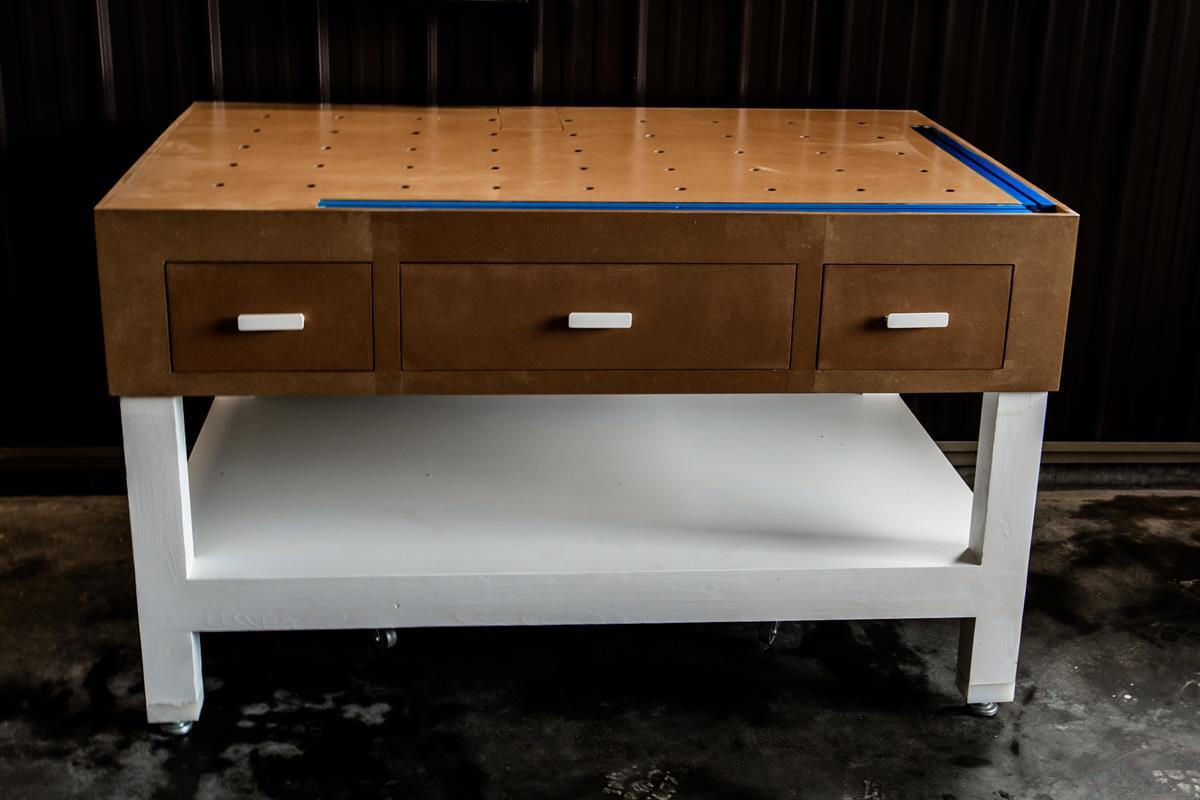
Kreg Work Center
By Love Create CelebrateThe Ultimate Kreg Work Center!
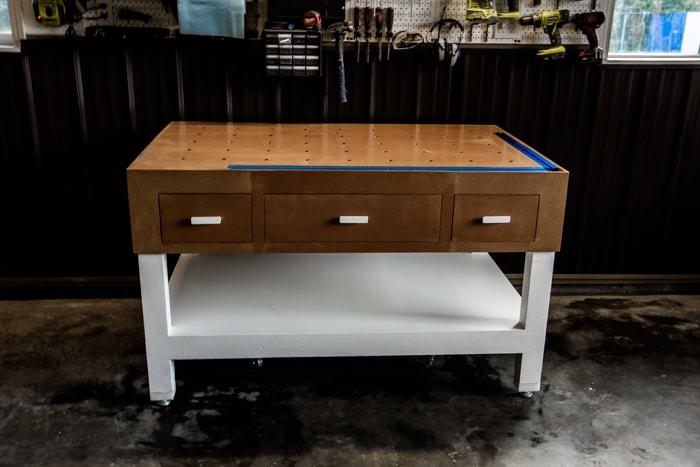
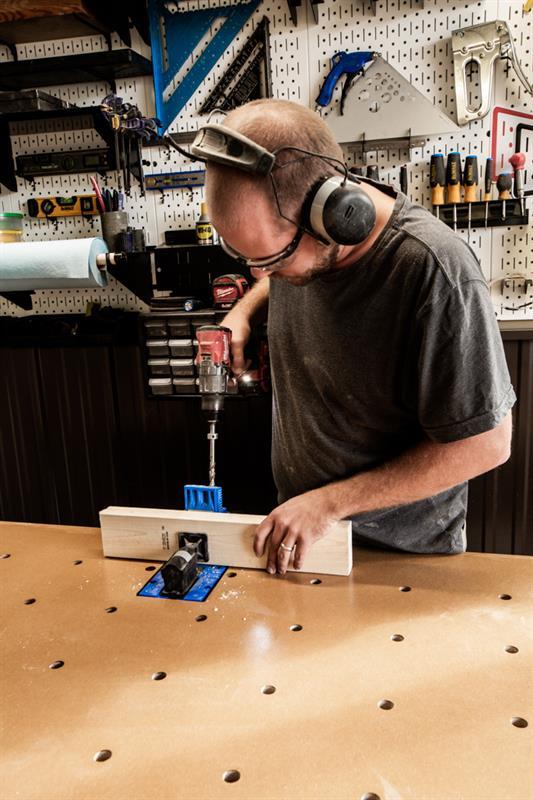
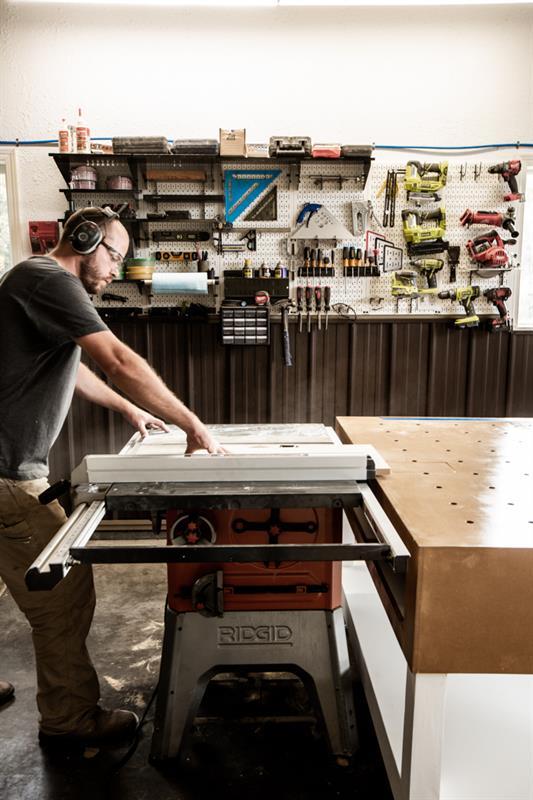
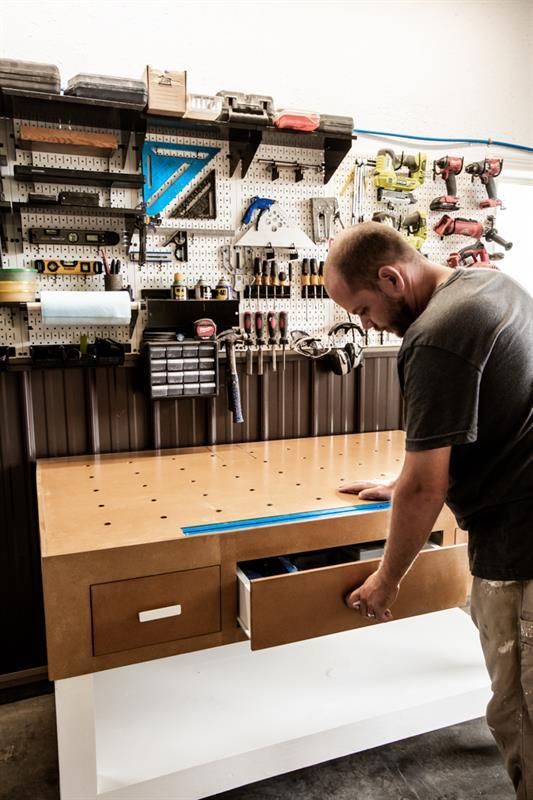
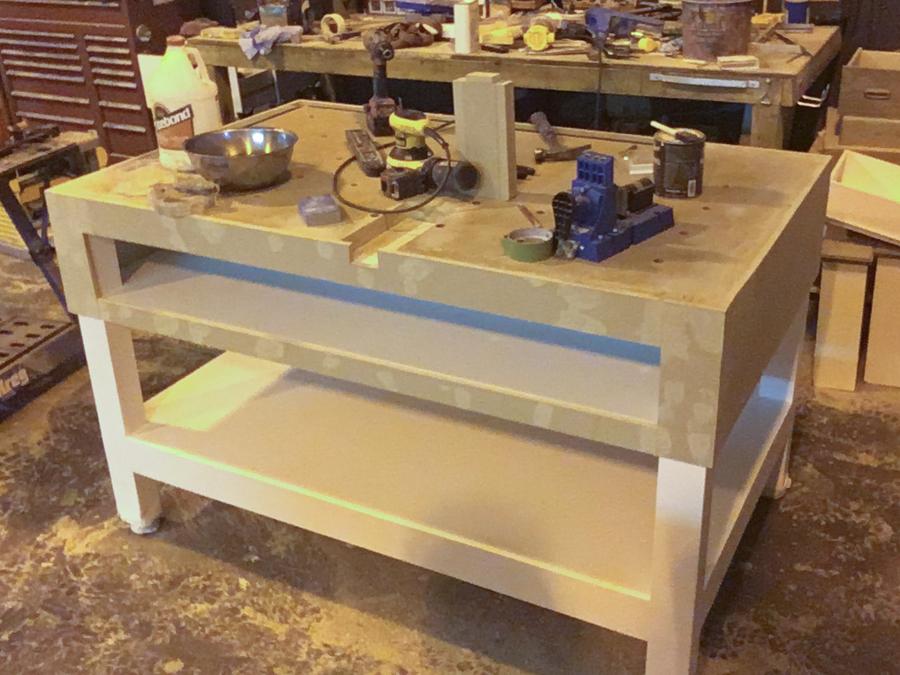
This bench can be used for all your clamping needs and dreams. Including an outfeed table for you table saw and an efficient work station for your K5 Kreg Pocket Jig!
Directions
-
Plane or Sand down the lumber
Prior to do any cuts run your lumber through a planer or lightly sand it you remove any surface defects. If you remove too much material when using the planer you may have to adjust the measurements in the plans slightly as the plans reference nominal dimensions.
-
Cut Legs - Step 1
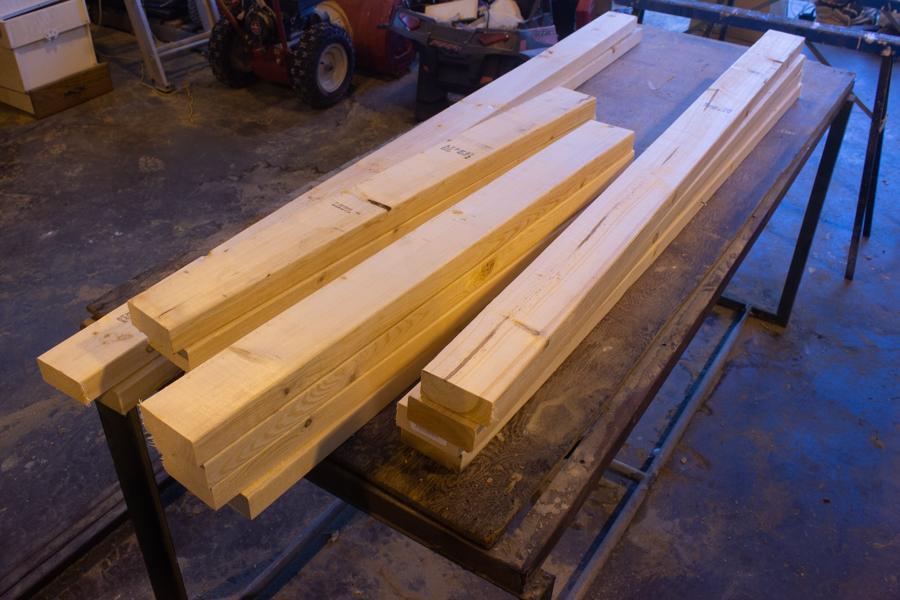
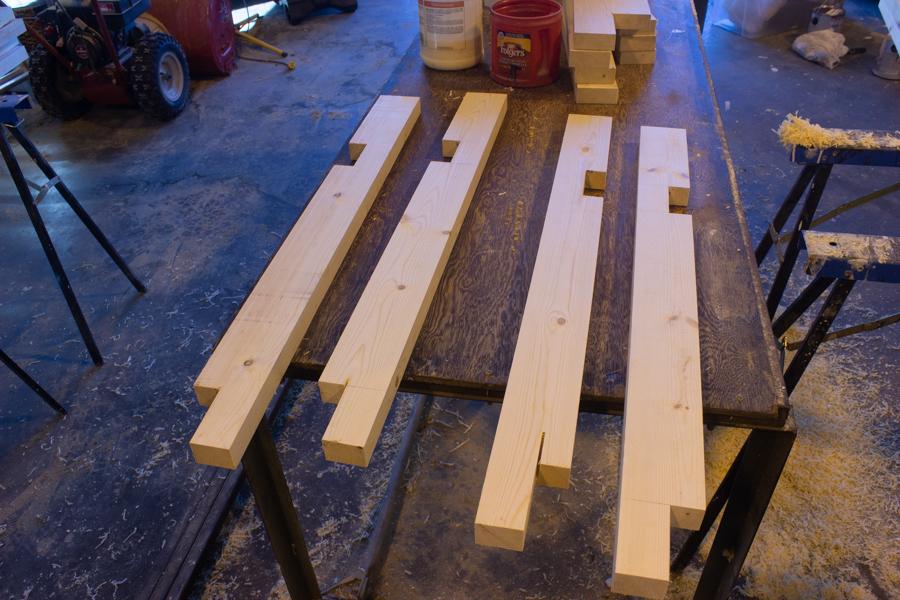
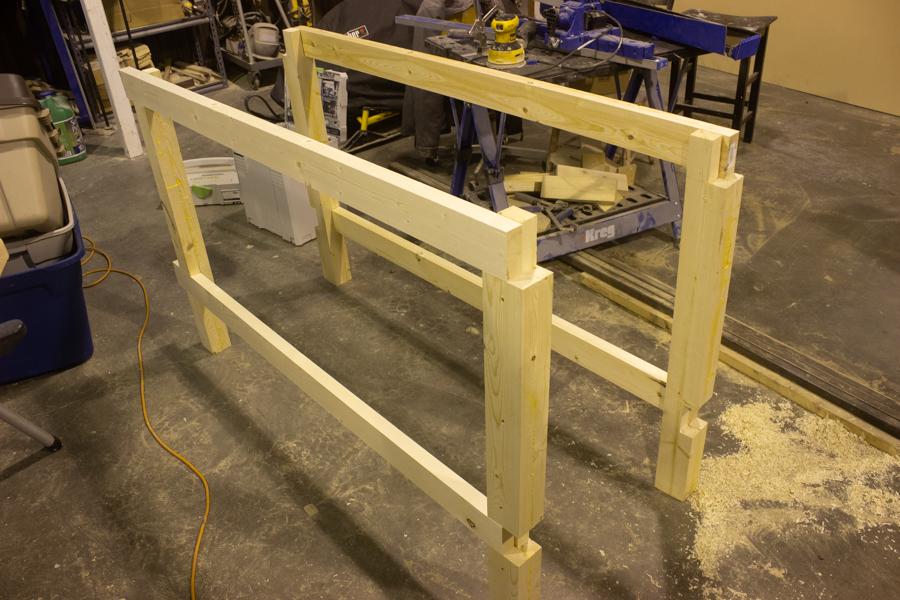
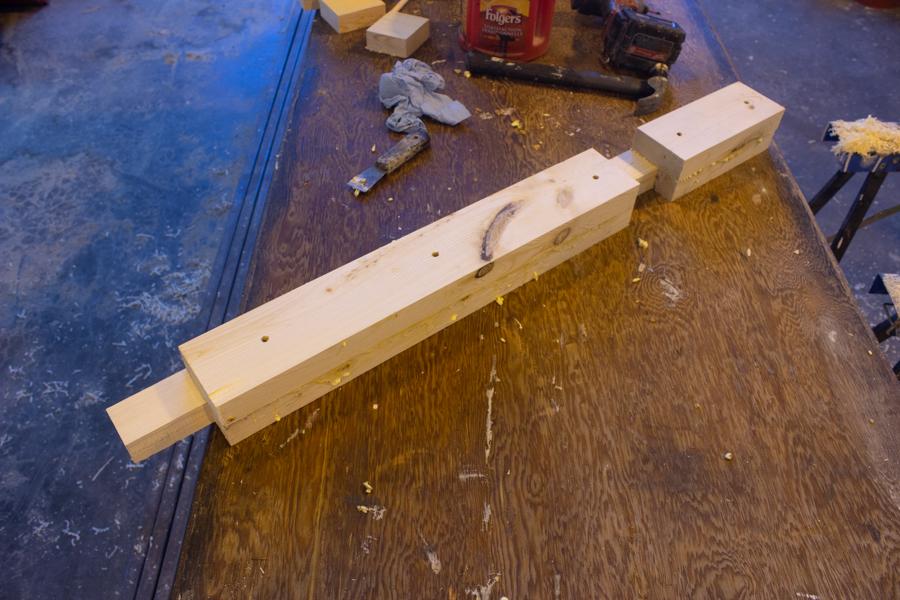
Begin with cutting your lengths to length. If you decided to add the adjustable feet to the bottom of your legs you will need to remove 2 7/8" from the total length (33 3/4"). I wanted adjustable feet as I know my concrete floor isn't 100% true and wanted the table to sit level for use. I cut one 2x4 to the total length (either 33 3/4" or 32 1/2"). I then cut the notches as per the plans. I used my table saw set to the correct depth and used kerf cuts to remove the excess material.
-
Cut frame boards and attach
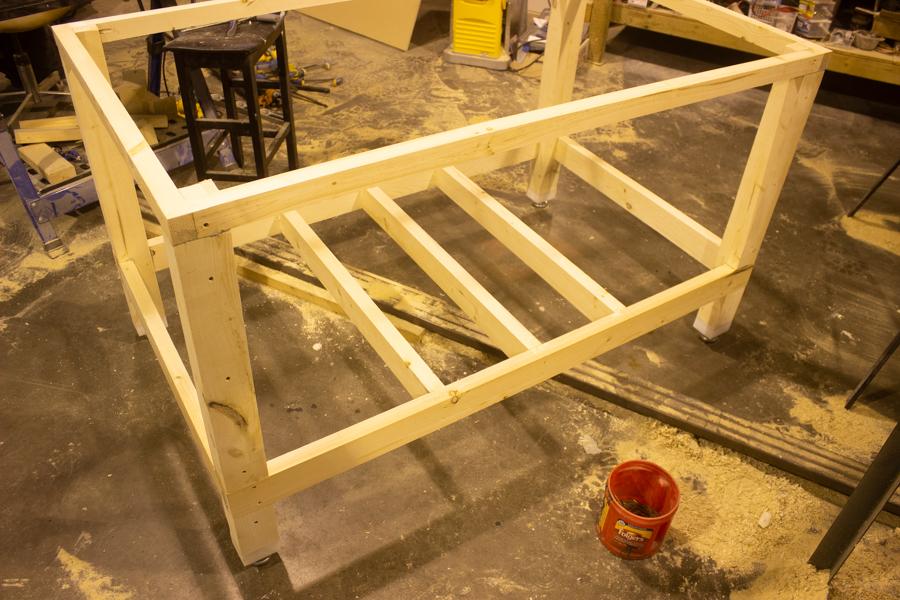
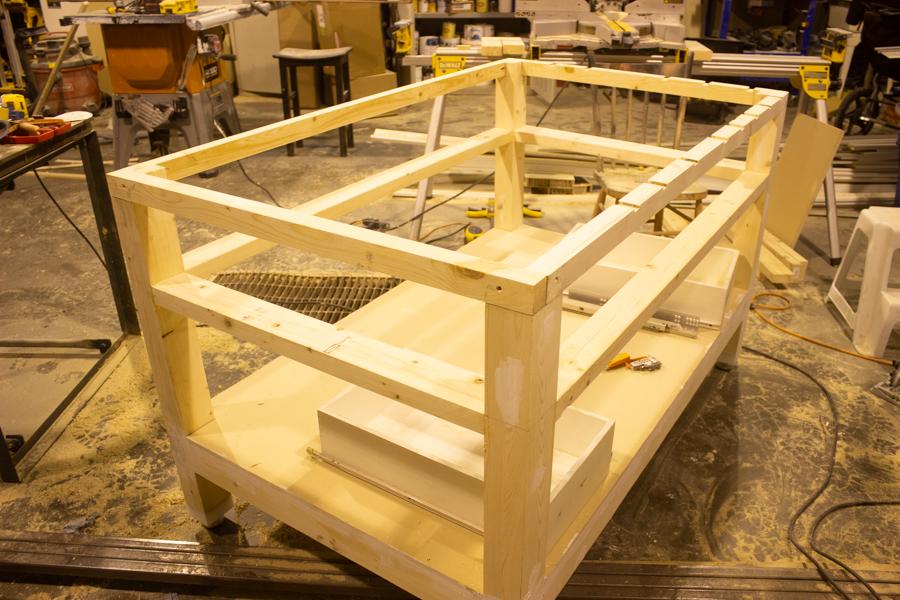
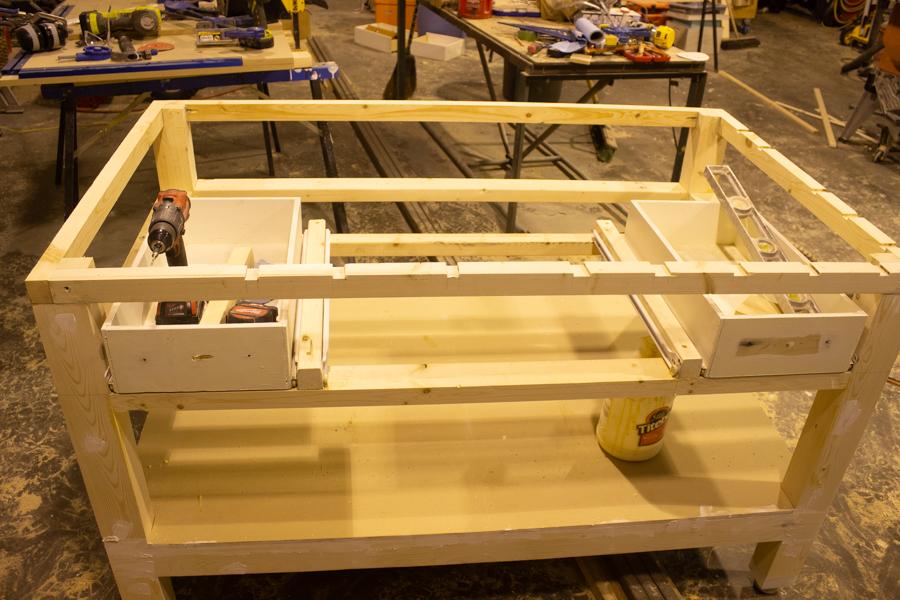
Cut your horizontal bottom and top frame pieces as per the plans. Attach with glue and screws. For the top (4 boards) and bottom outer (4 boards) pieces we screwed them directly into the legs and filled the holes with putty afterwards.
-
Cut Bottom frame support boards
Cut the 3 middle support 2x4's as per the plans and plan cut list. Attach to the bottom rails using glue and screws.
-
Cut bottom shelve
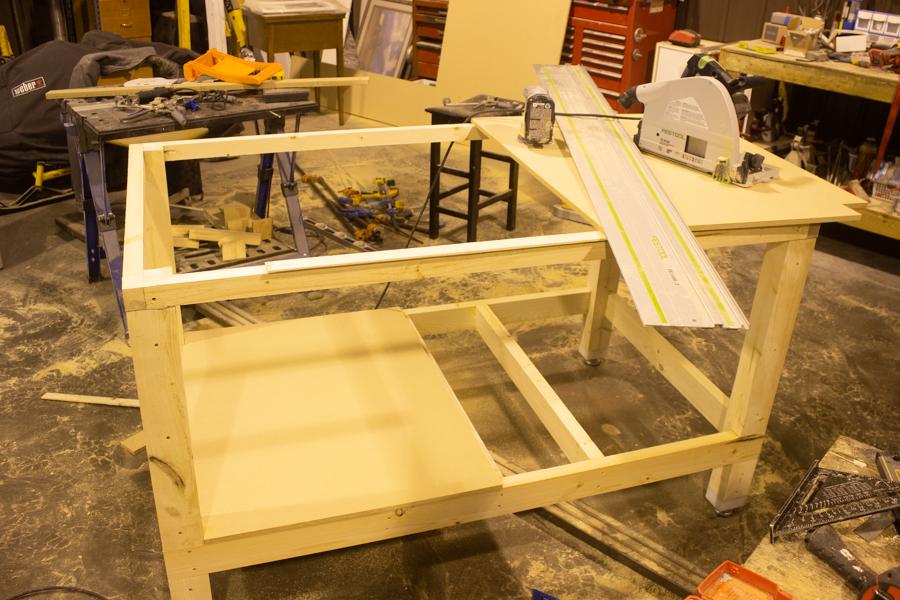
Cut the bottom shelve out of 1/2" thick MDF. You will need to cut square notches out of each corner for the bottom shelve to fit around your legs. The board should be roughly 26" wide x 60" long. To make the board easier to install (with one person) I cut the board in half in the middle and glued and screwed it down to the bottom frame.
-
Cut and assemble top work surface
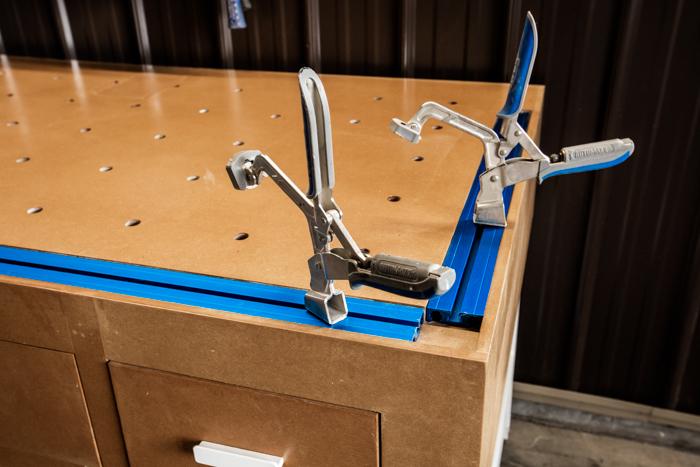
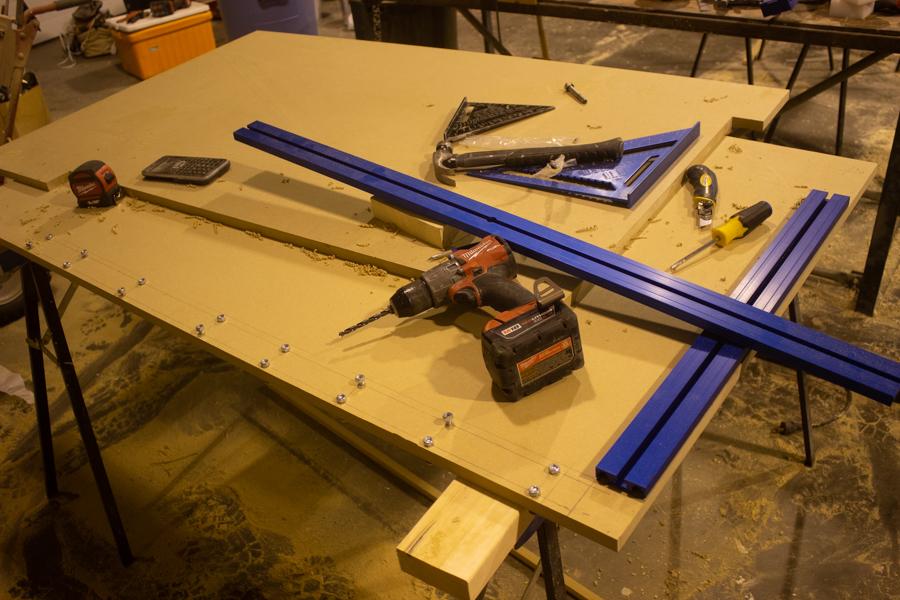
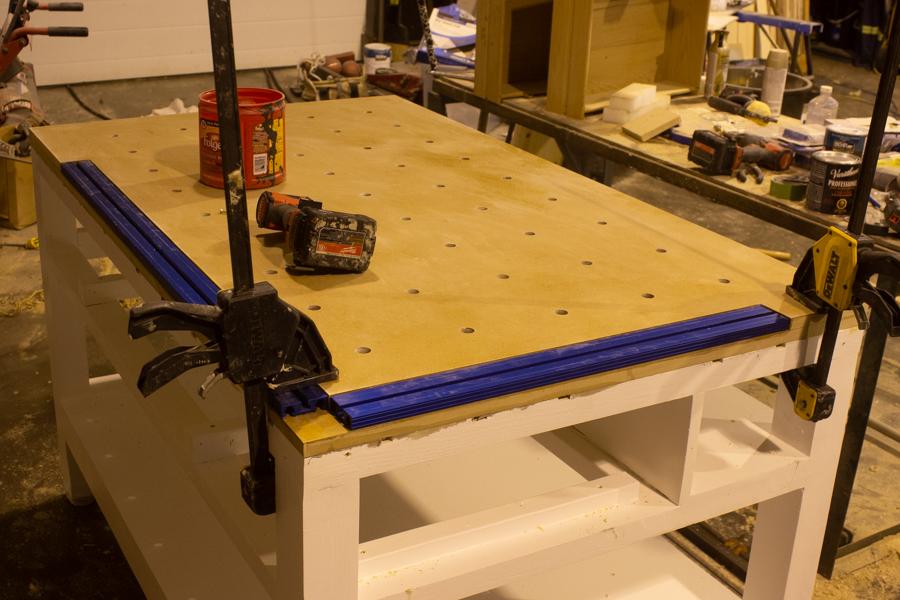
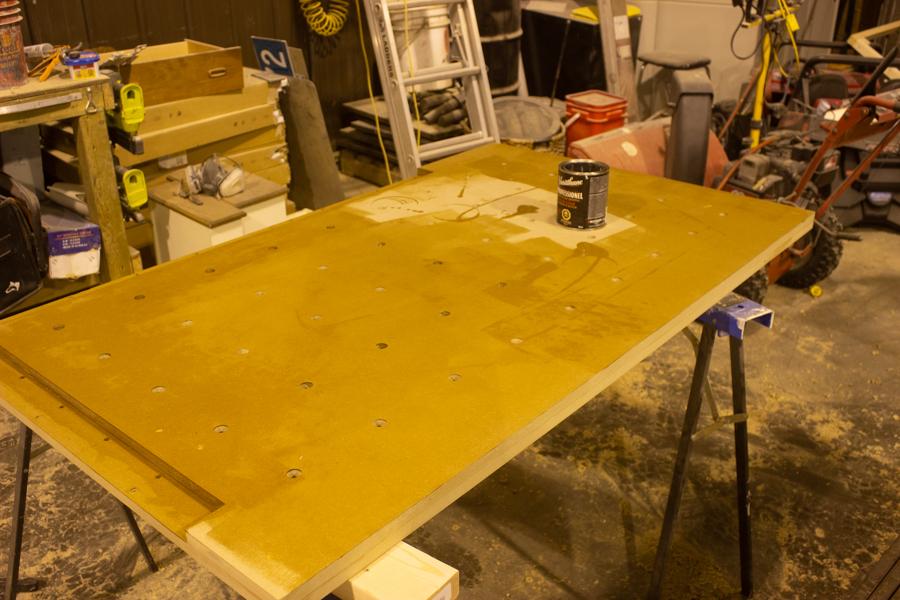
Taking your 3/4" thick MDF cut down a full sheet to 36" wide X 60" long. You can than cut down a second sheet in two pieces to the same dimensions. Cut a notch as per the plans for your Kreg Universal Clamp Trak™ Kit out of the full sheet of MDF (the partial sheets will be glued to the underside of the full sheet). This should remove about 2 1/4" material on the outside edges on two corners. See plans for further details.
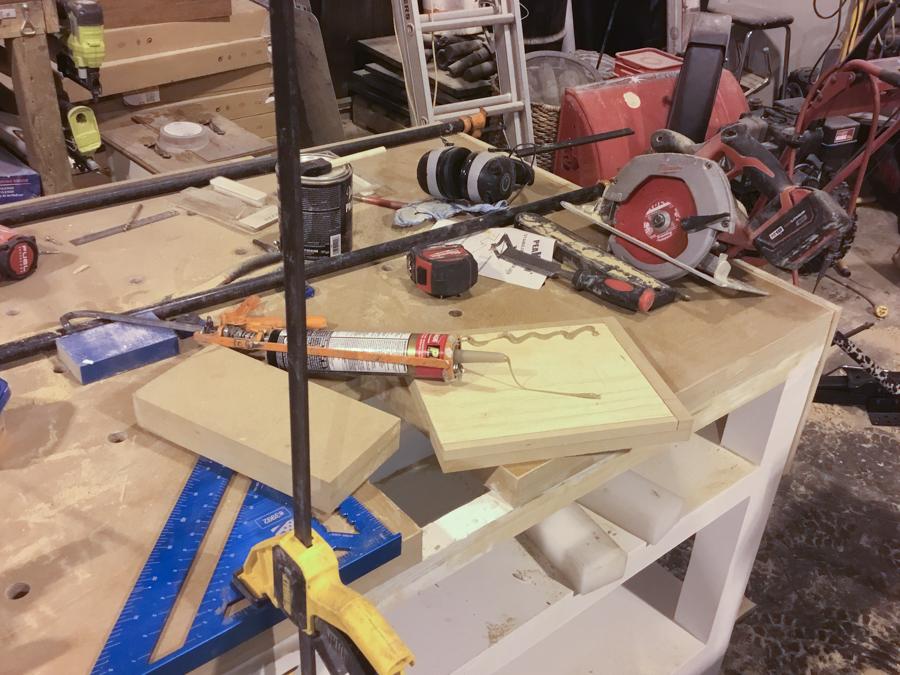
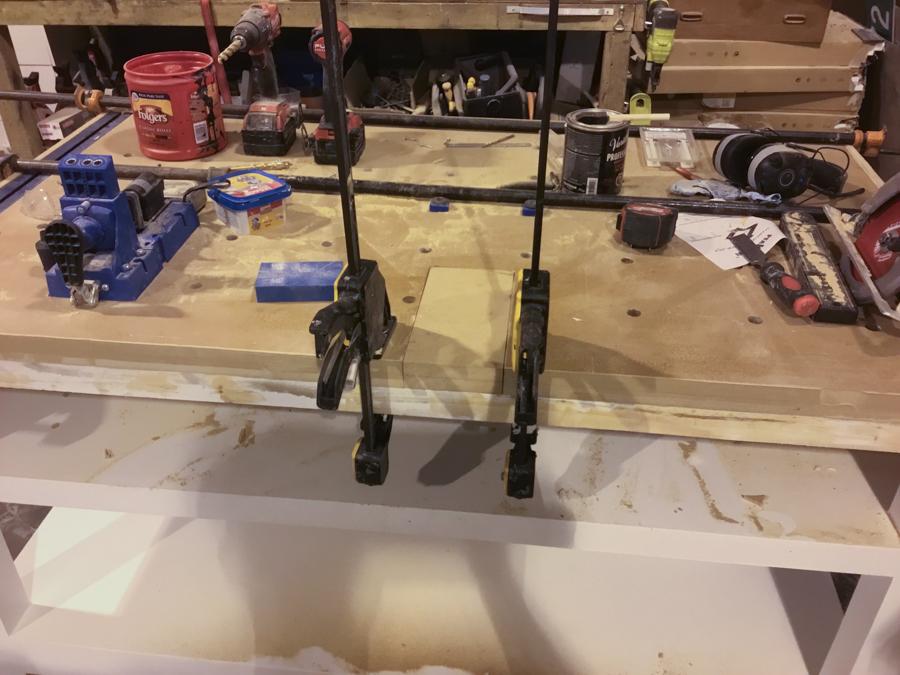
Once cut you can glue the top sheet to the two bottom sheets and let dry. Ensure all your edges sit flush. I used screws at the locations where I planned to drill the 3/4" holes to help clamp it down in the center and hold the edges flush.
-
Add holes to workbench top
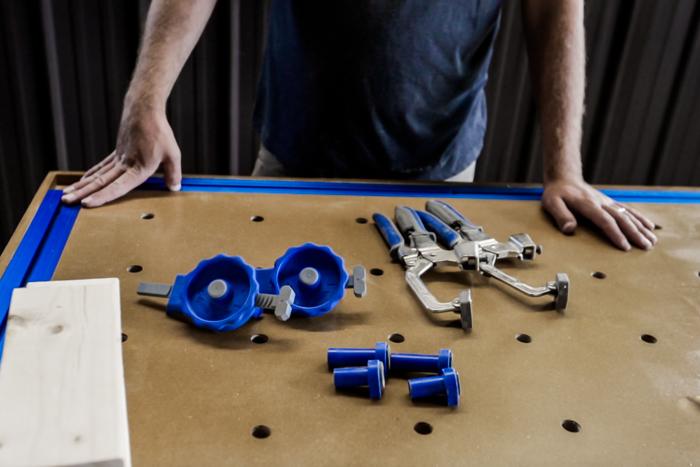
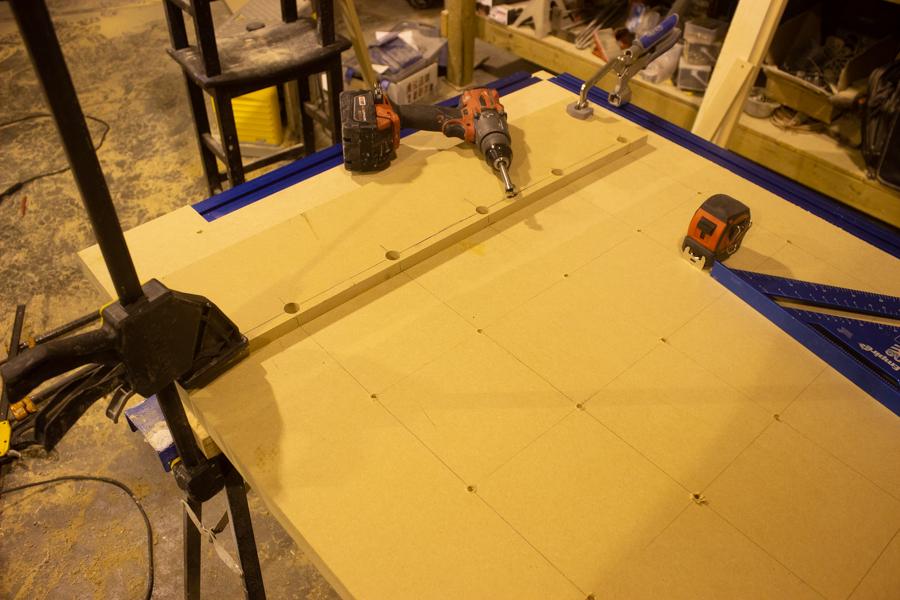
Once the glue is set you can start drilling your 3/4" holes for you inline clamps, bench dogs etc on the table top. I started laying out the holes from the edge kitty corner of the Kreg Trak. The holes were 6" off the edges and 6" apart, this resulted in 9 rows of 5 holes. I made a quick jig out of scrap MDF to quicken the progress.
You can also drill holes for your Kreg Trak. I counted how many bolts/nuts/washer I received in my Kreg Trak kit and divided them evenly between the two Traks. I than measure the centerlines of the bolt holes for the Kreg Trak and drilled holes evenly spaced for the installation of my Kreg Trak to my work bench top.
-
Cut Legs - Step 2
For the other side/boards of the legs I used the lumber to create notches for the horizontal cross bracing to tie into for the outer frame. This resulted in glueing and screwing a board with a 3 1/2" gap near the bottom and board with a 1 5/8" space from the top (see plans for further details). Let glue set and once dry give the legs a light sand.
-
Optional - Leg Adjustable Feet (1)
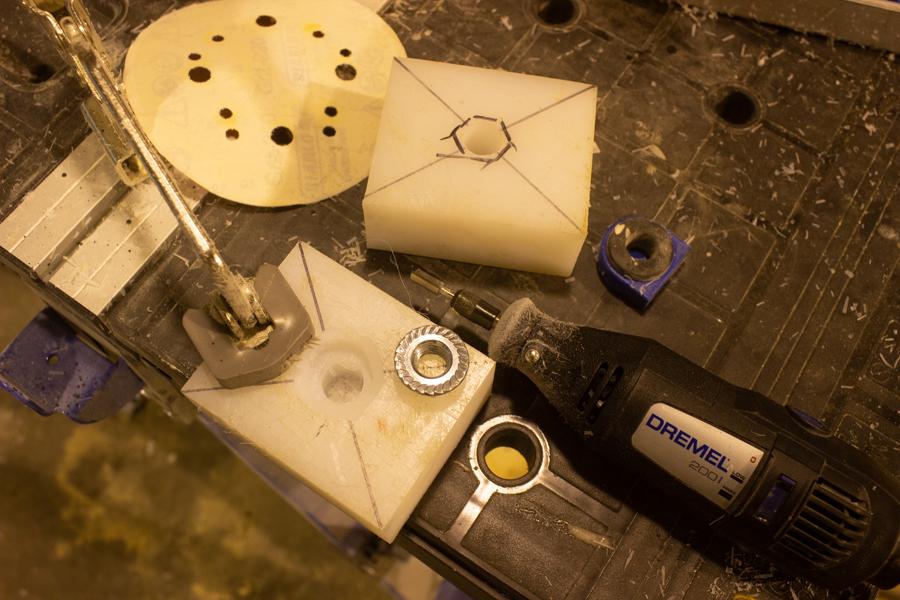
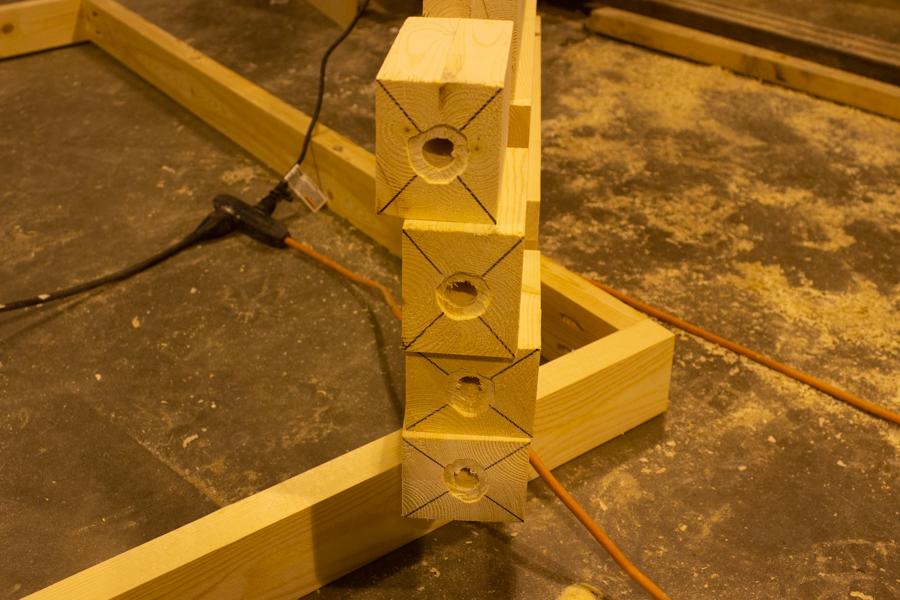
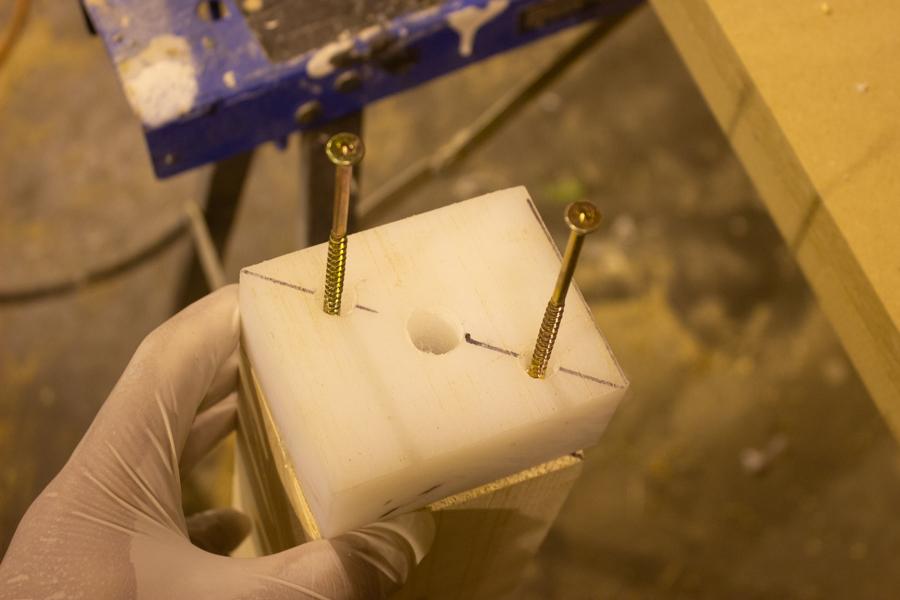
Cut a block as per the plans for the feet. I recommend using hardwood or simliar material. I had Teflon lying around so I decided to use that. Once cut drill a 5/8" dia. hole through the center of the block. Than drill a 1" dia. hole only 1/2" deep on one side. Repeat this for all 4 legs.
-
Optional - Leg Adjustable Feet (2)
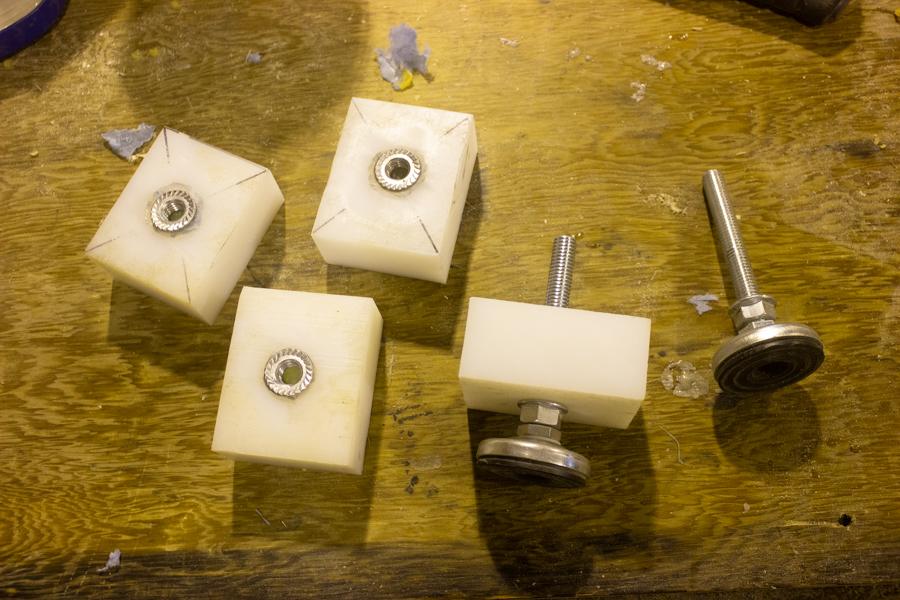
You may need a Dremel to clean out the hole as required to ensure the nut sits flush with face of the block. Using an Epoxy or strong glue (suited to adhere to the material you decided to use) glue the nut to the block. I used tape on to protect the nut threads temporally until the glue dried and removed the tape with a pick afterwards.
-
Optional - Leg Adjustable Feet (3)
Now drill a hole in the bottom of your legs. I drilled a 3/4" hole approx. 6" deep into the center leg to ensure the thread rod had lots of room to move up and down.
-
Optional - Leg Adjustable Feet (4)
Add adjustable leg block to the bottom of your legs. I pre-drilled two screw holes and used a construction adhesive to secure it the the bottom of the leg. You can use tape again yo protect the thread on the nut from getting glue on it.
-
Notch top frame for Trak Screws
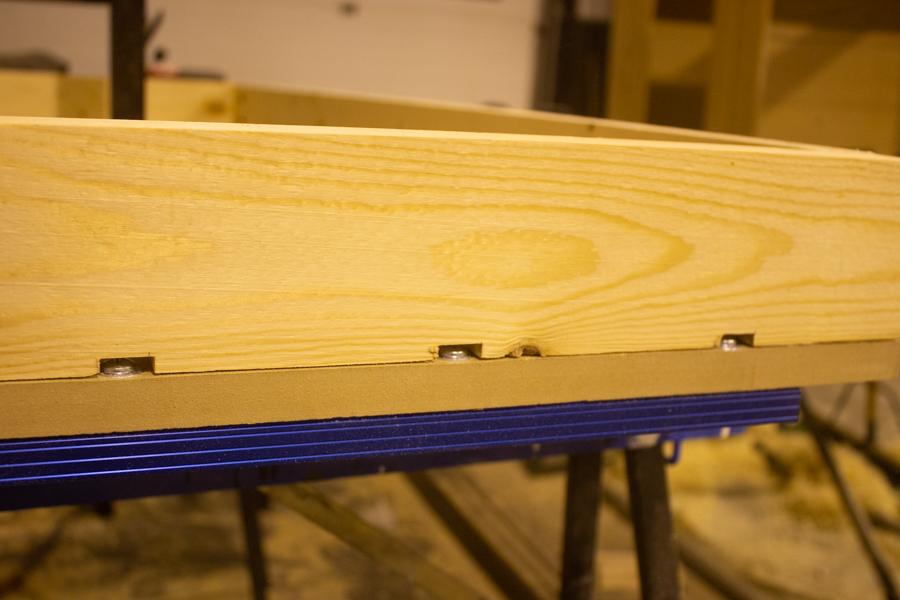
Due to how I laid out my Kreg Trak one row of screws say along the edge of the frame. To ensure a tight fit i took my router and added a small groove at at the locations the frame interfered with the screws from the Kreg Trak.
-
Cut middle frame boards and attach
For the bottom frame pieces we used pocket holes on the underside of the support to attach to the legs. Glue and screw the pieces into place.
-
Prep middle frame for drawers
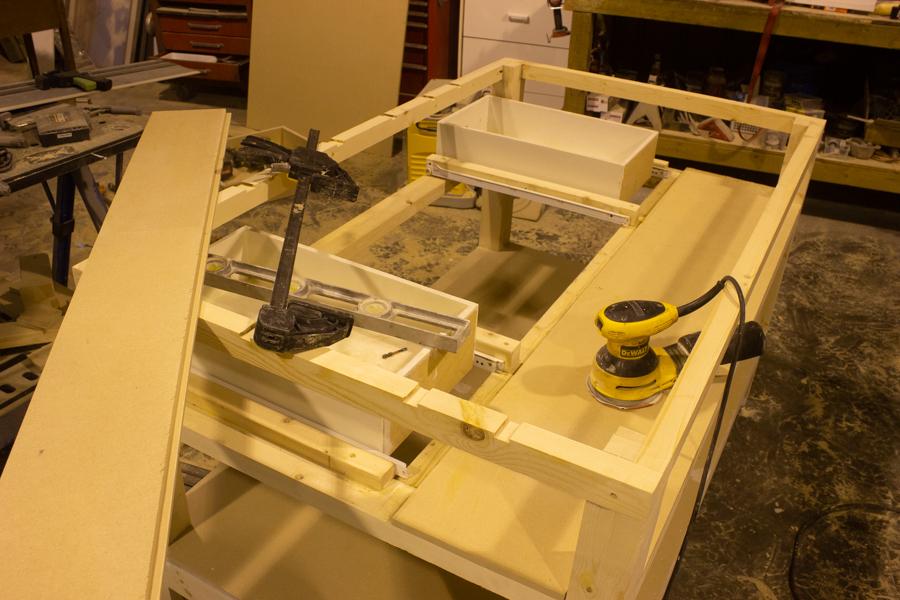
Add you support boards to attach your drawer rails and middle shelve as per the plan details.
-
Cut materials and assemble drawers
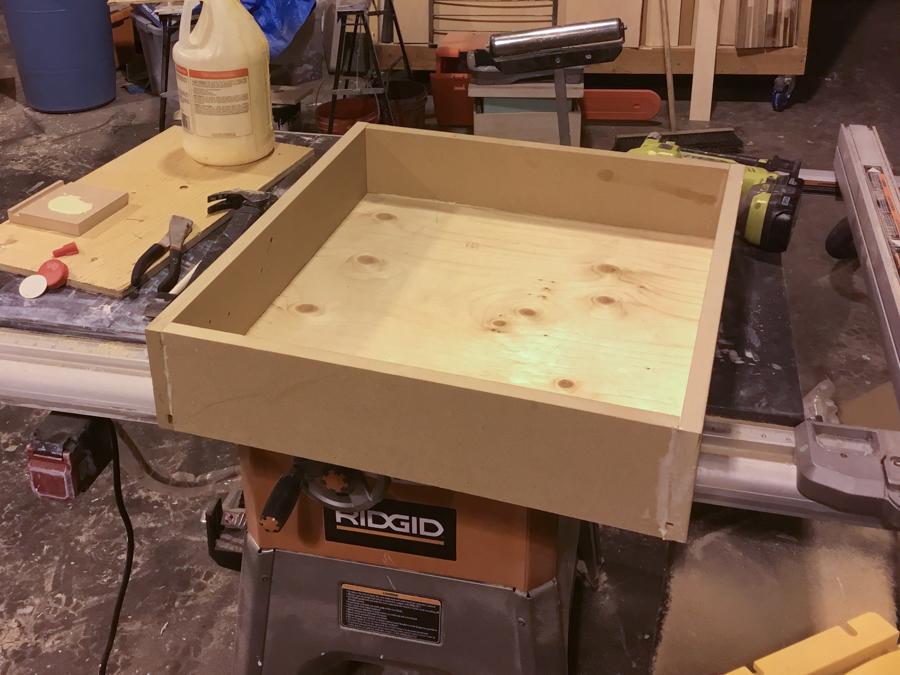
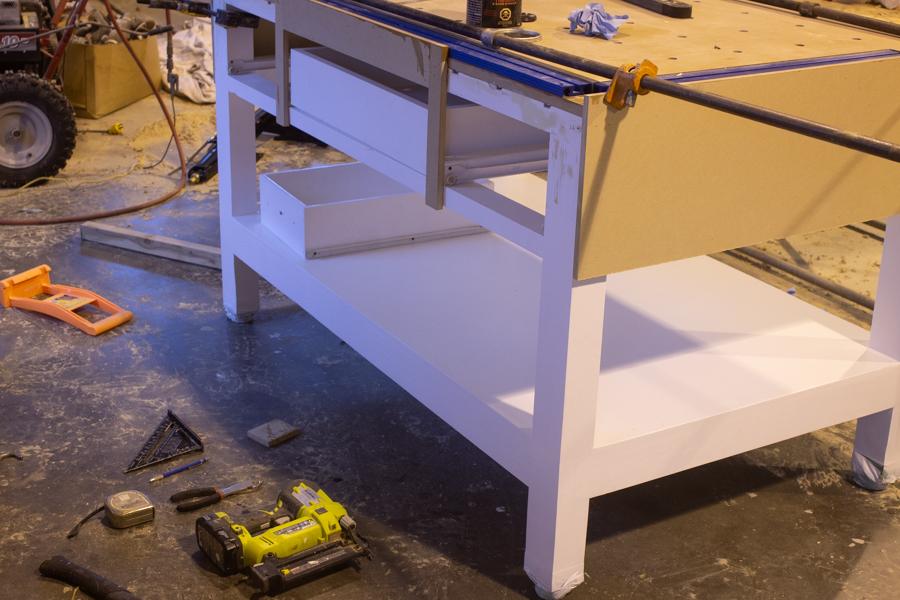
Using 1/2" MDF cut the sides, front, back and bottom pieces for the 3 drawers as per the plans. I used a plywood bottom as I had some scrap lying around, but the MDF would also work.
-
Temporary install drawer rails
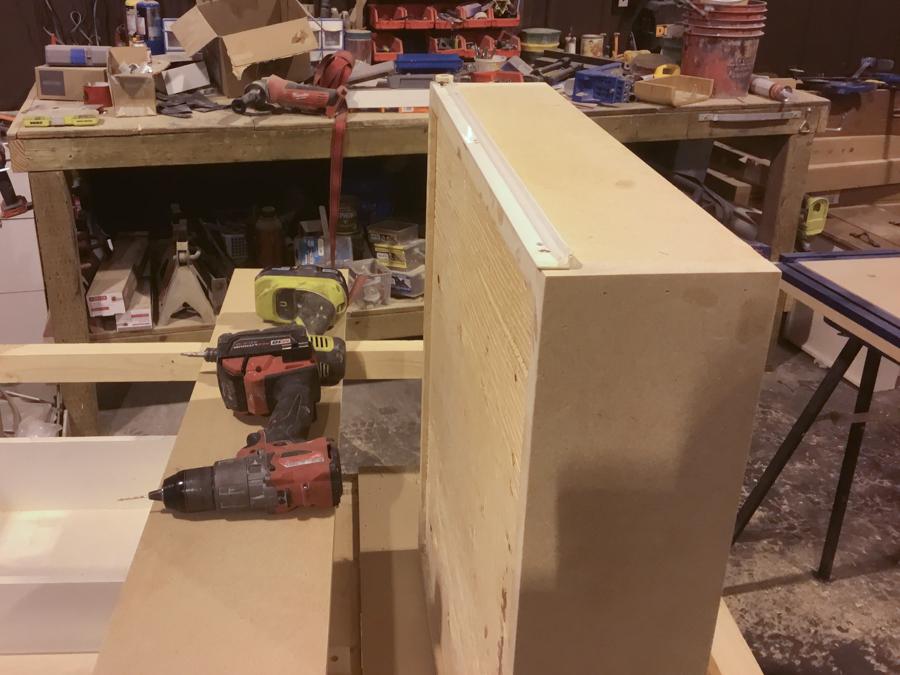
Add the rails to the drawers and frame to do a fitment check. Ensure all the drawers open and close smoothly. If not adjust frame support for rails as required.
-
Add Middle shelve
As per the plans, add the middle shelve as shelve backing opposite the side of the drawers.
-
Finish the frame - Part 1
Fill and sand all exposed screw holes
-
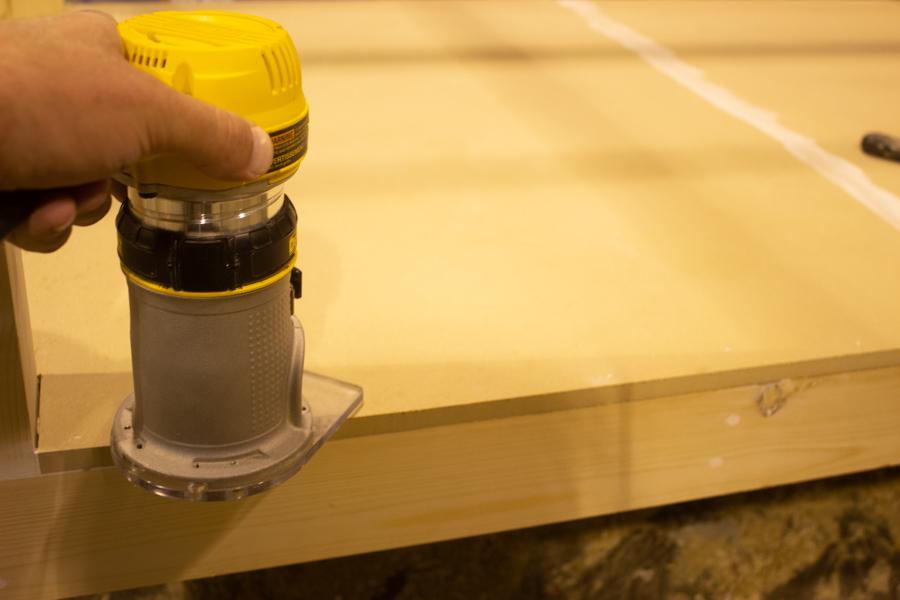
Route edges flush
If any of the shelves or MDF edges are not flush to the frame or in the case of the MDF top base or top edges you can use a router with a flush trim bit to clean up any excess material.
-
Finish Frame - Part 2
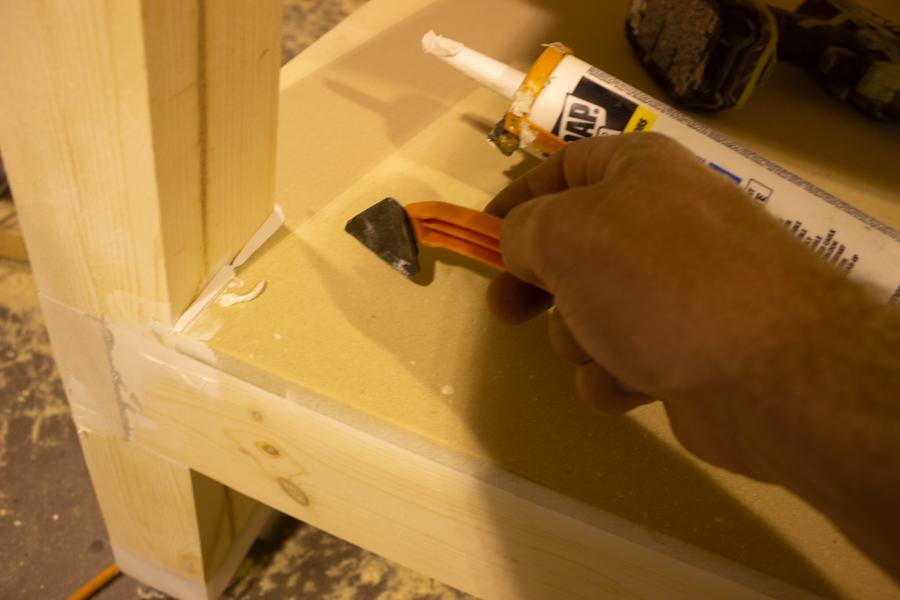
using caulking fill any edges around the legs or shelving edges to ensure a nice smooth finish.
-
Paint Frame
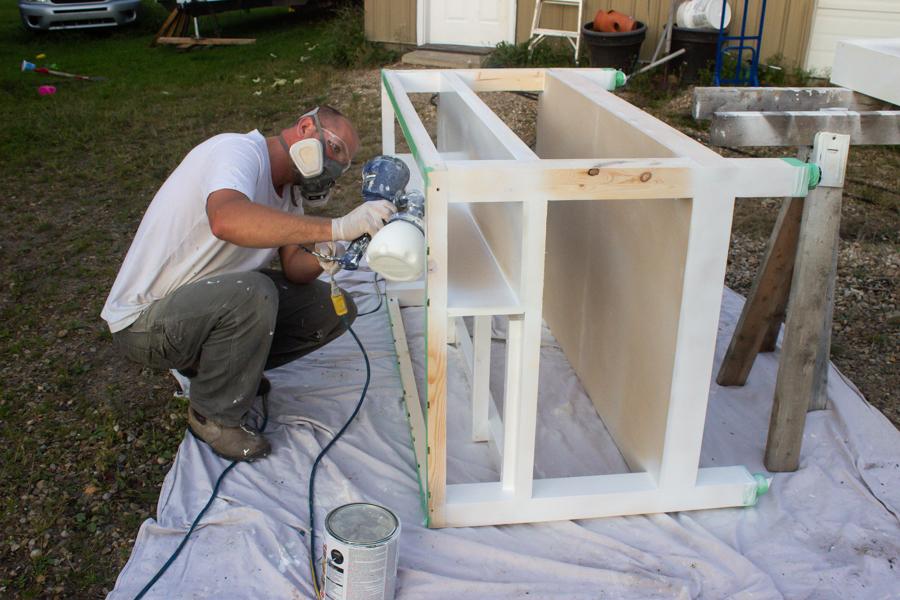
Once the frame was sanded to my desired finish I applied one coat of primer (Rust-Oleum® Zinsser® Bulls Eye 1-2-3) and one coat of Behr Cabinet paint (semi-gloss) to the frame structure.
-
Install top to frame
Once the paint is dry I secured the 1 1/2" MDF top to the base frame using screws from the underside through the frame and construction adhesive.
-
Finish Top
While the frame was drying I worked on finishing the top. I gave the entire surface a light sand and than applied two coats of Varathane Professional Clear Finish (Satin)
-
Add MDF sidding to top edges
I decided to wrap the top 12" with 1/2" MDF. I went around the 4 sides and added the panels with construction adhesive and finish nails.
-
Optional - K5 insert (1)
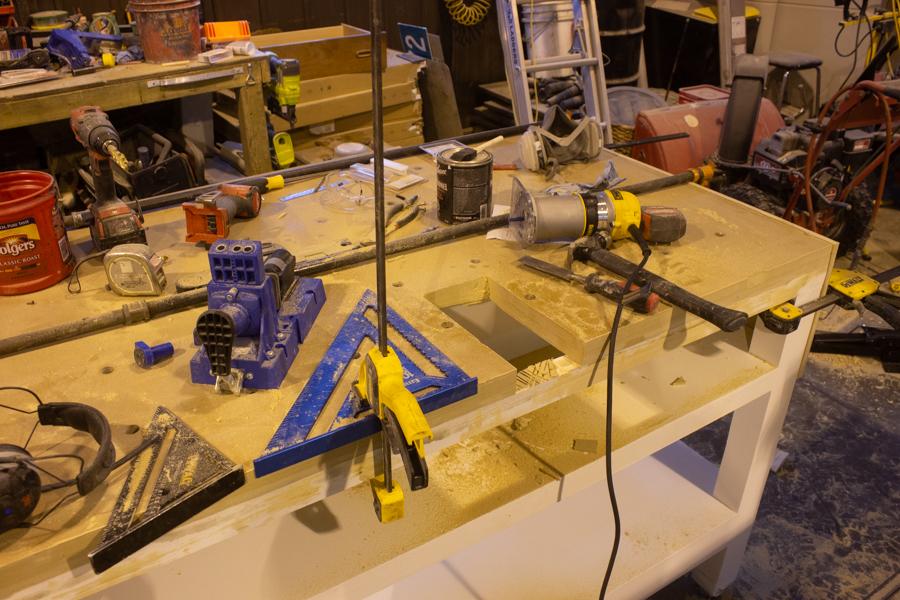
If you want you can add an insert for your K5 pocket jig on the table as well. Cut a hole opposite you Kreg Trak as per the plans. I centered it between two of the 3/4" holes in the MDF top.
-
Optional - K5 insert (2)
Add a base (12" x 13") underneath the cut hole. I used a layer of 1/2" plywood (but you can also use 1/2" MDF and 1/2" MDF to create a base for the K5 pocket jig. I used the plywood as I find it is nicer to screw in and out of repeatedly. I glued and screwed this from the underside into place.
-
Optional - K5 insert (3)
Create an insert to fill the hole while you are not using the K5 jig. I used a bunch of the scrap material I had to create an insert to fill the hole while the K5 kig was not in place.
-
Optional - K5 insert (4)
If you created an insert for the K5 jig, you will need a small cutout for the handle. See photo and plans for details.
-
Fill MDF cracks/gaps/holes
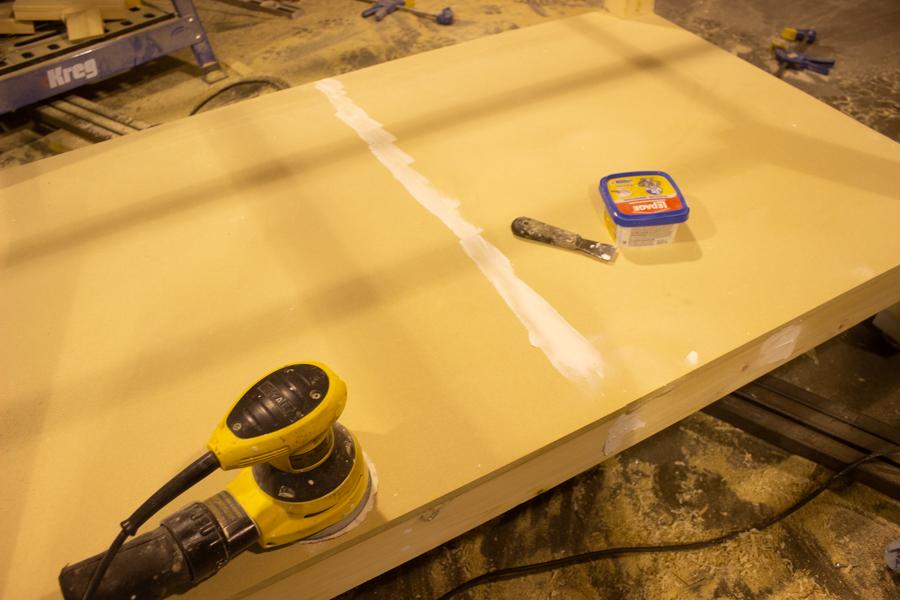
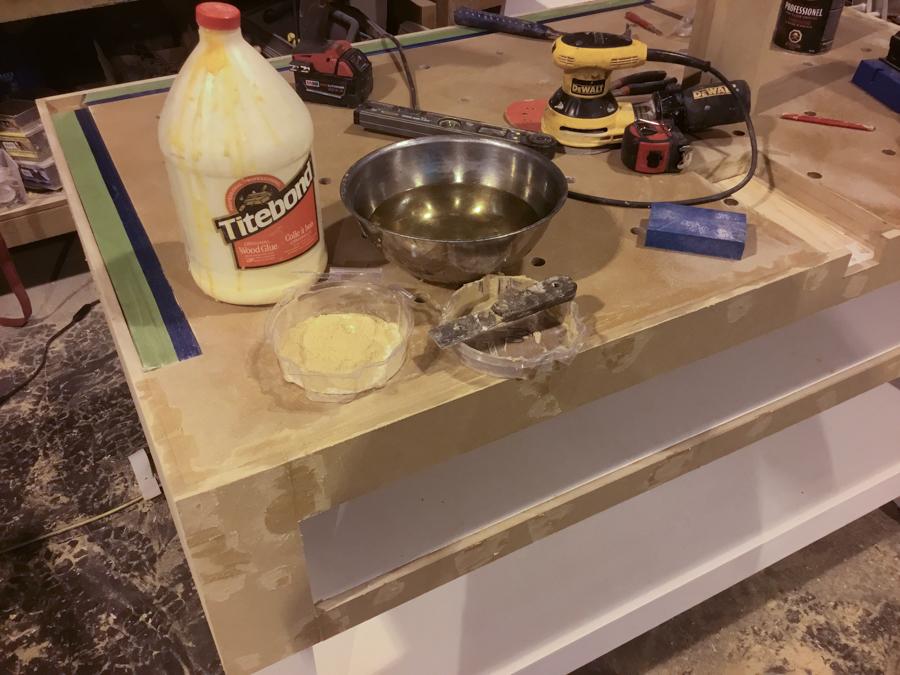
Once all the glue is set I made up putty using sanding dust from the MDF (as my sander has a collection bag), wood glue, and water. Mix this together and fill all your cracks and nail holes.
-
Cut Drawer fronts
With the MDF trim added you can install your drawers and cut your drawer fronts. I use the holes for the handles to roughly hold it in place and a 1/16" shim as a spacer. Start on the big side and cut the material down for the best fitment.
-
Final Sand
Once dry give it a good sand. Make sure you sand all the glue away as the glue will show up when you finish the top.
-
Add final coat of finish
Clean off the workbench and give the MDF a final coat of varnish.
Add your drawer handles and enjoy your new bench!
-
Add Kreg Traks
Once the varnish dries loosely install your Kreg Trak hardware and install the Kreg Traks. Once in place tighten all the hardware.


