Kids Dress-Up Closet
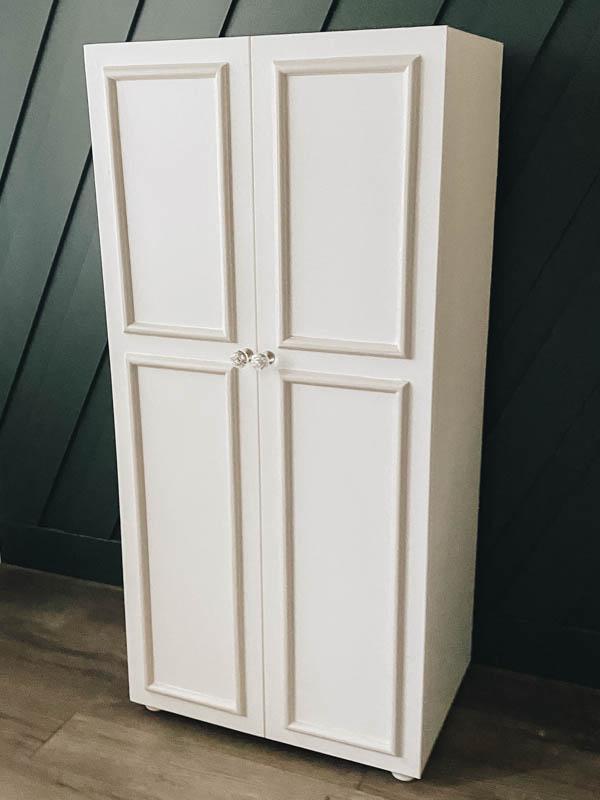
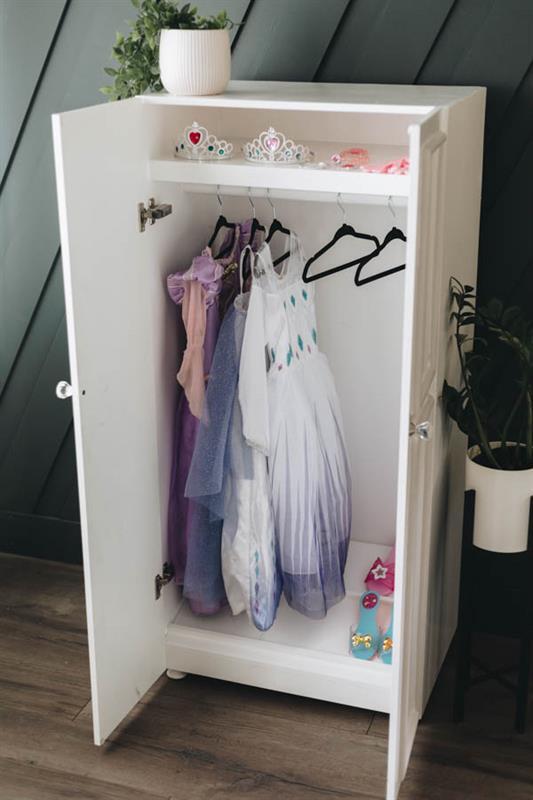
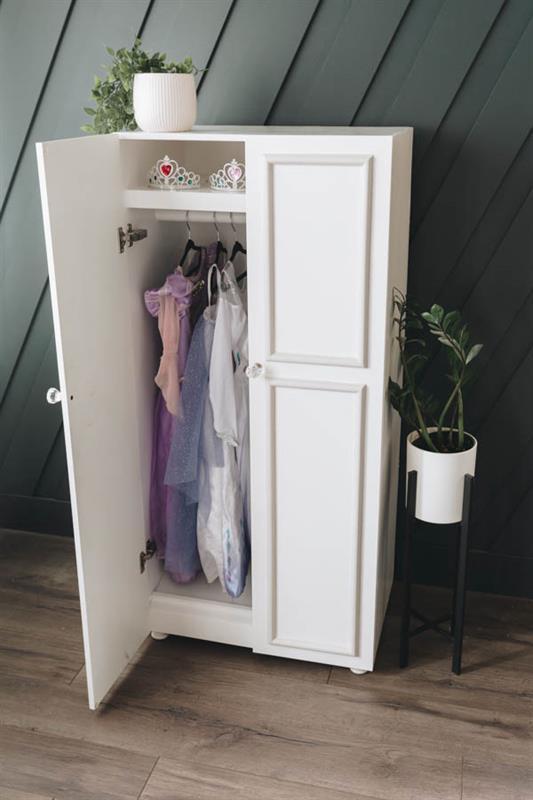
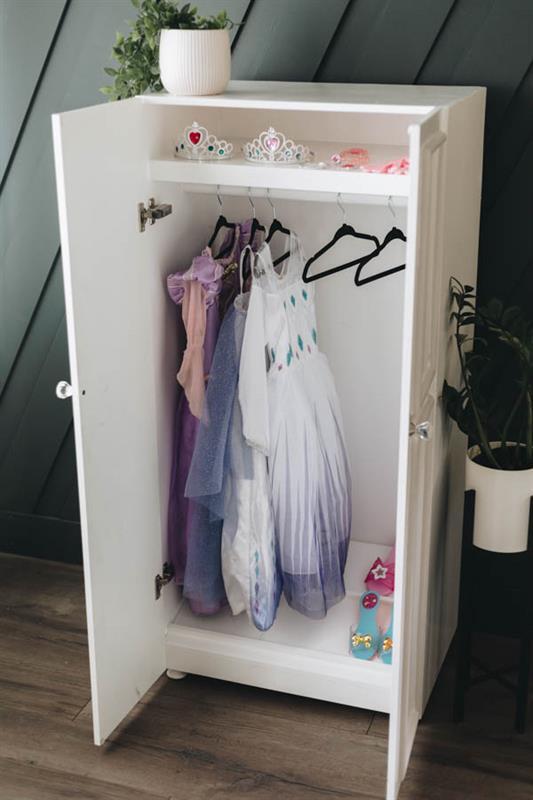
By Love Create CelebrateA cute way to store your child's dress up clothes and accessories.
Directions
-
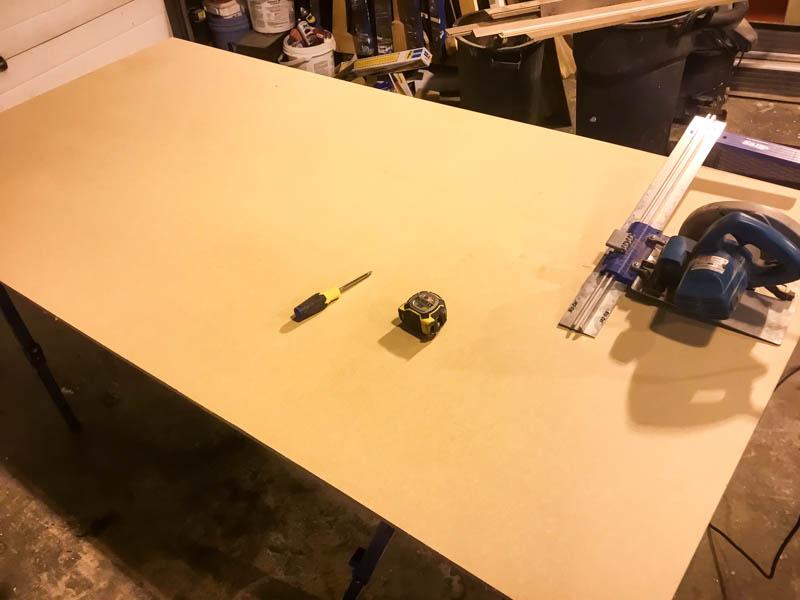
Cut MDF to width
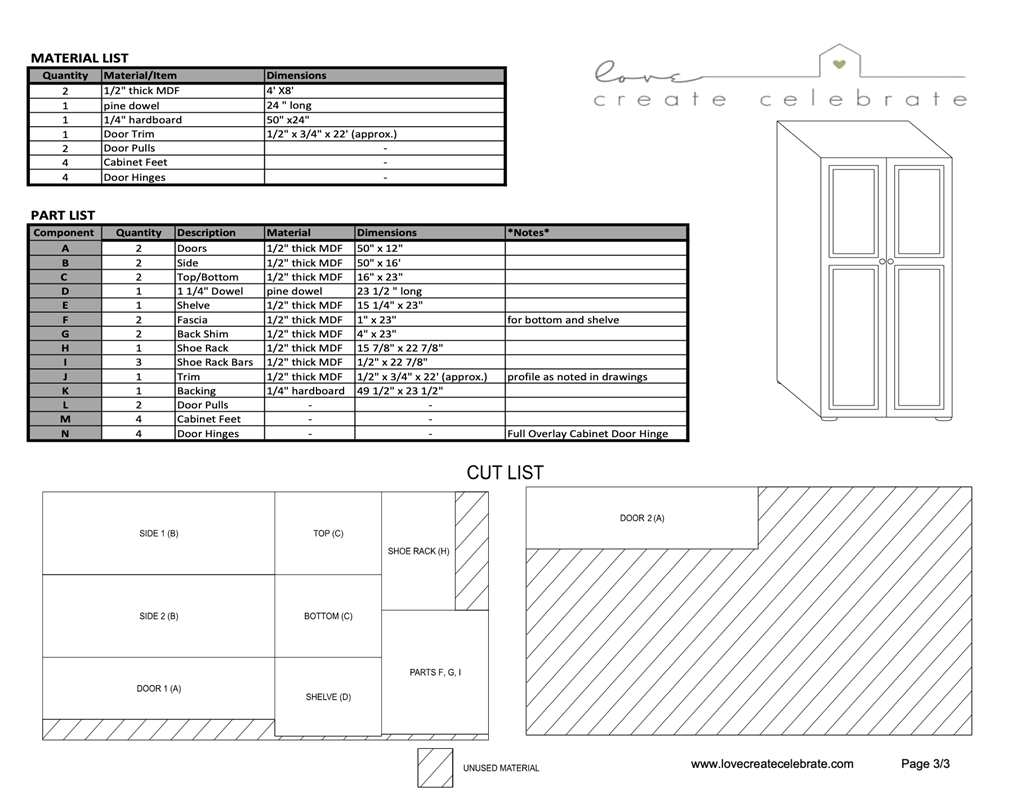
*Drawing and further details can be found in the "Extras" tab/section*
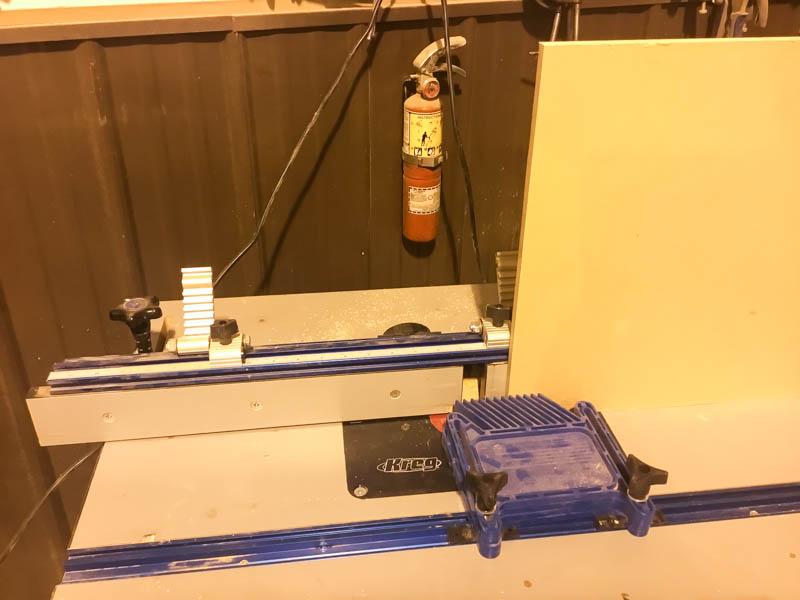
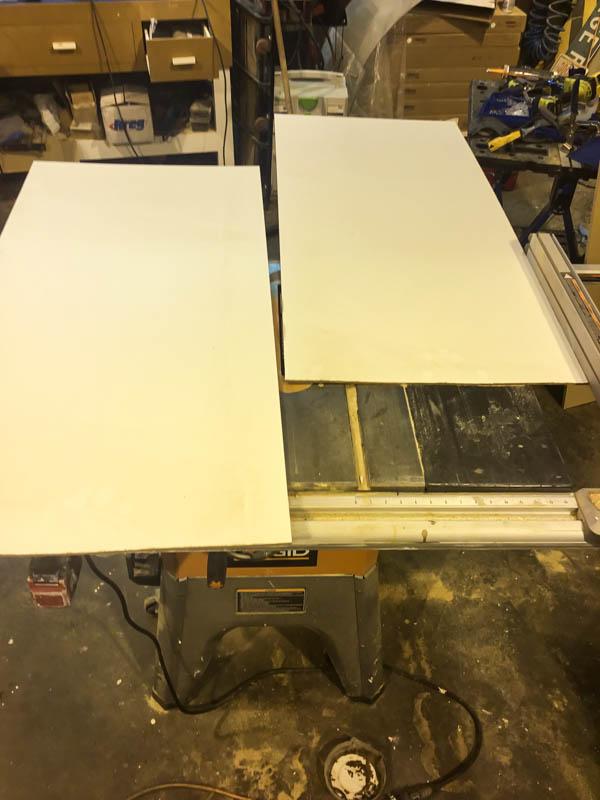
Cut your MDF pieces to widths (Parts A, B, c, E, F, G, H, I). I needed 4' x 8'2 sheets, however the majority of the second sheet is unused. I used my ripsaw to cut them to width.
-
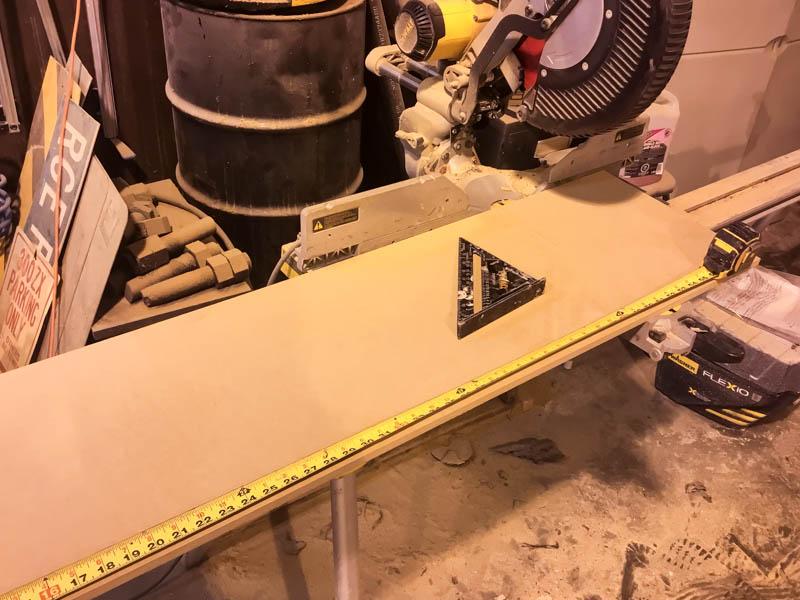
Cut MDF to Length
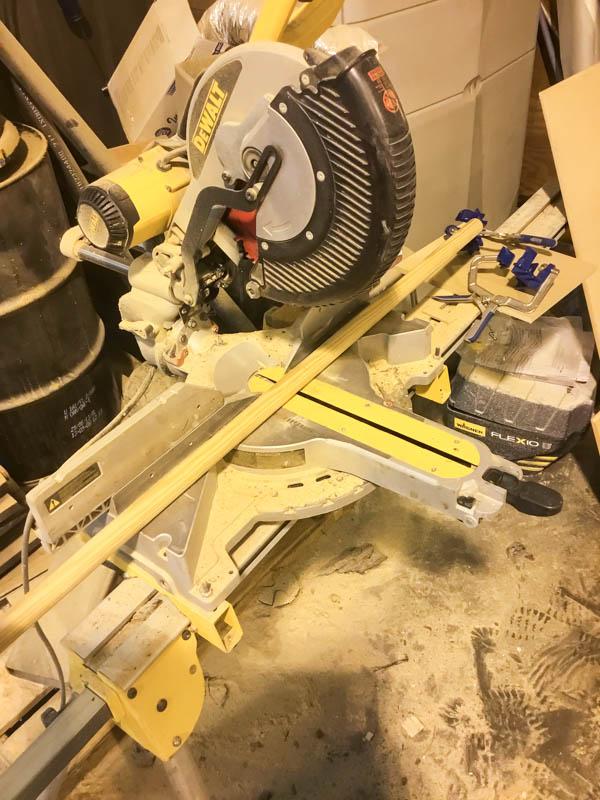
I used my mitre saw to cut them to the proper lengths.
-
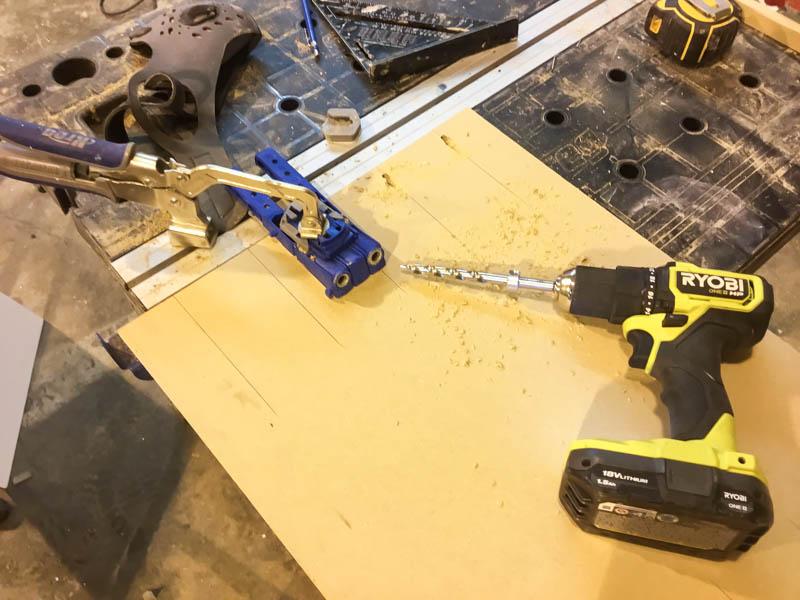
Add Pocket Holes
Add pocket holes to Part C (Bottom and Top pieces).
-
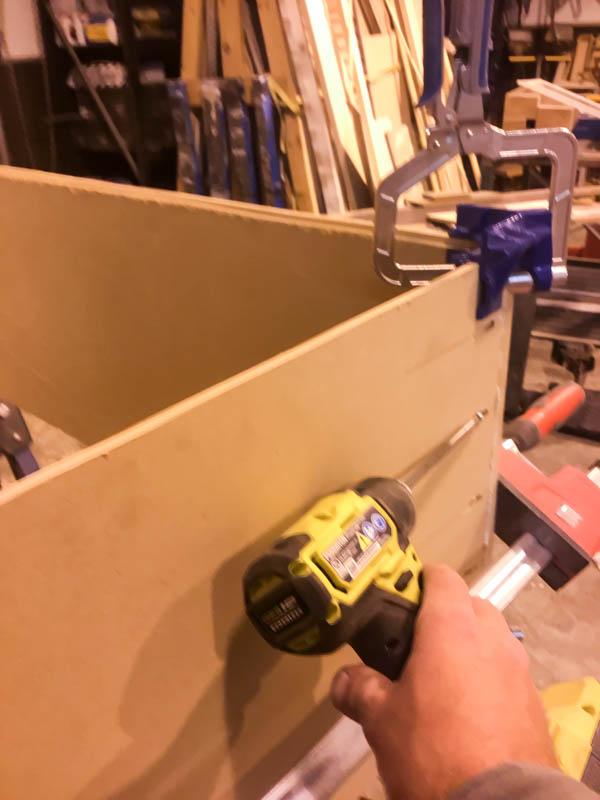
Assemble Cabinet
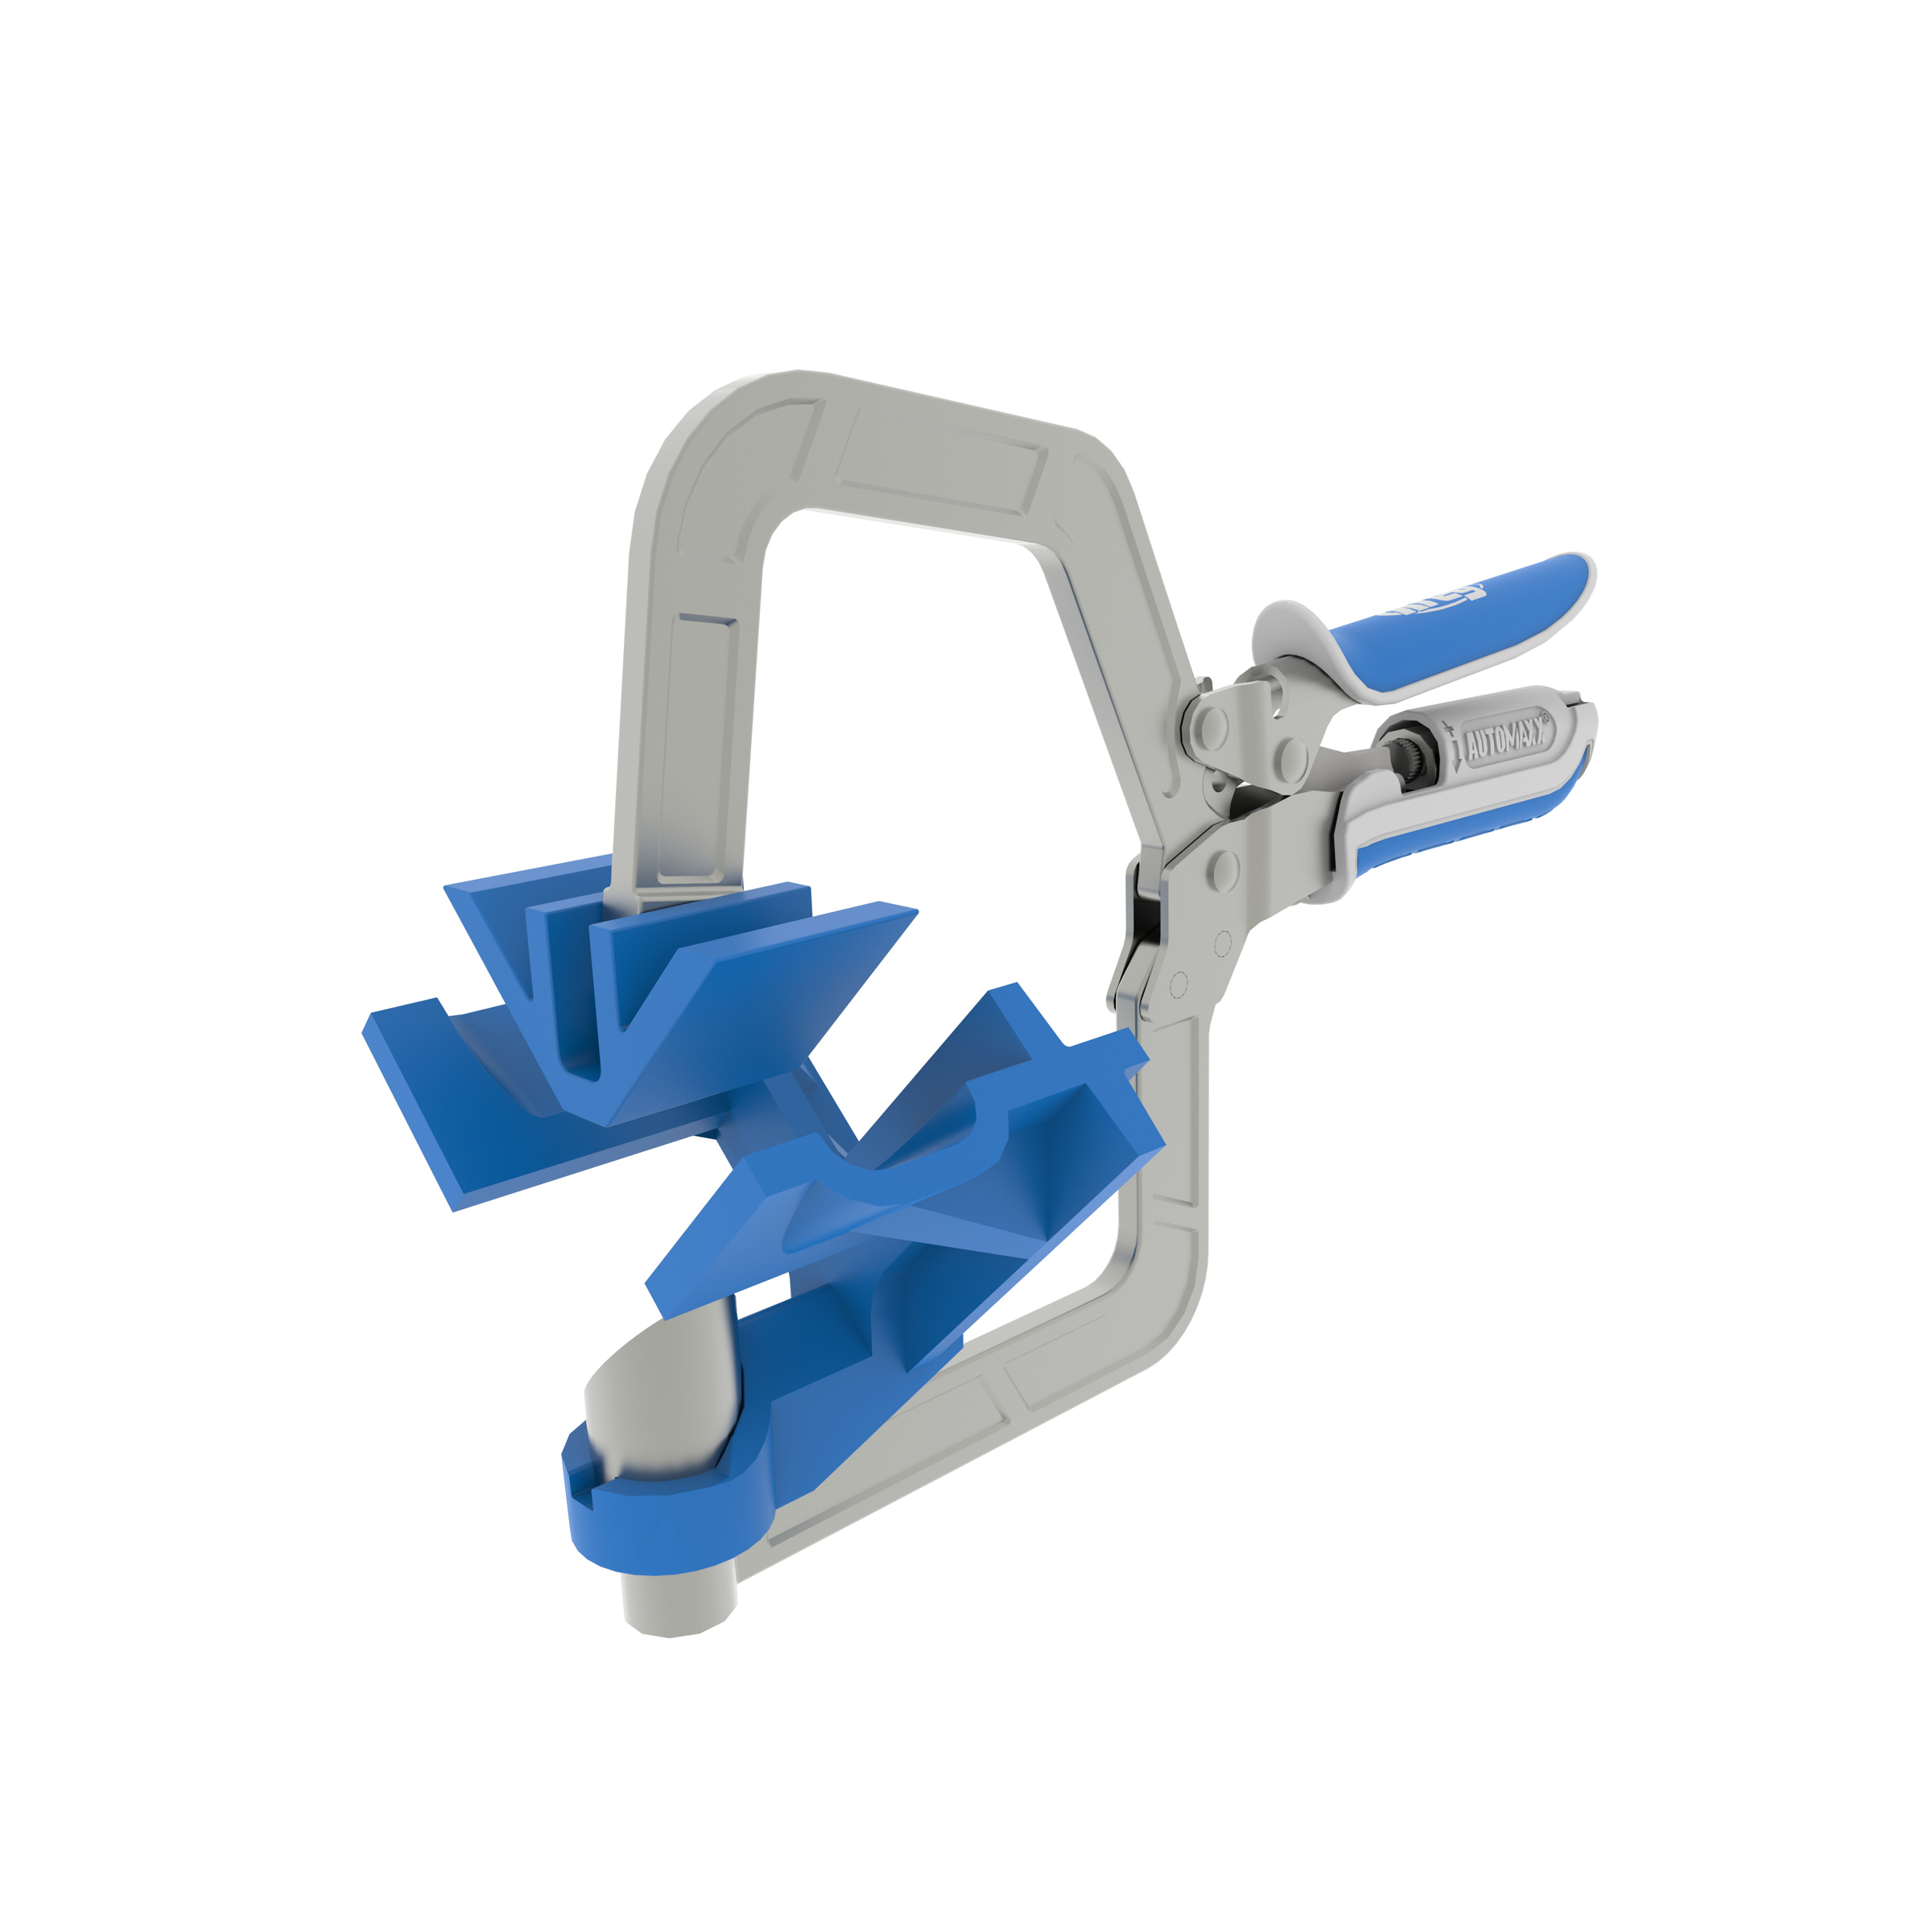
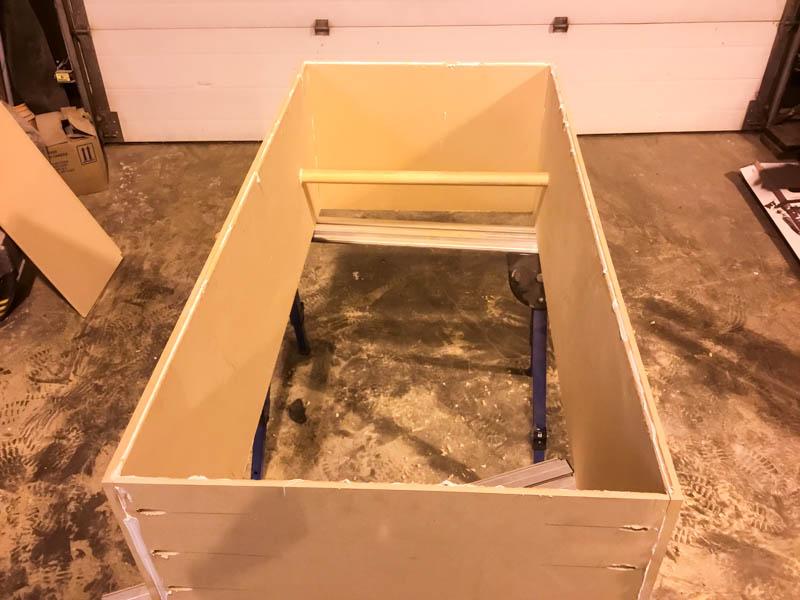
Assemble Parts B and C (sides and top/bottom). I used my Kreg corner claps to hold everything together and glued and screwed the joints. You are also going to want to install the 1 1/4" dia. dowel during this step (prior to securing all the sides/top/bottom).
-
Route groove
On Parts B and C route a 1/4 " deep by 1/4" wide groove on the back for the backing board as noted in the drawings
-
Prep Part B
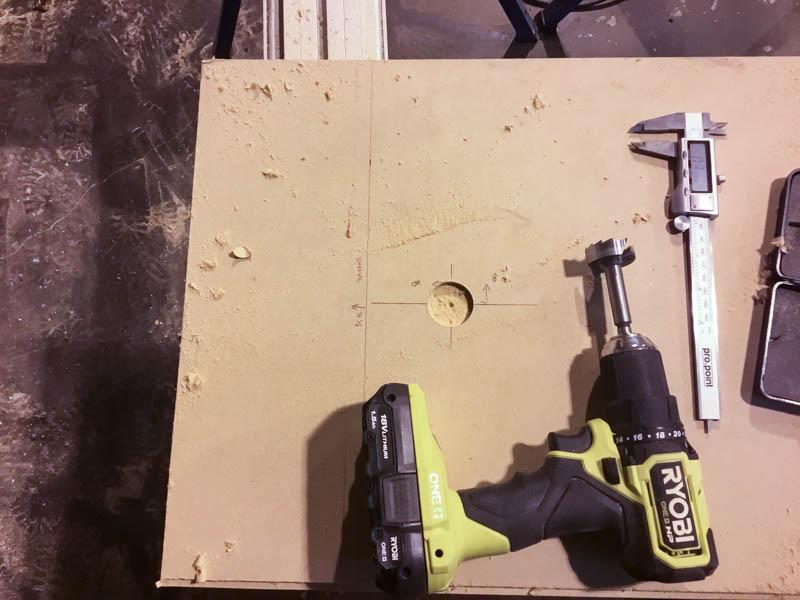
Drill a 1 1/4" dia hole (I used a Forstner Bit) as shown on the drawings at the dowel location - I drilled the hole approx 1/4" deep.
-
Check for square
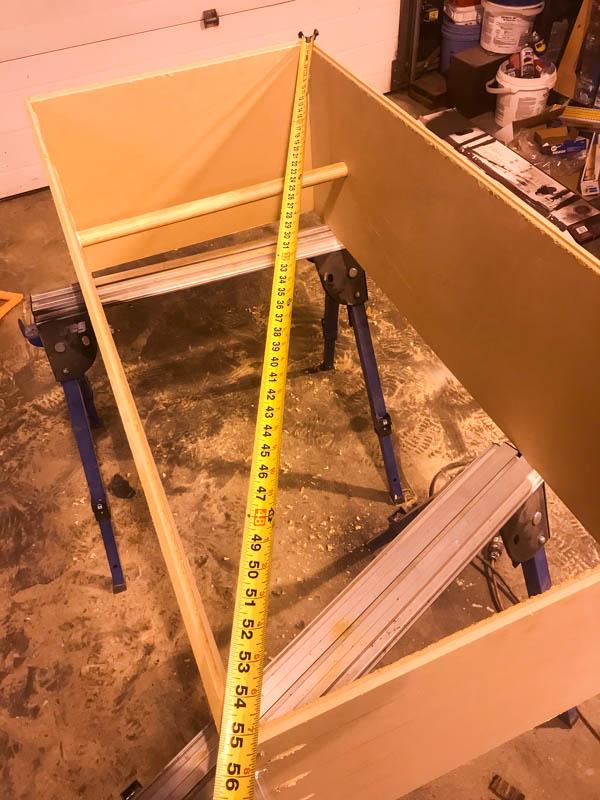
Check your cabinet for square but taking diagonal measurements from corner to corner. Adjust as required so both diagonal are the same. This will ensure your doors fit nicely.
-
Prep Part A
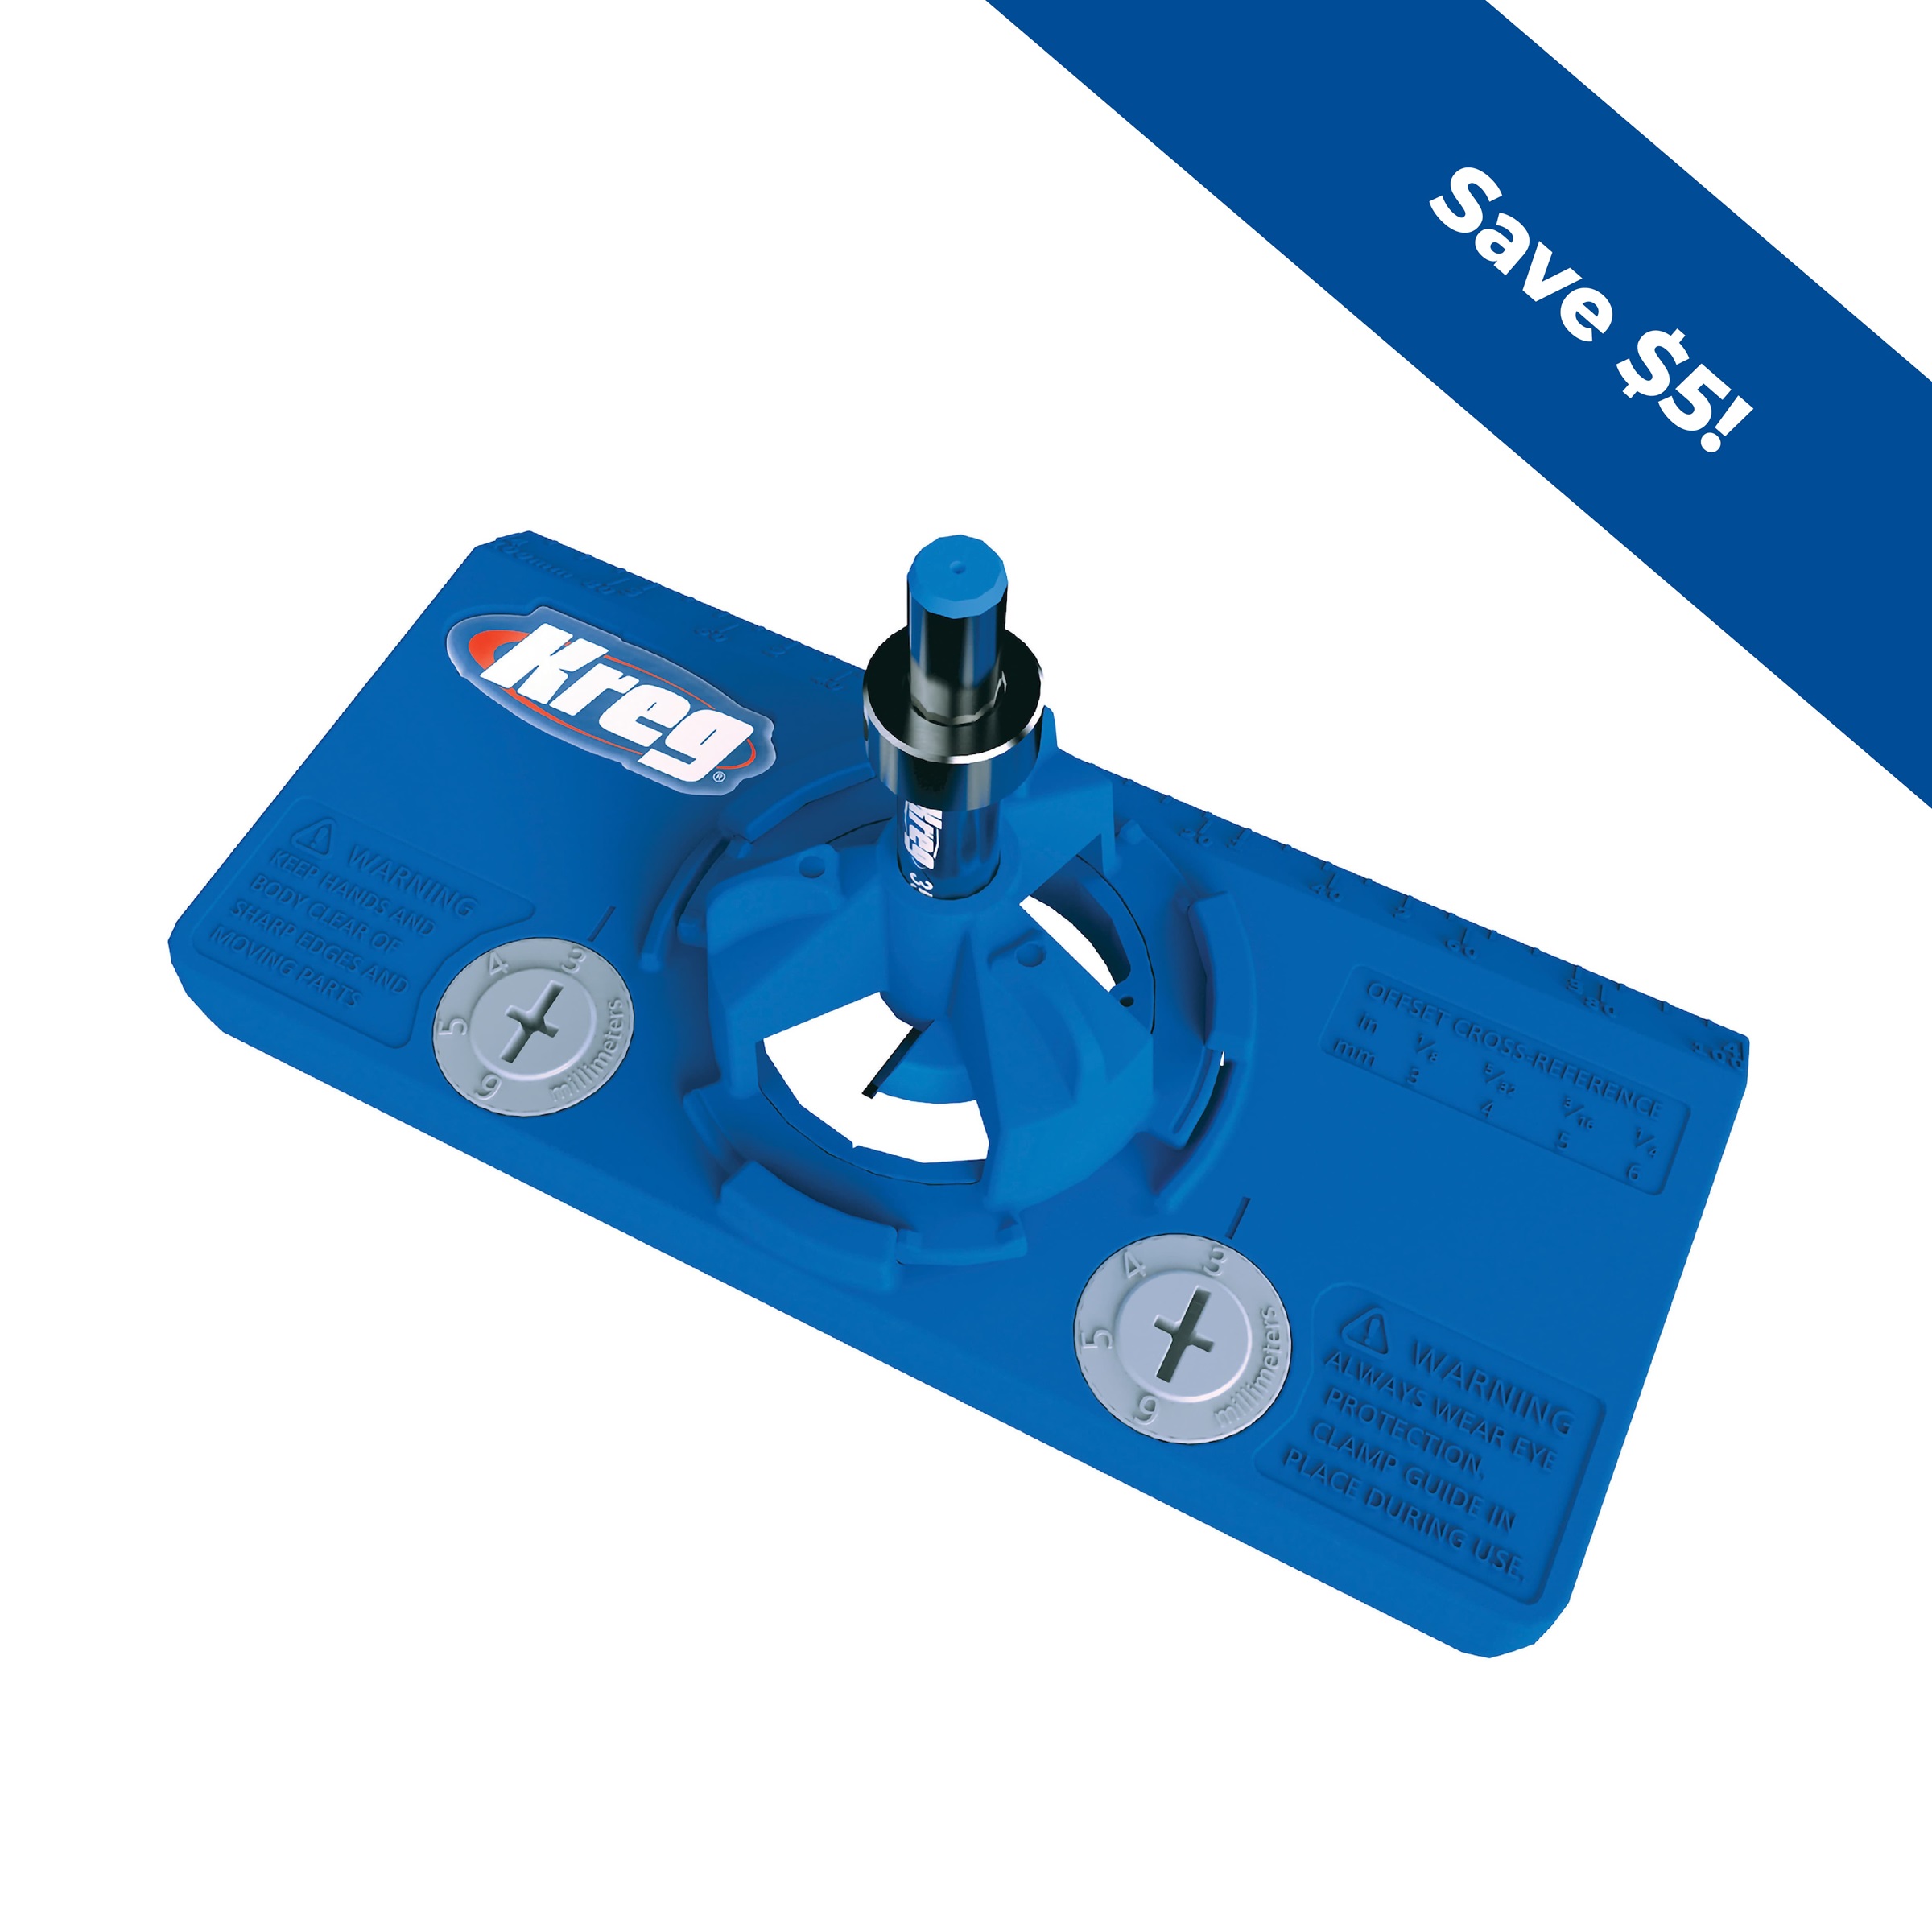
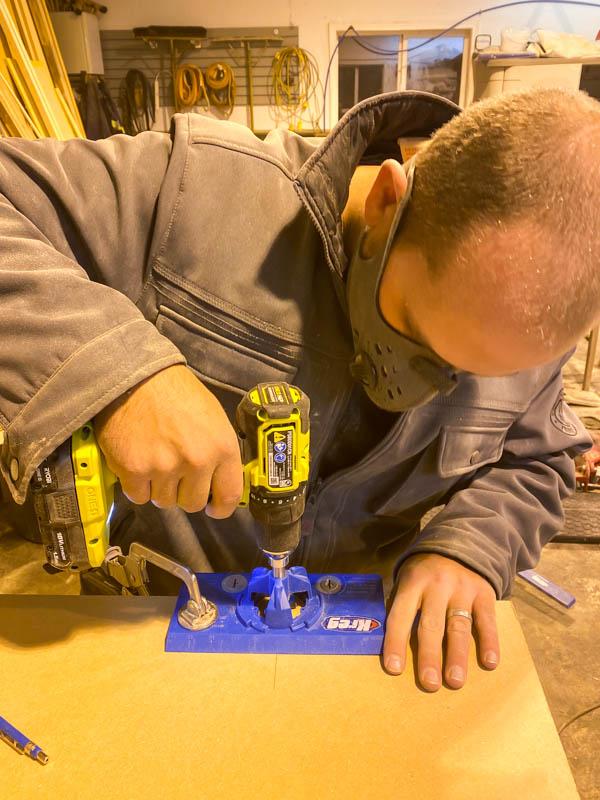
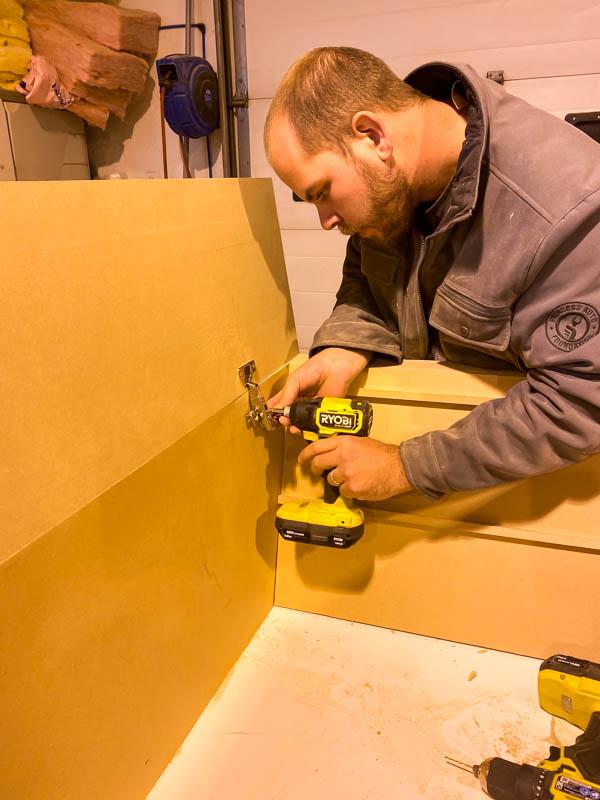
Mark out your location and drill your holes for your concealed hinges. I used my Kreg concealed hinge jig to drill the holes.
-
Attach Hinges
Attach hinges to door and place on cabinet. O than marked and pre-drilled the holes for the hinge to cabinet location. Once drilled you can screw your concealed hinges to the cabinet with hardware from your hinges. Once both doors are installed you can adjust the hinges to ensure the doors sit flushly with the edges of the cabinet. You can use a flush trim bit on a router if any of the edges extend too far past the cabinet once you center the doors.
-
Cut Backing
Cut your 1/4" thick backing board.
-
Attach Backing
I used glue and nails to secure the Part K to the back of the cabinet.
-
Cut Dowel
Cut dowel to length
-
Cut Trim
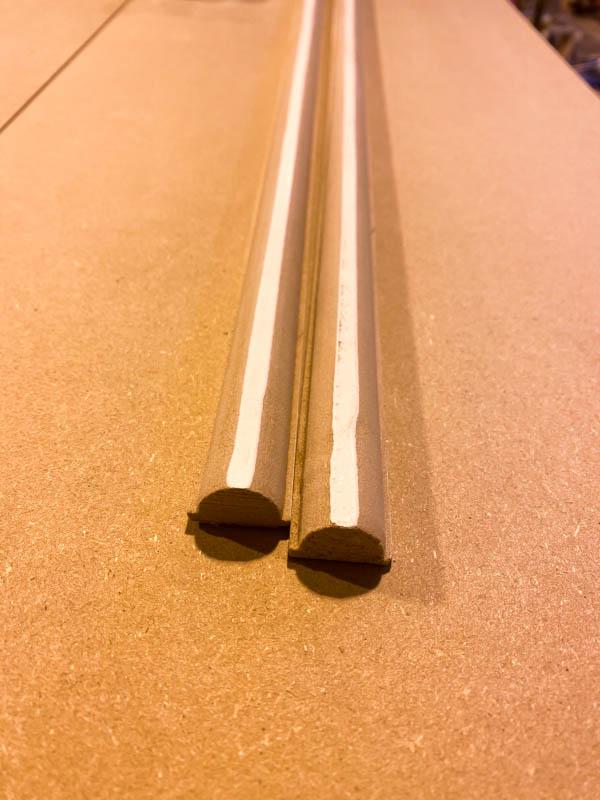
I made custom trim out of some old flat stock molding I had lying around. I used a 1/4" ogee router bit - See drawings for further details.
-
Attach Trim to Doors
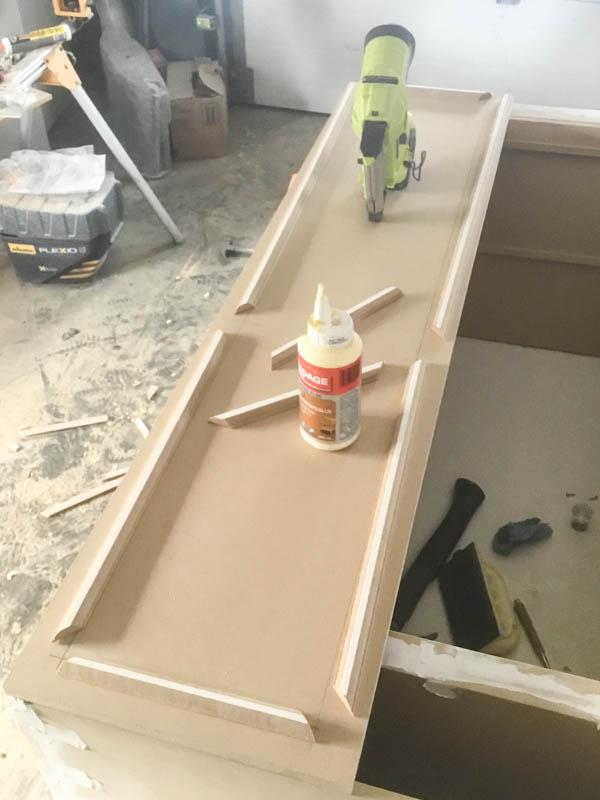
Cut and attach trim to doors as shown on drawings. I mitred the ends and glued and pin nailed the trim to the drawer faces. I also drilled the holes for the door pulls at this time.
-
Cut Shoe Rack - Part H
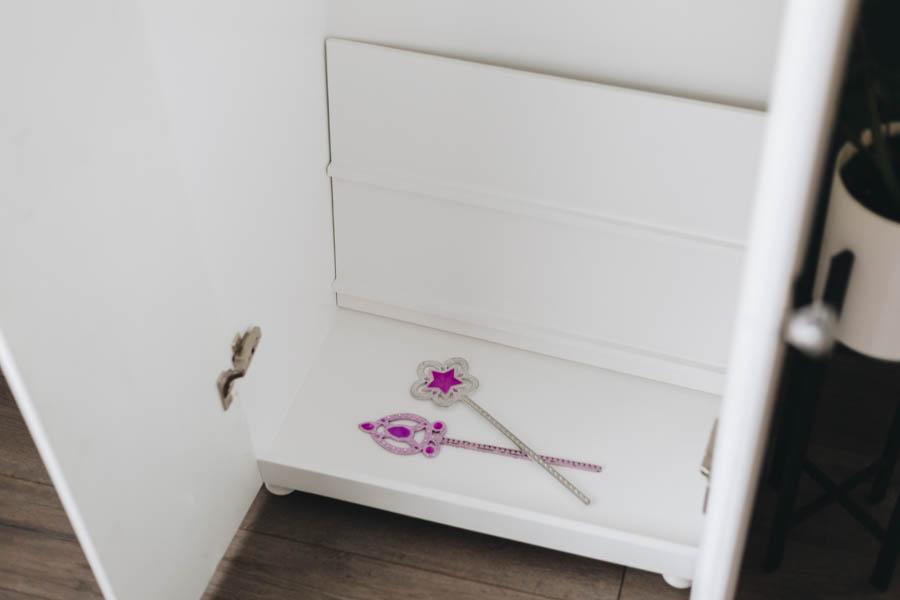
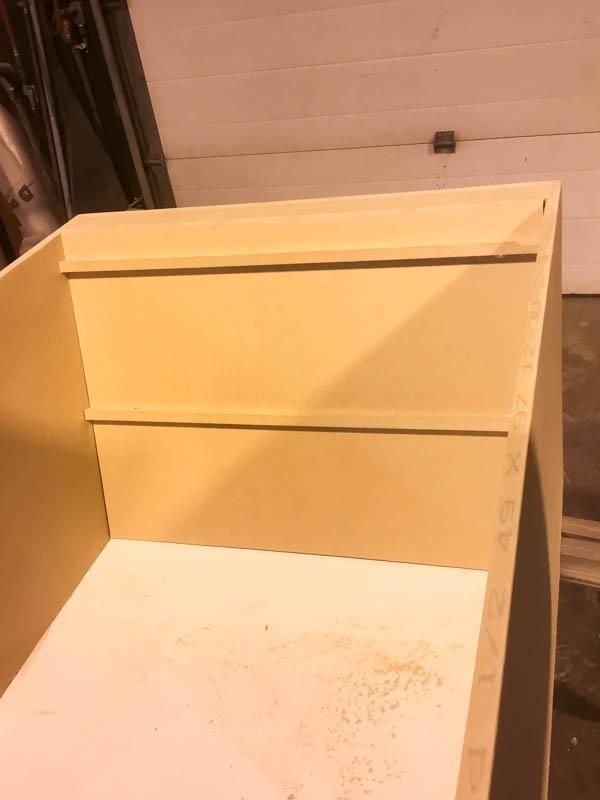
For the hidden storage at the base, I made a false bottom. I added two 4" high shims at the back of the cabinet and a 1" fascia piece at the front - see Drawings for details. I secured part I as shown on the drawings to hole the board in place (1 on the bottom) and to hold the shoes on the angled board (2 on the top) once installed in place.
-
Paint/Finish
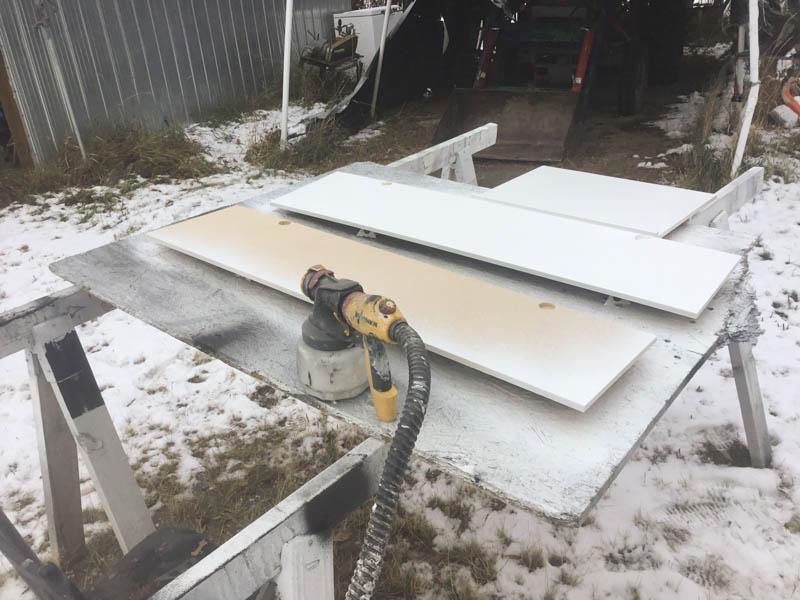
Fill any holes/cracks and give the piece a light sand. I removed any hardware and primed the entire cabinet.
-
Drill holes for feet
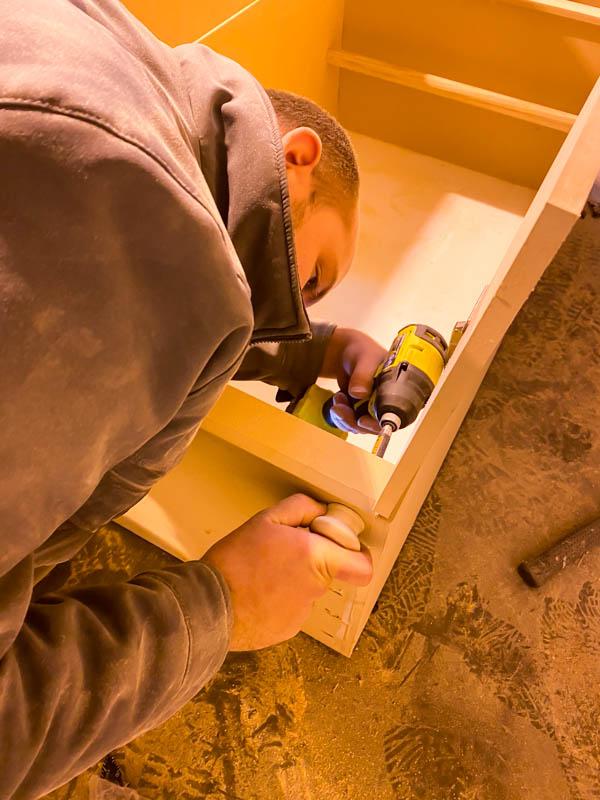
I used 4 round door pulls as feet - they fit the scale of the project perfectly.
-
Paint trim
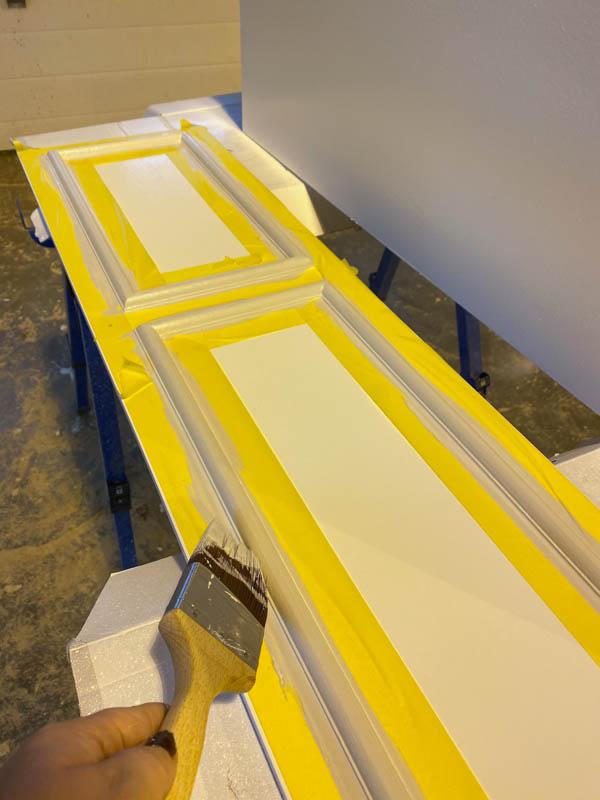
We painted the trim and feet a different color, we just yellow frog tape on the fresh paint to keep nice crisp edges for our paint.
-
Enjoy
Put in your child's dress up clothes and let them enjoy! Thanks for using our plans!


