How to Build Corner Cabinets with Raised Panel Doors
By Woodshop Mike


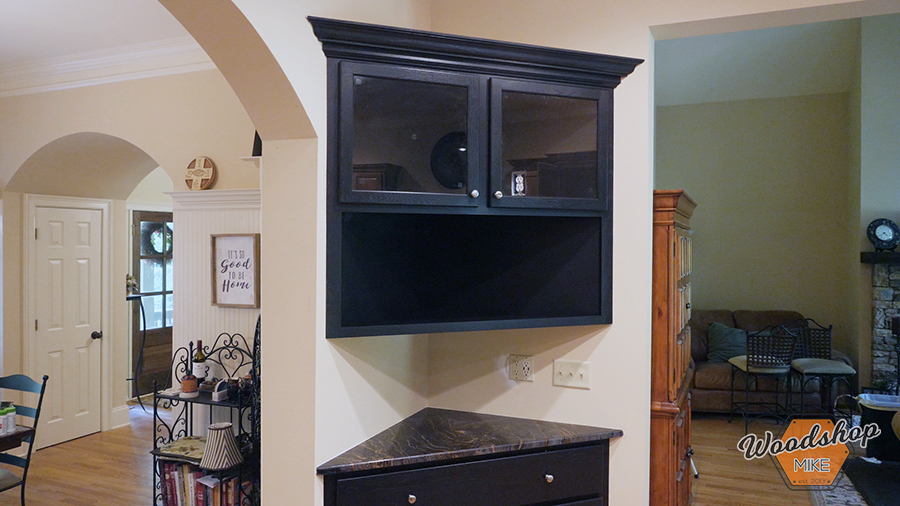
These corner cabinets can squeeze extra storage out of a kitchen that's low on space and turn that otherwise forgotten and cluttered corner of your kitchen into a useful space to keep things organized.
These plans show you how to build custom corner cabinets with solid wood raised panel doors for the base cabinet and glass insert doors for the wall cabinet.
Tools
Kreg Tools


Other Tools
-
Jointer

-
Miter Saw
-
Planer
-
Table Saw
-
Shopvac
-
Clamps
-
Tape Measure
-
Square
Materials
Wood Products
- 3 Plywood sheets , 4'x8'x1/2"
- 1 Plywood sheet , 4'x8'x1/4"
- 1 Hardwood of choice , 4/4, 27bf
Hardware & Supplies
- 1 Wood glue
- 25 1-½" brad nails
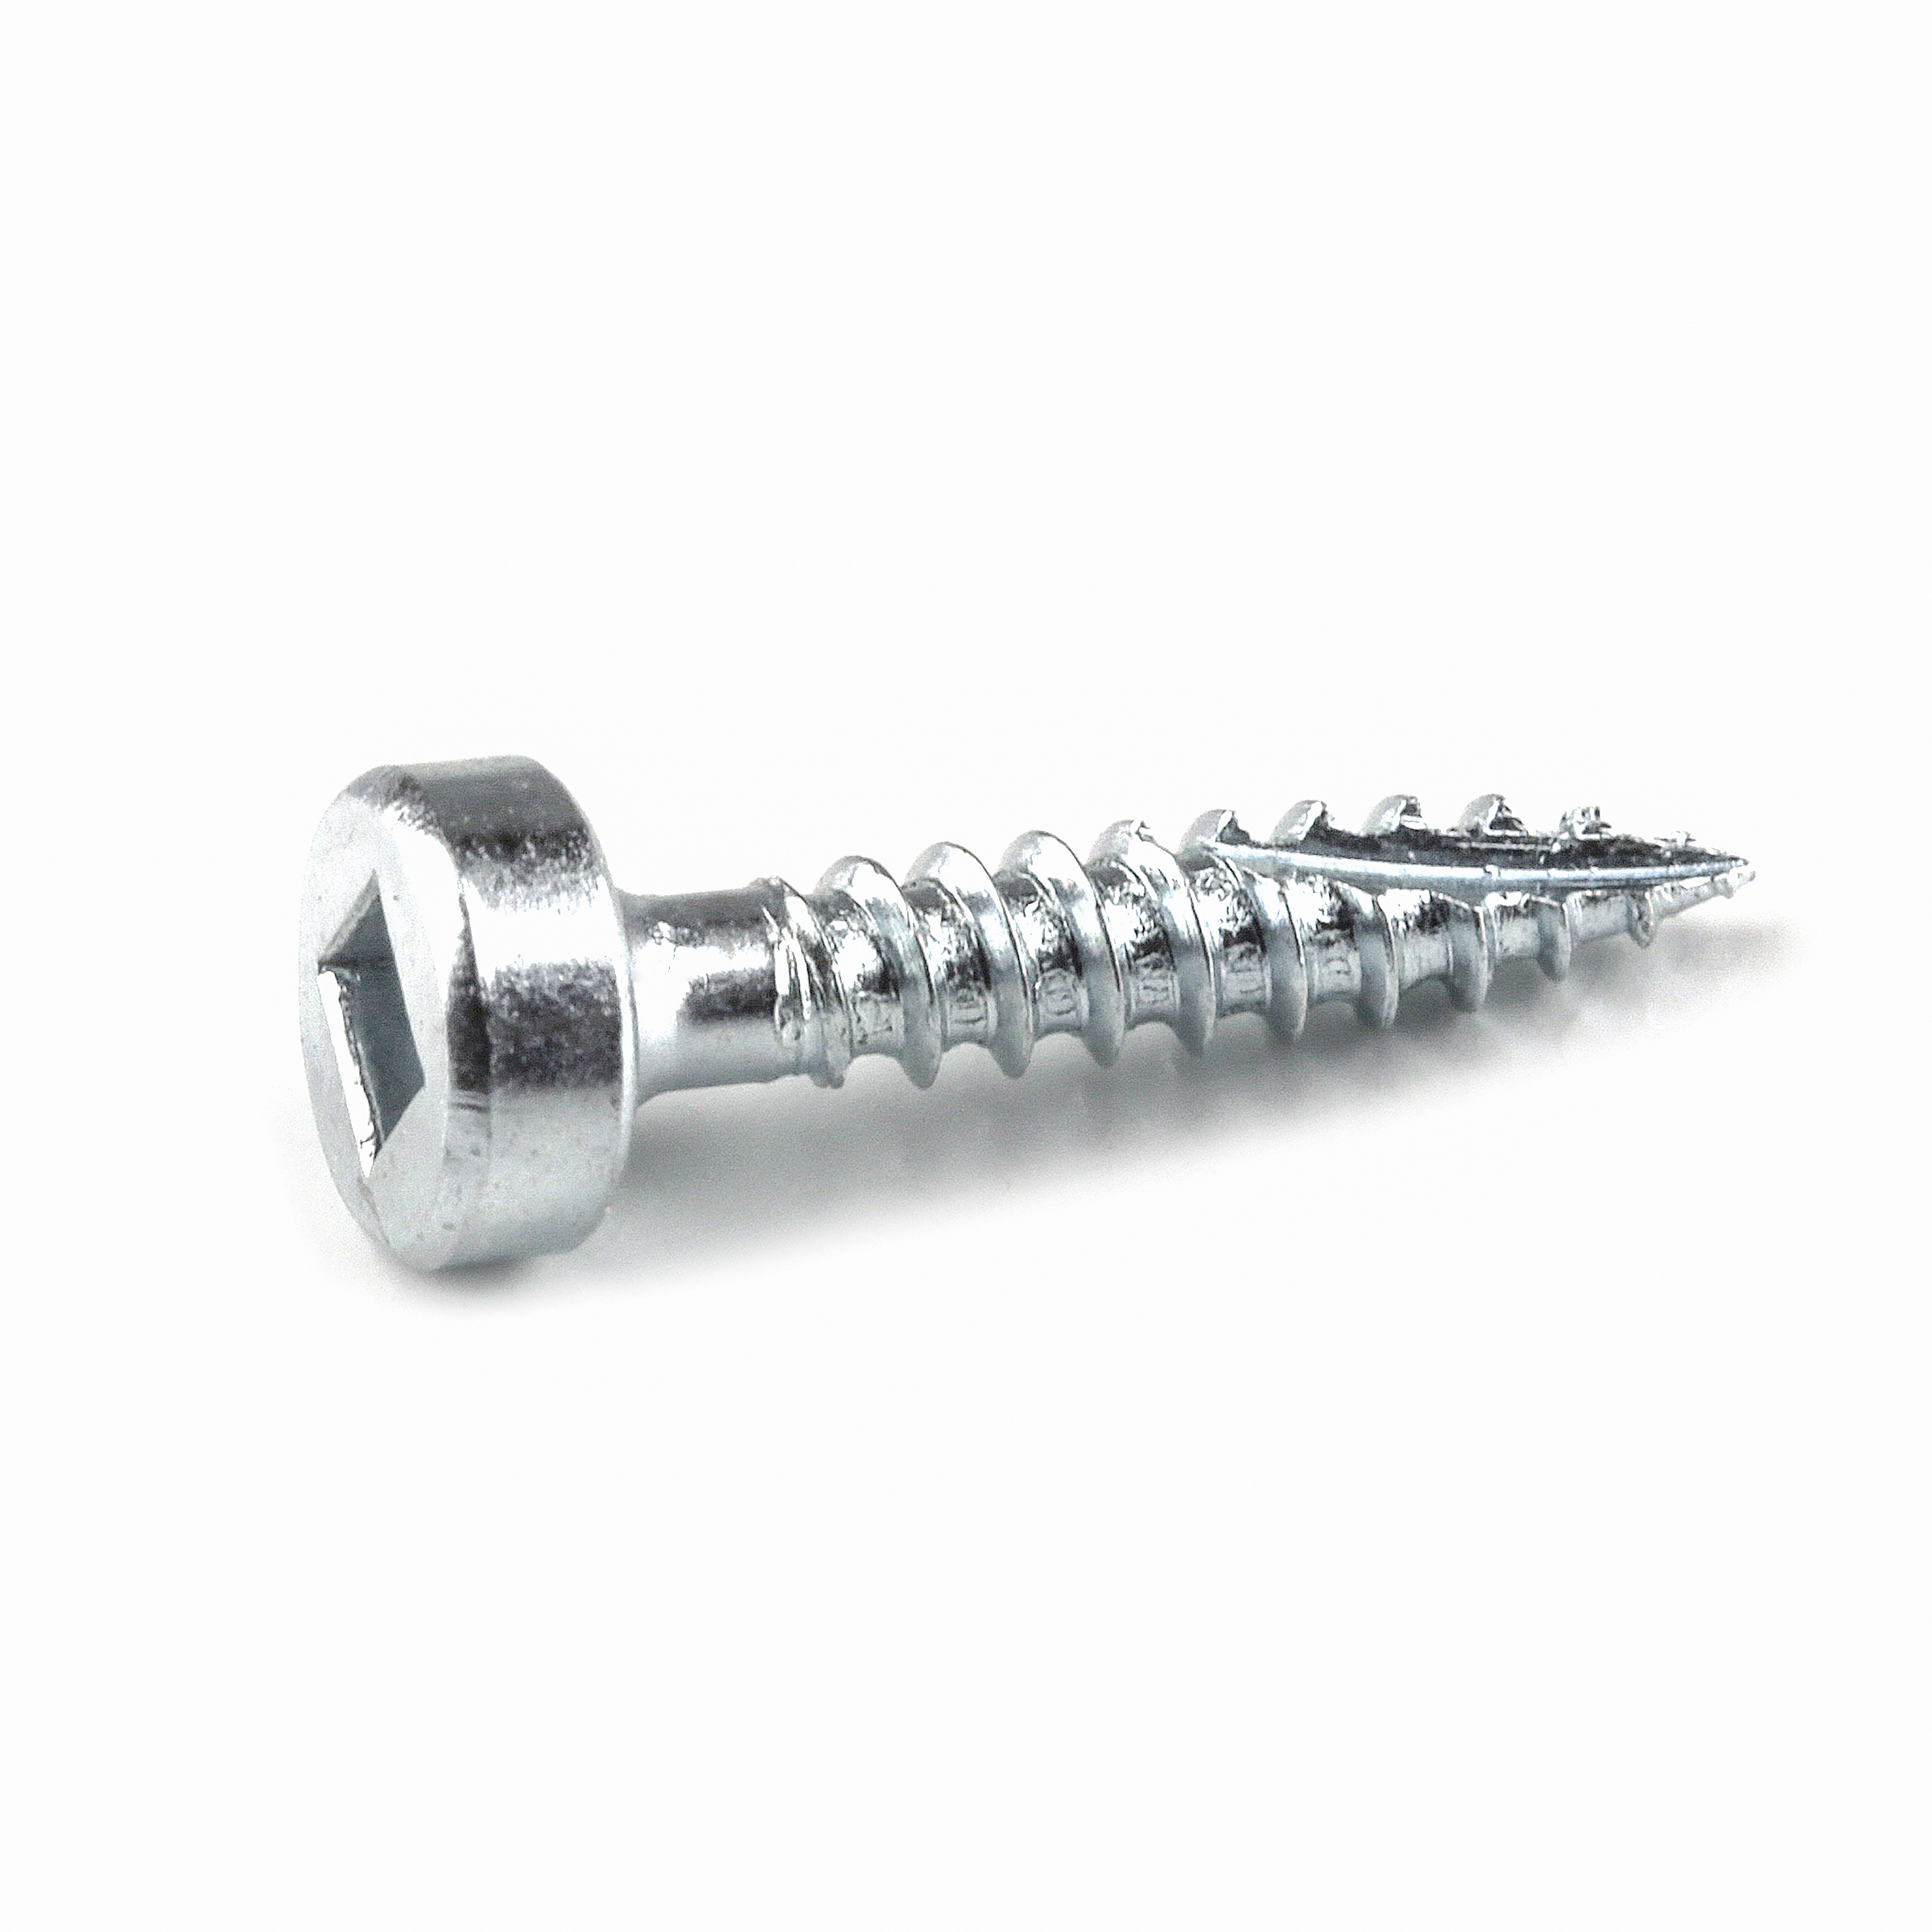
- 50 1-¼” pocket hole screws (see tool list)
- 100 ¾" pocket hole screws (see tool list)
- 8 Euro style soft close hinges
- 1 Set of Accuride Eclipse drawer slides, 14"
- 24 Glass retainer clips
- 1 Qt, finish of choice
Directions
-
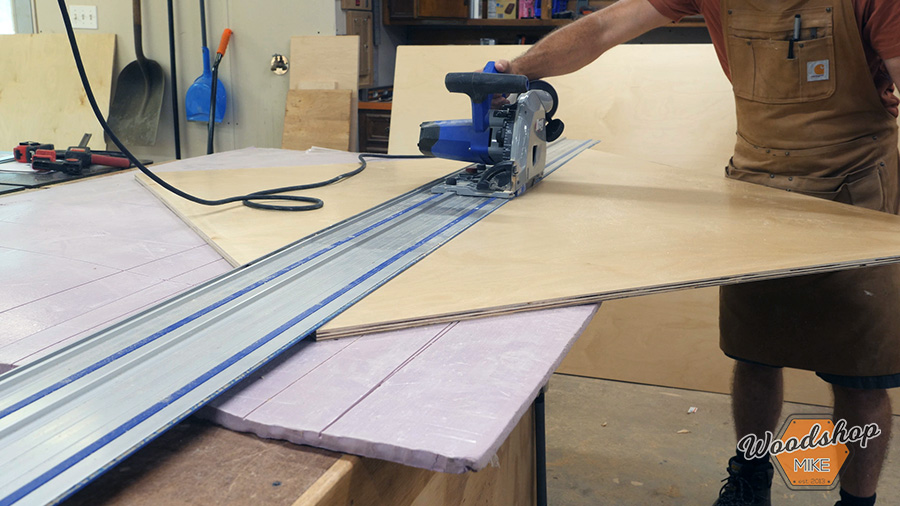
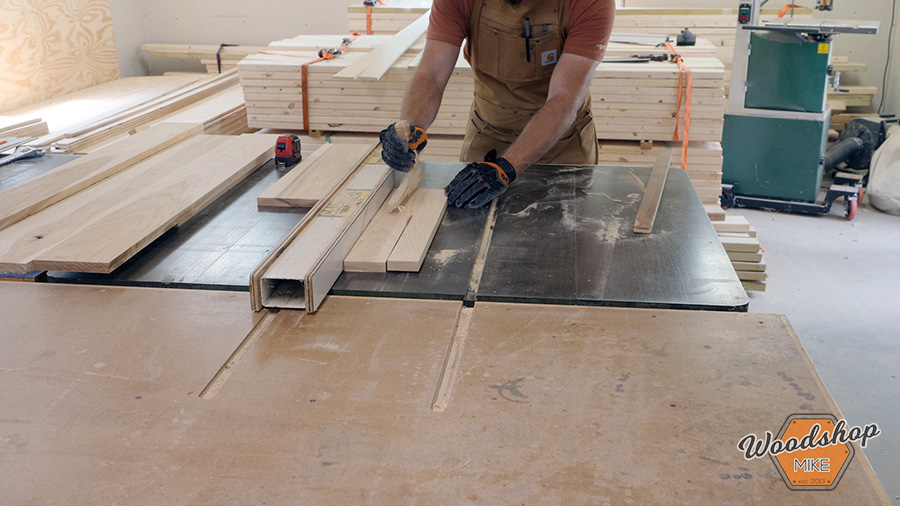
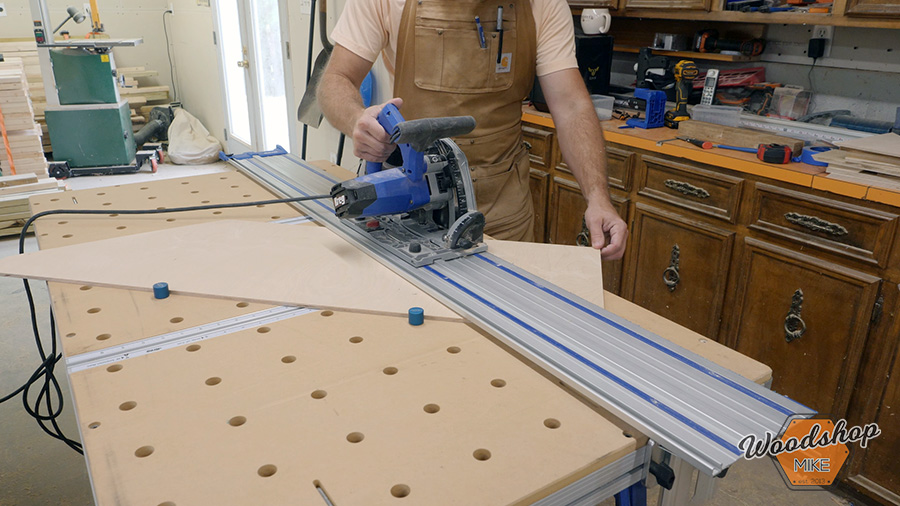
Break down plywood
To start things off I break down the plywood sheets using the table saw and ACS.
-
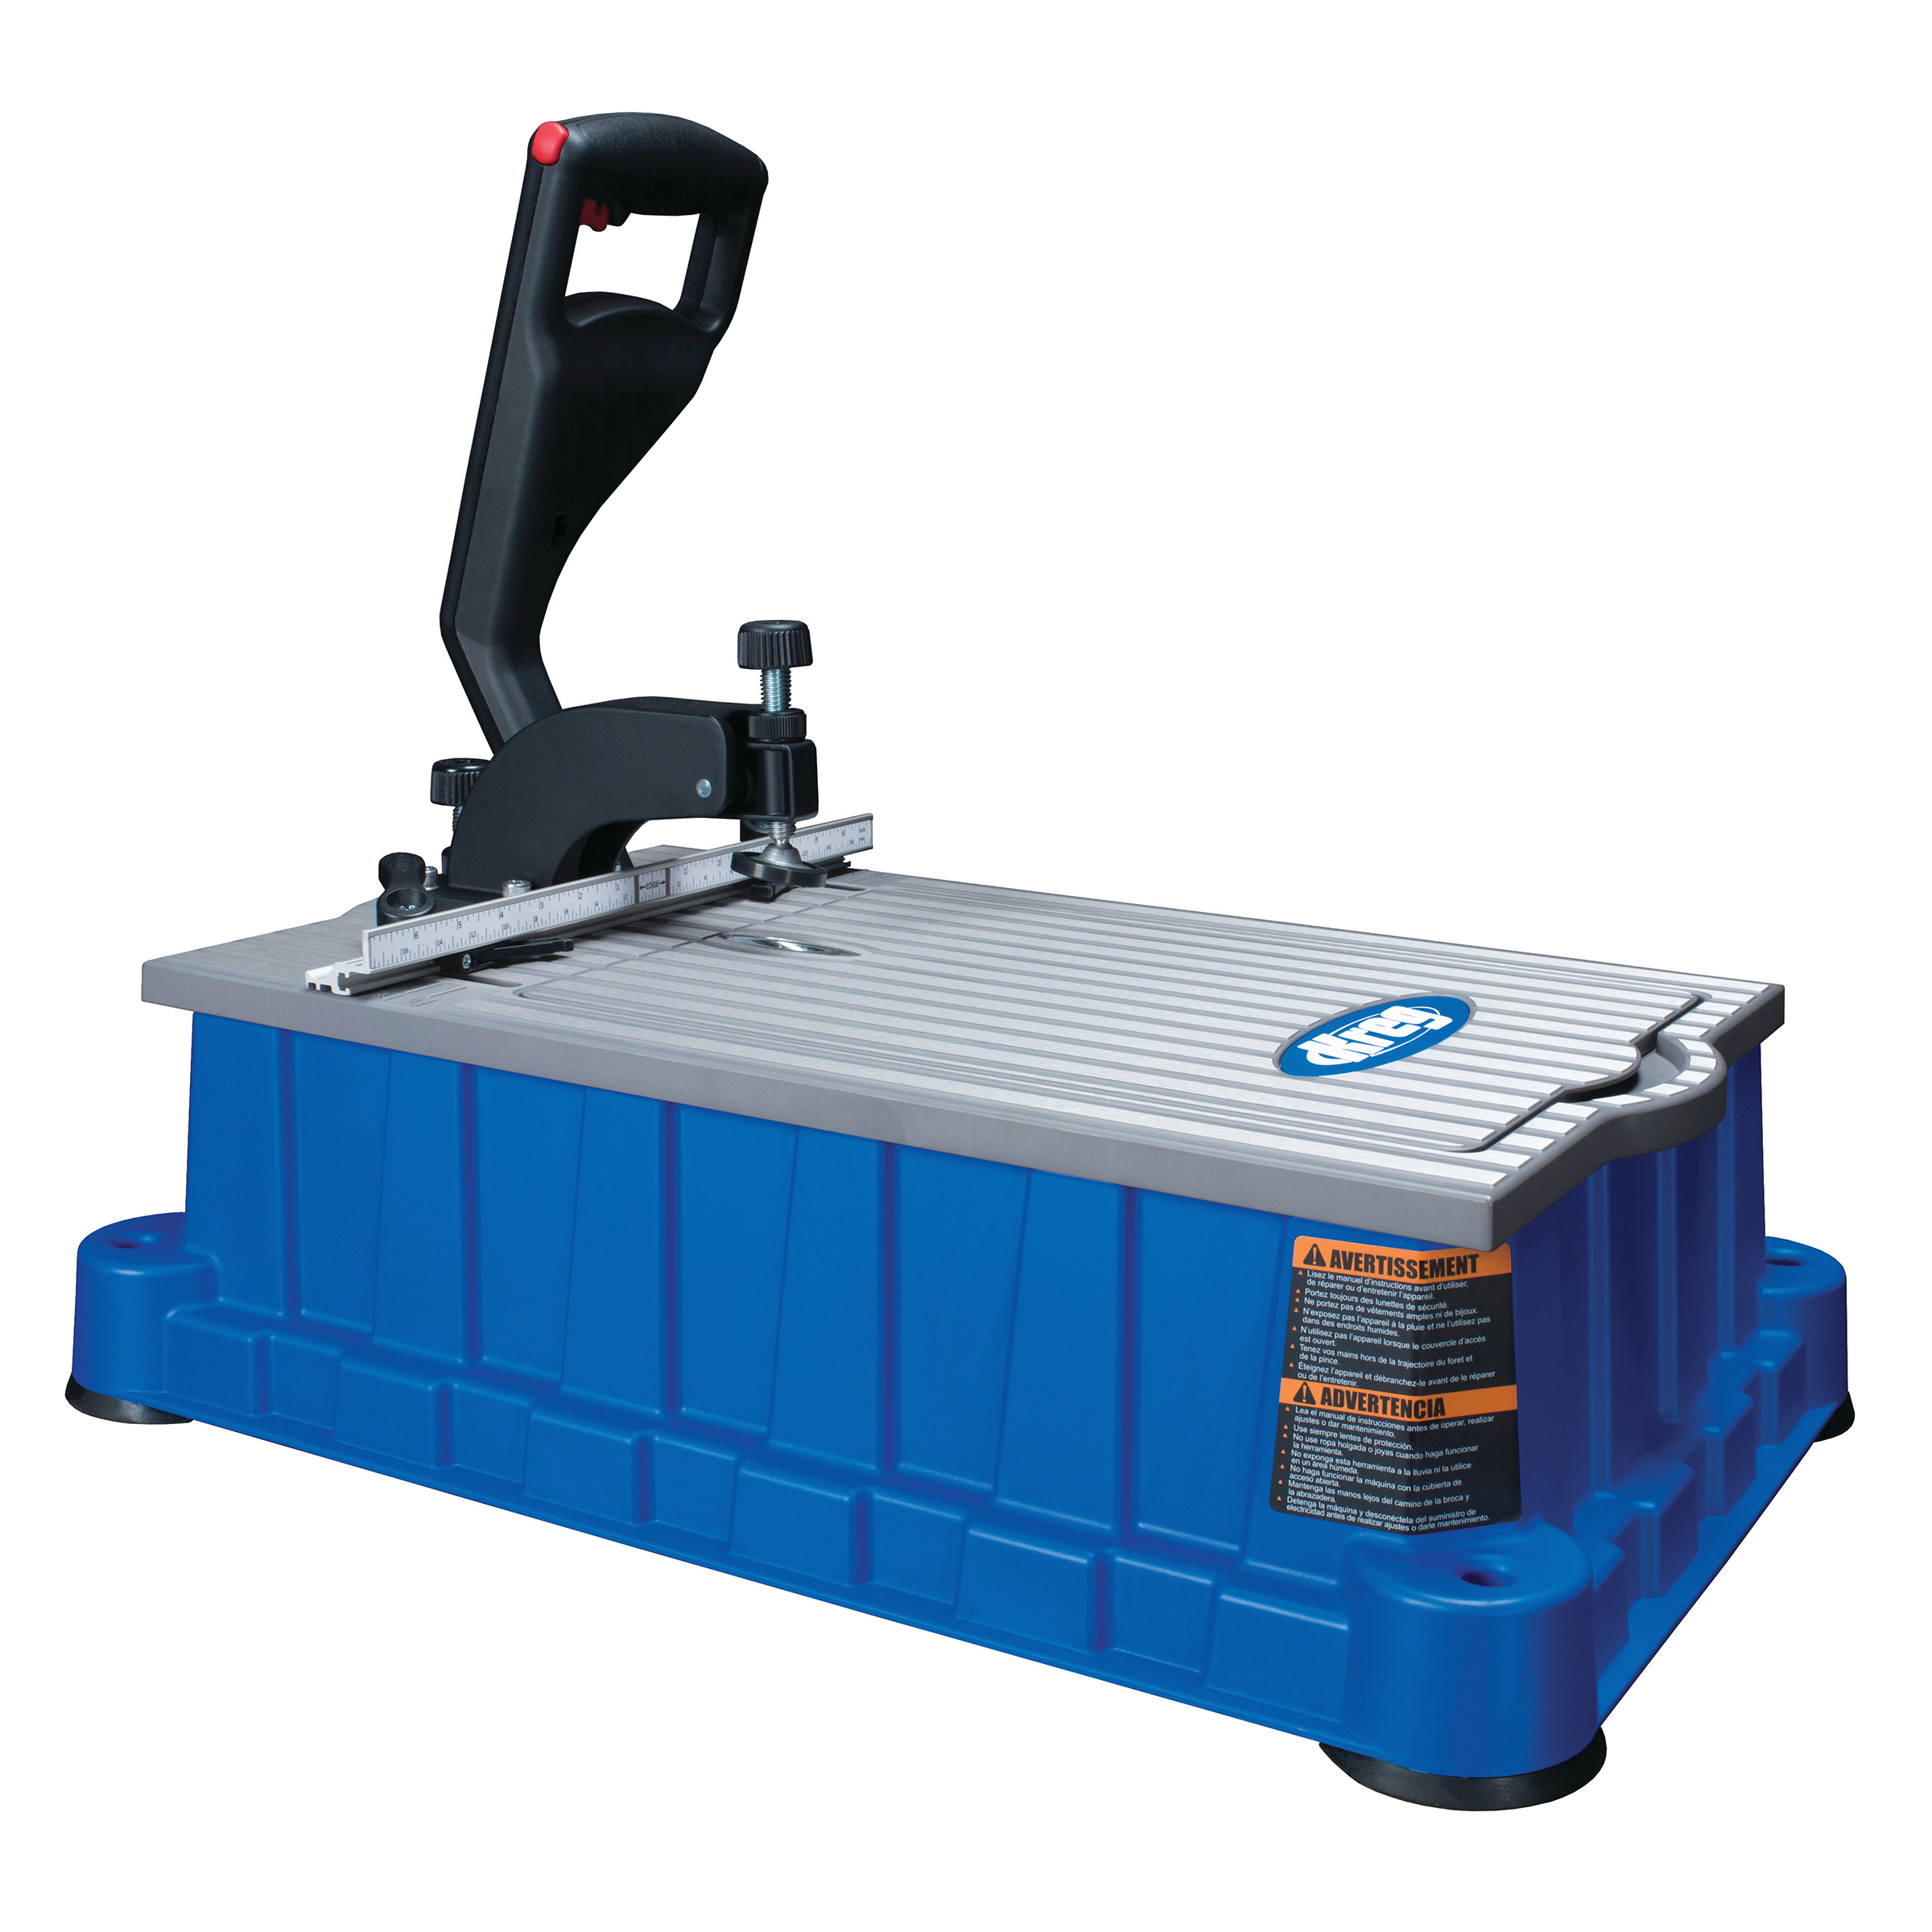
Drill pocket holes
Next up I drill pocket holes for the 3/4" micro pocket hole screws with my 720 pro as needed per my plans
-
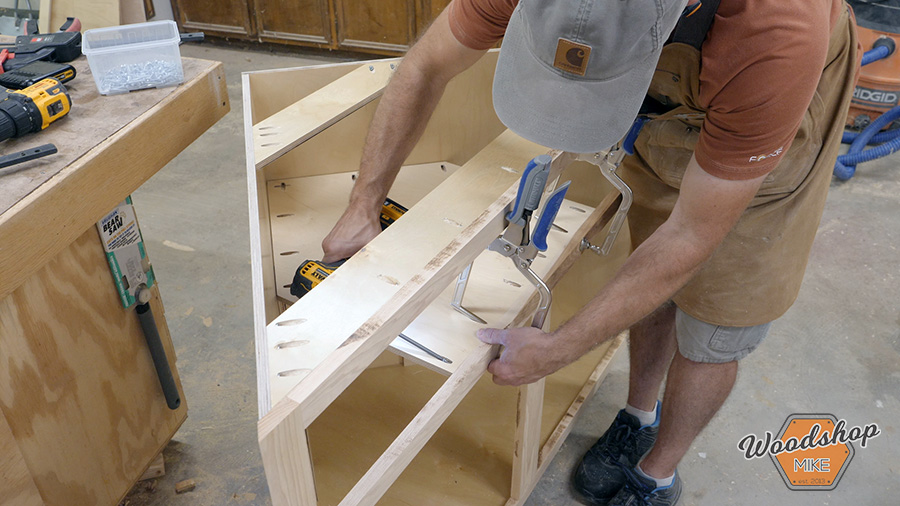
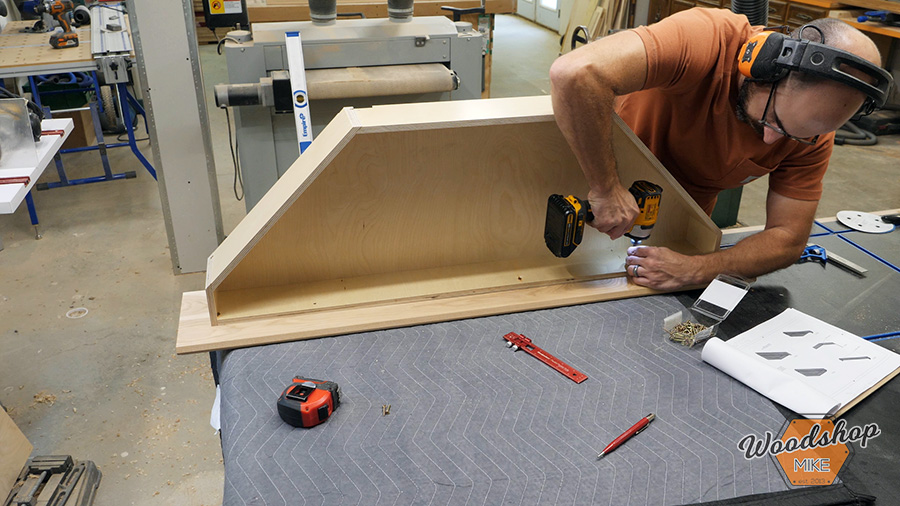
Assemble carcasses
With all of the pocket holes drilled, I assemble the carcasses for both the wall and base cabinets.
-
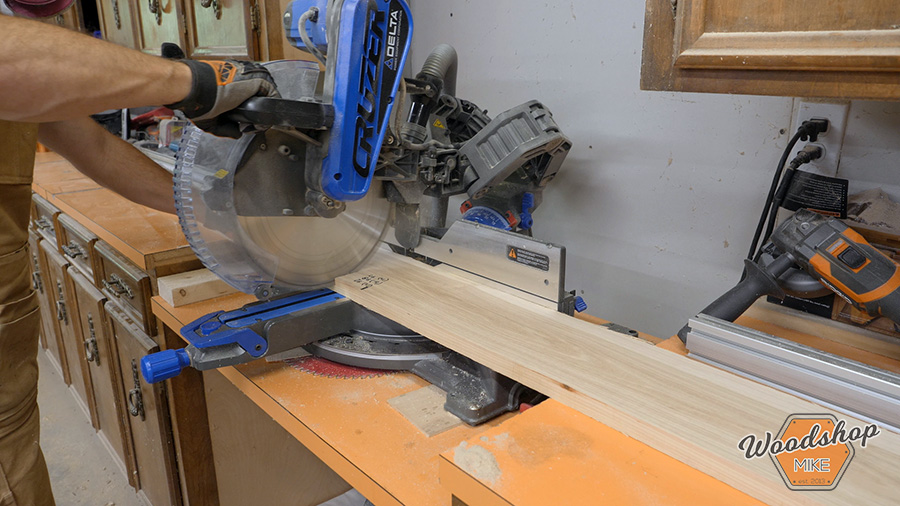
Cut face frames
Now it's time to start on the face frames. I begin with a few 4/4 boards of lumber and head to the miter saw to cut them to rough length
-
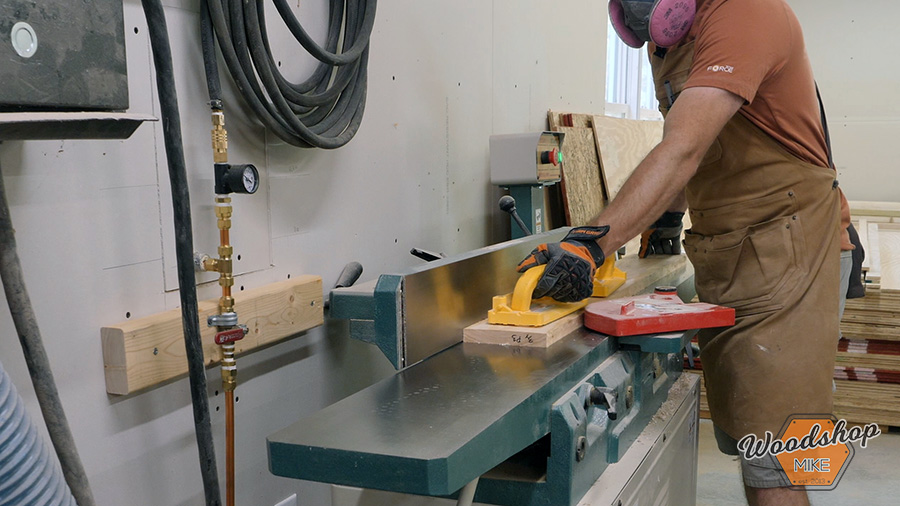
Mill boards for face frames
Next I run all of my boards through the milling operations. Starting at the jointer I make one surface flat. I then head to the planer and bring the boards down to a final thickness of 3/4".
-
Cut boards on table saw
The next thing I do is go back to the jointer and flatten one edge on each board. With this done I cut the boards down to their final widths on the table saw. I then head back to the miter saw one last time and cut each of the rails and stiles to their final lengths.
-
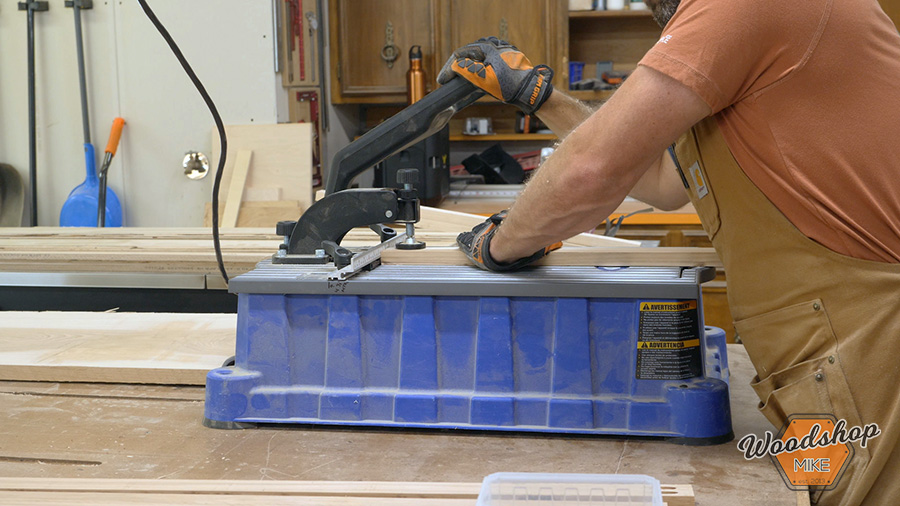
Drill pocket holes
At this point I break out the Foreman and drill for 1-1/4" pocket hole screws in the end of each rail and the two dividers.
-
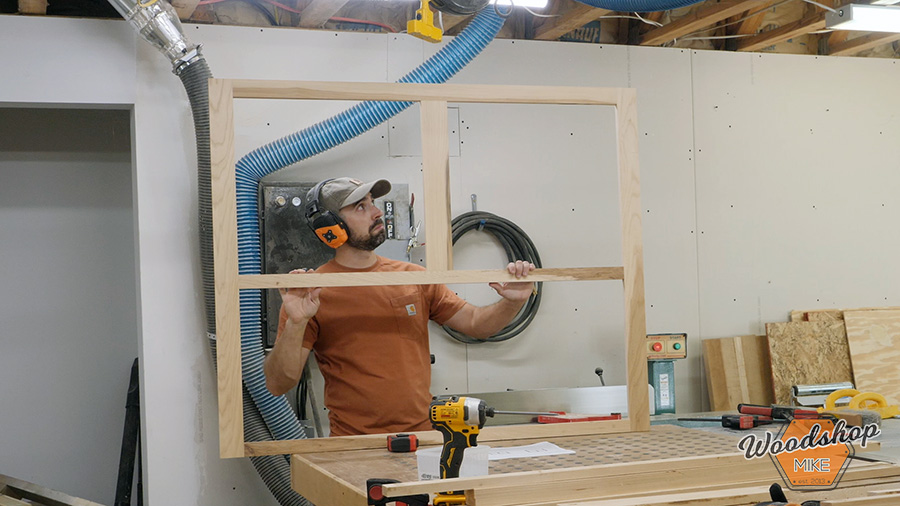
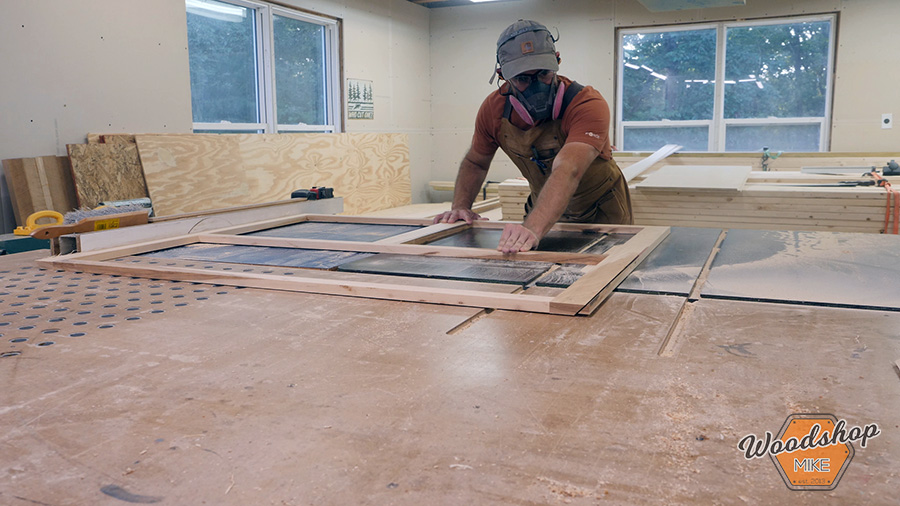
Assemble face frames
With all of the holes drilled, I layout the face frame pieces for each cabinet and assemble them per my plans.
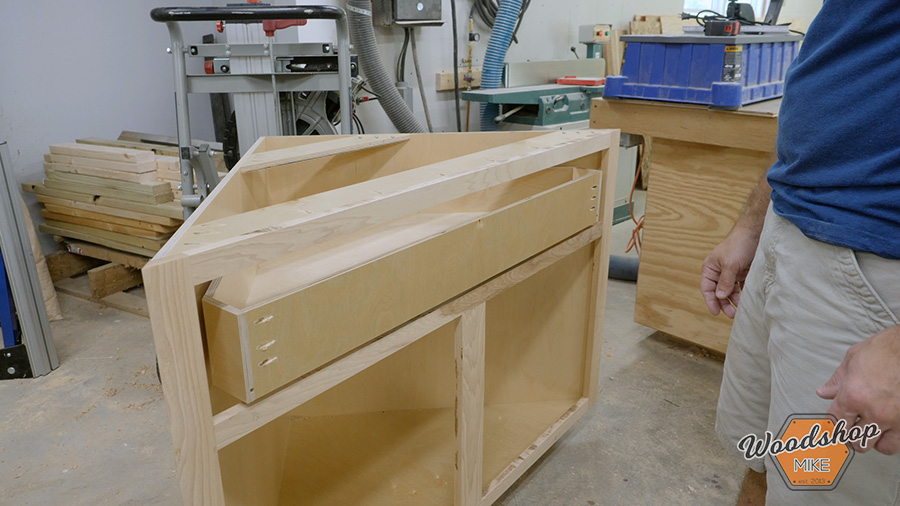
-
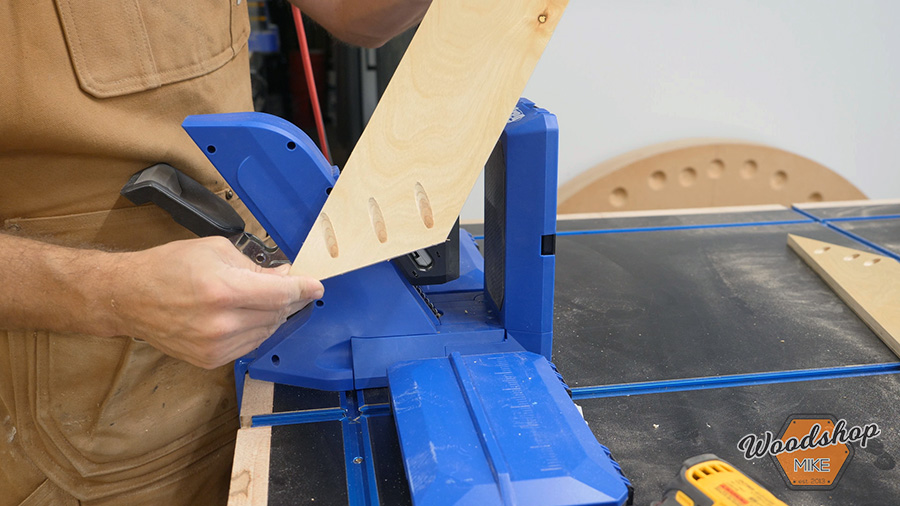
Cut back side face frames at 45 degree angle
Since these are triangular corner cabinets the back side of the face frames need to be cut back at a 45 degree angle. This cut can be done on either the ACS or table saw.
-
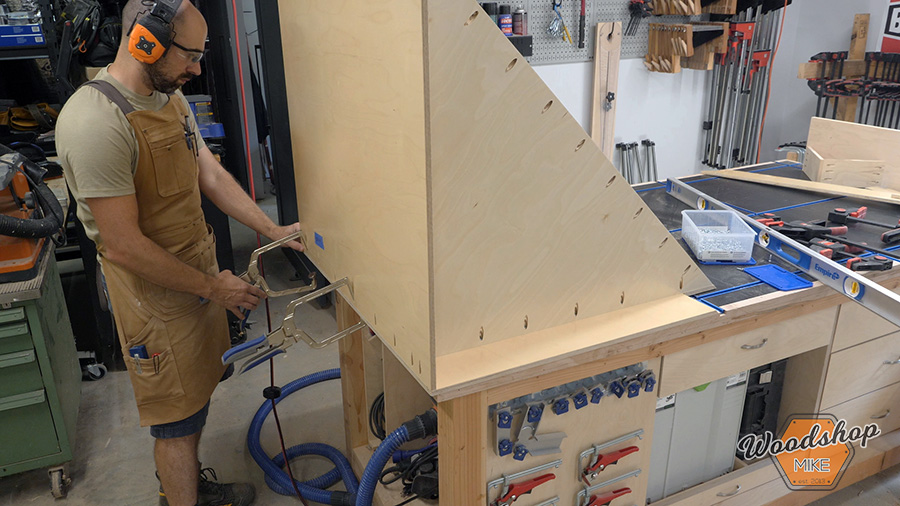
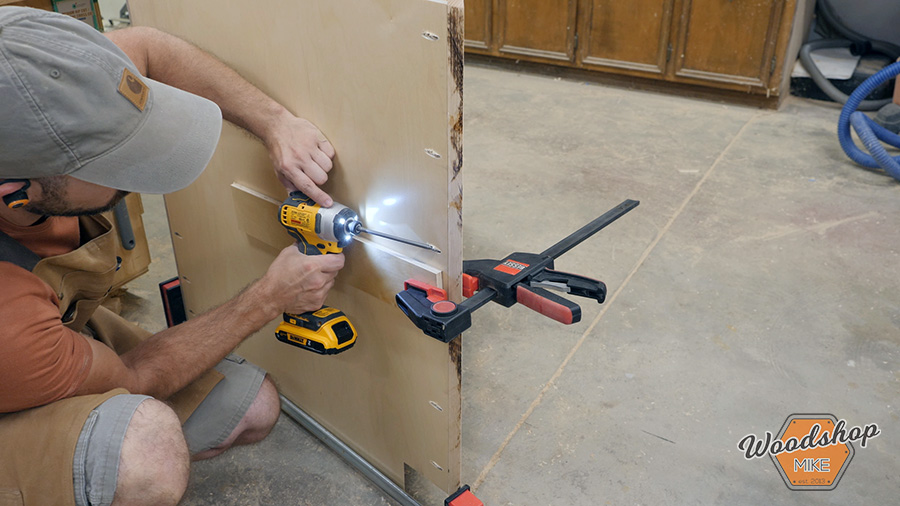
Attach face frames
I now attach the face frames to each cabinet using 3/4" micro pocket hole screws. I would typically use 1-1/4" screws to secure this, but since these cabinets are made from 1/2" plywood, the micro screws are what I needed to use.
-
Add drawer slide support piece
I then added the support piece that the undermount drawer slides will be mounted to by attaching it to the sides of the cabinet and the inside of the face frame.
-
Cut drawer boxes and drill pocket holes
I now cut all of the drawer box components to size and drill pocket holes where indicated in the plans.
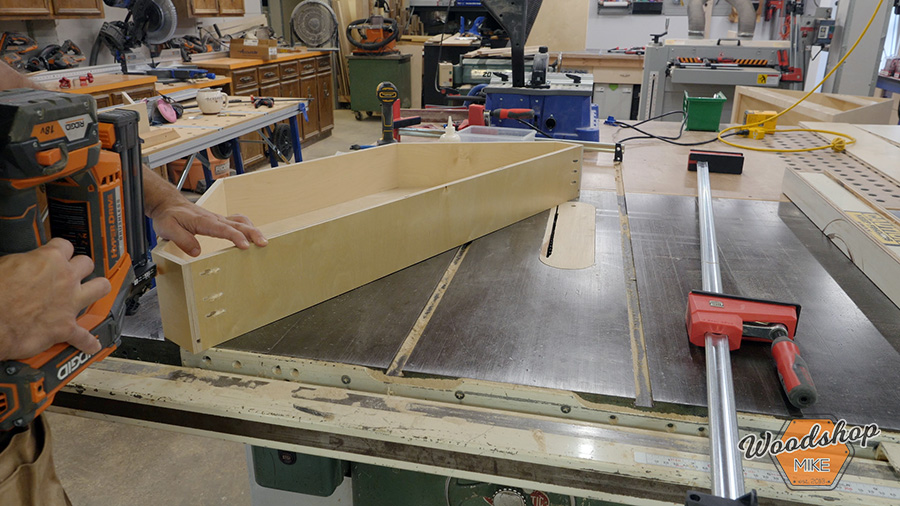
-
Assemble drawer boxes
I use a few pocket holes to assemble the front portion of the drawer box and switch to glue and 1-1/2" brad nails to assemble the back half of the drawer box.
-
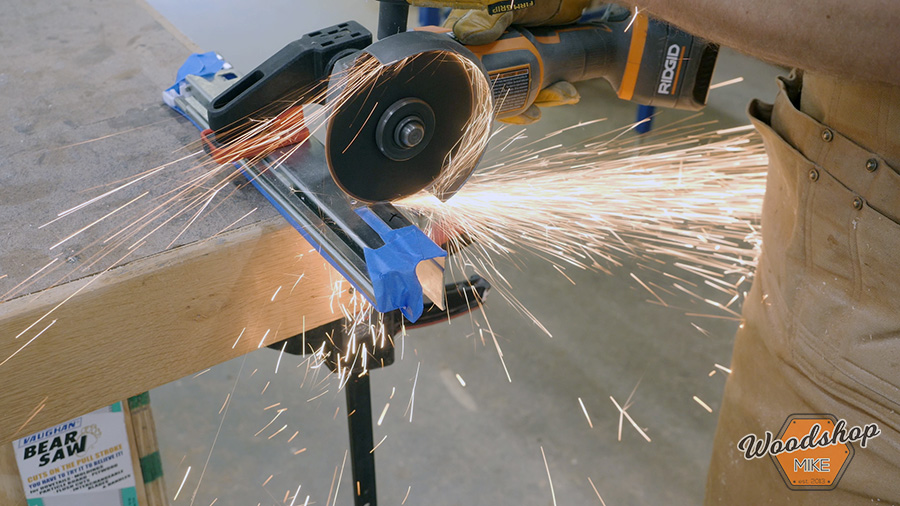
Alter the drill slides to fit in a corner cabinet
Now things get a little interesting. I grab my angle grinder and cut away some excess material on the drawer slides so that I can get all of the luxury of an undermount soft close slide in a corner cabinet drawer. Make sure to check out the build video to see all the details on this step!
-
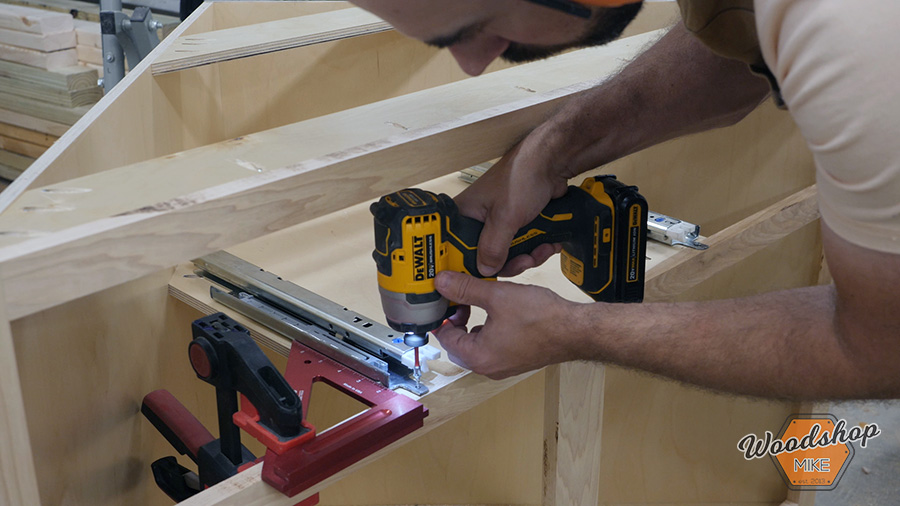
Layout drawer slide placement
With the drawer slides modified I layout where they need to be installed and use a square to help keep them perpendicular to the face frame during assembly.
-
Install drawer slides
Before going any further in the build, I go ahead and double check that the drawer slides are installed correctly and that the drawer opens and closes smoothly.
-
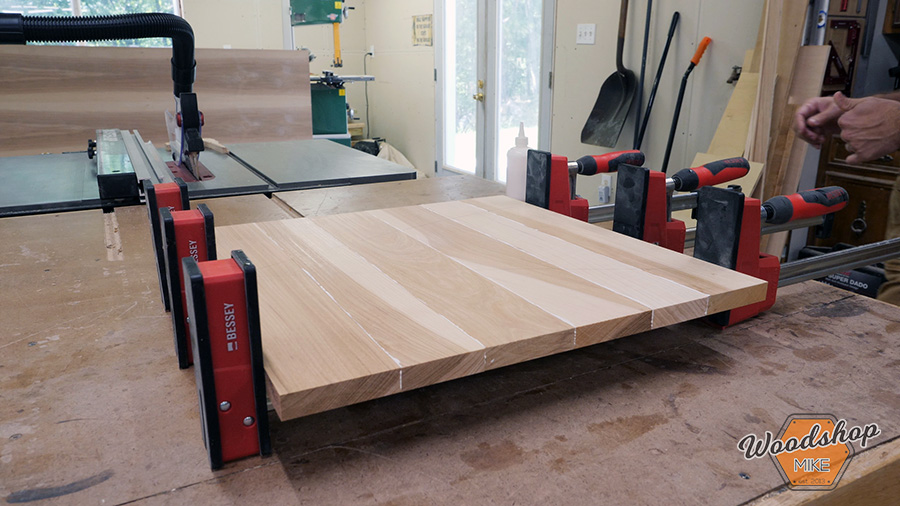
Mill boards for drawer fronts and doors
Now I'm ready to start making the drawer front and raised panel doors. After running some boards through the same milling operations as before, I glue up panels for each of the doors and the drawer front.
-
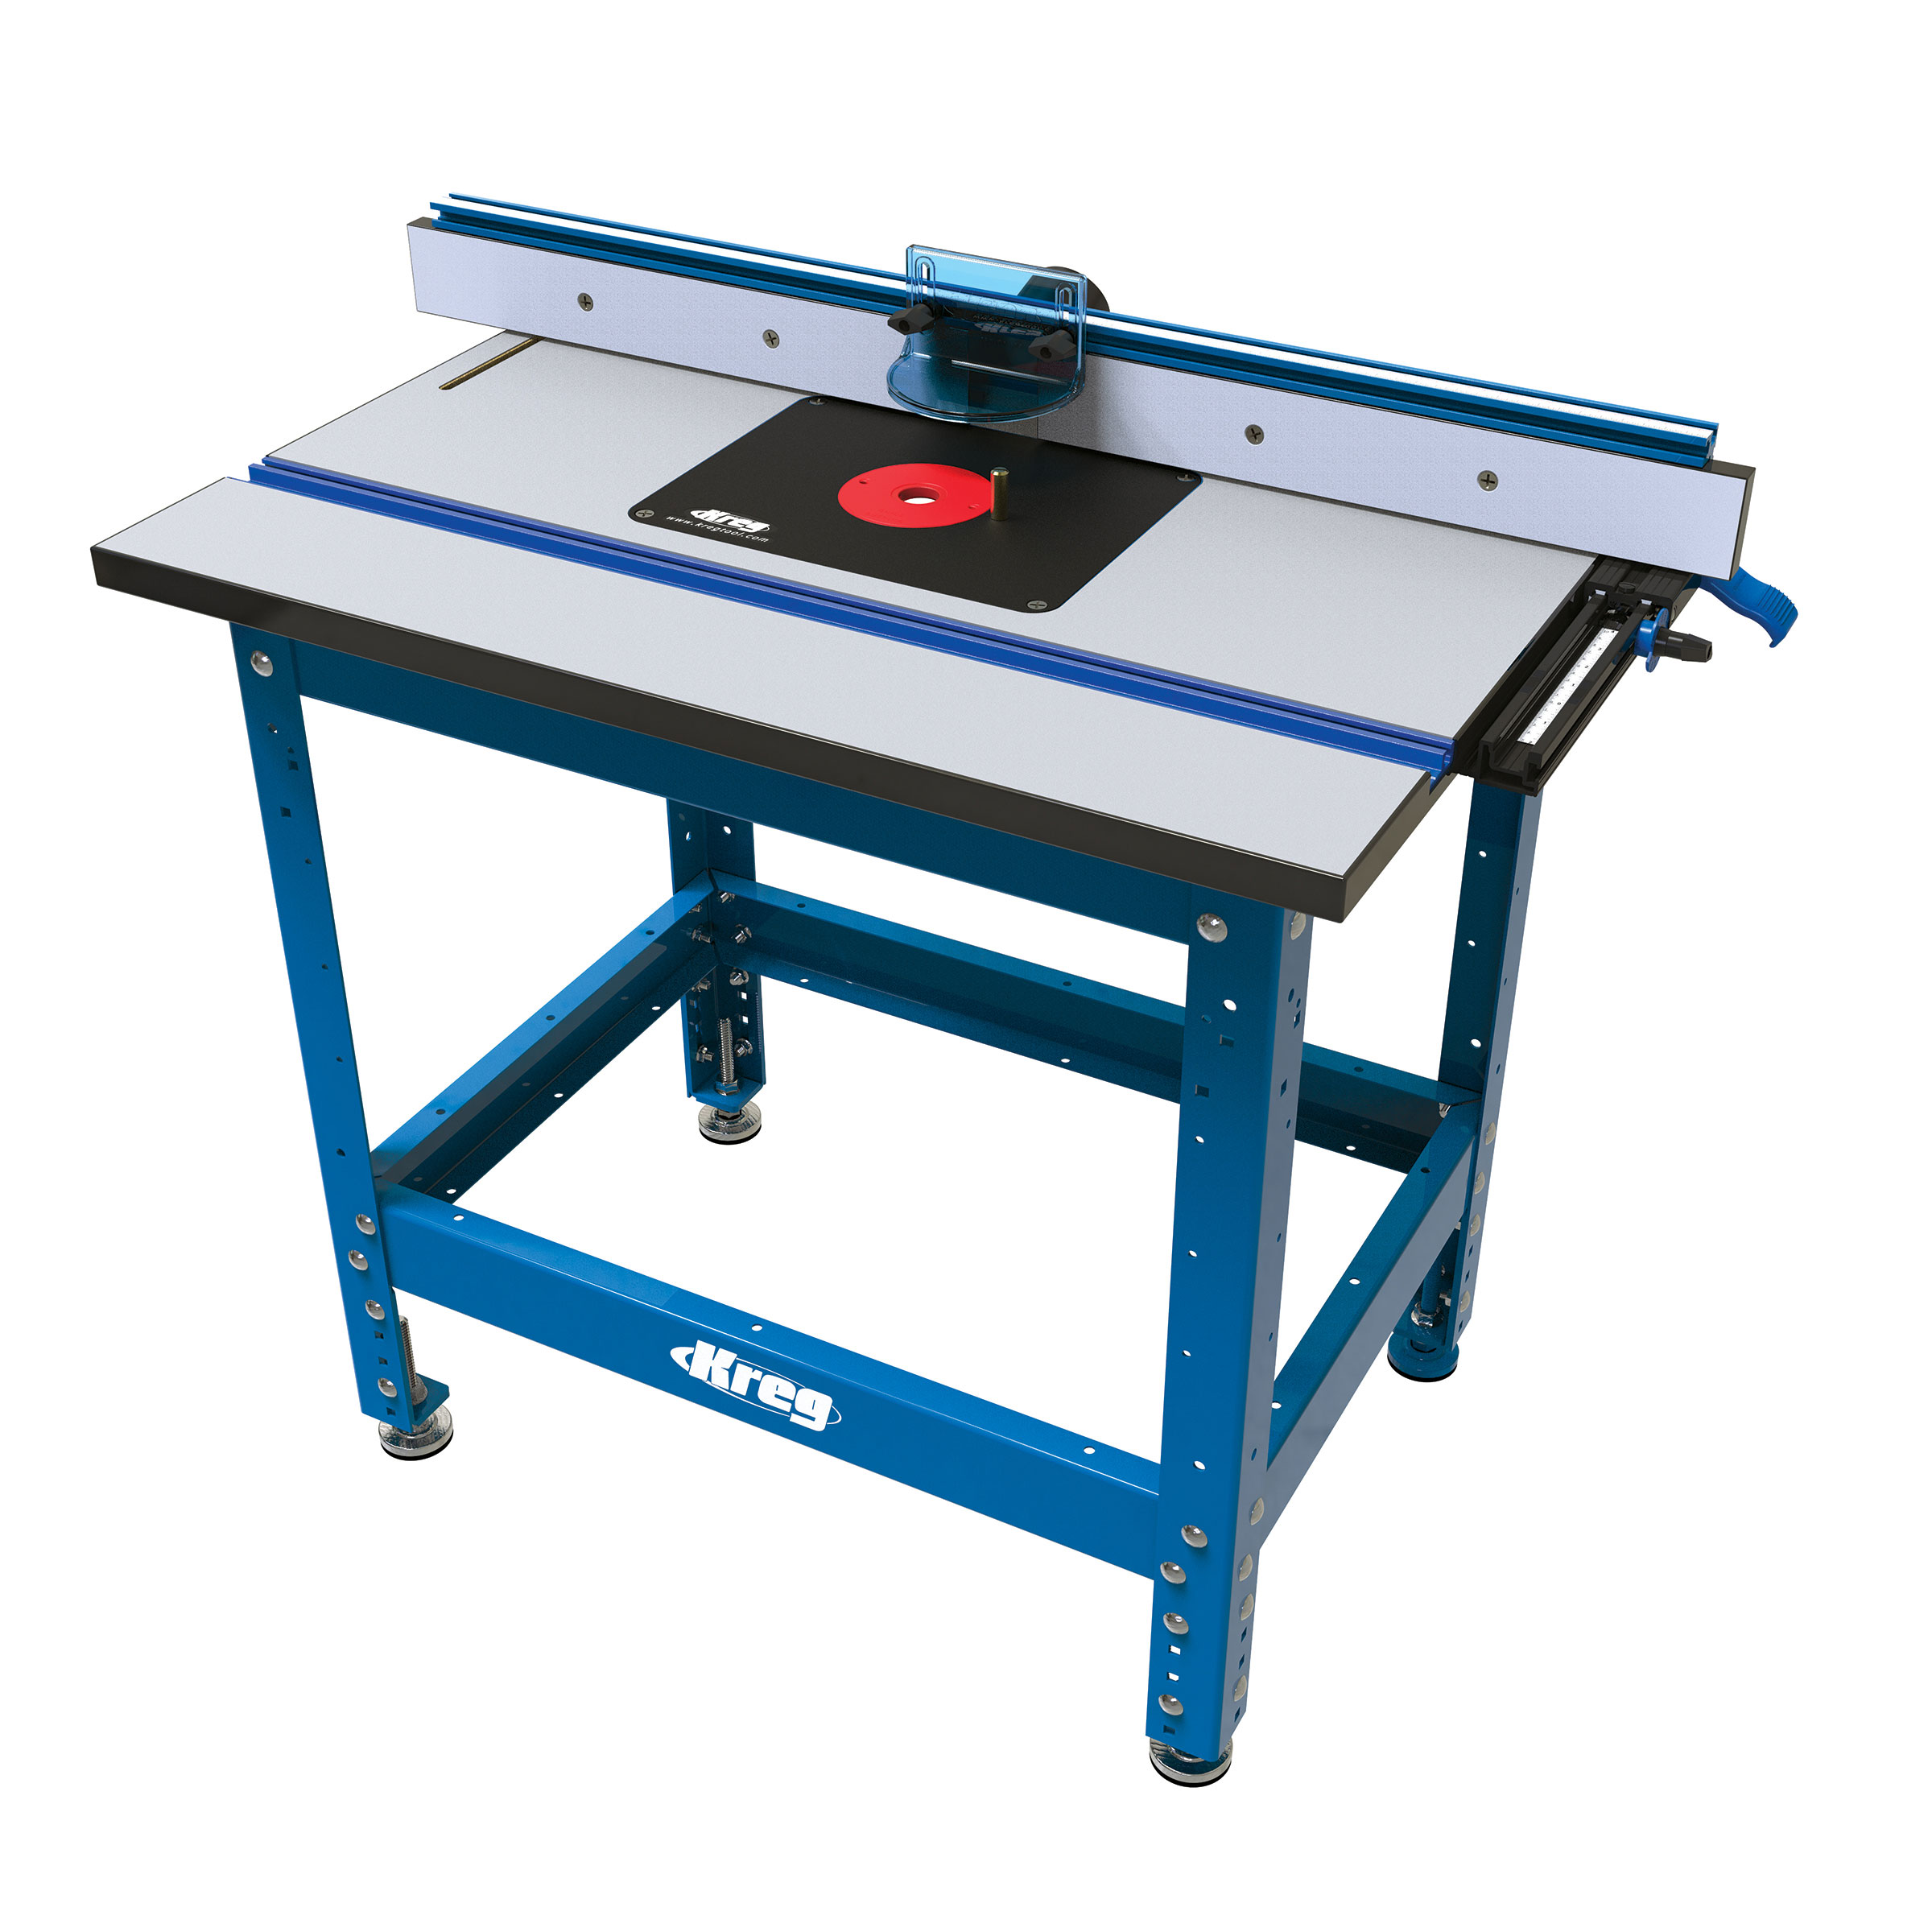
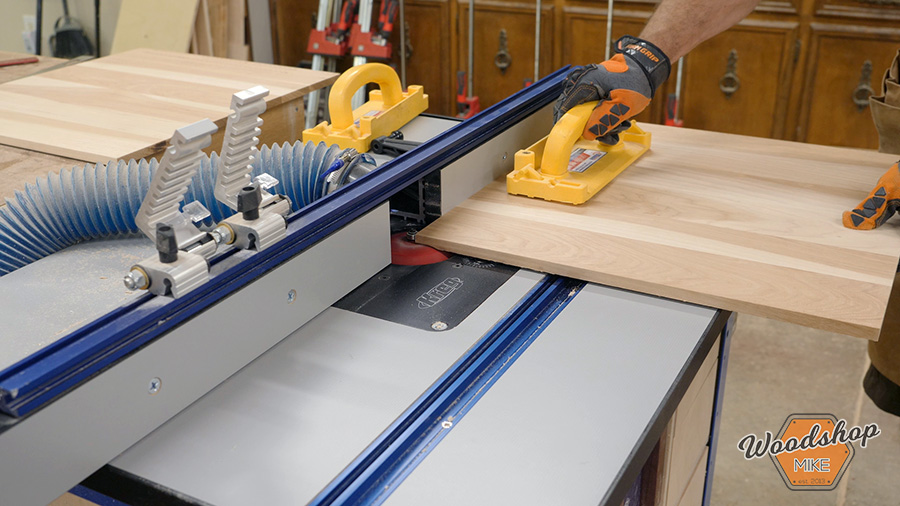
Mill the rails and stiles for the drawer and door panels
While the glued up panels are in clamps, I get started milling the rails and stiles on the router table. All of the rails and stiles are grooved and beaded with the grooving cutter and then cut to final length. After this step I always keep the outside (front) surface against the table top so that I maintain a consistent reference surface.
I now switch cutters and cut the tongues on both ends of the rails.
(If making glass panel doors, cut a rabbet at this time on the back of each rail and stile as needed to accept the glass.)

-
Plane panels to final thickness
With the panels out of clamps I plane them down to final thickness. The raised panels are milled down to 5/8" thick and then run through the router table with a raised panel bit in a series of passes to form the final profile.
-
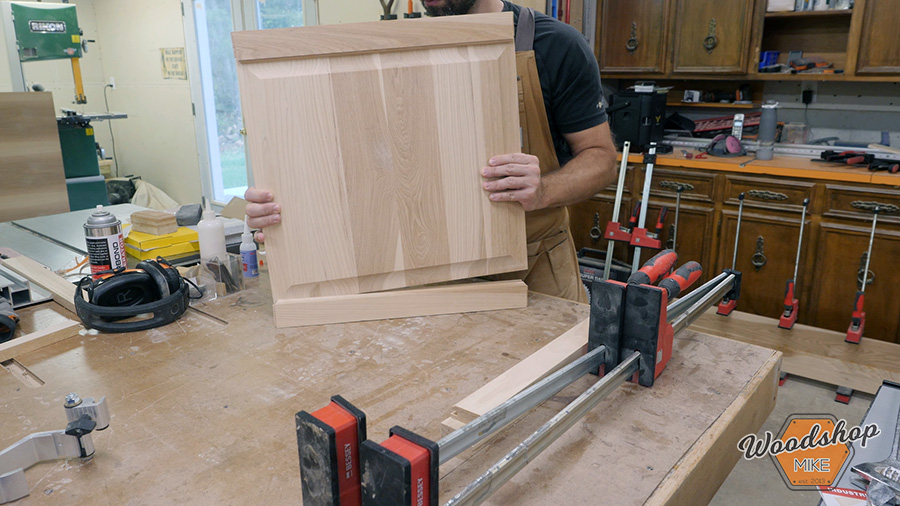
Assemble the doors
With all of the parts made for the doors, I assemble them and only apply glue to the tongues on each end of the rails. Don't glue the panel in place. Doing so could result in a broken door down the road due to seasonal wood movement.
-
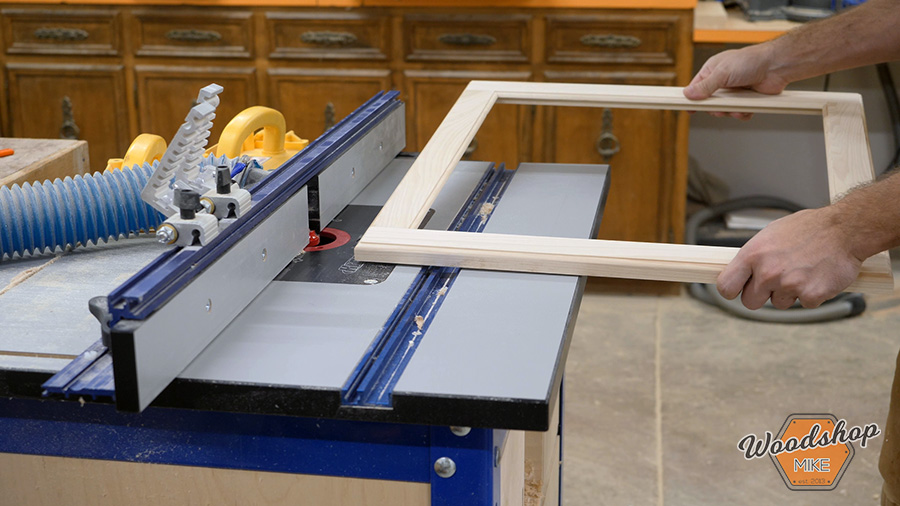
Rout profile on doors and drawers
Once the glued up doors have cured, I return to the router table and cut a profile around the perimeter on the front of each door and the drawer front.
-
Attach drawer fronts
Before painting, I screw the drawer front and drawer box together with countersunk 3/4" screws
-
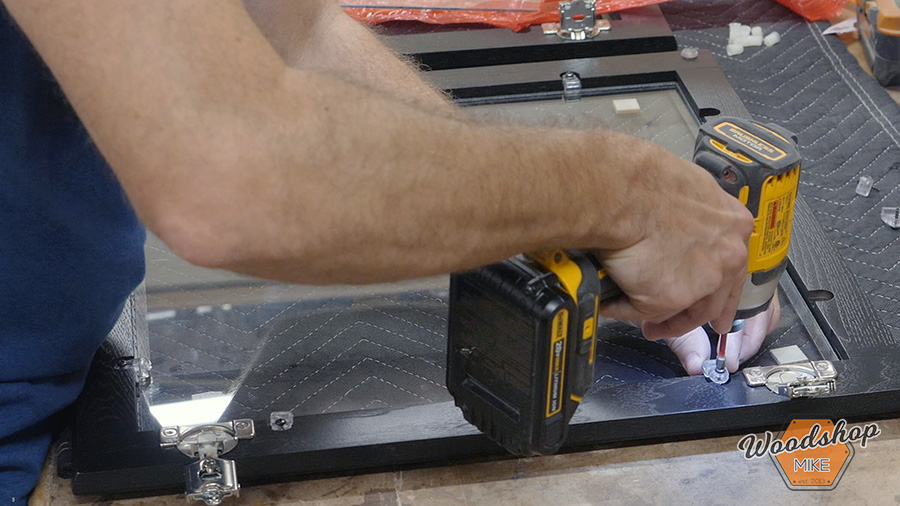
Paint and attach glass panels
Once everything has been painted I install the glass retainer clips to hold the glass in place in the doors for the wall cabinets.
-
Secure cabinets to the wall
Secure the cabinets to the wall into studs using 2-1/2" pocket hole screws. I used 6-8 screws for each cabinet depending on stud spacing and height of the cabinet.