Hidden Key Rack
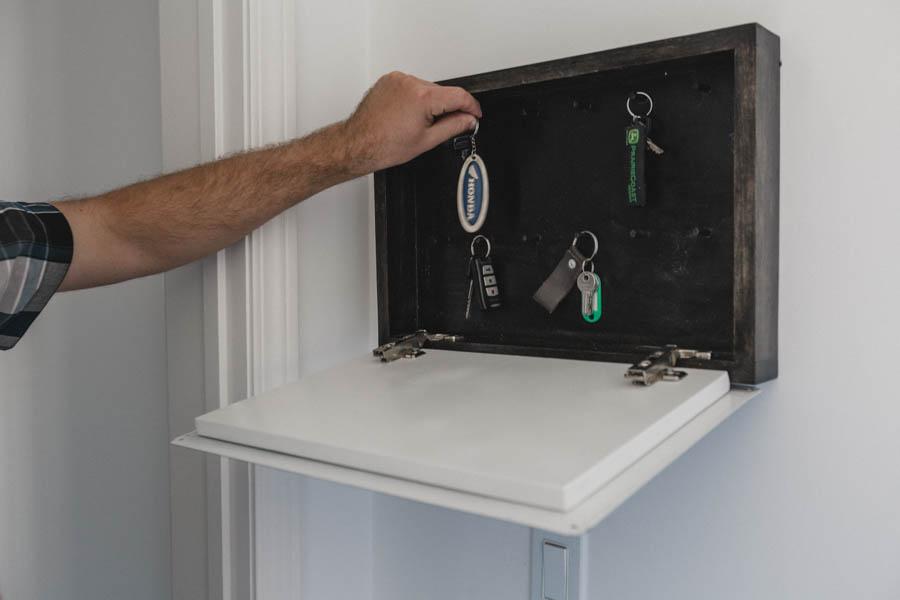
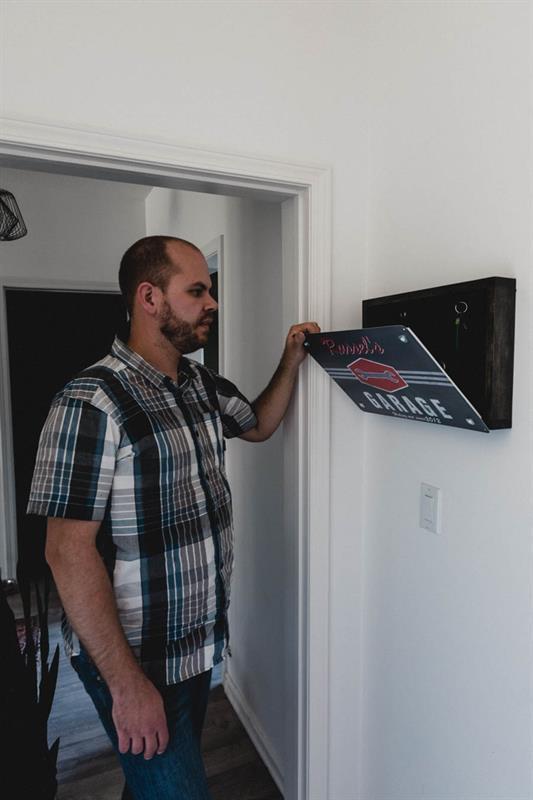
By Love Create CelebrateA clever way to keep your car keys hidden behind a sign! Perfect for the garage or the mancave and the guy with way too many keys!
Directions
-
Cut Materials
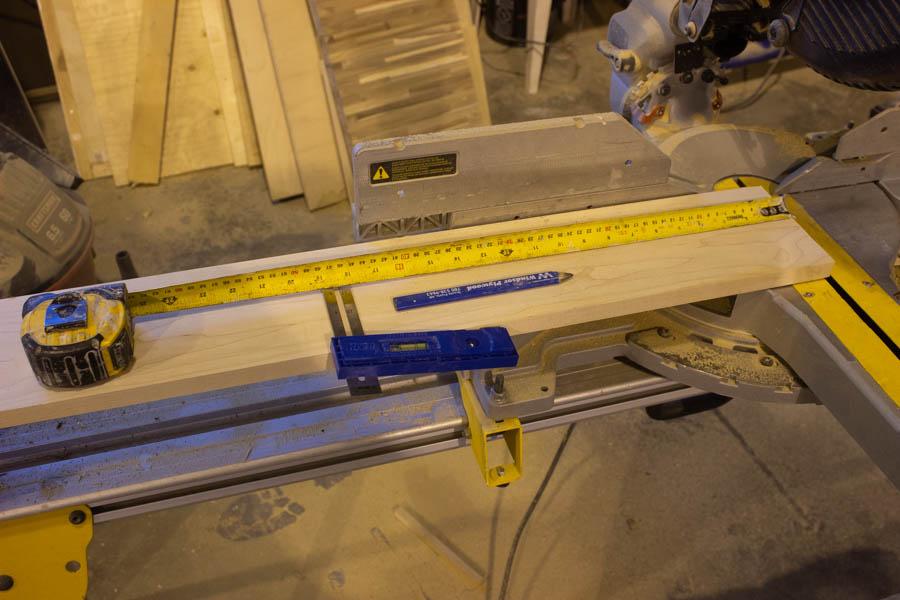
Using a Compound Mitre Saw (or similar) cut your materials down to length
-
Rip Materials
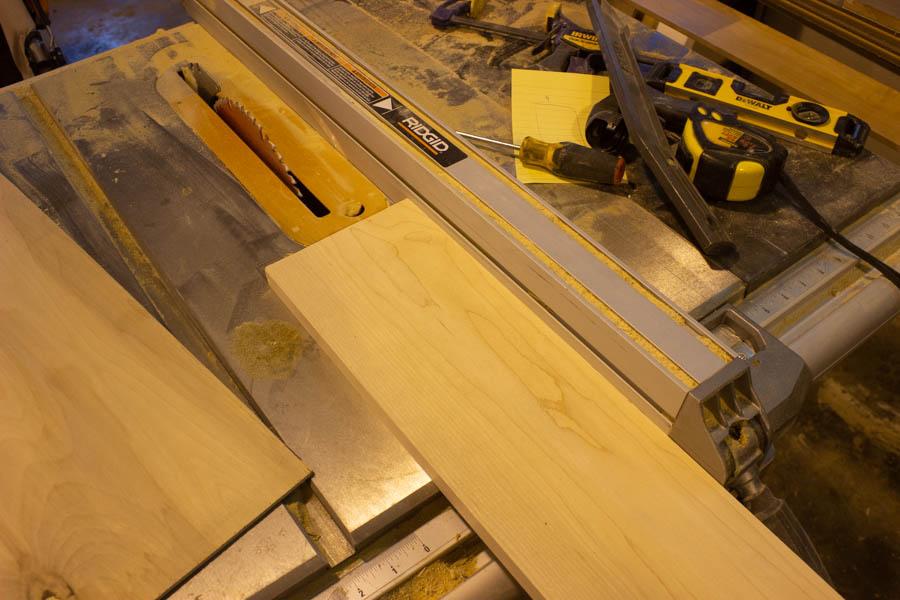
Using a Table saw cut the maple pieces B and C to width specified in plans
-
Sand
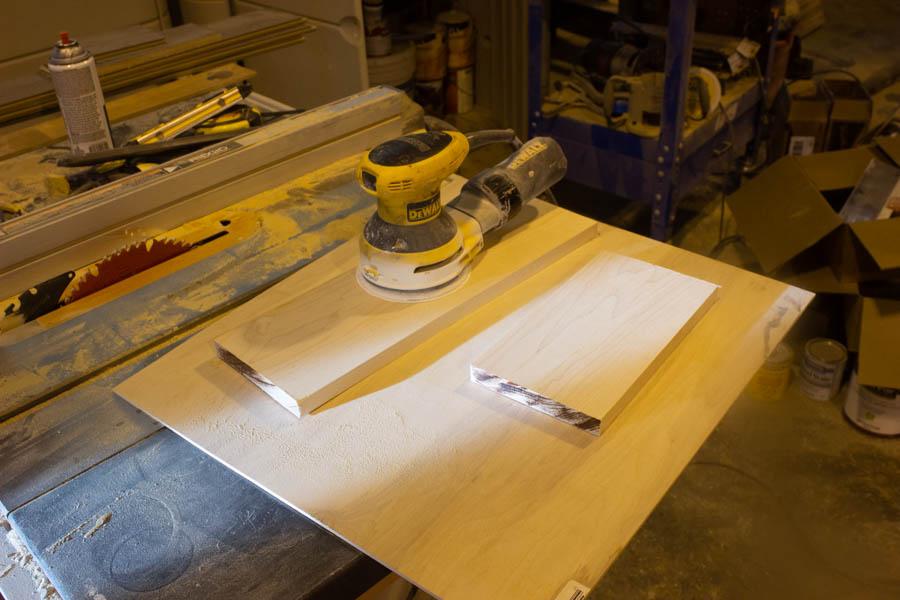
Before you cut you pieces down, lightly sand your maple board with a orbital sander and 100 grit paper
-
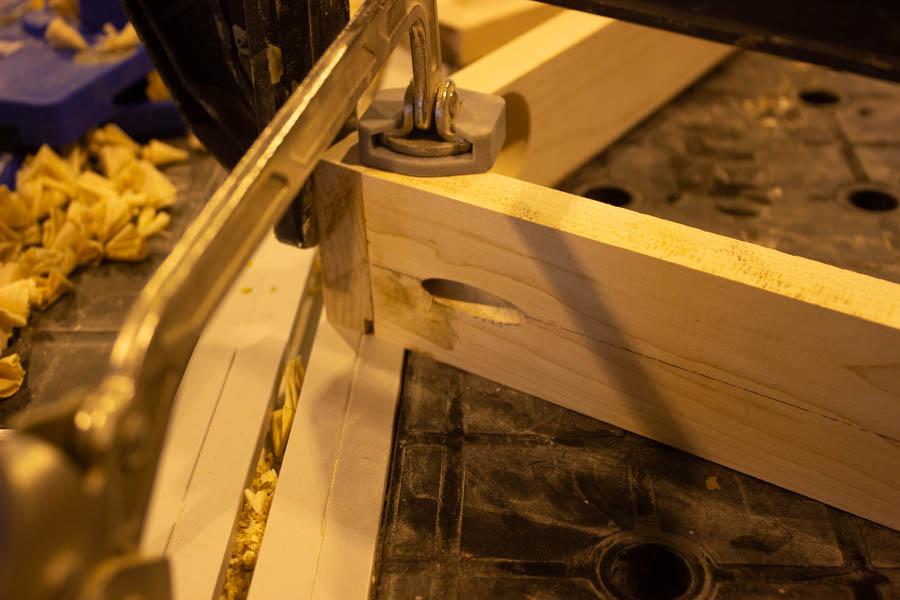
Drill Pocket Holes
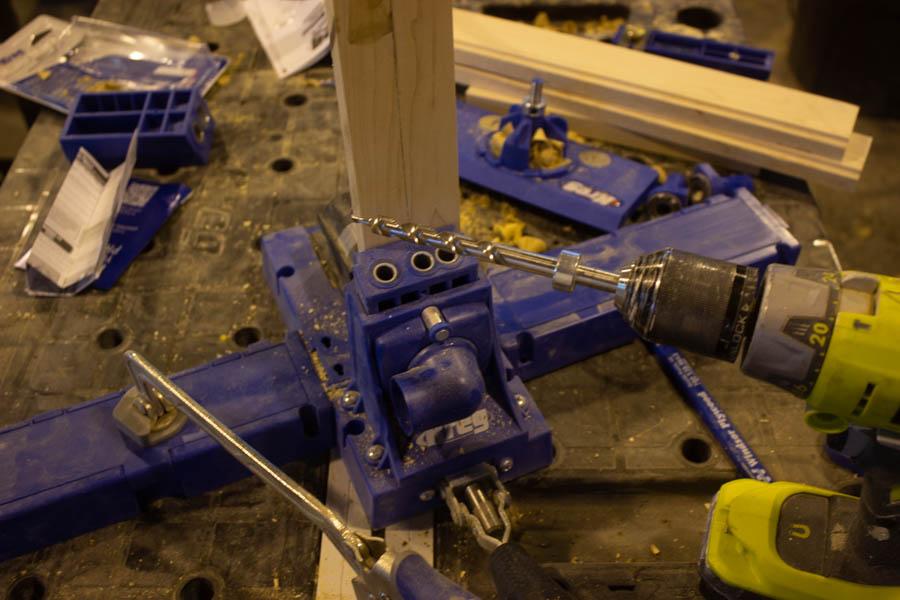
Using your Kreg Pocket Hole Jig drill the pocket holes as noted on the plans
-
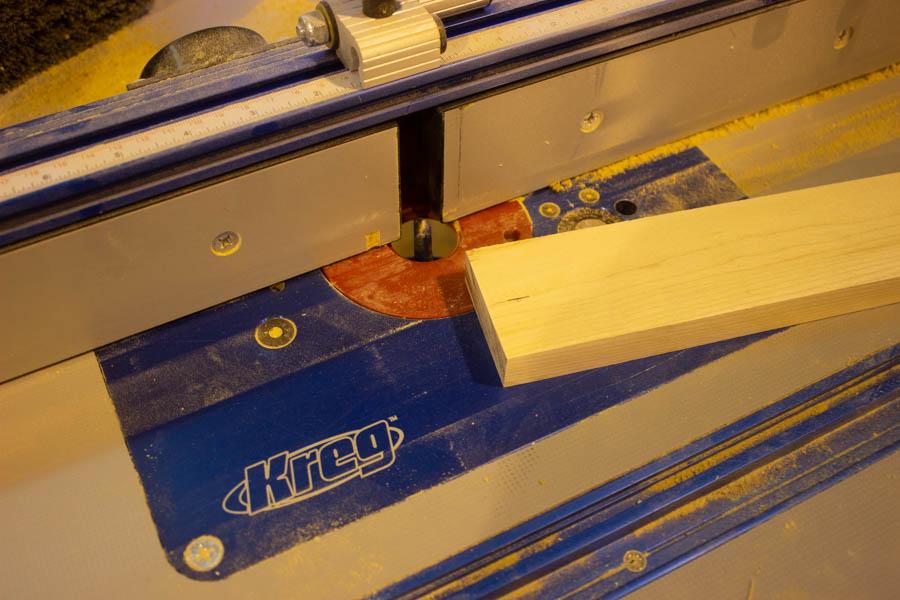
Cut Groove
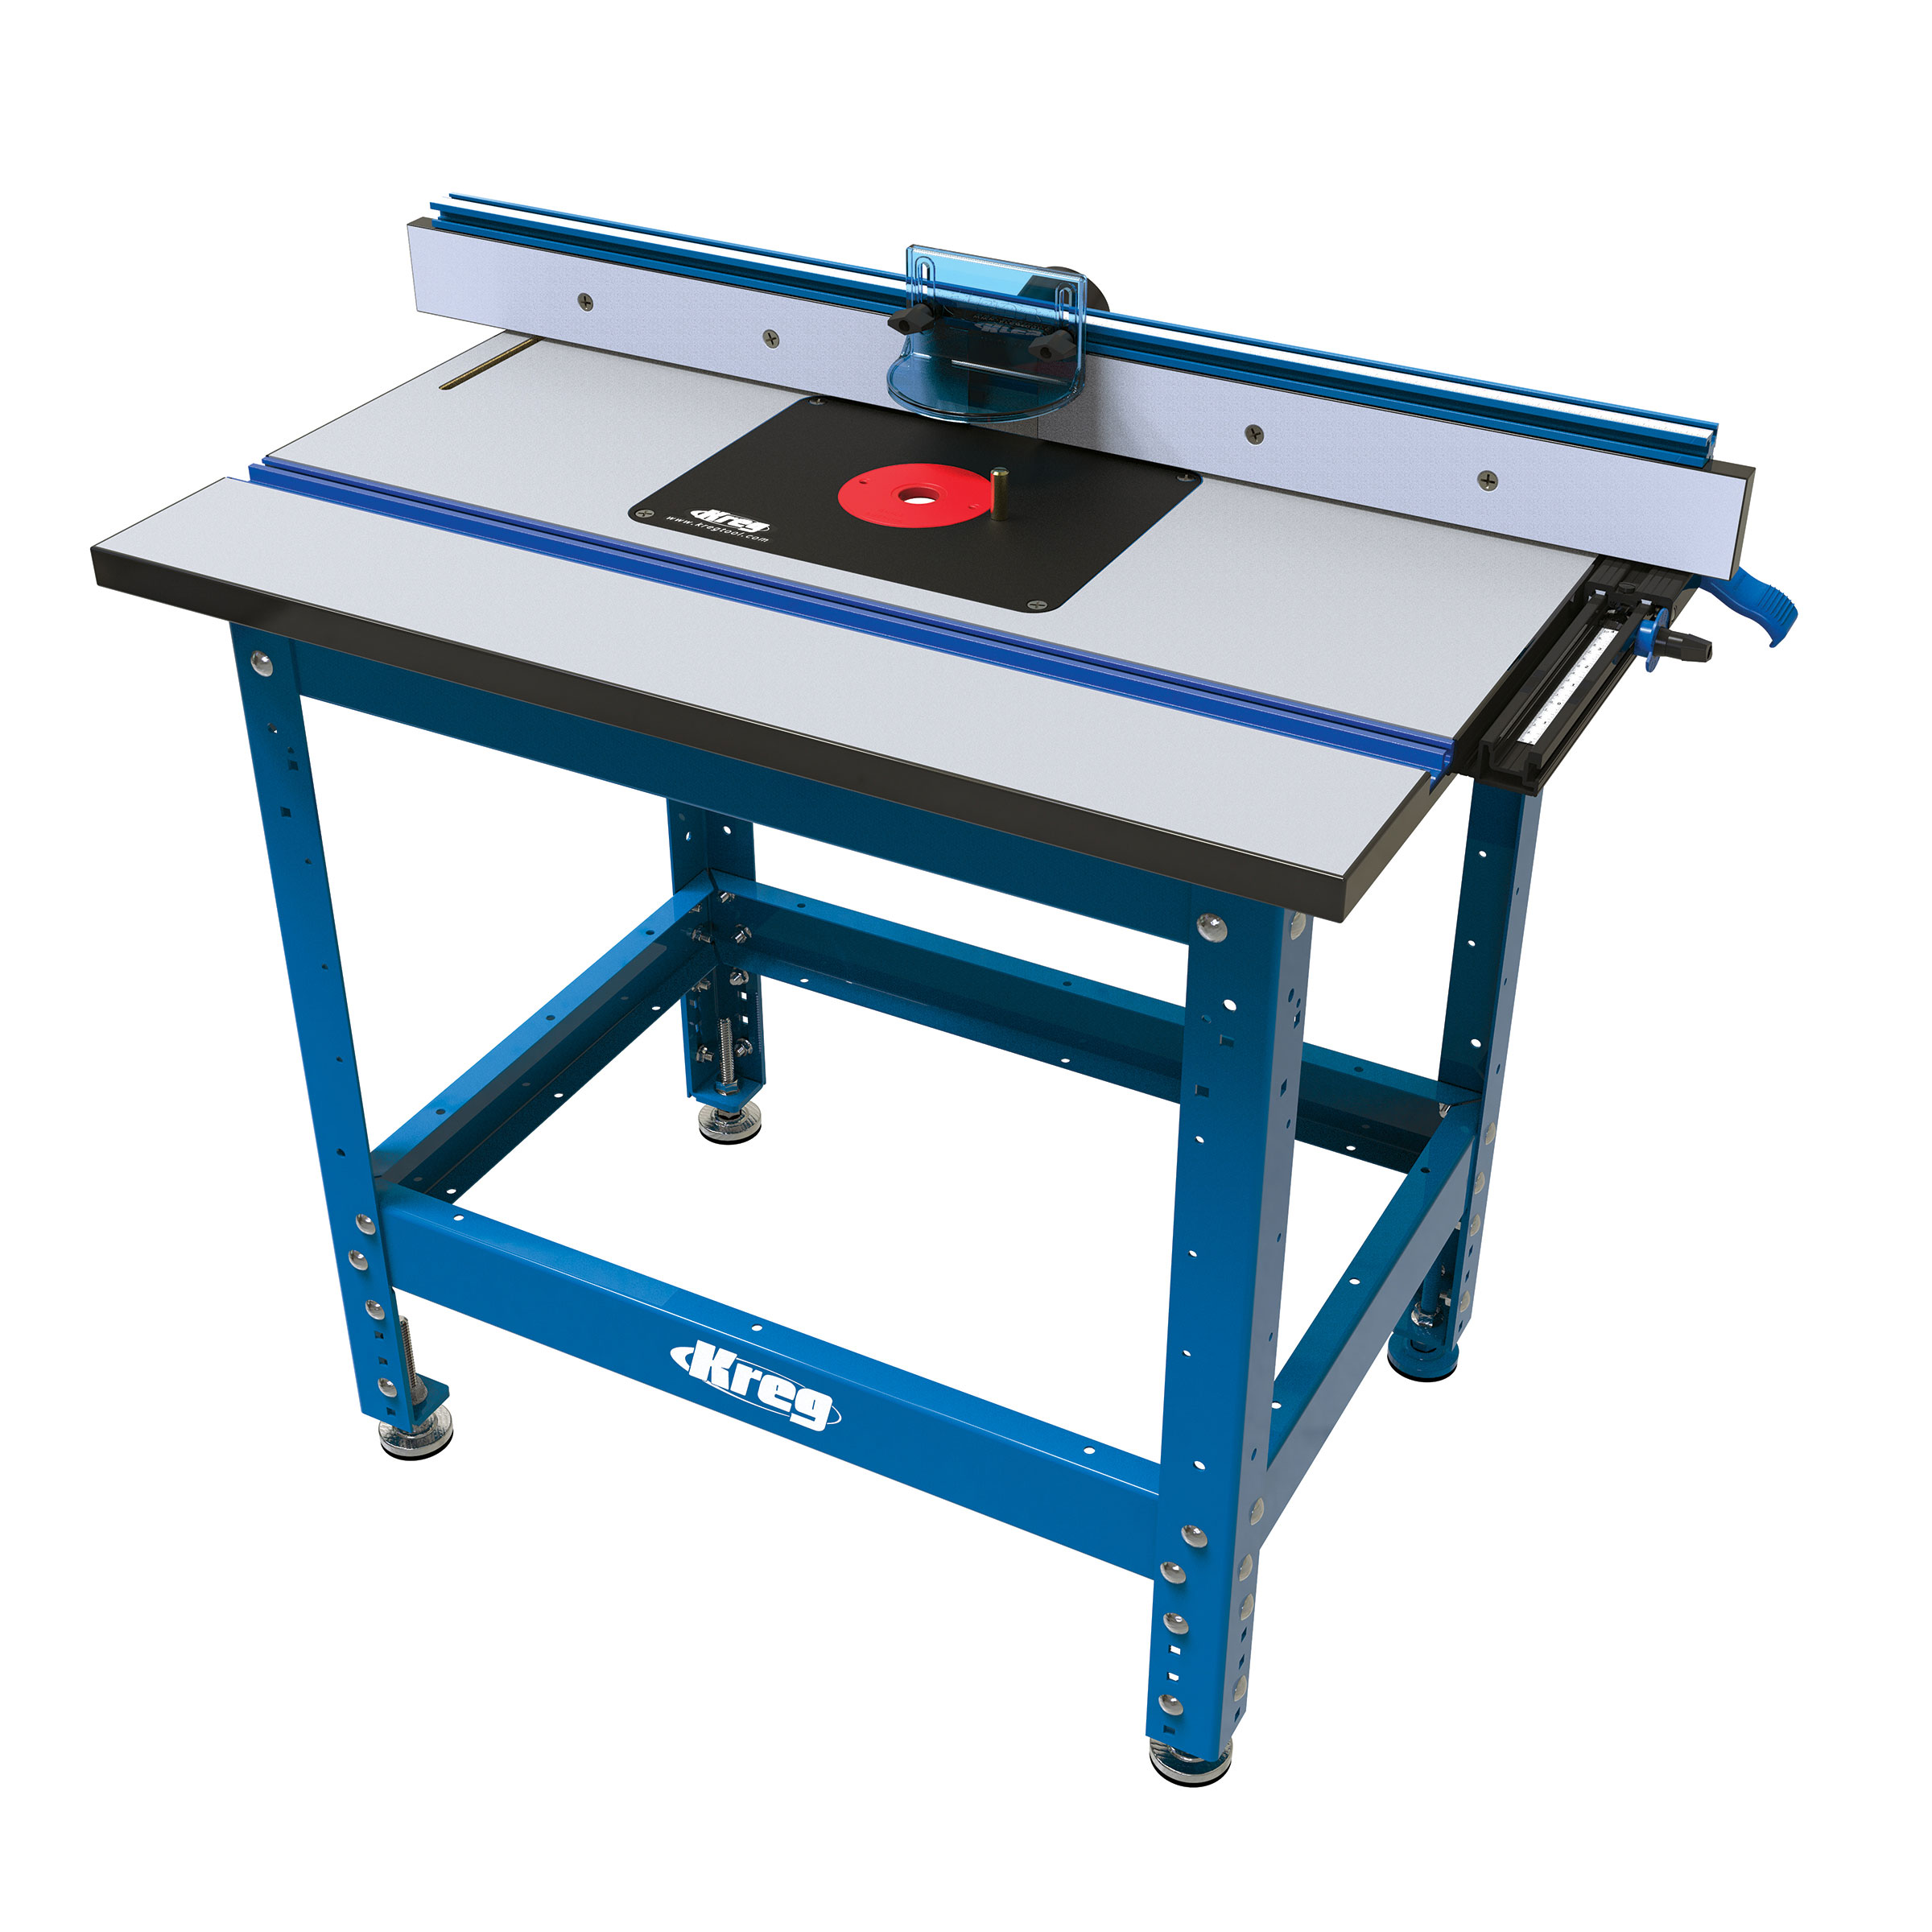
On the bottom inside face of parts B and C cut a grove as noted in the plans (we used our Kreg router table)
-
Assemble Frame
Glue all the joints, secure with clamps, and screw all the pocket holes.
-
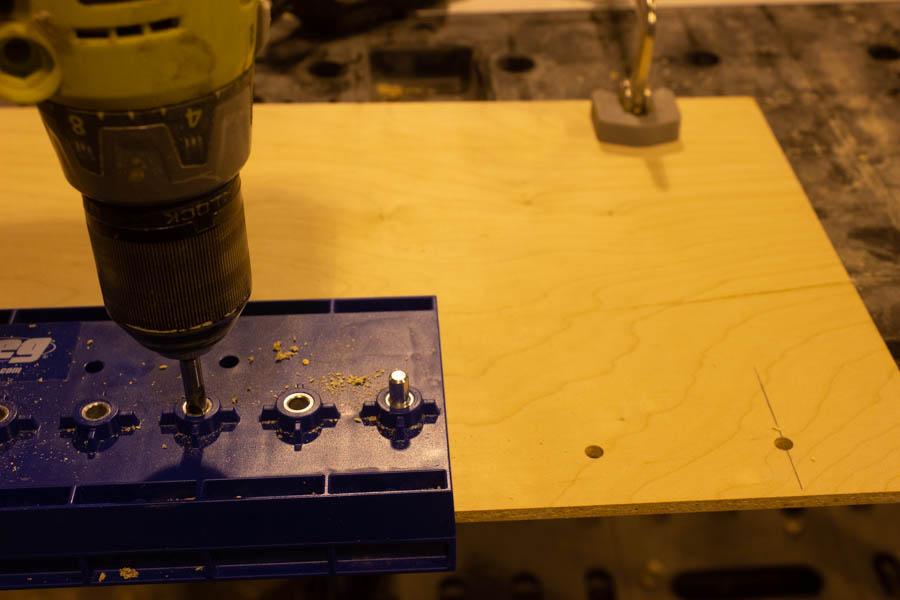
Prep Back (Part A)
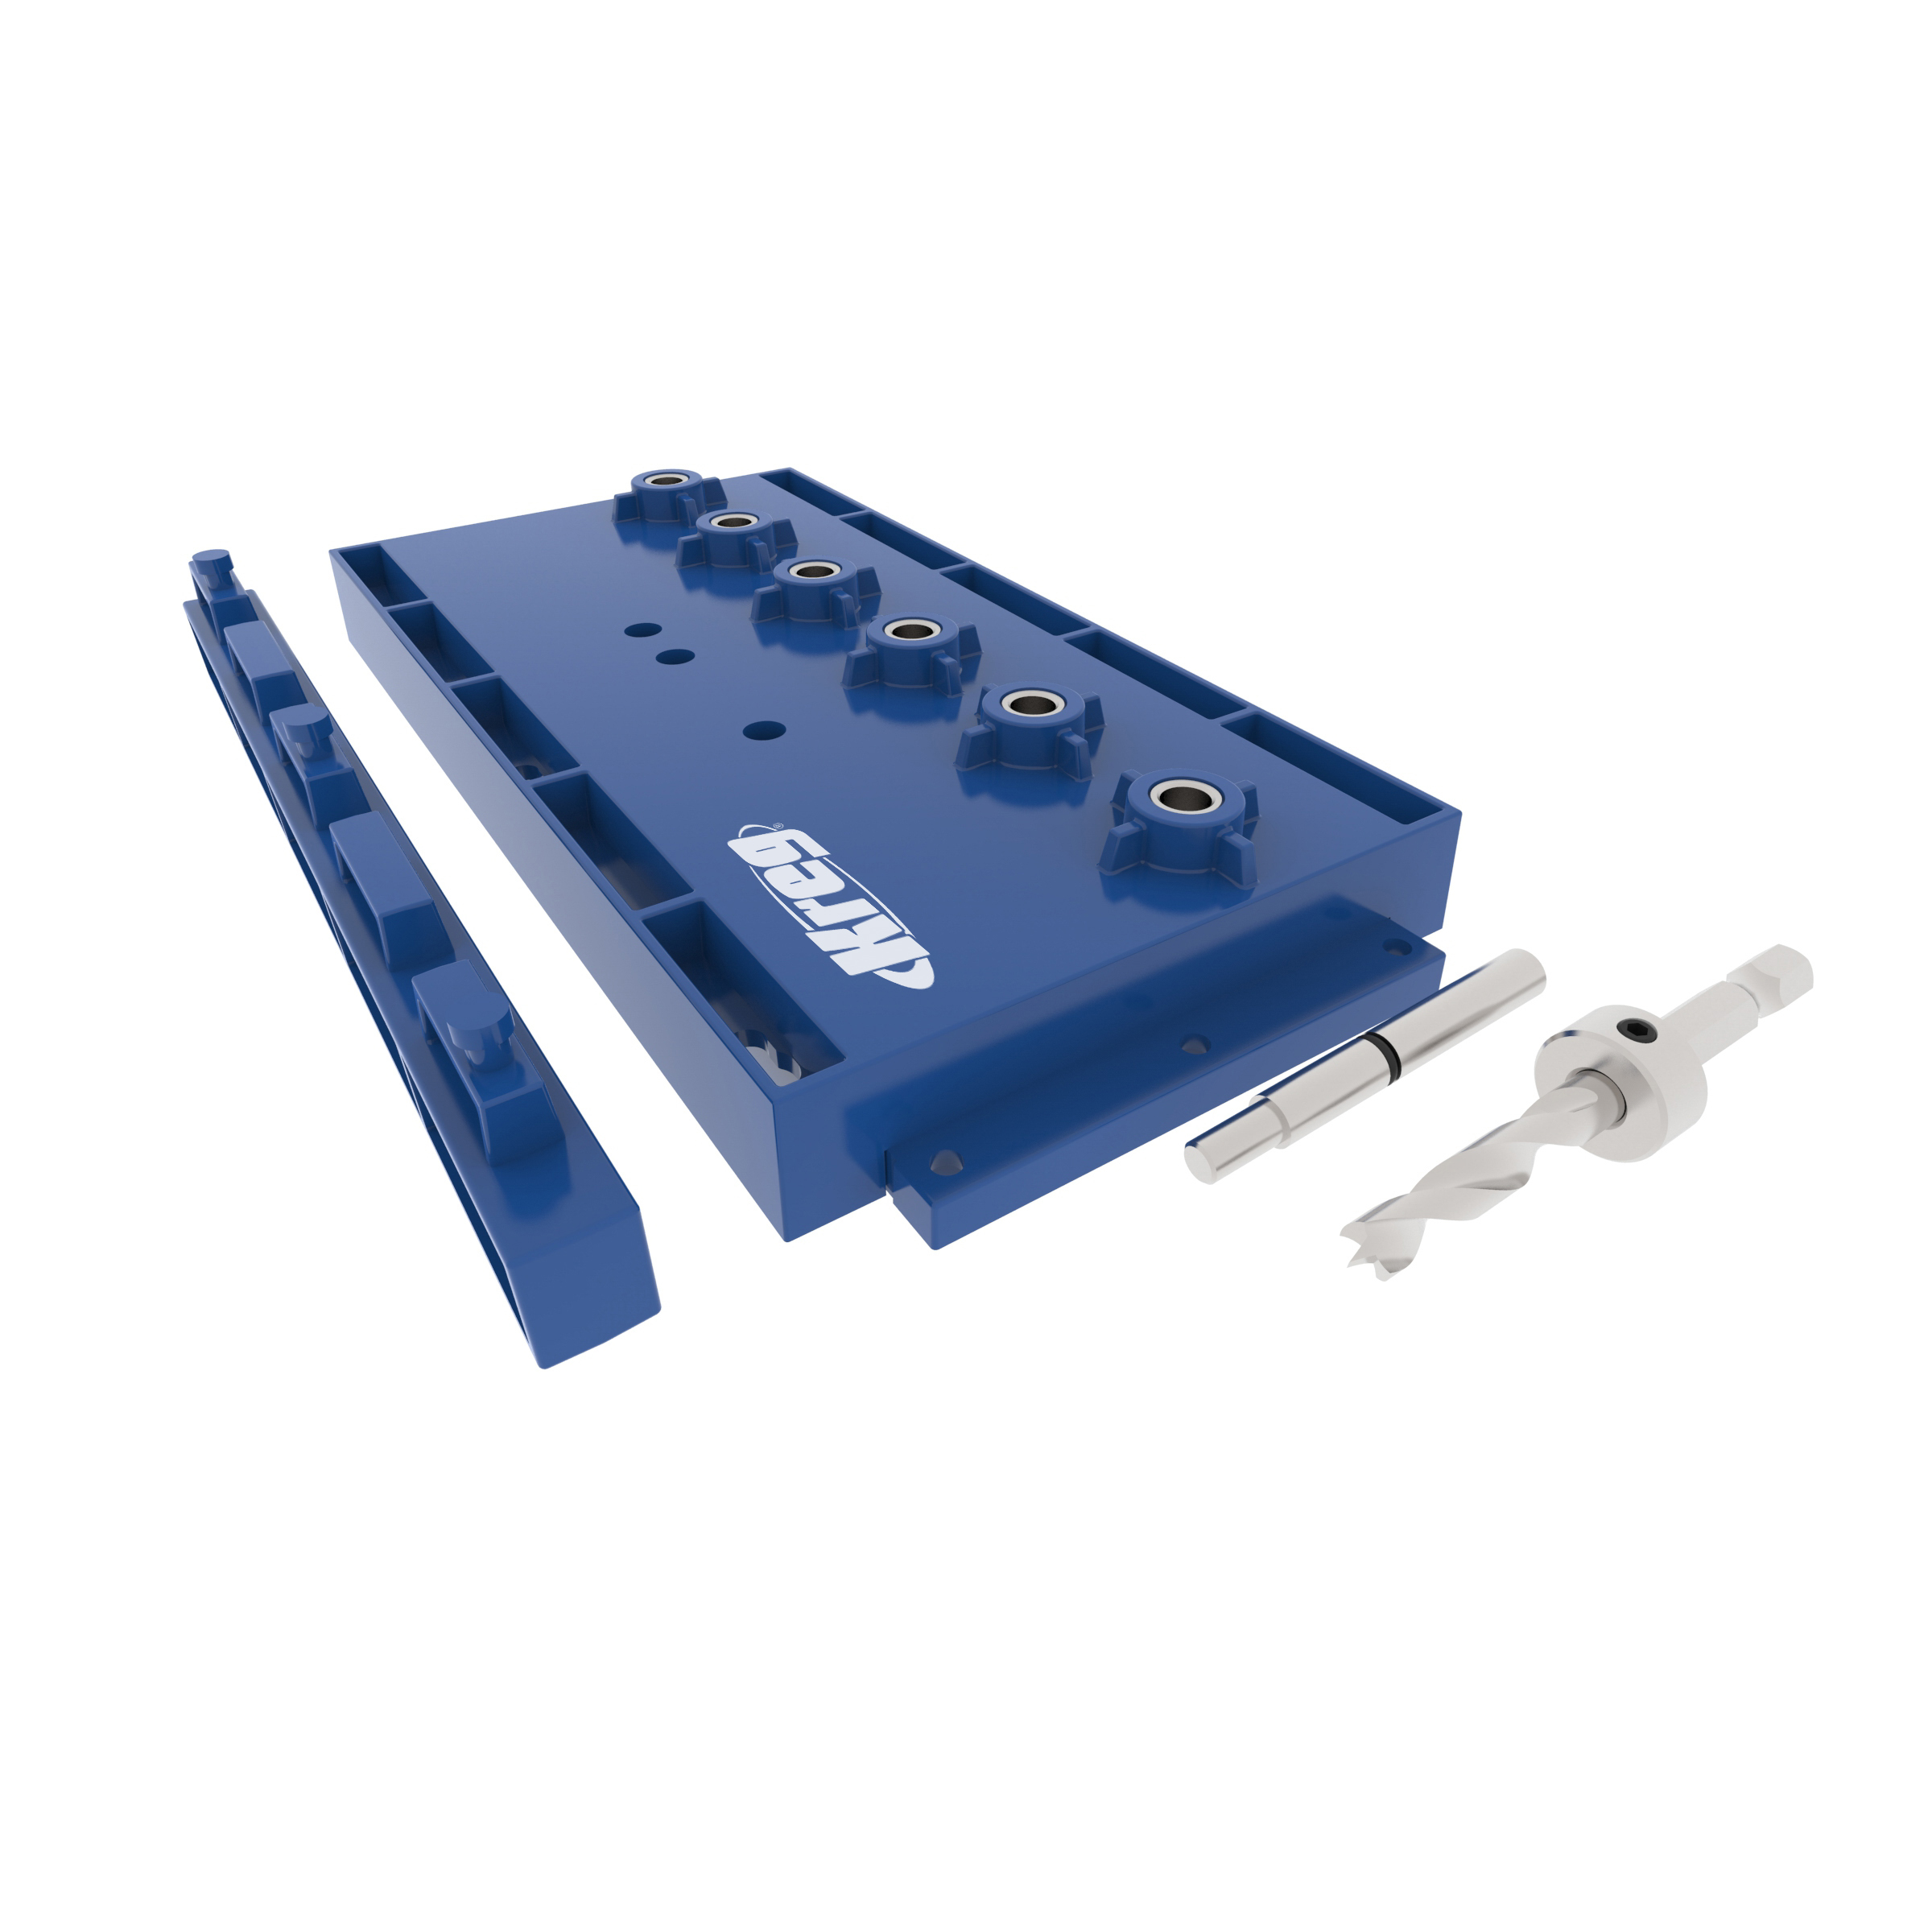
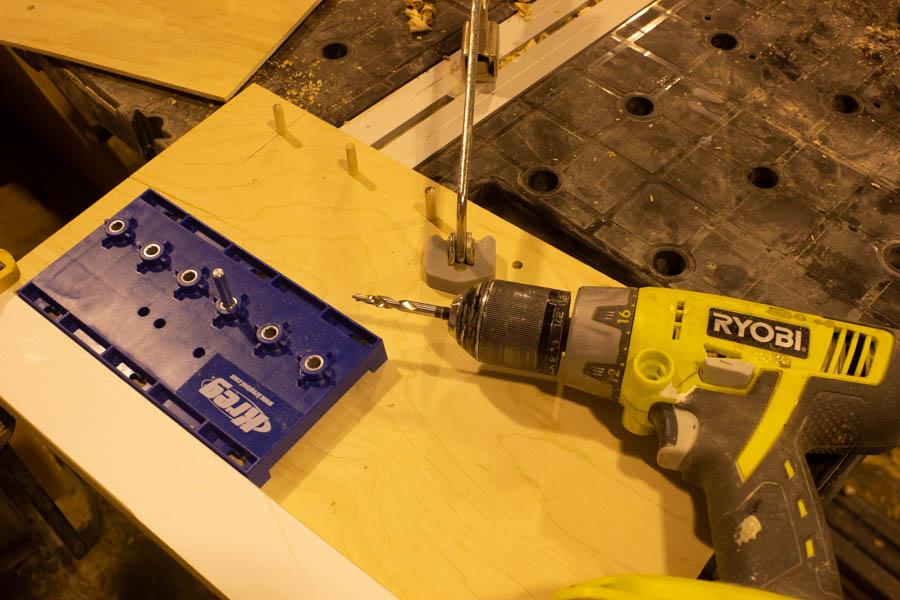
Using your Kreg Shelf pin jig drill your holes into Part A (or you can use a 1/4"dia. drill bit and drill all the holes individually). We used the Jig to layout the first row and drilled every other hole on the jig template. I than made a 1 1/8" space block to hold the jig on the bottom of the board to drill the bottom row.
-
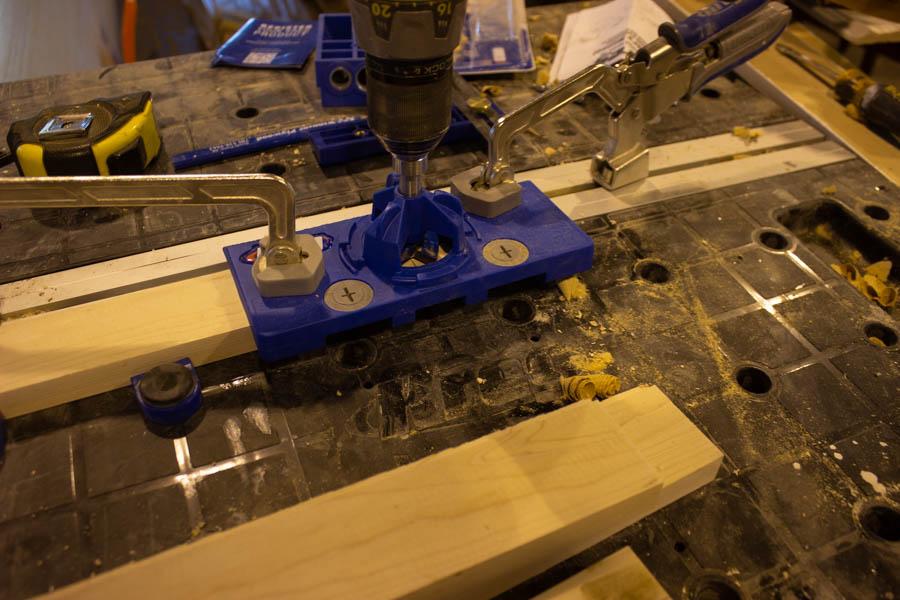
Drill Hinge Holes
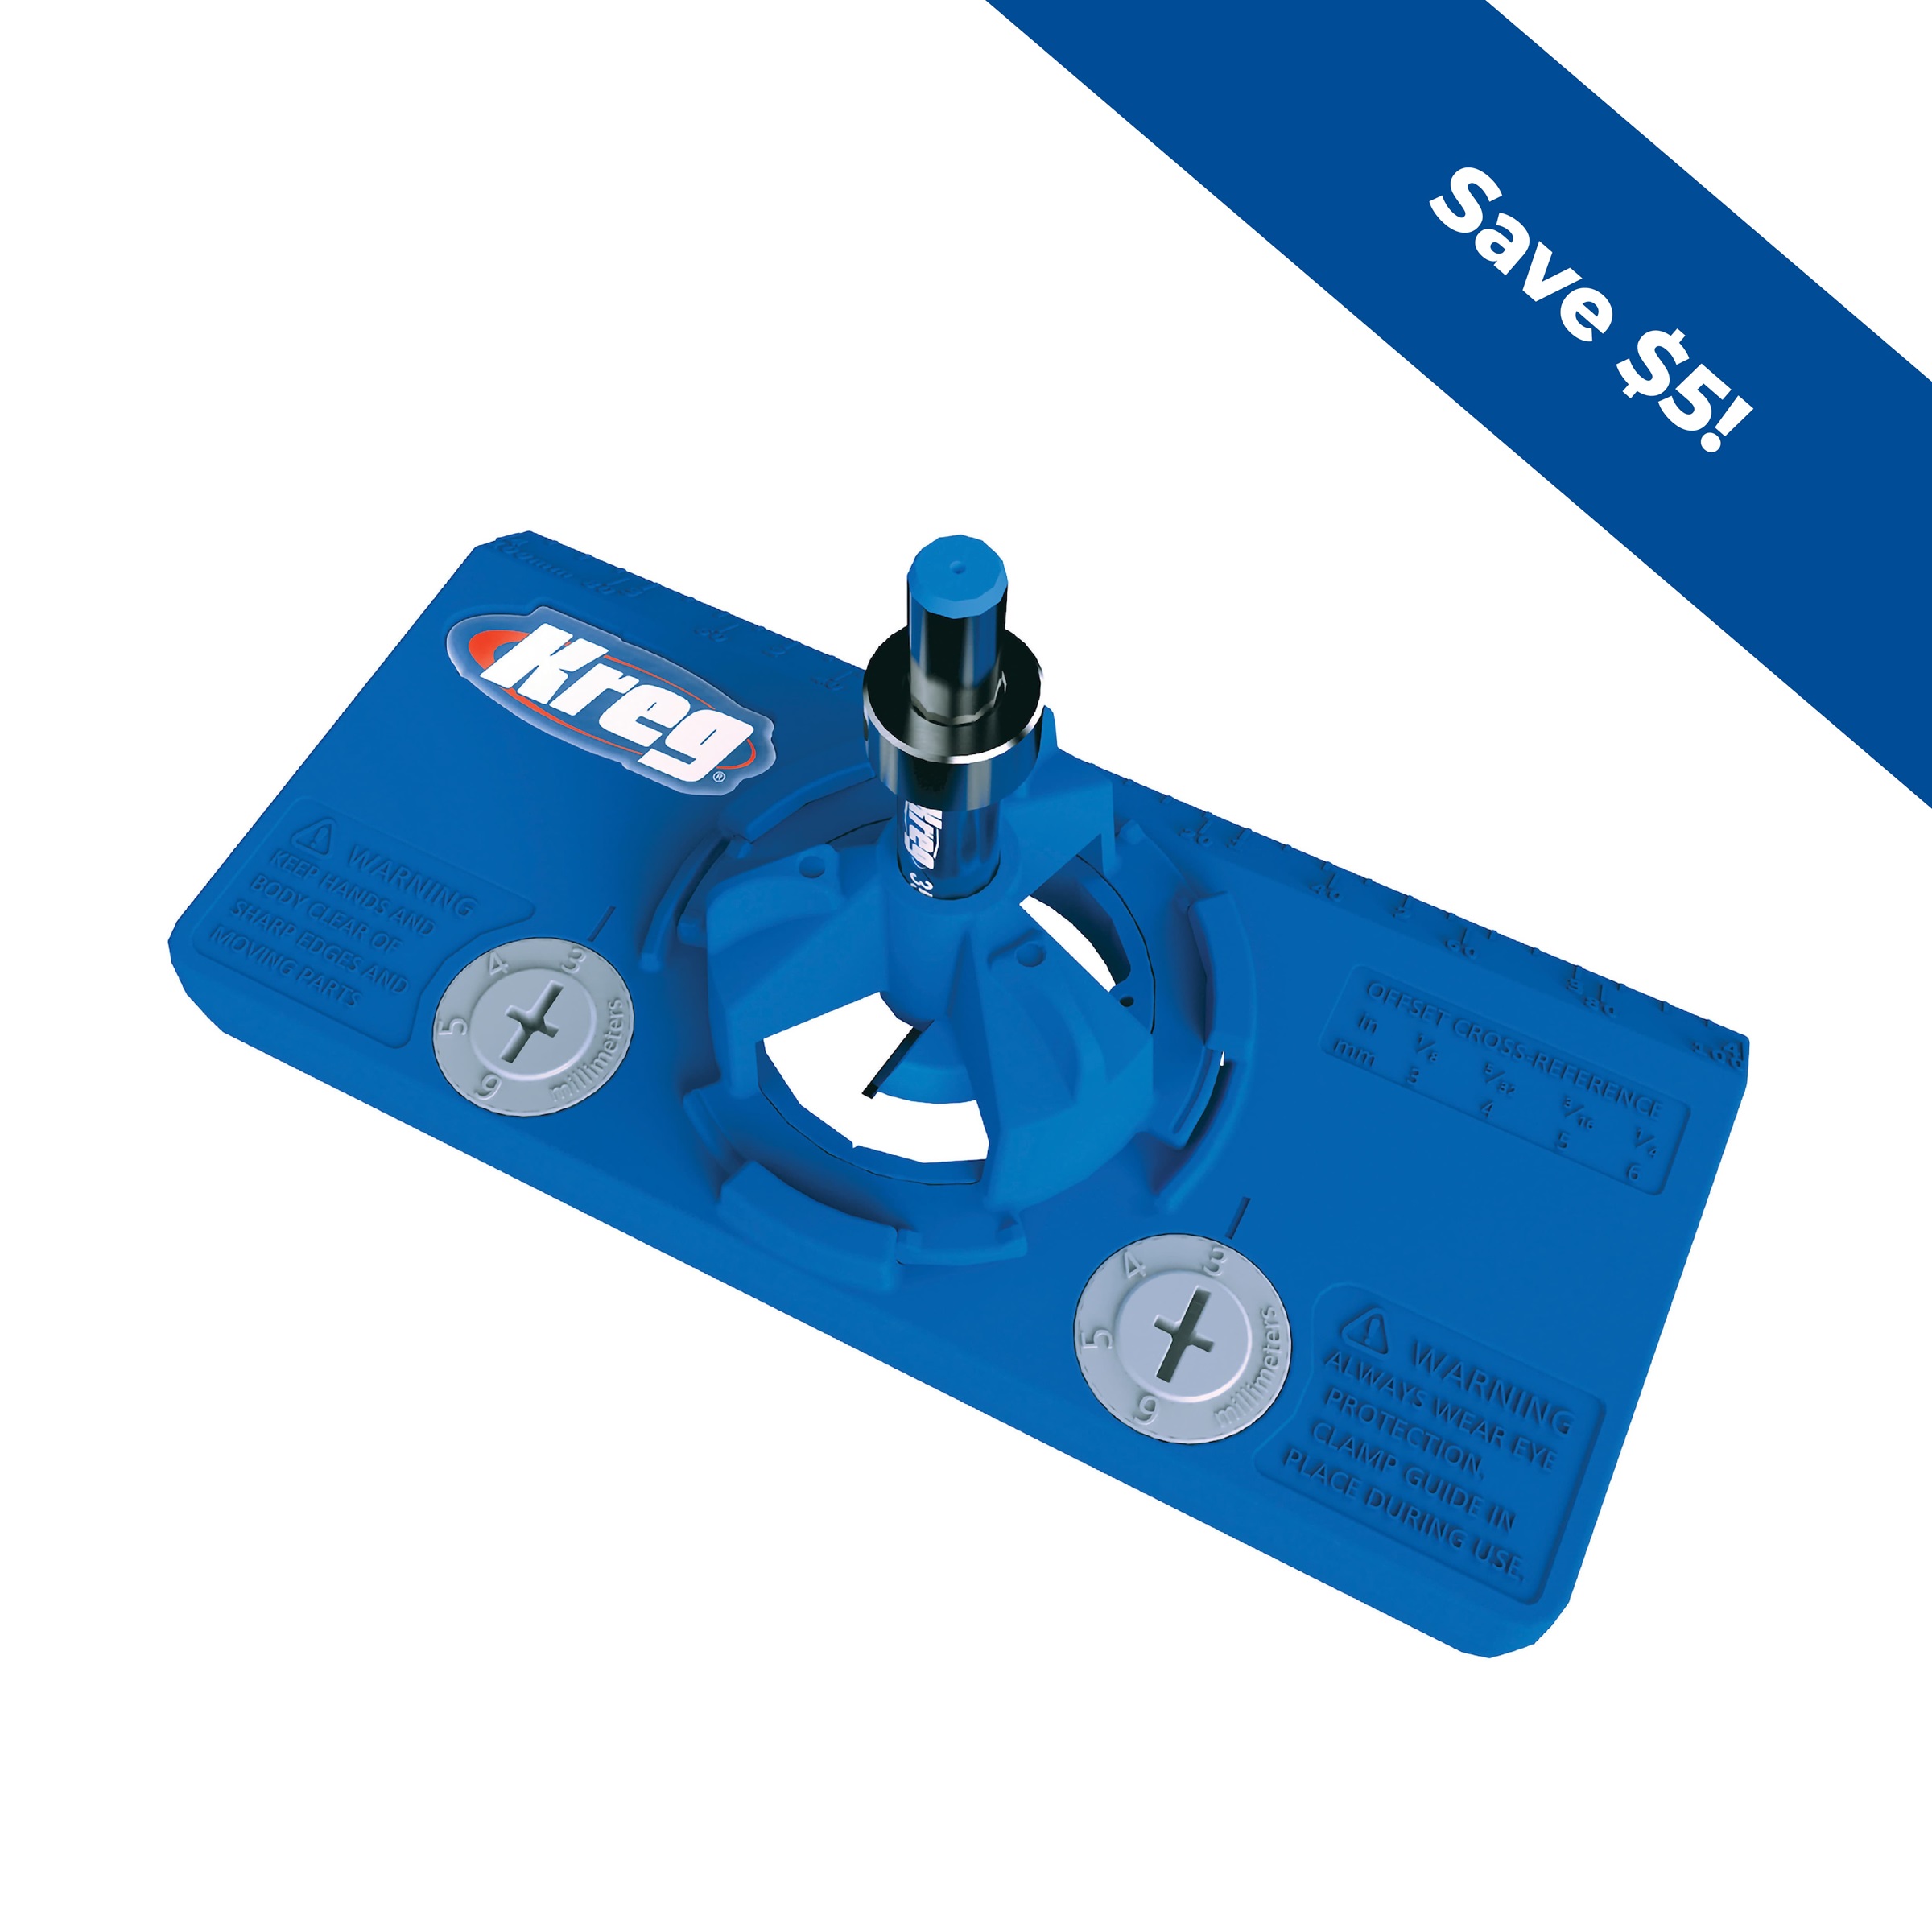
Using your Kreg Concealed Hinge Jig drill two holes as noted on the plans. We set the jig to a 3mm offset and used left over Ikea concealed hinges.
-
Assemble Part A
With your holes drilled cut and install the 12 wooden dowels in Part A. We used wood glue to secure them into place.
-
Glue Part A
With the dowels in place, you can glue the back groove and place Part A at the back of the frame. You may want to do a sanding of all the pieces with a 220 grit sand paper prior to installing the back face.
-
Cut keyholes
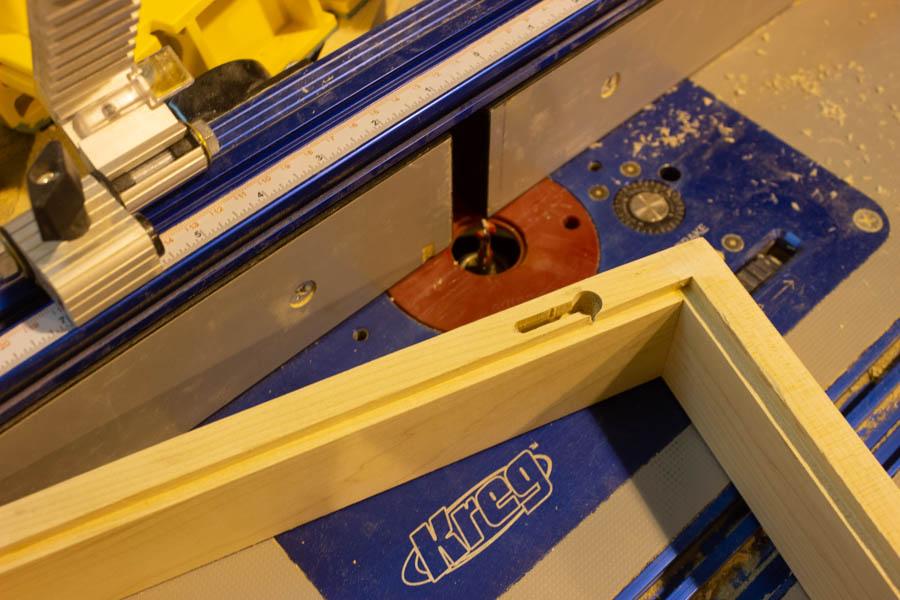
We cut key holes using our router table in the back of the frame to allow it to be attached to the wall. However any hanging method can be used (note the photo shows the keyholes cut down, however I later had to cut in the opposite direction as the slots need to be towards the top of the frame)
-
Finish Frame and Front
We used Ebony (Black) stain and a satin varnish to finished the maple frame. We used primer and a white paint to finish the MDF board.
-
Plug Pocket Holes
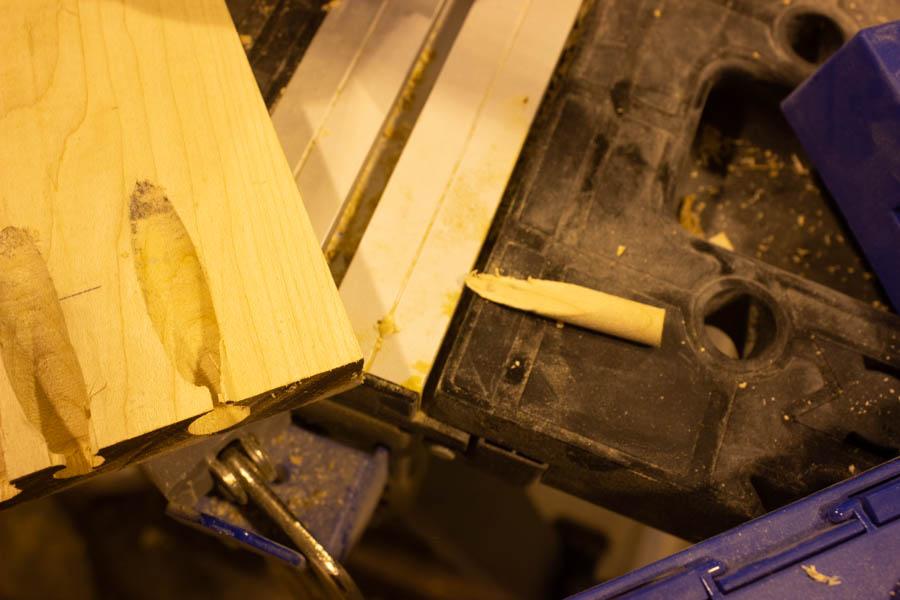
Using our Custom Pocket-Hole Plug Cutter we cut maple plugs out of scrap wood pieces of wood and filled the 4 pocket holes. We tired to match the grain as close as possible to try and hide the holes.
-
Final Assembly
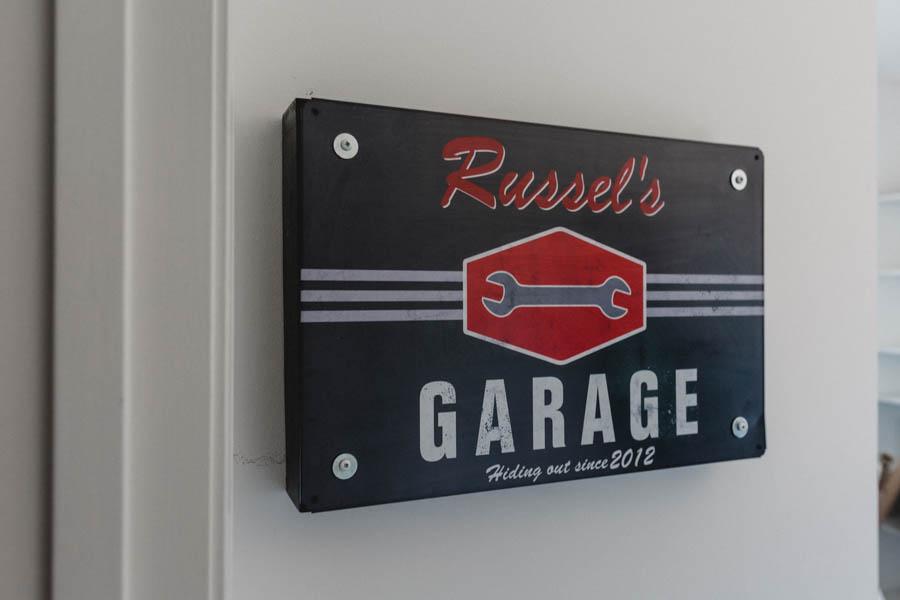
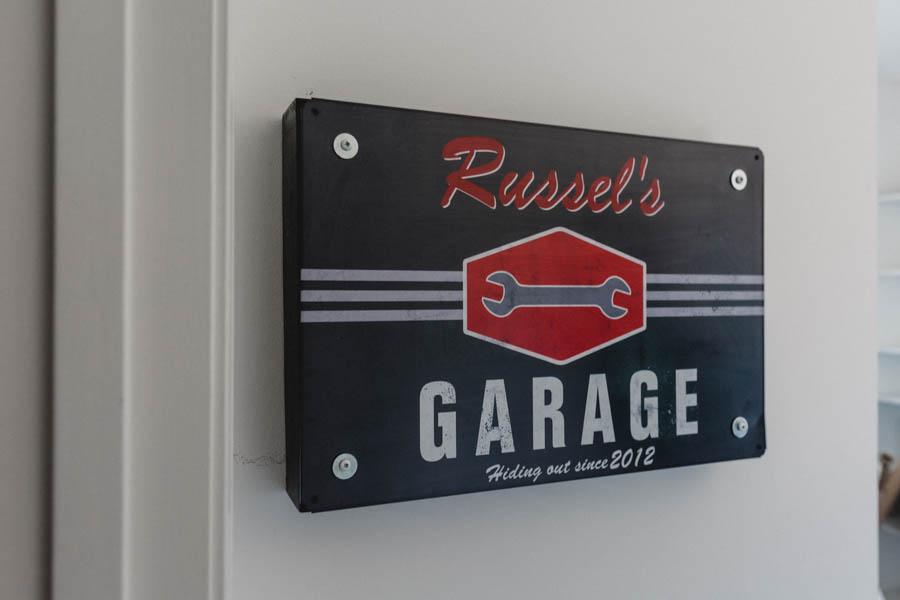
Secure your hinges to the Frame and MDF board. We than screwed the sign to the MDF front (we had to drill new holes to hole the sign in place to ensure they screwed into the MDF board and not the frame). We had a sign from https://www.giftsforyounow.com/personalize-my-garage-man-cave-metal-sign-676364.aspx however you could use any sign or make your own to complete the end look.


