Gavilan Truss Beam Desk
By Castor WoodworksGive your office a rustic touch with this Truss Beam Desk.
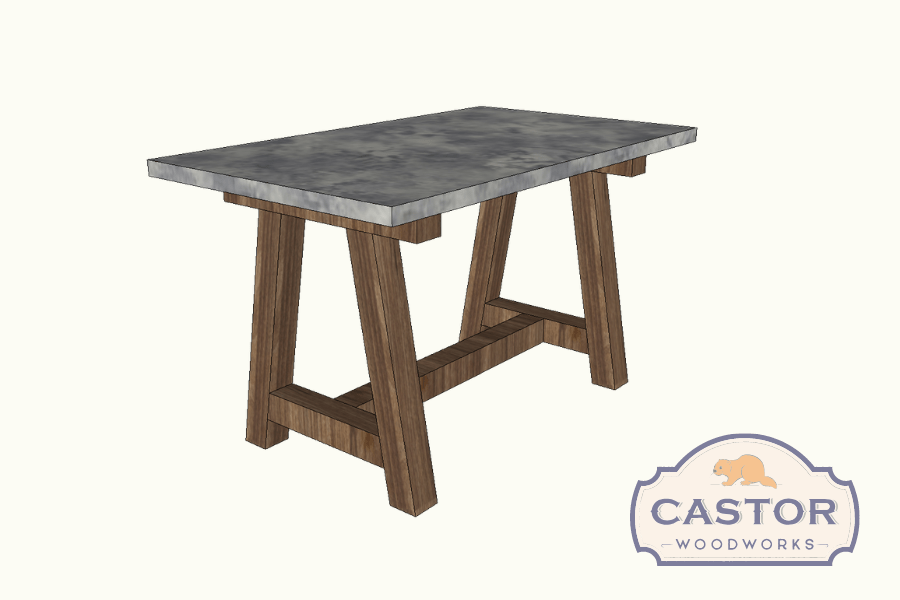
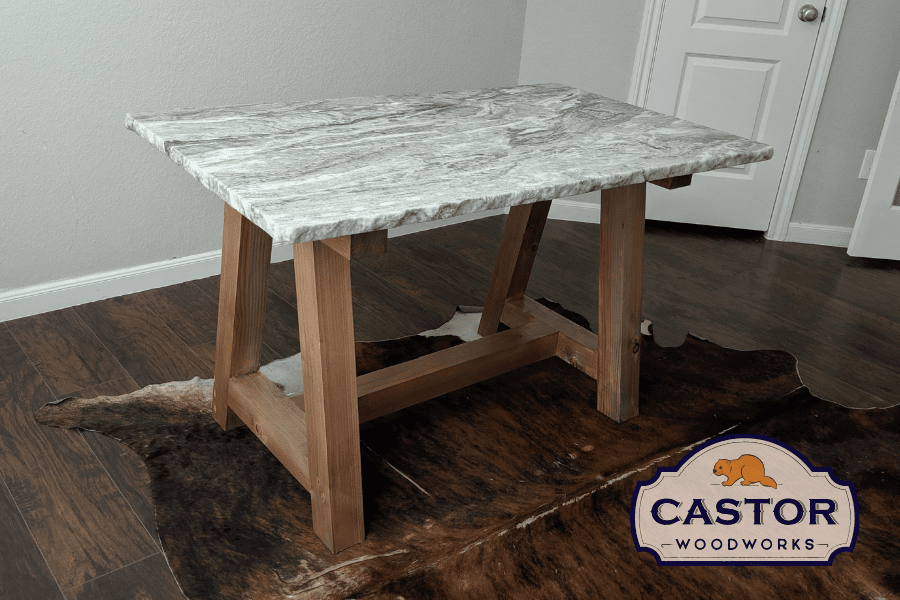
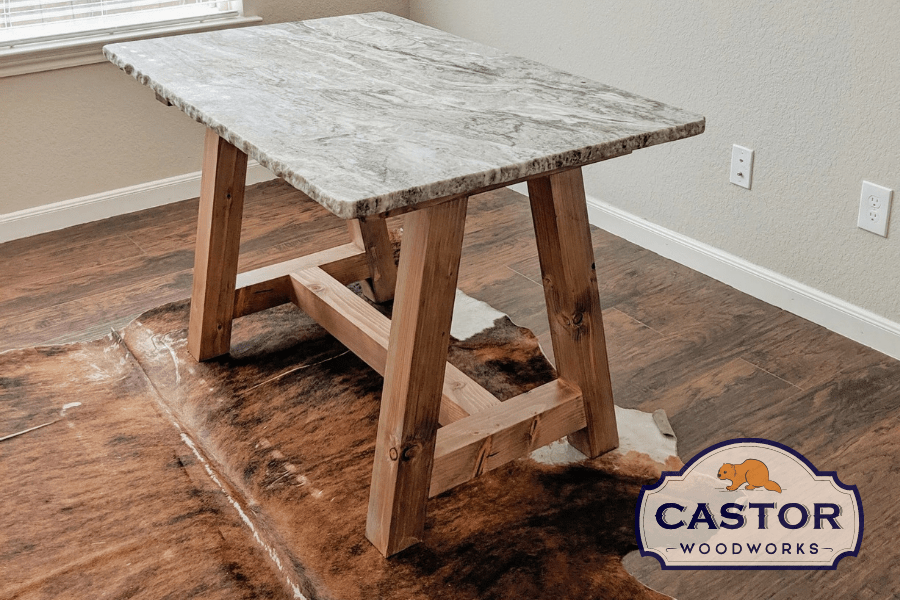
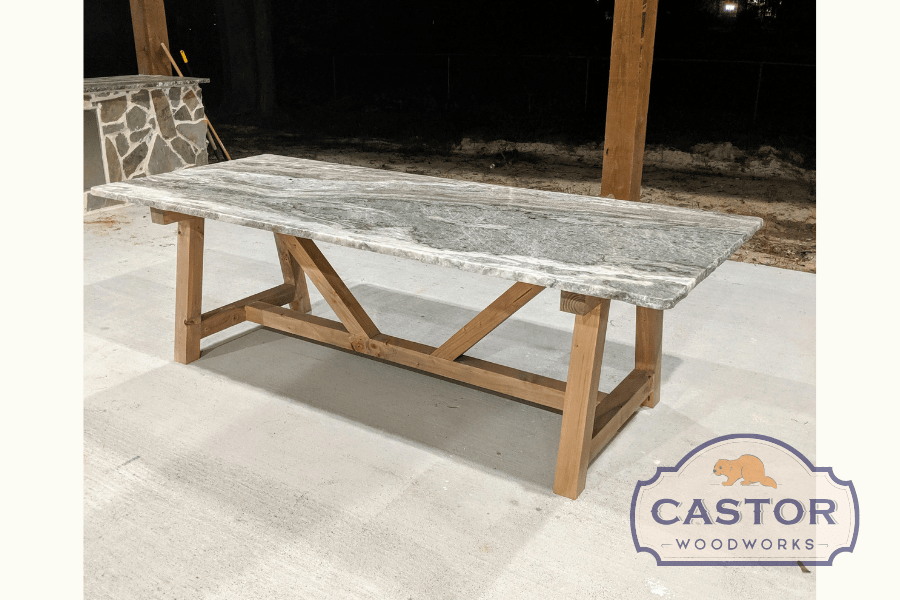
It features a granite top with chunky angled legs, perfect for your rustic or farmhouse decor.
Follow along on youtube:!
https://youtu.be/reIl21y2H64
www.instagram.com/castor_woodworks
Directions
-
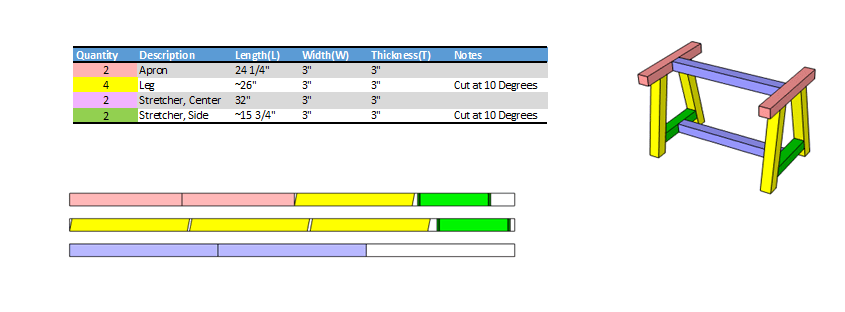
Complete Cut List
Once your lumber is jointed and planed, use the cultist to break the lumber down into the pieces. These cuts can be made on a Miter Saw or using a Circular Saw.
-
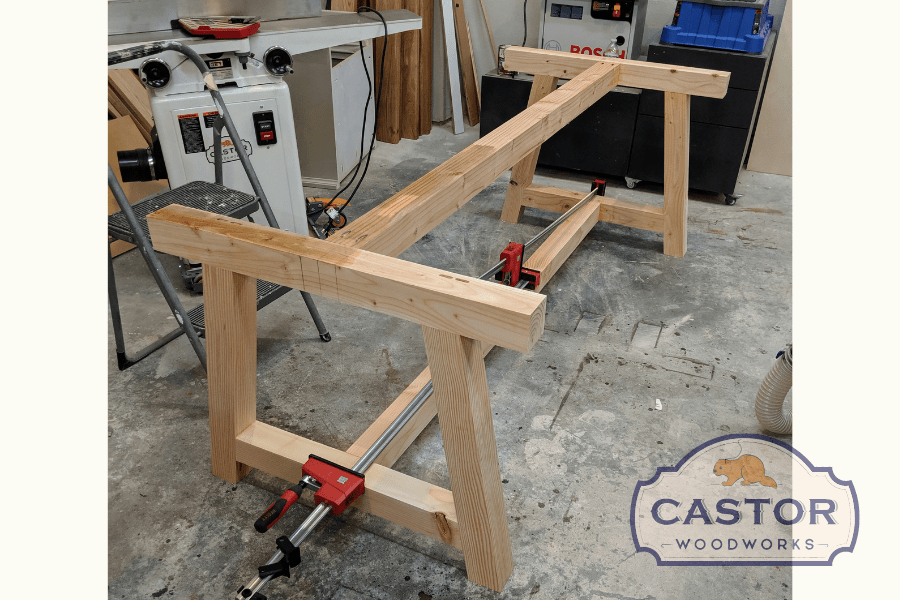
Dry fit
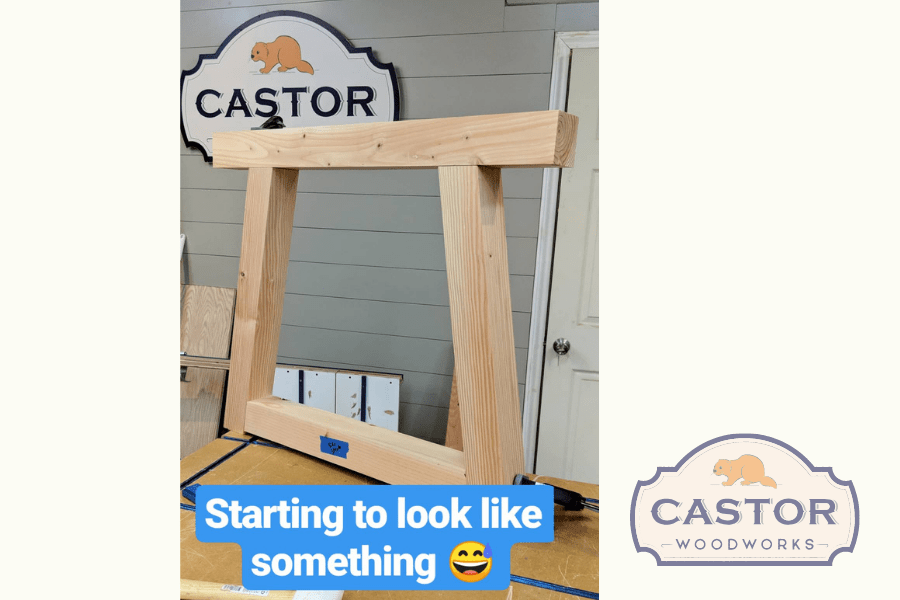
After making your cuts it's a good idea to do a dry fit to see how everything is lining up. The hardest piece to align is the Side Stretcher so leave that one for last.
-
Square Up
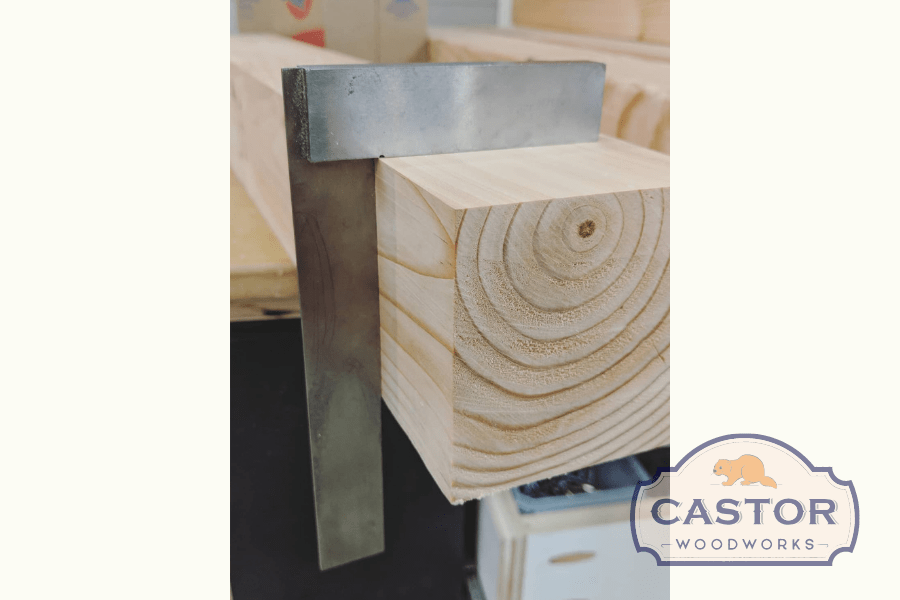
Joint two sides flat on your jointer then run the opposite sides through the planer. This will give you 4 square edges at 3". You can make this build without this step however you won't have the nice clean look at the end.
-
Layout Reference Lines
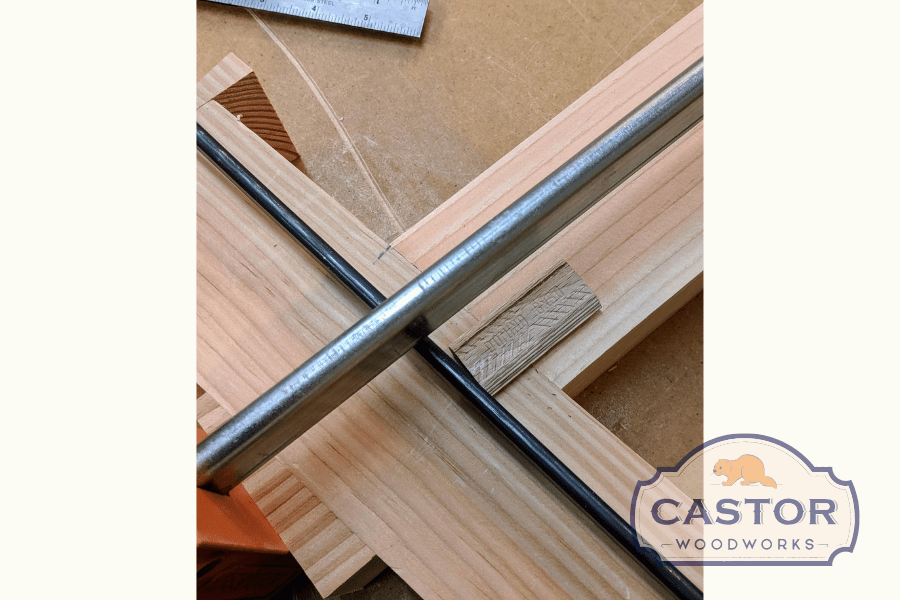
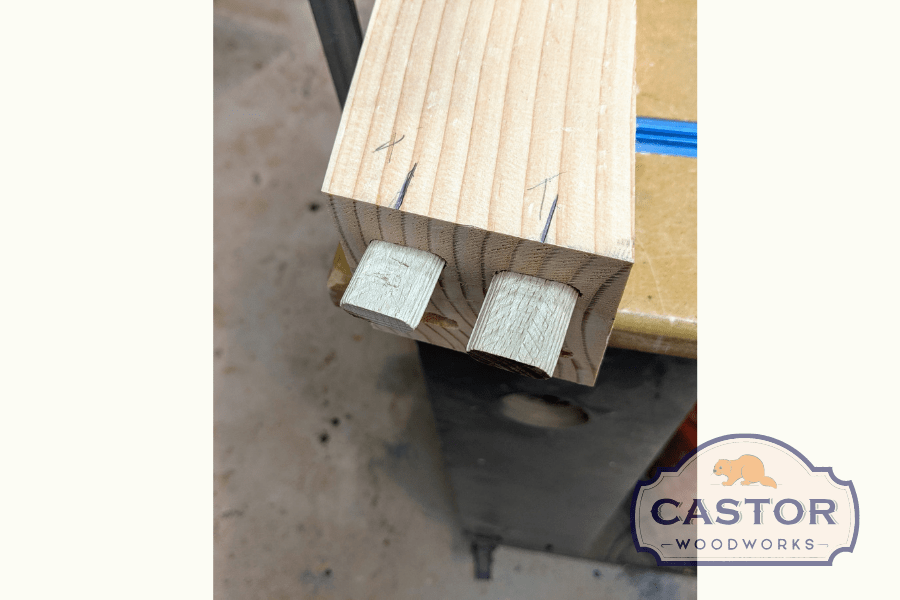
You are going to add two domino's tenons at each of your joints. Add two clear lines at the intersection so your mortises line up perfectly during assembly.
-
Cut Mortises
Remove your clamps and make your mortises.
-
Glue up time!
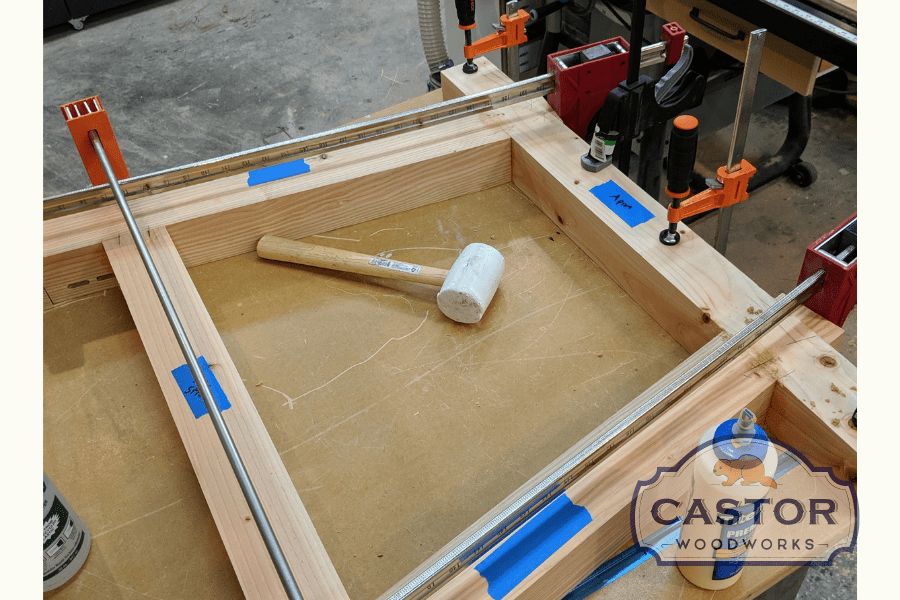
Once all your mortises are made its time for glue up! Apply wood glue to your tenons and all your joints be sure to wipe off any excess. Clamp your base together using offcuts, this ensures proper clamping pressure and a good solid joint. To ensure your bases are square you need to clamp them to your workbench. This ensures that your bases are square to each other and makes alignment easier. Make sure to apply some Paste Wax to the workbench top so that you don't glue the base to your workbench... that would be bad!
-
Add Center Stretchers
Repeat steps 4-6 for the Center Stretchers. Its best to have a helping hand when completing this process since it can be difficult to make minor adjustments.
-
Add the Top
For this Project I went with a granite top. If you are going for a wood top make the final dimensions 50"L x 30"W.
-
Stain or Paint
Give your bases a good sanding starting at 80 grit moving up 220 grit. Stain or paint to your preference.


