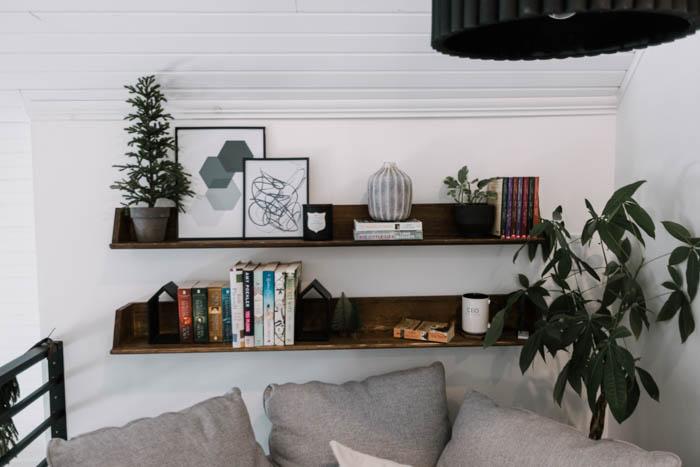
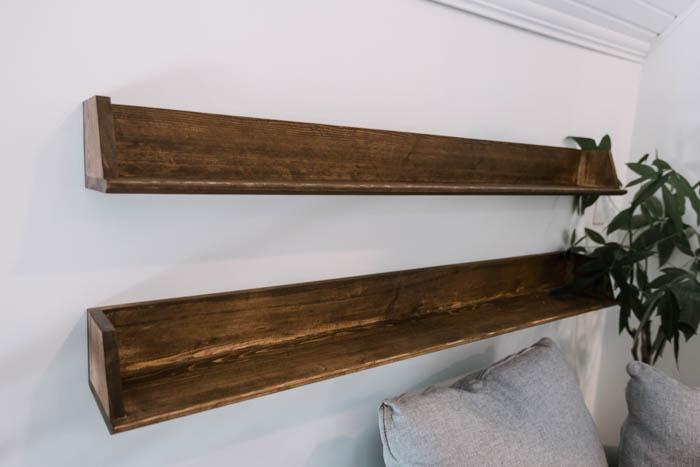
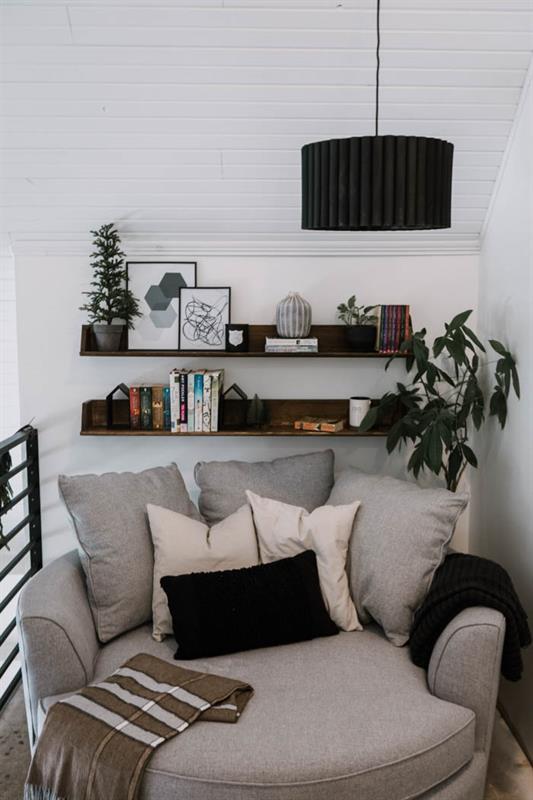
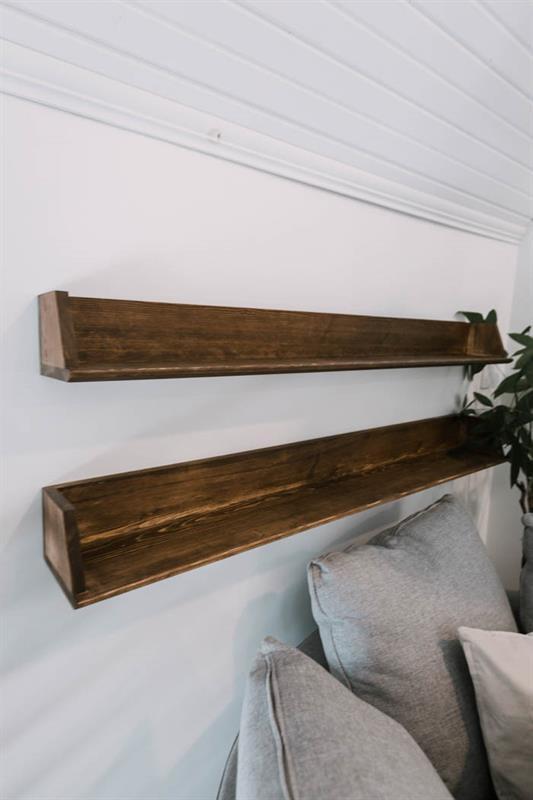
Floating Shelves with Sides
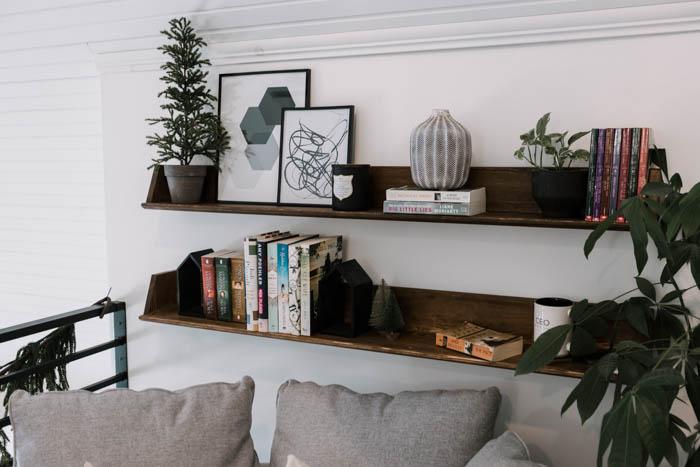
By Love Create CelebrateQuick and easy shelf build. These plans will build two floating shelves, a larger shelf on the bottom and a slightly smaller shelf that can be installed above it.
see the Extras tab for drawings and dimensions
Directions
-
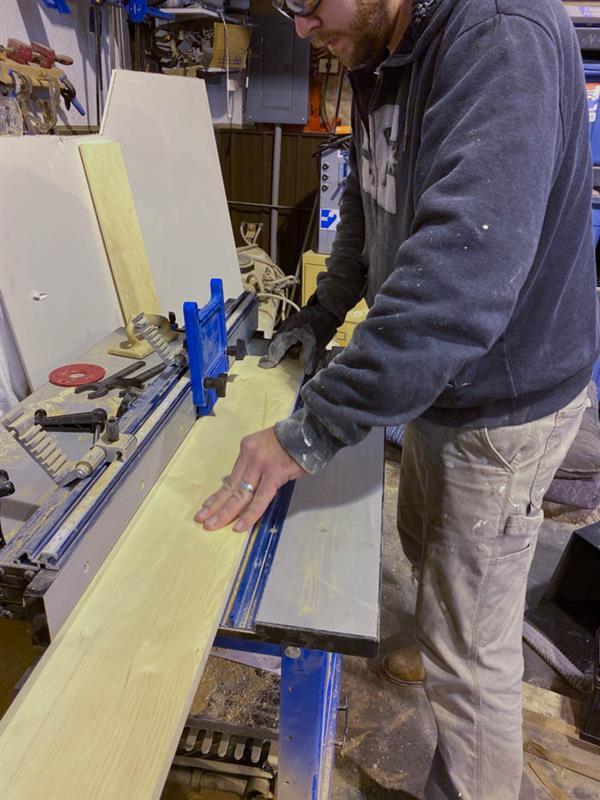
Cut 1x8s to size
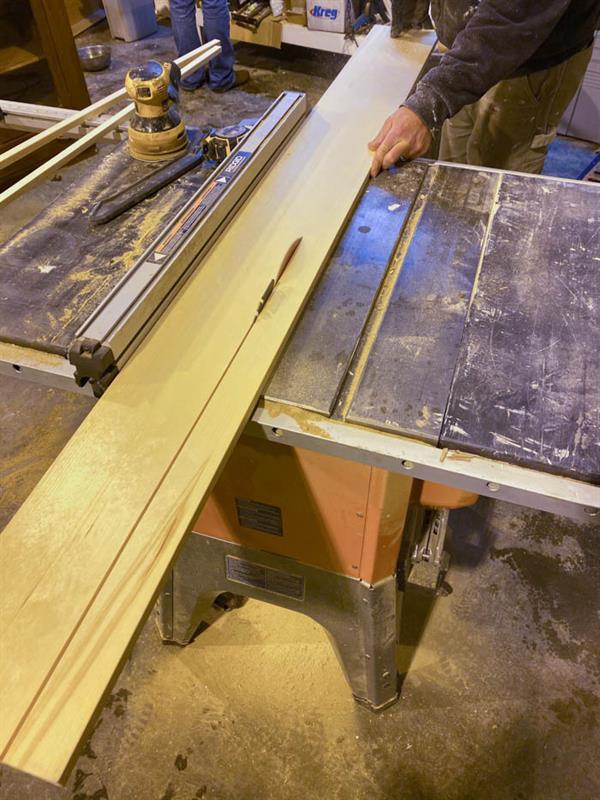
Following the drawings in the "Extras" tab cut your four 1" x 8" to length and width
-
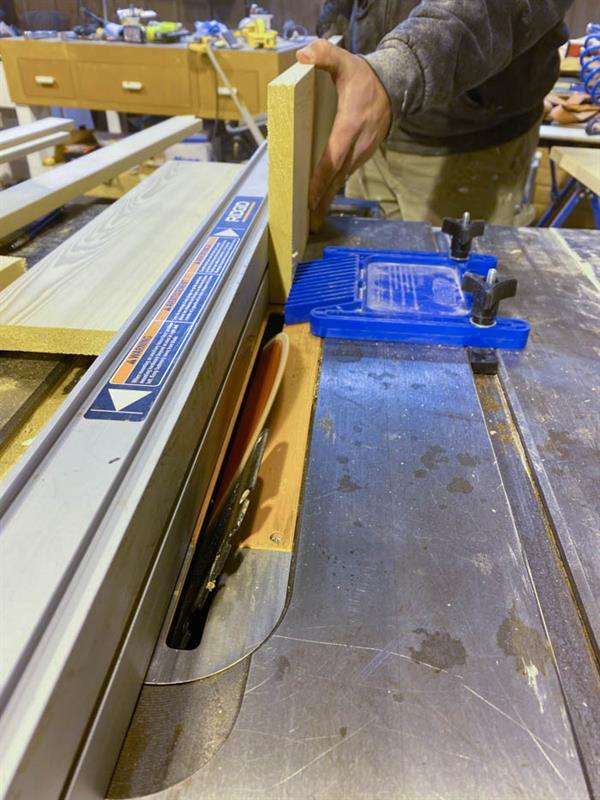
Add angle to bottom plates
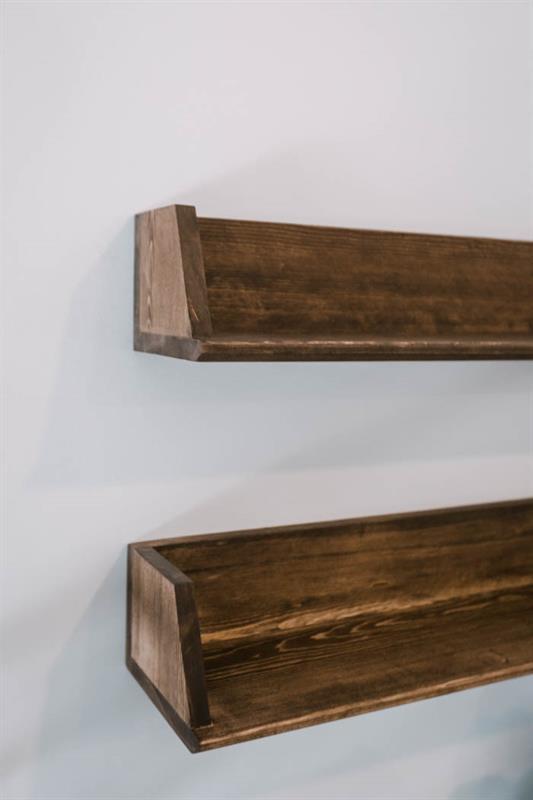
as noted in drawings add your 45 deg cut to the front face bottom side of you two bottom shelves (Part B & D)
-
Add Radius to bottom plates
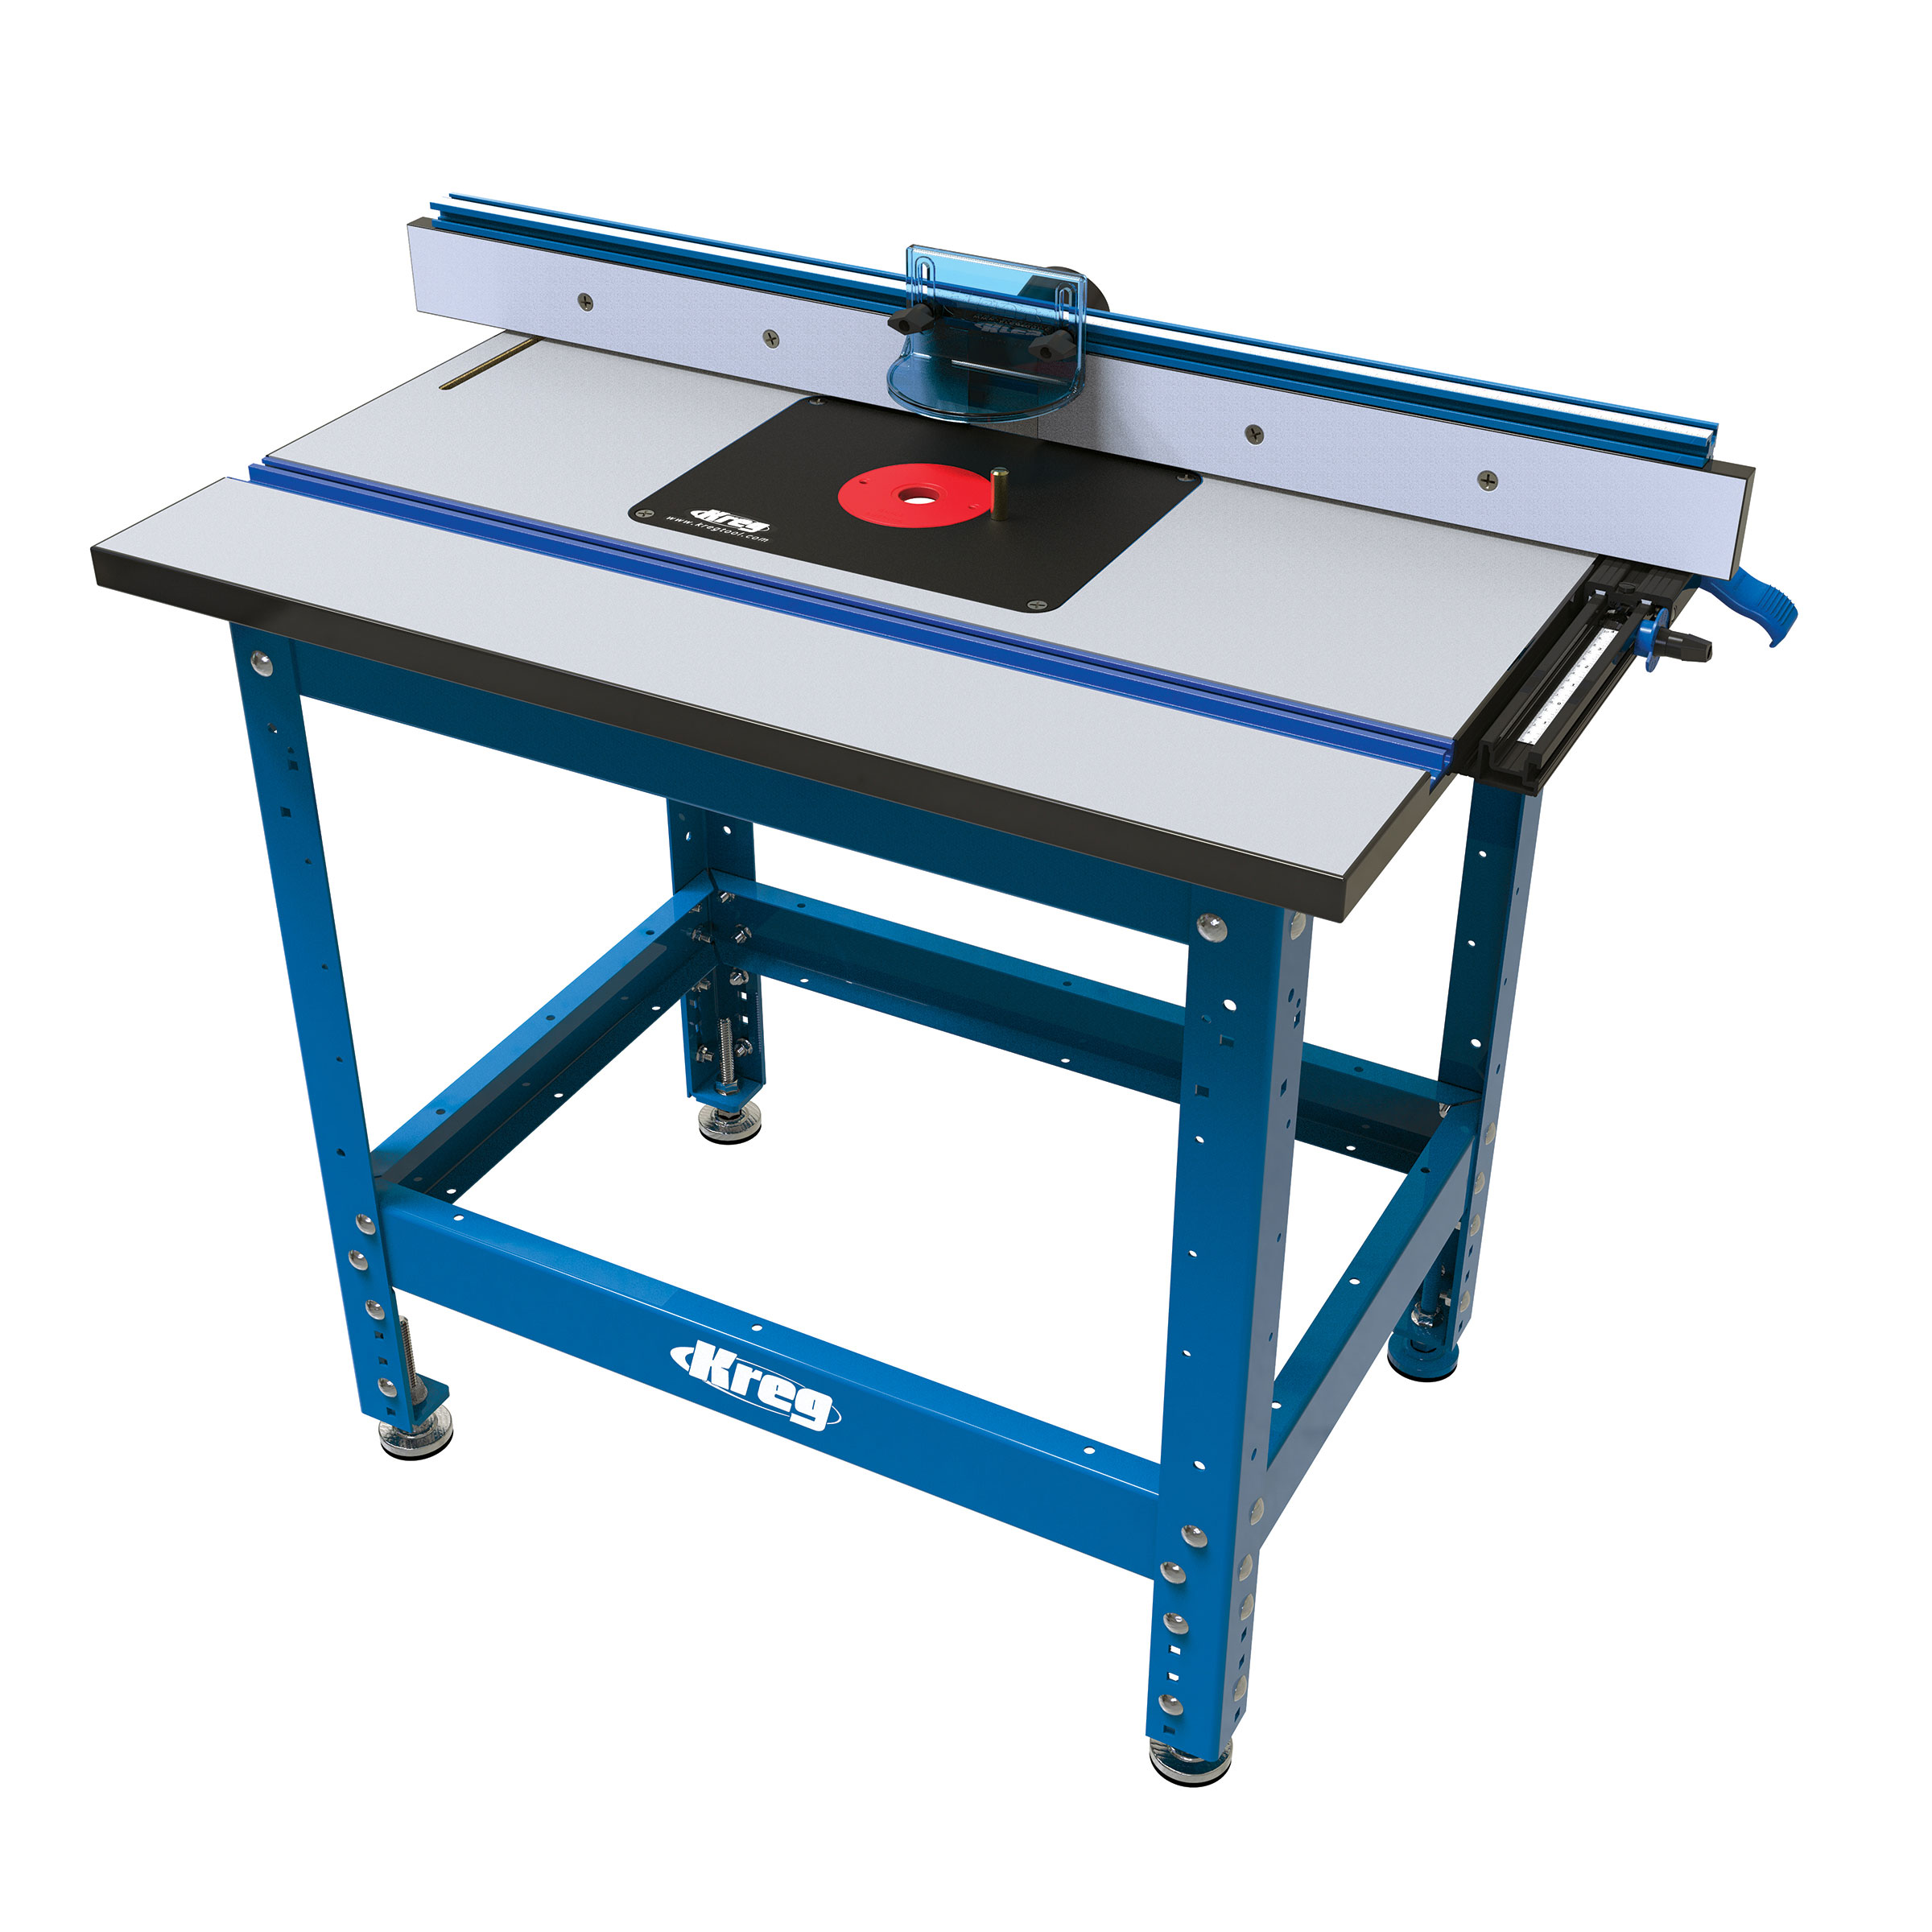
using a router, add a 3/16" radius to the front top side of your bottom plate (Parts B & D)
-
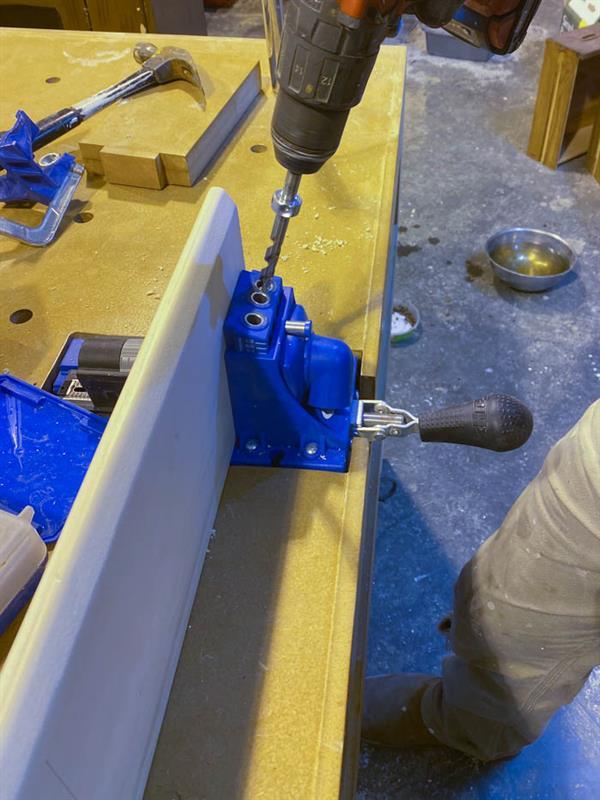
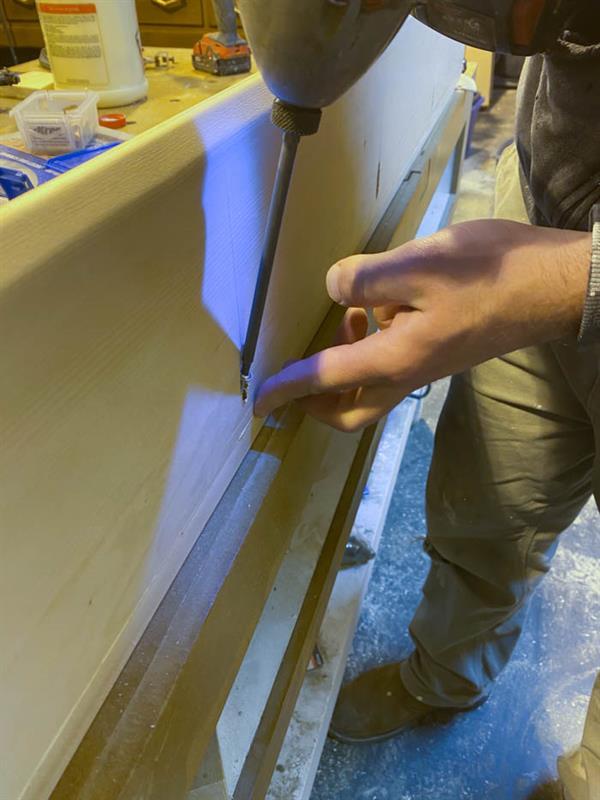
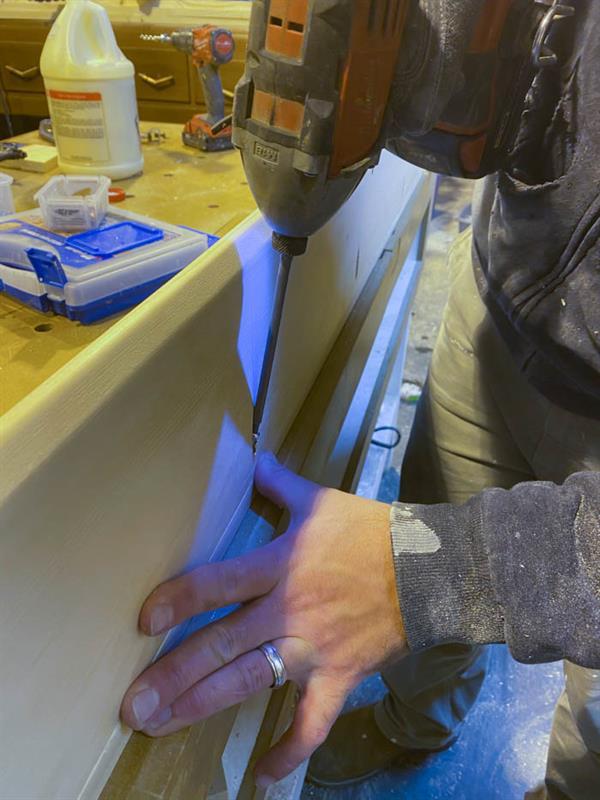
Add pocket holes
Using your Kreg pocket jig, drill your pocket holes on the bottom side of Part B & D
-
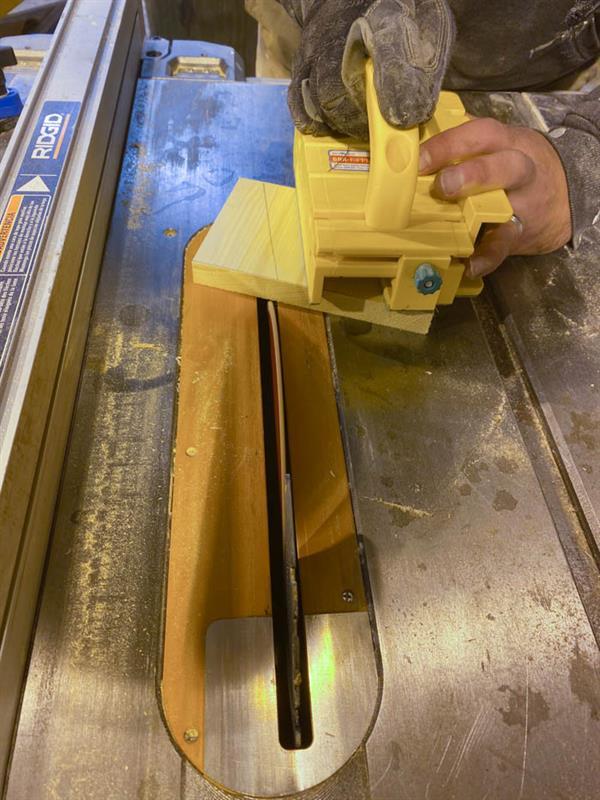
Cut sides
Following the dimensions on the drawings, cut out the side pieces for both shelves (Part C & E)
-
Sand all pieces
before assembly, lightly sand all pieces. We rounded all the edges in the front lip down to give it a nice smooth finish
-
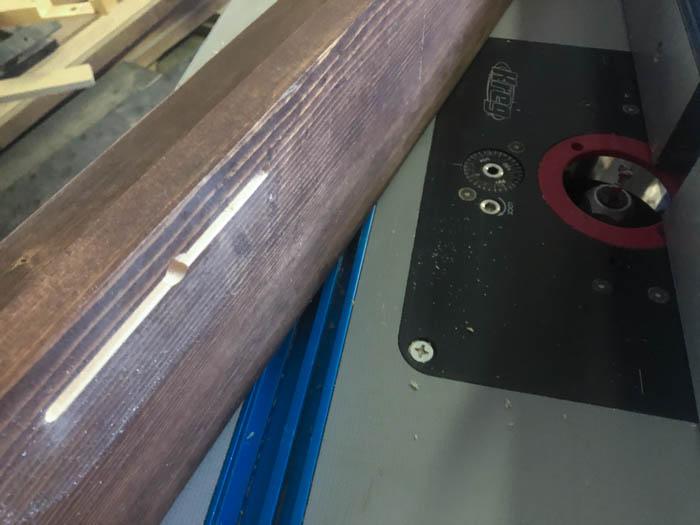
Add Key holes
to hang the shelves on the wall we used key holes. We routed 5" long slots starting 2" in from the ends. Depending on Stud locations you may want to customize this.
-
Assemble Back and Bottom
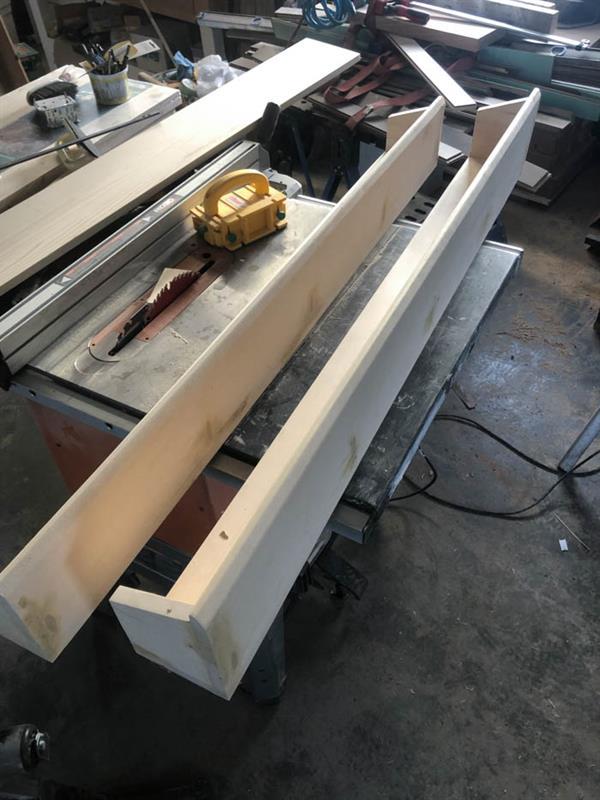
Assemble backs and bottoms of the small and large shelves. We used wood glue and pocket hole screws in the pocket holes to secure together.
-
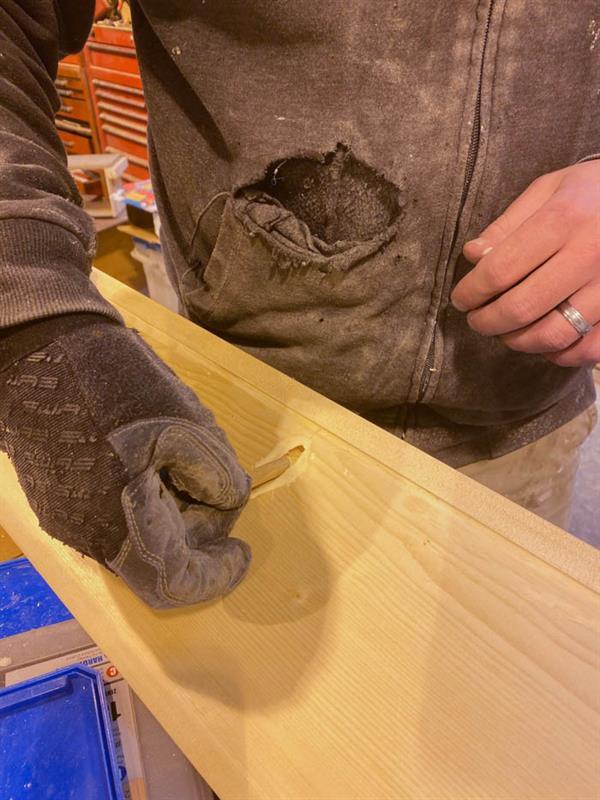
Fill Pocket holes
Using Kreg plugs, we filled all the pocket holes
-
Attach sides
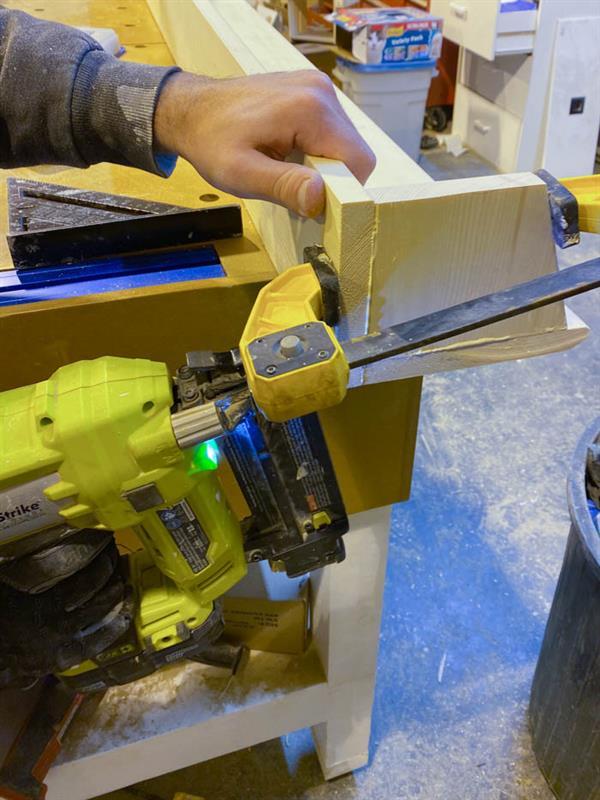
attach the sides to the ends of the shelves as per the drawings. Secure with wood glue and brad nails
-
Final sand
fill any imperfections/holes with wood filler, let dry, and give the piece a final sand
-
Stain
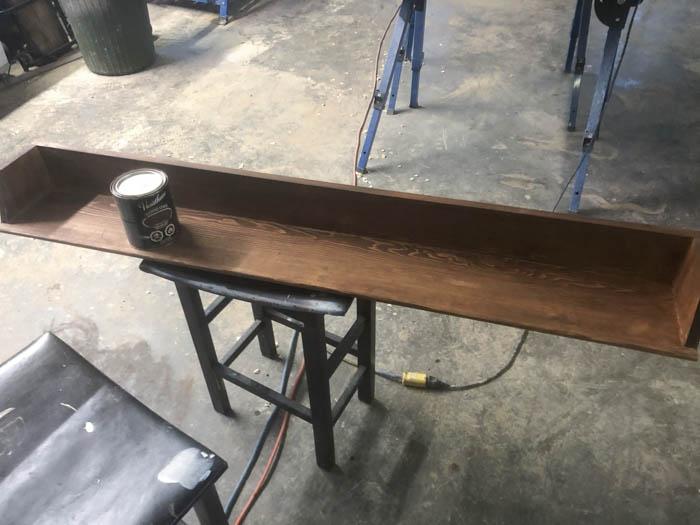
Stain and let dry - we used Varathane Dark Walnut Wood Stain
-
Varnish
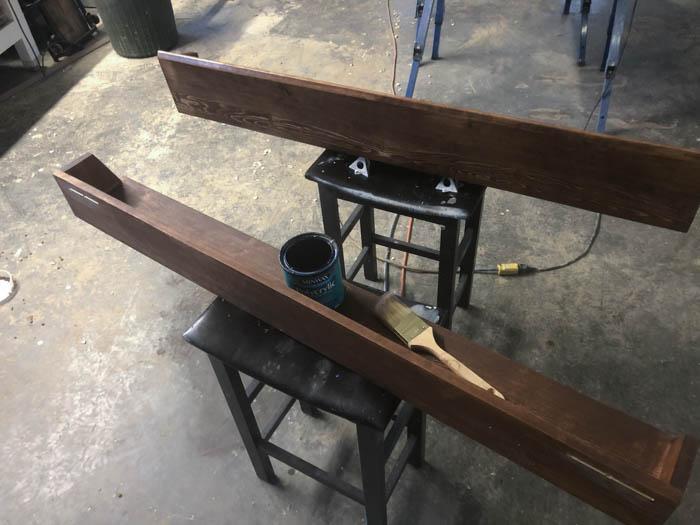
once stain drys Varnish the shelves to protect - we used Minwax Clear Matte Latex Polycrylic Finish. We like this finish as it dosen't yellow once it drys.
-
Mount Shelves
mount your shelves to the wall using your key holes and enjoy!
www.lovecreatecelebrate.com
Download the plans
Be sure to check out our top 20 plans for DIY floating shelves:


