How To Build Your Own Picture Frames – DIY Picture Frames
By The Creative Mom

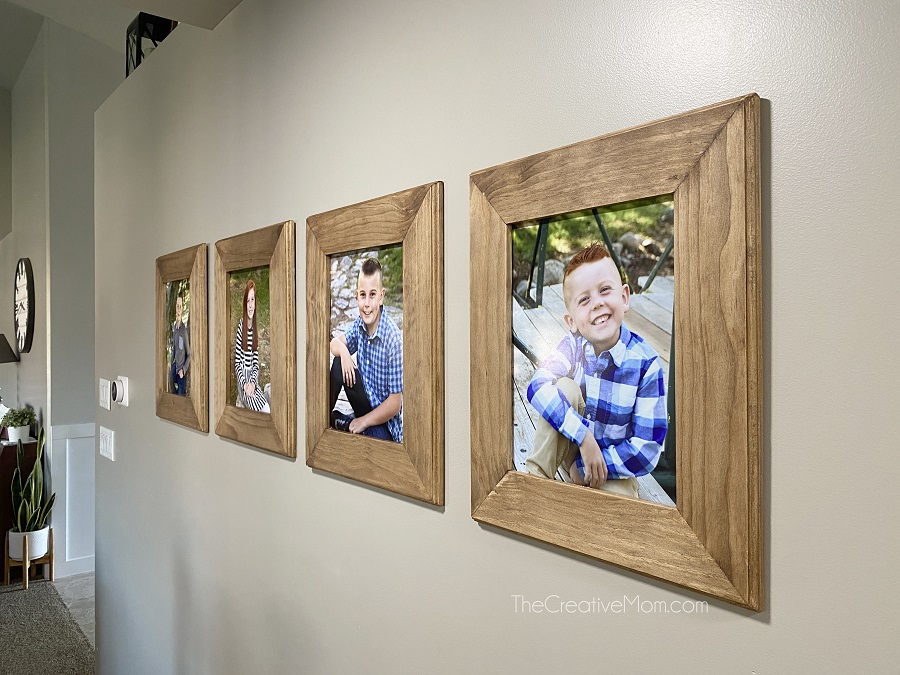
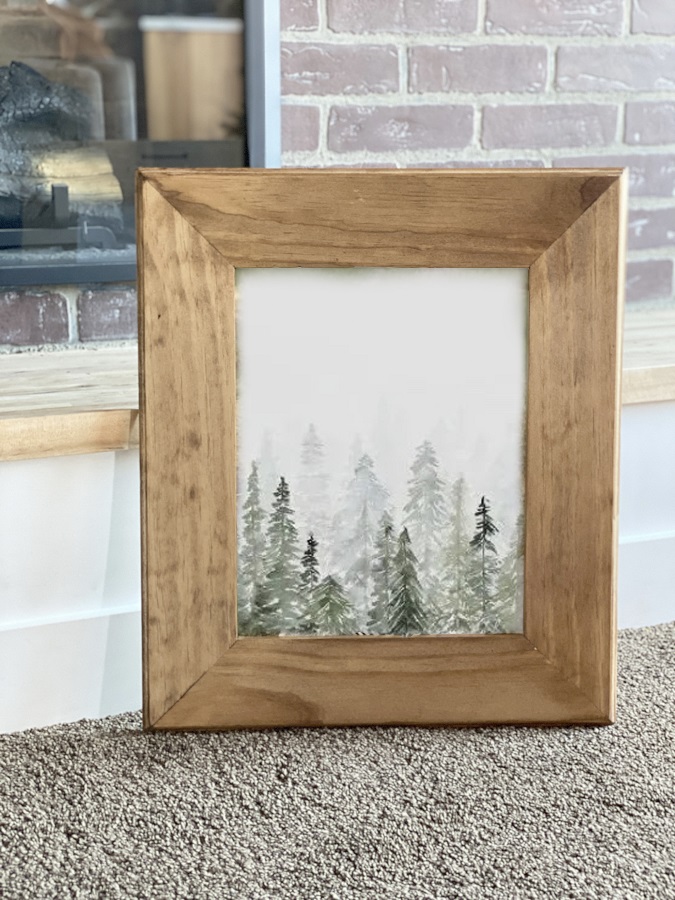
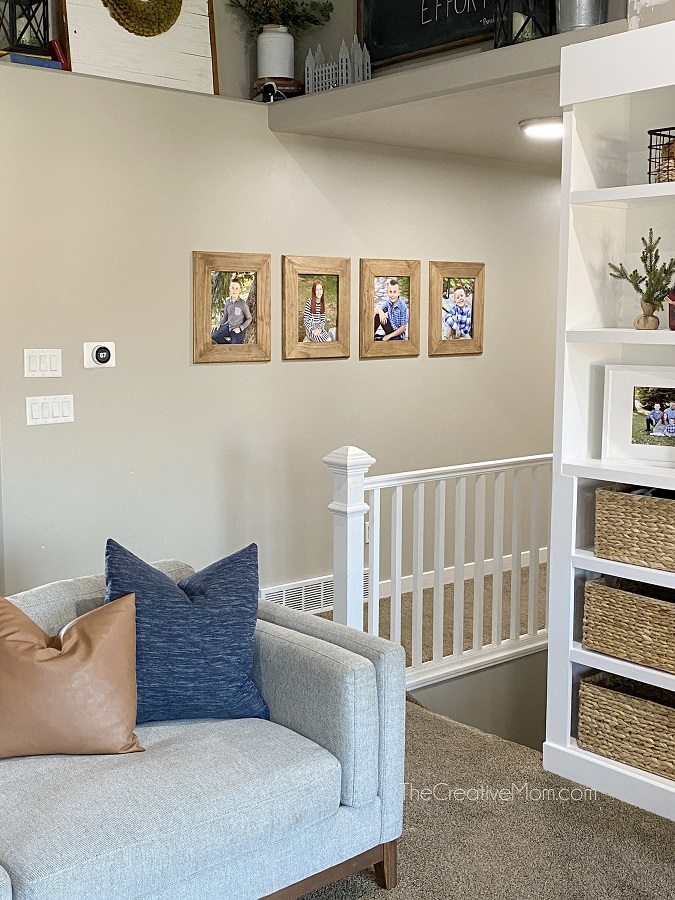
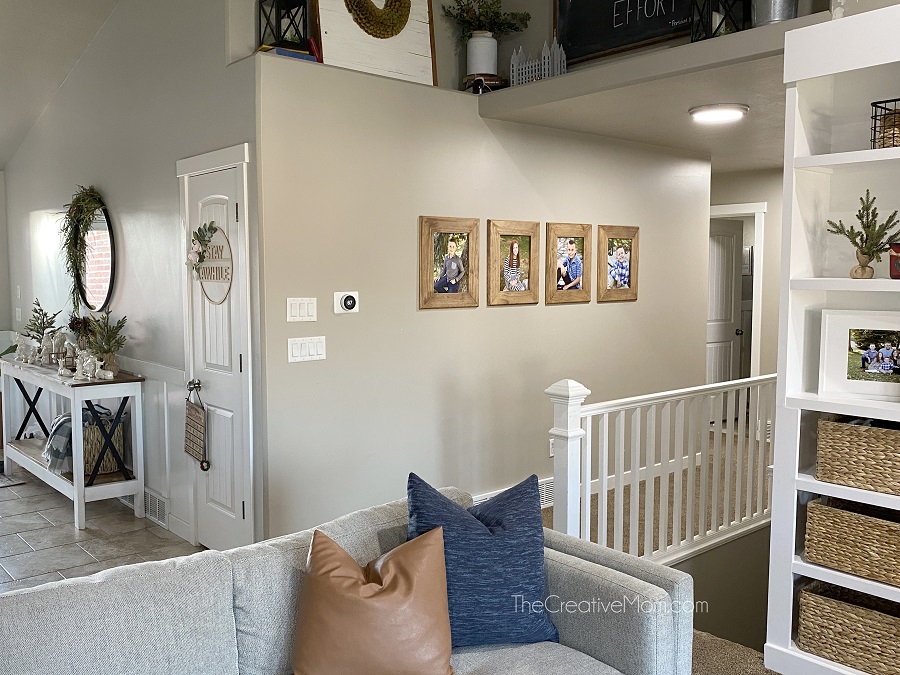
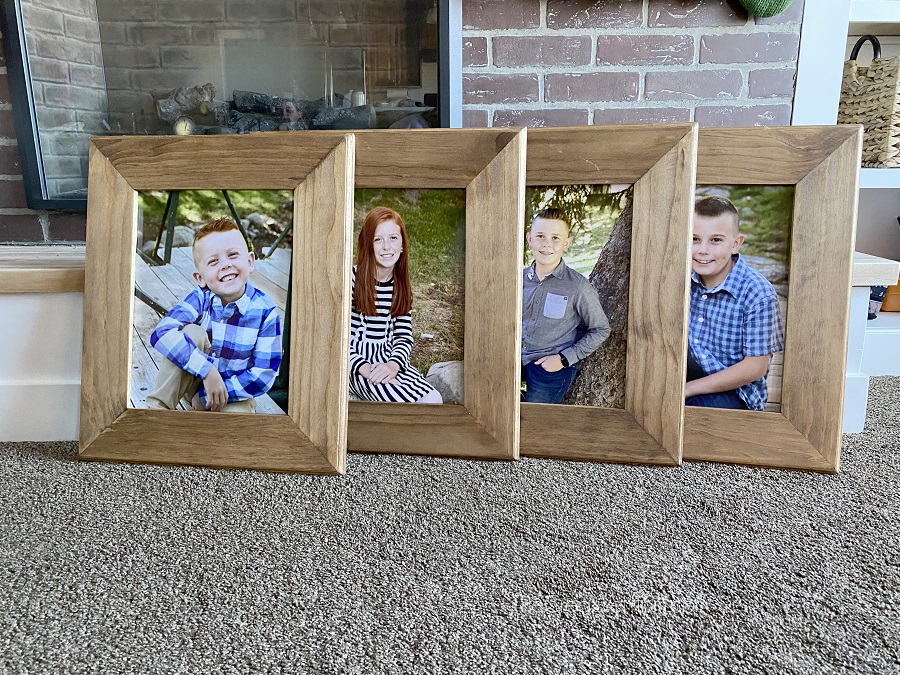
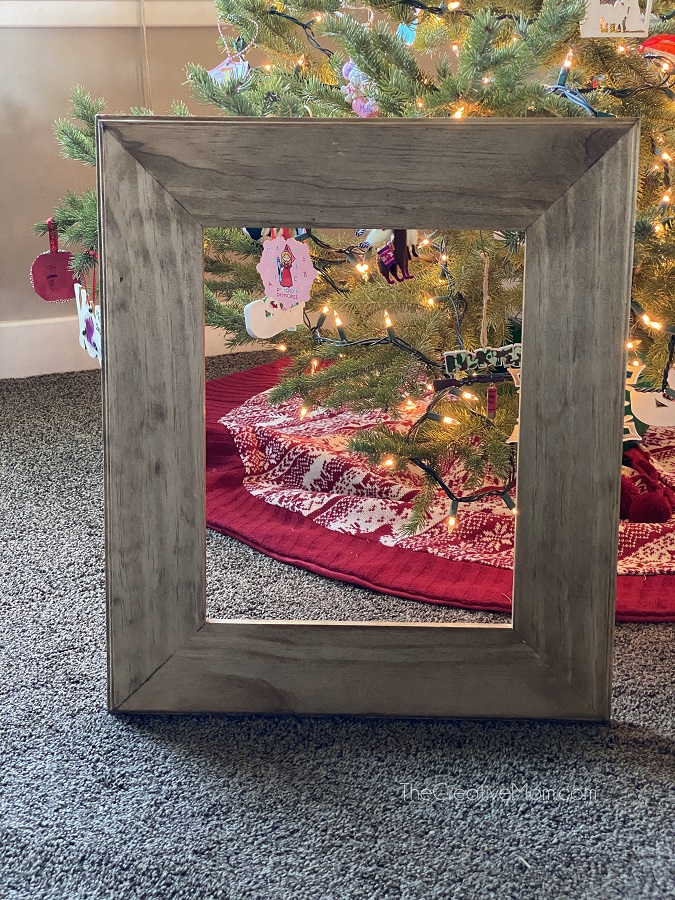


This is a quick and simple picture frame build. It uses just one 1x4 board, which you can find at most home improvement stores. It is the perfect project for a beginner woodworker. These plans are for an 11x14 frame. But can be easily adapted for any size photo or poster.
Tools
Kreg Tools


Other Tools
-
Miter Saw

-
Measuring Tape
Materials
Wood Products
- 1 Board , 1x4x96"
Hardware & Supplies
- 8 1 ¼” pocket hole screws (see tool list)
- 1 Wood glue
- 1 Sandpaper, stain or paint, polyurethane
- 1 Eye & ear protection and other safety gear
Directions
-
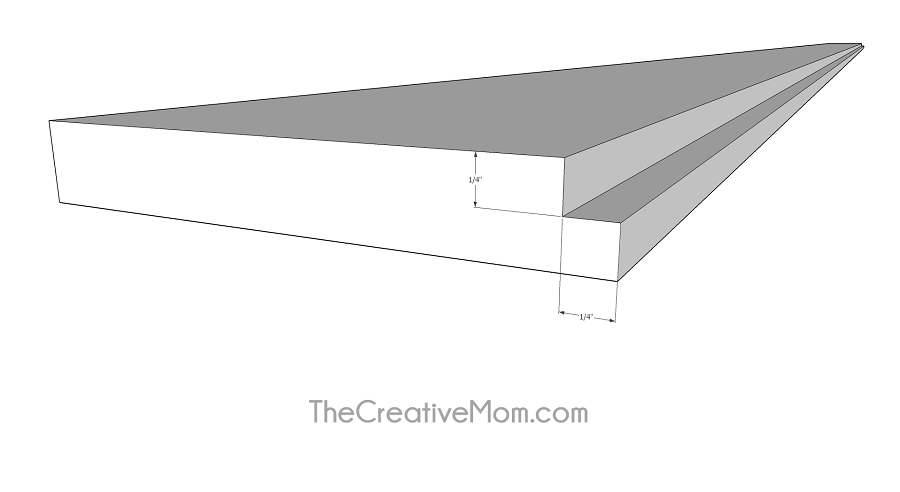
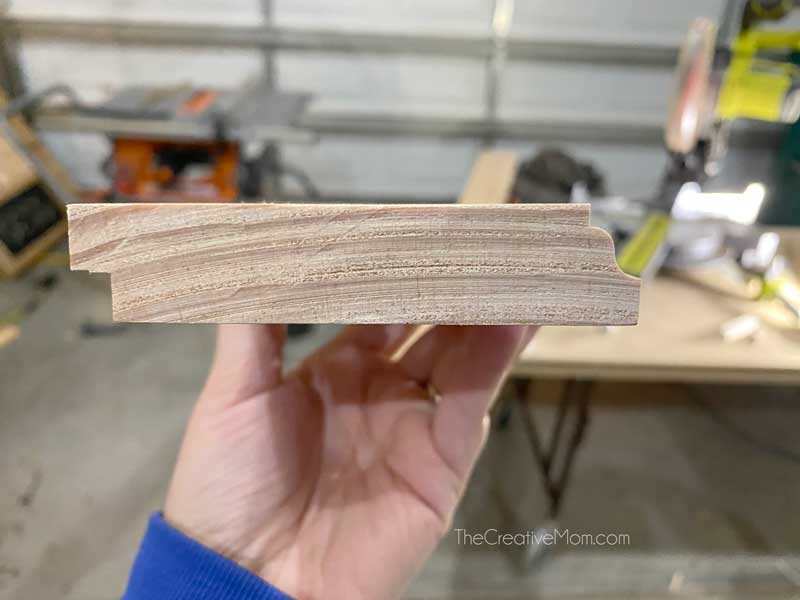
Step 1. Route first side of frame
Using a straight router bit, route a ¼” x ¼” groove into one edge of a 1x4 board. This will be the groove on the back side of your frame that your picture will sit inside.
-
Step 2. Add optional decorative edge
Optional: If you want a decorative edge on your frame, run the opposite edge through the router with a decorative bit.
-
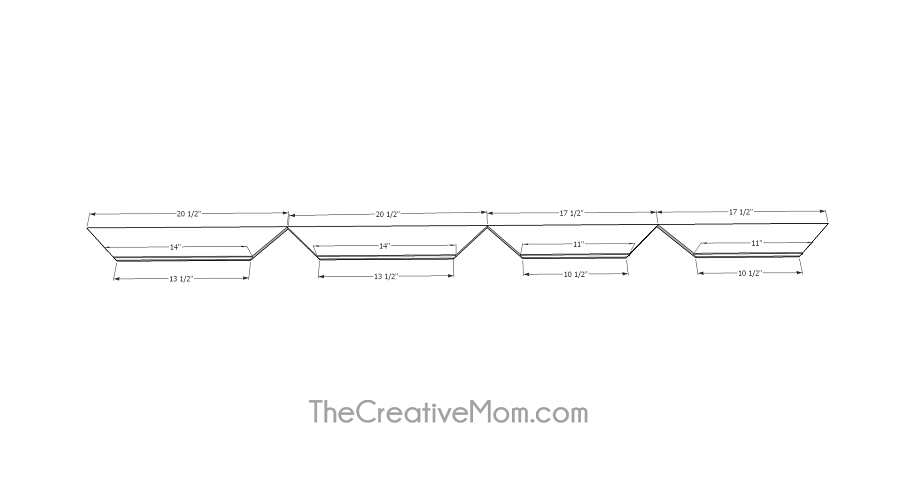
Step 3. Cut frame pieces
Cut your frame pieces. All cuts should be 45 degrees. See next steps for more detail.
-
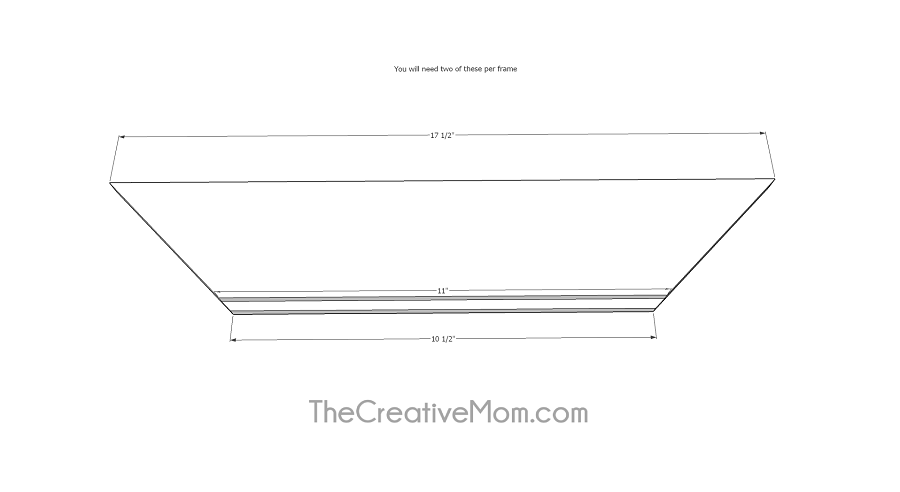
Step 4. Create short sides
For the short sides, you’ll need two pieces cut at 17 ½” on the long side, and 10 ½” on the short side. The short side will have the ¼” groove that you created in step one.
(These measurements are for an 11x14 frame. If you wanted an 8x10 frame, these pieces would be 14 ½” on the long side and 7 ½” on the short side.)
-
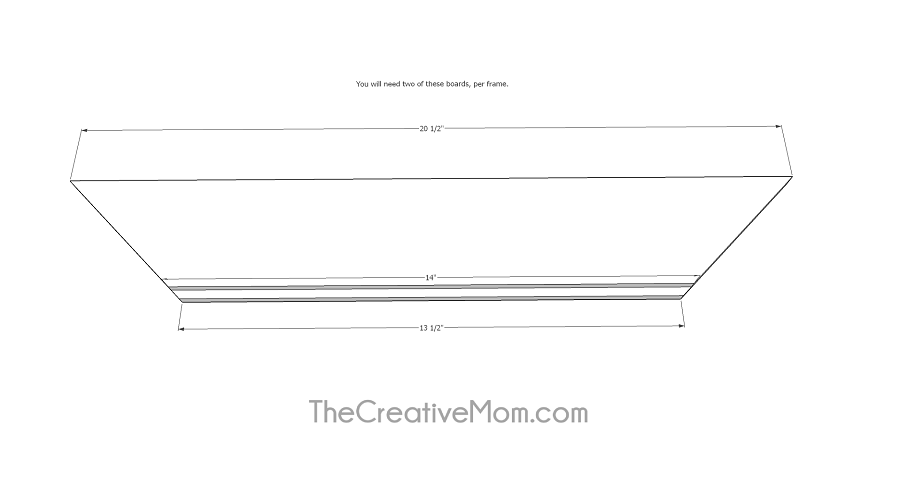
Step 5. Create long sides
For the long sides, you’ll need two pieces cut at 20 ½” on the long side, and 13 ½” on the short side. The short side will have the ¼” groove that you created in step one.
(These measurements are for an 11x14 frame. If you wanted an 8x10 frame, these pieces would be 17 ½” on the long side and 9 ½” on the short side.)
-
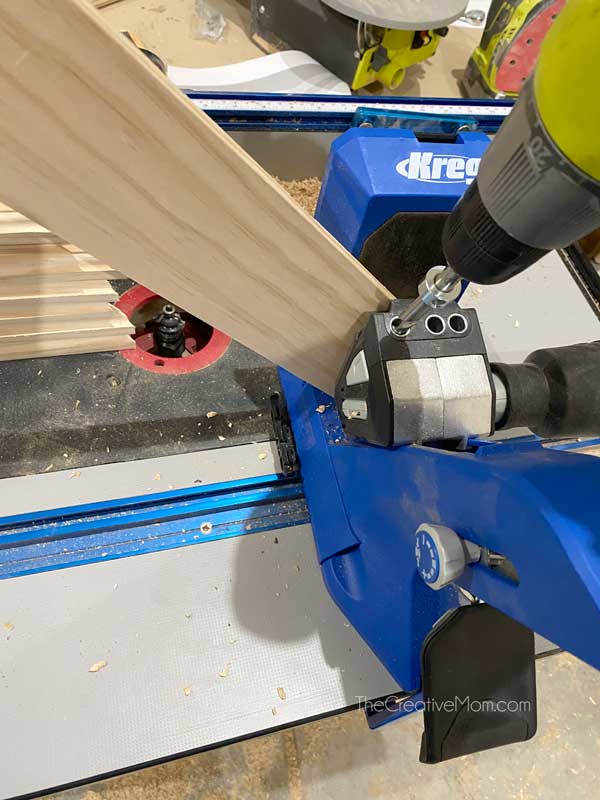
Step 6. Drill pocket holes
Using the Kreg 720 pro pocket hole jig, drill pocket holes in both sides of your long boards.
(Note that the ¼” groove you created in step one should be on the back- the side you drill your pocket holes on.)
-
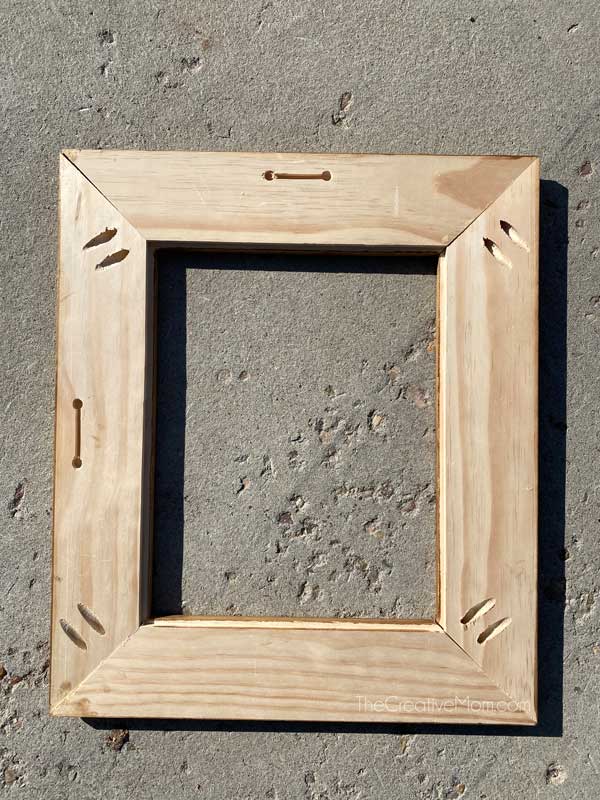
Step 7. Attach sides
Clamp your pieces together. Use wood glue and 1 ¼” pocket hole screws to attach the wood pieces to create the frame. Fill holes with wood putty, let dry, then sand. Either stain or paint the frames.

-
Step 8. Create groove for hanging
Use a keyhole bit on your router to create a groove for hanging your picture frame.
-
Step 9. Create groove for hanging (second side)
Use a keyhole bit on your router to create a groove for hanging your picture frame. I did this on two sides, in case I want to change the way I hang my photo.