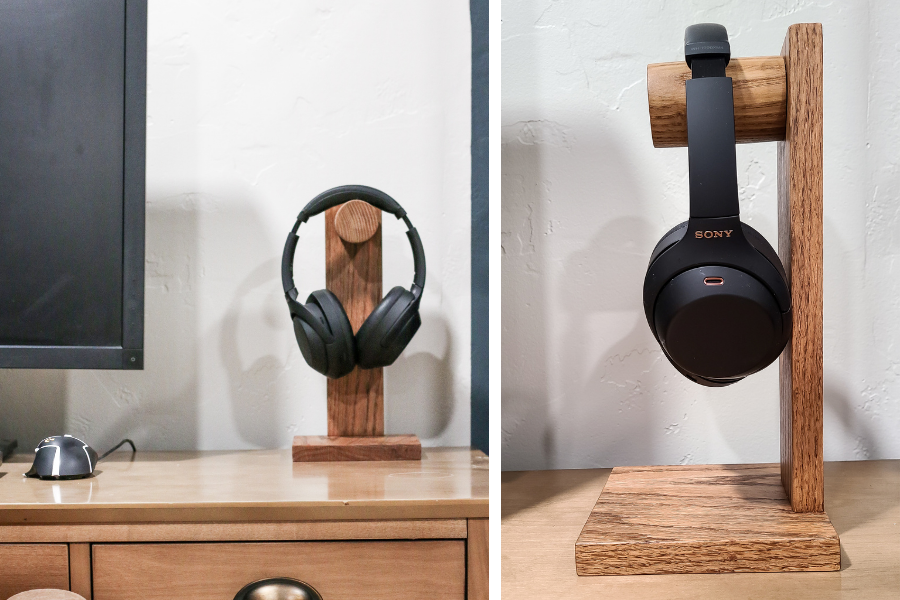

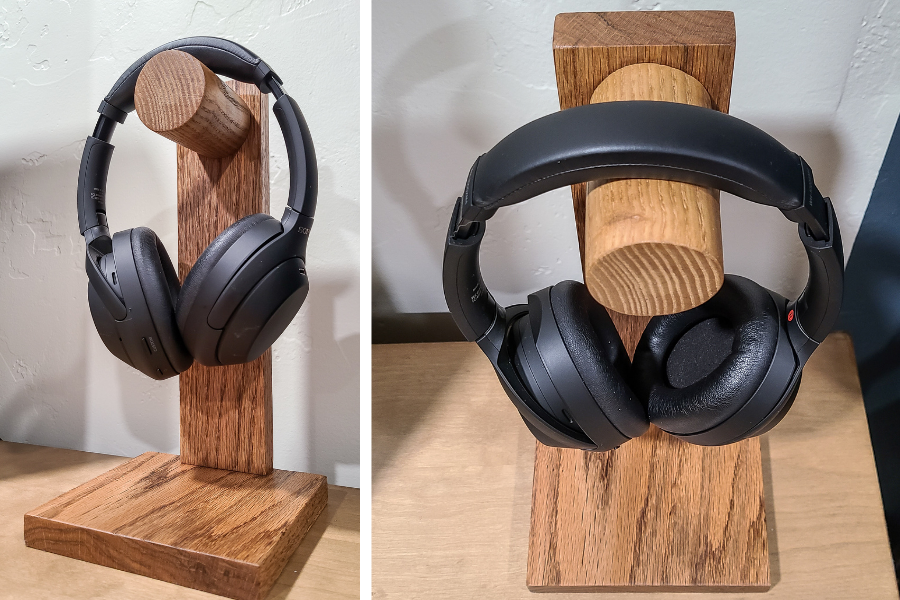
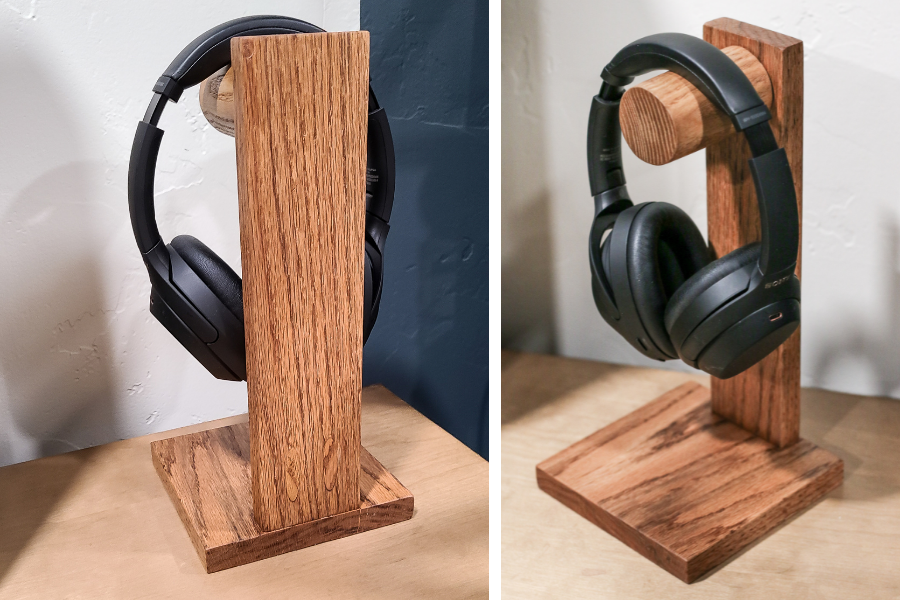


If you’re looking for a good place to keep your headphones on your desk when you’re not using them, you’ll love this beginner-friendly woodworking project! These headphone holder plans are very easy to build and make a great gift for him or her.
Tools
Kreg Tools


Other Tools
-
Miter saw

-
Table saw
-
Tape measure
-
Clamps
-
Hammer
-
Compass
Materials
Wood Products
- 1 Oak , ¾” x 5 ½” x 1’
- 1 Oak , ¾” x 2 ½” x 1’
- 1 Ash , 2” x 2” x 12”
Hardware & Supplies
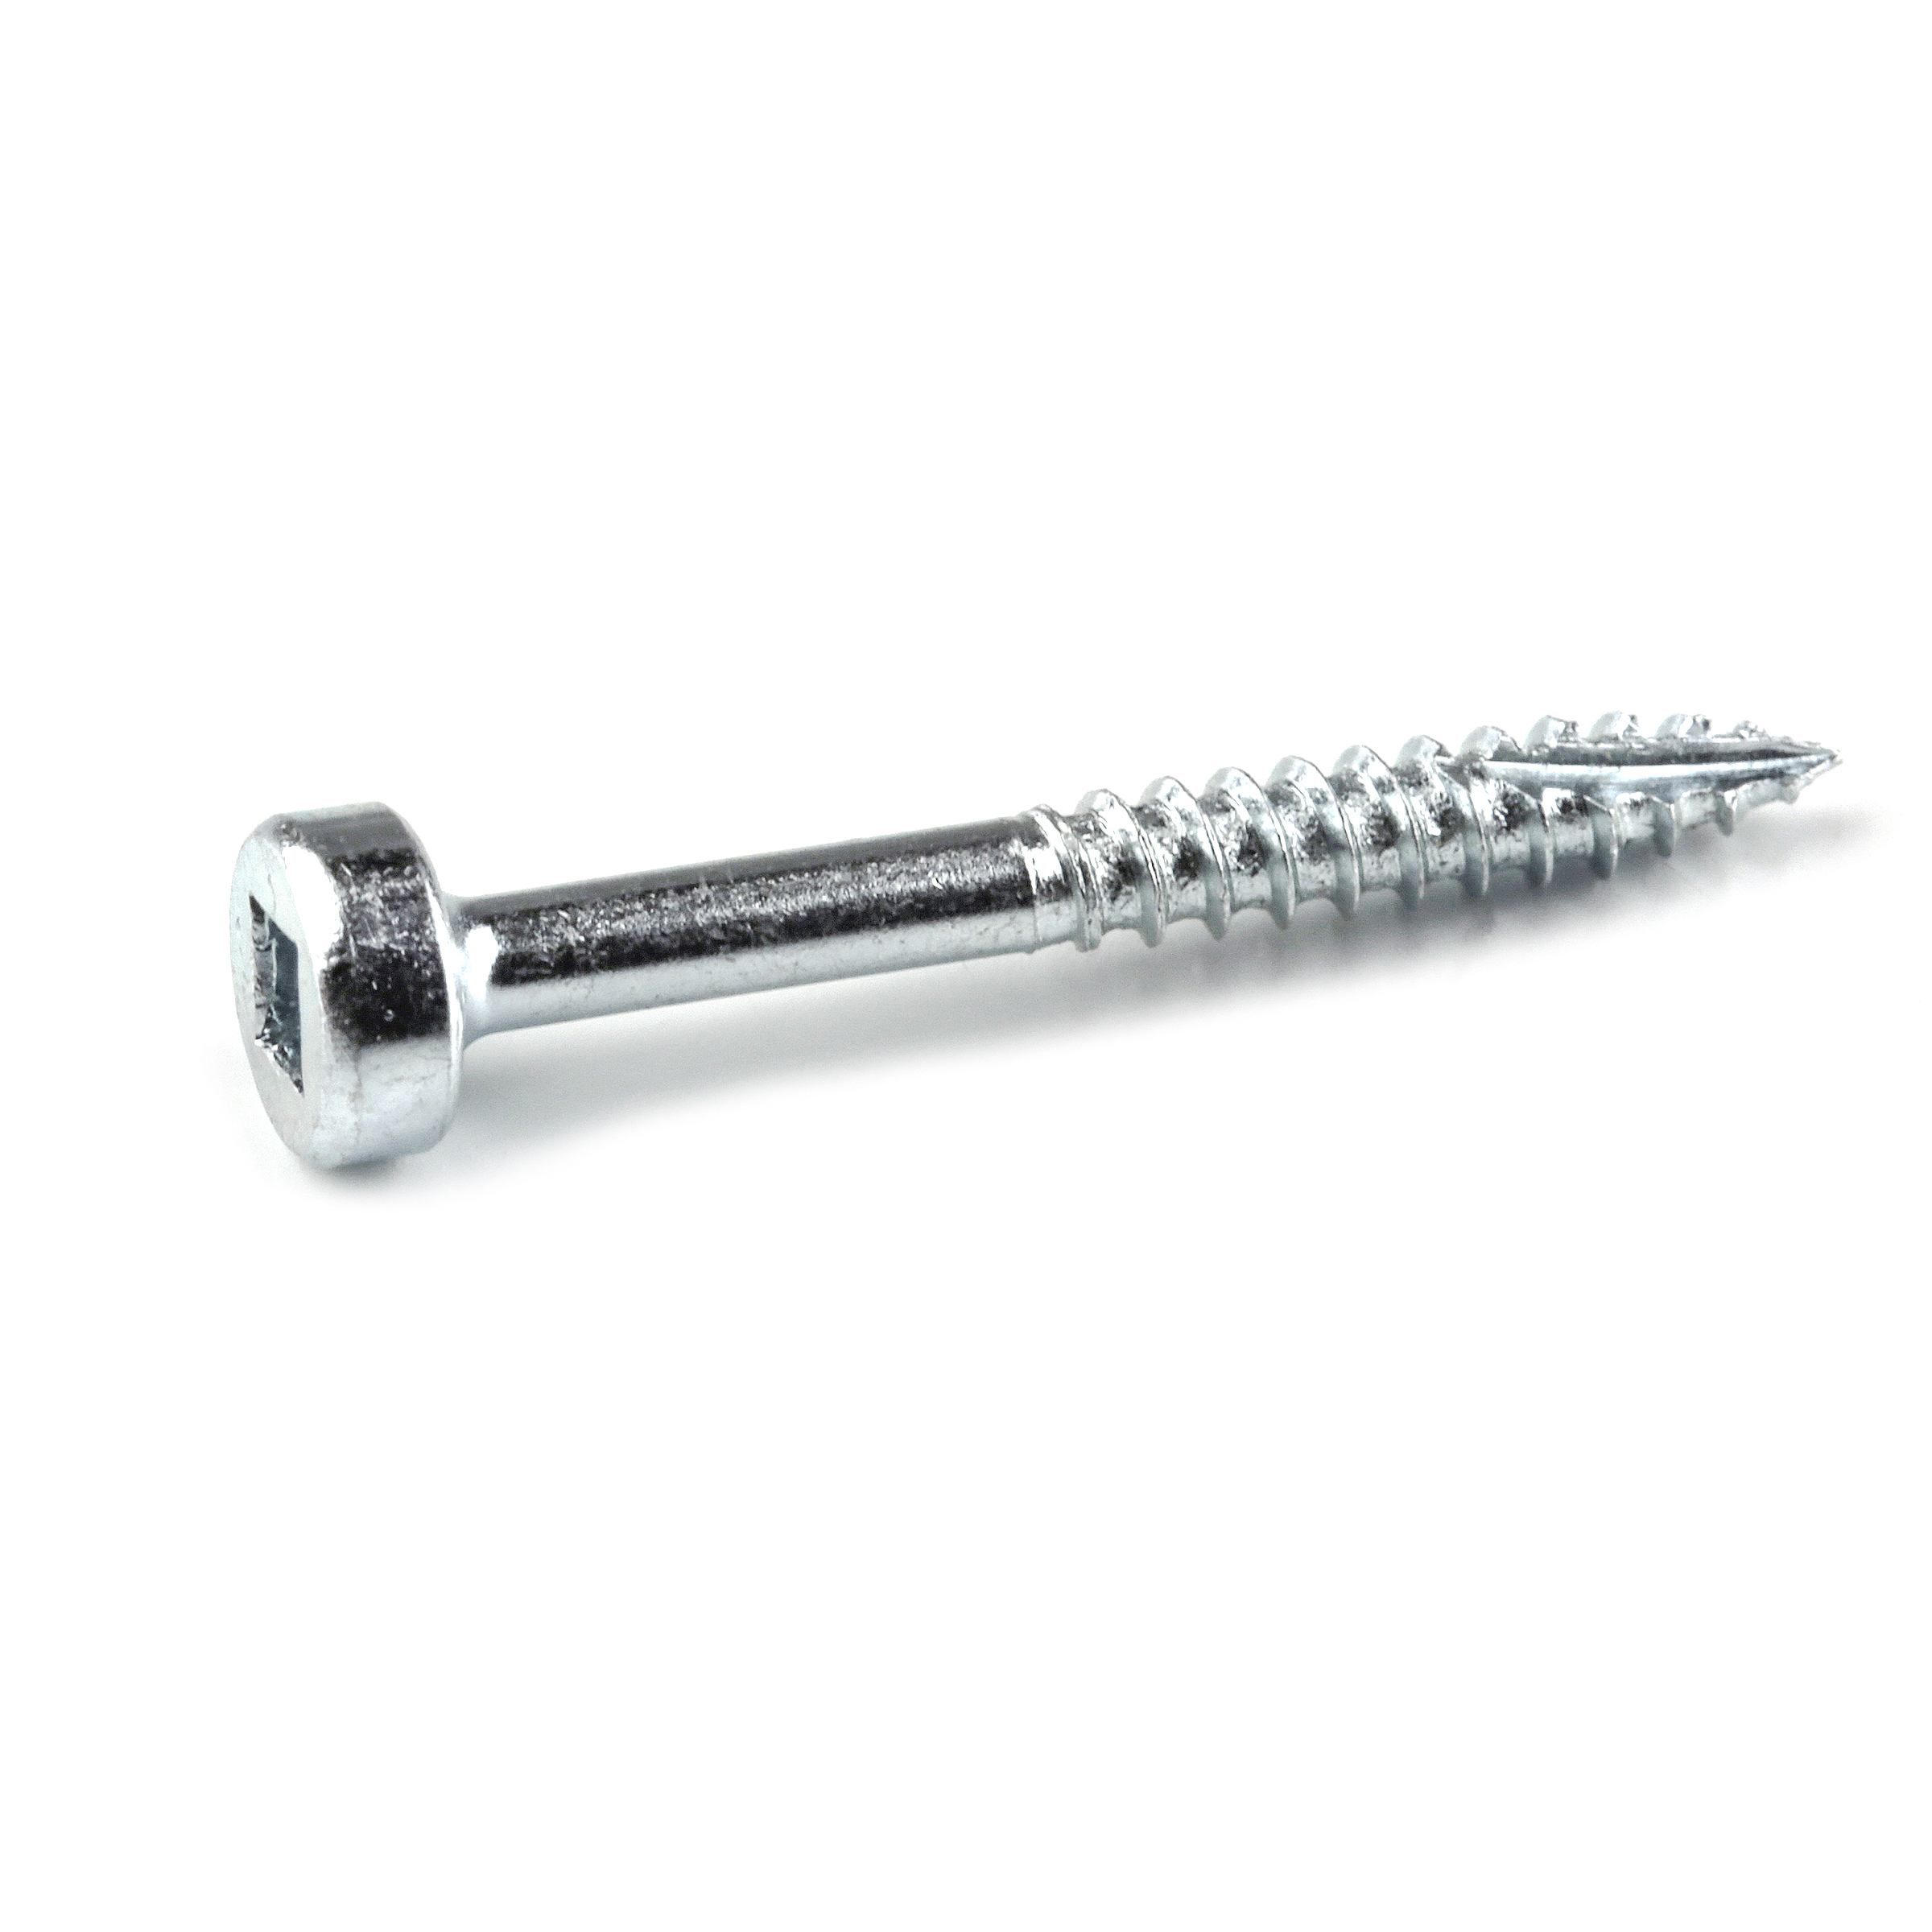
- 1 Box of 1 ¼” Kreg Pocket Hole Screws (See tools list)
- 1 80 grit sandpaper
- 1 150 grit sandpaper
- 1 Spray Polyurethane
- 1 ¼” T-Nut
- 1 ¼” Hanger Bolt (3 in.)
- 1 Wood glue
- 2 Pocket hole plugs (oak)
Directions
-
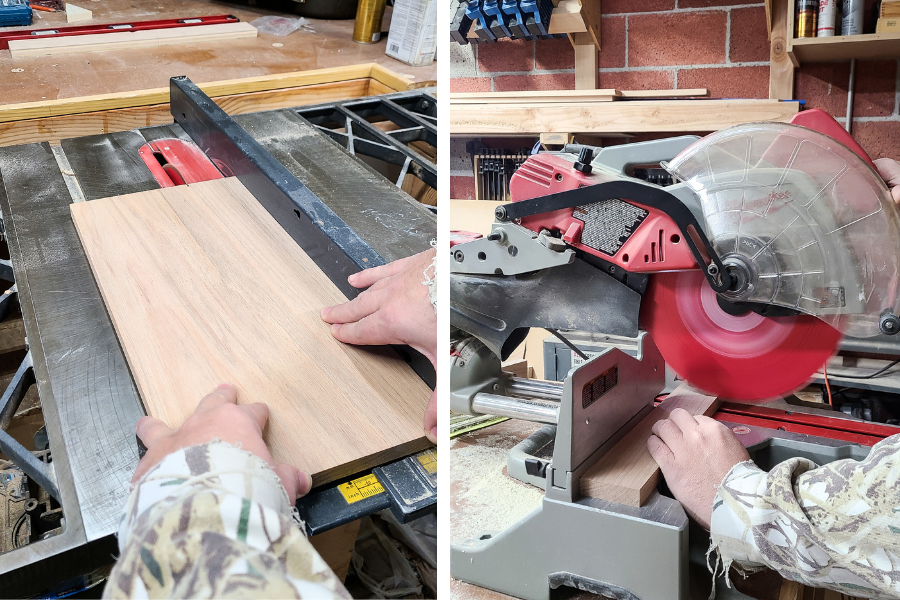
Cut wood
Cut wood according to the visual cut list in the woodworking plans with a miter saw. You will have to trim the base with a table saw.
-
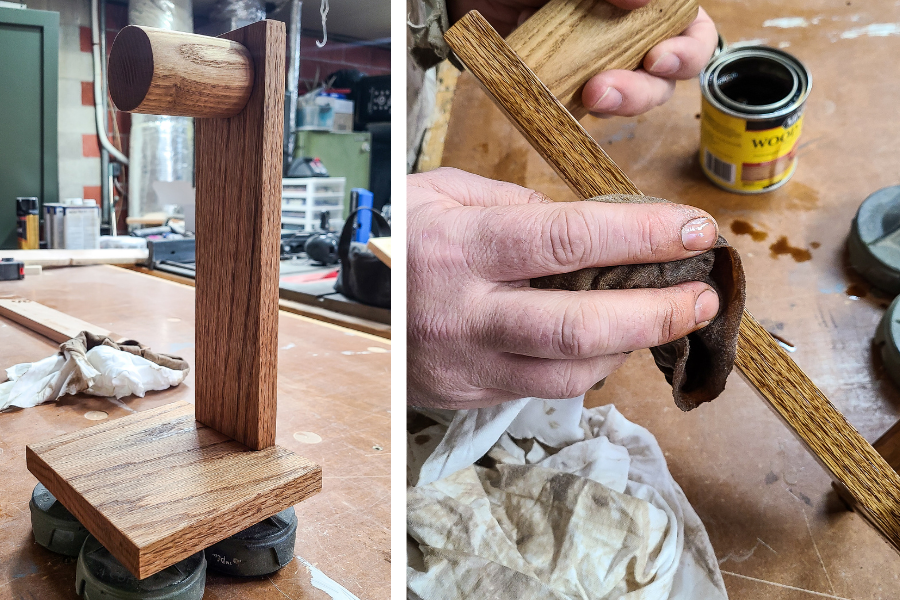
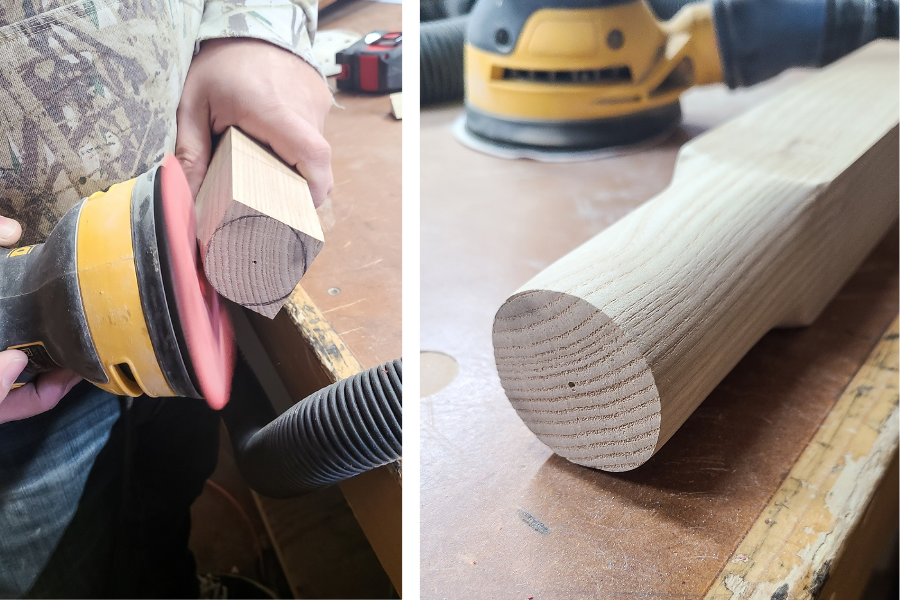
Create a round dowel
We wanted the piece that holds the headphones to be round and mimic the look of a large dowel. Instead of buying an expensive dowel, we made our own. To make the dowel from a square piece of lumber, use a compass to mark a circle on one end of the lumber. Then use an orbital sander to round off the corners to make a cylinder. We started with 80 grit and then 150 grit sandpaper. This takes a lot of time but it is far cheaper than buying a bigger dowel.
-
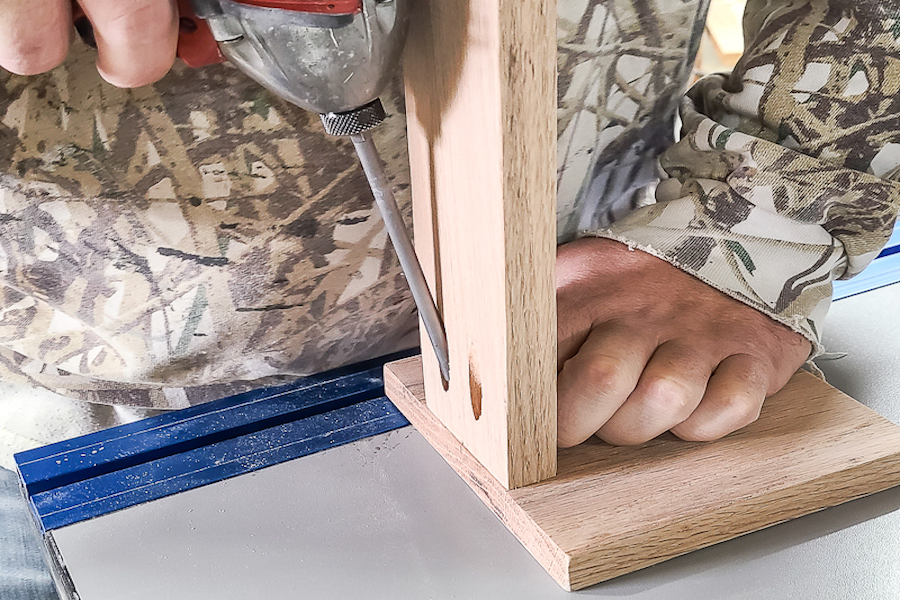
Drill pocket holes
Drill pocket holes as shown in the woodworking plans. We used the 720 Pro.

-
Attach back to base
Using the two pocket holes you drilled for this design attached the back to the base. This design is hard to get a clamp attached, so you can make marks on the base by pushing the screw through the pocket hole and pressing down to make a small indent in the wood. Then pre-drilled small pilot holes in the base. By pre-drilling pocket holes before attaching the pocket hole screws, we ensured that there was very little movement when screwing in pocket hole screws because it instantly grabbed.
-
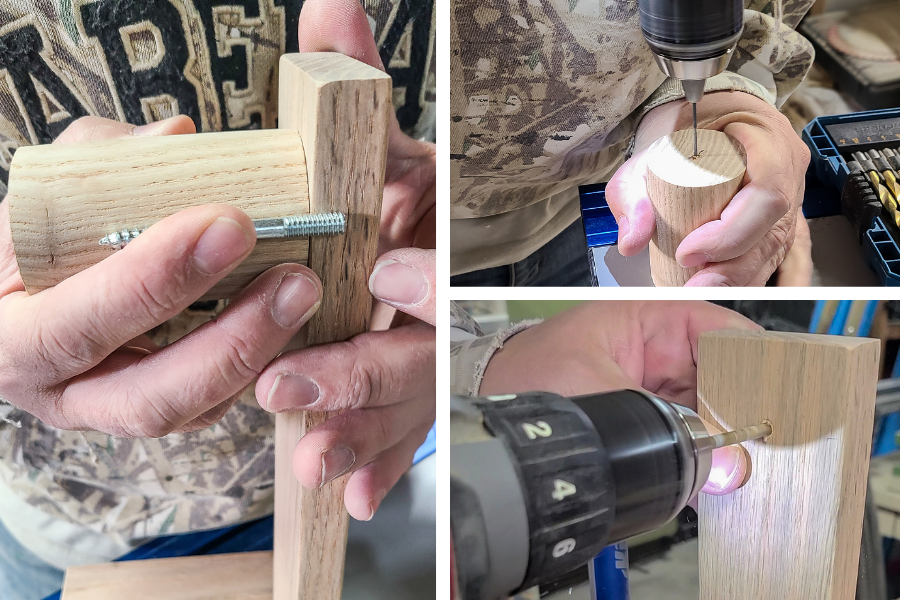
Drill holes for hanger bolt and t-nut
To attach the dowel to the back, we use a hanger bolt and t-nut. If you don’t want to mess with the hanger bolt and t-nut, you can simply screw the dowel into place from the backside. You would then skip Steps 5-7. You would just have a visible screw hole on the back. If you want to use the hanger bolt and t-nut method, start by drilling a hole for the hanger bolt in the middle of the wooden dowel. You’ll want to start with an ⅛” drill bit and work up to your bolt size. Be sure to check and make sure the diameter of your drill bit to make sure it does not exceed the threads on your bolt. Repeat these steps for the back piece to make room for the T-nut.
-
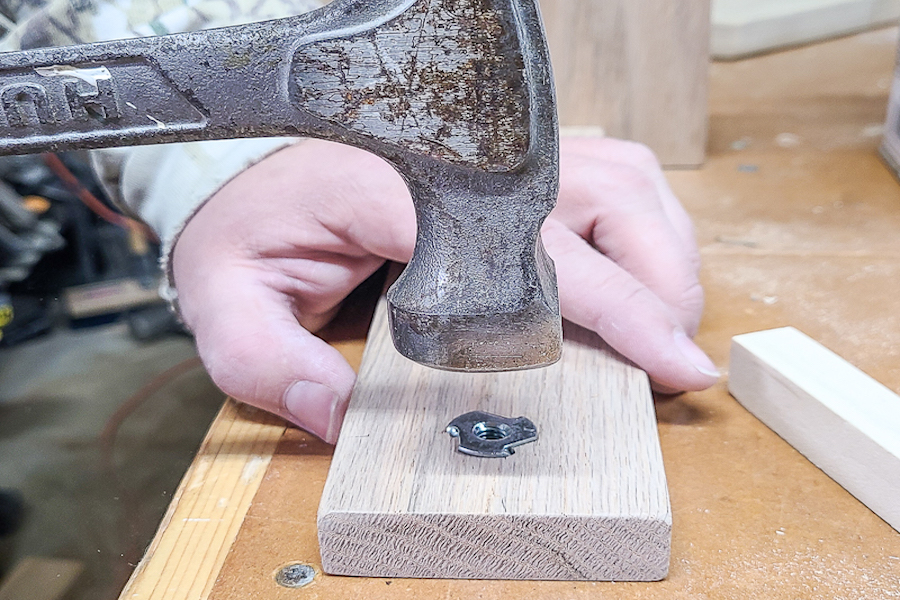
Hammer in the t-nut
Press the T-nut into place on the back piece with your hands first. Once you’ve ensured it is in the right location, you can use a hammer to tap it into place. Be careful when doing this but you want the T-nut to “sink” into the stand side and be flush as possible with the wood. This helps the dowel hanger bolt thread in tight. You should end up with wood from the dowel flush with the wood from the stand.
-
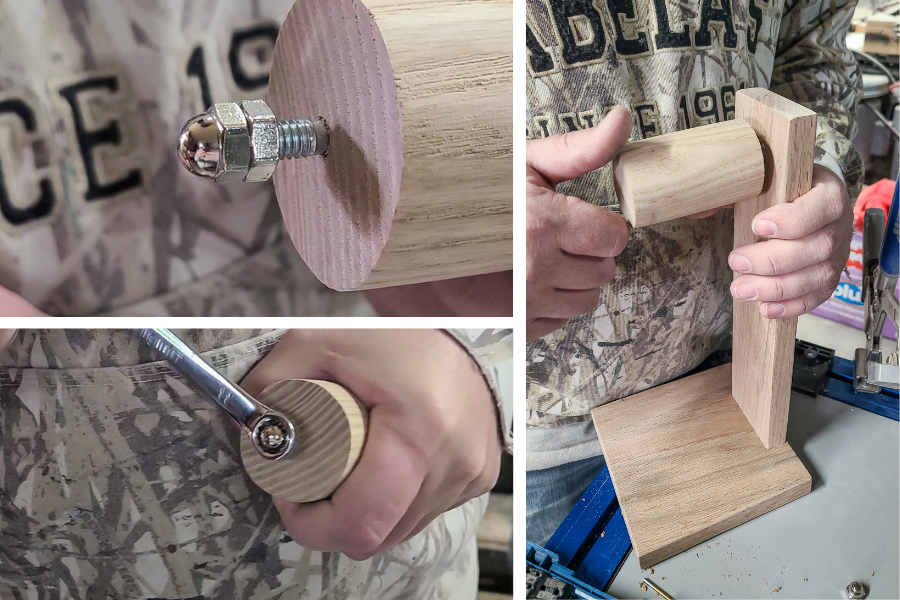
Thread in the hanger bolt and attach the dowel to the back.
This step is harder than it seems. It took us a couple of tries. Screw the hanger bolt as far into the back of the dowel as you can without damaging the threads. Next, take 2 nuts and thread the first nut about halfway down the threads. Then take another nut and thread it down on top of the other nut. Using two nuts like this locks them in place and allows you to finish screwing the hanger bolt into the dowel. Once hanger bolt is attached, screw the dowel into place on the back.
-
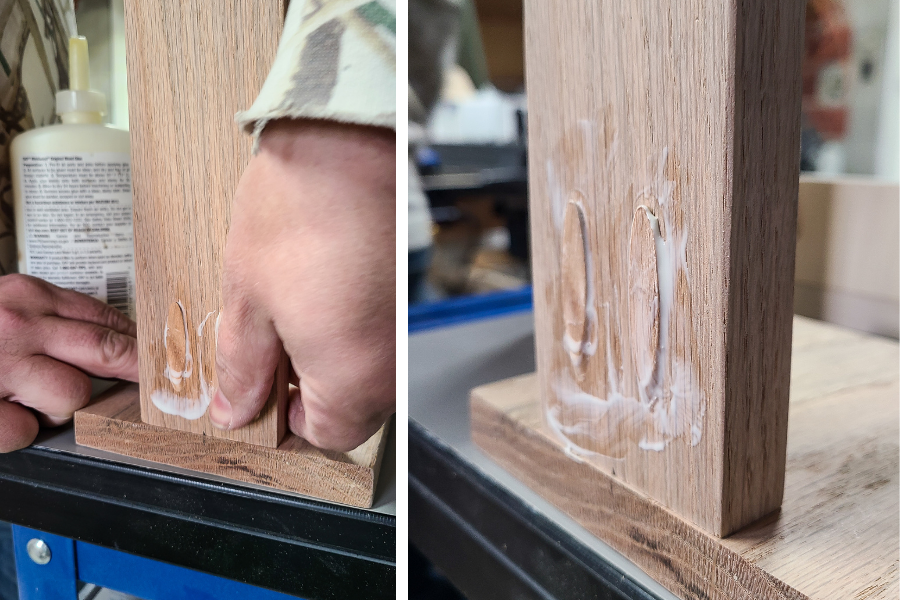
Fill pocket holes
Using oak pocket hole plugs and wood glue, fill the pocket holes. Let dry and then sand smooth.
-
Stain or paint and seal
Seal with stain/finish or paint of your choice. We used a fast-drying aerosol polyurethane for a natural wood finish. Let dry.