DIY Outdoor Lutyens Bench
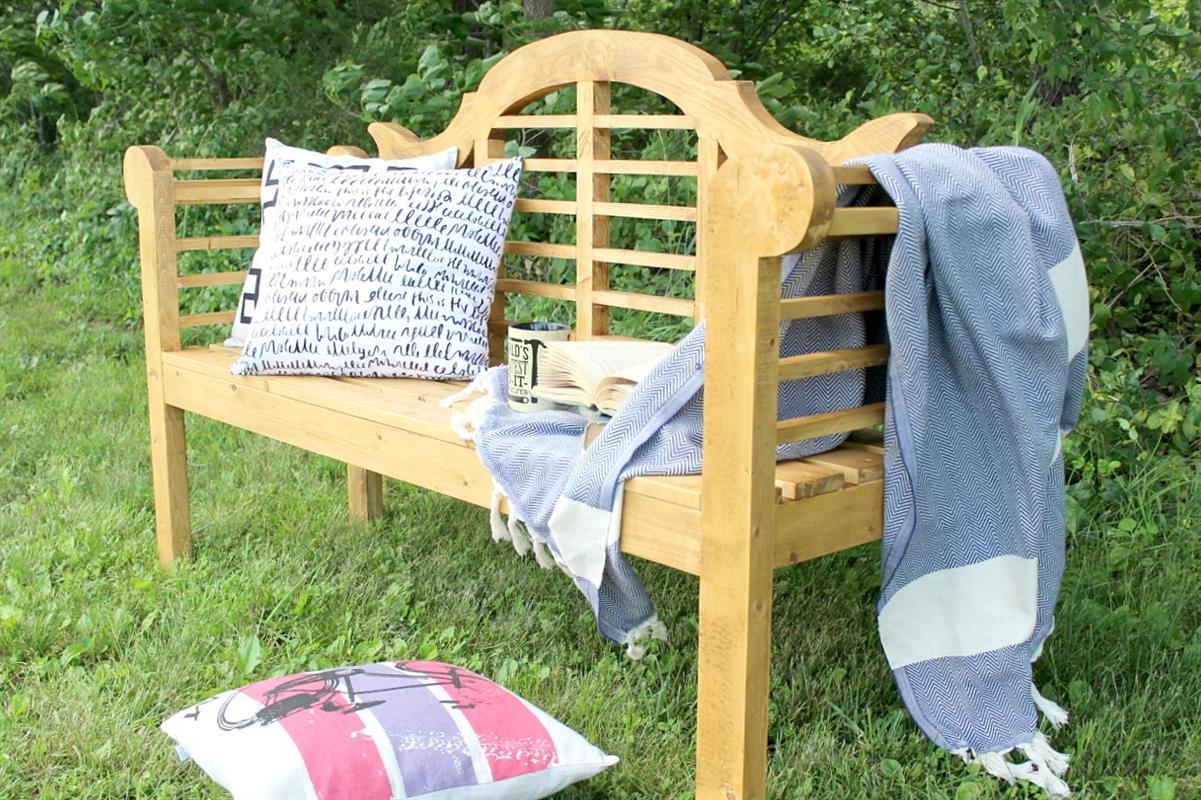
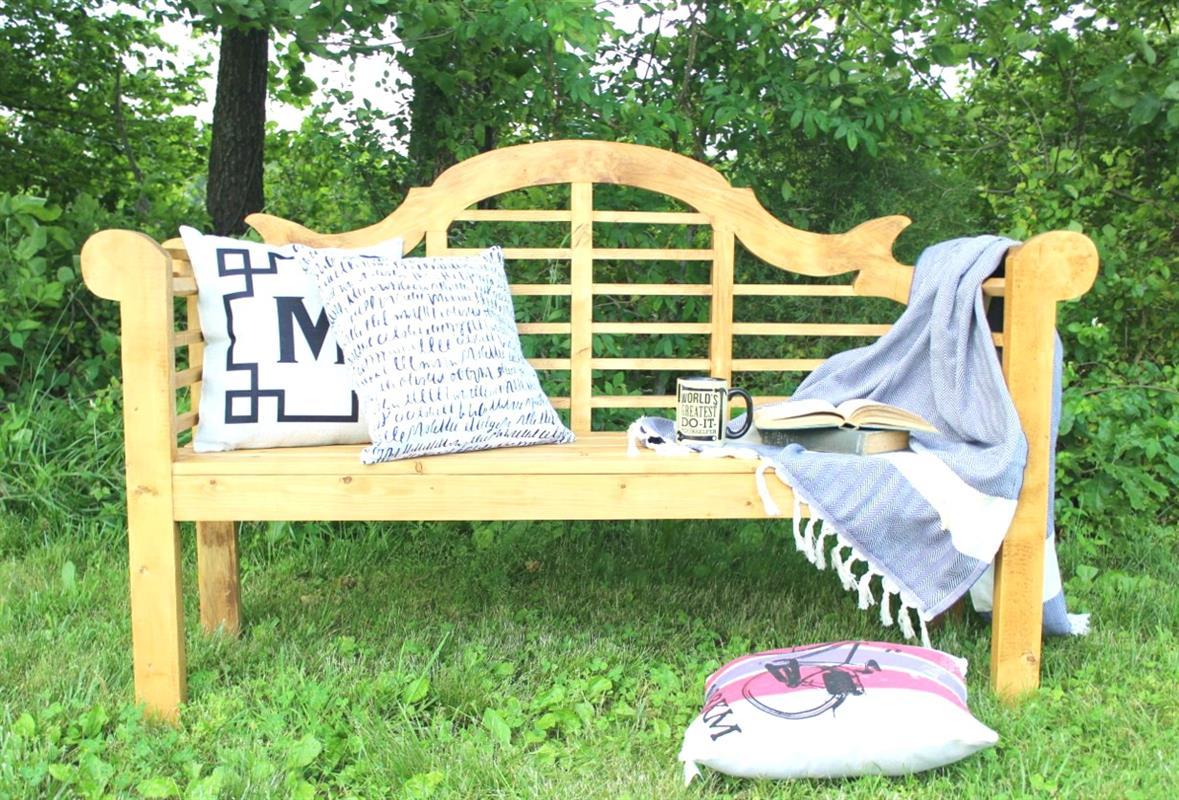
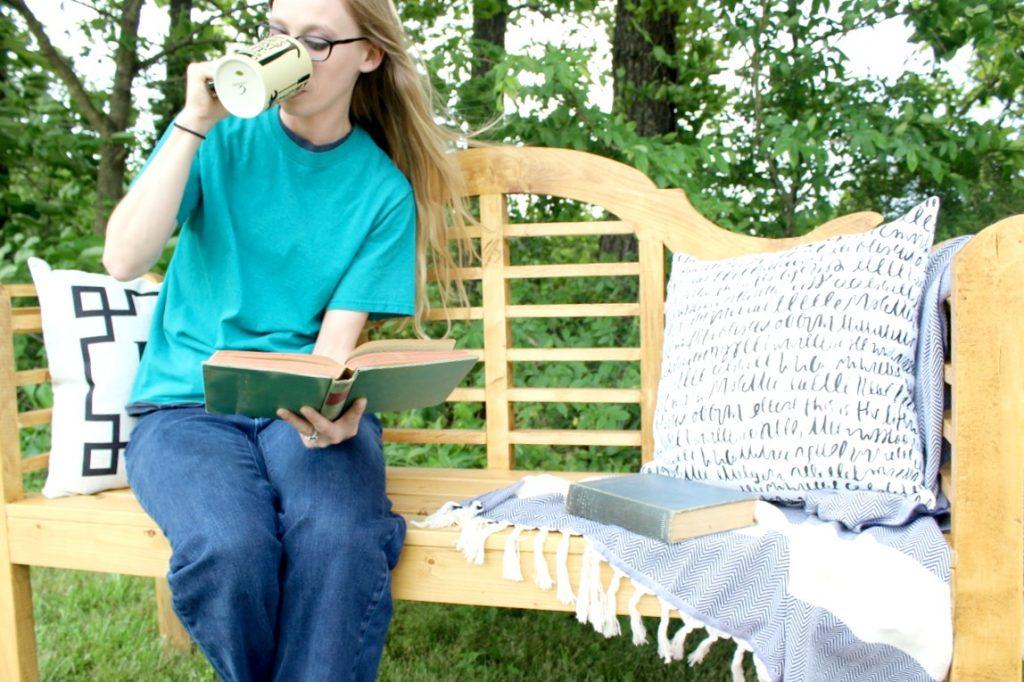
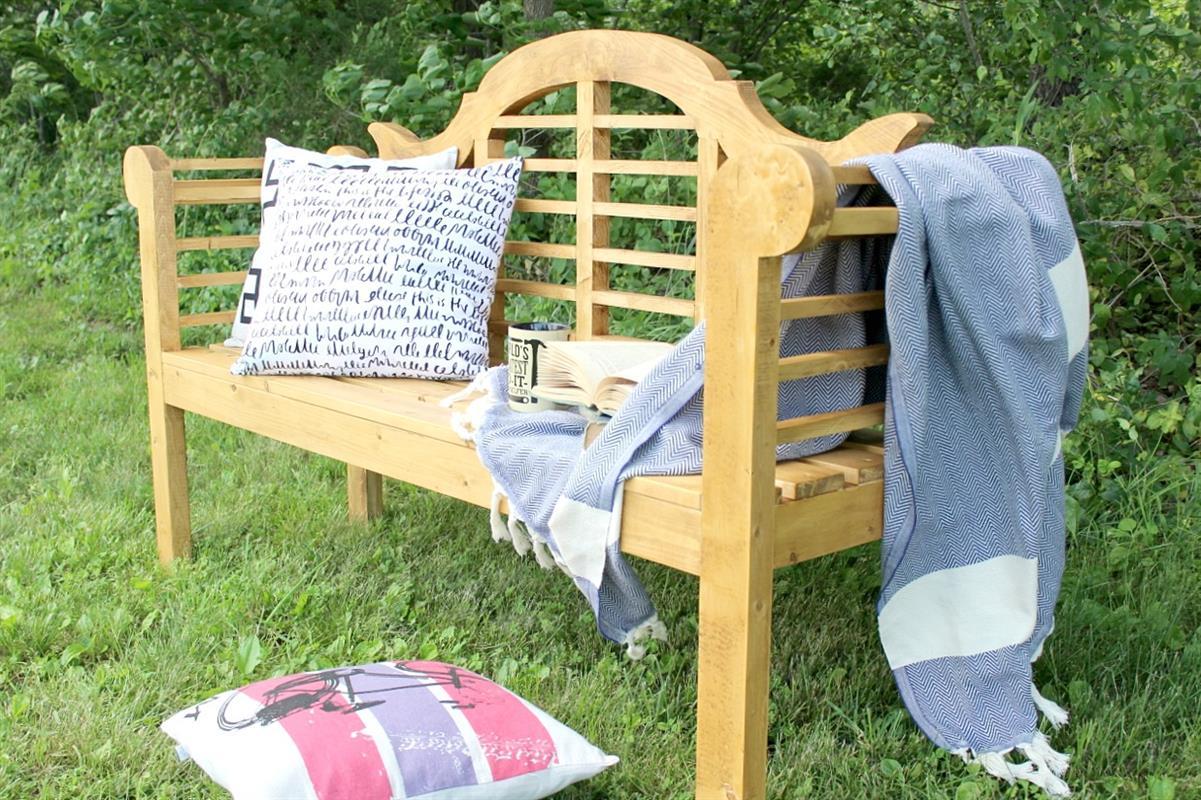
By Woodshop DiariesNeed outdoor seating, but wanting something with a huge wow factor?? This easy to build Lutyens Outdoor Bench is the perfect conversation starter to put around your fire pit, in your garden, on your porch, or beside your pool. Get out your tools and get yours made this weekend!
Directions
-
Cut Out the Bench Top
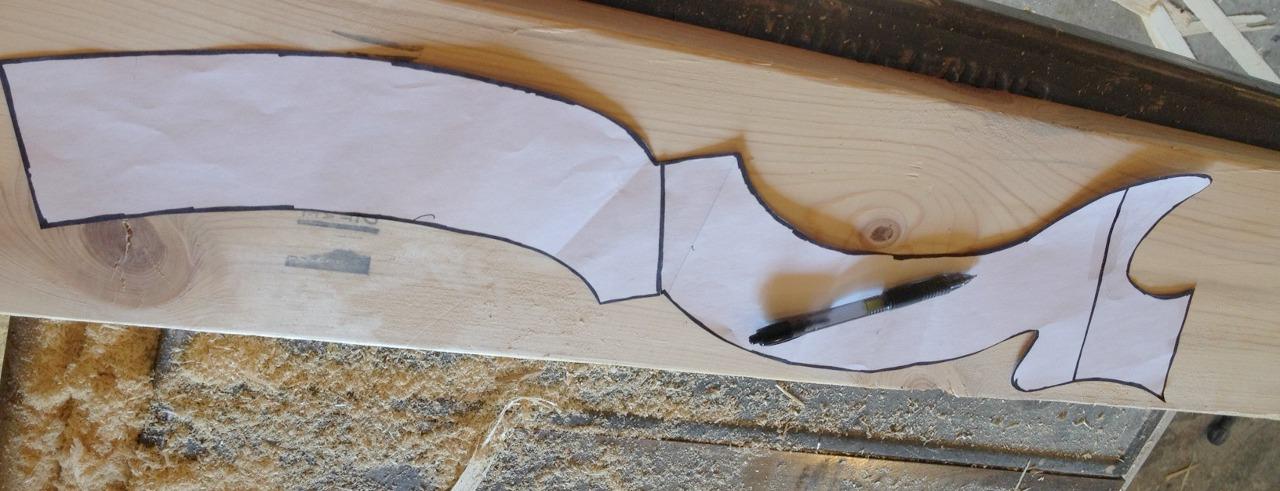
First, you will need to print off the template for the top piece. You can download this from the “Extras” tab. Once you print it, you will need to tape the three pages together so the lines line up. Then, cut along the black lines.
Cut two pieces of 2x8 about 32” long and trace this template onto each board. You will have to angle the template slightly for it to fit. Depending on how wide you want your bench, you can extend the outside ends a little on the template. You may need to make a few adjustments to this plan if you do this.
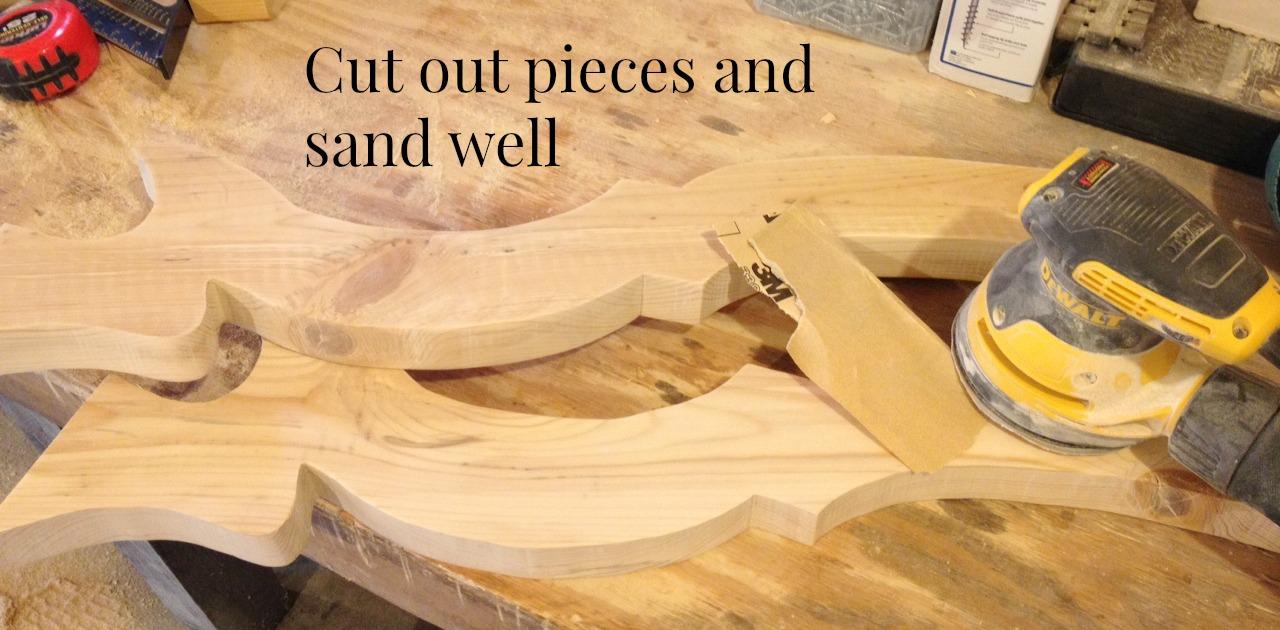
Cut out your shapes using a jig saw or a band saw—whichever you prefer. A band saw works well since the wood is so thick.
-
Attach Two Bench Top Pieces
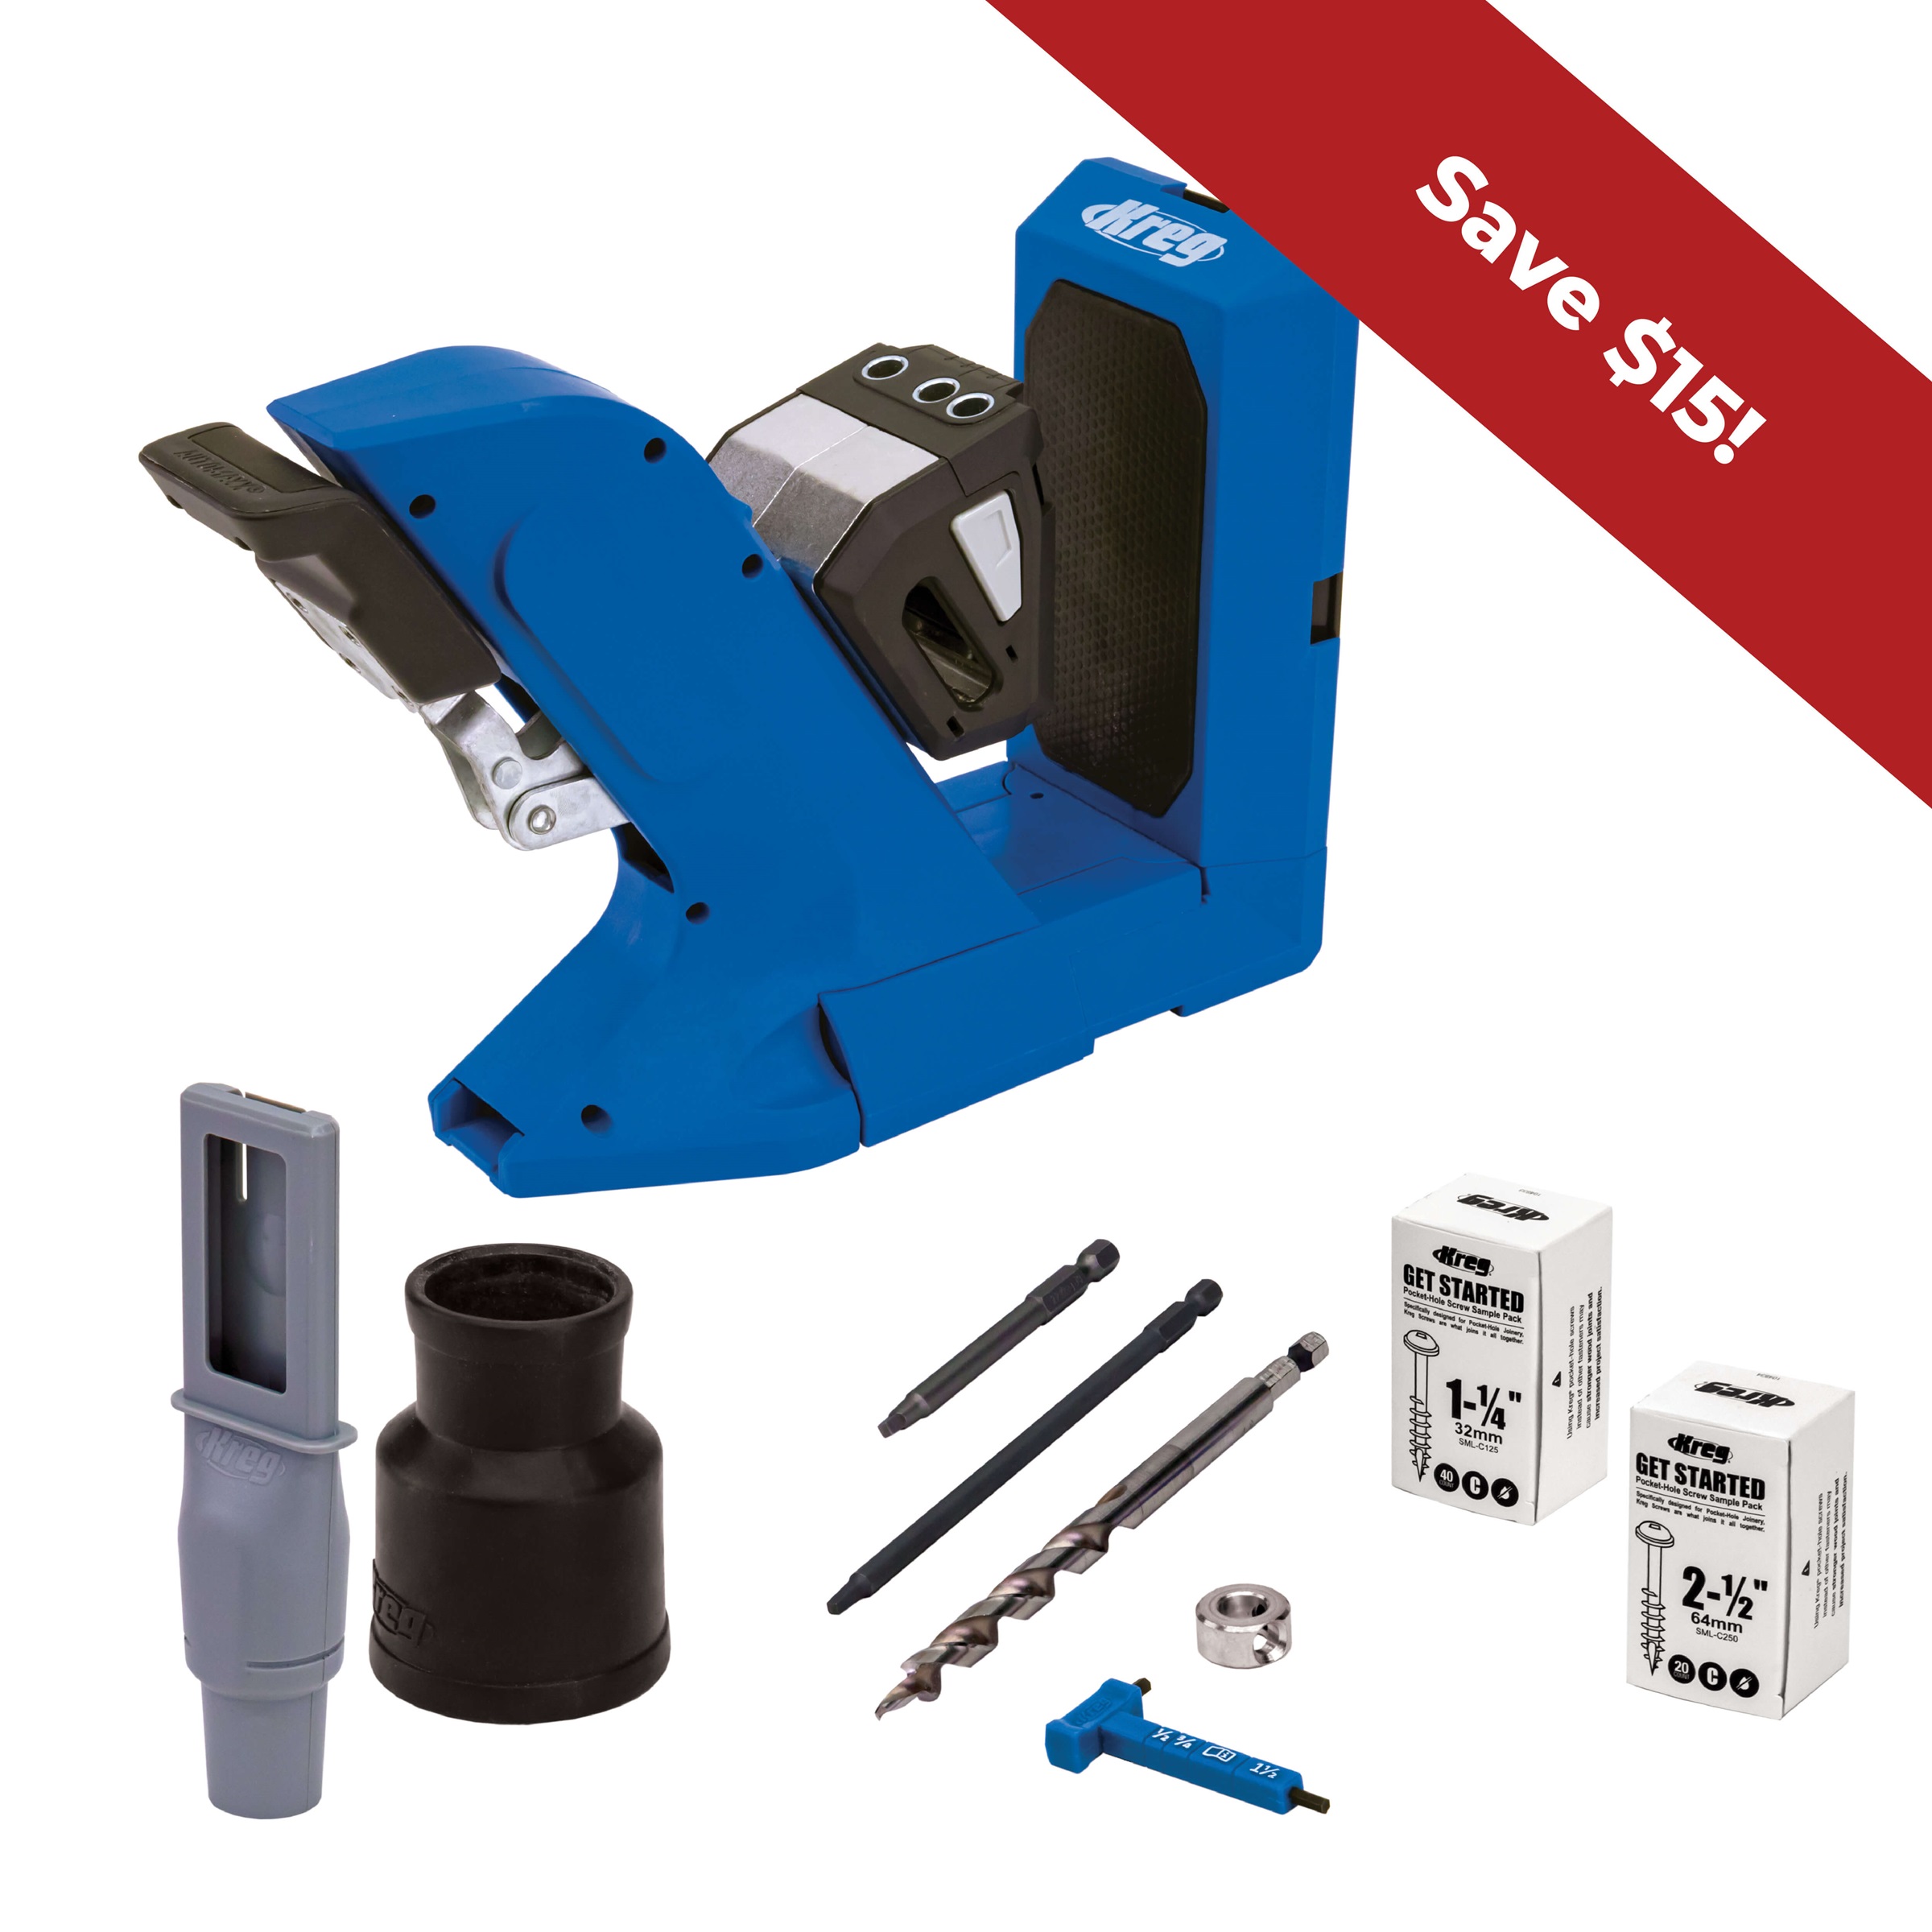
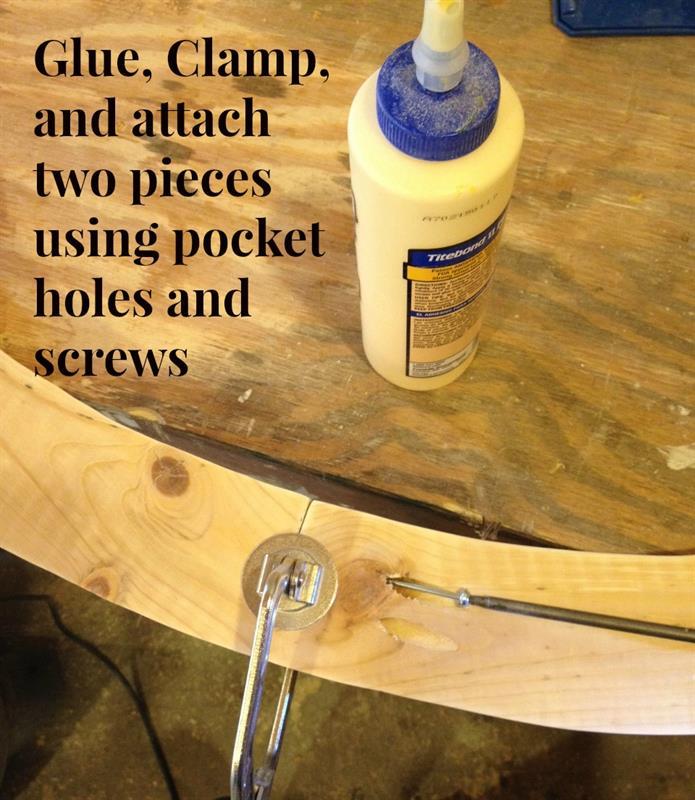
Drill 1 ½” pocket holes into the back of one of the pieces at the middle using a Kreg Jig for pocket holes. Then, glue, clamp, and attach with 2 ½” pocket hole screws.
-
Sand Bench Top Pieces Smooth
Once those are cut, sand the edges really well to smooth out the shape.
-
Cut Out Bench Legs
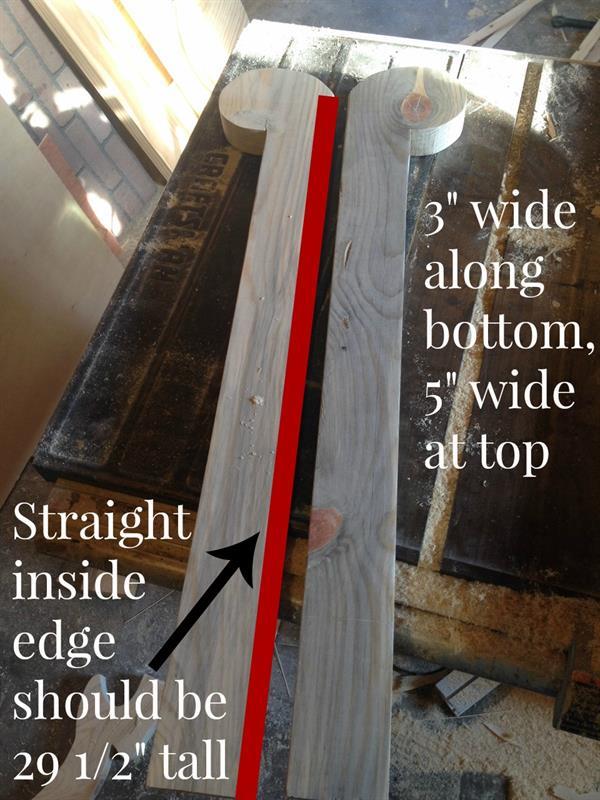
Next, cut the legs. Use the remaining piece of 2x8 and a 2x6 for this. Draw out a leg on the leftover 2x8 piece that is 3” wide and has a rounded top about 5” wide. I used a large roll of tape to help draw the round part. You could use any round object for this or just free hand it. You want the total height of the inside straight edge (shown in the picture) to be 29 1/2”. Once you have it drawn, use a jig saw or band saw and cut it out. Sand all the edges to smooth out the shape, then trace this three times onto a 2x6. Cut out those legs as well and sand smooth. You should have four matching legs.
-
Attach Bench Top to Bench Legs
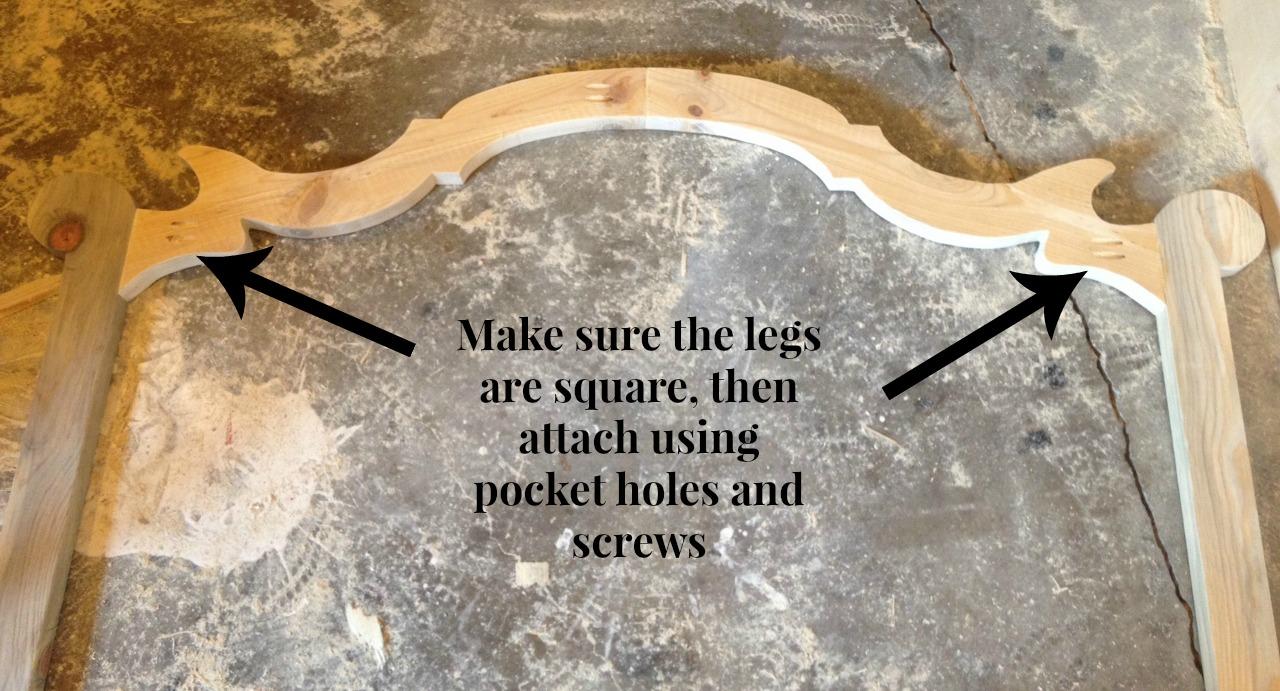
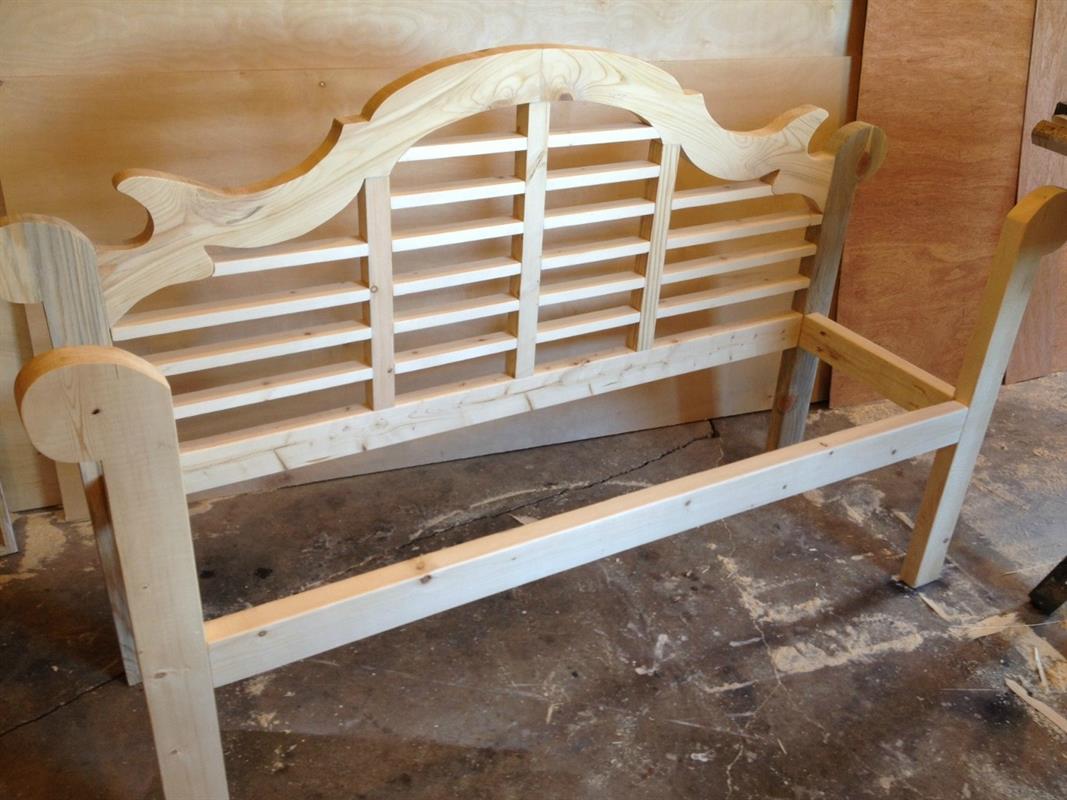
Place your legs alongside the top piece and make sure that they are square. If the legs angle out or in, trim down the edges of the top piece to make it square. Drill 1 ½” pocket holes into the back of the two outside ends of the top piece using a Kreg Jig for pocket holes.
Once everything is good and square, glue and attach the top piece to the legs using 2 ½” pocket hole screws like the picture shows.
-
Add Back Seat Support
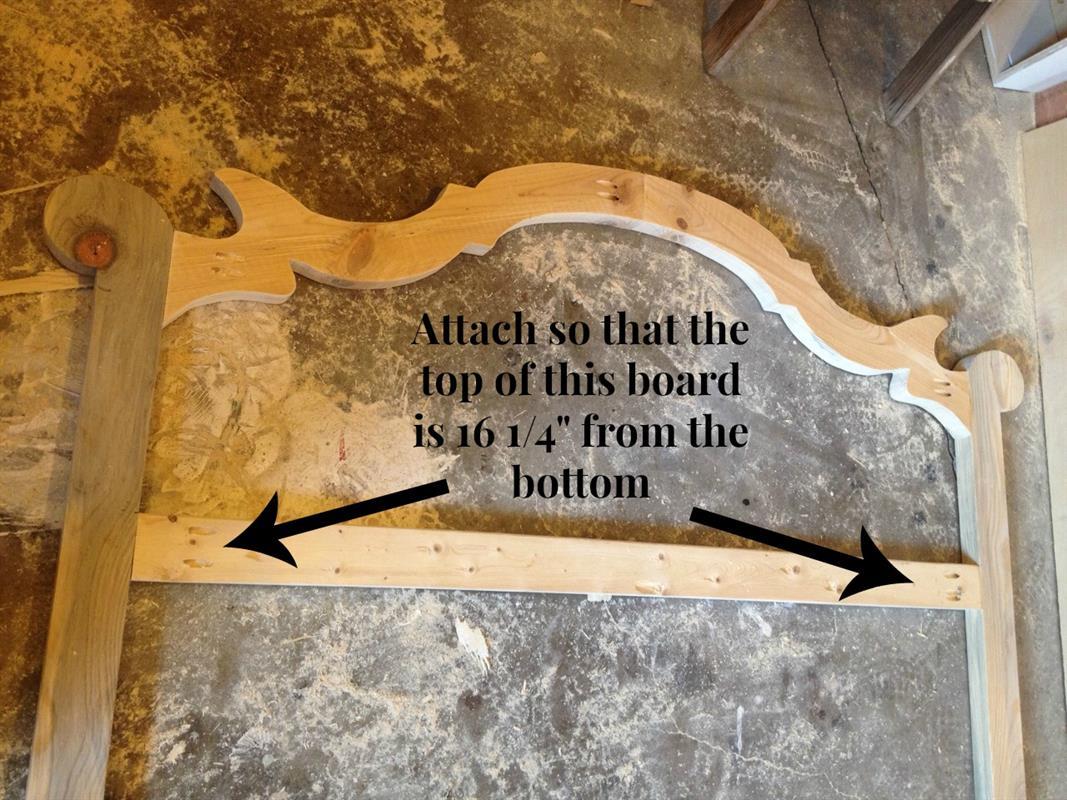
Measure the width of the top between the legs and cut a 2x4 this length. In my case, it was 52” wide. Depending on how close you cut your top shape, yours may vary slightly. Drill 1 ½” pocket holes into this 2x4 and glue and attach to the legs using 2 ½” pocket hole screws. Attach so that the top of the 2x4 is 16 ¼” from the bottom of the legs.
-
Add The Vertical Back Detail
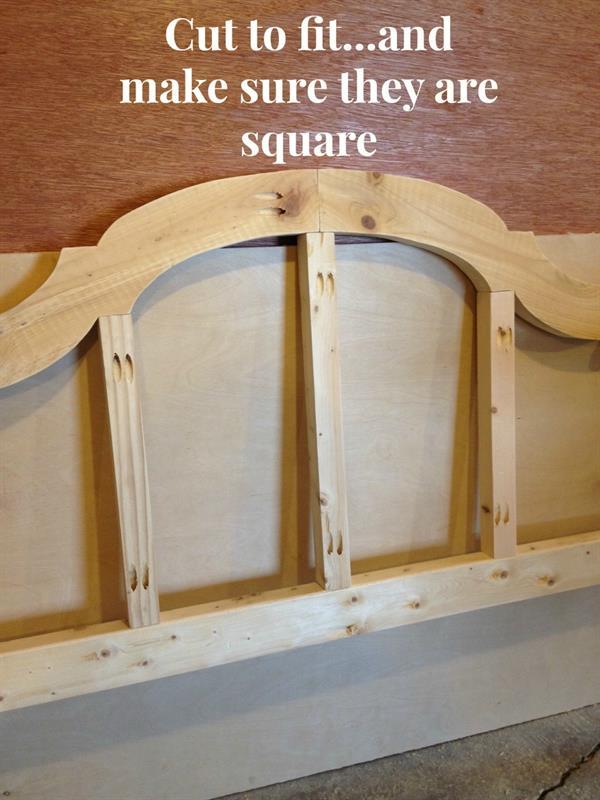
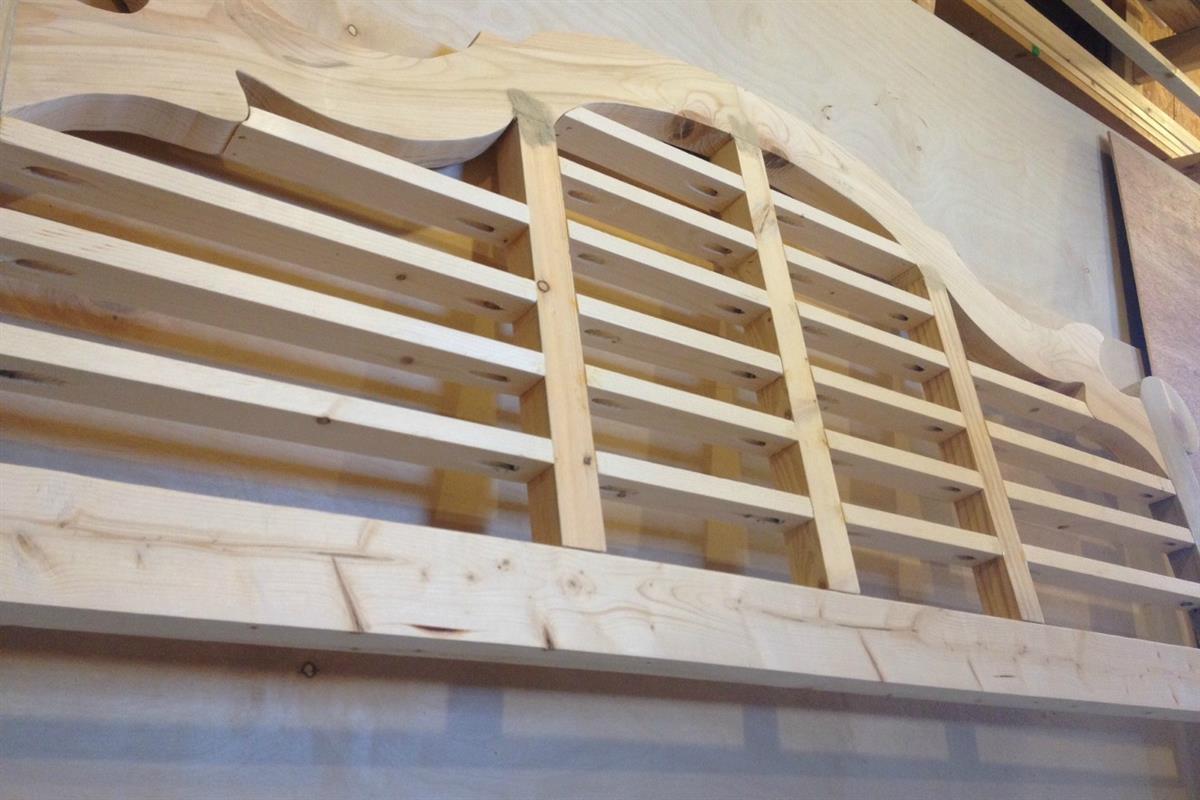
Next, cut to fit 2x2s as the picture shows. Depending on how close you cut to the template, these measurements may change slightly. The two outside pieces should be about 15 1/2” and the middle is about 19”.
Cut to fit these pieces and trim or sand down the edges of the middle piece to make it rounded. Once you get your pieces cut to fit, drill 1 ½” pocket holes and attach like shown with 2 ½” pocket hole screws. NOTE: Make sure they are square to the bottom 2x4 before you screw them in.
-
Cut Back Slats
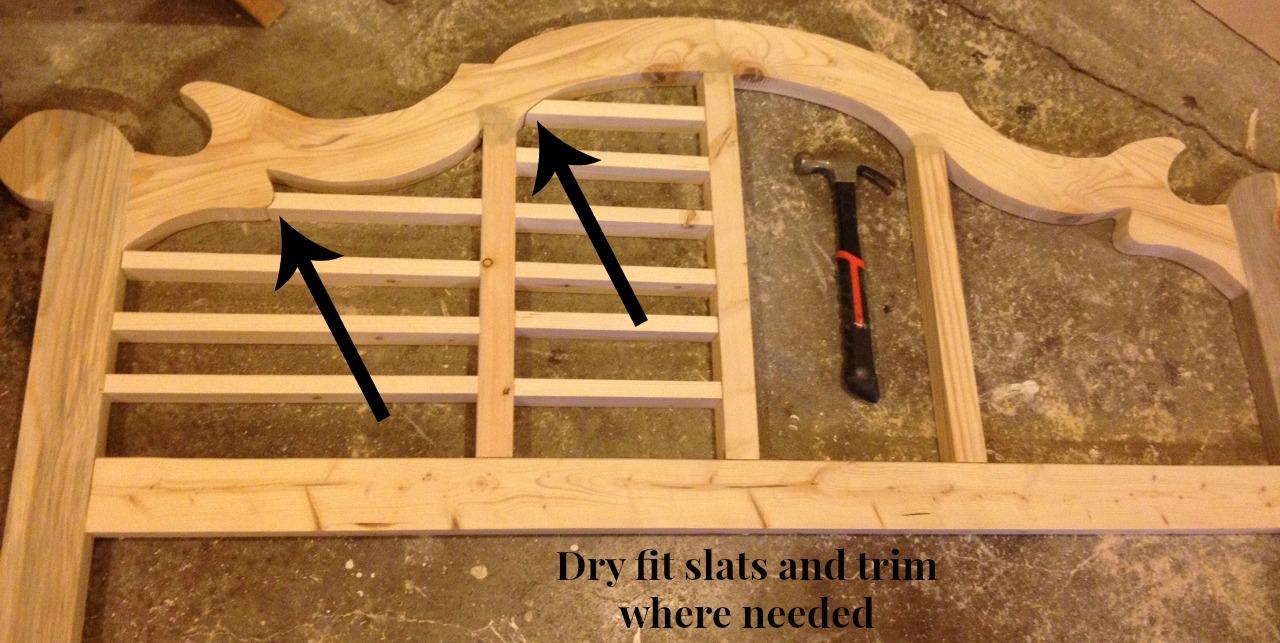
Cut pieces of 1x2 to fit. I dry fit all my pieces together before I attached anything. The middle sections have 6 slats each and the two outside have 4. If you space them out carefully, you will only have to trim 4 pieces to fit in the weird shape. A space of about 1 7/8” between slats seemed to work well.
-
Attach Back Slats
Once everything is cut to fit, drill ¾” pocket holes in the ends of all the pieces EXCEPT the ends that were trimmed to fit the curve. Since I was gluing too, I only used one pocket hole on each end. Glue and attach all slats with 1 ¼” pocket hole screws. The edges that were trimmed to fit the curve should be glued and nailed with brad nails.
-
Add Outside Bench Seat Supports
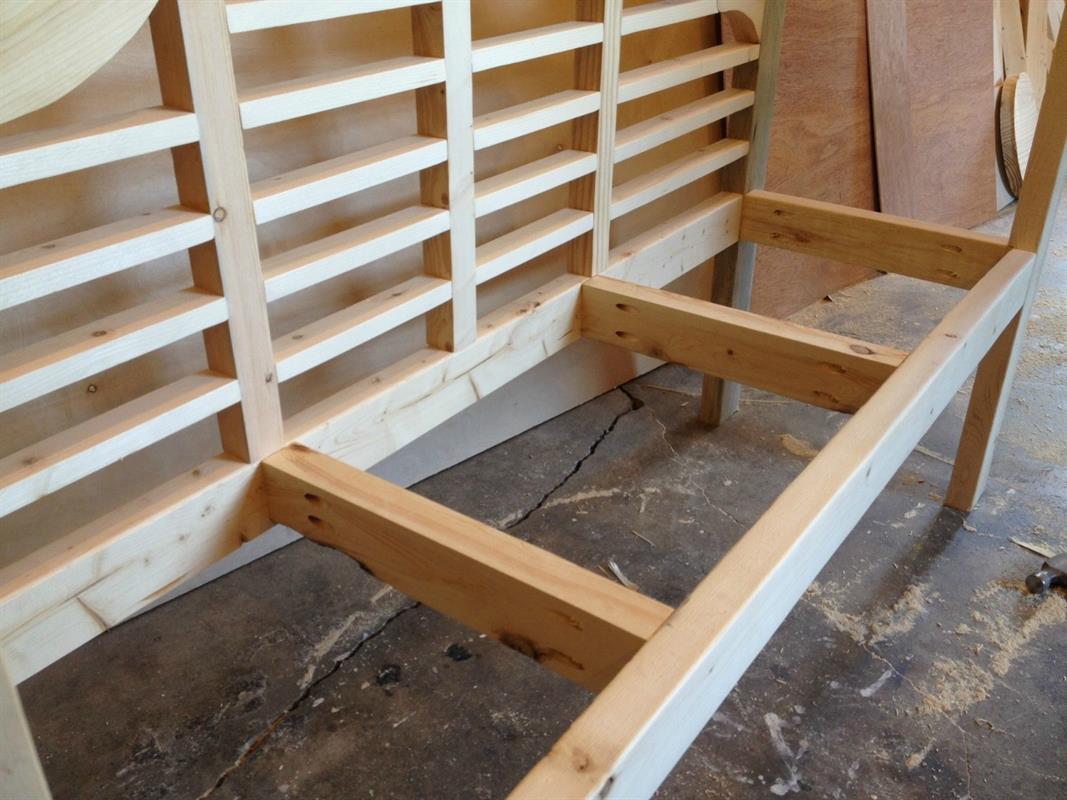
It’s smooth sailing from here…phew! Now that the back is finished, it’s time to add the actual seat. Cut 2 pieces of 2x4 at 16” for side seat supports and 1 piece of 2x4 at 52” for the front seat support. Using 1 ½” pocket holes and 2 ½” pocket hole screws, attach the side and front supports to the two front legs as shown. Make sure the top of the 2x4 supports are 16 1/4" from the bottom of the legs.
-
Add Middle Bench Supports
Add two 16” 2x4 middle supports as shown using 1 ½” pocket holes and 2 ½” pocket hole screws. There should be about 16" between the four supports.
-
Add Bench Seat Slats
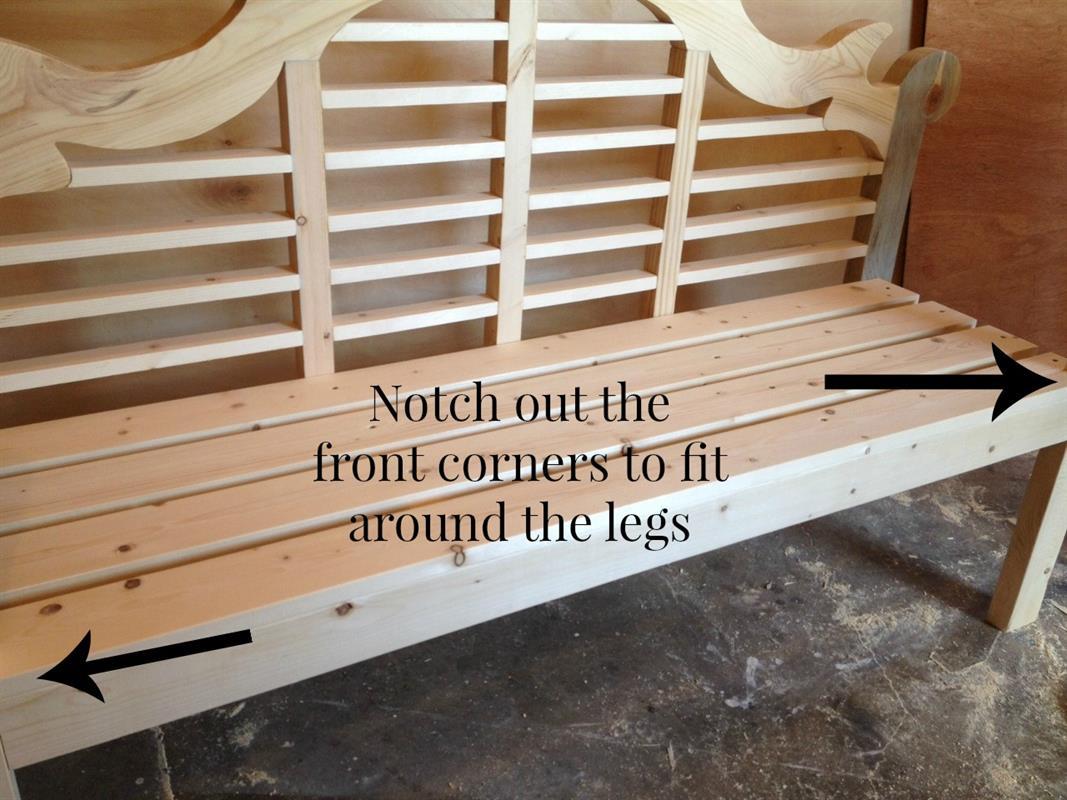
Cut 4 pieces of 1x4 at 55”. Notch out the front 1x4 to fit around the front leg so that it sits flush with the front support. Screw the 1x4s to the supports using 1 ¼” exterior screws. NOTE: Space them apart evenly.
-
Add Side Arm Rest Slats
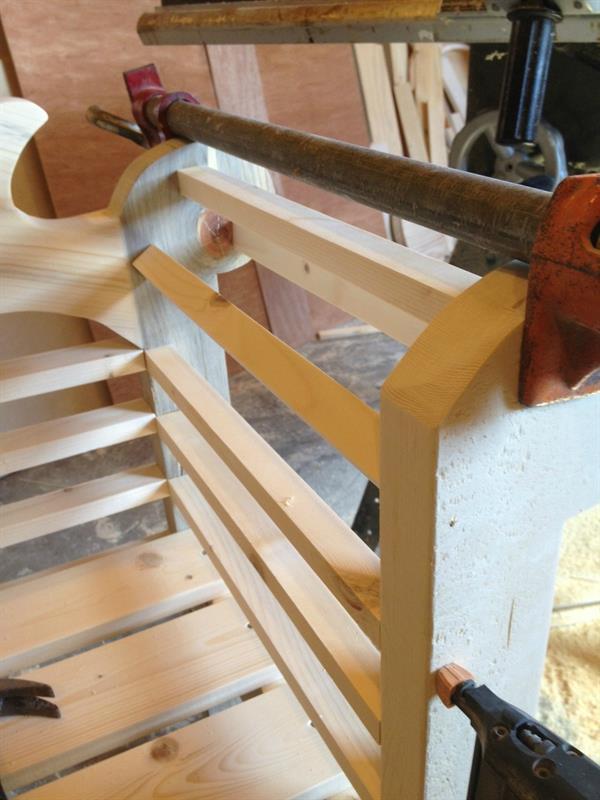
You can use 1x2s for this if you don’t have a table saw. If you do have a table saw, you can trim these pieces to 1” wide for a more sleek look. I used 1” wide strips. Cut 12 pieces at 16” long and glue and nail in place between the front and back arms. These pieces are supposed to go up and “wrap around” the arms. Use long brad nails—at least 2” long. Line the bottom three up with the corresponding slats in the back, then eyeball the top three so that they kind of “wrap” around the arm. Do this on both sides. Clamp once they are nailed until the glue dries.
-
Finish with Outdoor Sealant
Fill any pocket holes that you will see with wood filler or pocket hole plugs. Sand and finish with an outdoor stain/sealant/paint.


