

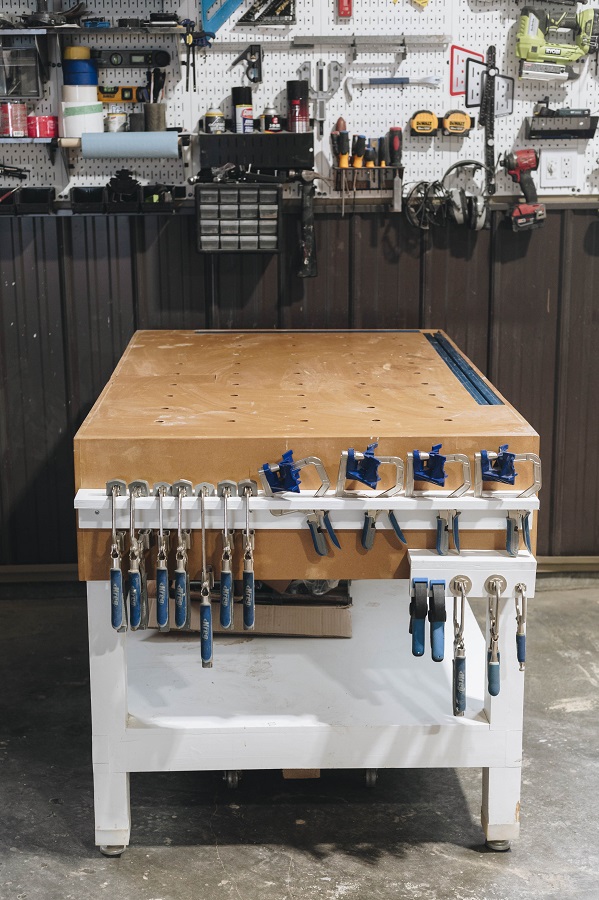

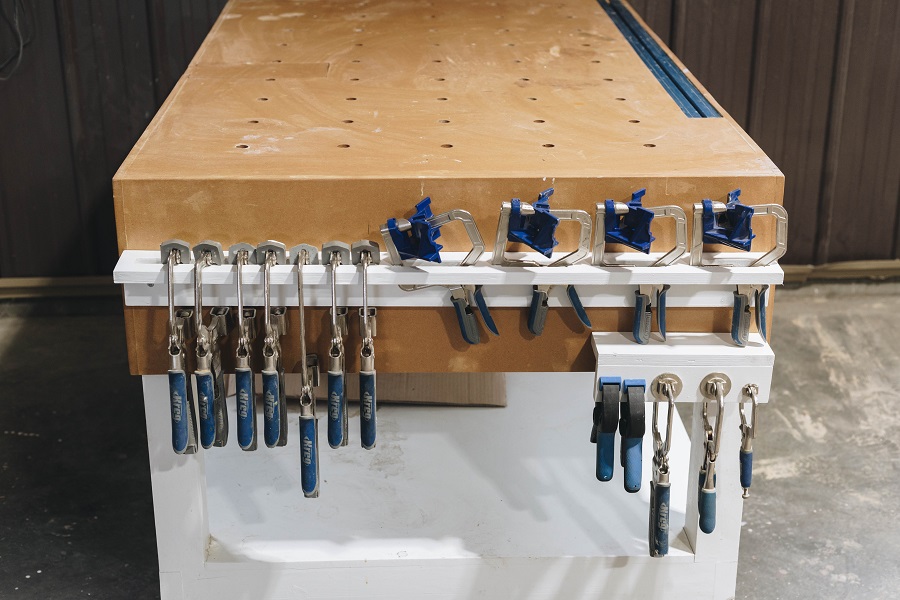


Our Kreg clamps were always stored in a drawer in my work bench. I always found it a pain to grab the clamp that I actually needed from the drawer without taking all the clamps out. I decided it was time to come up with a DIY Kreg Clamp Rack so they were easily accessible. The great thing about these plans is that you can customize the rack to suite your own needs. You can mount the rack on a wall or the side of your workbench and even adjust the type and number holes for the clamps you have. This quick DIY will organize all your clamps so they are ready for your next project!
Tools
Kreg Tools


Other Tools
-
Table Saw

-
Mitre Saw
Materials
Wood Products
- 1 Sheet of plywood , ¾” x 8’ x 3'
Hardware & Supplies
- 1 Box of Kreg Pocket Screws (See tools list)
- 1 Wood Glue
- 1 Wood Filler
- 1 Primer
- 1 Paint
Directions
-
Make the Cuts
Cut pieces to size (note you can easily customize these racks to add/remove clamps
styles to match your own collection) as shown in the downloadable plans.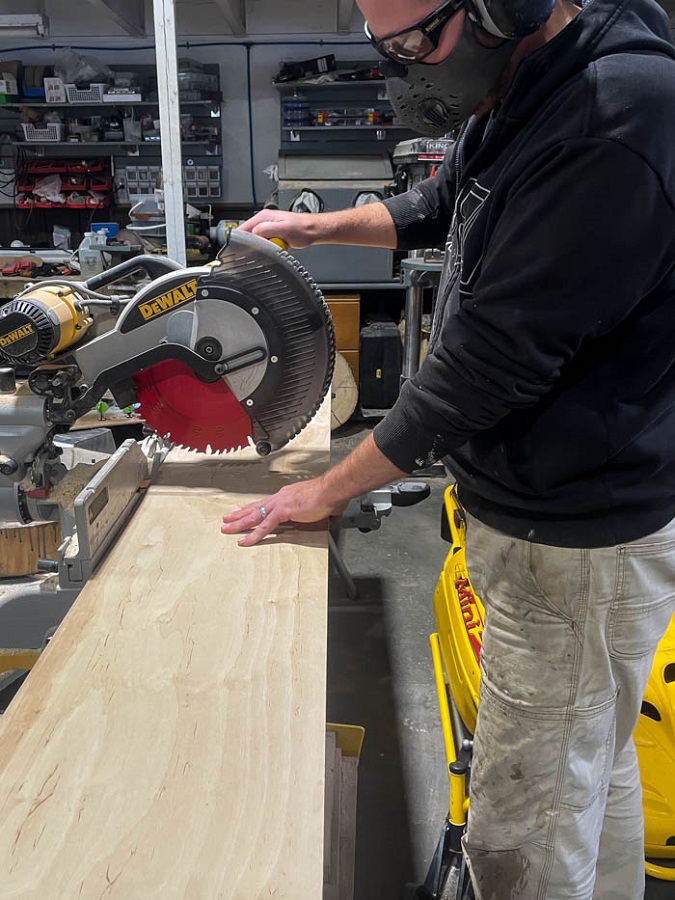
-
Clamp Locations
Mark out the locations of where you will put your clamps.
-
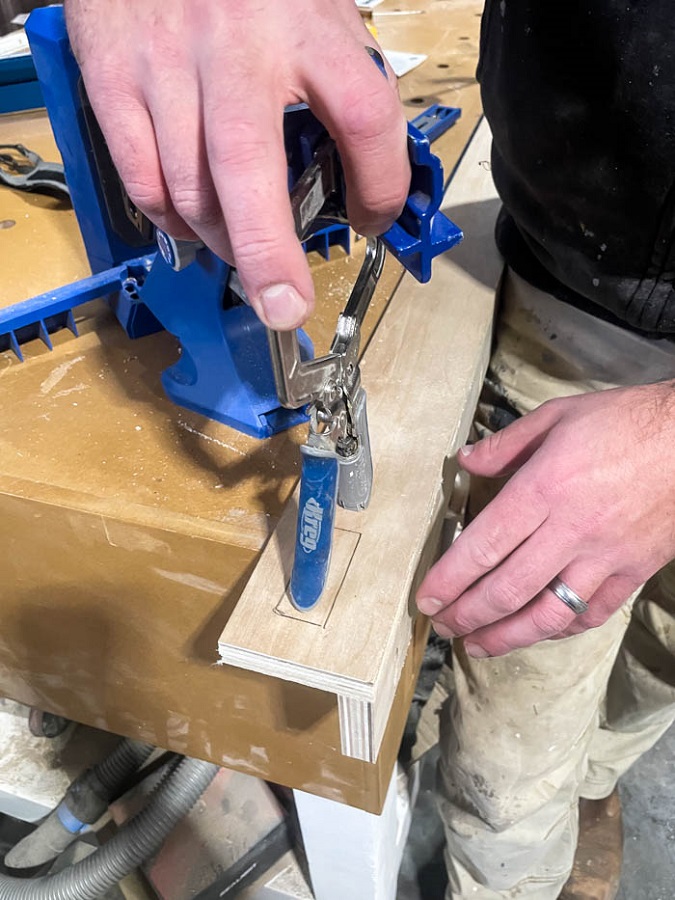
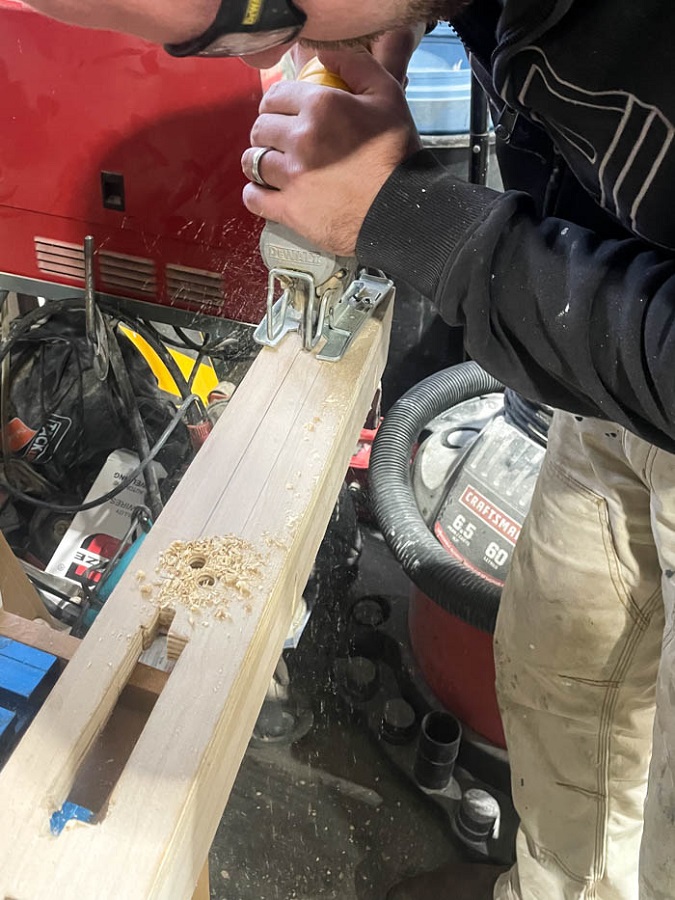
Drill
Drill holes in the corners of where you need. Plan to put holes with a drill bit size larger than the size of your jig saw blade

-
Cut out Holes
Cut out the holes for your clamps with a jig saw.
-
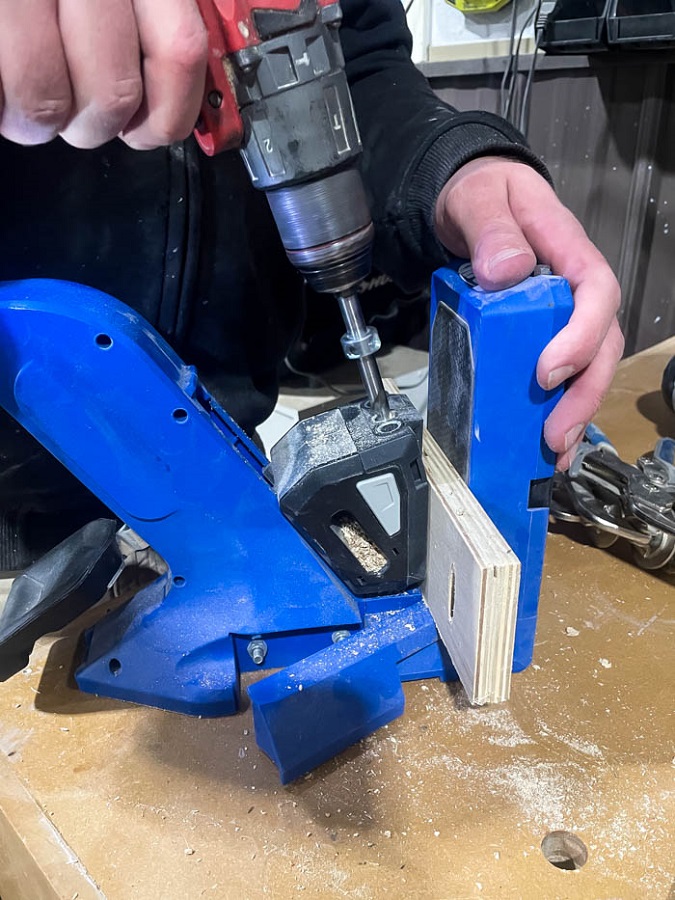
Add Pocket holes
Add pocket holes to the pieces as shown in the downloadable plans.
-
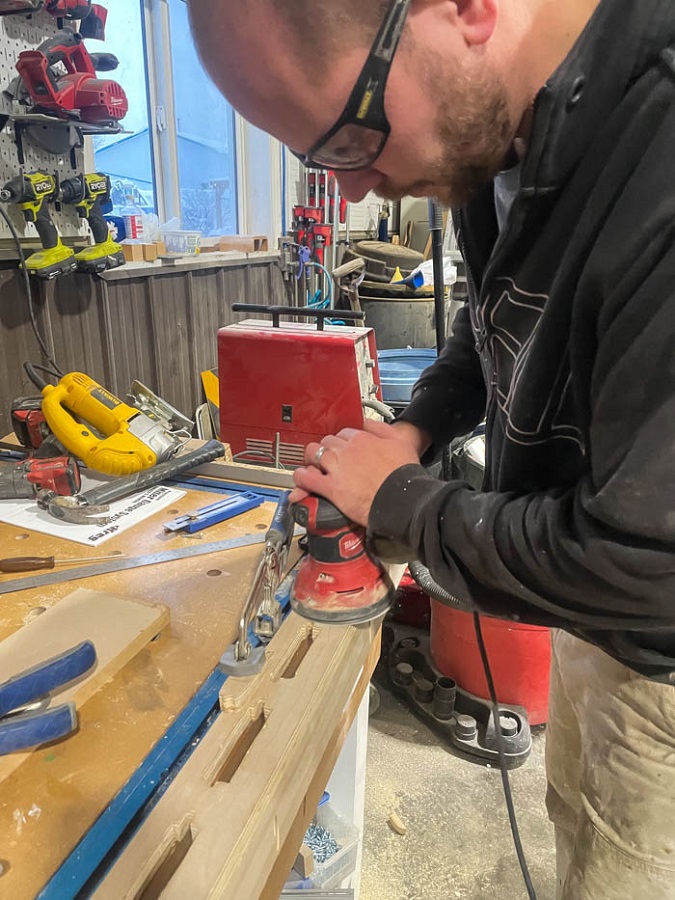
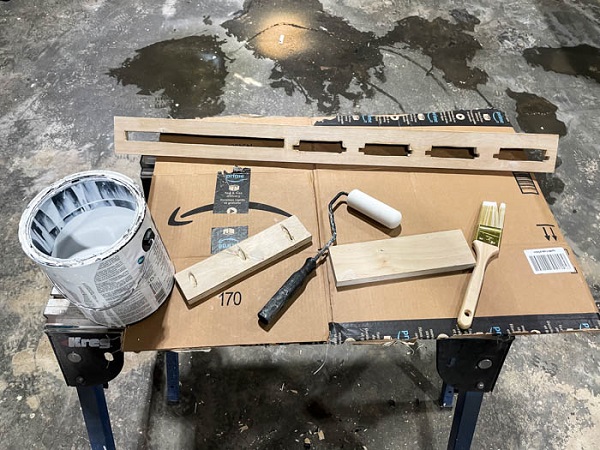
Use Wood Filler & Sand
Fill any imperfections with wood filler, let dry, and sand *optional*
-
Paint
Primer and paint your racks to desired finish *optional*
-
Assemble
Assemble the pieces as shown in the downloadable plans
-
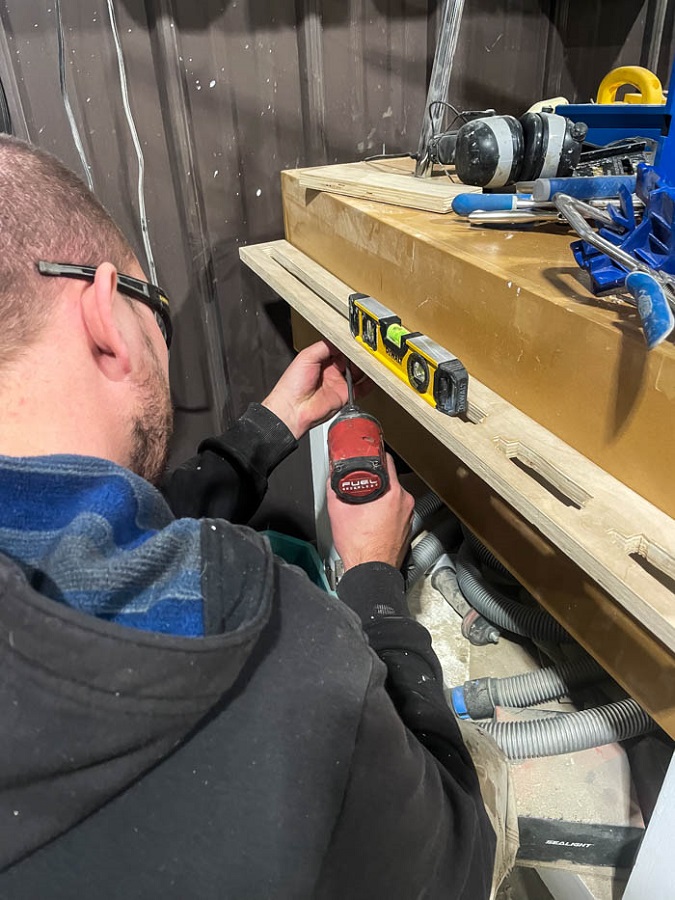
Attach
Attach to wall or workbench!
