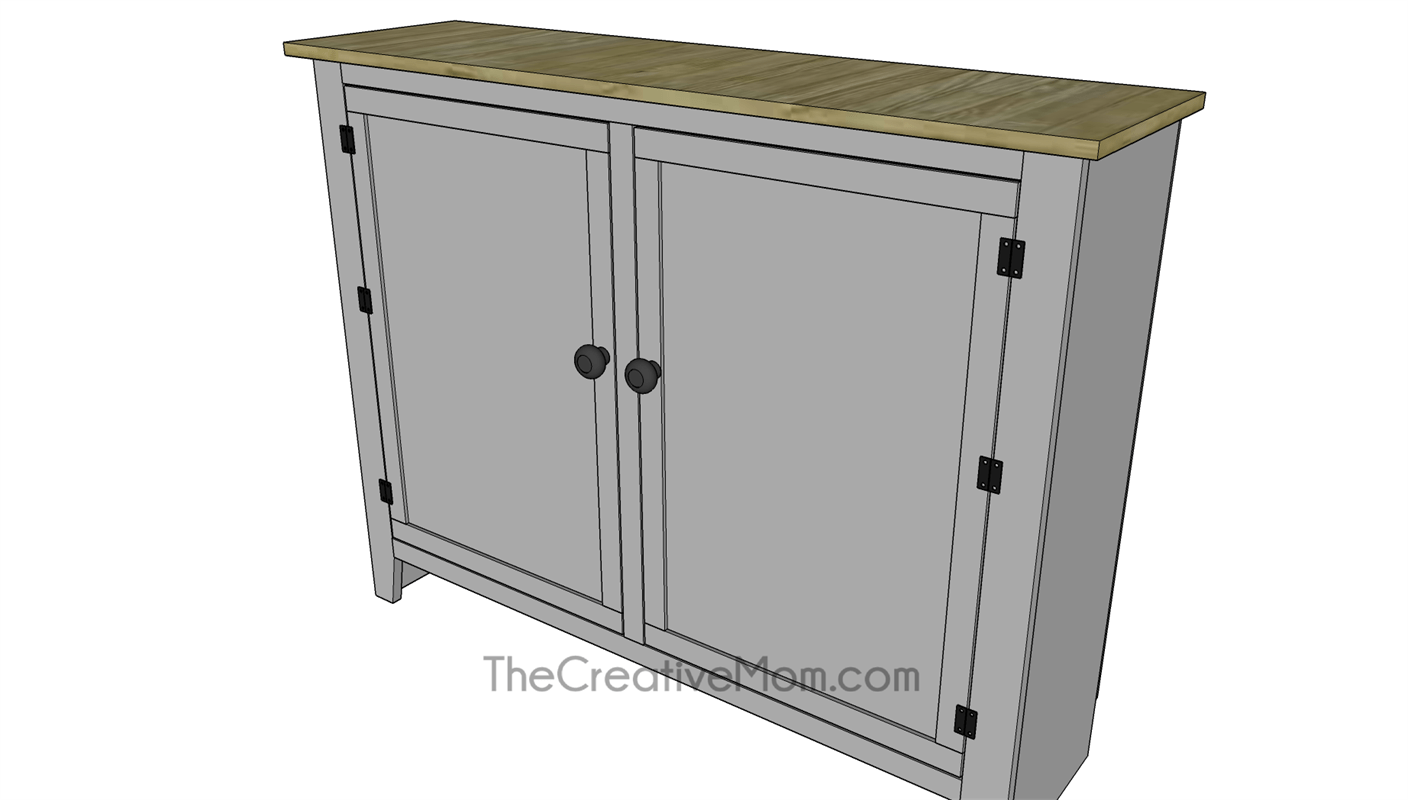
Buffet Cabinet
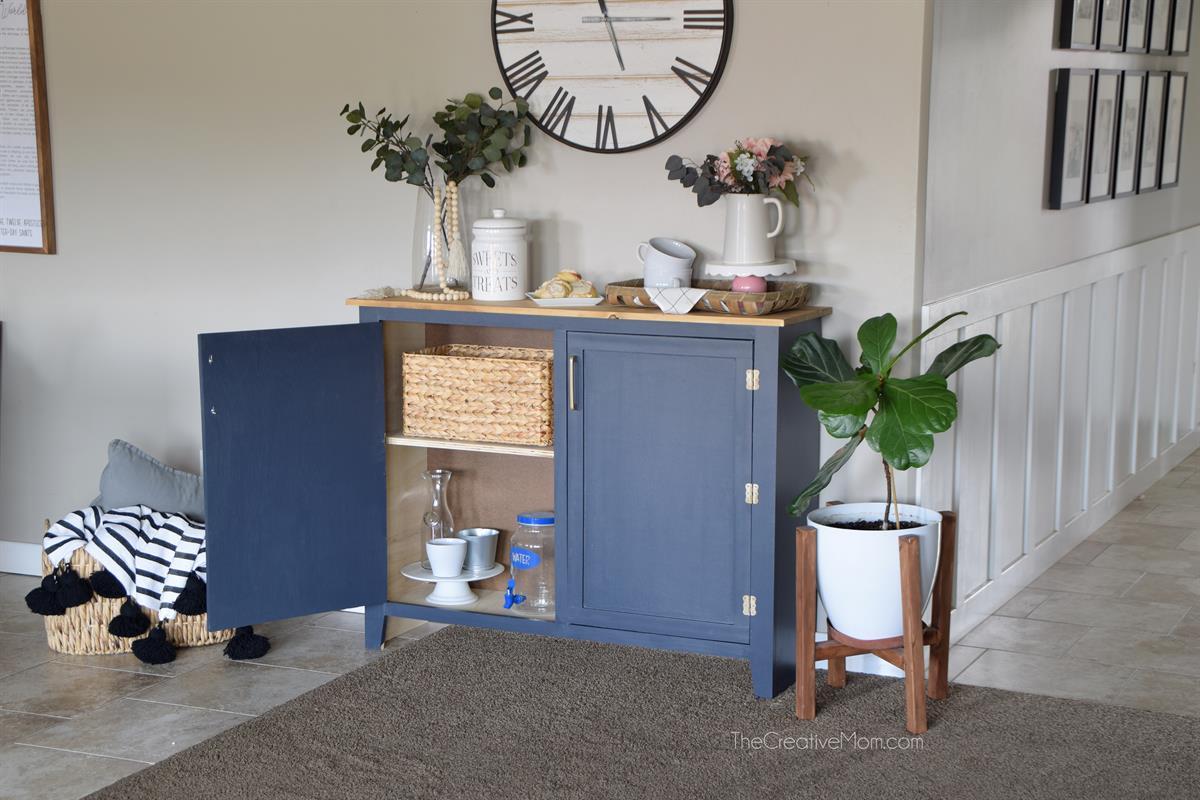
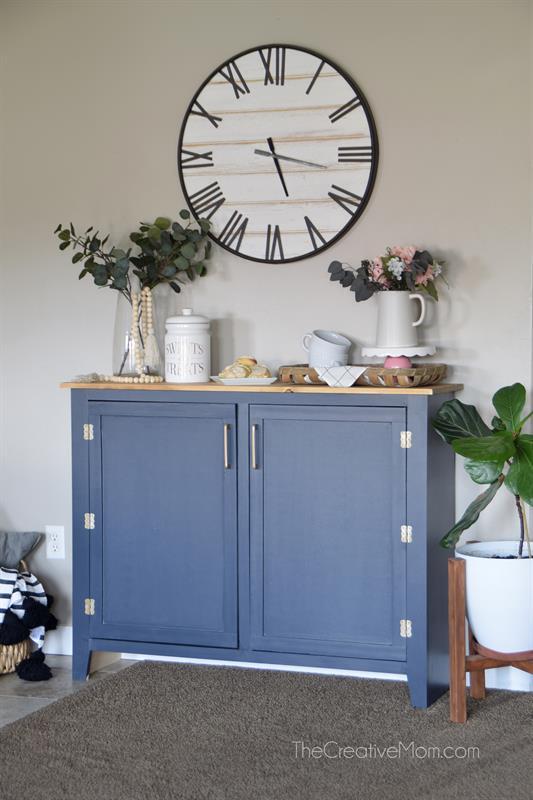
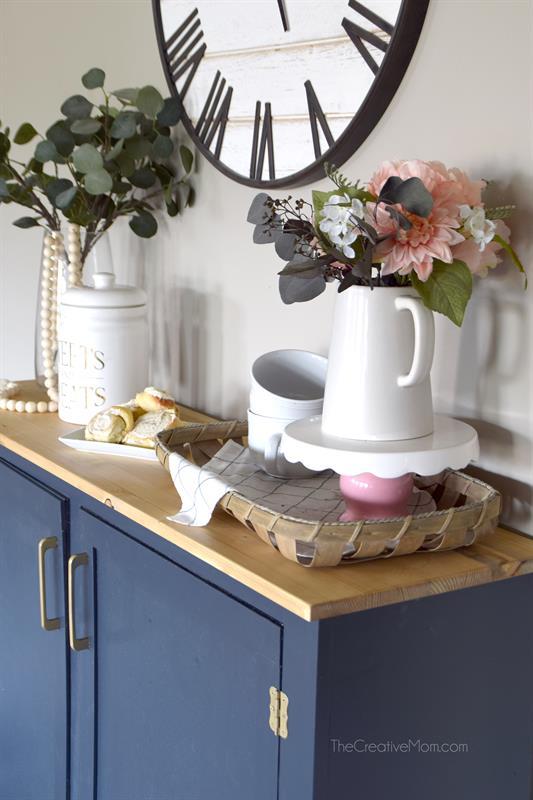
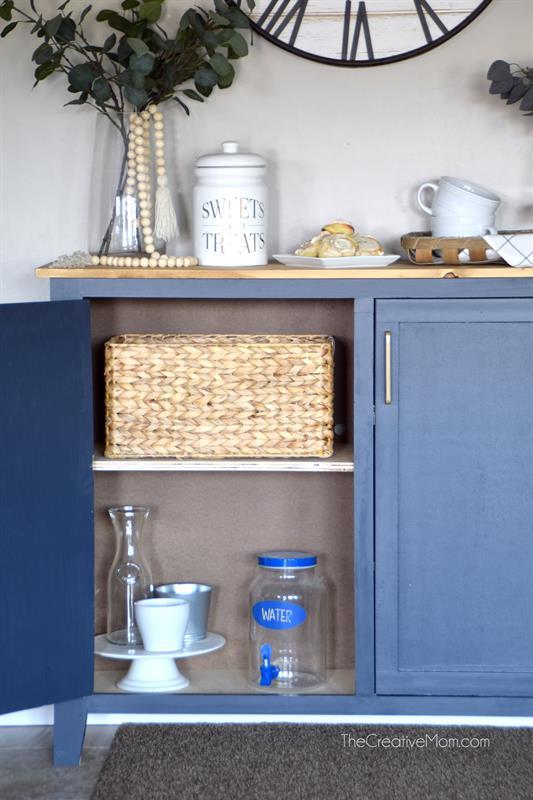
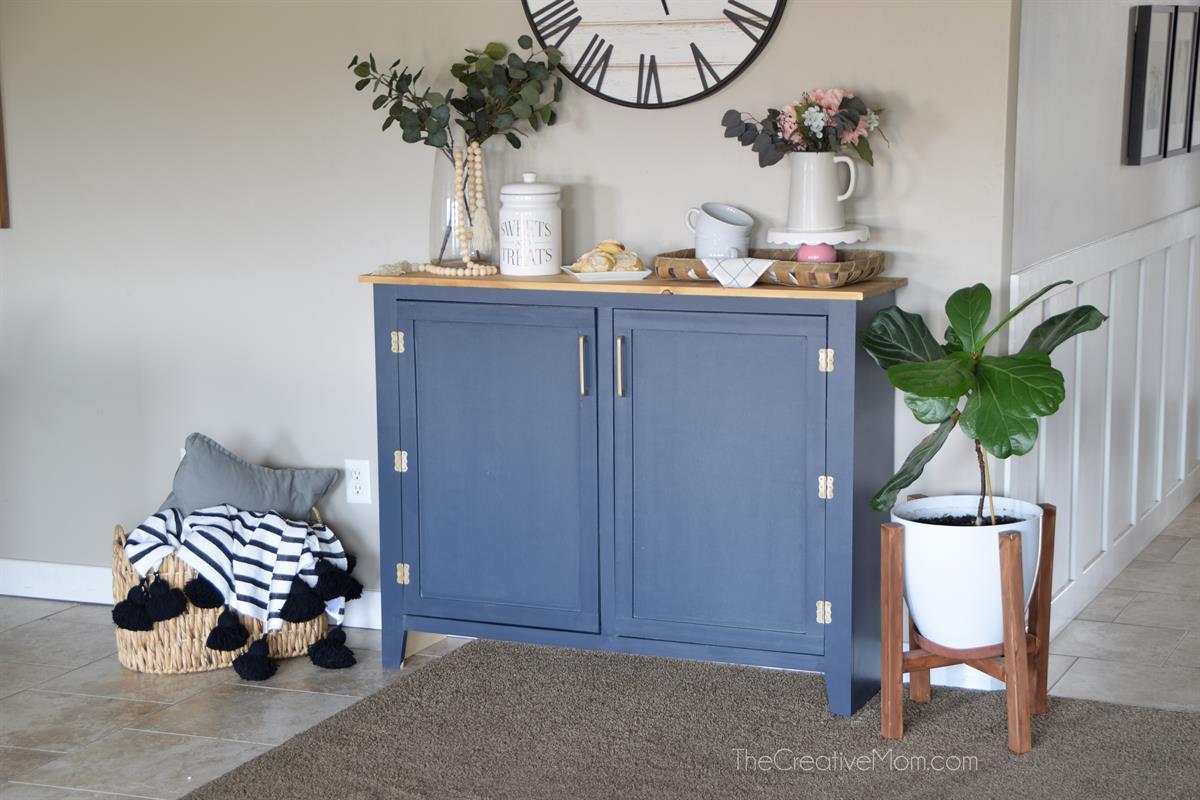
By The Creative MomThis small buffet is a pretty easy build, and fairly inexpensive. These plans are designed for a small cabinet, perfect for a coffee or hot chocolate station. It can also be used as a sideboard, to add extra storage space. The measurements in these plans can easily be adjusted to fit your space.
Directions
-
Bottom Piece
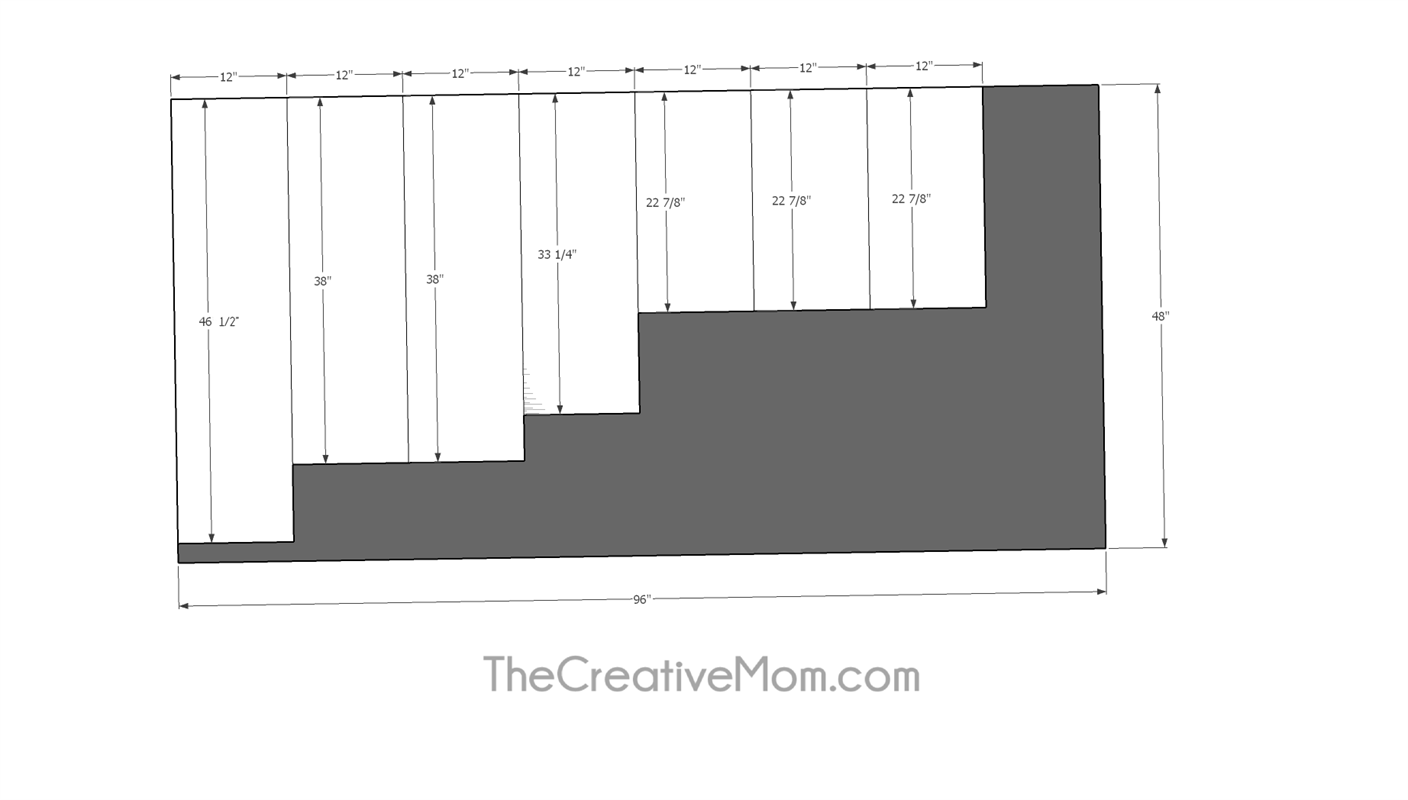
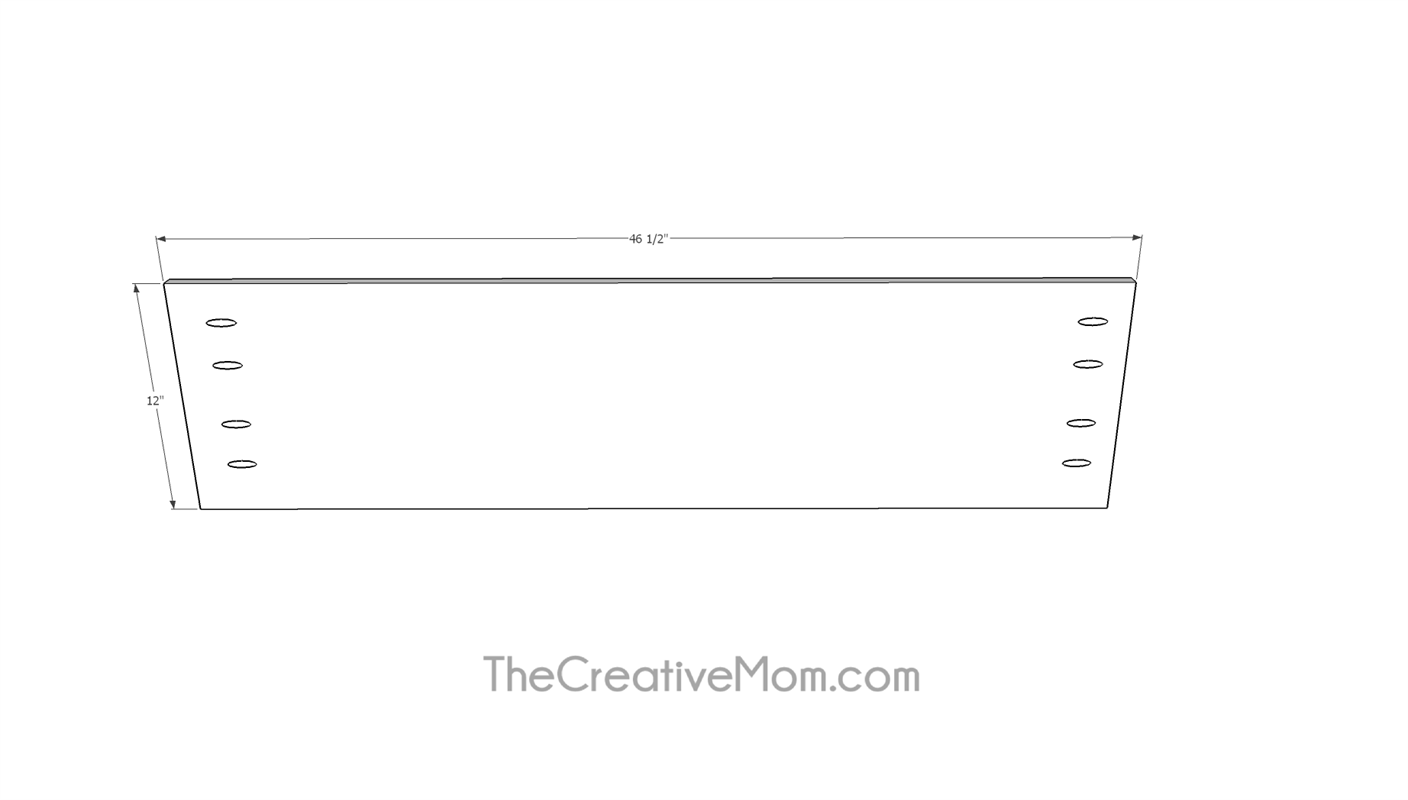
Cut a 46 1/2" x 12" piece of 3/4" plywood. Drill pocket holes in each end.
-
Attach Side Panels
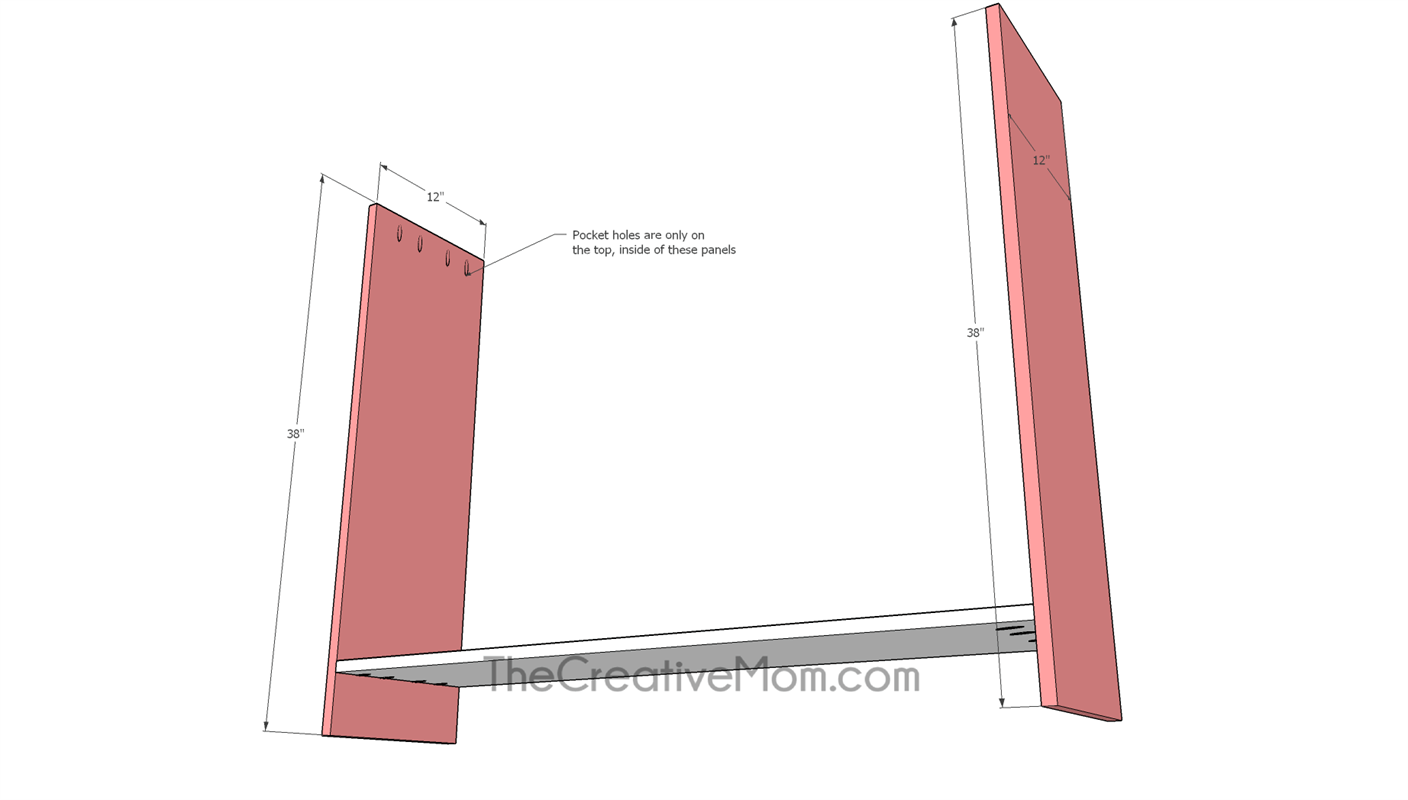
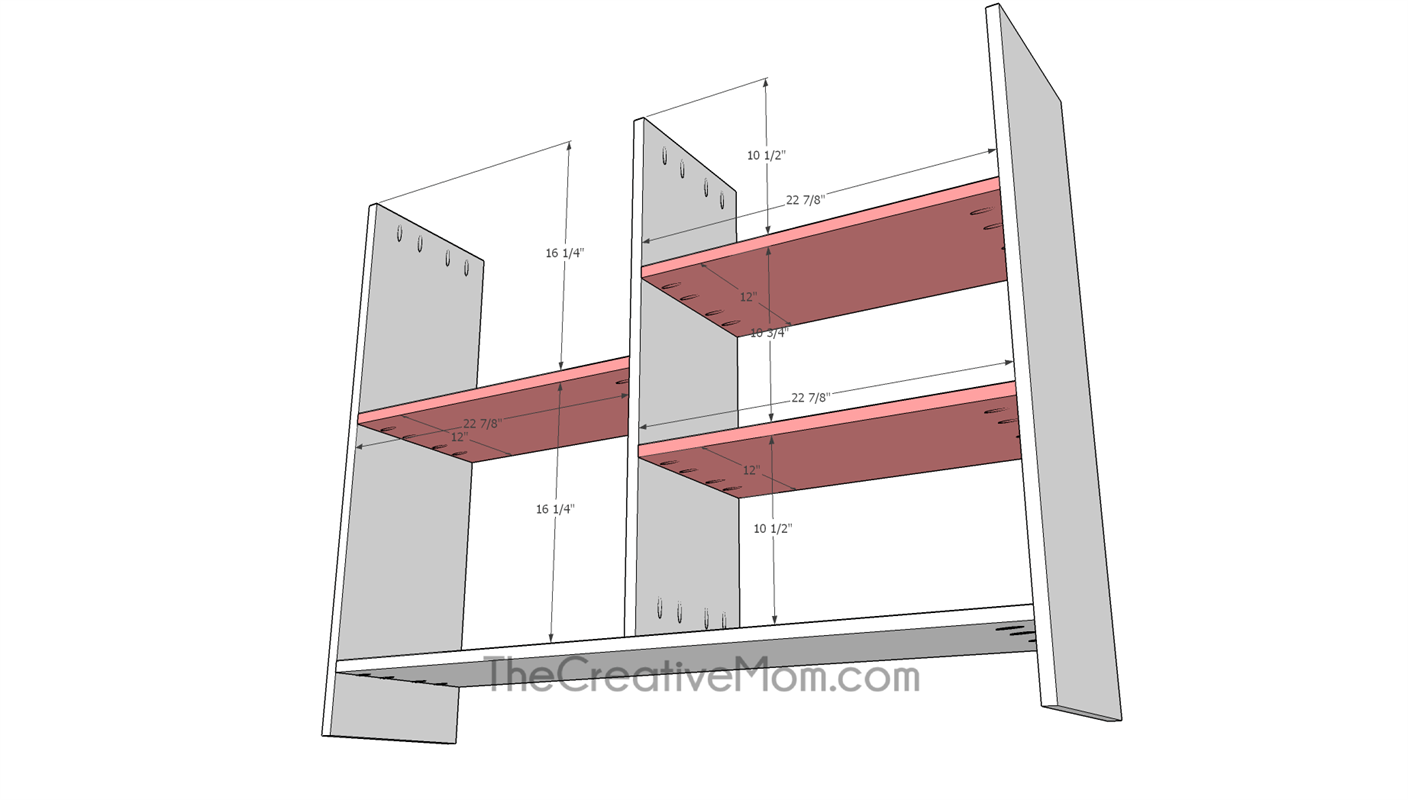
Cut two 38" x 12" pieces of 3/4" plywood. Drill pocket holes in one end of each piece. Using wood glue and 1 1/4" pocket hole screws, attach these to the bottom piece, 4 inches from the floor. Make sure your pocket holes are on the top, inside of these side panels. These pocket holes will be used later to attach the table top.
-
Add Middle Support
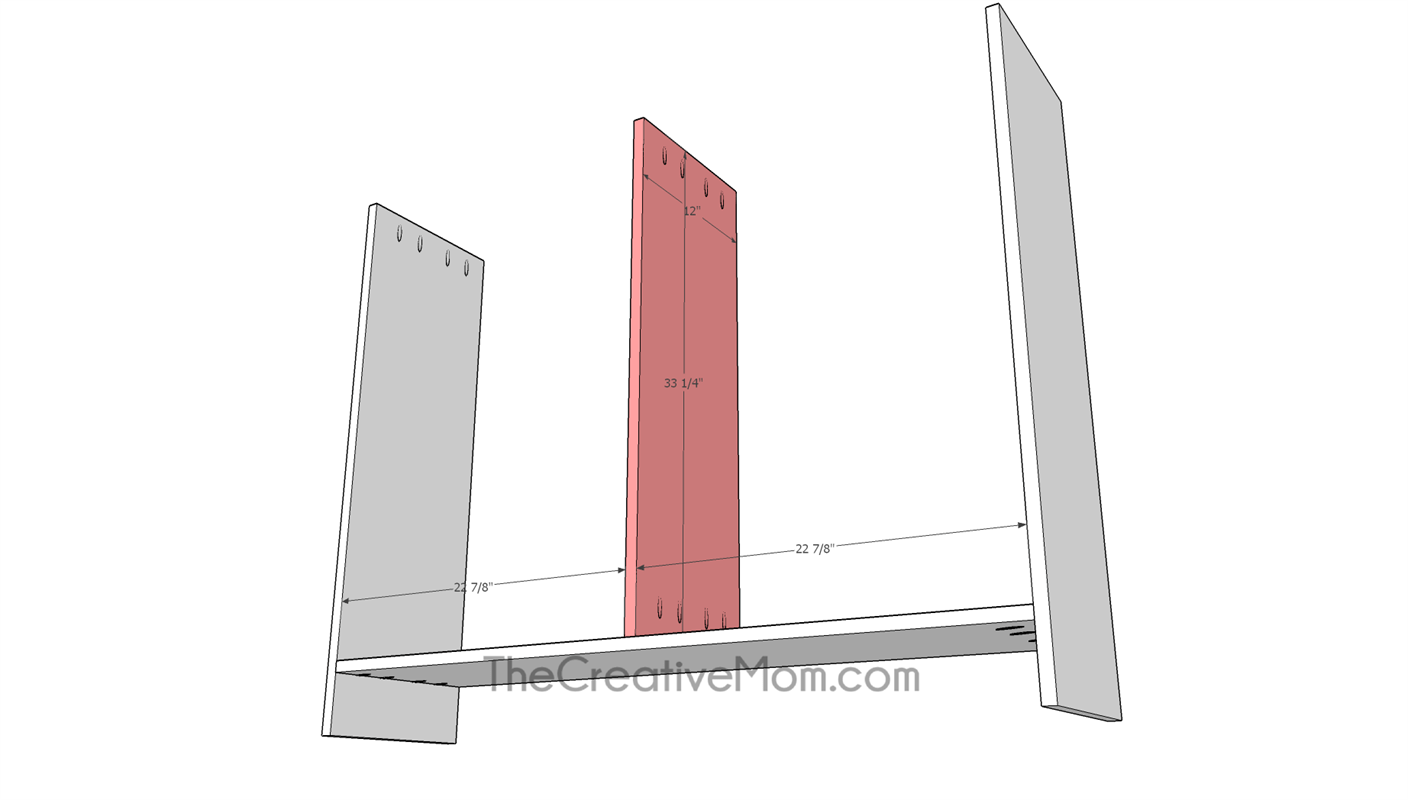
Cut one 33 1/" x 12" pieces of 3/4" plywood. Drill pocket holes in both ends. Using wood glue and 1 1/4"pocket hole screws, attach this panel to the bottom piece, at the center mark.
Use your speed square to make sure joints are square and even. -
Add Shelves
Cut three 22 7/8" x 12" pieces of 3/4" plywood. Drill pocket holes in both ends of each piece. Using wood glue and 1 1/4" pocket hole screws, attach these to the vertical panels to create shelves. Make sure to use a level and speed square to keep your shelves square and even.
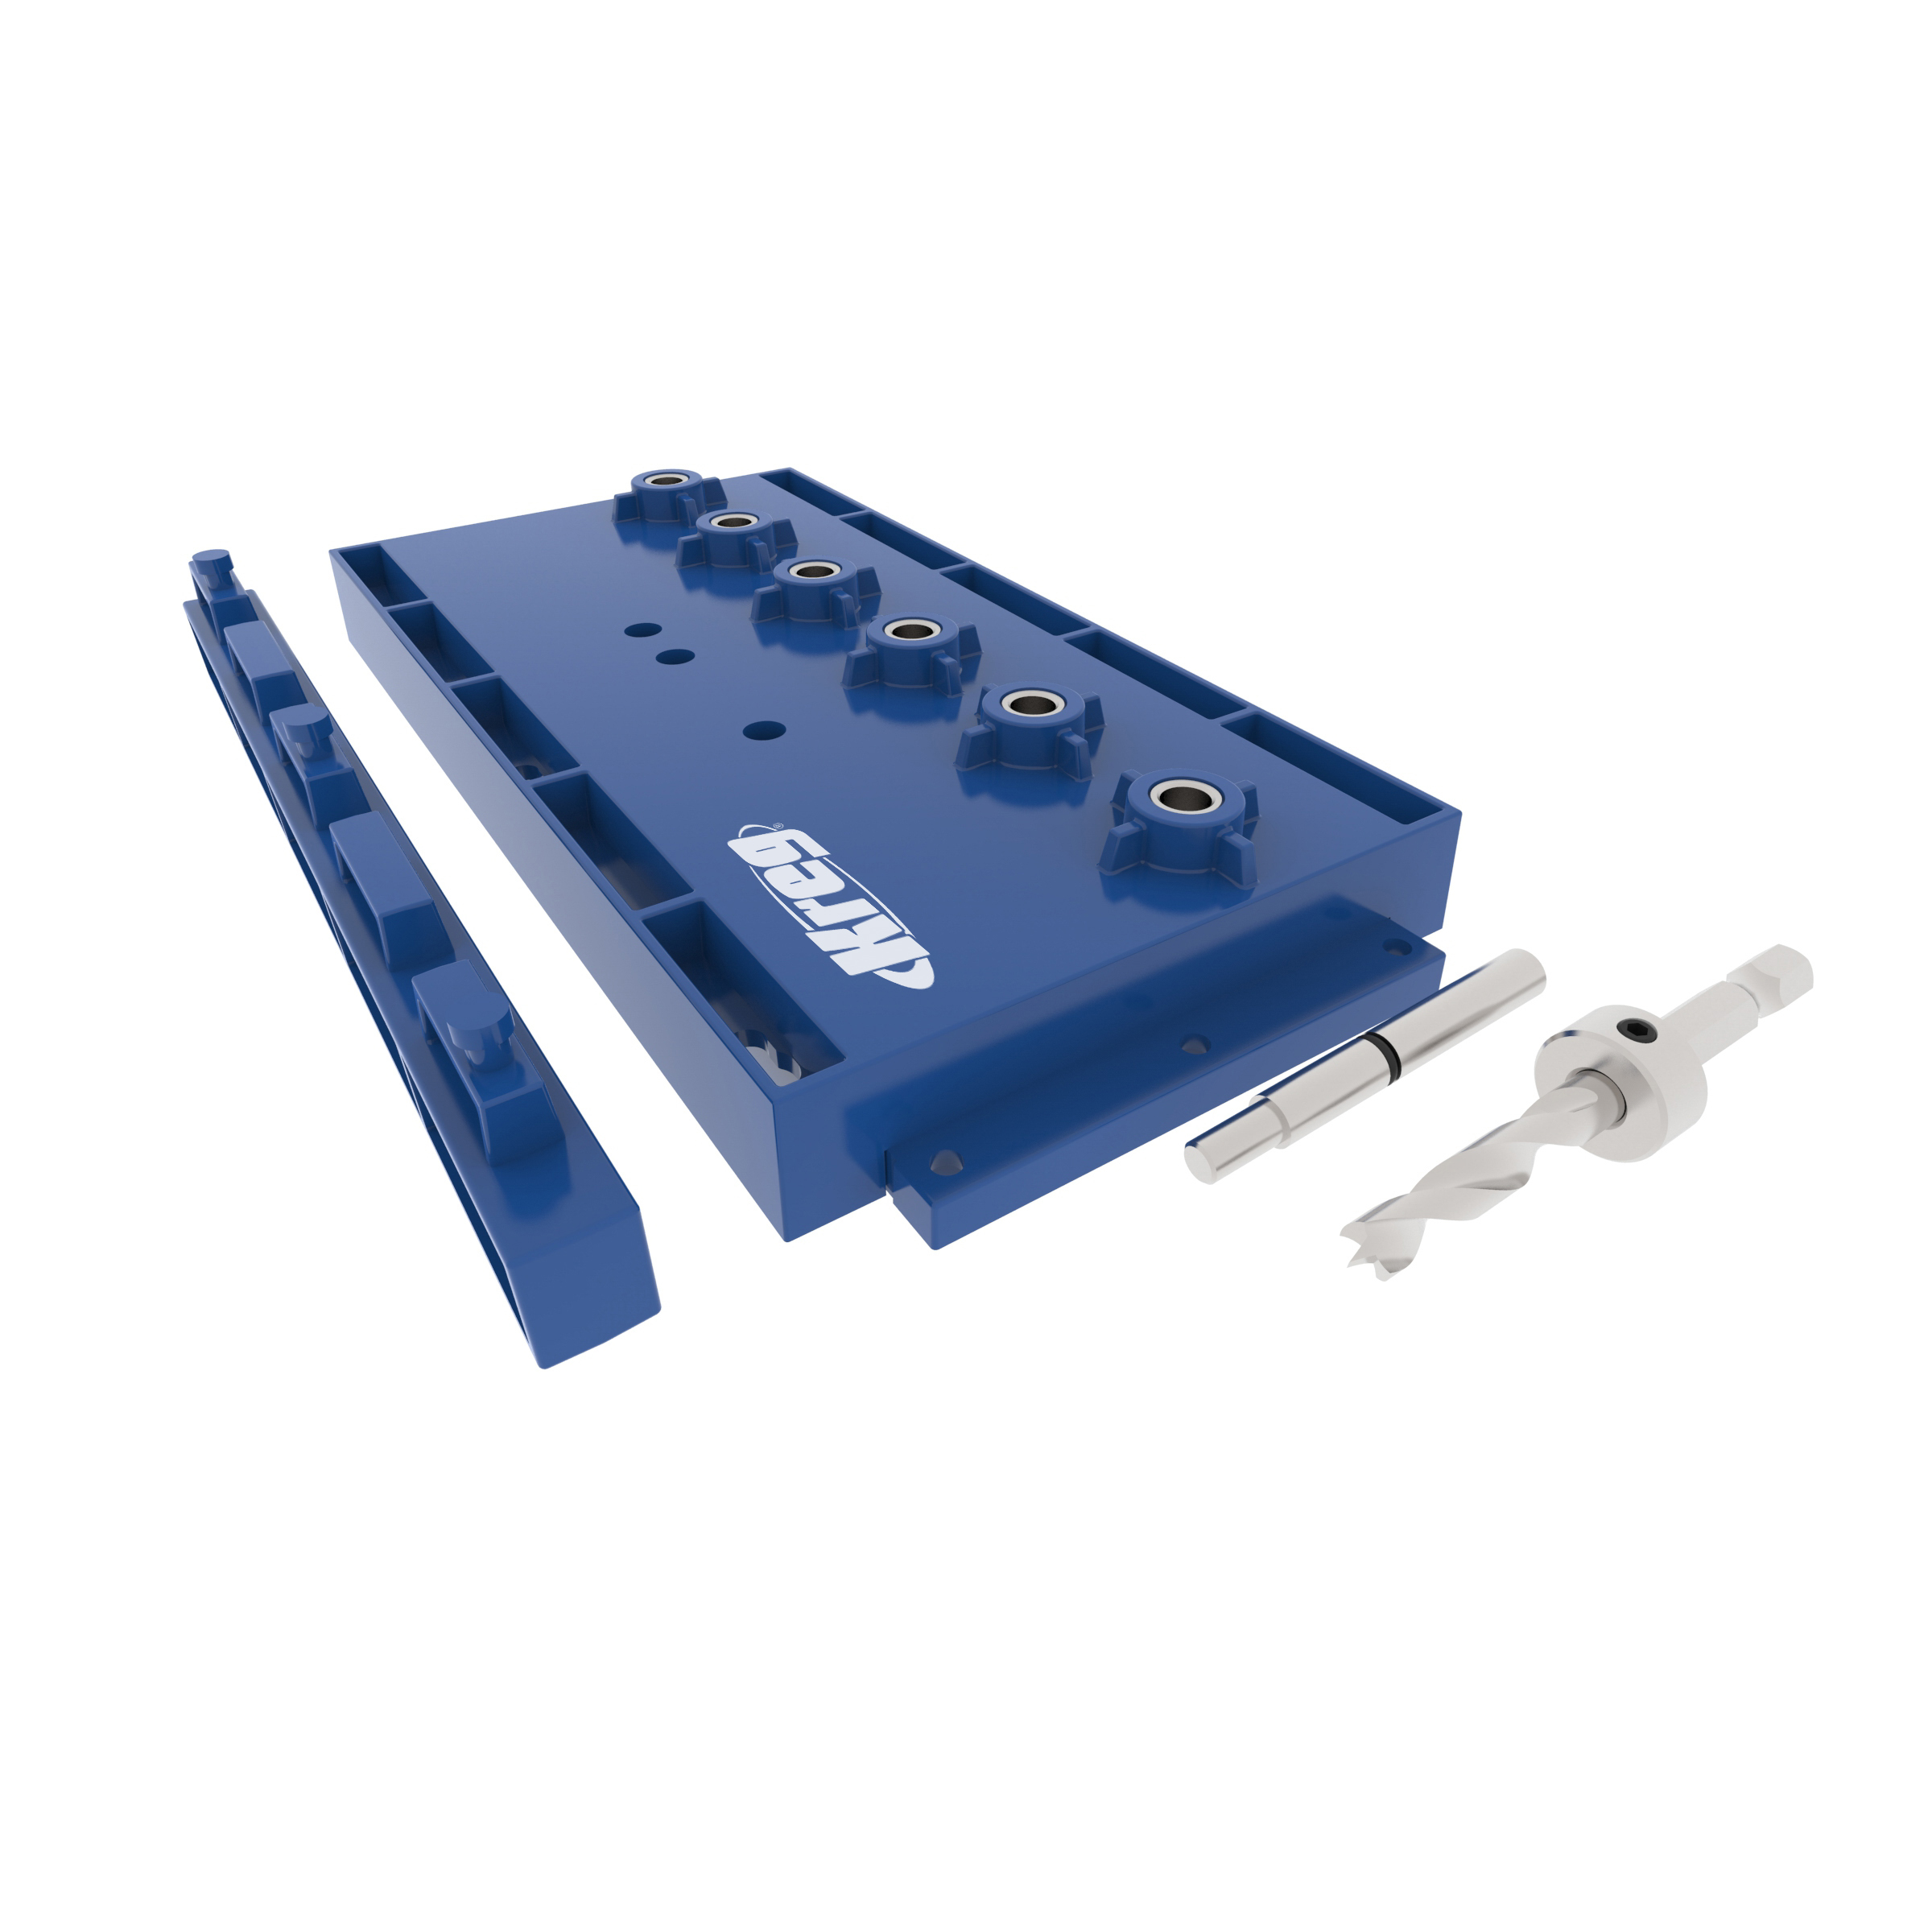
If you want the shelves to be adjustable, you can skip the pocket holes, and drill shelf pin holes with the Kreg Shelf Pin Jig. -
Start Faceframe
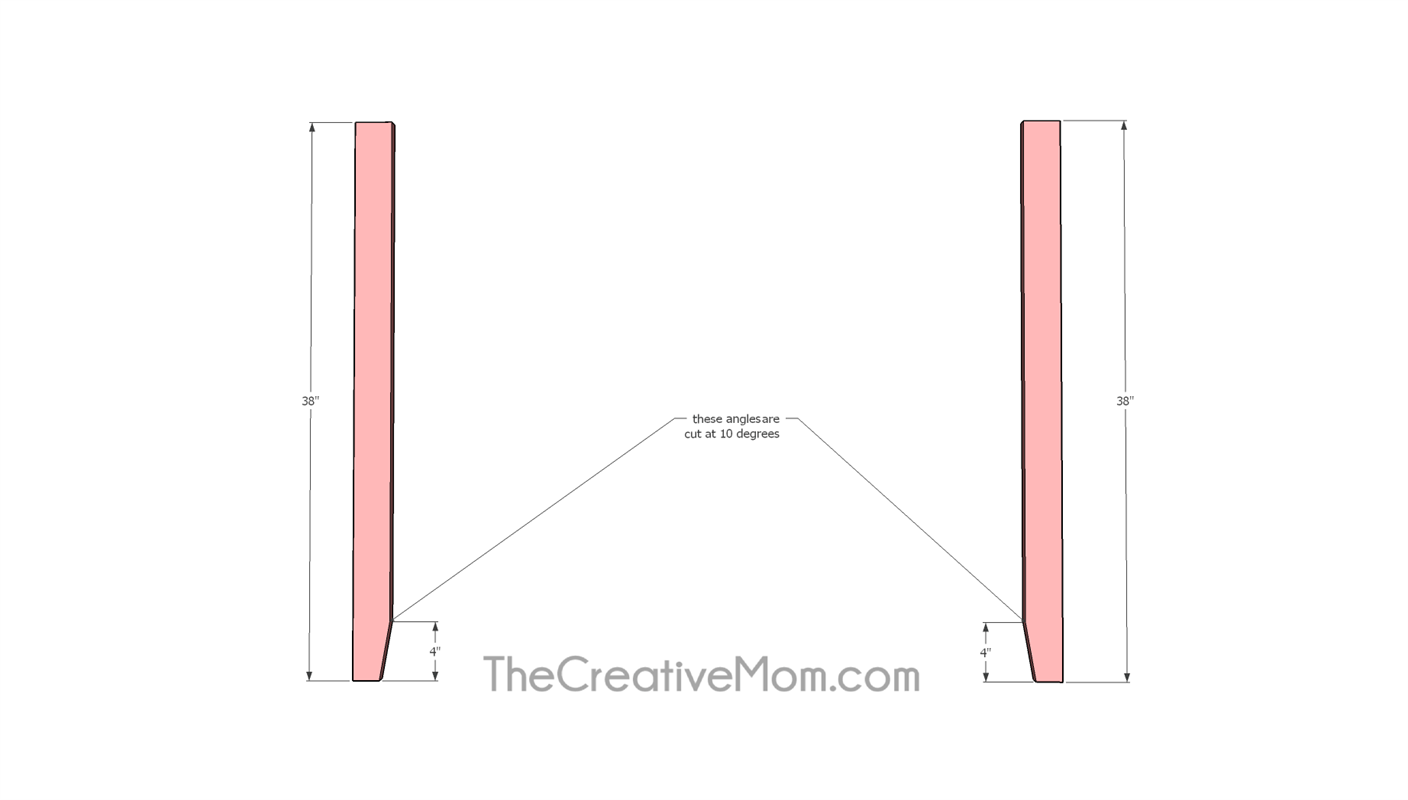
Cut two 38" 1x3 boards. Measure up 4 inches from one end and mark. Then, cut at 10 degrees from that 4 inch mark. This will create a chamfered leg. Cut both boards exactly the same.
-
Add Vertical Faceframe Pieces
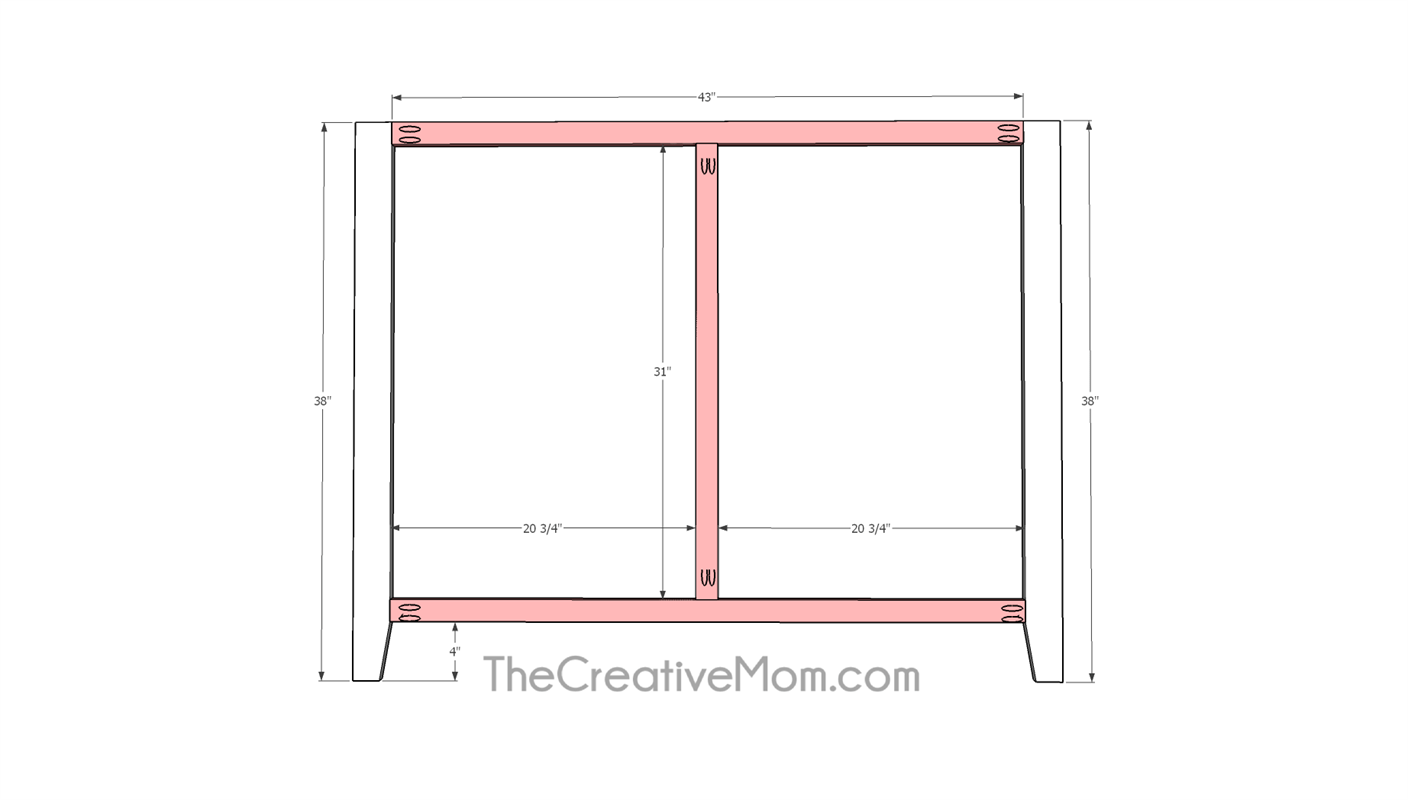
Cut two 43" 1x2's and one 31" 1x2. Drill pocket holes in both ends of each board. Using wood glue and 1 1/4" pocket hole screws, attach these boards to the legs you just cut. Make sure the angled cuts on the legs are facing inward.
-
Attach Faceframe
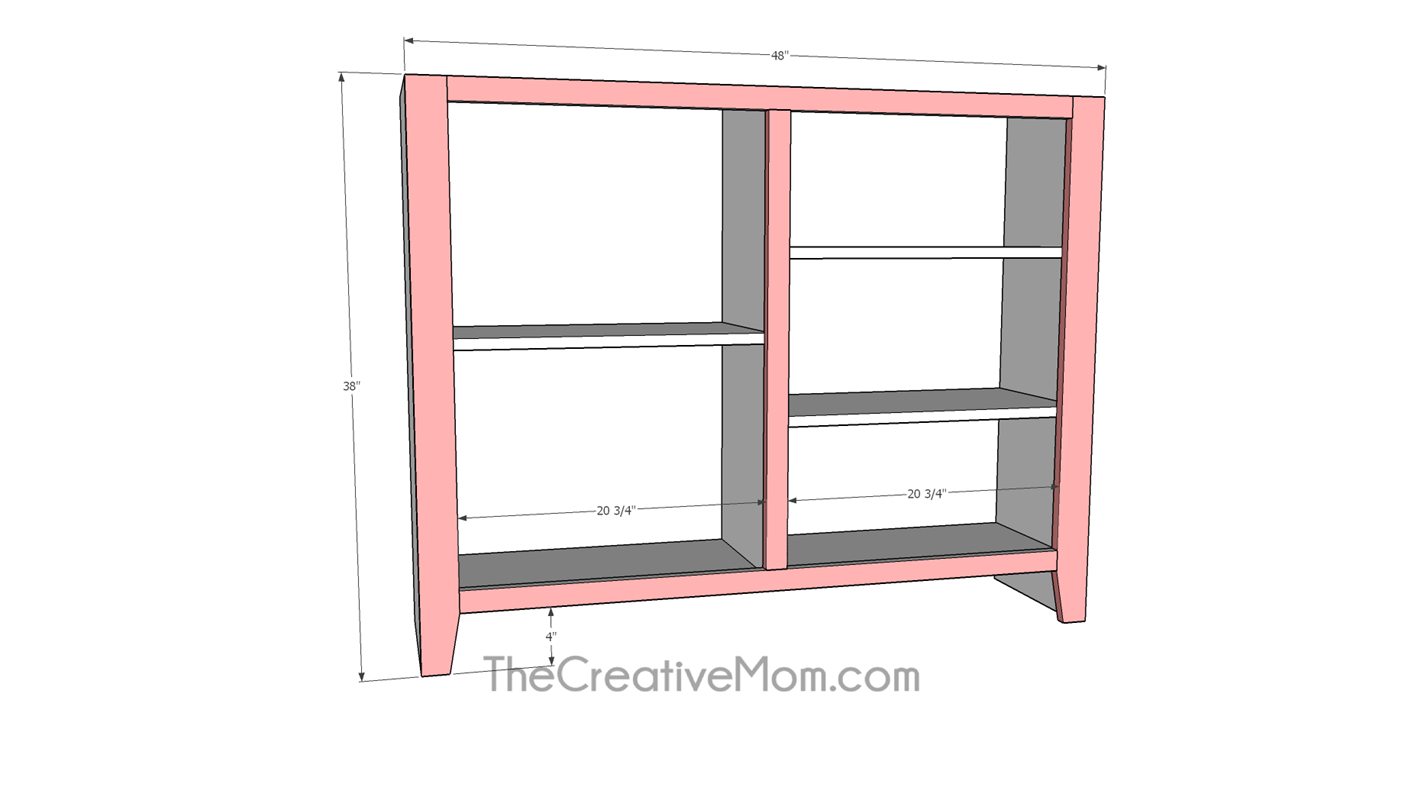
Using wood glue and 1 1/4" brad nails, attach the faceframe to the front of the cabinet.
-
Add Tabletop
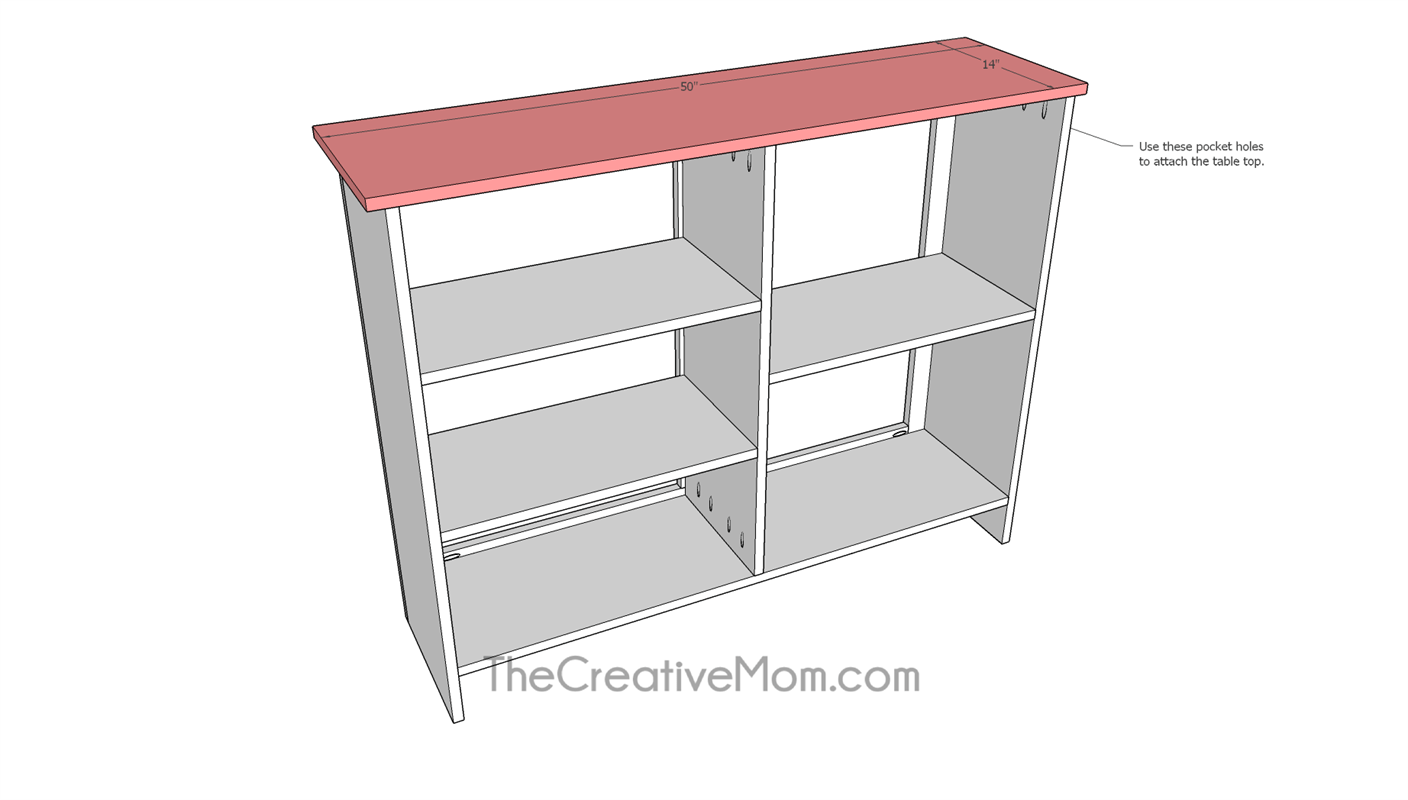
Cut a board for the table top at 50" x 14". You can do this by using a project panel, leftover 3/4" plywood, or several boards laminated together.
Using the pocket holes we drilled earlier, attach the table top to the cabinet frame.
***Note: If you want to have your table top and your cabinet different colors than each other, you can keep the table top off the cabinet until after the painting or staining is done. Adding the tabletop can be saved until the last step. -
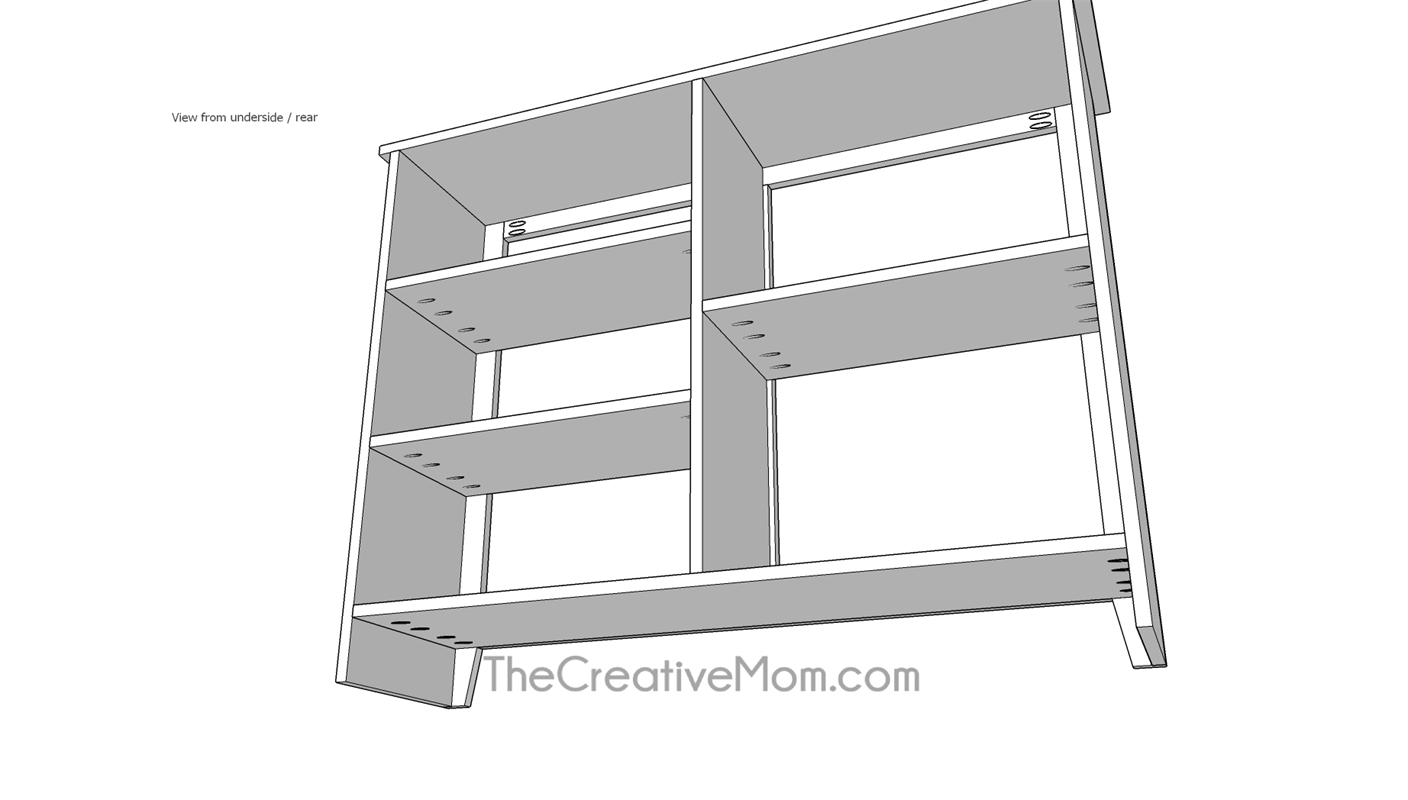
Pocket Hole View
This is the suggested placement of pocket holes.
-
Add Backing
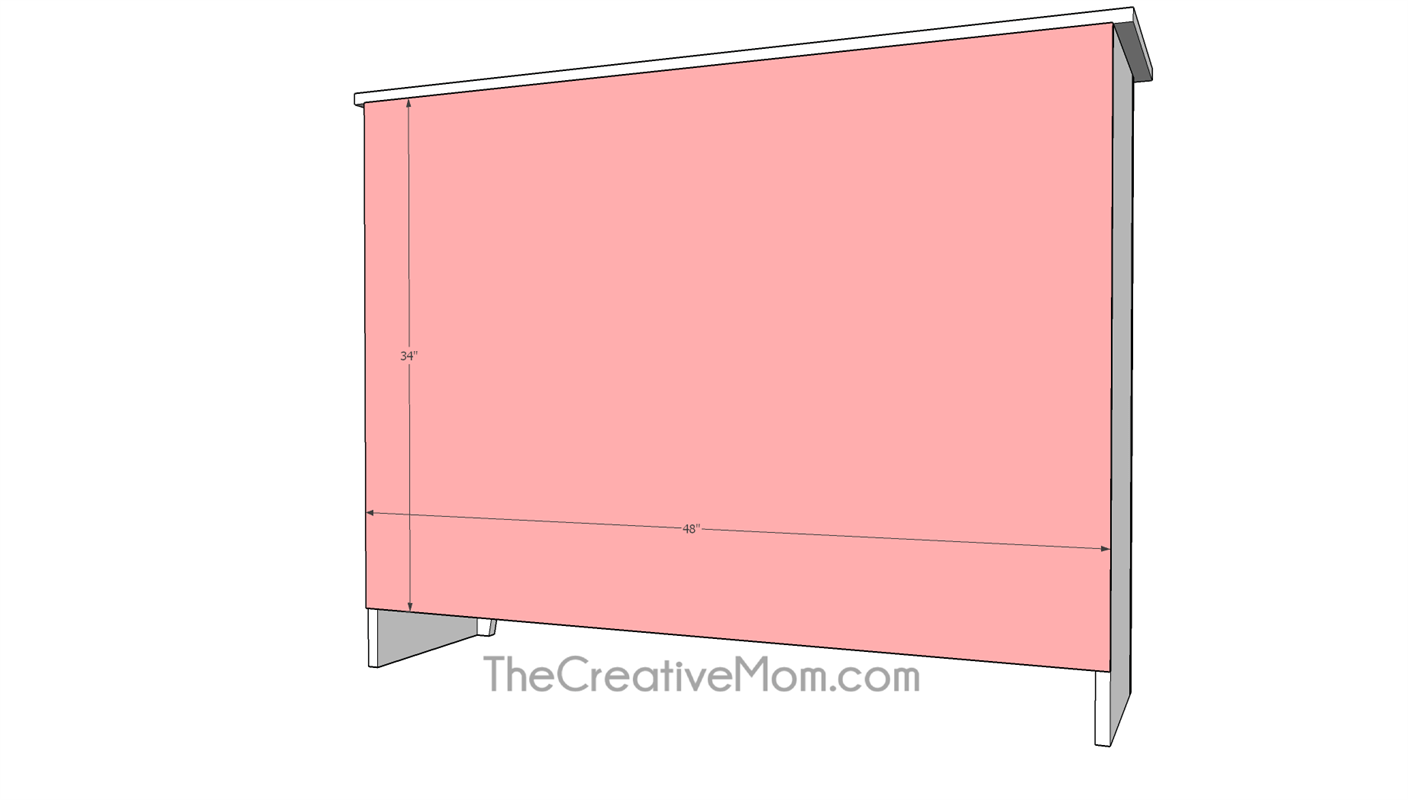
Cut a 34" x 48" piece of 1/4" plywood. Using screws, staples, or brad nails, attach this plywood to the back of the piece.
-
Build Doors
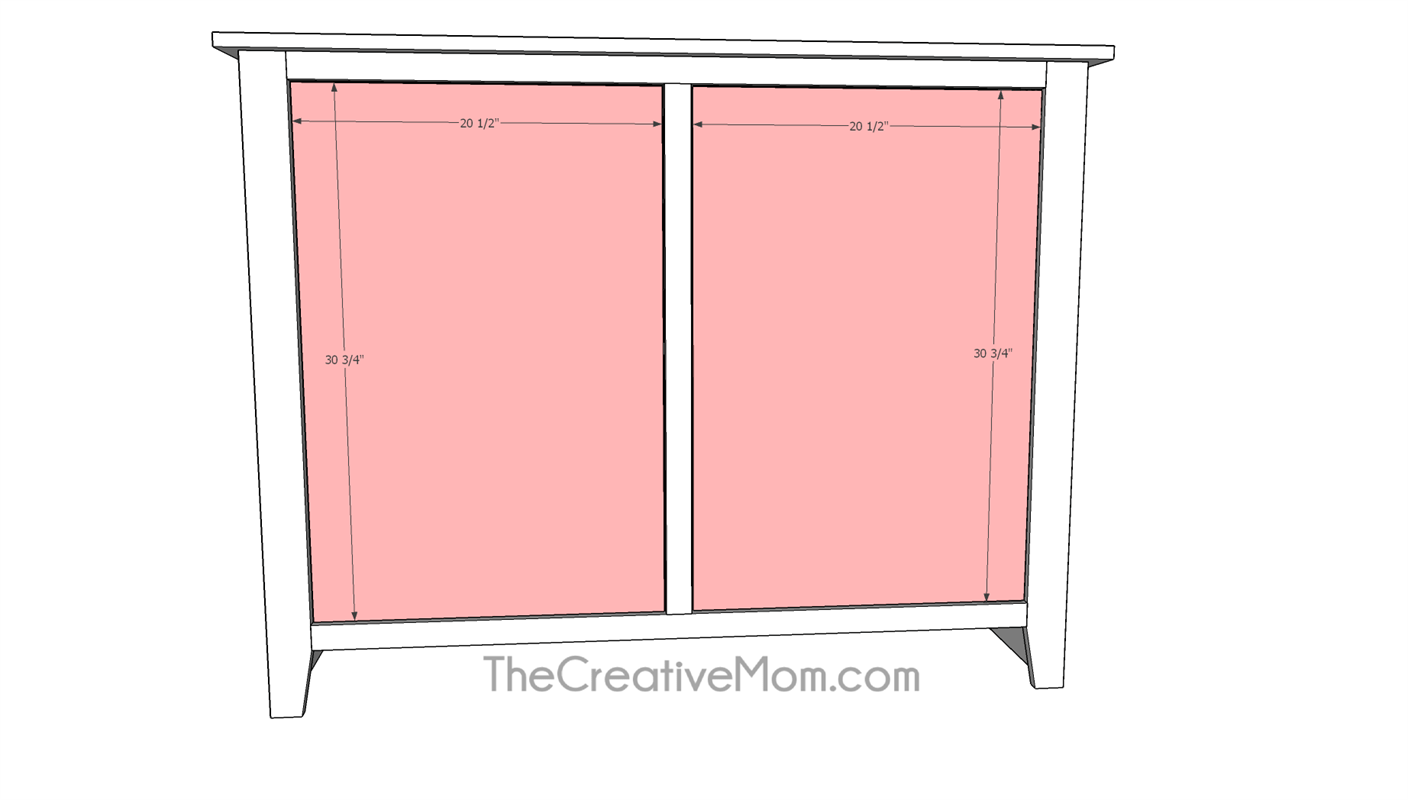
Cut two 20 1/2" x 30 3/4" pieces of 3/4" plywood.
-
Trim Doors
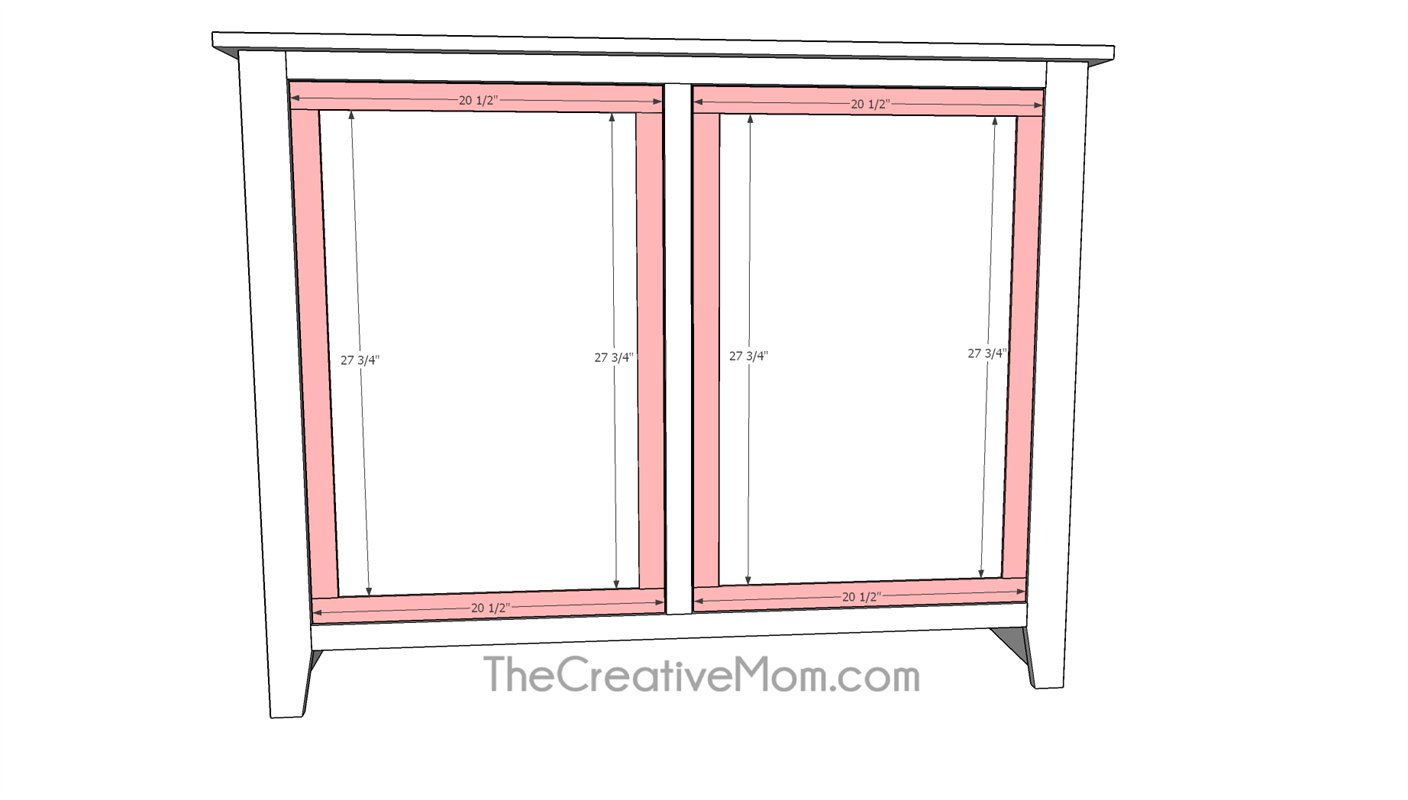
Use 1/4" thick trim pieces to trim out your doors. You can choose whatever width you'd like for this trim. The plan measurements call for a 2 inch thick piece. You'll want to measure your doors to get exact measurements, but they should be close to the following: (4) 20 1/2" pieces, and (4) 27 3/4" pieces.
Attach to the doors with wood glue and brad nails. -
Add Hardware
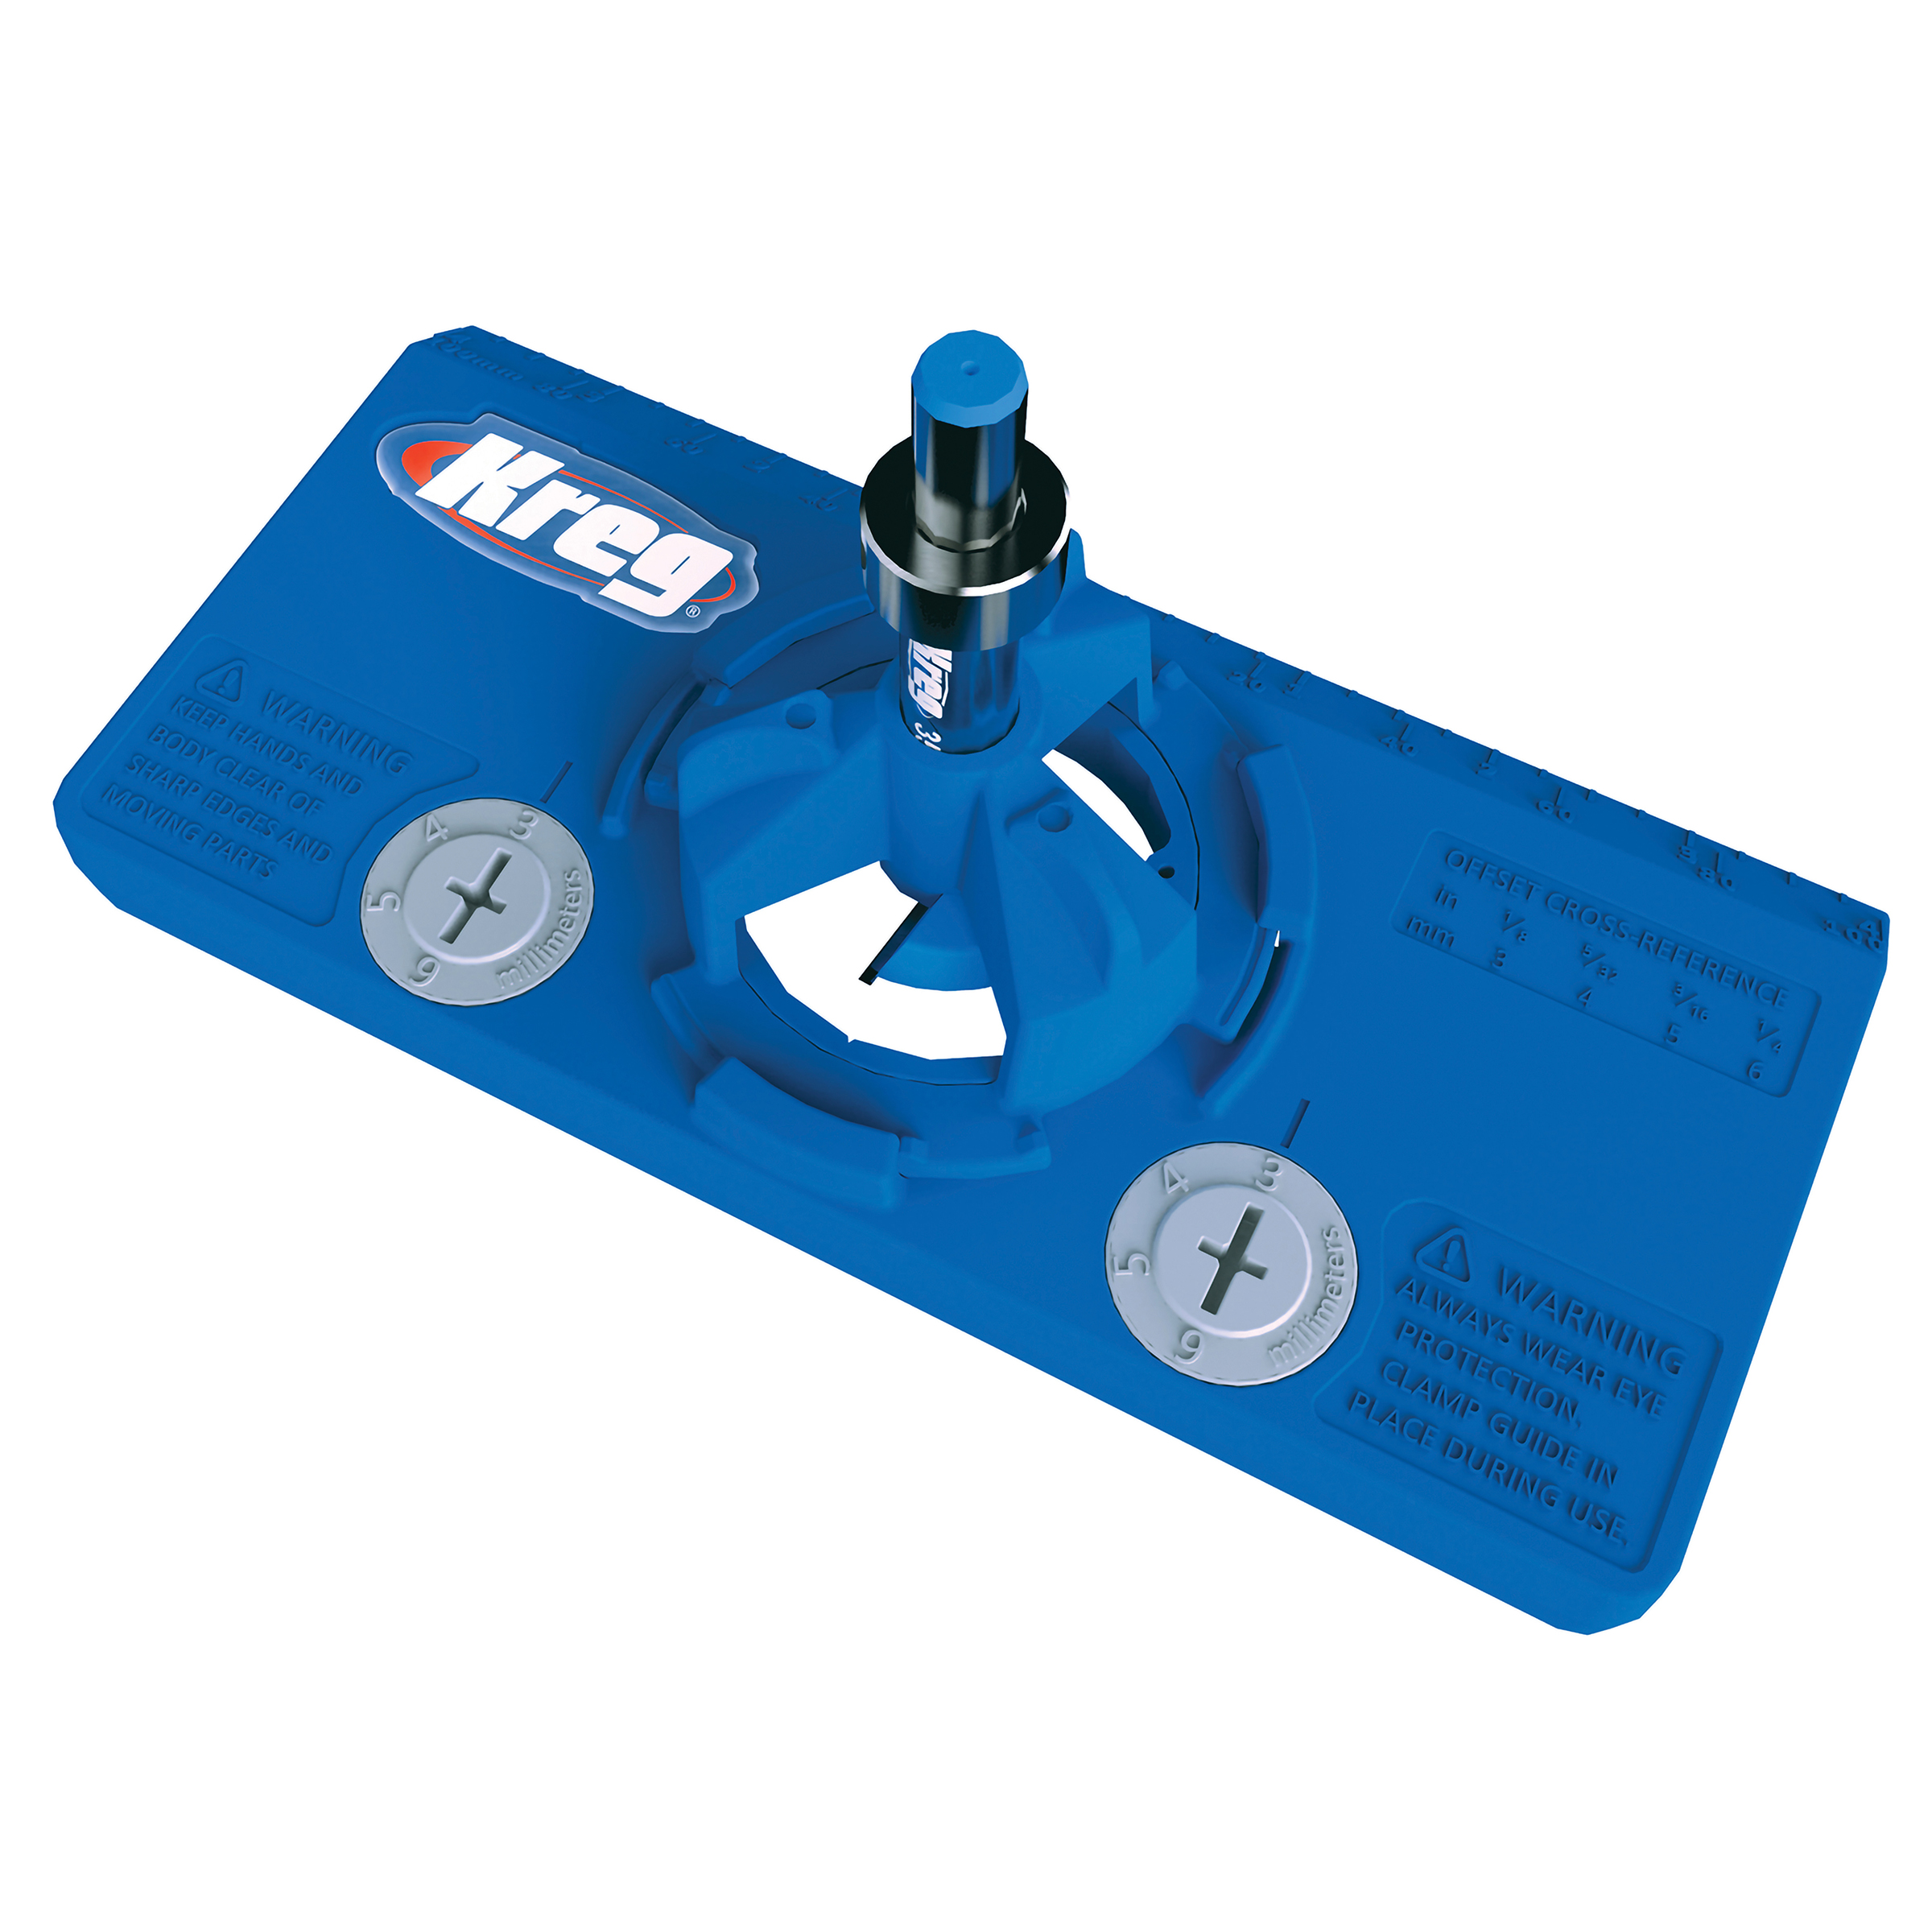
Sand, paint, and stain before adding your hardware. Once complete, add hinges and knobs to complete your build.
-
The Creative Mom
For more DIY projects and fun builds like this, visit Natalie at www.TheCreativeMom.com


