


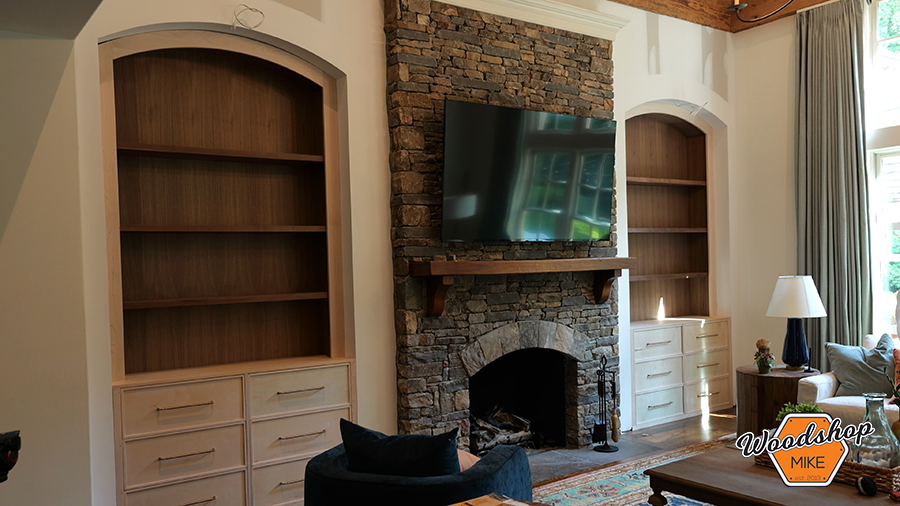


Built-in cabinetry can feel intimidating, especially when you throw a curved plywood panel into the mix. But that's exactly what my client wanted.
In this project, I'll pull back the curtain and show you the techniques that make a complex build surprisingly manageable by breaking it down into a series of simple steps.
To help you along the way, I've also included downloadable PDF plans and a YouTube video (linked at the end), so you'll have both the measurements and the visual guidance you need to build with confidence.
Tools
Kreg Tools
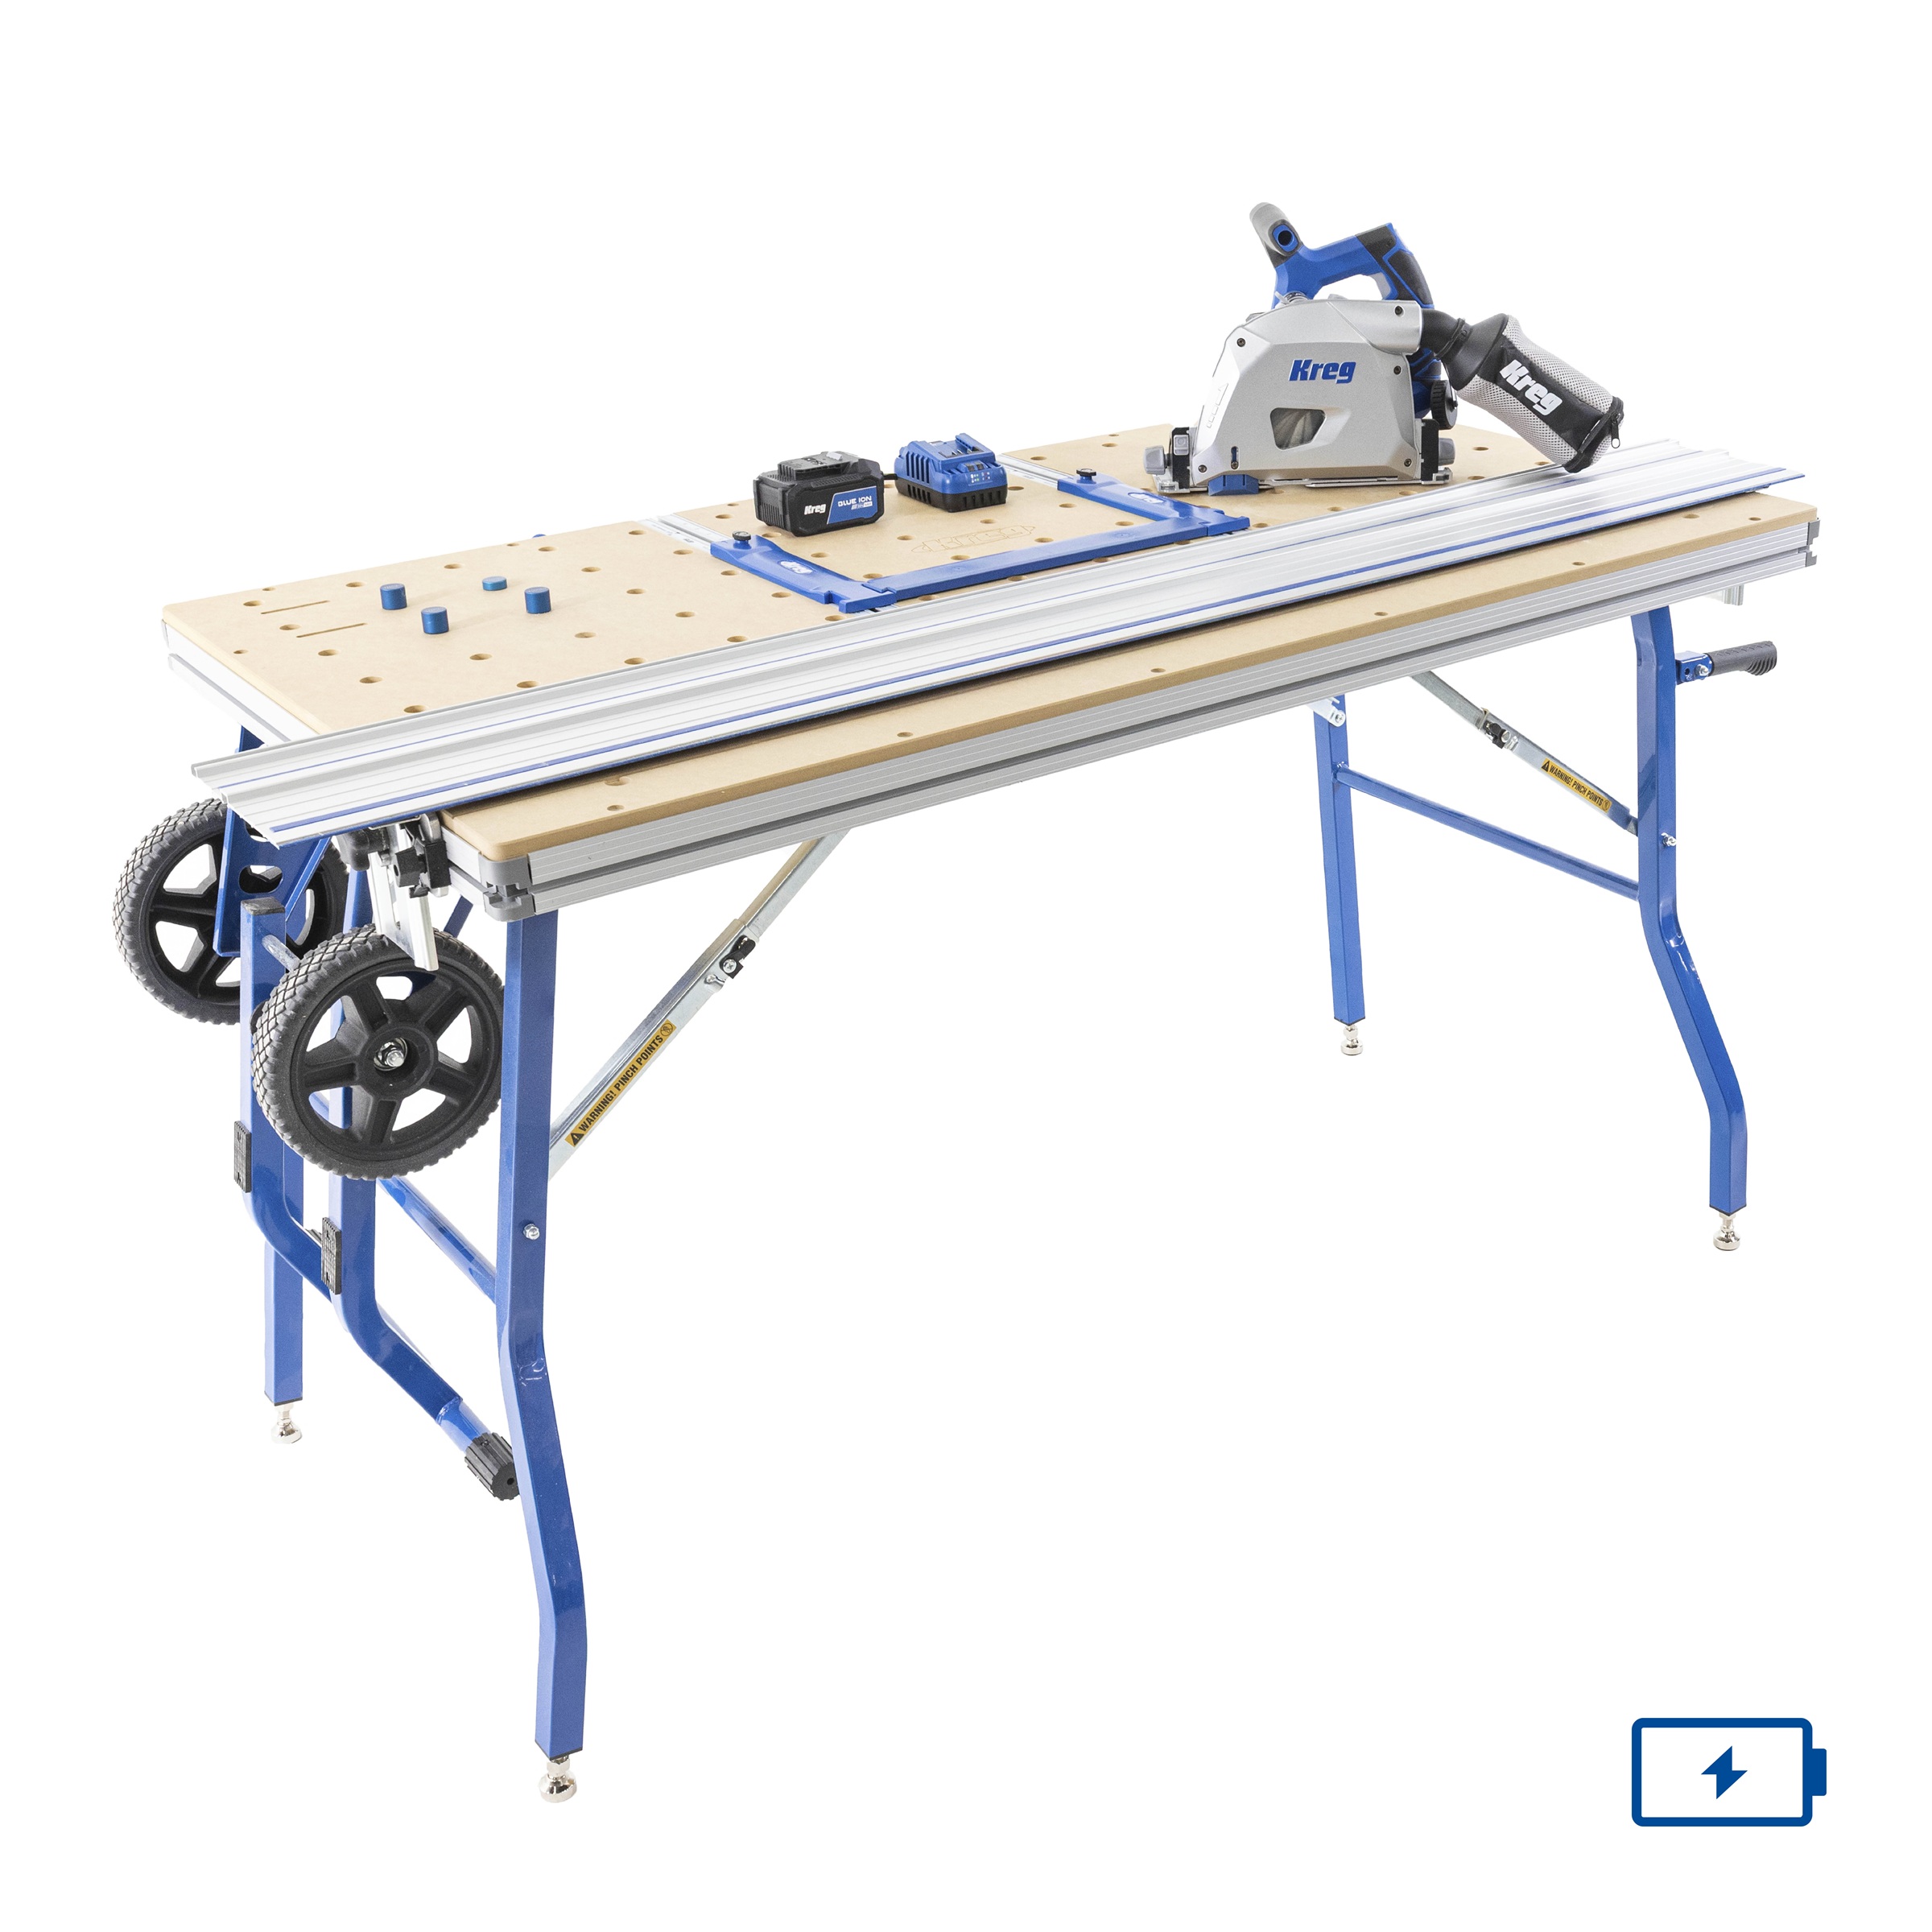
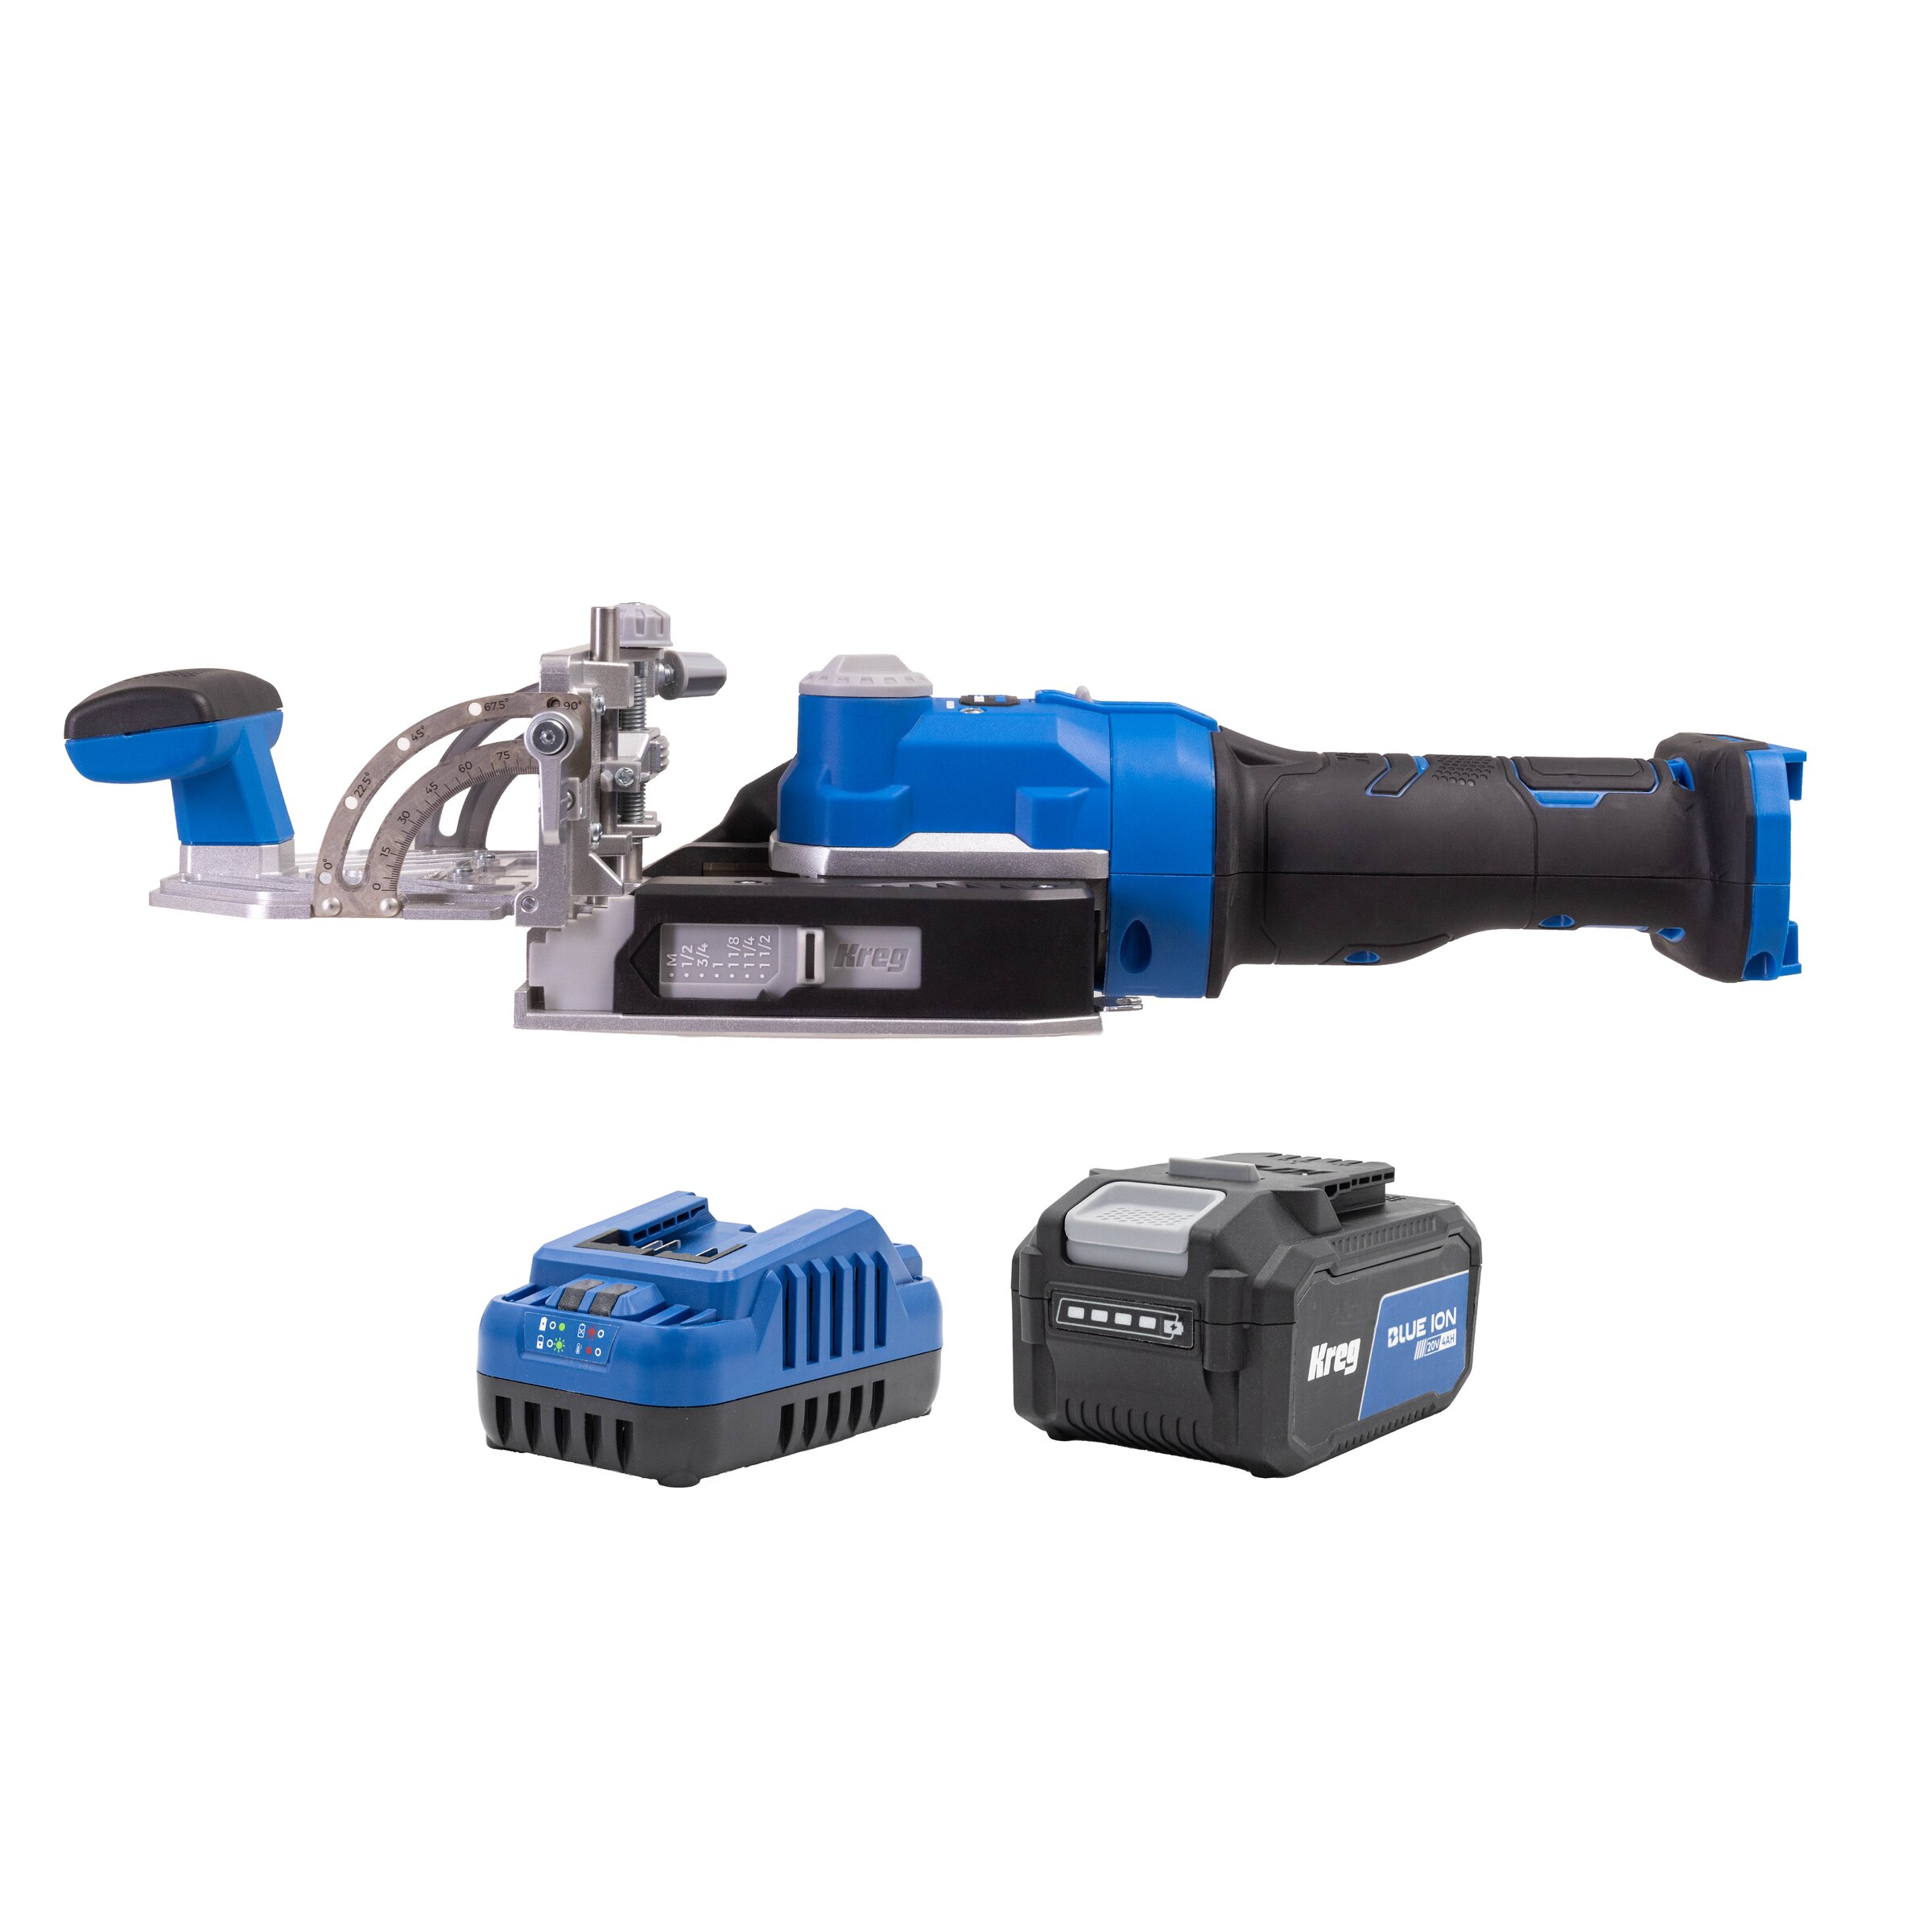

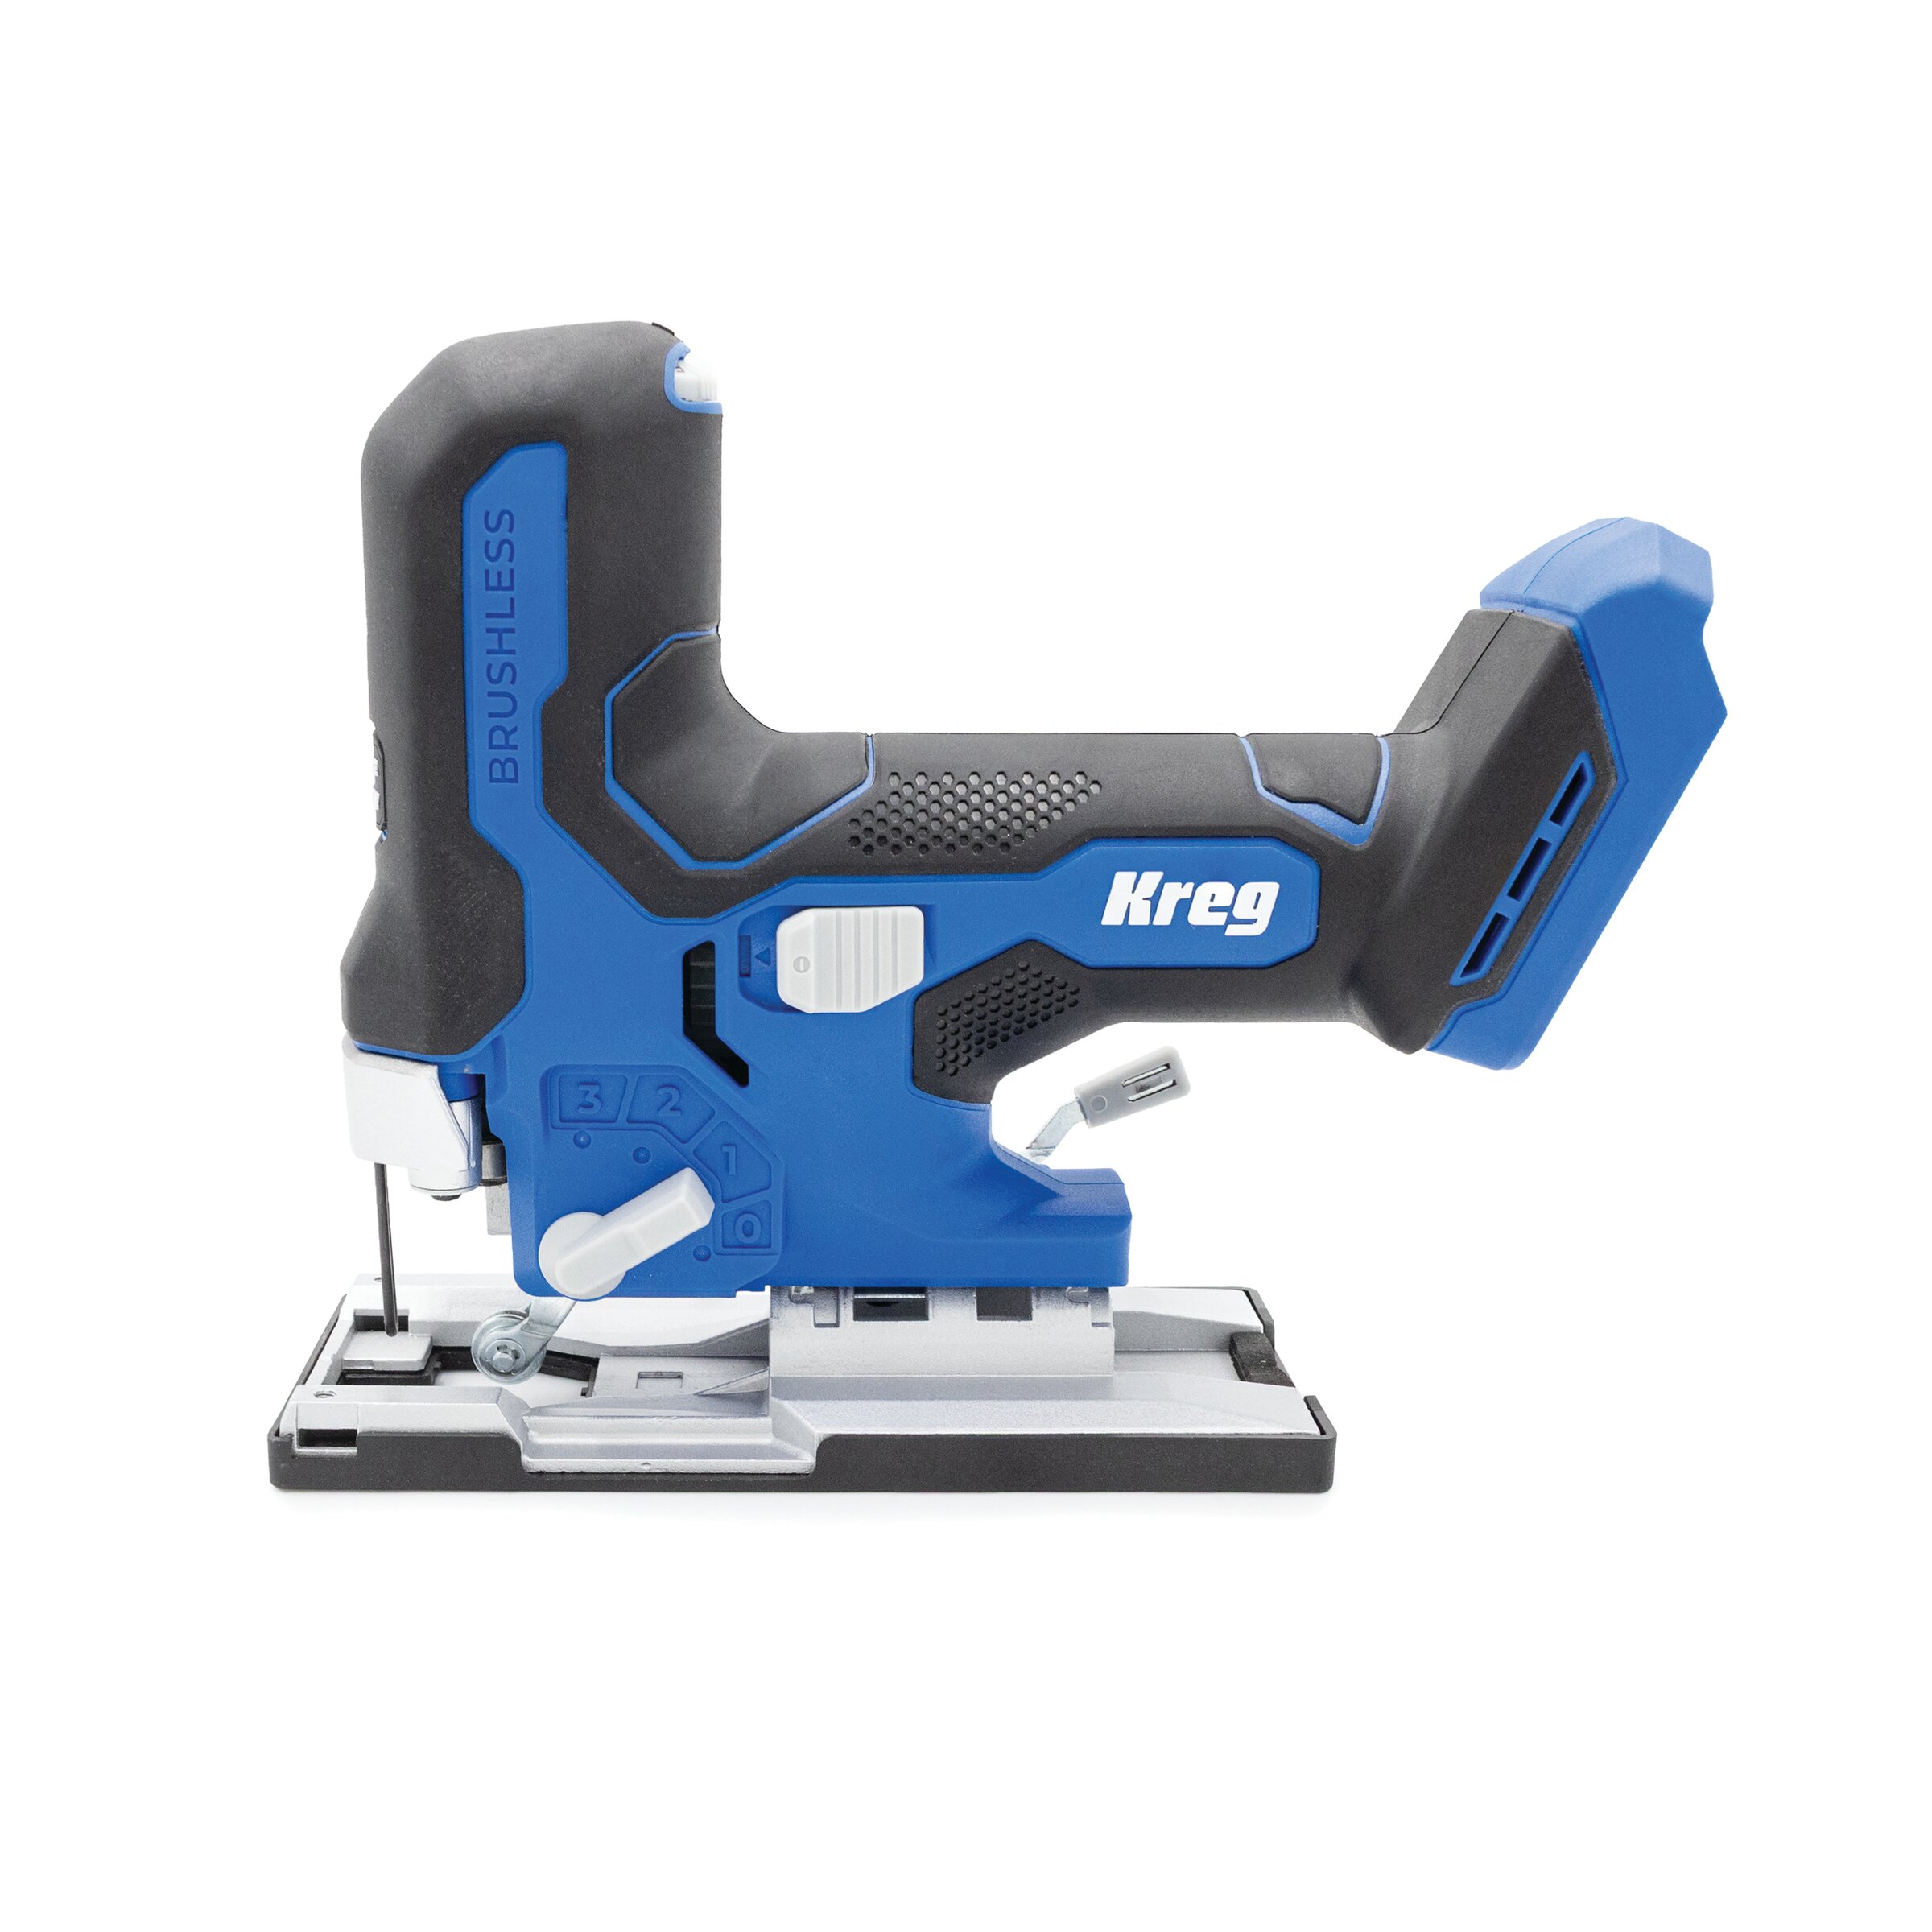
Other Tools
Materials
Wood Products
- 4 Plywood (B Grade, Standard Cabinet Grade) , 4' x 8' , 3/4" Thick
- 2 Plywood (A Grade, High Quality Cabinet Grade)) , 4' x 8' , 3/4" Thick
- 3 Plywood (B Grade, Standard Cabinet Grade) , 4' x 8' , 1/2" Thick
- 2 Plywood (B Grade, Standard Cabinet Grade) , 4' x 8' , 1/4" Thick
- 2 Plywood (A Grade, High Quality Cabinet Grade)) , 4' x 8' , 1/4" Thick
- 20 Maple/Poplar (for face frames) , 20 board feet , 4/4 (1") Thick
- 55 Hardwood of choice for shelves , 55 board feet , 8/4 (2") Thick
Hardware & Supplies
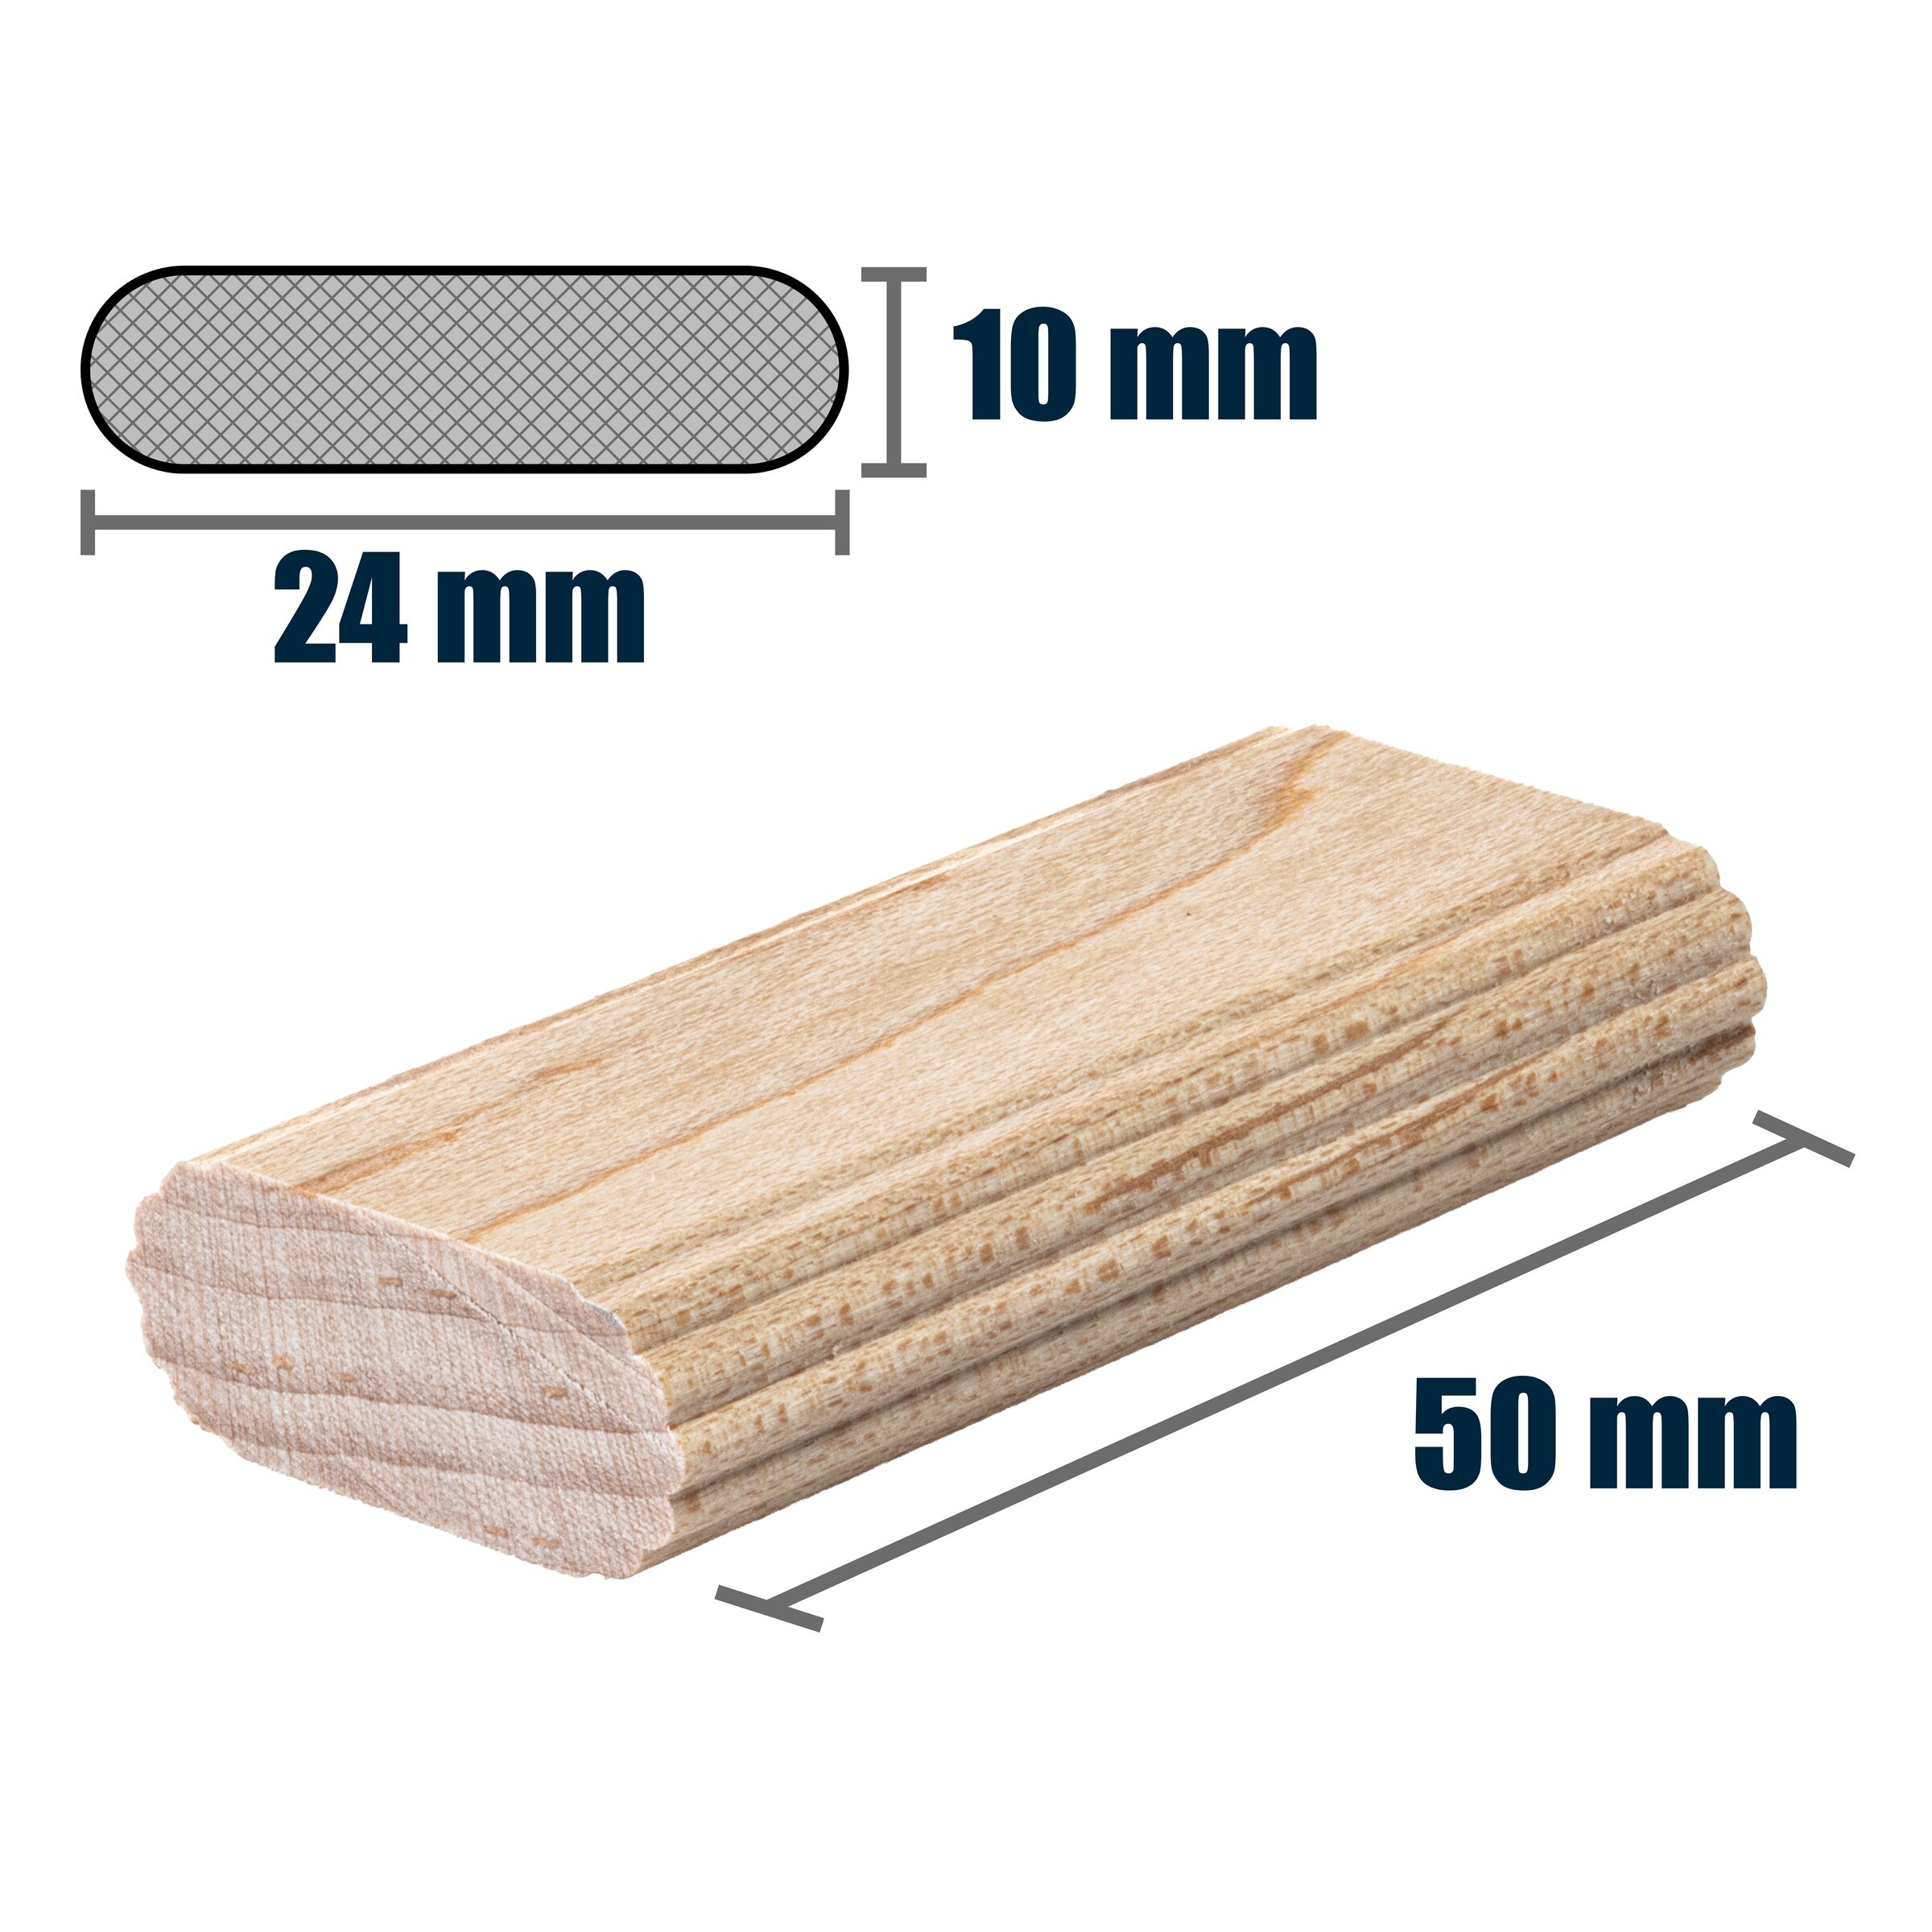
- 30 12MM OR 10MM TENONS 50MM LONG
- 130 1-1/4" Pocket Hole Screws
- 150 1" Micro Pocket Hole Screws
- 50 #6 3/4" Screws
- 20 #10 3" Screws
- 50 1-1/2" Brad Nails
- 1 16oz Glue
- 12 Drawer Slides of Choice (I used undermount)
- 12 Drawer Pulls of Choice
Directions
-
Base Cabinet Assembly
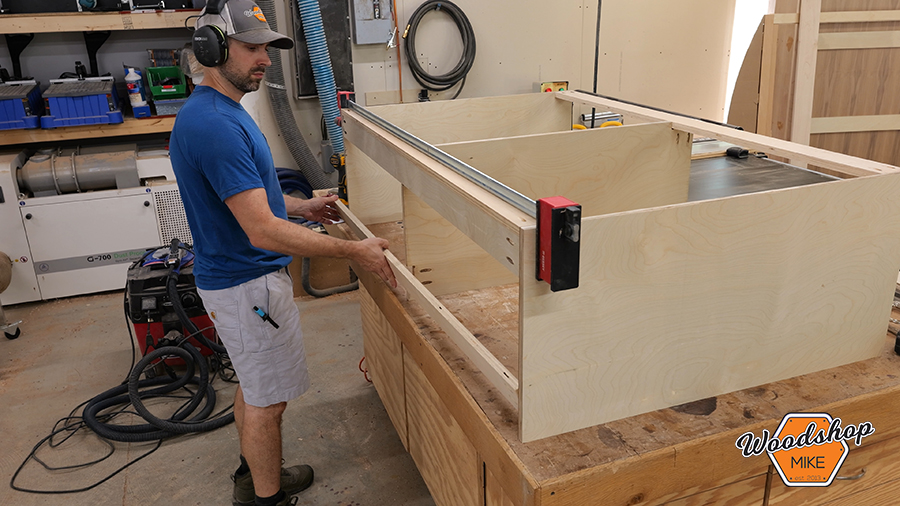
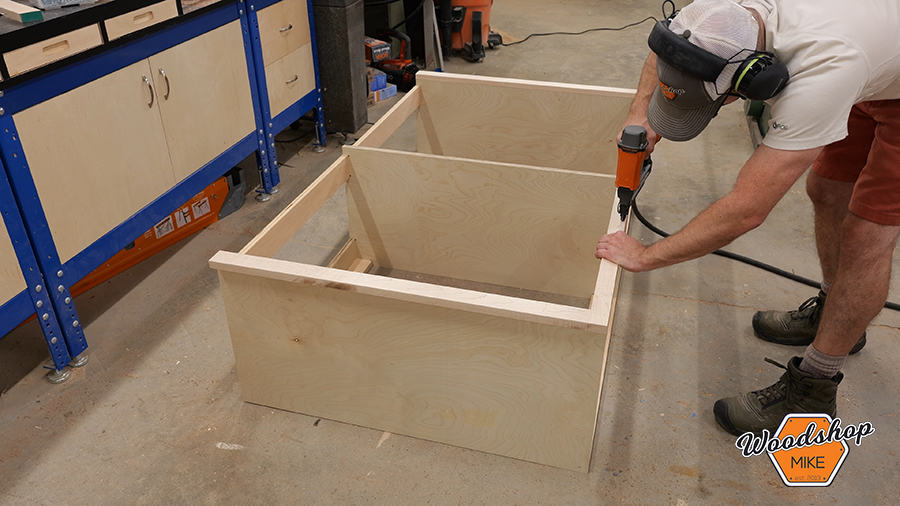
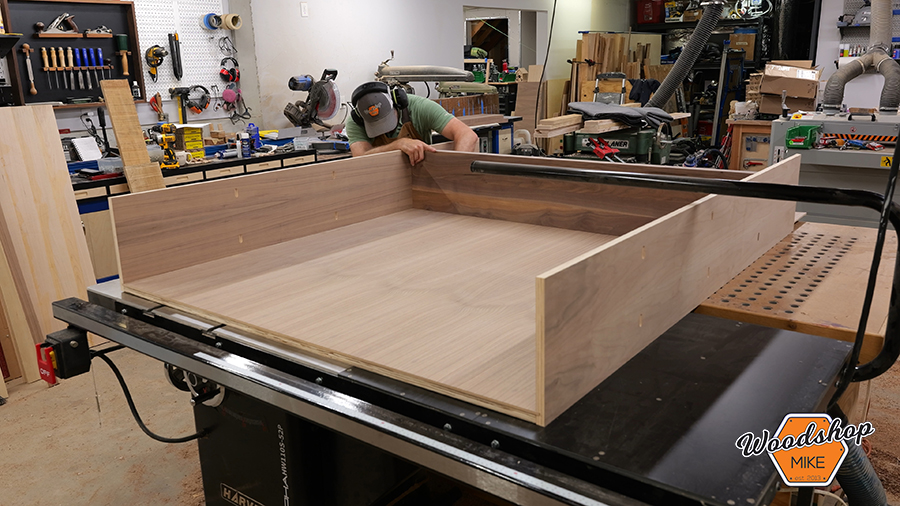
Assemble the base cabinet using 1-1/4" pocket hole screws. Long bar clamps will make this process easier.
-
Base Cabinet Face Frame
This cabinet has a non-traditional face frame.
The outer items are held together with pocket holes and then nailed to the cabinet (which is fairly common), but the center stile is only 3/4" wide because my client wanted a everything to have a narrow profile. The center stile is glued and nailed directly to the center divider panel in the base cabinet to achieve this look.
-
Drawer Box Assembly
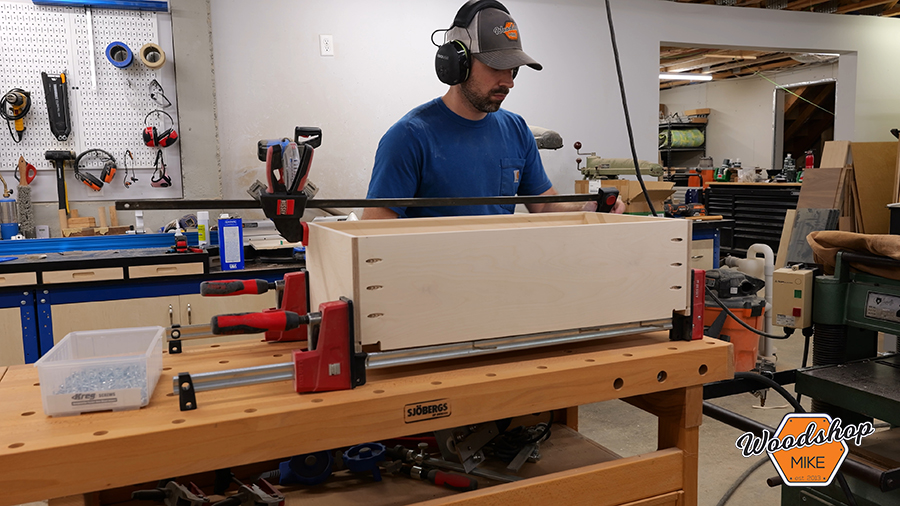
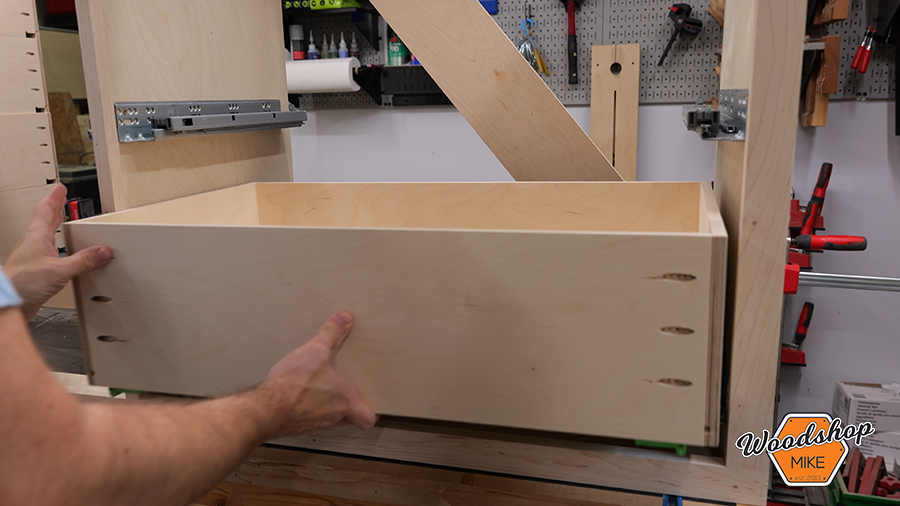
With the front, back, sides, and bottom cut to size, assemble the drawer box using micro pocket hole screws. Using parallel clamps makes this process much easier. Refer to the pdf plans for a break down of the assembly process.
-
Drawer Front Assembly
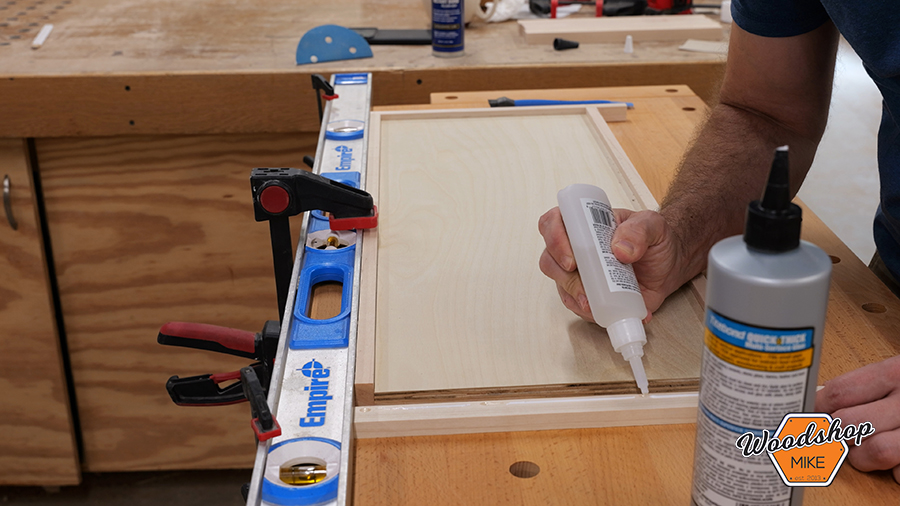
To create the slim shaker style drawer fronts I simply glued some 1/2" wide strips to a 1/2" thick plywood center panel. Using regular wood glue in conjunction with CA glue makes this process go much quicker.
-
Drawer Installation
I used undermount drawer slides for this project so that the drawer slides would be concealed. Whatever drawer slide style you use, defer to the install instructions for your particular drawer slide. The exact location of each drawer box isn't absolutely critical as long as the front of each drawer box is set back 3/4" from the front of the cabinet and each drawer box is inside the "foot print" of each drawer front's location.
-
Attach Drawer Fronts
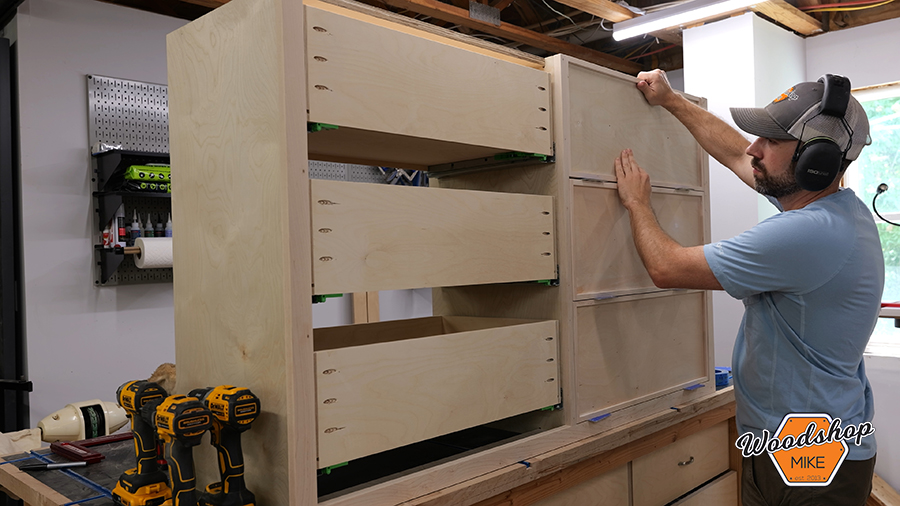
The plans for this cabinet shoot for a 1/16" reveal (gap) around the drawer fronts. This is a fairly small reveal, but it's completely manageable if you take careful measurements and make accurate cuts along the way. Using undermount drawer slides also makes this a bit easier because they are adjustable in several different directions.
That said, the easiest way to get a consistent reveal around the drawers is to use a pack of playing cards as shims. Set the drawer front in place against the drawer box and put an equal number of cards on the left, right, top, and bottom of each drawer front. Once all three drawer fronts are in place, starting from the top, clamp the drawer front to the drawer box and secure the two items together front inside the drawer box using #6 x 3/4" wood screws.
-
Install Drawer Pulls
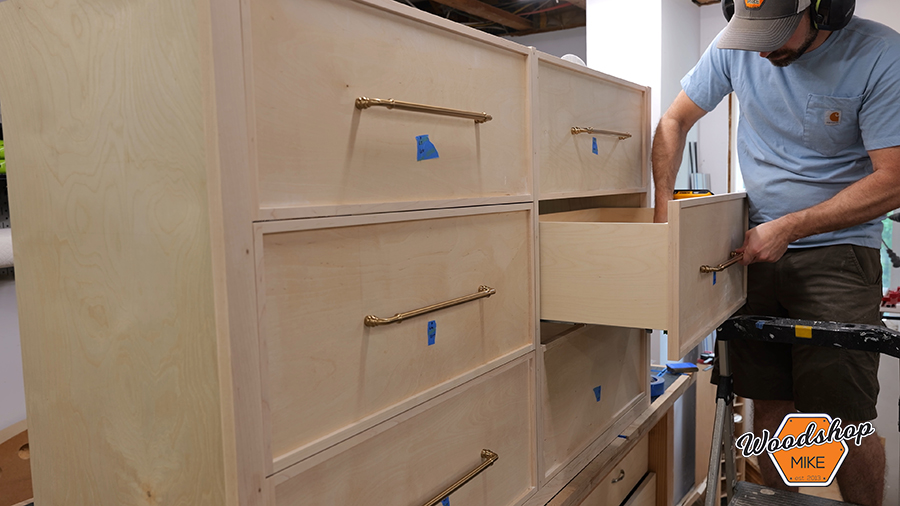
Install drawer pulls of your choice.
-
Arched Top Panel
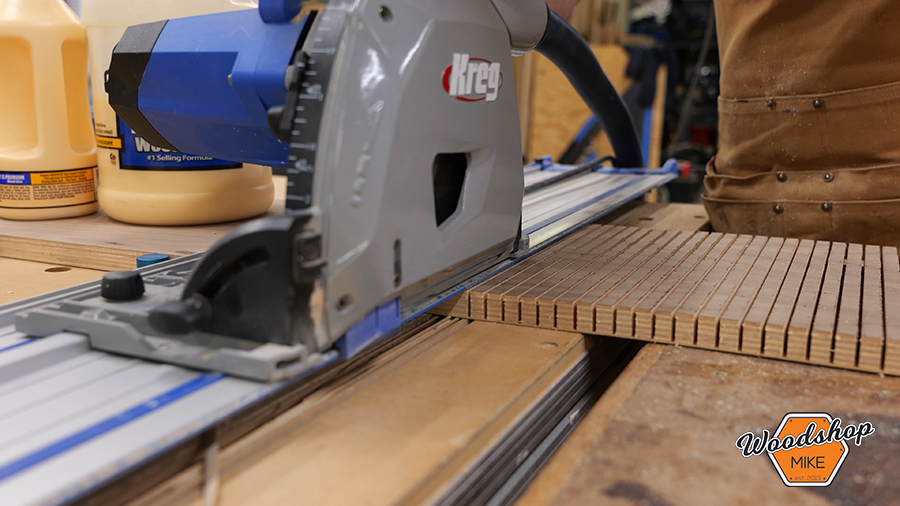
Making the arched panel is the most exciting part of this project. Make a series of kerf cuts in the panel that are close together and 1/32" shy of cutting all the way through the plywood. Then slide this piece onto the arch panel form (detailed in the pdf plans) and use thick epoxy or wood glue to "set" the panel to the curved profile.
-
Upper Cabinet Assembly
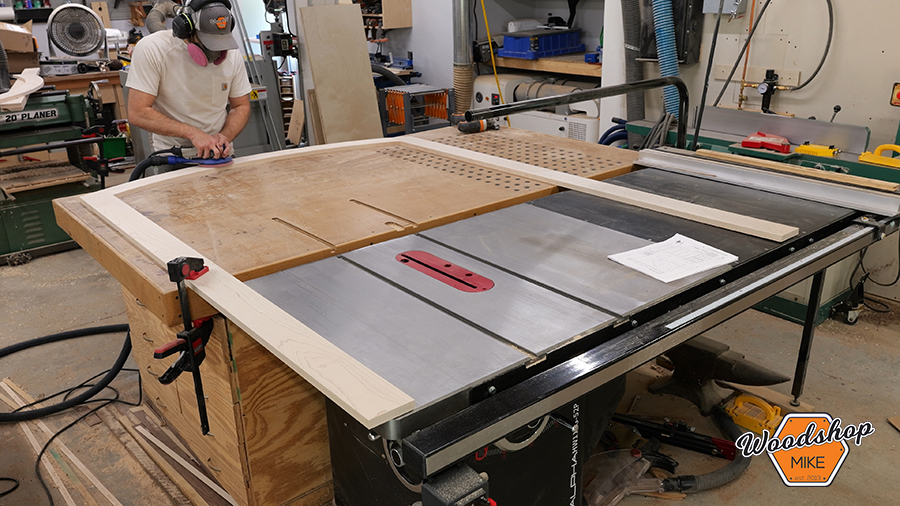
Assembly the upper cabinet using 1-1/4" pocket holes screws, loose tenons, wood glue, and brad nails.
-
Upper Face Frame Assembly
Assemble the upper face frame using 1-1/4" pocket hole screws.
-
Install
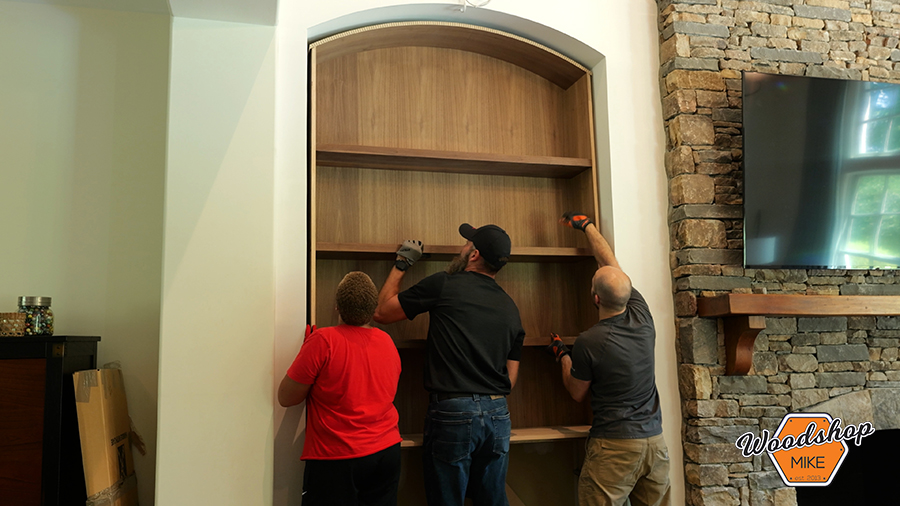
Installing the cabinets is pretty straight forward, but you'll likely need help to lift the upper cabinet into position. Secure the base cabinet and upper cabinet to the wall per local building codes.
For most installations this simply means anchoring it to studs in the wall through the stretchers in the back of each cabinet using 3" construction screws.
Watch the full build video here for lots of tips and tricks to make this build easier!