

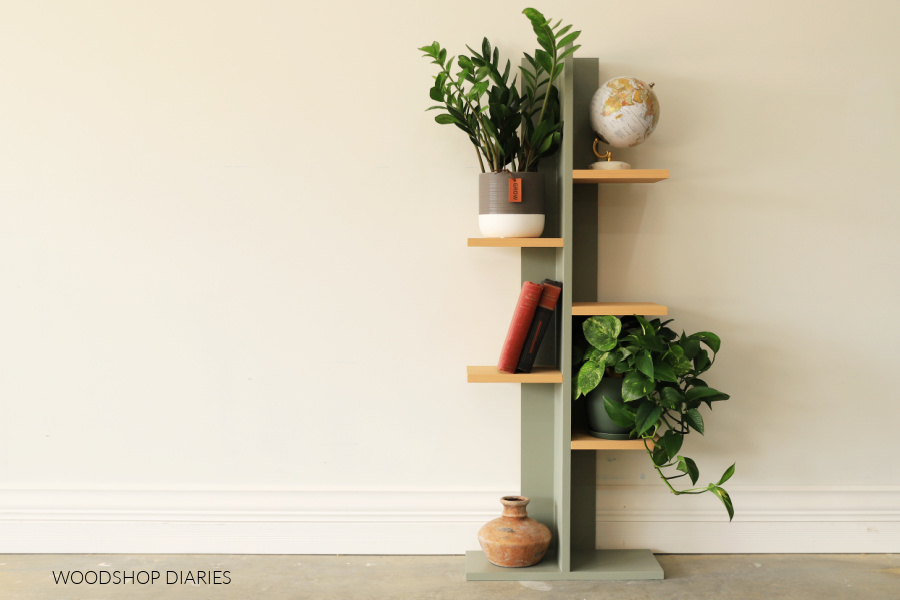

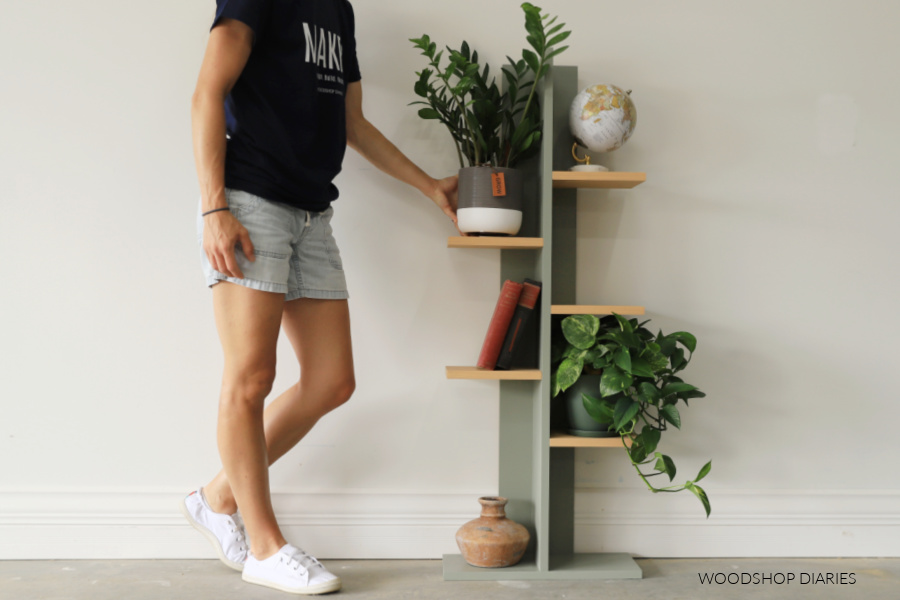
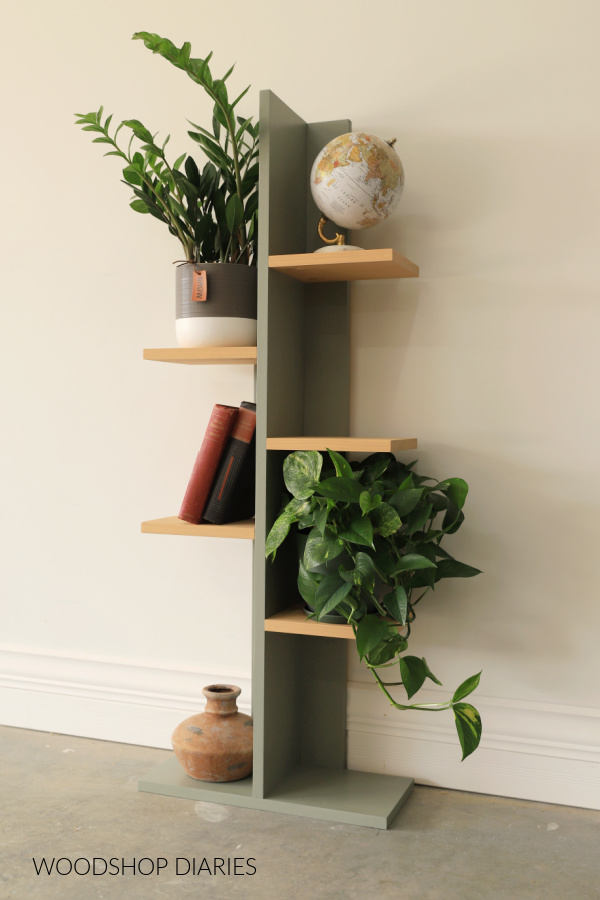


This easy-to-build 2-board plant shelf is the perfect beginner weekend woodworking project! Although it works great for displaying your plants, it also makes a handy shelf for books, linens, even shoes. Customize the size and number of shelves easily to suit your needs.
Tools
Kreg Tools


Other Tools
-
Miter Saw

Materials
Wood Products
- 2 1x8x8
Hardware & Supplies
- 24 1 1/4" pocket hole screws
- -- Wood Glue
Directions
-
Assemble Back and Divider Panels
Cut one piece of 1x8 to 48" long and another to 47 1/4" long. The shorter board will be the middle divider and the longer board will be the back. Apply a bead of wood glue along one edge of the divider panel and center it vertically on the back panel so that the edges are flush at the top. The divider will be 3/4" shorter than the back at the bottom. This is intentional.
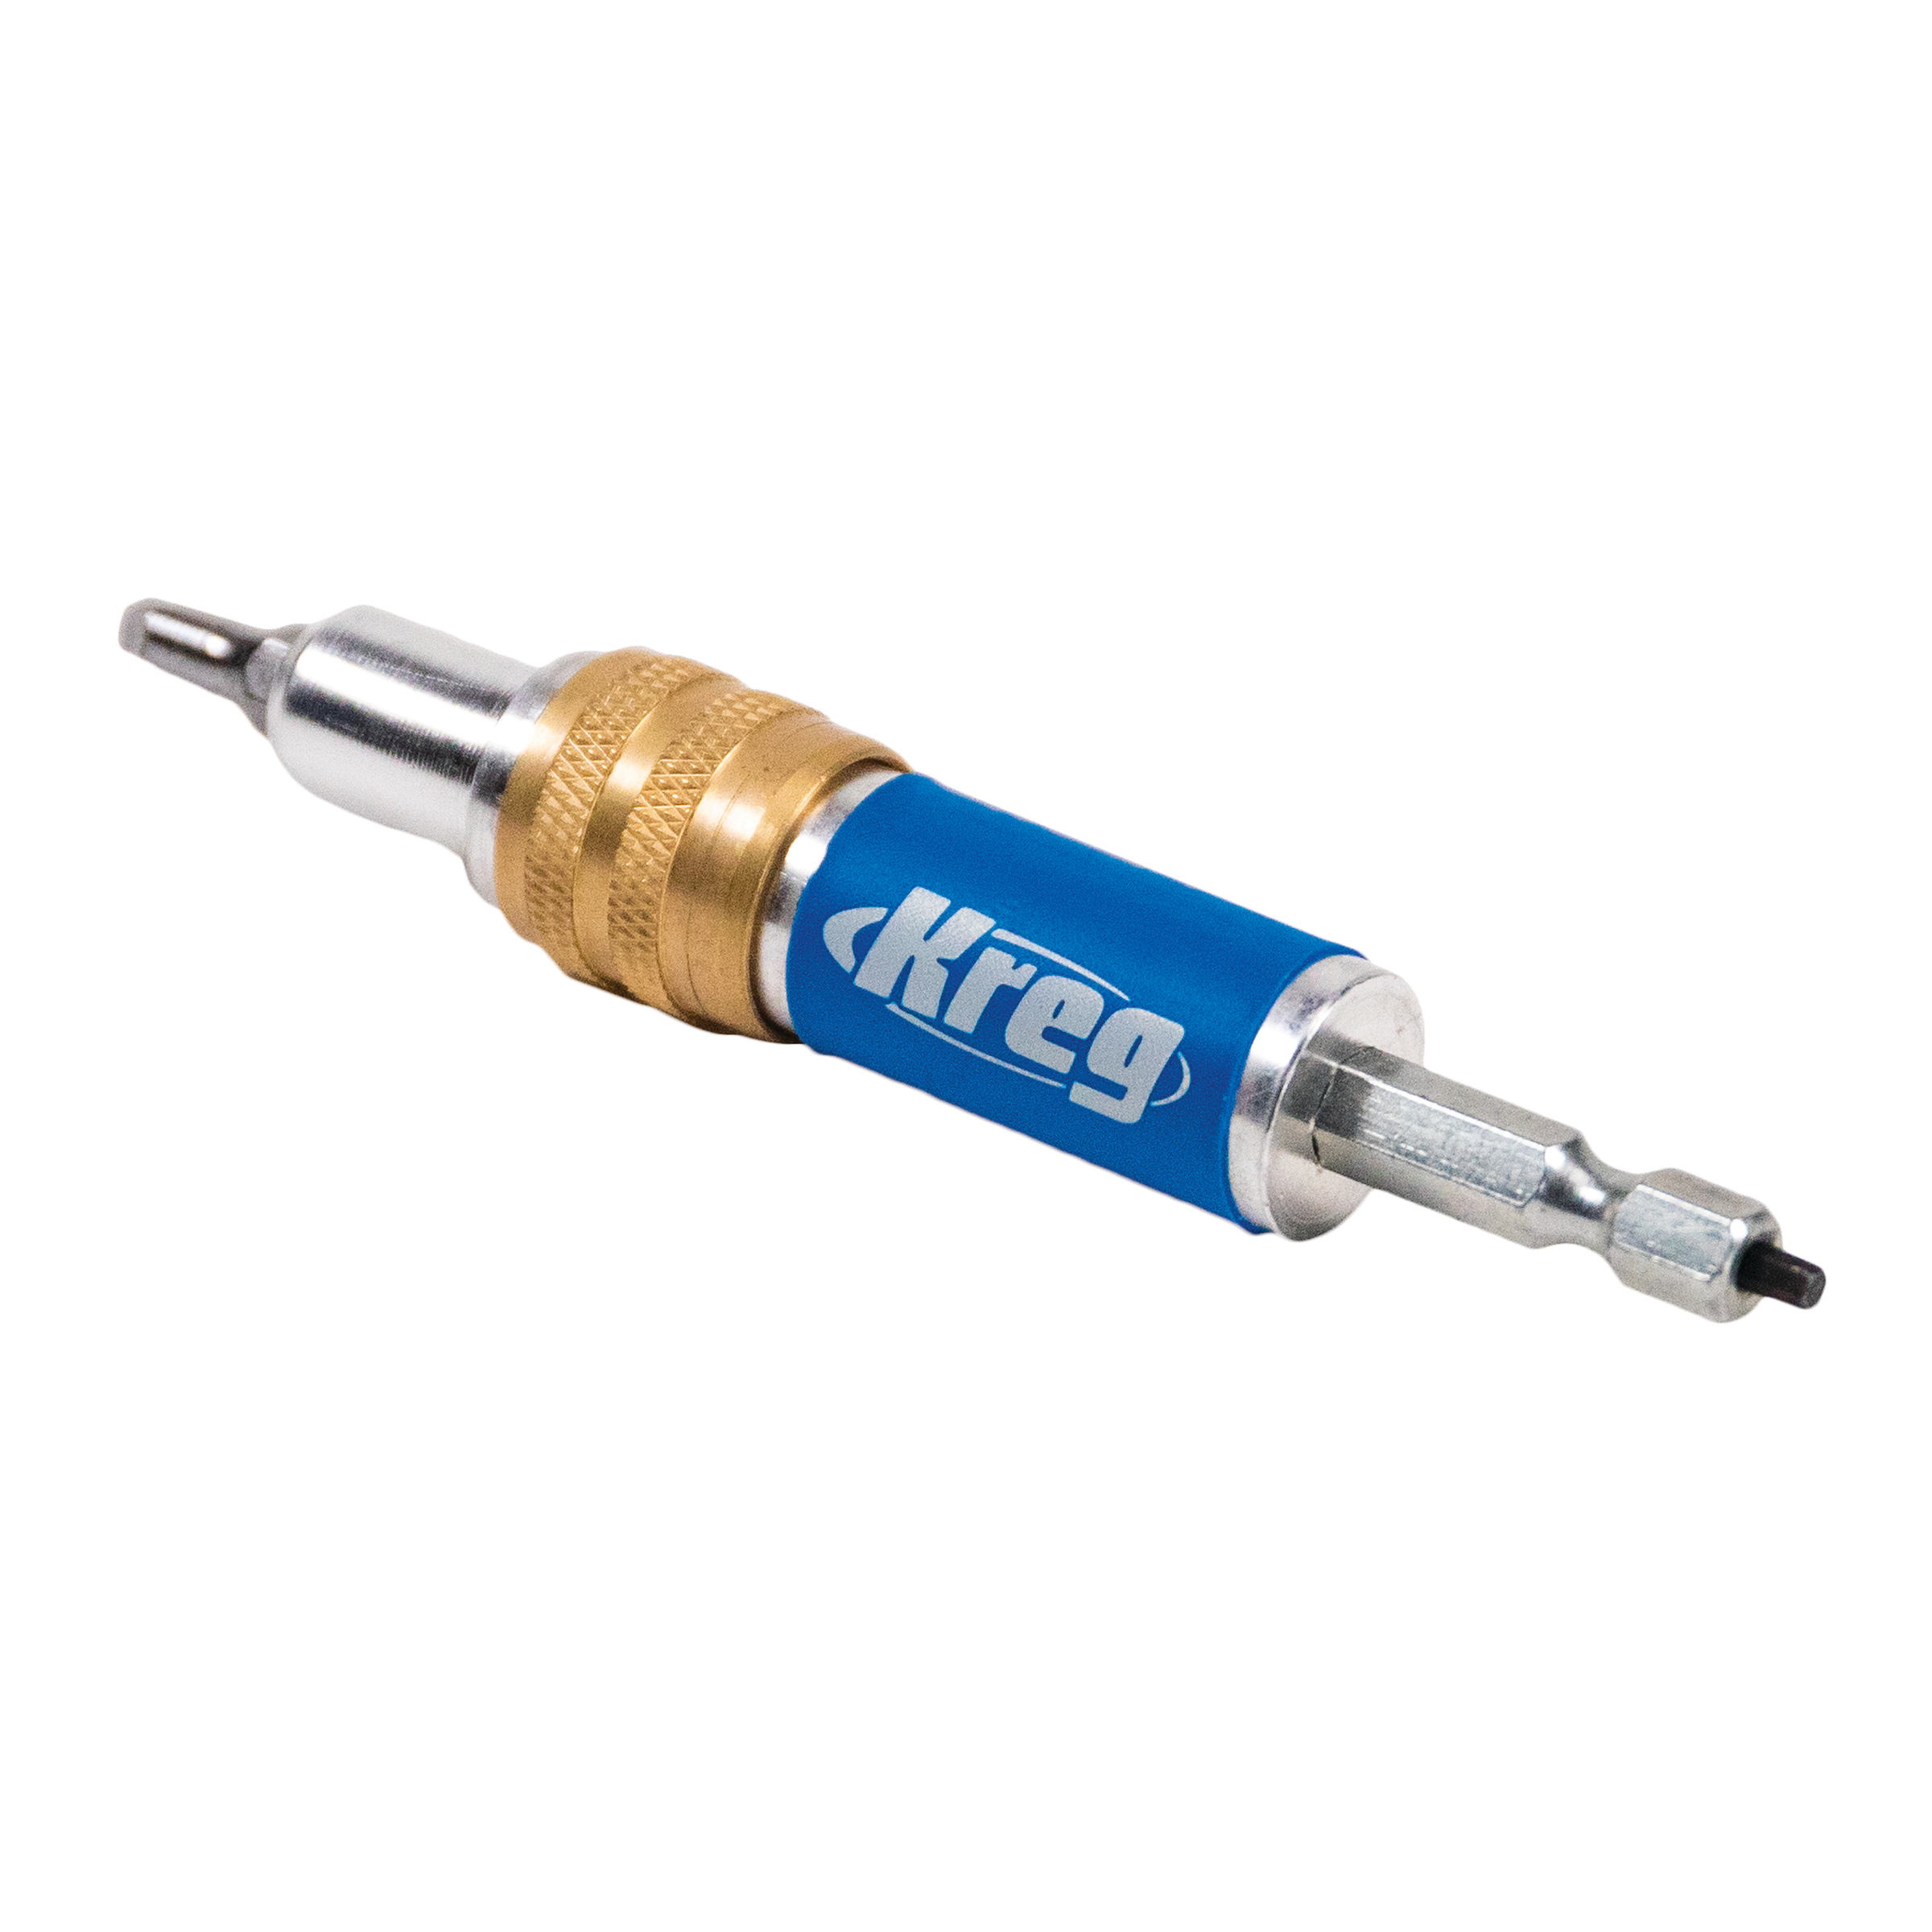
Use a Kreg Quick Flip bit to predrill and countersink holes along the back panel to secure the divider panel to it using 1 1/4" pocket hole screws. Use 5 screws spaced out from top to bottom (exact spacing between screws isn't critical, just make sure they're centered vertically).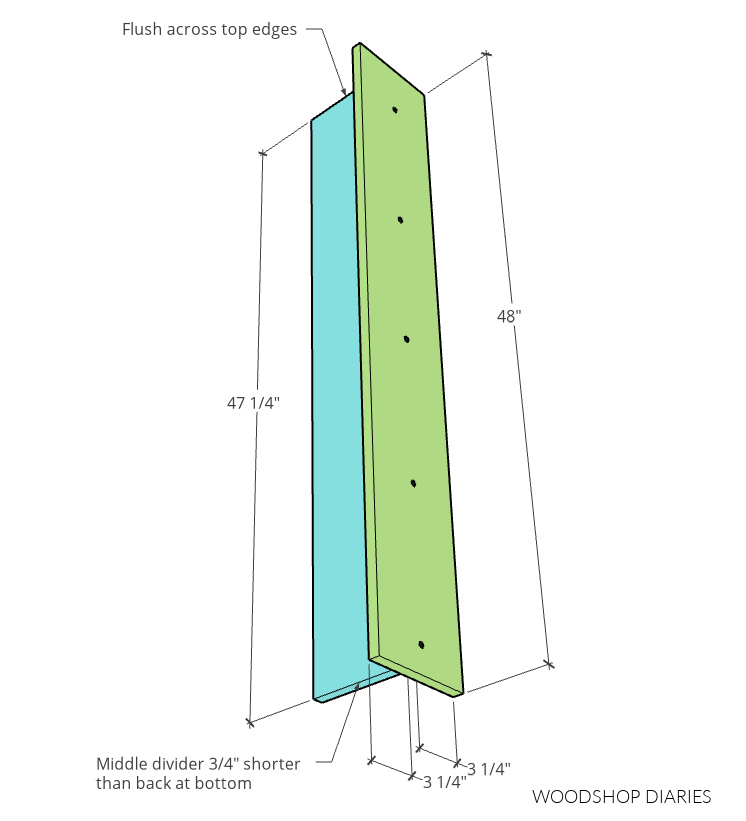
-
Attach Bottom Panel
Cut a piece of 1x8 to 18" long and center it on the back and divider panel at the bottom. The bottom edge of this panel should butt up to the divider and be flush to the bottom edge of the back.
Use 2 screws through the bottom and 2 screws through the back to secure. Use a Kreg Quick Flip to predrill and countersink these holes before driving the 1 1/4" pocket hole screws.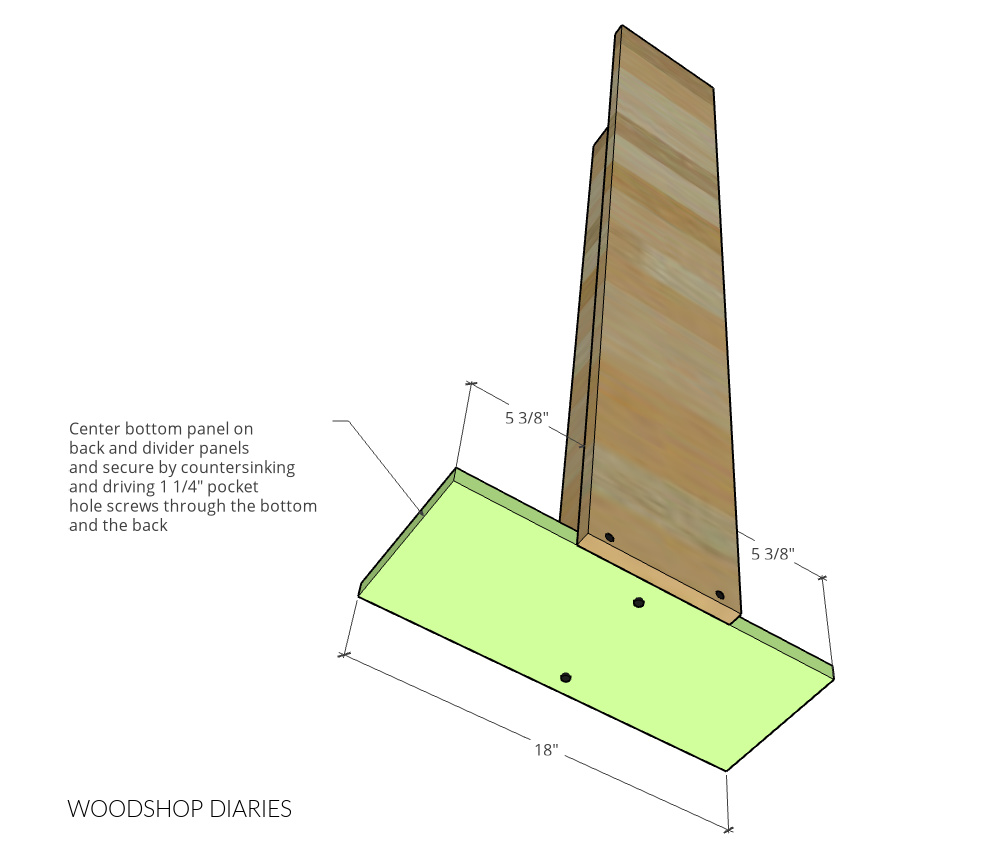
-
Install Shelves to Divider
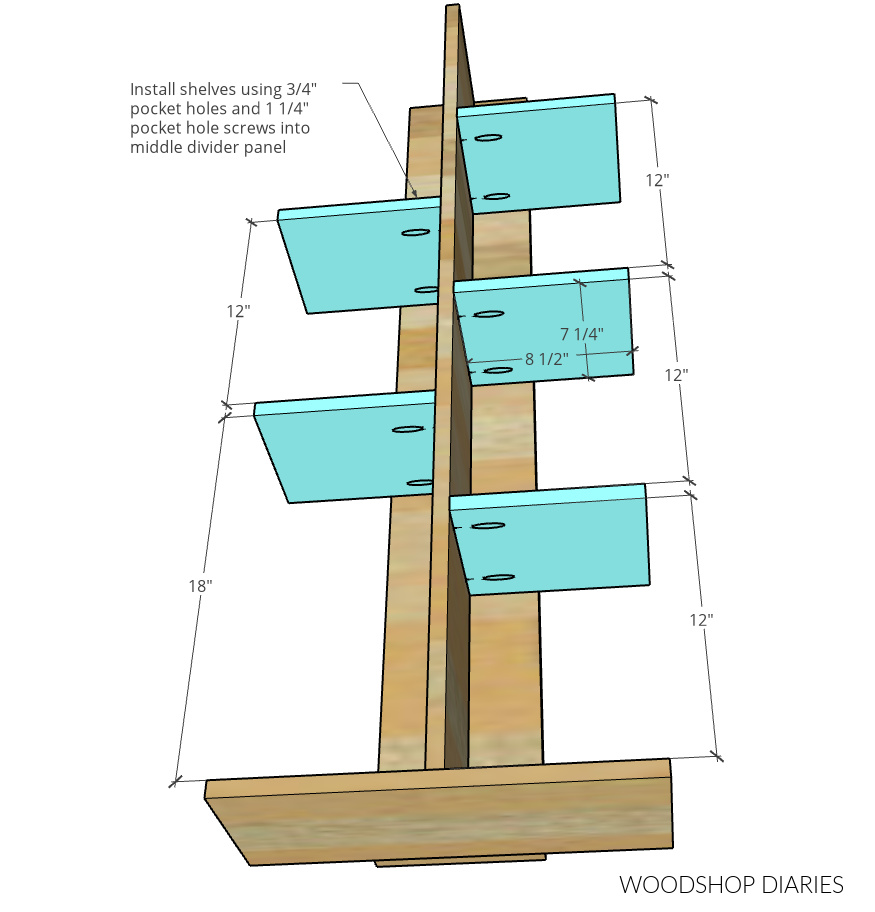
Cut 5 (or more if desired) shelf pieces from the remaining 1x8 to 8 1/2" long. Drill 3/4" pocket holes into ONE end of each piece.
Space as desired (the spacing shown here is easily customizable to suit your needs) along the middle divider and secure shelves using 1 1/4" pocket hole screws.
-
Secure Shelves to Back
Once the shelves are attached to the middle divider, make sure they are square (not tilting up or down), then use a Kreg Quick Flip to predrill and countersink holes along the back panel to secure the back side of each shelf with 1 1/4" pocket hole screws. One screw in the back per shelf should be sufficient, but you can add two per shelf if you'd like.

-
Finish
Finish shelf as desired to complete! If placing heavy objects on shelf, it's recommended to secure to the wall to prevent tip over.