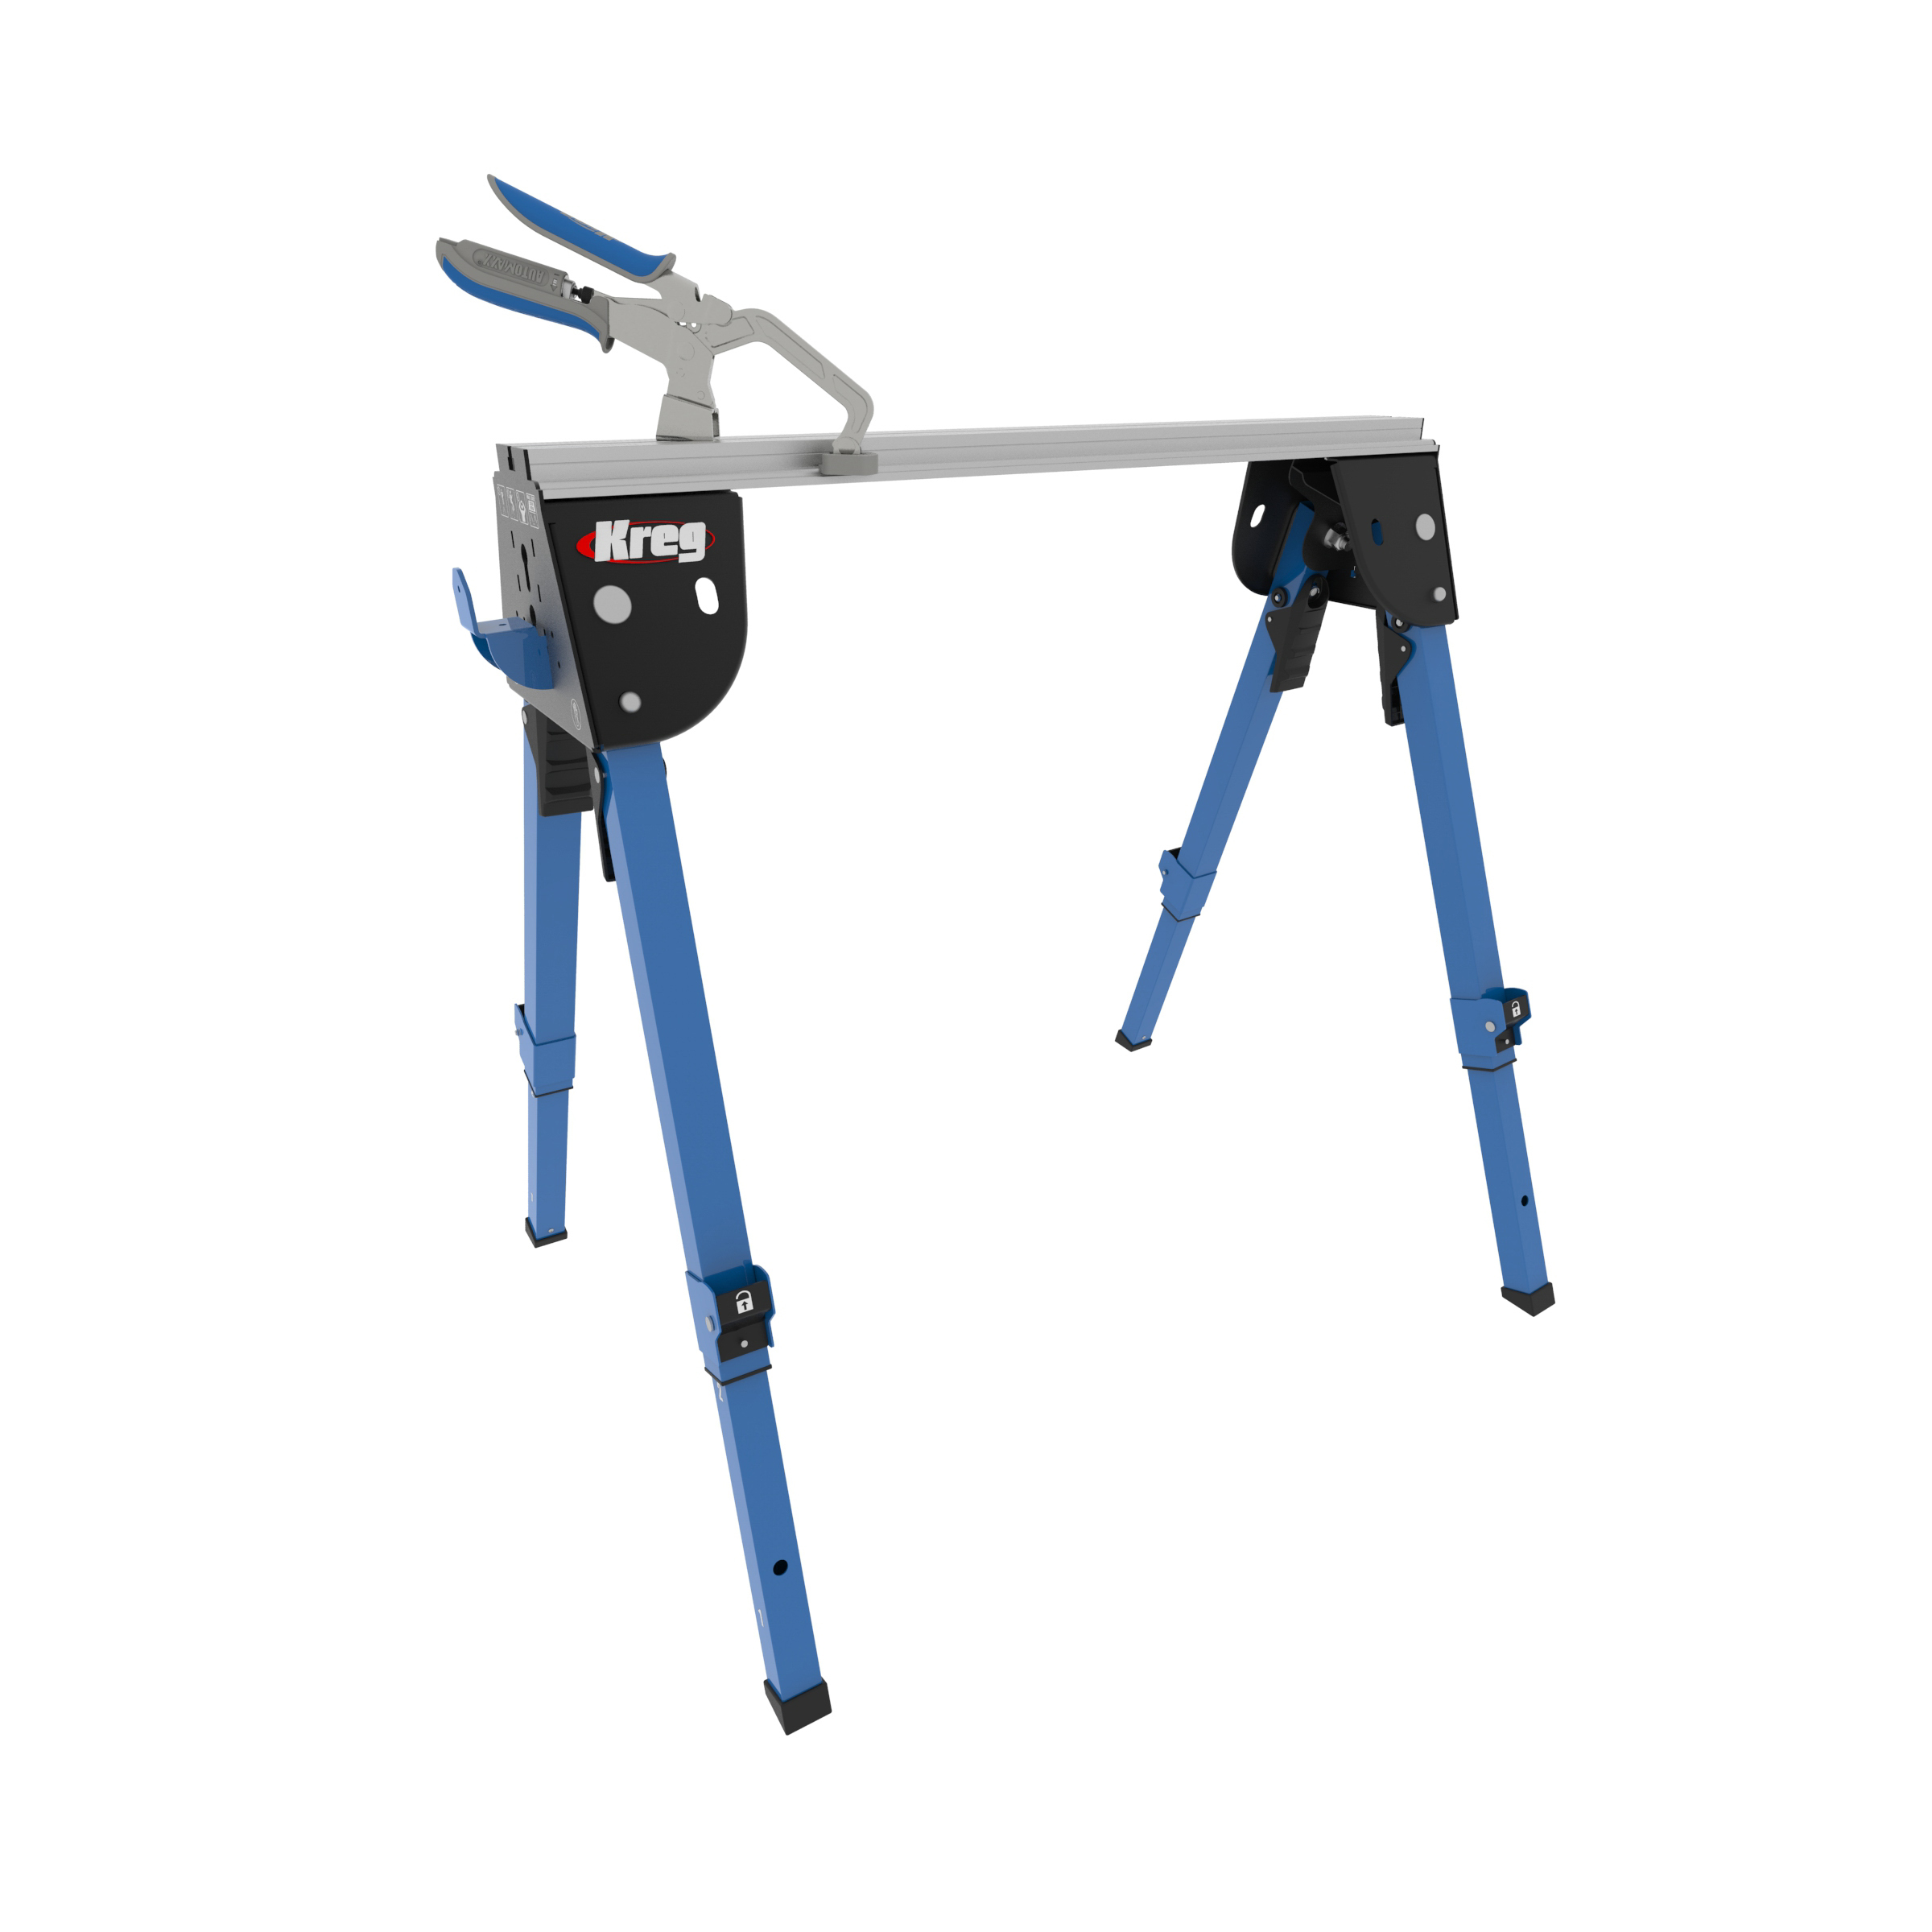
How do I start woodworking with no experience?
How do you get into basic woodworking? Consider the following steps:
1. Education
Read books and blogs, and watch plenty of instructional videos to gain a better understanding of woodworking fundamentals and techniques.
2. Get Essential Tools and Equipment
Invest in basic woodworking tools like a saw, chisels, a drill, and a measuring tape. Prioritize safety by wearing protective gear like safety glasses and gloves. Familiarize yourself with safety guidelines and techniques for operating tools.
3. Start with Small Projects
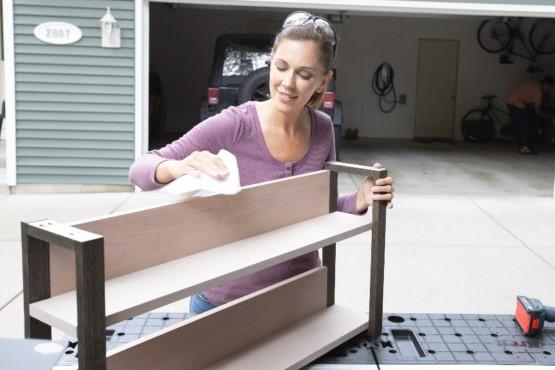
Begin with simple projects like a cutting board or a small shelf to gain hands-on experience and build confidence in your skills.
Is Woodworking Hard to Learn?
While it may initially seem challenging, especially for beginners, it is not difficult to learn. The level of difficulty mostly depends on the complexity of the projects you attempt and the techniques you’re developing. You can hone the skills needed to create beautiful and functional woodworking projects with practice, persistence, and a willingness to learn.
What is the difference between woodworking and carpentry?
Woodworking and carpentry are often used interchangeably, but they have slight differences. Woodworking refers to the general practice of working with wood to create objects or structures. Carpentry specifically focuses on the construction and installation of structures using wood.
Woodworking encompasses a wide range of projects, including furniture making, cabinet making, carving, and woodturning. Carpenters work on projects like framing houses, building wooden structures, installing doors, and constructing wooden fixtures. While there is overlap between the two, the distinction is in the specific applications and scope of the projects involved.
![]()
3 Steps to Prepare for Woodworking
1. Essential Tools and Safety Equipment
To begin your woodworking journey, it’s crucial to have the right tools at your disposal. Some essential tools include:
Measuring and Marking Tools
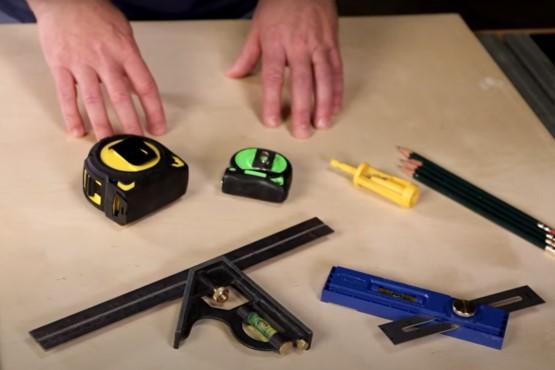
A tape measure, combination square, and a pencil for accurate measurements and markings.

Cutting Tools
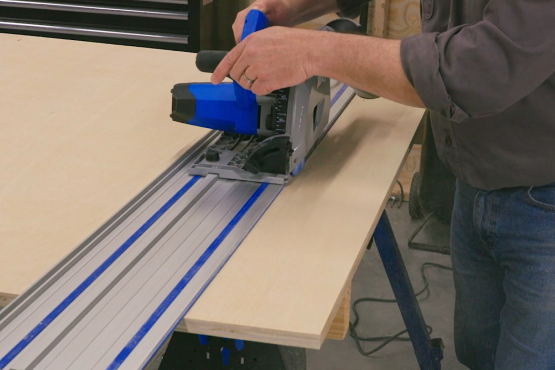
A circular saw, jigsaw, or a handsaw for making precise cuts. A miter saw can also be beneficial for angled cuts.

Joinery Tools
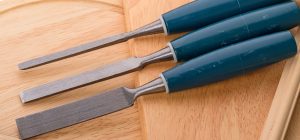
A chisel set, a mallet, and a hand plane for creating strong and precise joints.
Fastening Tools
A cordless drill/driver and a set of screwdrivers for assembling your projects.

Sanding Tools
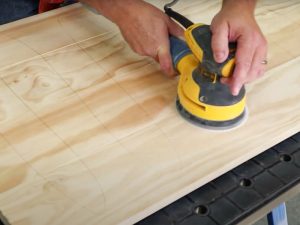
Sandpaper of varying grits, sanding block, or an orbital sander for achieving smooth surfaces.
In addition to tools, prioritizing safety is paramount. Equip yourself with the following safety equipment:
Eye and Ear Protection
Safety glasses or goggles shield your eyes from flying debris and ear protection to reduce noise exposure.
Respiratory Protection
A dust mask or a respirator protects against inhalation of wood dust and other particles.
Work Gloves
While not essential, hand protection can come in handy while handling tools and materials, especially rough-cut wood.

2. Setting up a Workspace
Creating a dedicated workspace is essential for efficient and safe woodworking. Consider the following tips:
Space
Choose an area that provides ample space for your projects, tools, and materials. It can be a garage, basement, or even a dedicated corner in a room.
Lighting
Ensure adequate lighting to see your work clearly. Natural light is good, but additional task lighting can be beneficial.
Ventilation
Good airflow is important to minimize dust and fumes. Open windows or use a fan or ventilation system to maintain air circulation.
Organization
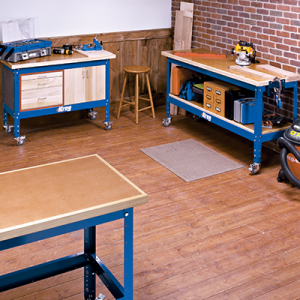
Buy or build storage like shelves, cabinets, and tool racks to keep your workspace clean and organized.
3. Wood Selection and Preparation
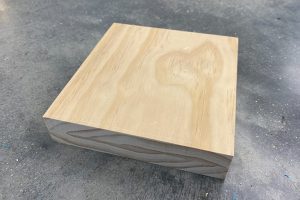
Selecting the right wood is crucial for successful woodworking projects. Consider the following:
Type of Wood
Choose from a variety of hardwoods (such as oak, maple, or walnut) or softwoods (like pine or cedar) based on your project requirements and availability.

Wood Grain and Appearance
Consider the grain pattern, color, and texture of the wood to achieve the desired look.
Wood Moisture Content
Ensure the wood is properly seasoned or dried to prevent warping or shrinking after your project is completed.

Wood Preparation
Cut wood to the desired sizes and then sand it to achieve smooth surfaces. Applying finishes like stain, paint, or varnish can enhance the appearance and protect the wood.

![]()
How to Get Started Woodworking
1. Basic Skills Prospective Woodworkers Should Have
Before diving into woodworking projects, it’s beneficial to develop foundational skills. These include:
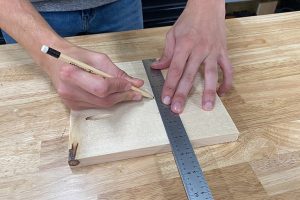
Measurement and Marking
Familiarize yourself with accurate measurement techniques using a tape measure, combination square, and marking tools like pencils or marking knives.
Safety Awareness
Understand and follow safety practices like proper tool handling, using safety equipment, and maintaining a clean and organized workspace.

Hand Tool Proficiency
Practice using basic hand tools like chisels, hand planes, and coping saws to develop hand-eye coordination and refine your skills.

Tool Maintenance
Learn how to care for and maintain your tools, including sharpening blades, cleaning surfaces, and ensuring proper functionality.

2. Learn Essential Woodworking Techniques
To progress in woodworking, mastering essential techniques is crucial. Here are a few fundamental skills to focus on:
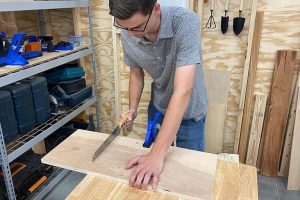
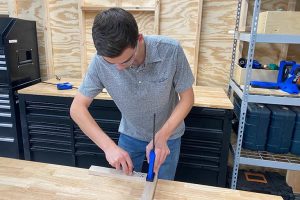
Sawing
Learn how to make straight cuts using a hand saw or power saw, as well as techniques for angled cuts or creating curves.
Joinery
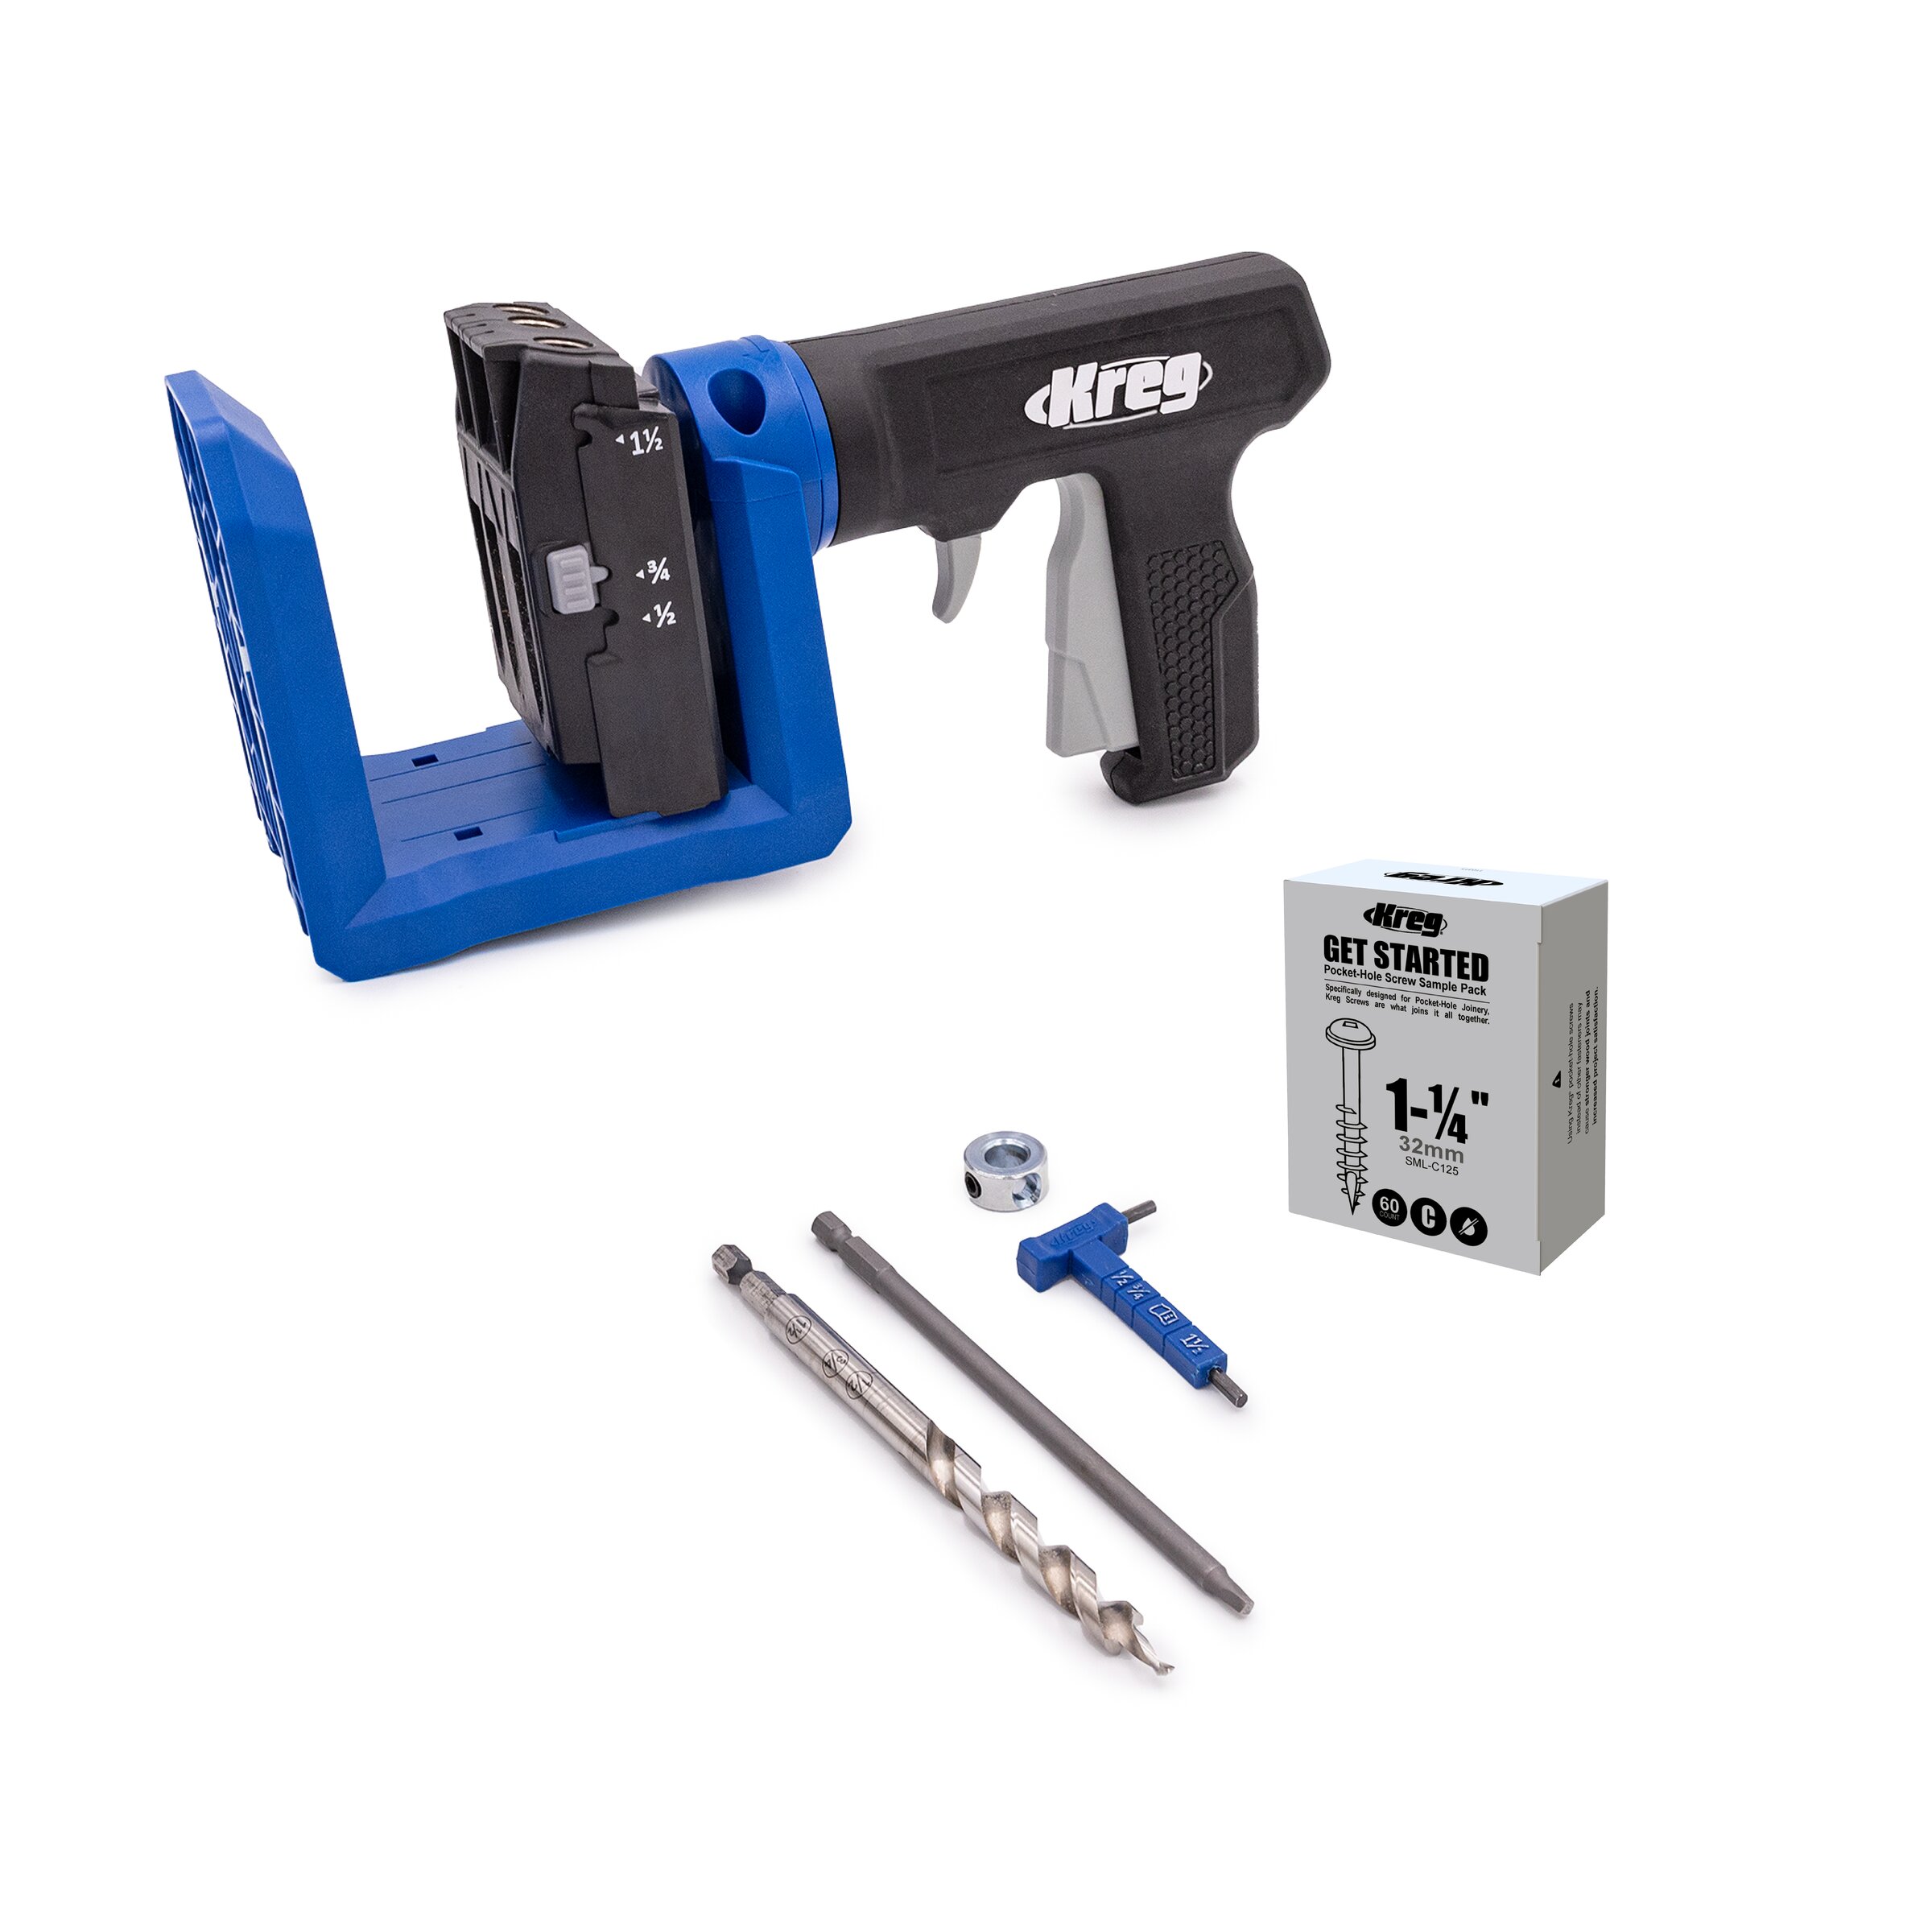
Explore basic joinery methods like butt joints, miter joints, and pocket holes to connect wood pieces securely.

Sanding and Finishing
Develop sanding skills to achieve smooth surfaces and learn how to apply finishes like stain, paint, and varnish to protect and enhance the appearance of your projects.

Assembly
Practice proper assembly techniques, including using clamps, screws, or nails to join pieces securely.
3. Start with Simple Projects
Starting with straightforward projects is an excellent way to build confidence and improve your woodworking skills. Here are a few ideas for beginner-friendly projects:
![]()
Troubleshooting Common Woodworking Challenges
1. Splintering Wood
To minimize splintering, use sharp blades and make shallow scoring cuts before making full-depth cuts. Employ masking tape or painter’s tape along the cut line to reduce tear-out.
2. Tear-out on Cross-grain Cuts
For cross-grain cuts prone to tear-out, use a low-angle block plane or a backer board to support the wood fibers and prevent tear-out. Adjust the cutting direction to minimize the issue.
3. Misaligned Joints
Achieving precise and tight-fitting joints is crucial. Ensure accurate measurement and marking, use quality tools for cutting, and fine-tune the joint using chisels or hand planes.
4. Warping and Cupping
Proper wood selection and storage are key. Choose well-dried and stable wood, acclimate it to your workspace, and store it properly to prevent warping.
5. Sanding Imperfections
Sanding marks and uneven surfaces can take away from the look of the final result. Start with coarse grit sandpaper and gradually progress to finer grits. Use a sanding block or random orbital sander for even and consistent sanding.
6. Inaccurate Cuts
Inaccurate cuts happen for a variety of reasons. However, you can minimize cutting inaccuracy by ensuring the blade is properly aligned, using a reliable cutting guide or jig for straight cuts, and practicing proper technique like maintaining steady pressure and following the cutting line.
![]()
Additional Resources for Beginner Woodworkers
Check out this article: Learn the basics of building


