When you’re building projects that call for plywood, handling and cutting those sheets can be a serious challenge. Here are some ways to get great results, and to do it safely and confidently.
1. Eliminate transportation hassles
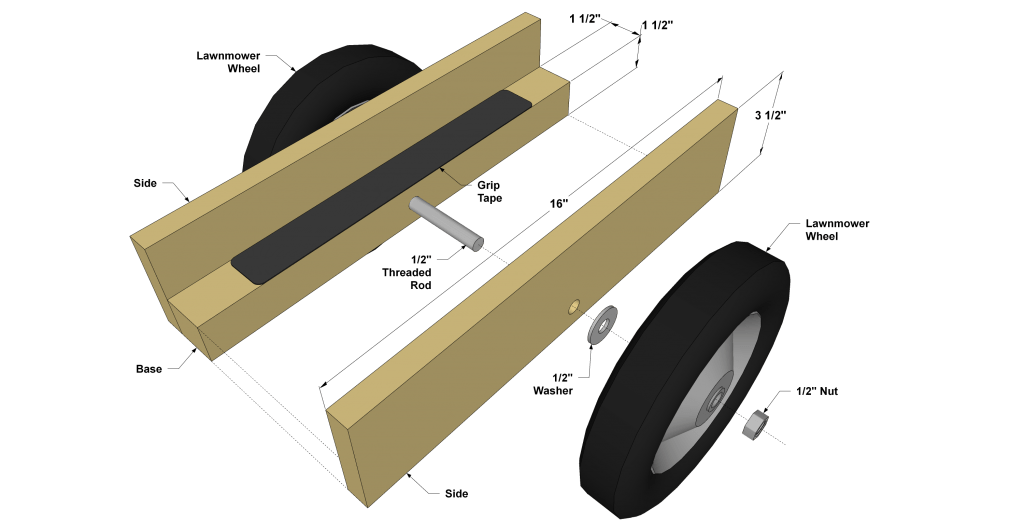
No matter strong you are, there’s nothing easy about carrying 4′ x 8′ sheets. Make these awkward sheets easier to move around with a simple panel caddy that you can build yourself. All you need are scraps of 1×4 and 2×2 boards, a couple of inexpensive lawnmower wheels, and some threaded rod and nuts.

Easy-to-build panel caddy:
- Cut the Base and Sides to length, as shown in the plan illustration.
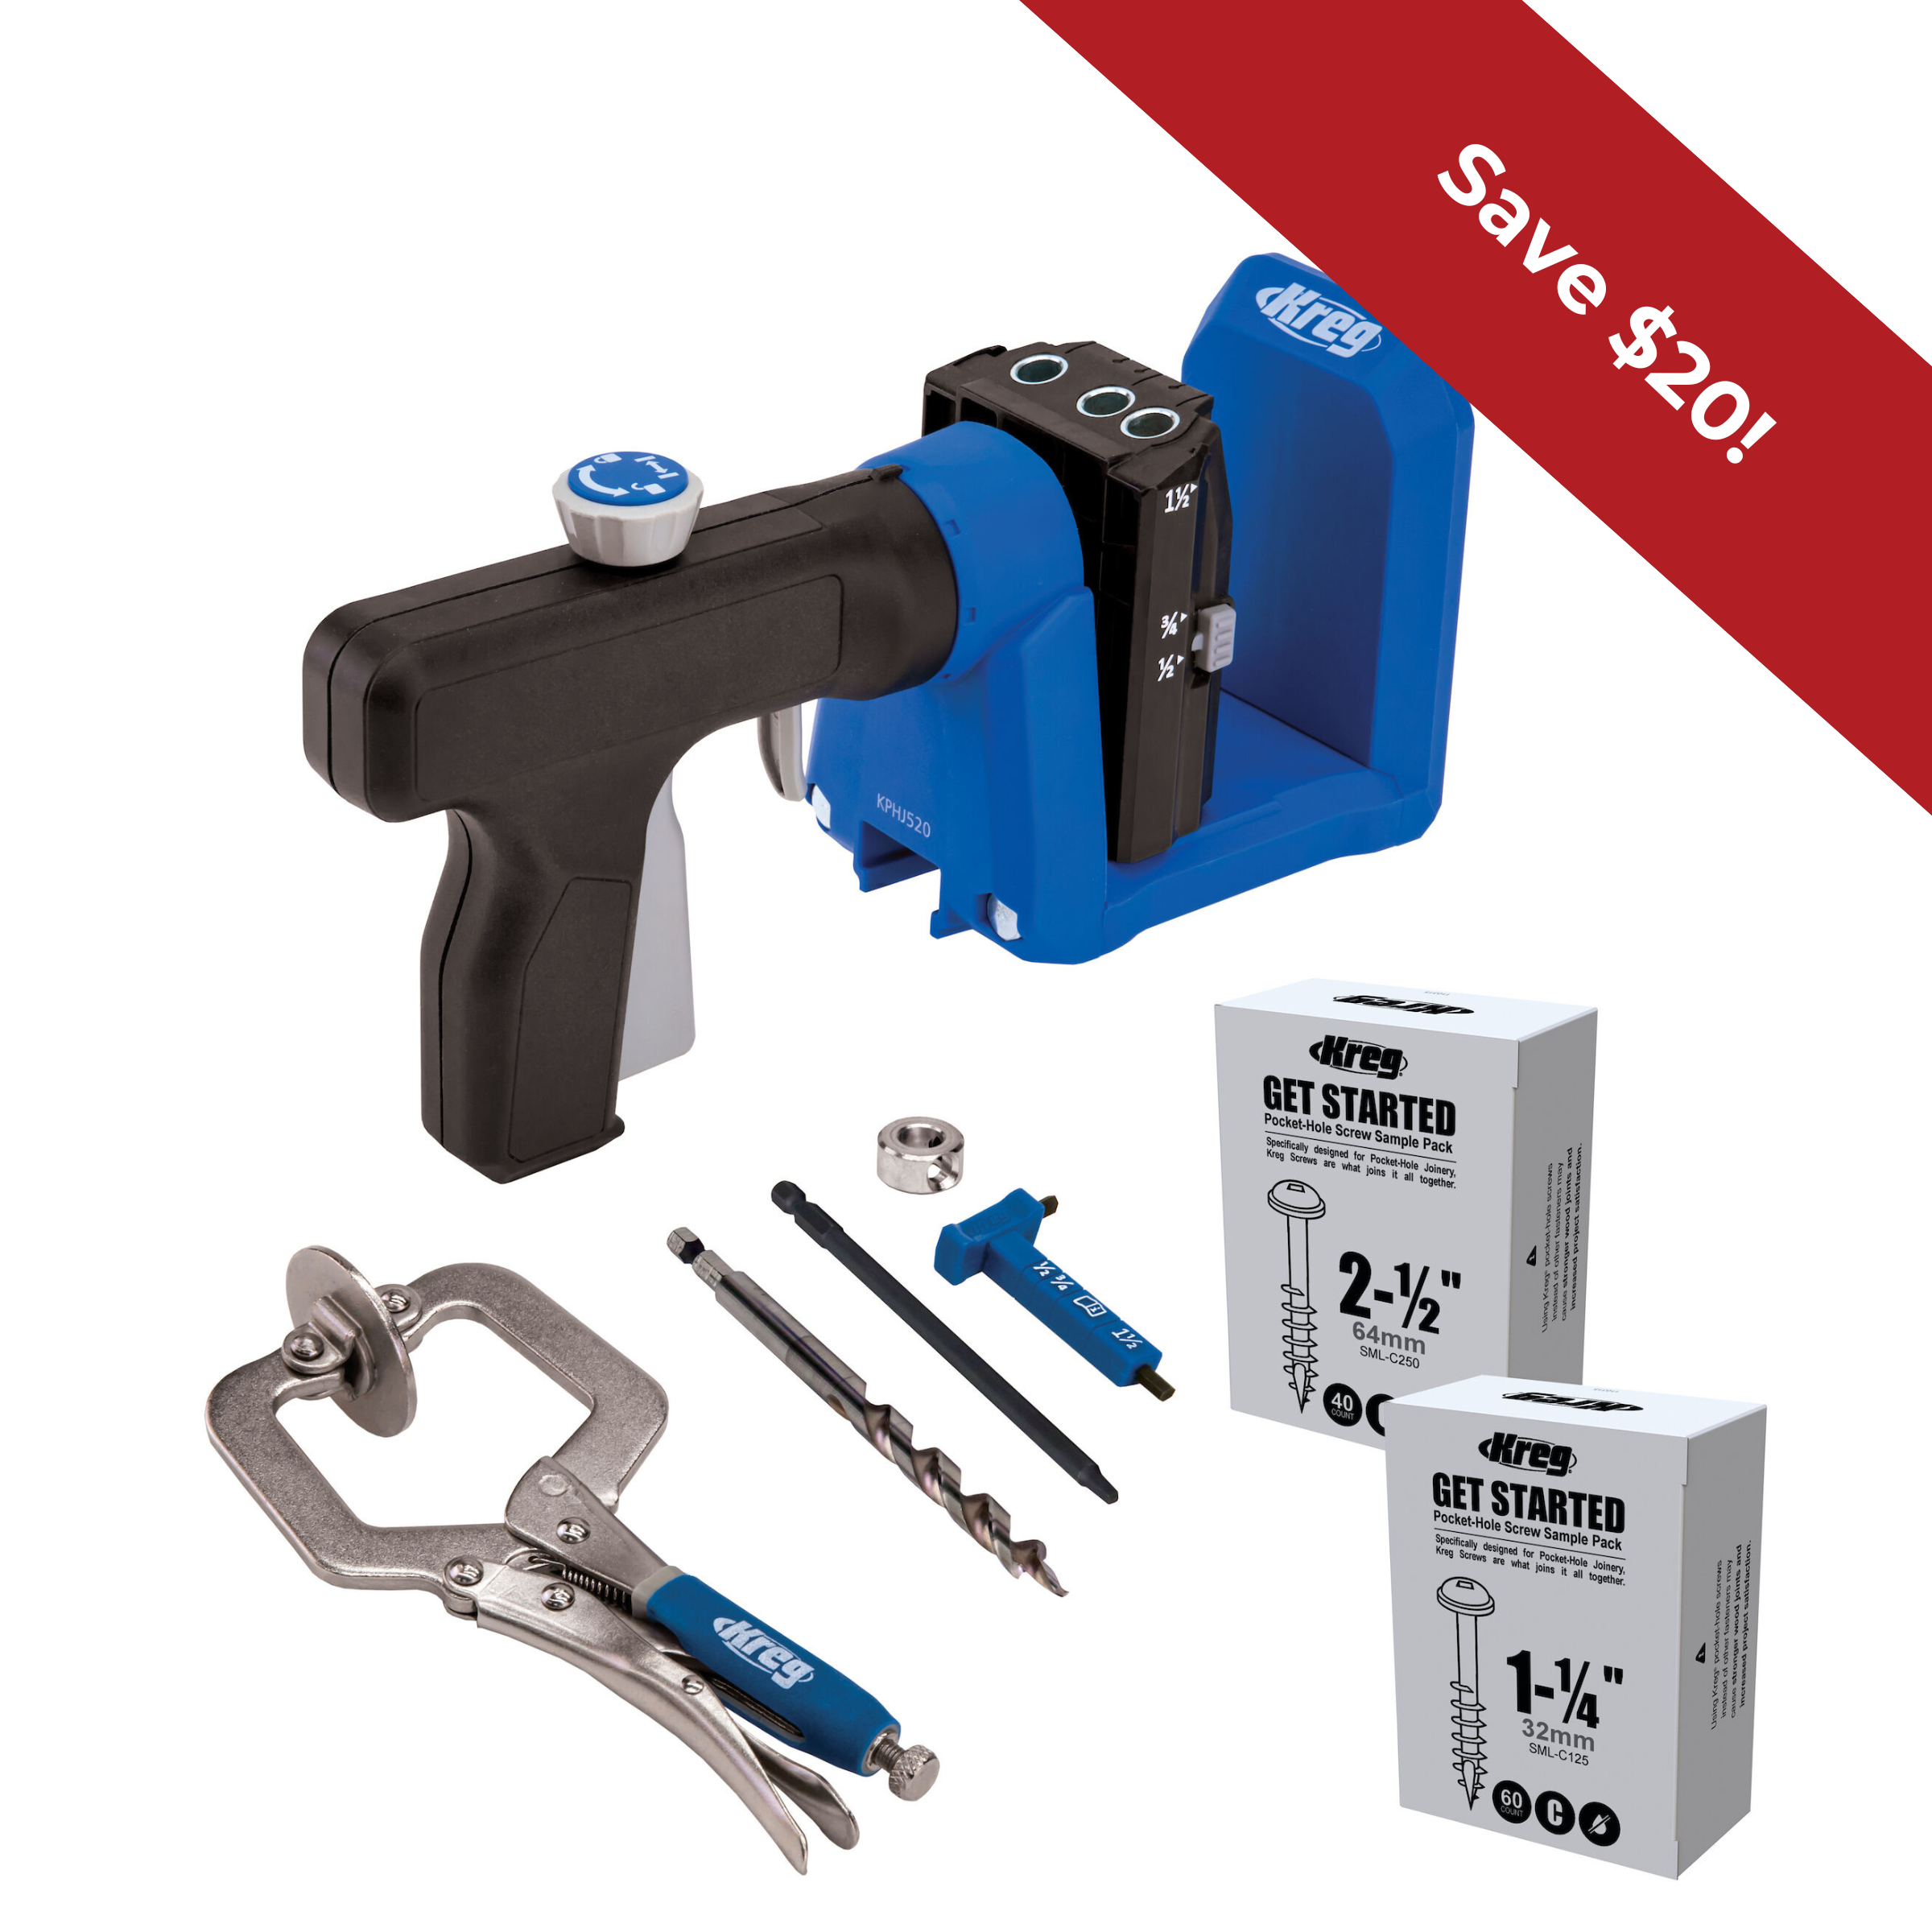
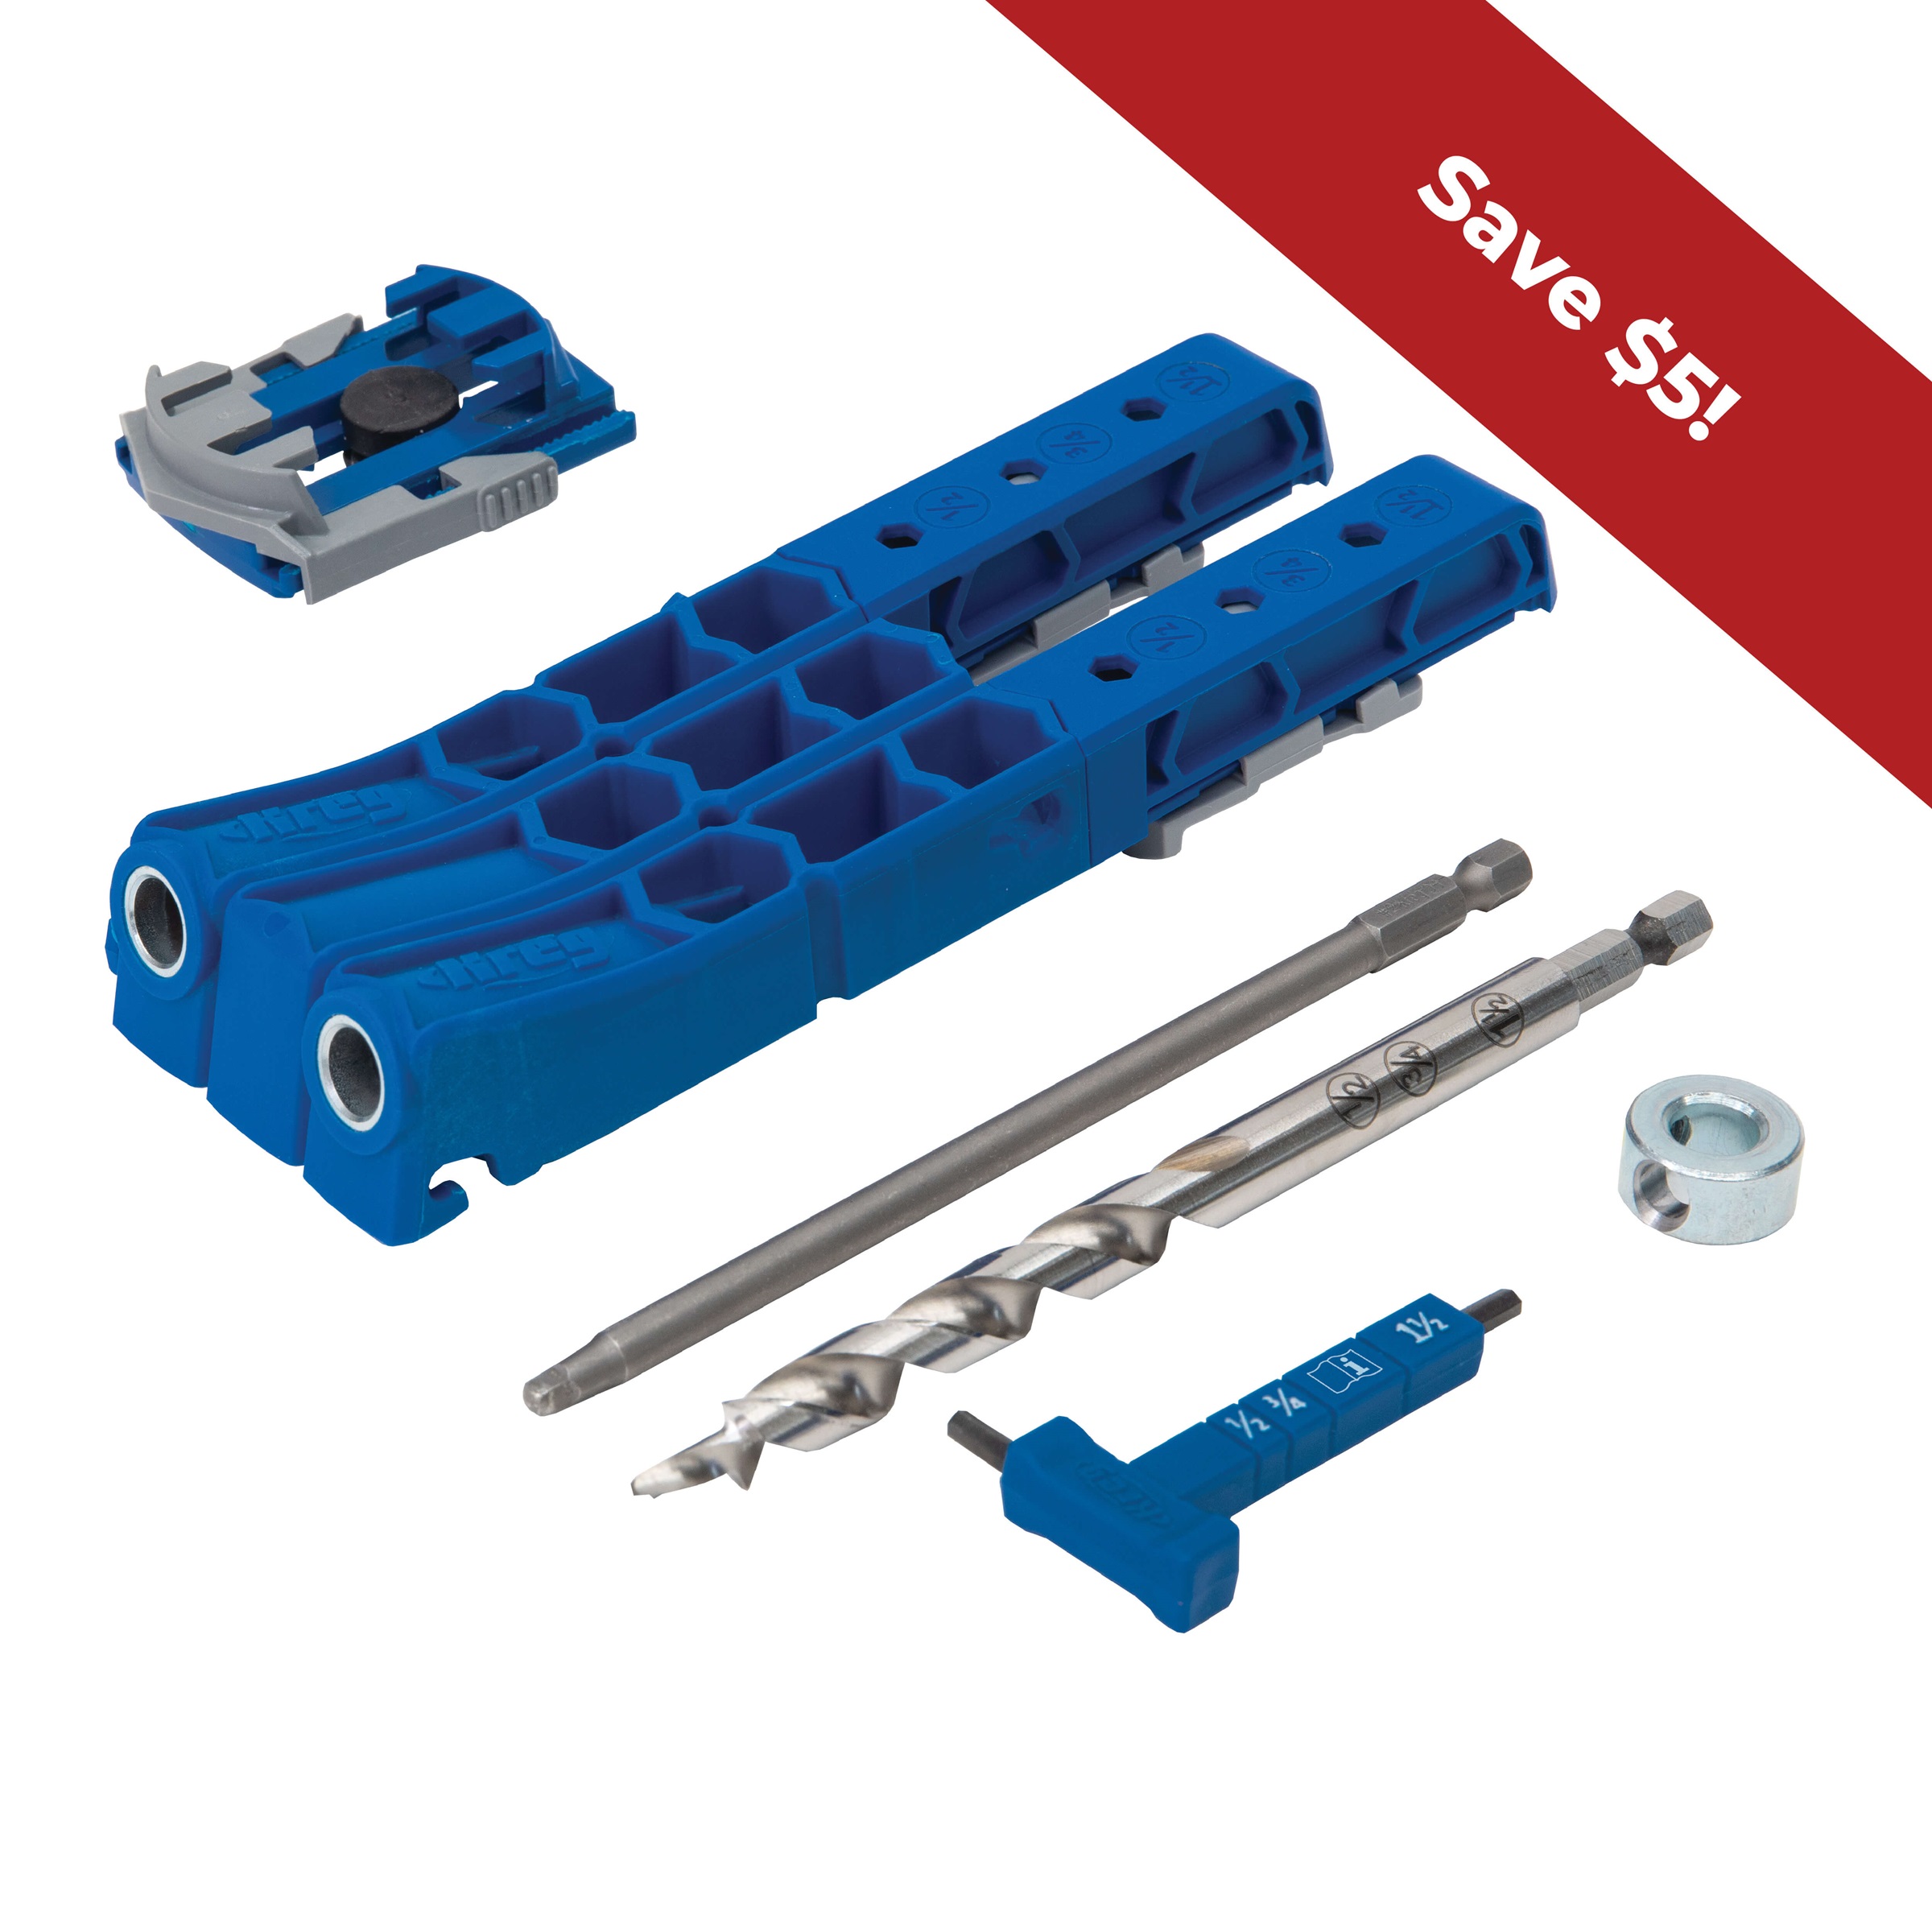
- Set your Kreg® Pocket-Hole Jig for 3/4″-thick material, and then drill pocket holes in the underside of the 2×2 along each edge.
- Attach the sides using 1 1/4″ coarse-thread pocket hole screws. Drill a hole, and then slip in the threaded rod. Add washers and the wheels.
- As an optional step, you can add a piece of grip tape to keep plywood from sliding in the carrier.
- Your plywood caddy is ready to go!

2. Get plenty of support
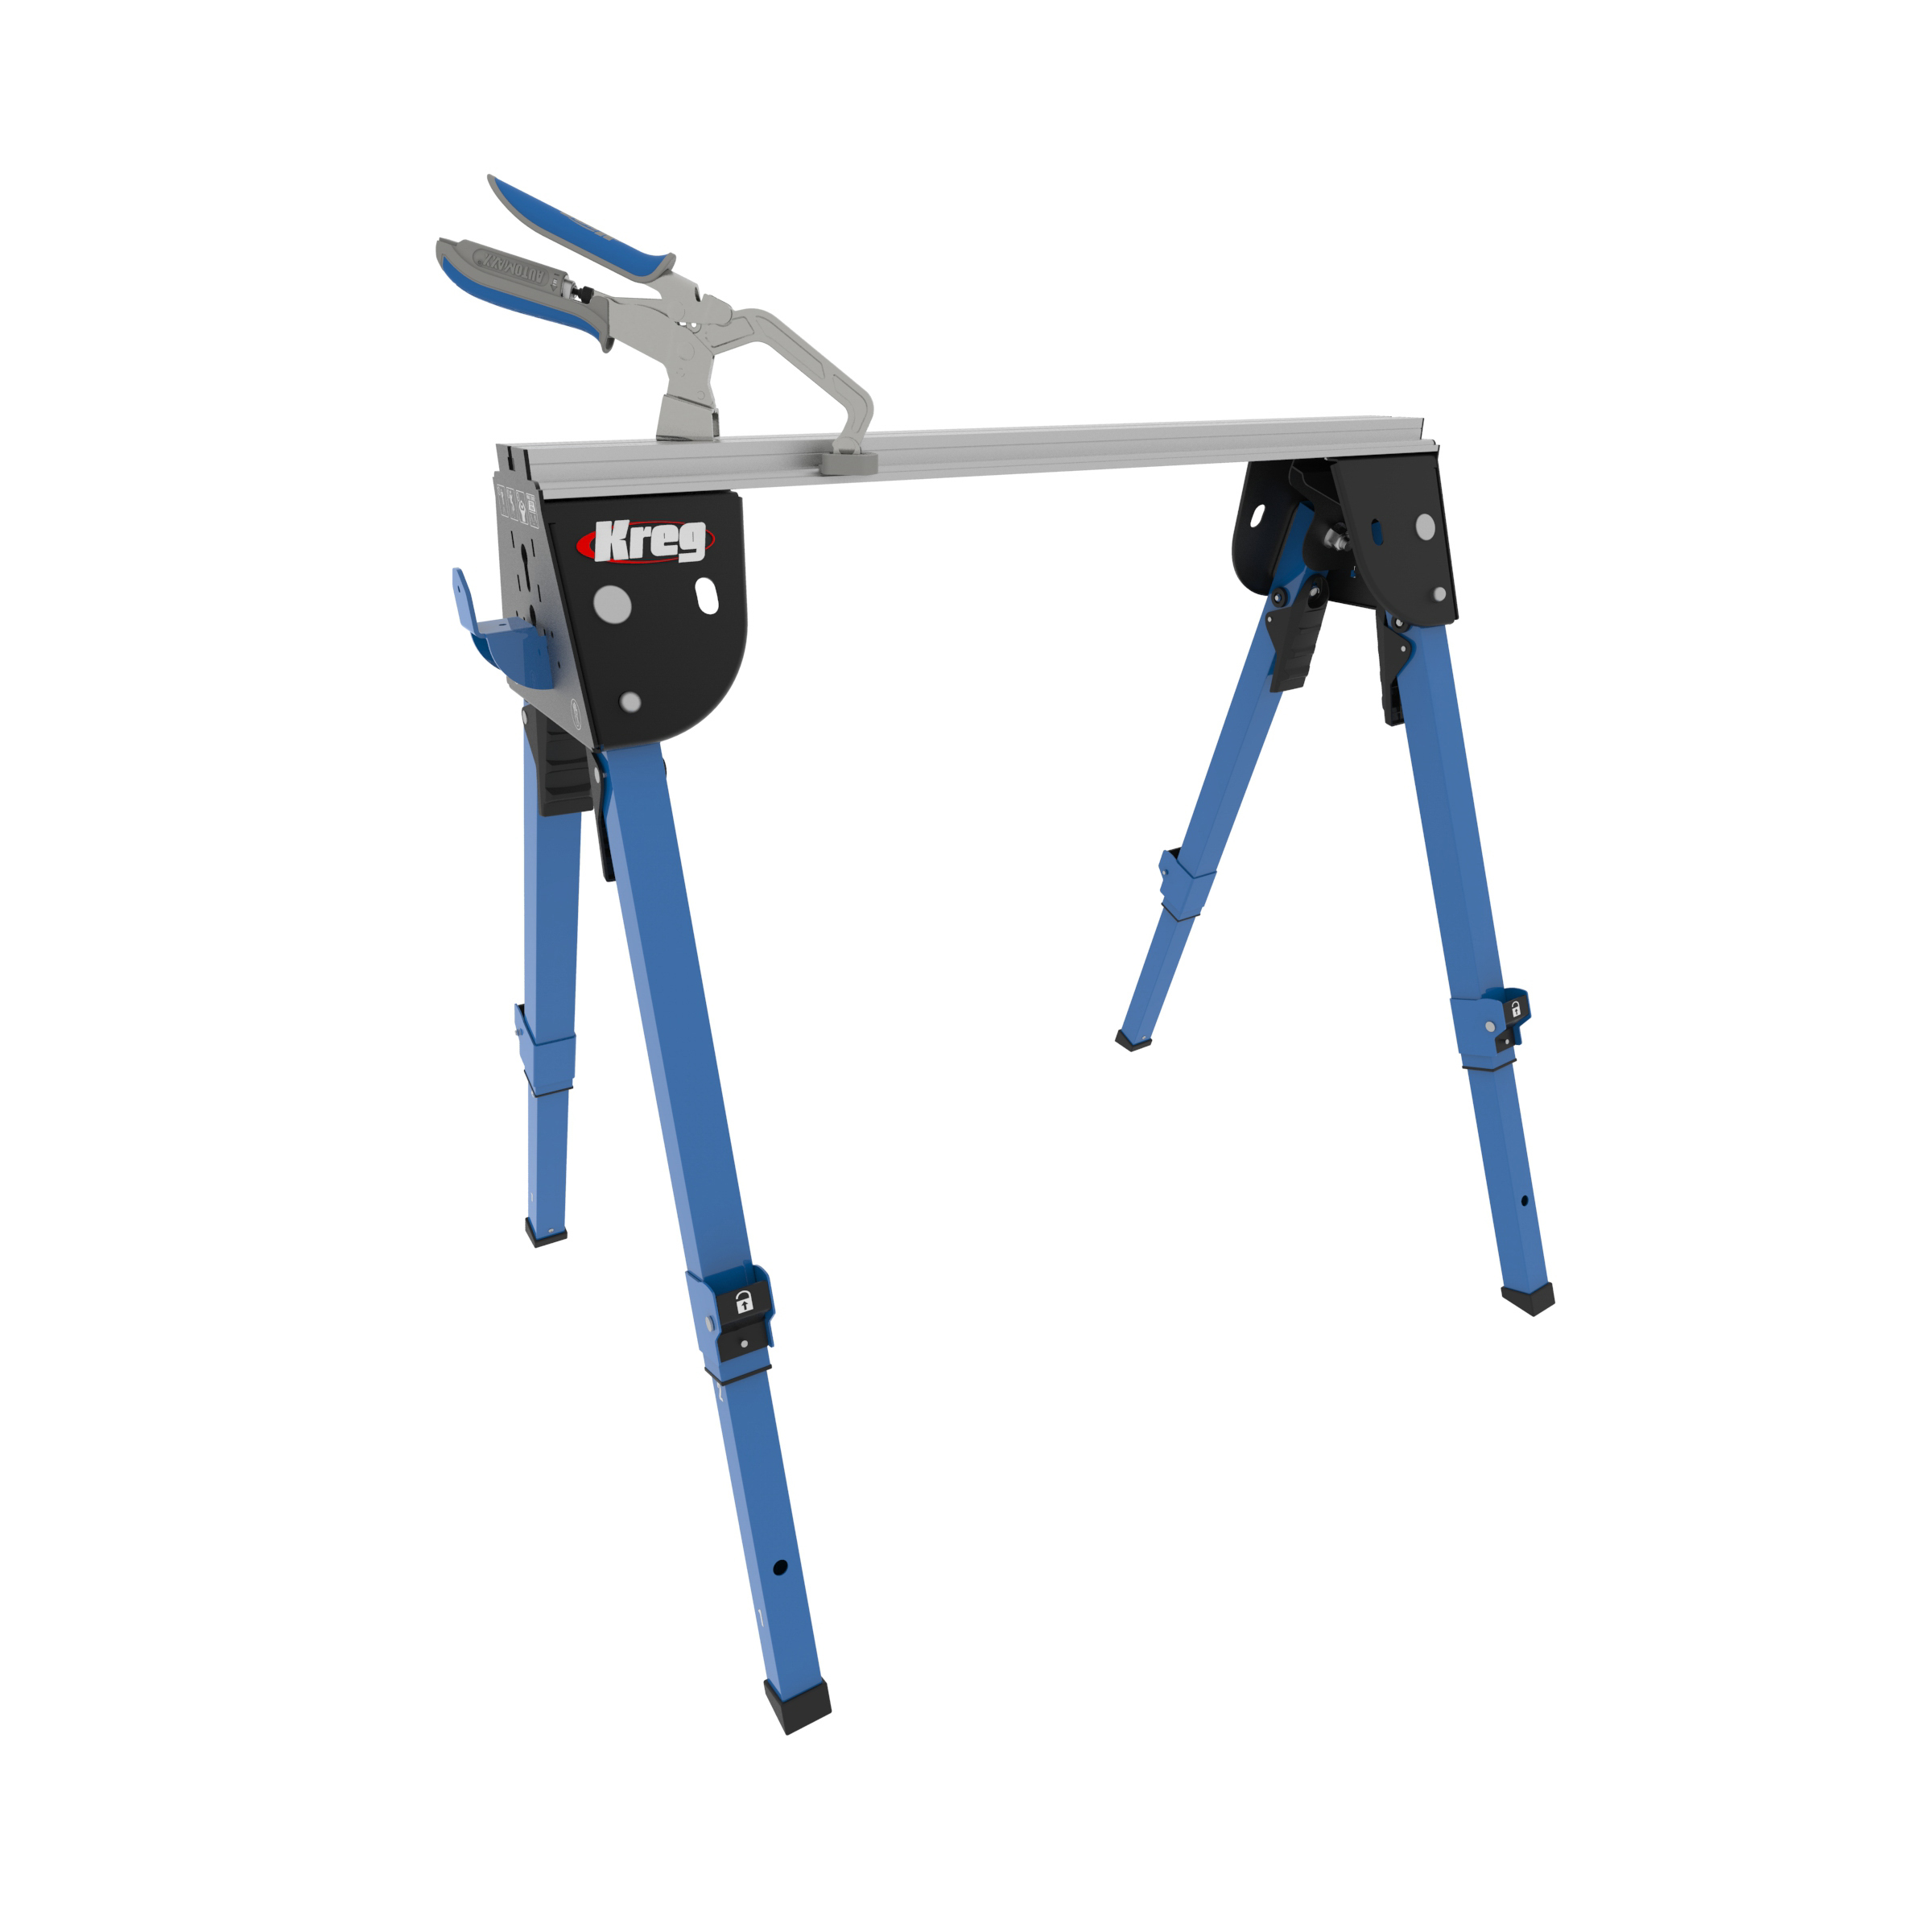
The next challenge with cutting plywood is supporting the sheets while you cut. A pair of sawhorses will hold the sheet up, but they won’t keep it stable while you work, and they won’t prevent things from crashing to the ground as you cut through the plywood — which can easily damage your plywood, and can be dangerous to boot.
Rigid foam insulation is readily available at all major home centers and is a great way to support plywood while cutting. It keeps the pieces from pinching or falling, and you can even set it up on the ground if needed. Watch the benefits of using foam insulation in this video.
3. Make yourself a cutting grid
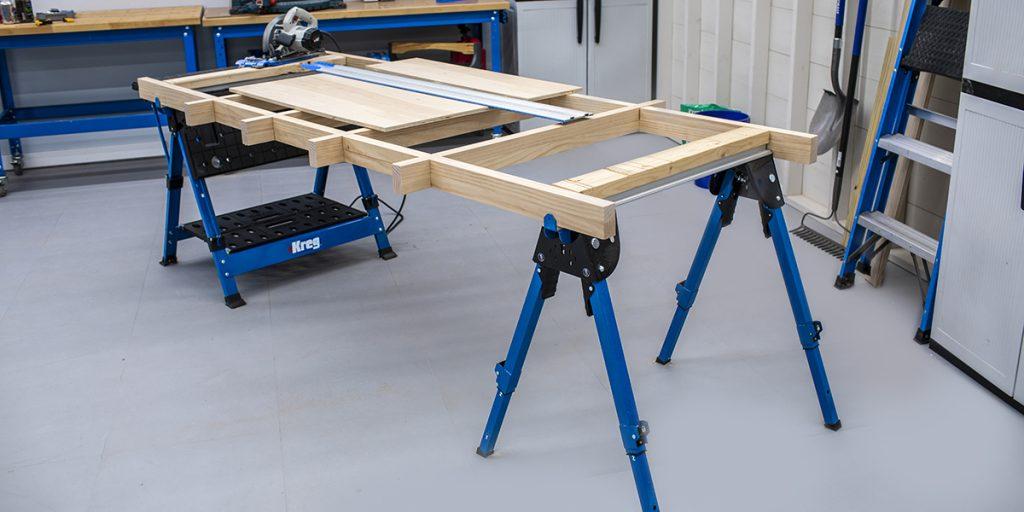
Another option is to build yourself a cutting grid that can span between the sawhorses to support the sheets.
Check out this FREE PLAN for a knockdown grid that stores compactly away when not in use.
4. Create circular saw perfection
Now that you can move your sheets and support them while you work, you’re just about ready to cut. But before you turn on your circular saw, make sure it’s equipped to give you the best cutting results. First, ditch the standard blade that came with your saw in favor of one that’s made for cutting plywood, as shown in this video.
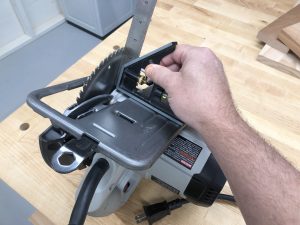
Once you have the blade installed, make sure that the bevel scale on the saw is set for a true 90° cut. Circular saws tend to get banged around a lot, so it’s not unusual for them to be just a bit off. You can check easily (with the saw unplugged, of course) by setting the saw to full cutting depth and holding a square against the saw base and blade. If necessary, adjust the bevel setting.
5. Guide the way
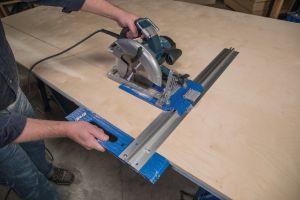
Now that you have your sheet in place and supported, and your saw all set to go, cutting plywood should be easy. But, making a straight, accurate cut can still be a challenge. That’s because holding a circular saw exactly on your line can be a challenge — especially when making cuts that are 4′ or 8′ long. The solution is to use a saw guide. A guide will make it easy control your saw, so you can be confident that you’ll cut straight and accurately every time.
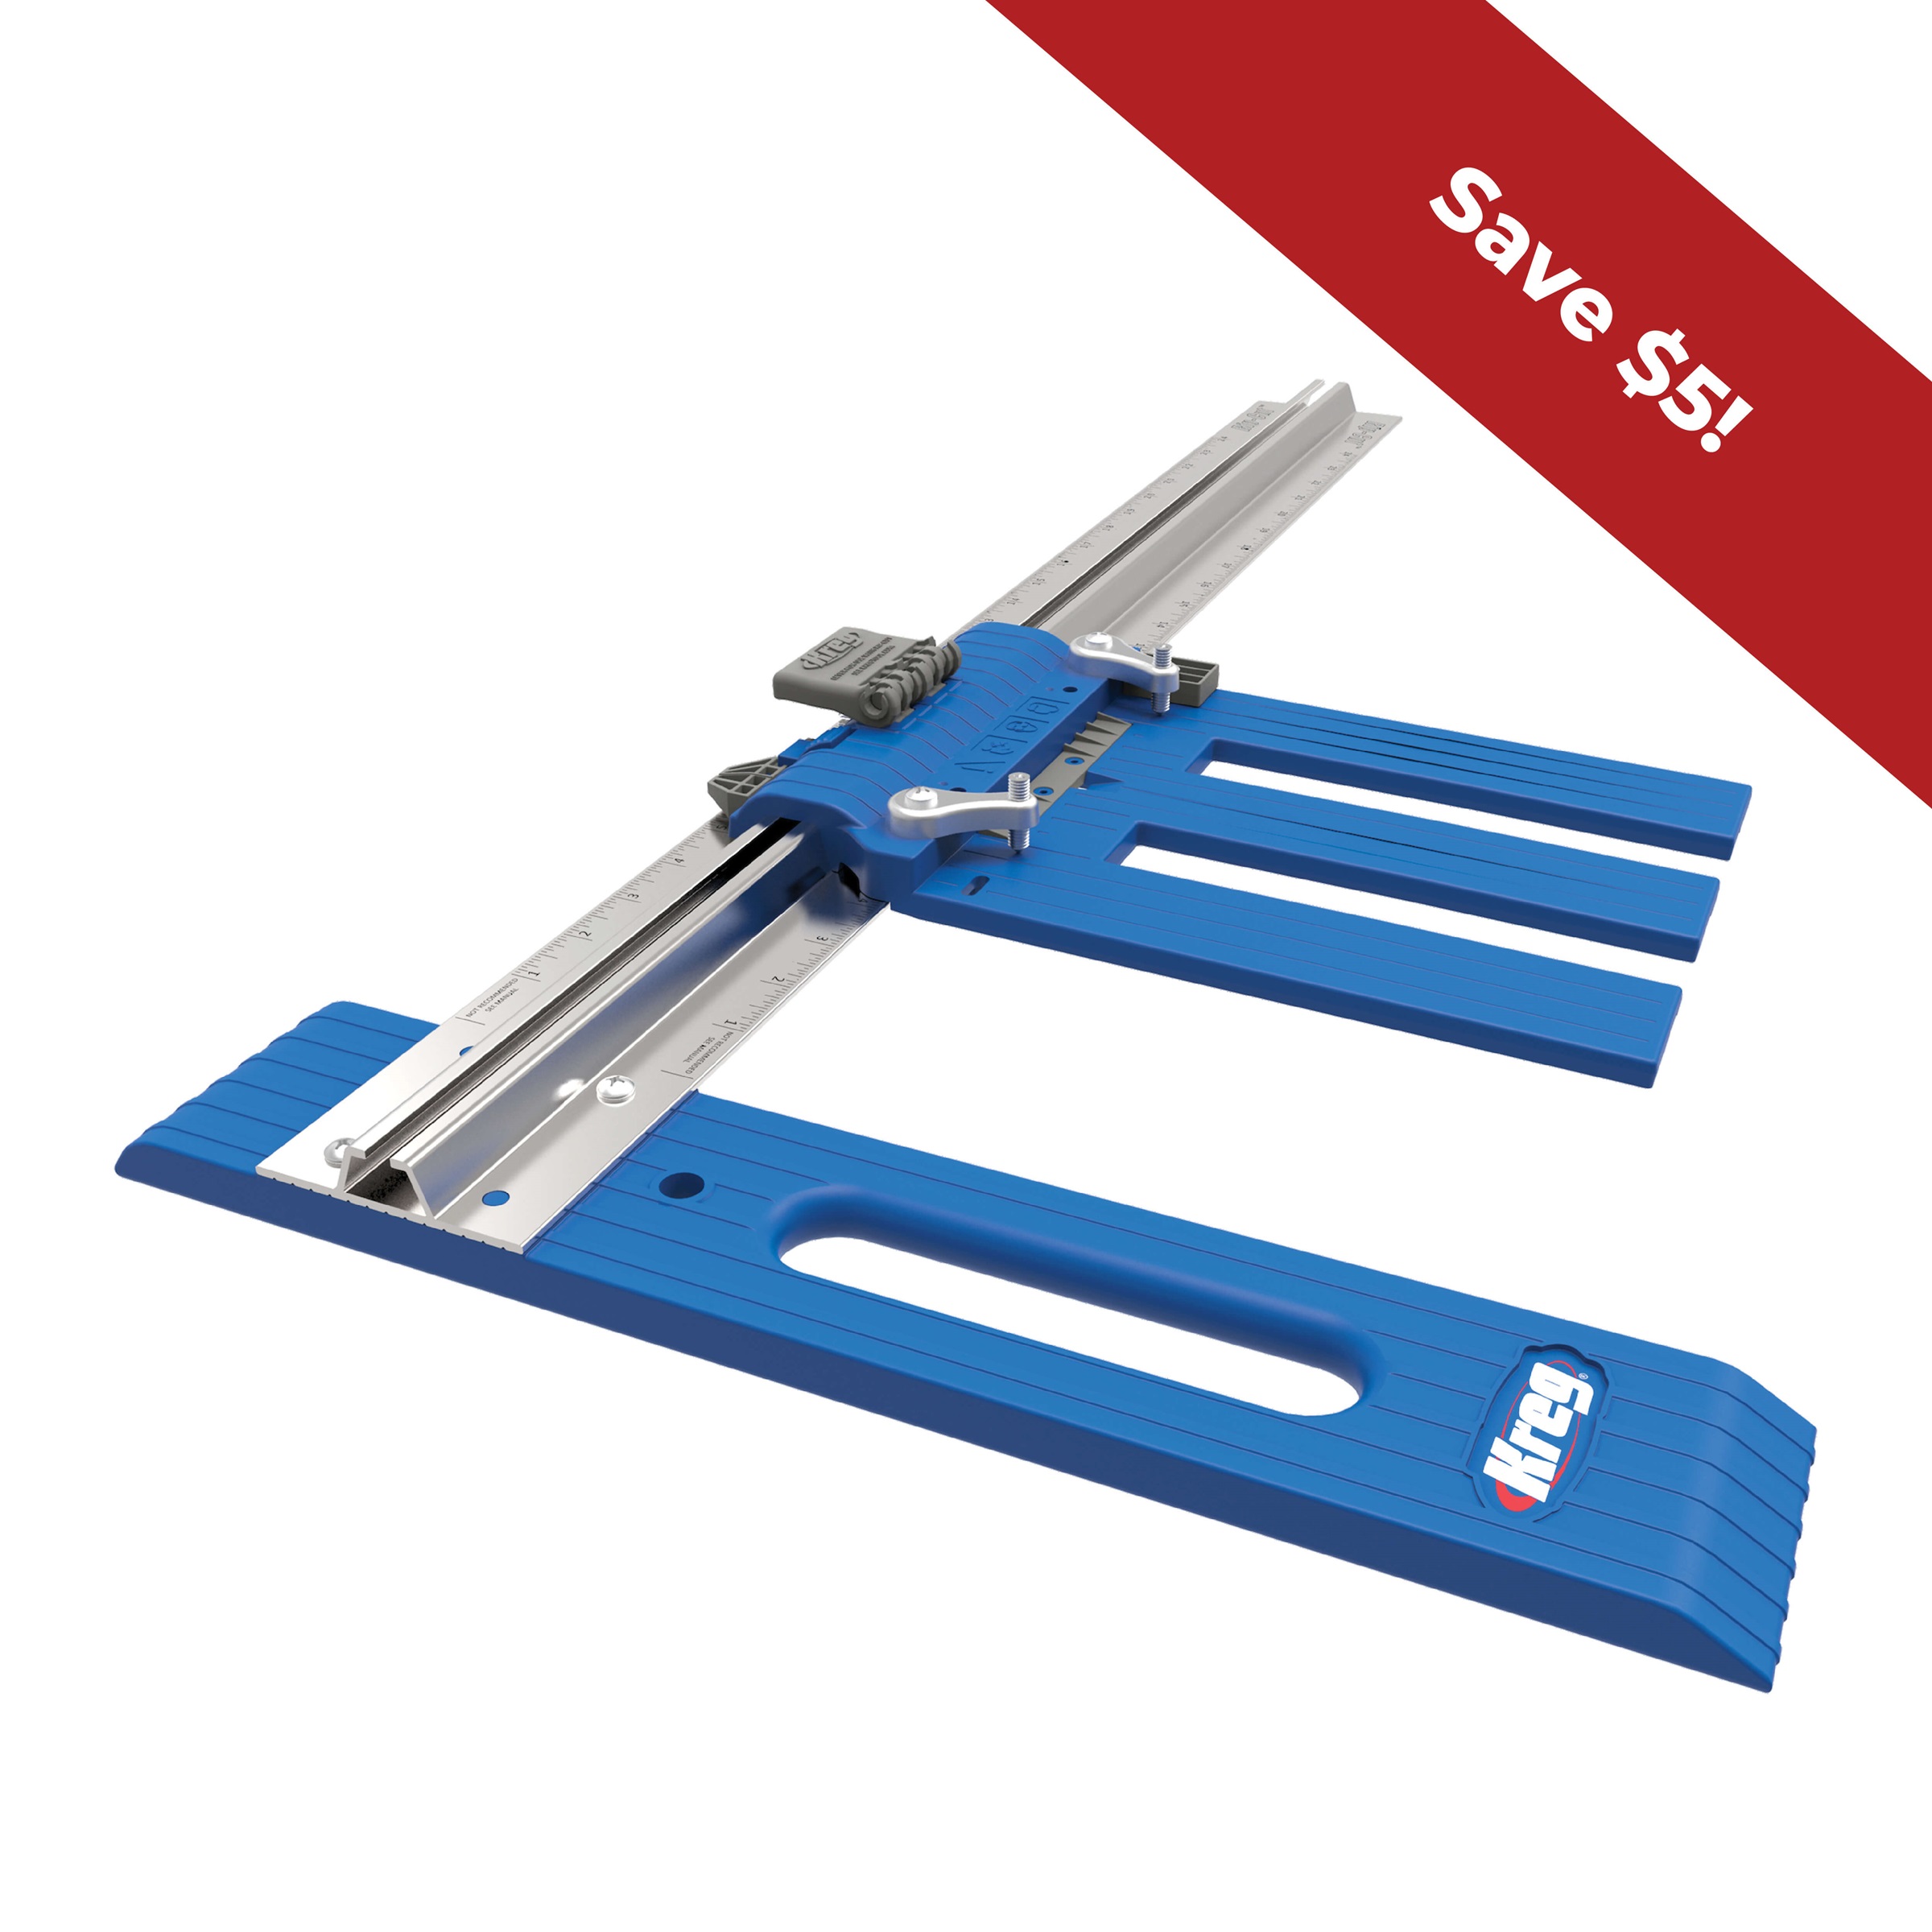
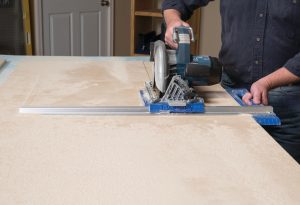 One great option is the Rip-Cut™. This tool guides your circular saw with a long edge guide that follows the straight edge of the sheet you are cutting. So, all you have to do is lock the saw in at the measurement you want — up to 24″ — using the built-in measuring scale and then make your cut. With a built-in measuring scale, you don’t have to measure and mark each cut, either. Just lock the saw sled at your desired cut width, and you’re all set, whether you need to cut one piece or make multiple pieces of the exact same size.
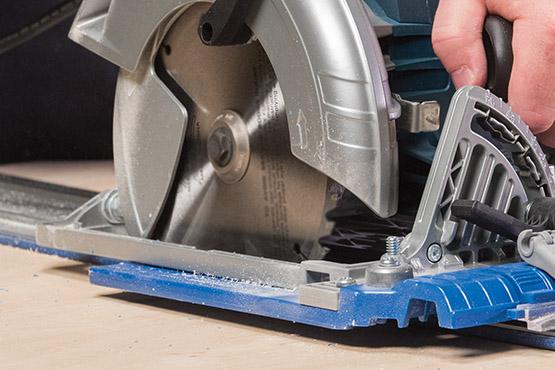
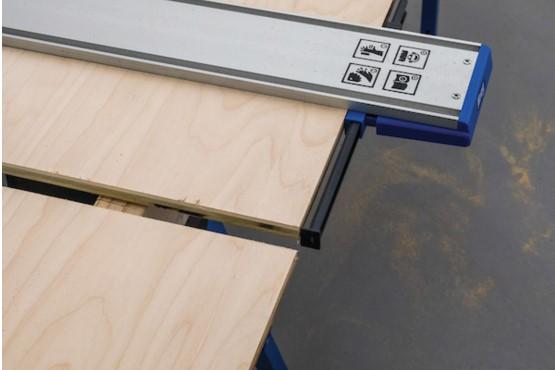
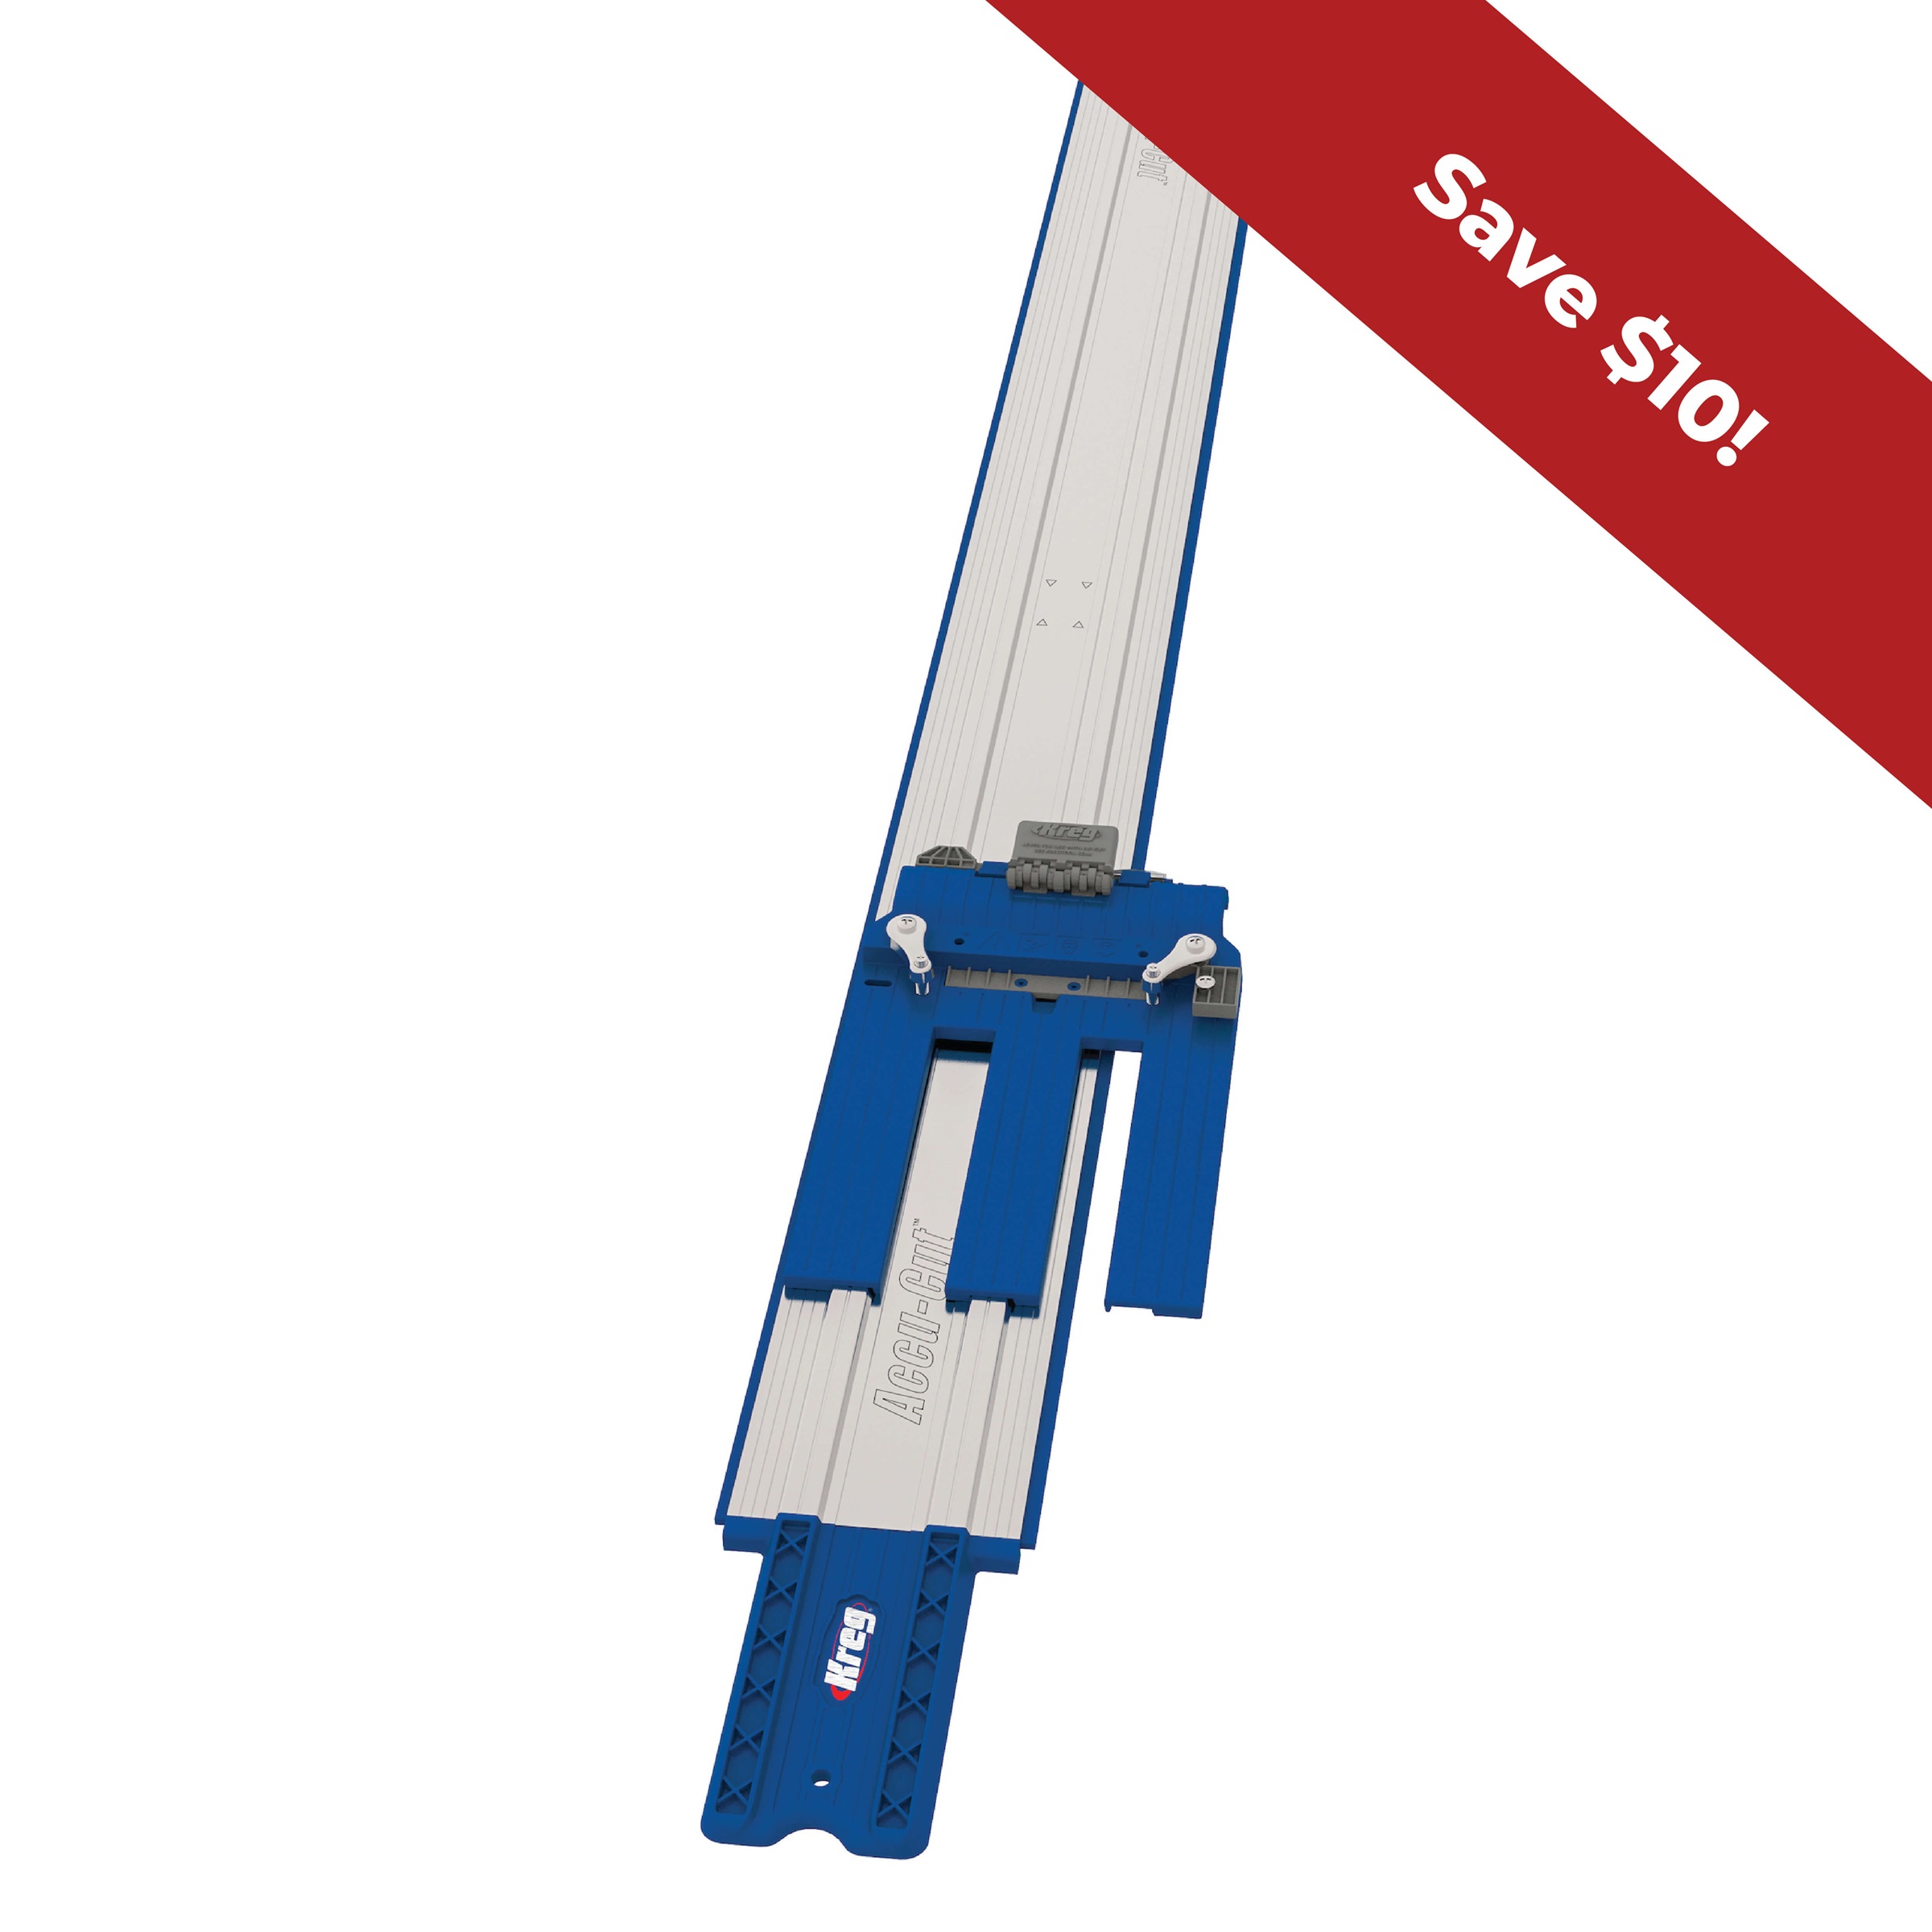
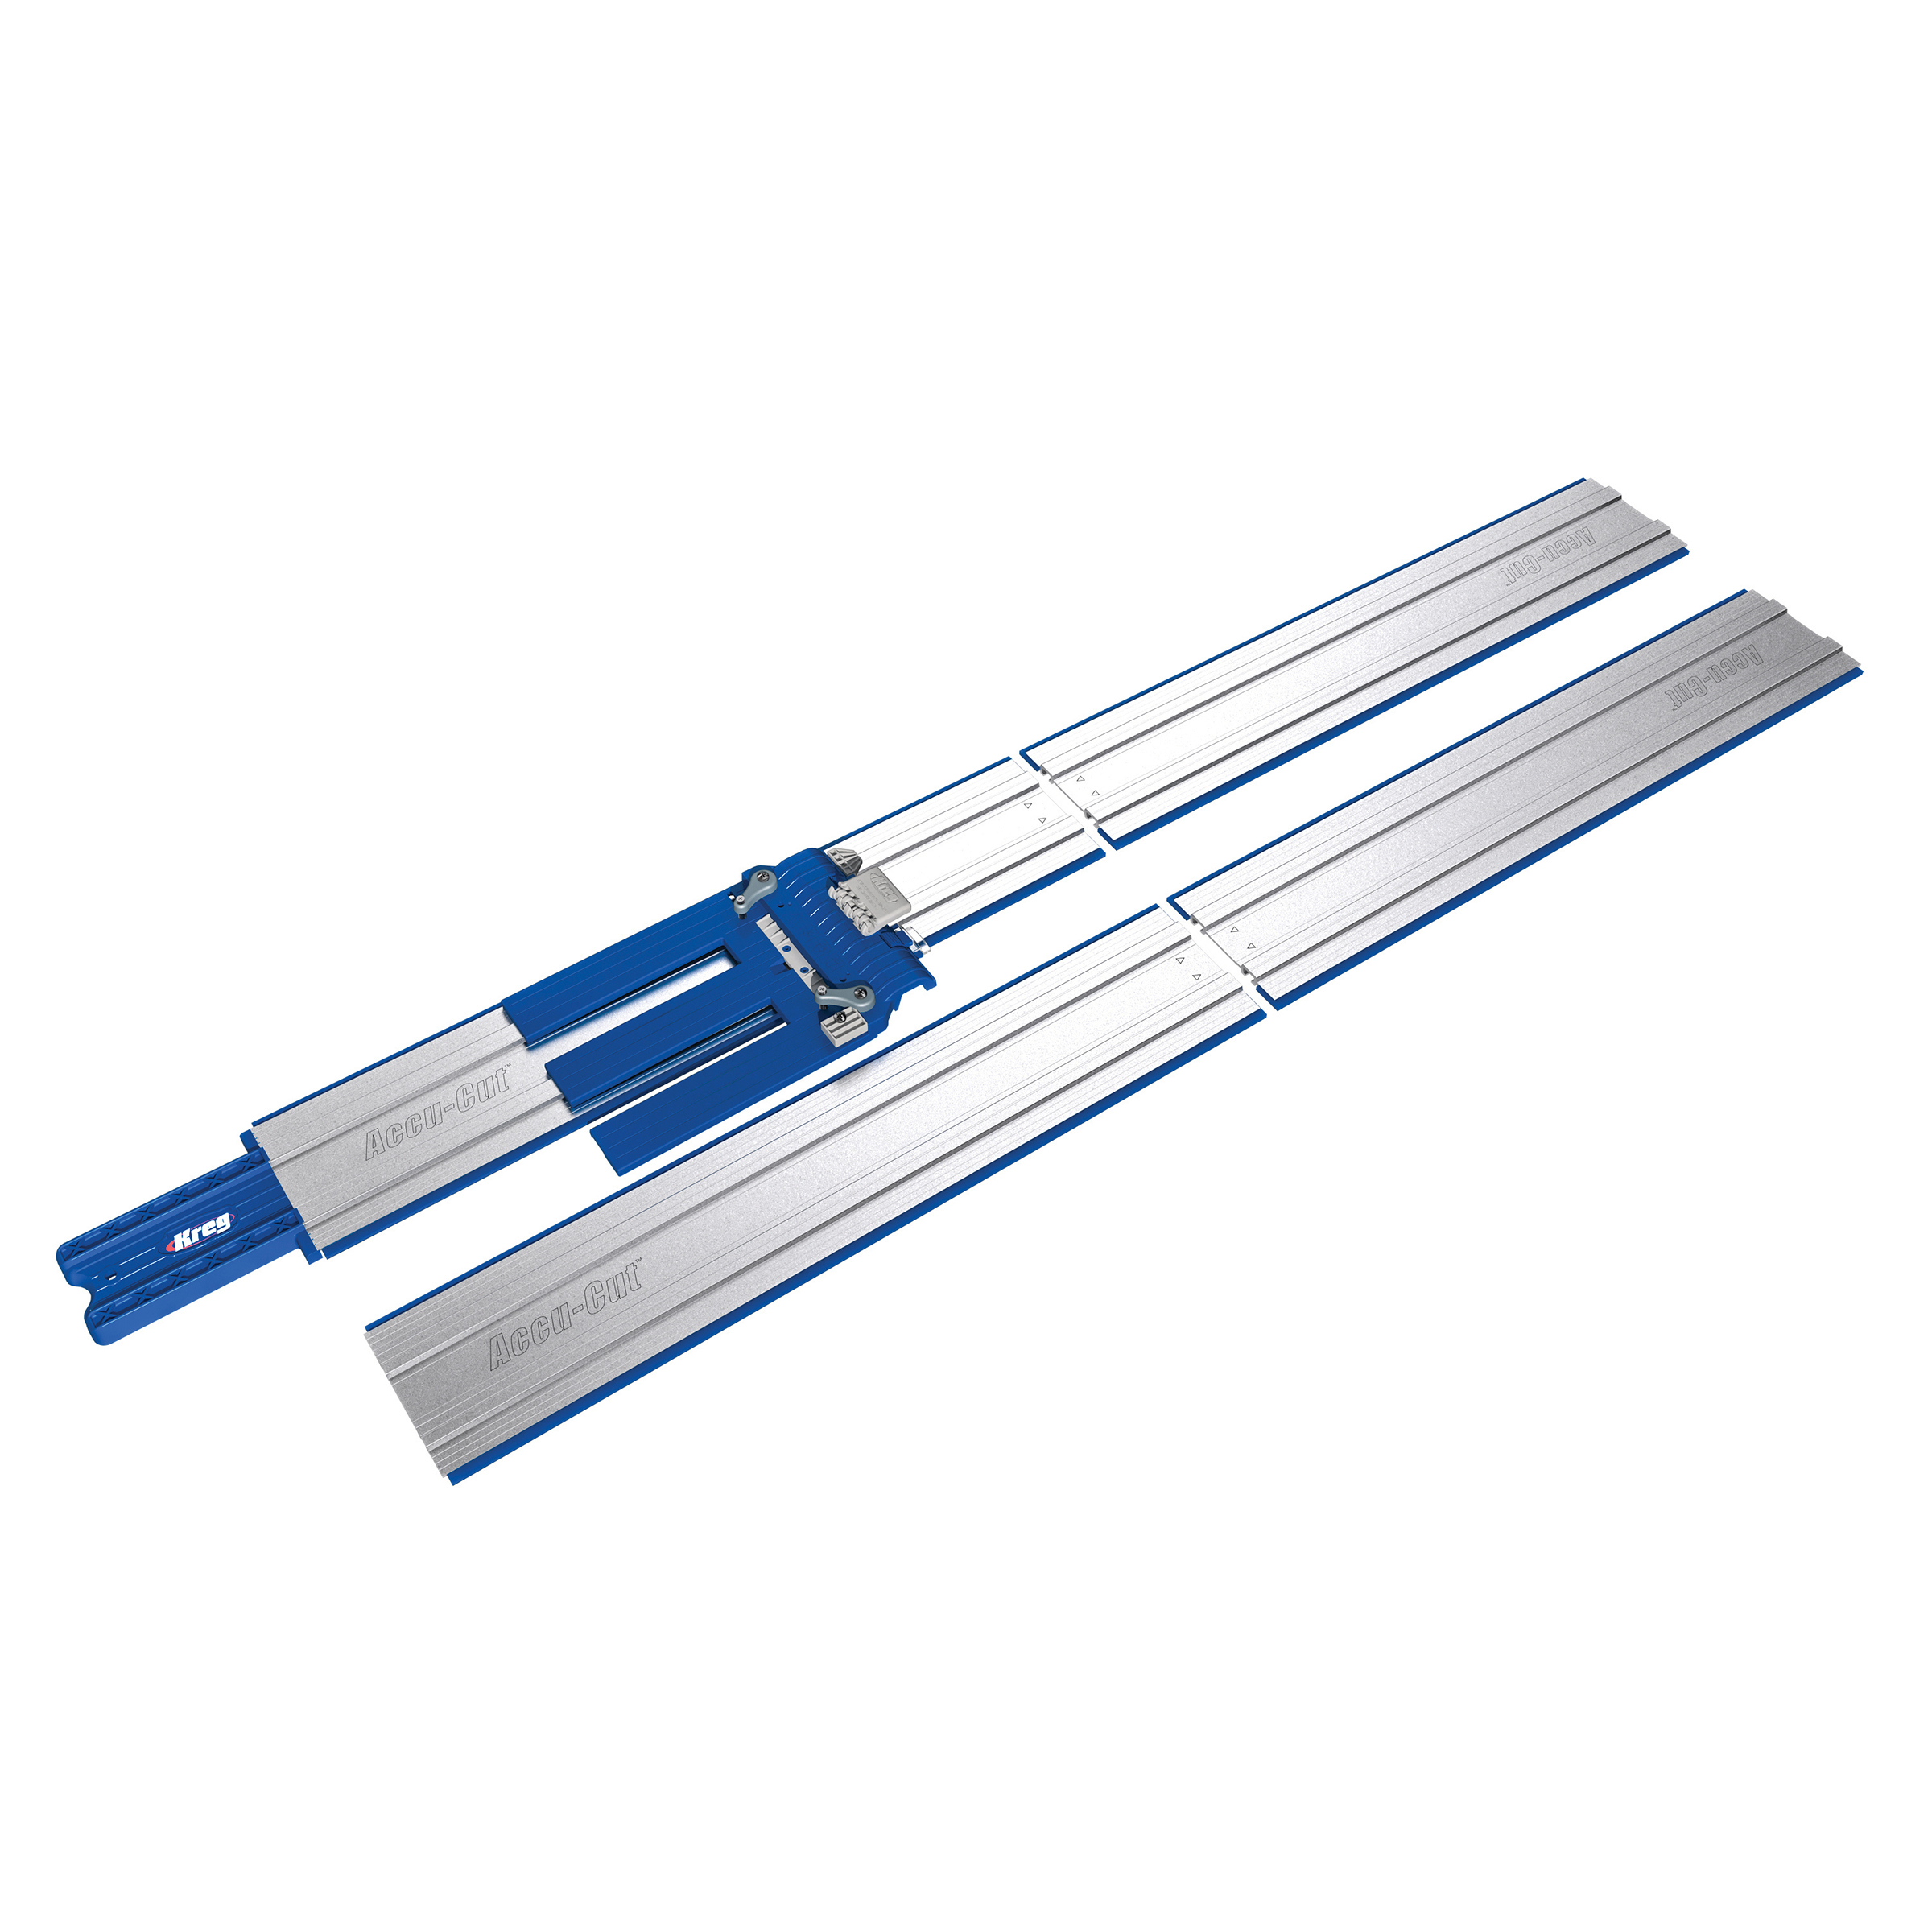
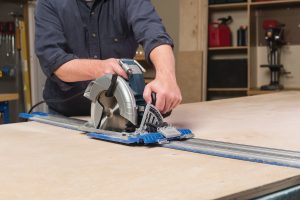 The Accu-Cut™ also guides your circular saw to make straight cuts, but in a different way. This tool guides your circular saw along an aluminum track that keeps the saw moving in a straight line easily. The design makes it simple to set up by just aligning the track with your cut line. The edge of the track rides against your saw blade, so it’s easy to tell exactly where the saw will cut. Plus, this tool has anti-chip strips that help eliminate splintered edges so you get smooth cuts. The standard Accu-Cut has a 50″ capacity for crosscutting sheets, while the Accu-Cut™ XL can rip full sheets up to 100″ long.
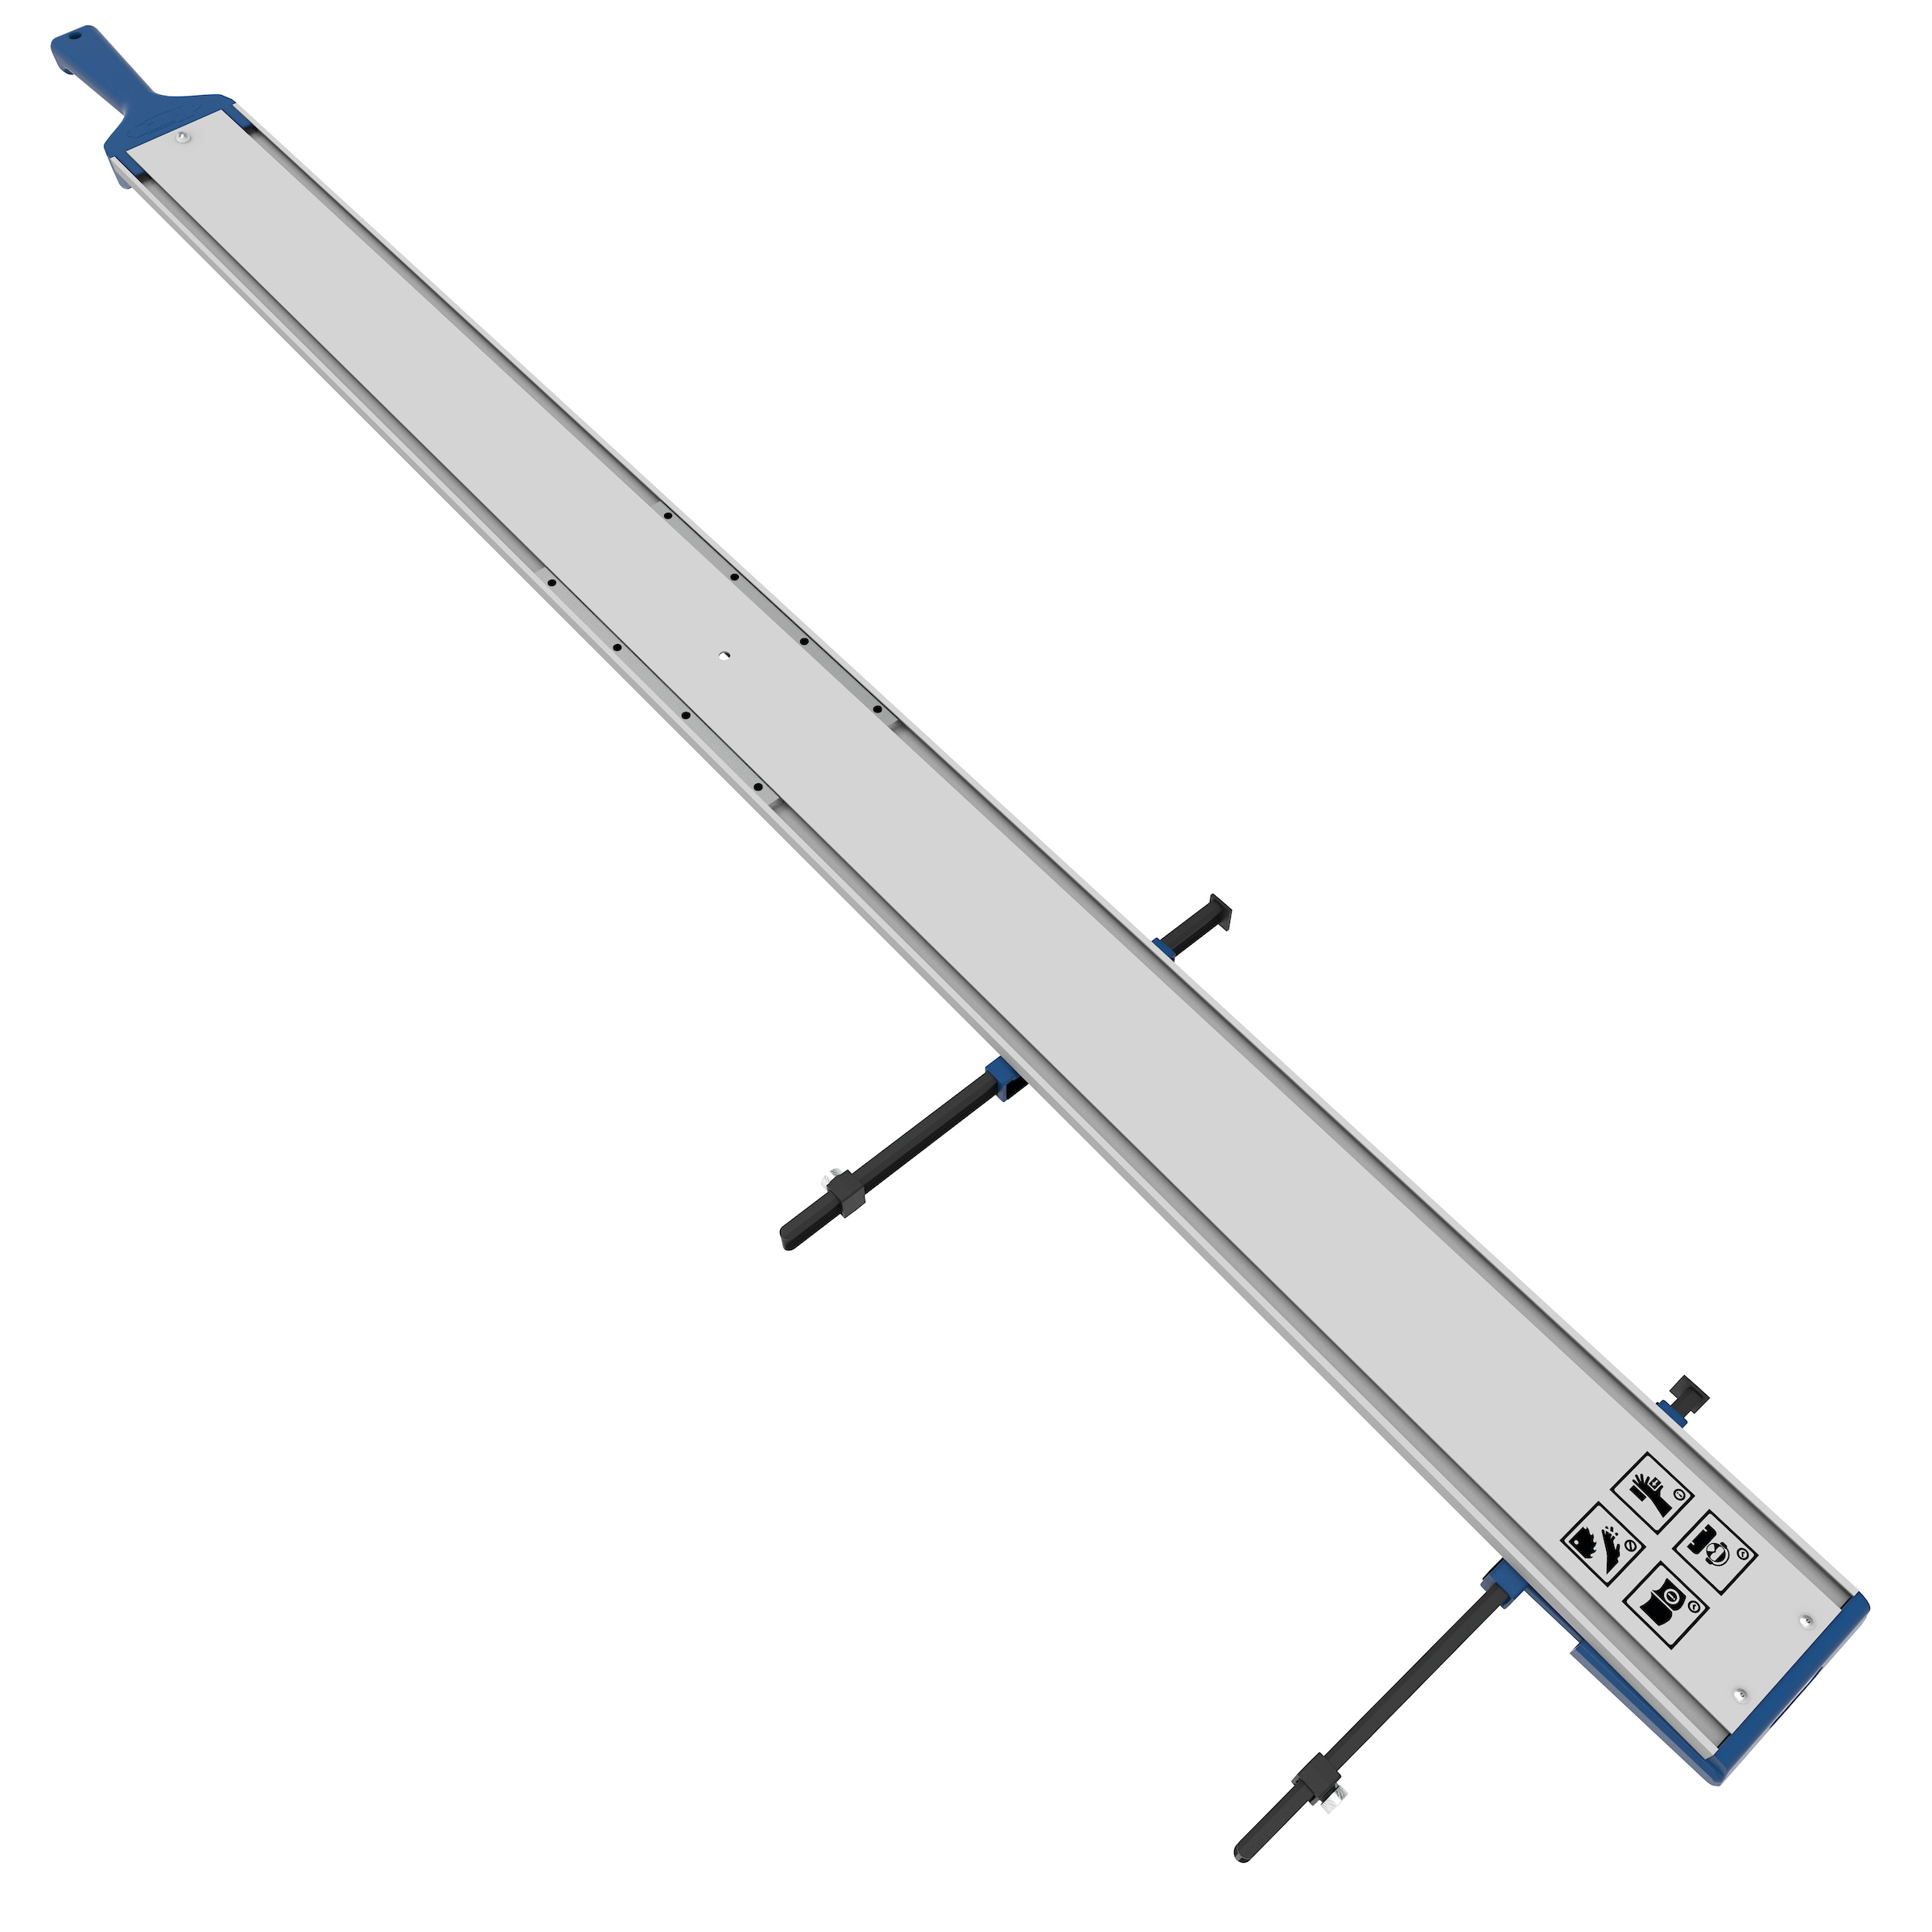
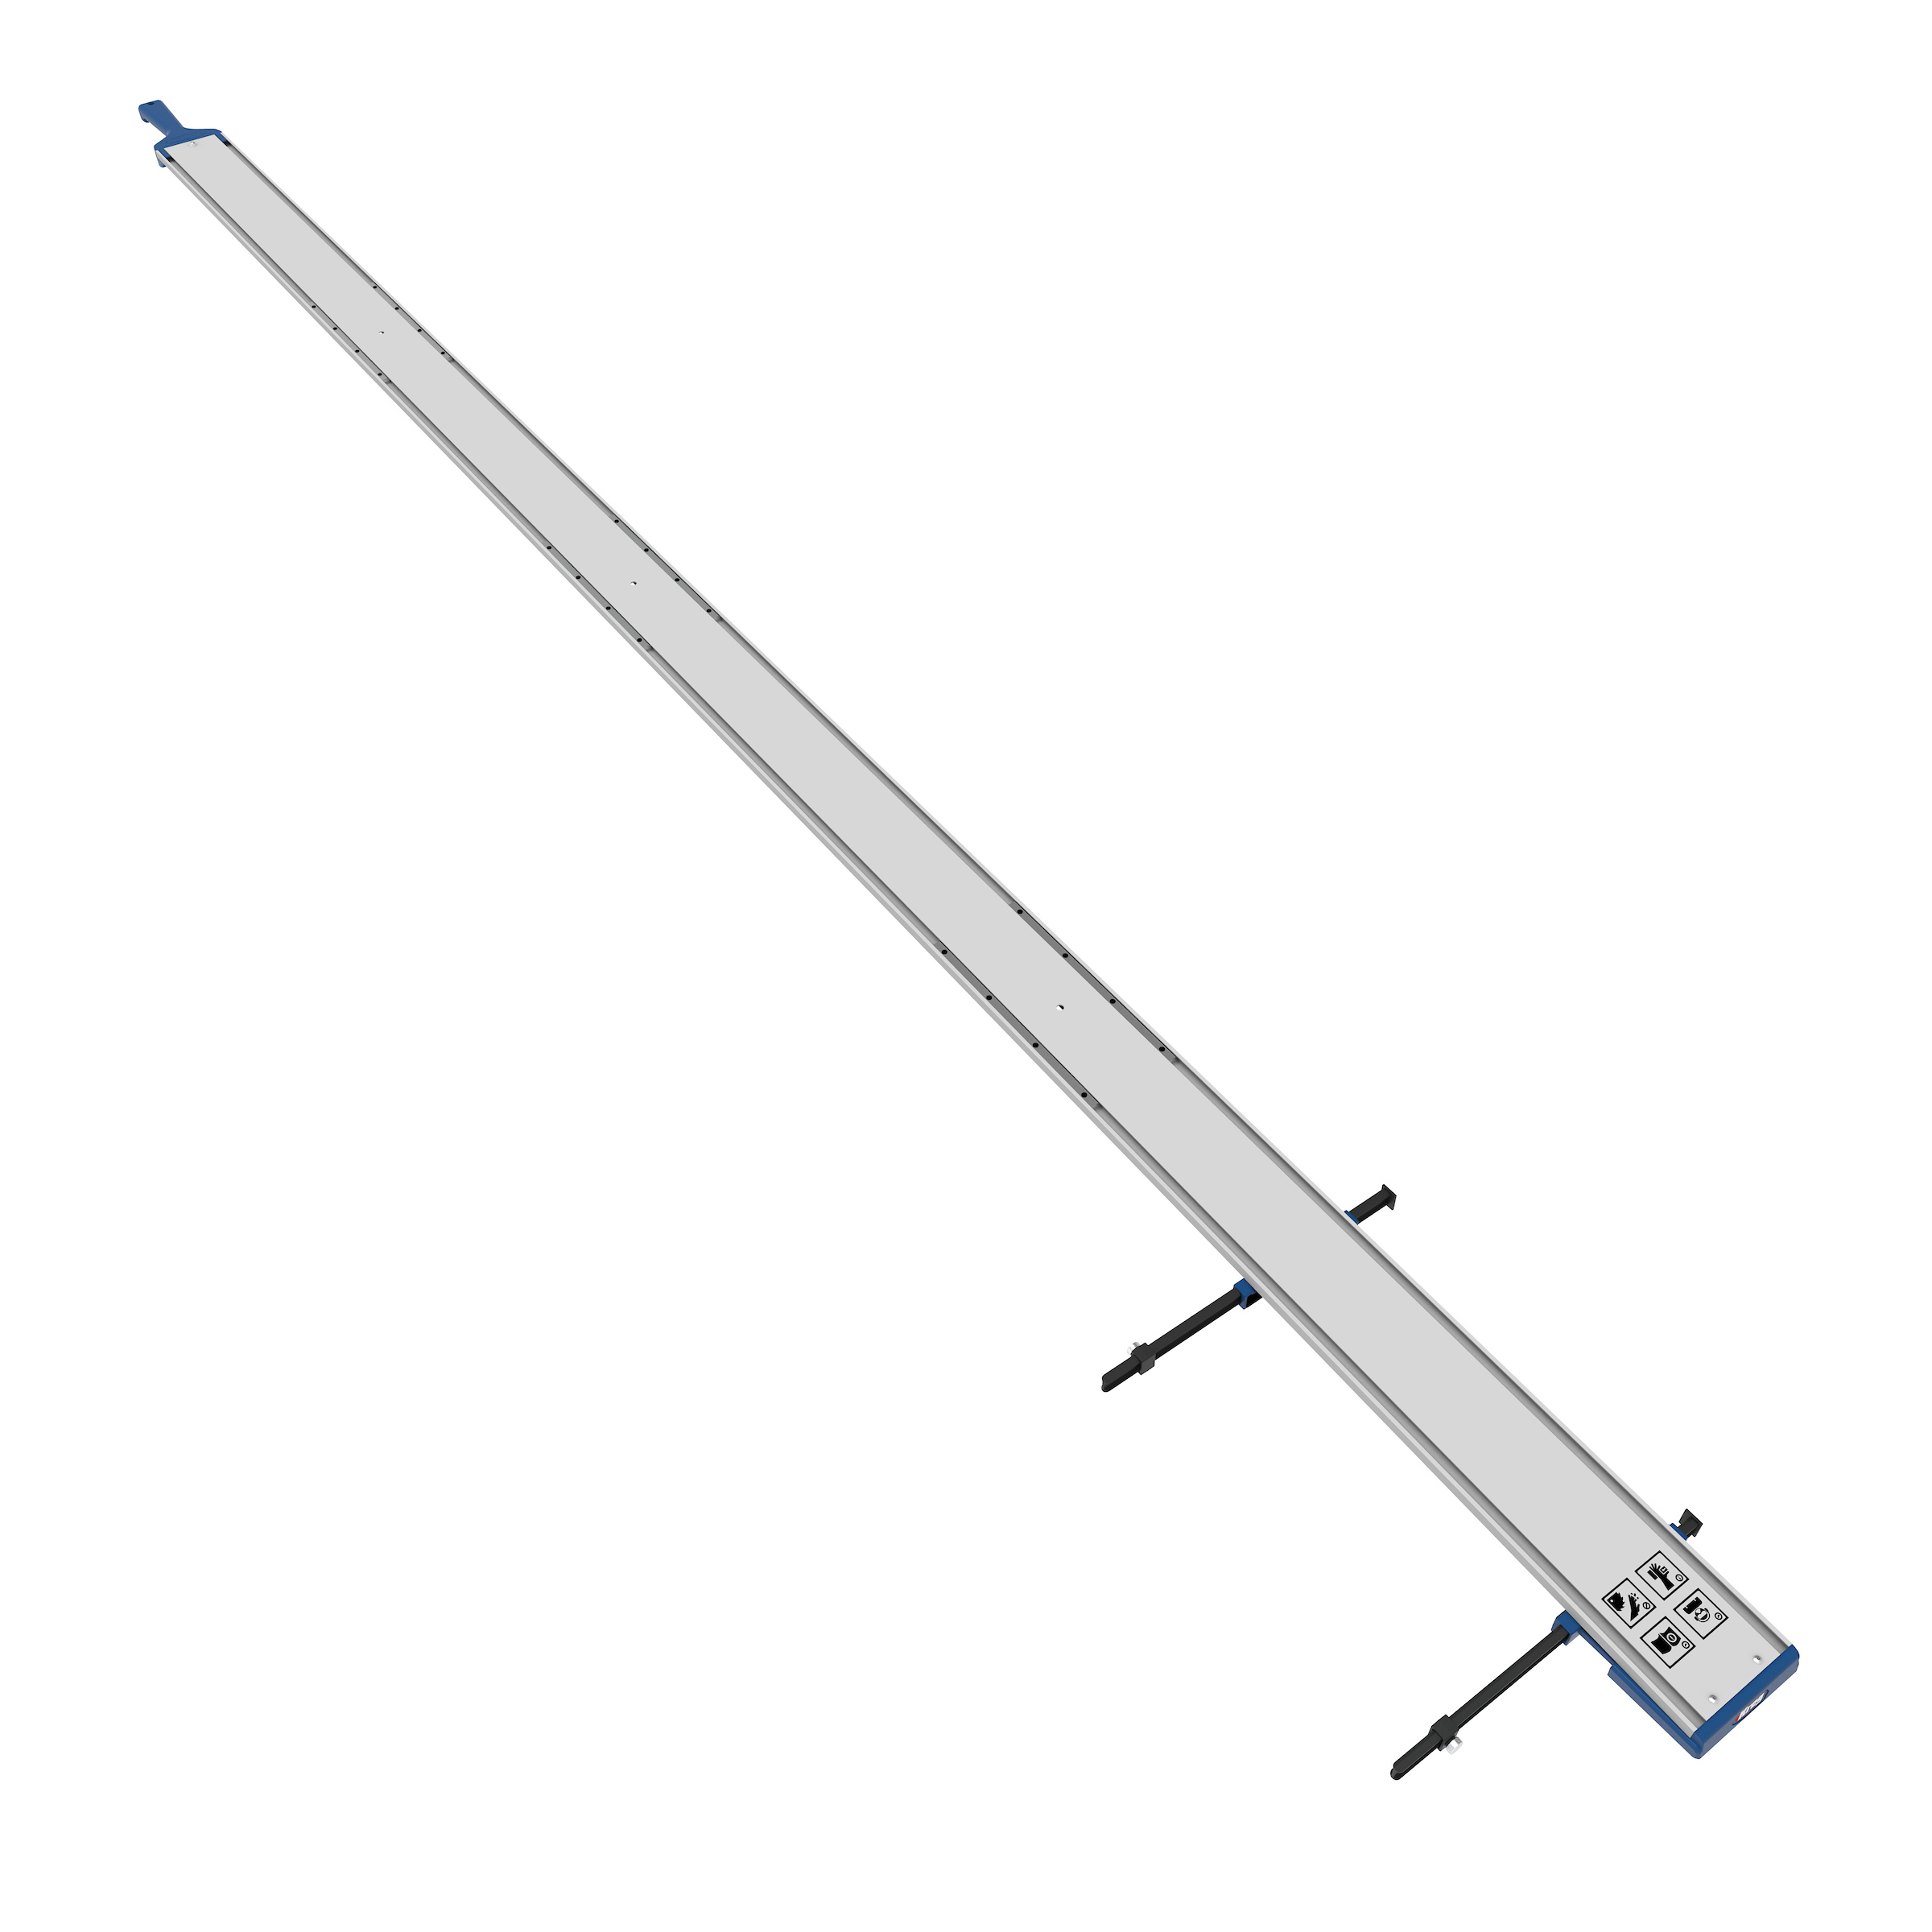
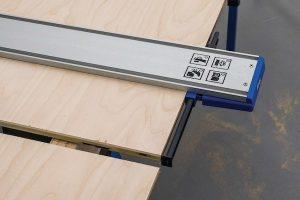 The Straight Edge Guide offers yet another option. This tool guides your saw by having the saw ride alongside a long. aluminum rail. That way, you get straight, reliable cuts. Unlike saw edge guides, this one also has adjustable, retractable cutline indicators, so you can easily align the saw with your desired cut location. The standard Straight Edge Guide has a 4′ capacity for crosscutting sheets, while the Straight Edge Guide XL has an 8′ capacity for ripping sheets.

