A circular saw is a super handy cutting tool for your DIY projects. Here are some tips on how to choose a circular saw for purchase, how to use your circular saw, and how to confidently make straight, smooth, accurate cuts with it.
Corded or cordless?
When you’re buying a circular saw, you might get overwhelmed by just how many different saws three are. There’s no single answer for which circular saw is right for you, but there are a few things to know that may help you decide. Lots of DIYers and woodworkers rely on cordless tools these days, so you may be surprised to know that corded circular saws remain quite popular among DIYers and, especially, professionals. Both types have pros and cons to consider.
 Corded Saws
- Unlimited run time
- Consistent Power (doesn’t fade with use)
- Requires direct access to electrical outlet
- Doesn’t require batteries or charger
- Cord can get in the way while cutting
- Many sizes and types available
- Low, medium, high cost options

Cordless Saws
- Limited run time
- Power can decrease as battery drains
- Doesn’t require direct access to electrical outlet
- Battery may be interchangeable with other tools
- No cord to get in the way
- Fewer sizes and types available
- medium, high cost options
If you’re buying your first circular saw, a corded saw is probably the best way to go. In general, you’ll get more cutting power and capacity for less money.
A cordless circular saw may make sense as your first saw, though, if you can find a great deal on a multi-tool combo pack, or if you already own cordless tools from the same manufacturer. You may even be able to buy the saw without a battery. That way, you can reduce the purchase cost and use the batteries you already have.
 Basic Circular Saw Features
A circular saw isn’t a super complicated tool—once you understand the parts, the controls, and what they do. Get familiar with them, and you’ll be able to easily set your saw up correctly, use it safely and confidently, and get better cutting results. Whatever type of circular saw you buy, and whether it’s corded or cordless, the basic features and controls will be essentially the same. They might look slightly different on your saw, but will perform the same functions
Main Handle
Hold this handle to push the saw as you cut
Trigger Switch
Squeeze the trigger to turn the saw on and off
Motor Housing
Contains the motor and electrical components
Auxiliary Handle
Hold this secondary handle to help control the saw
Bevel Adjustment
Use this to tilt the blade (usually up to 45°) for bevel cuts
Base Plate (Shoe)
Rests on the workpiece as you cut to hold saw and blade in correct position
Lower Blade Guard
Covers blade when not cutting, spring loaded
Lower Guard Lever
Use this, when necessary, to manually activate the lower blade guard
Upper Blade Guard
Covers the upper portion of the blade—does not move
Blade
Cuts the material, available in multiple sizes and types
Cutting Depth Adjustment
Adjust this to set the blade’s cutting depth to match your material’s thickness
Blade Clamping Bolt
Holds blade in place on the saw’s arbor (shaft)
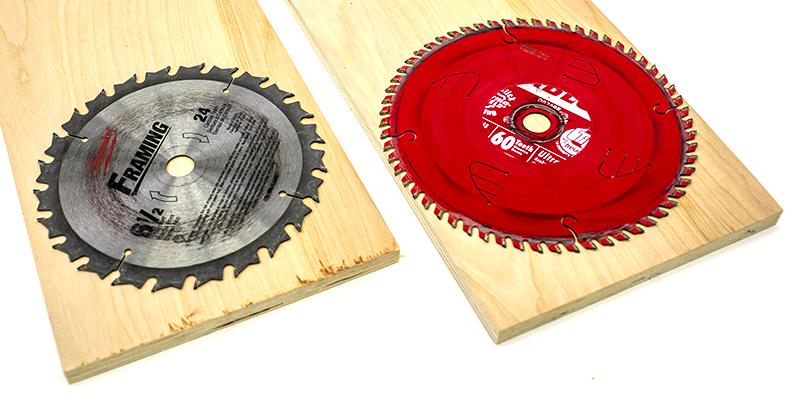
Different saw blades for different cuts?
One of the biggest frustrations people have with a circular saw is getting rough cutting results. It’s not the saw’s fault, though, nor is it yours. It’s usually the blade. Circular saws come with blades that are made for making fast cuts in framing lumber, not smooth cuts in project boards and plywood. You can fix this easily, though, by just swapping out the blade with a “fine cut” blade. This type of blade has many more teeth with sharp carbide tips that will produce a smooth, clean cut.
Making straight cuts with a circular saw? Is it possible?
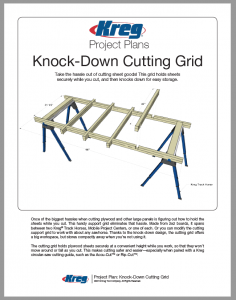
Some people think that it’s really difficult to get a straight, smooth, and accurate cut with a circular saw. You can get great results, though, once you know a few tips and tricks. The first thing you’ll want is a way to support the pieces you are cutting so they won’t move around or fall as you work. We have a free plan for an easy-to-build cutting support that bridges between two work supports to hold our pieces while you work.
To build one for yourself, click below to download the FREE plan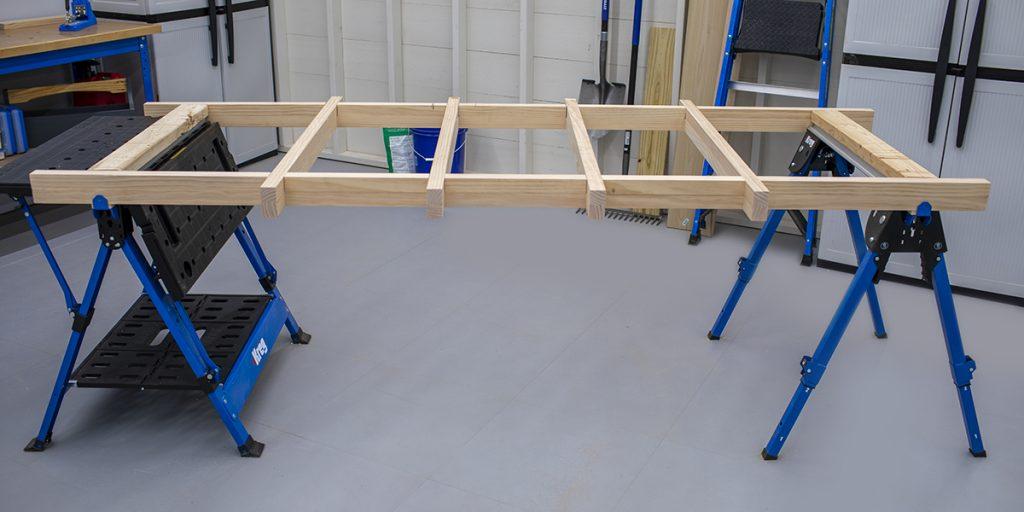
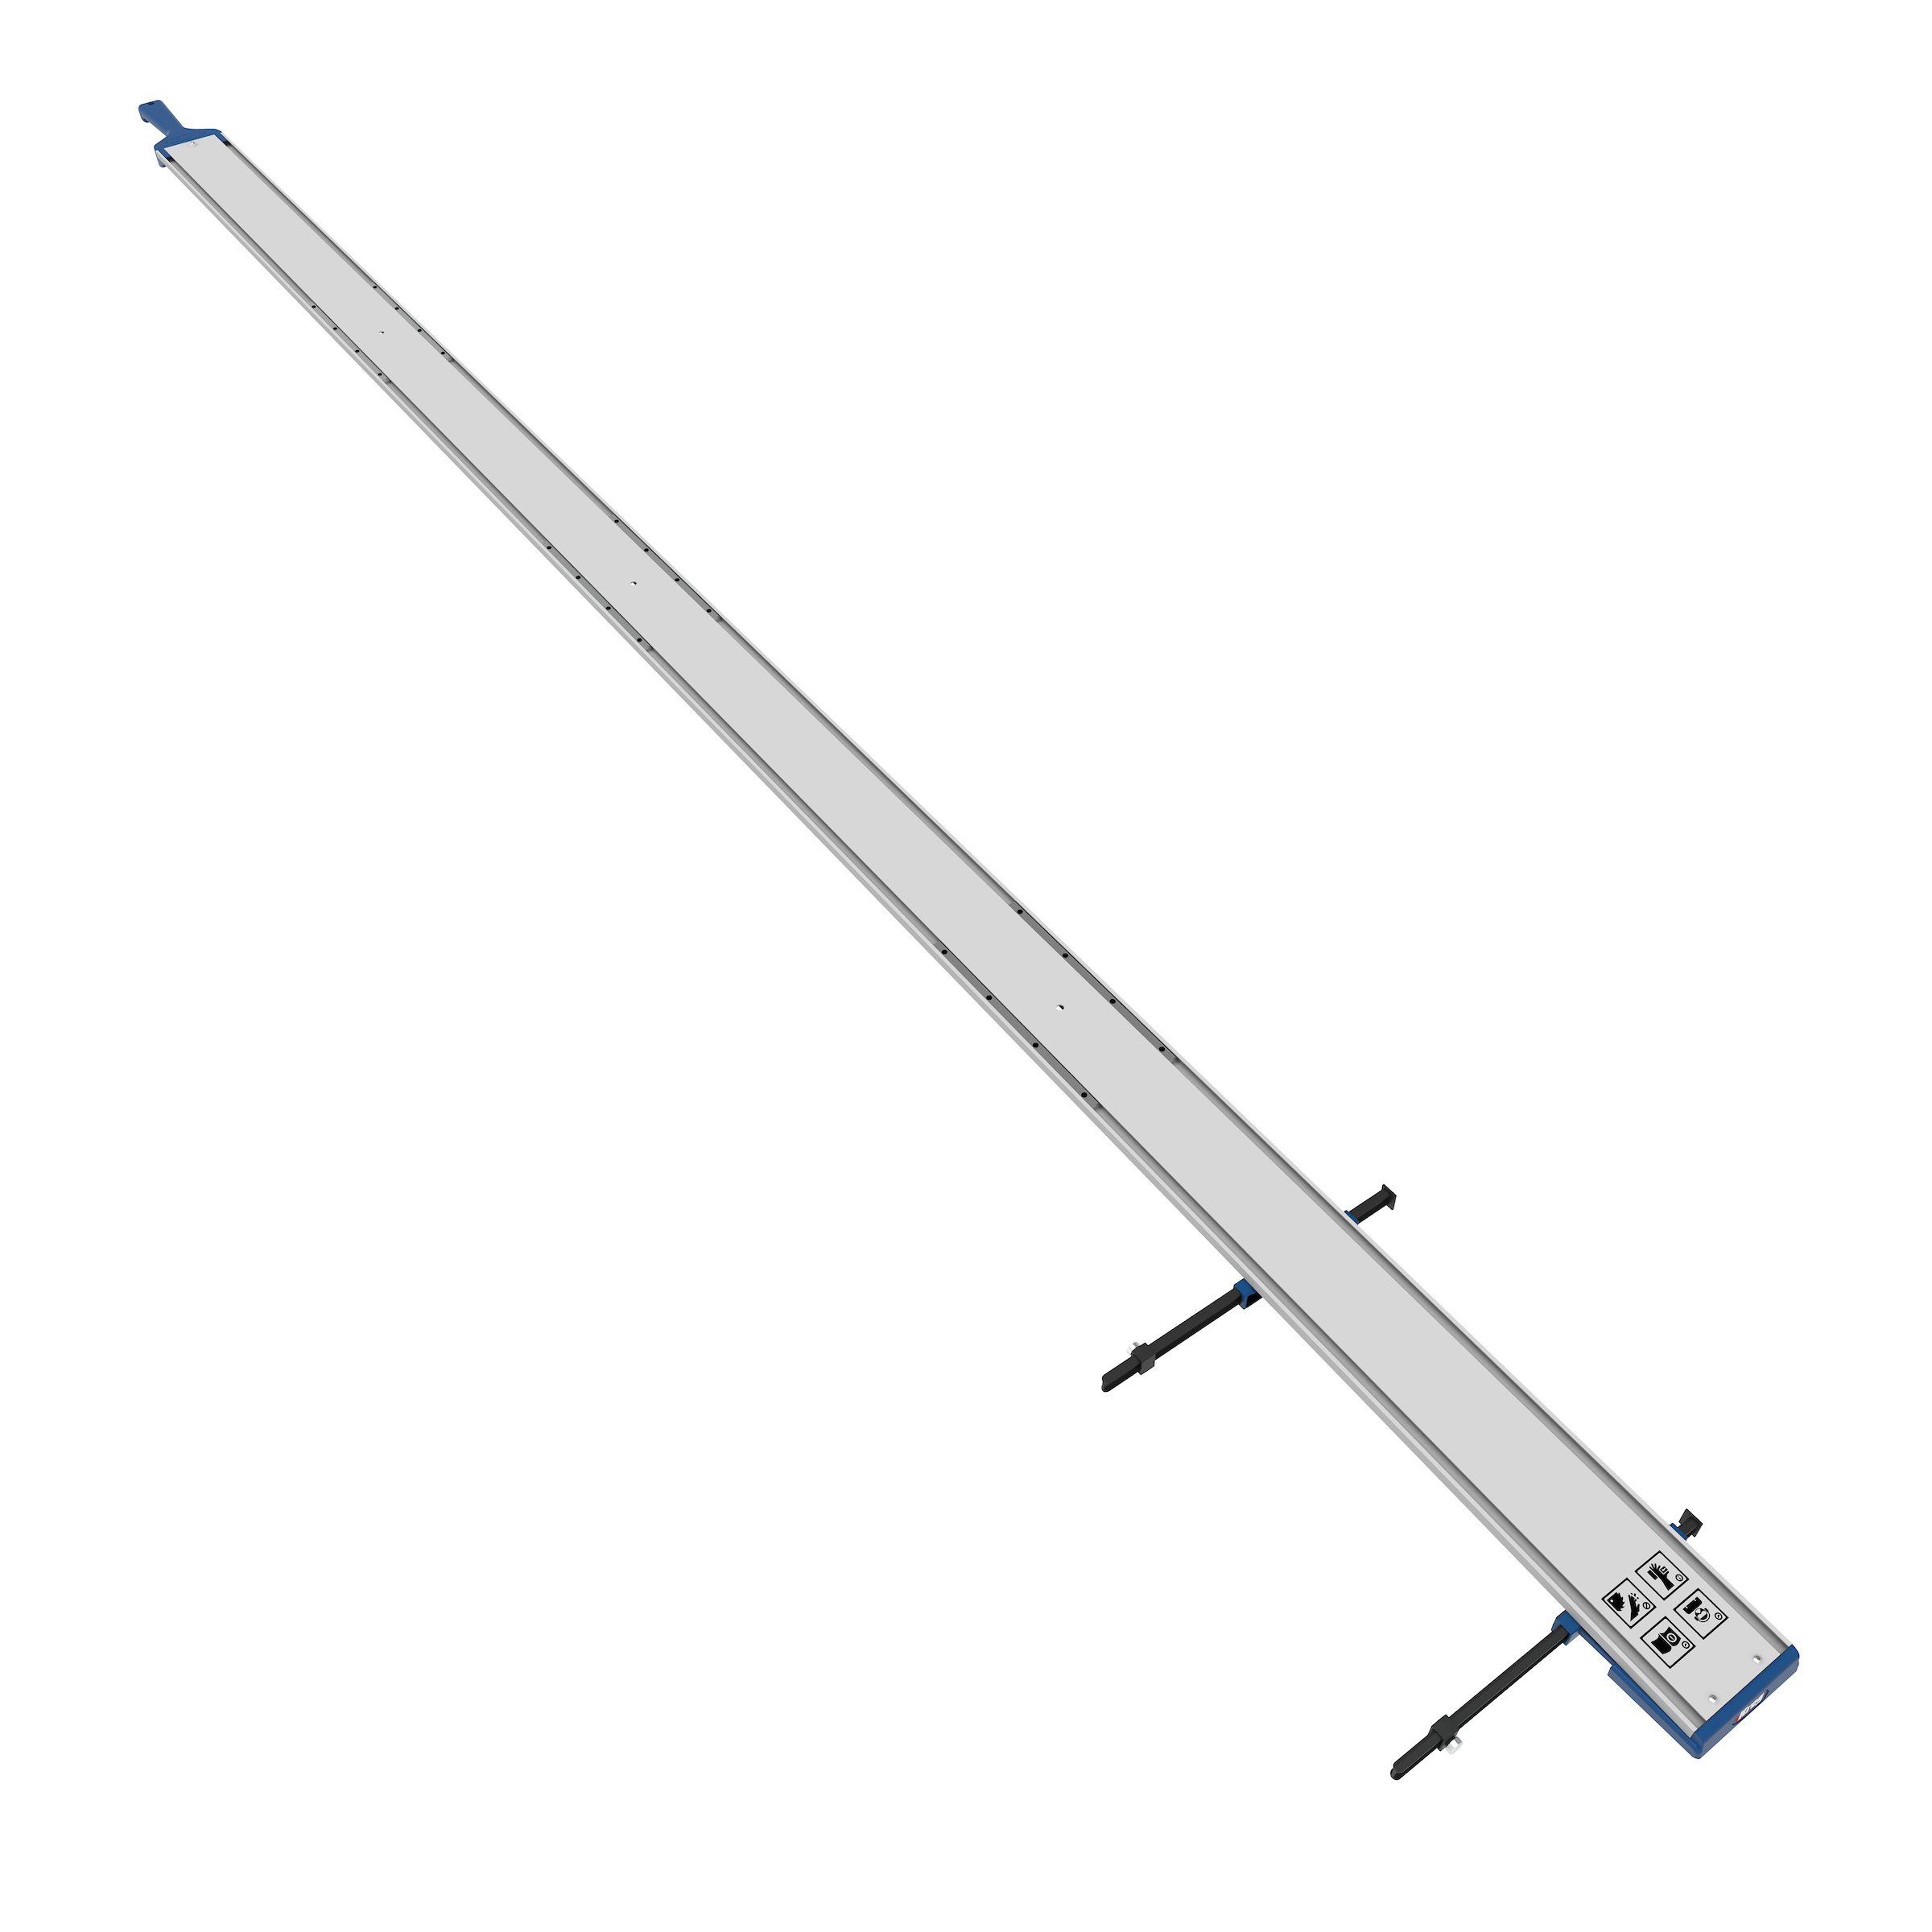
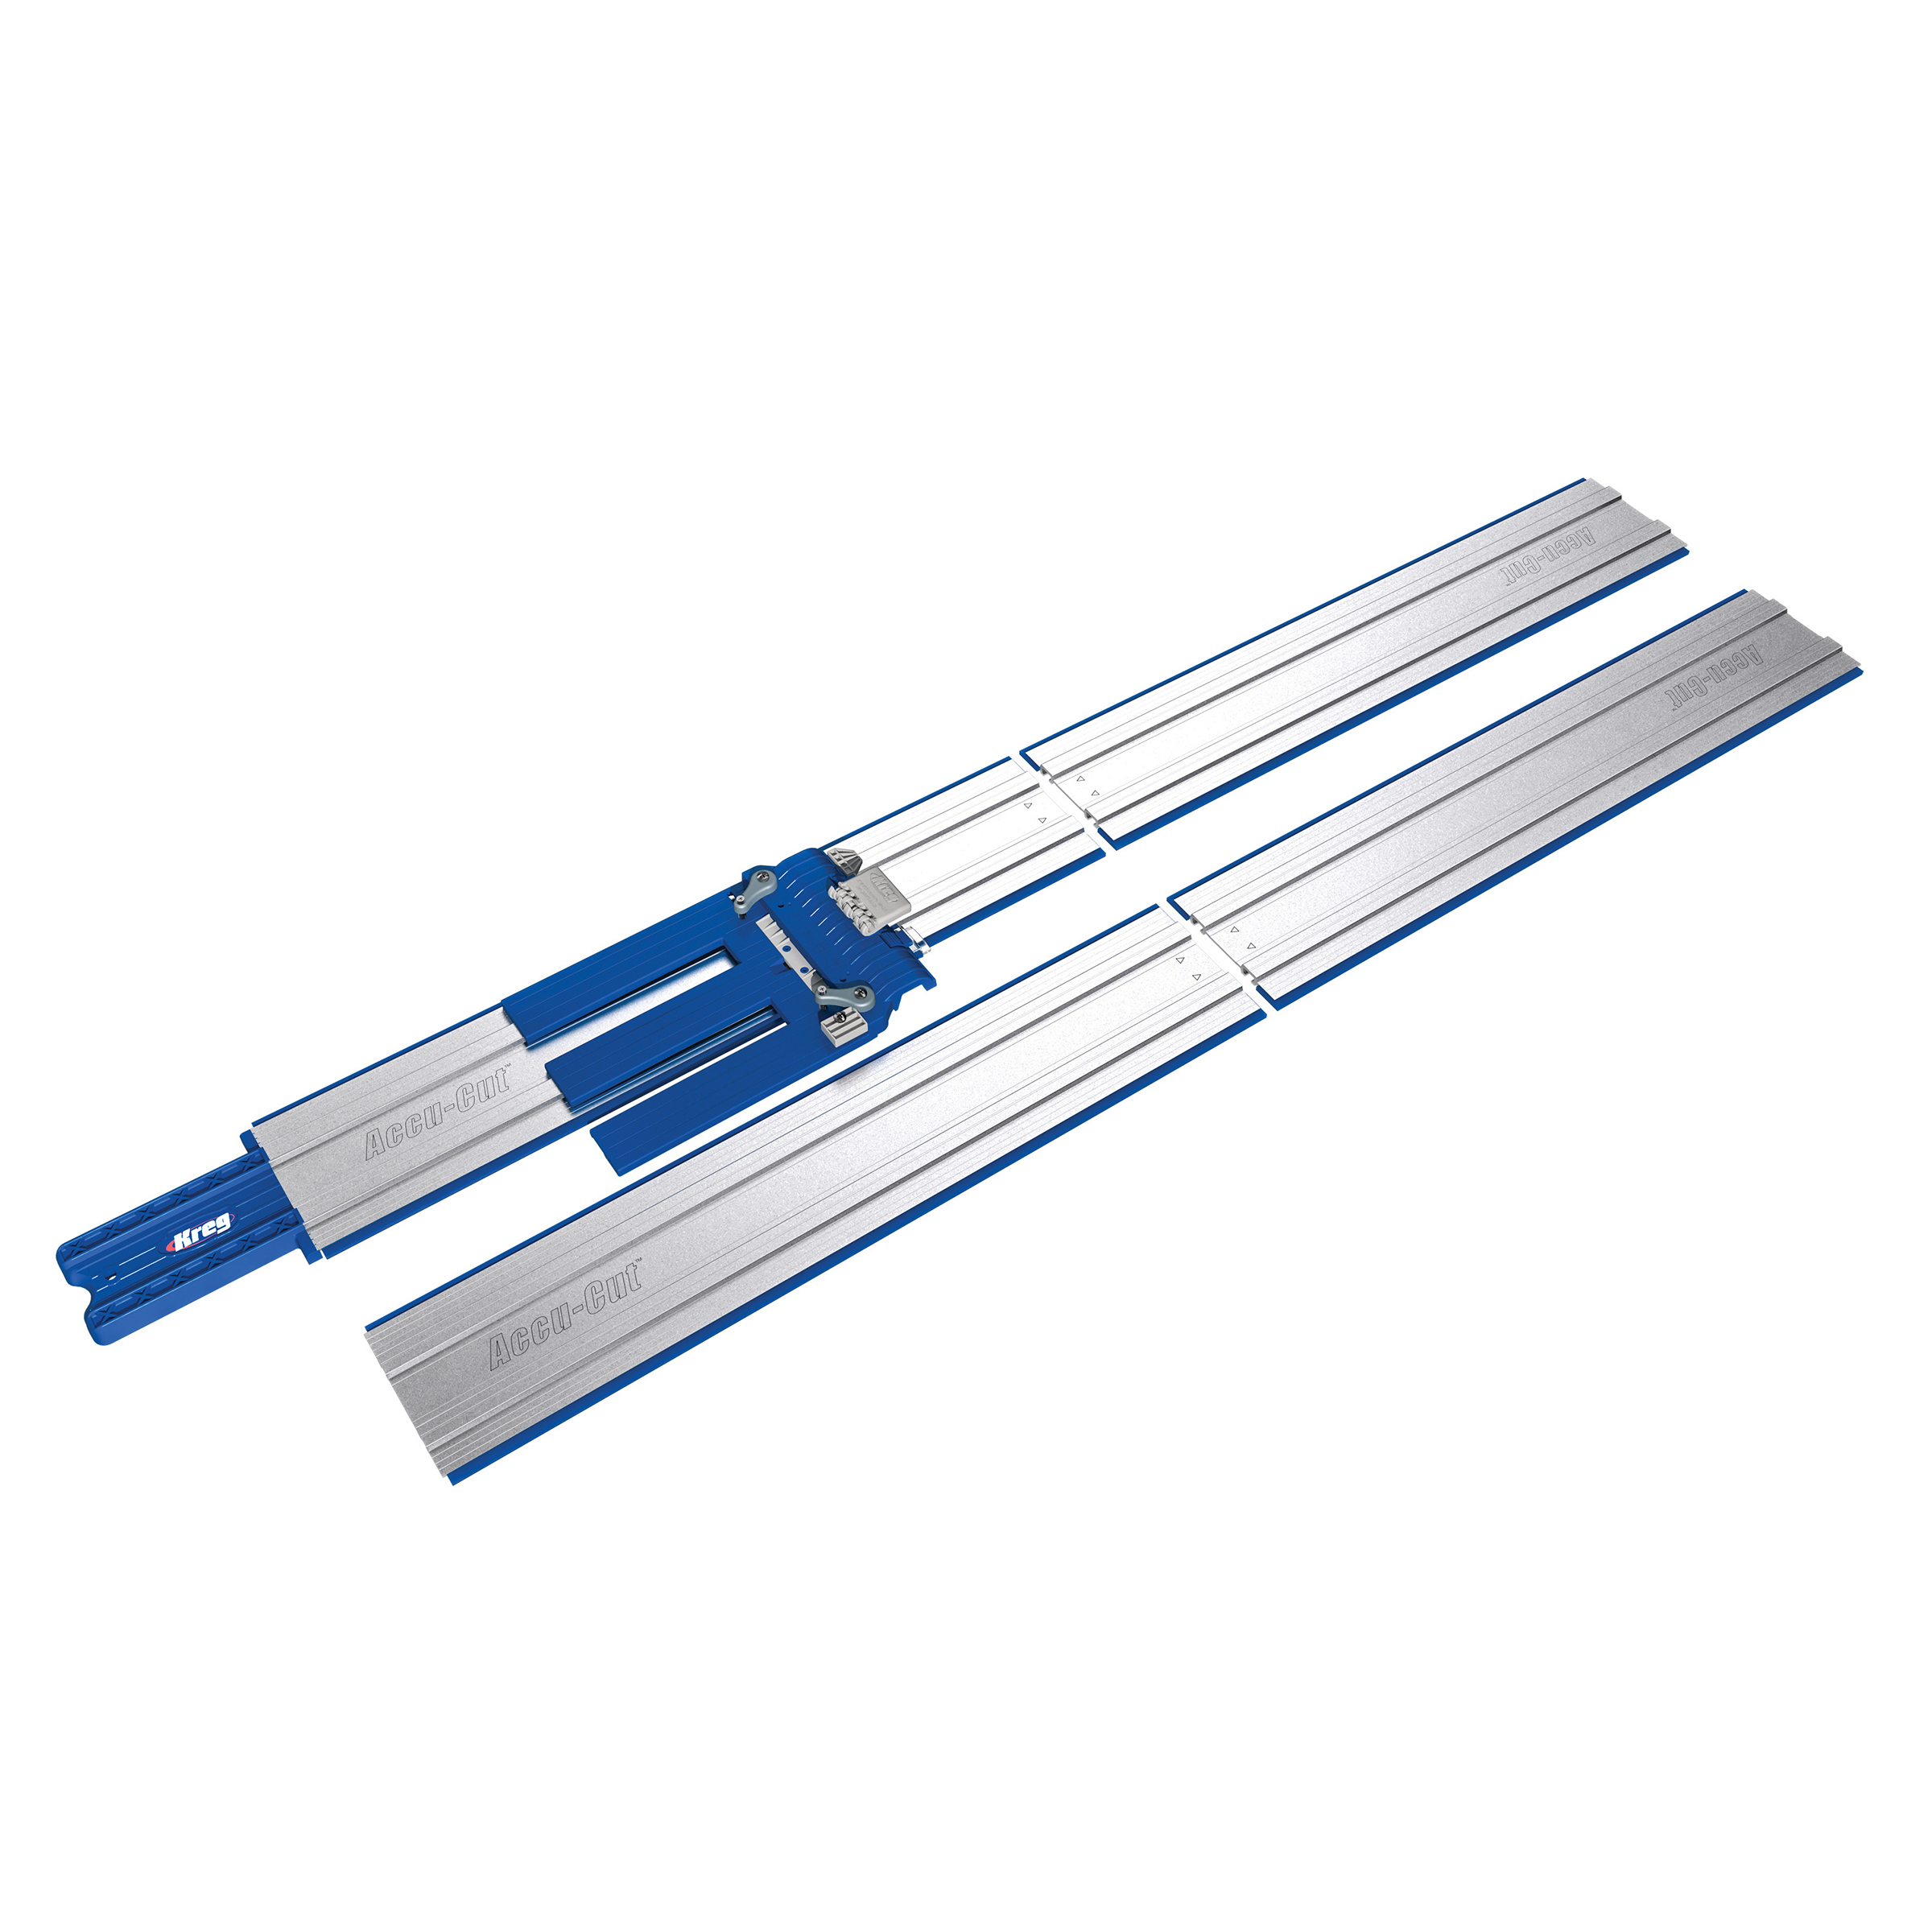
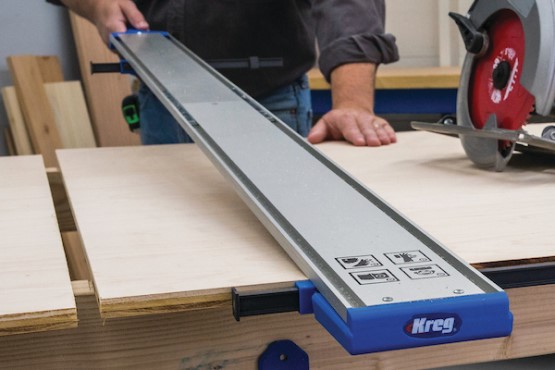
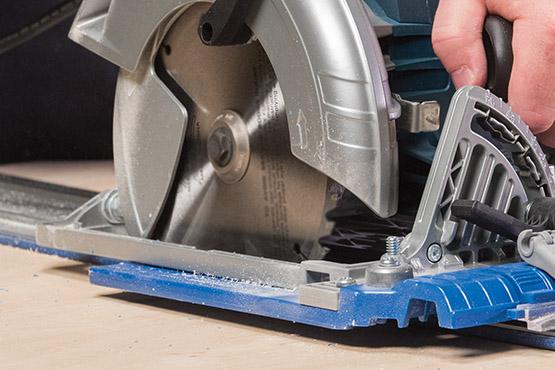
Guided Cutting
Also, with Kreg Guided Cutting, you can use an ordinary circular saw to make straight, precise, repeatable cuts because your saw will follow a guide — either an edge guide or a track guide — to achieve the high-quality cuts you need to for your projects. With the help of guided cutting from Kreg, you can turn your circular saw into a precision cutting tool. Even better yet, you’ll greatly reduce your need to wrestle large sheet goods, such as plywood and MDF, thanks to the portability of these saw guides. Click here to read more about Kreg Guided Cutting.
Check out this quick video on how to set up your saw easily, as well as how to align and control the saw as you cut. This quick video shows you how to do those things easily, and talks about a few of the Kreg Guided Cutting Guides that help you to get the straightest, most-accurate, and best-quality cuts.

Associated Products

Portable Crosscut

Crosscut Station

Straight Edge Guide

Accu-Cut™

Rip-Cut™