
It should be easy, right? Cutting straight is what a circular saw is meant to do. But making a straight cut can really be challenging. That’s especially true if you’re a beginner who is just getting familiar with the tool. It’s true for the most-seasoned circular-saw users, too.
Here are 5 ways to make getting straight cuts with a circular saw easy.
1. Support and secure your material
You might wonder what supporting your material has to do with making a straight cut. Well, if your material can move or fall as you cut, it’s almost impossible to make a straight cut with a circular saw, no matter how good you are. That means supporting your material is very important. You want to make sure of three things: The piece you are keeping stays in place; the pieces won’t get damaged during and after the cut; you don’t have to hold the material so your hands are both available to control the saw.
If the material won’t stay in place on its own, you can clamp it down. But only place clamps on the piece you intend to keep. You don’t want clamps on both sides of the cut, as this can cause the pieces to bind.
You can support your materials in multiple ways. Here are a few of our favorites:
Supporting boards
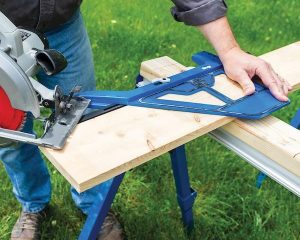
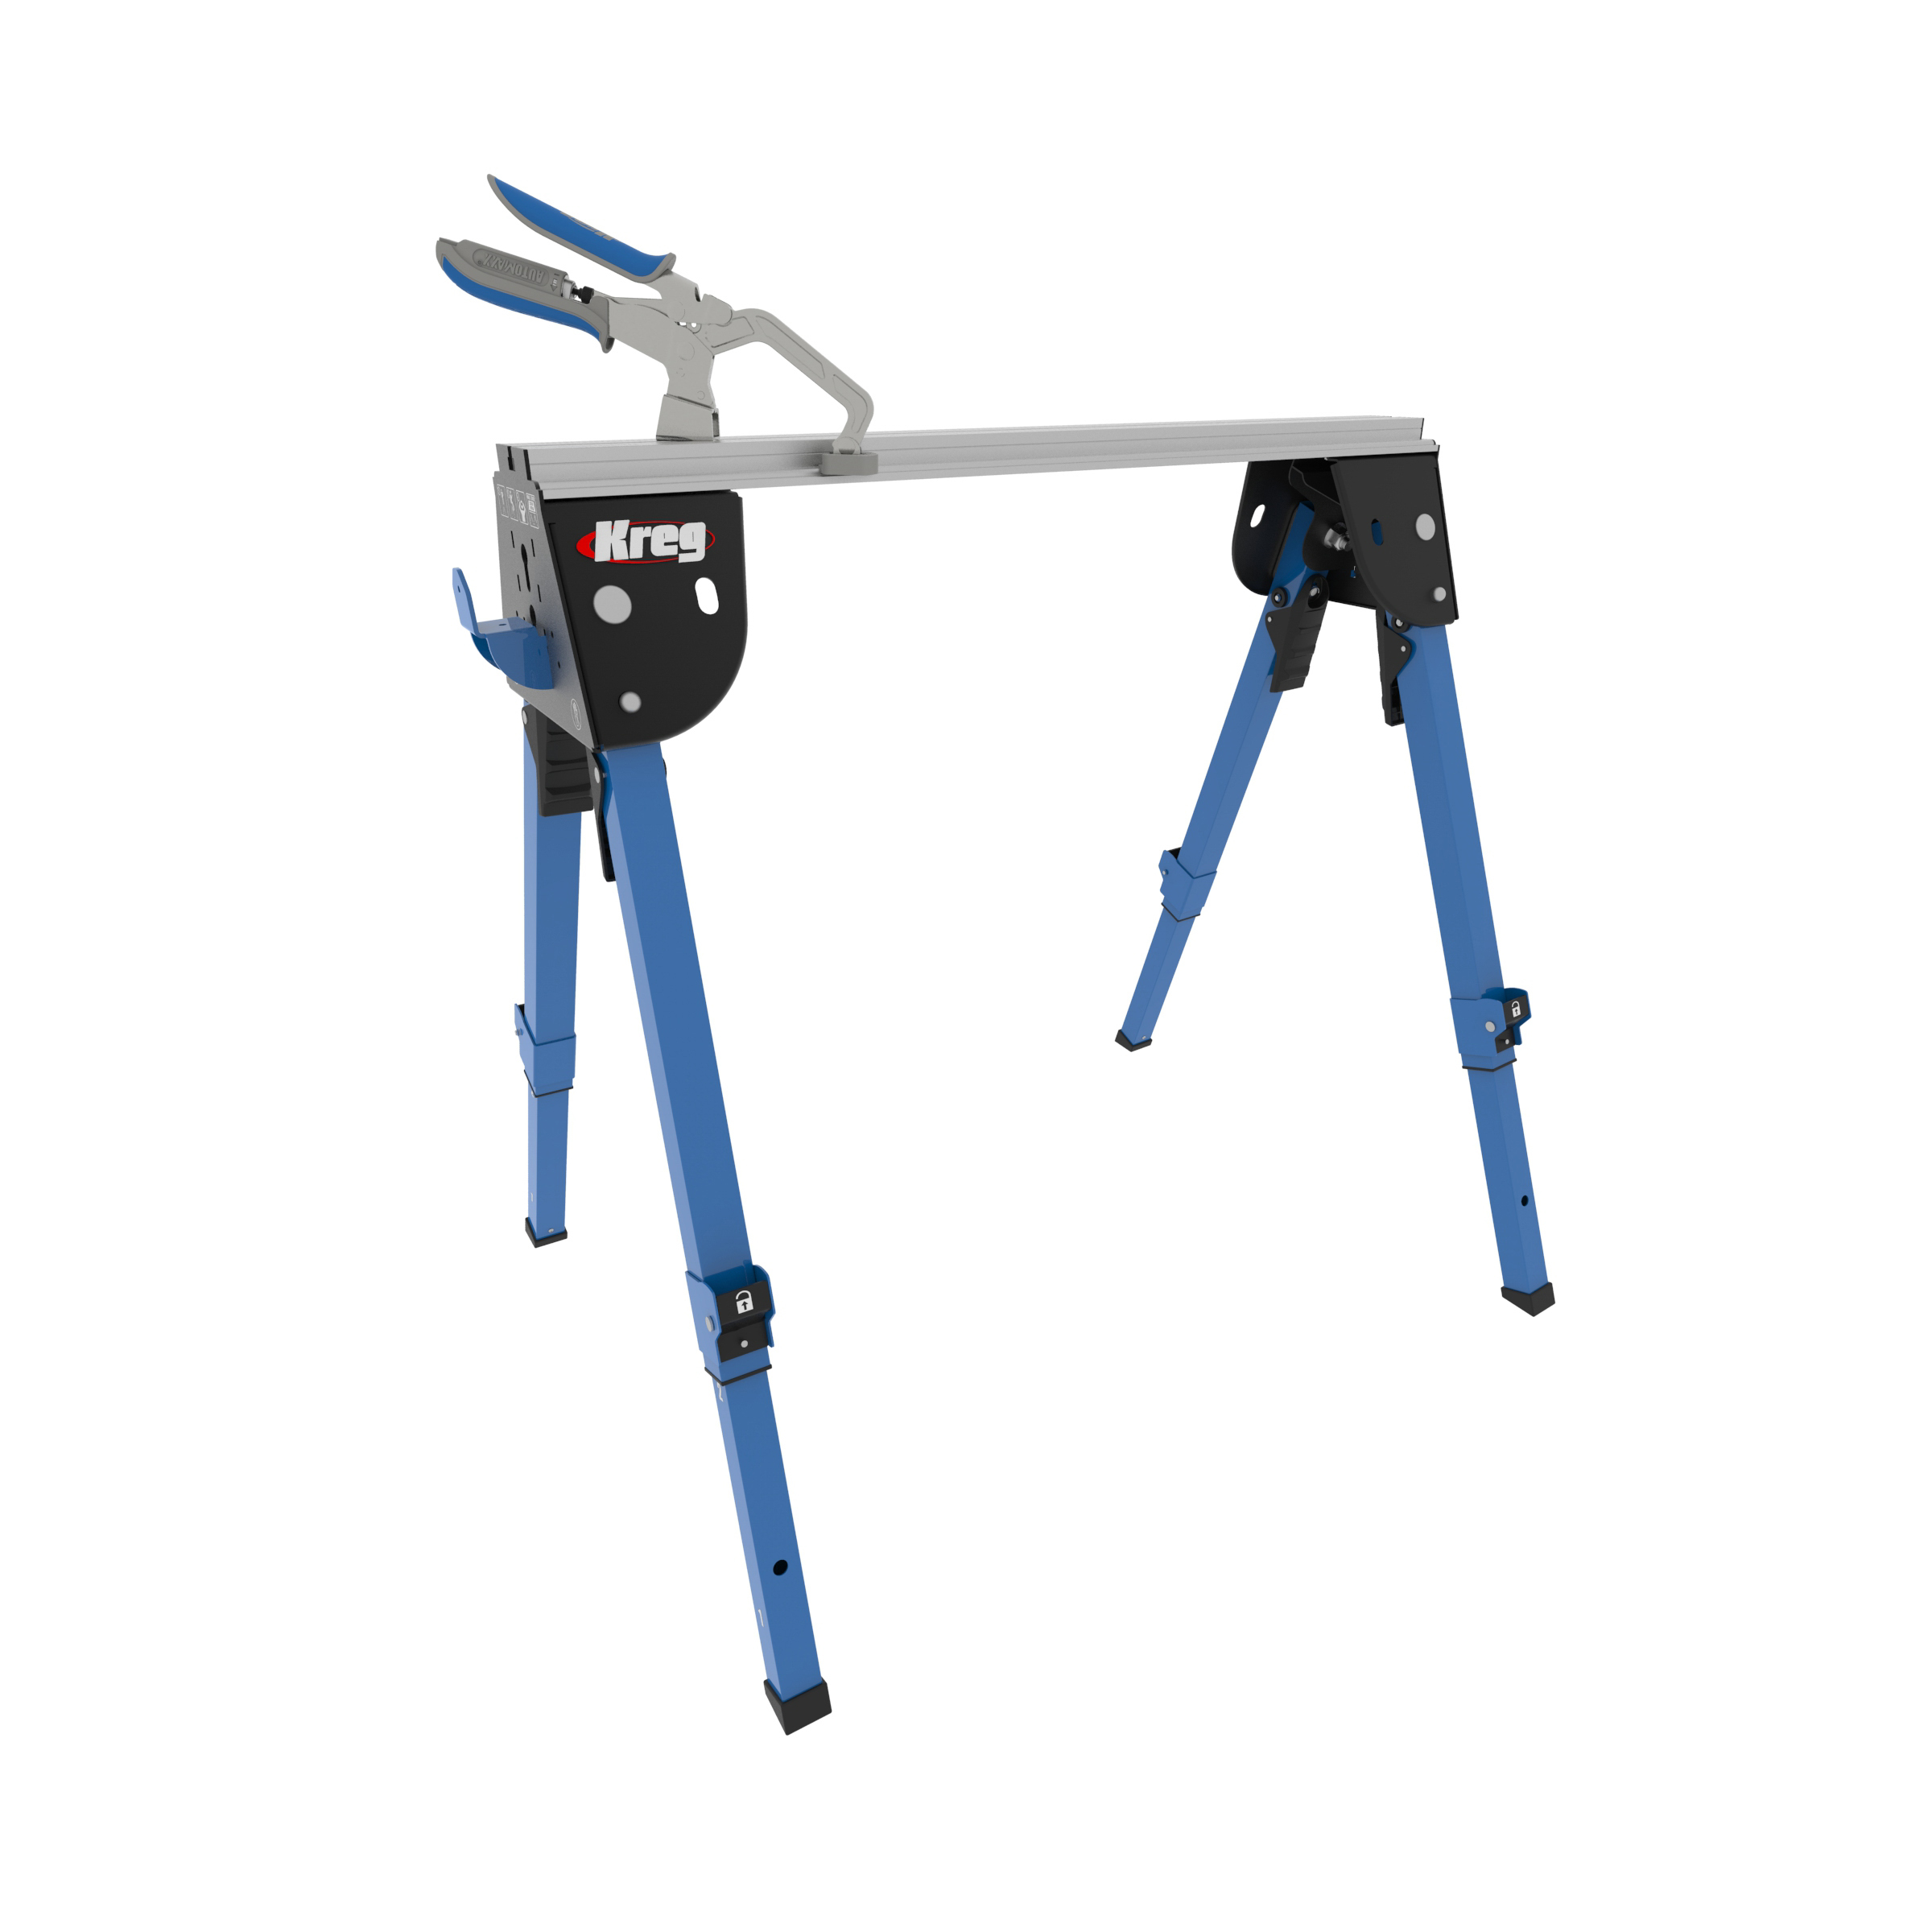
Use a pair of sawhorses, such as the Kreg Track Horse or Mobile Project Center. This works best when you are cutting a small amount off a longer board. That way, the long piece you are keeping stays on the sawhorses, and the short cutoff can fall to the ground.
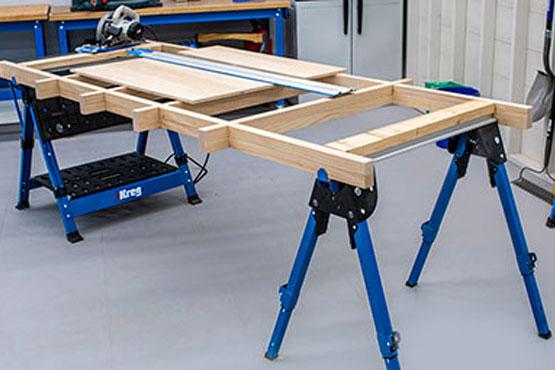
 To step up your cutting game a bit more, you can create a support to hold your boards as you cut them. Here’s a one you can make that holds long boards easily, and that ensures neither the piece you are keeping or the leftover you are cutting off will fall.
How do you support wood when cutting?
When cutting long or large pieces of wood, it’s essential to provide proper support to prevent the material from sagging or shifting during the cut. This can be achieved by using supports placed at regular intervals along the length of the workpiece.
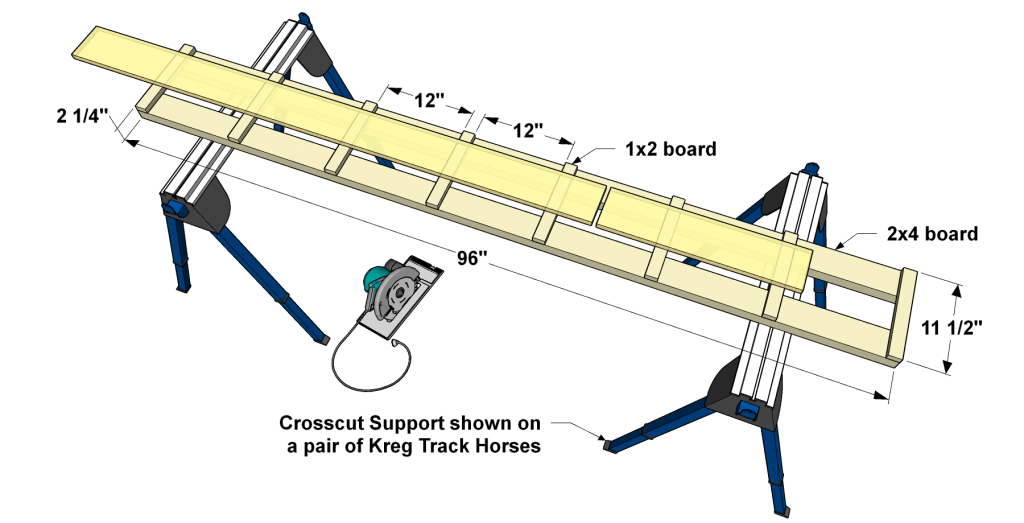
Create a simple, sturdy cutting support for boards
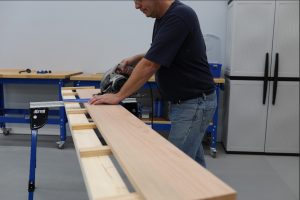
If you’ve ever cut boards with a circular saw, you know that supporting the material can be a challenge. Sawhorses hold the board fine, but they don’t keep the cutoff piece from falling. That’s ok if you’re trimming a bit off the end of a board, but not if you’re cutting a long board into multiple shorter pieces for your project.
This simple project makes it easy to hold long boards while you cut, and it supports the entire length of the board. That means no part of the board will fall when you make your cut. With this support, you can cut long or short pieces off your board confidently. All you’ll need to do is concentrate on getting a straight, accurate cut instead of worrying about what’s going to happen when you cut through the board.
To make one, just get two flat 2x4s and a 1×2. Cut the 1×2 into sections, as shown, and attach them. That’s best done with glue alone, so you don’t have screws that you could accidentally strike with the saw blade.
Supporting plywood and sheets
The best way we’ve found to support plywood sheets is to use a sheet of 2″-thick rigid foam insulation. You can get one at any home center. The foam is 4’x8′, the same size as a sheet of plywood. So, the foam supports the entire sheet. Plus, rigid insulation is sturdy enough that you can use it on the ground or up on a set of sawhorses. You can learn more about using rigid insulation here.
How do you keep plywood from chipping when cutting?
To prevent chipping when cutting plywood with a circular saw, you can take a few precautions:
- Use a sharp, high-quality blade designed for plywood/laminate cuts.
- Score the cut line on the top surface with a utility knife before sawing.
- Place a piece of masking tape or painter’s tape along the cut line to help prevent chipping.
- Cut with the good side of the plywood facing down toward the saw base.
- Use a zero-clearance insert or sacrificial board underneath the workpiece to support the cut.
2. Setup your circular saw
Once you have your material supported, you’re ready to cut—almost. Before you fire up the saw, make sure it’s set up correctly. There are just a few things you need to check. Before you do anything, though, ensure that the saw is unplugged or that the battery is removed. This keeps you safe by preventing the saw from accidentally turning on.
First, check the condition of the blade to make sure the teeth are sharp.
A dull blade gives a rougher cut, of course, but it also means you’ll have to push the saw harder, which makes it harder to control and get a straight cut.
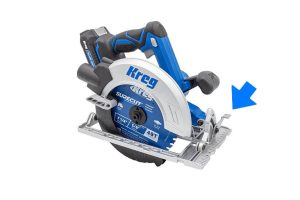 Then make sure the saw’s bevel scale—located at the front with marks from 0 to 45° degrees—is set correctly so the blade will cut straight through the thickness of the wood.
On most saws, the bevel scale will show 0° when the blade is perpendicular to the saw base.
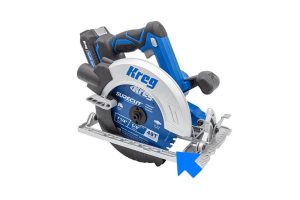
 Checking the saw’s cutting depth comes next.
This is something too many people neglect when using a circular saw. If saw is set to cut too deep, it will be harder to control, which makes cutting straight more of a challenge. Plus, it leaves way more of the blade exposed to potential contacts than necessary. Loosen the saw’s depth lock—usually a lever near the back of the saw—and then set the cutting depth to the thickness of your material plus about 1/8″.
Now you can plug in your saw or reinstall the battery. If you’re using a corded saw, make sure that the cord can move freely as you cut. A cord that drags or gets caught can steer the saw off course, which will ruin a straight cut every time.
3. Measure accurately and mark clearly
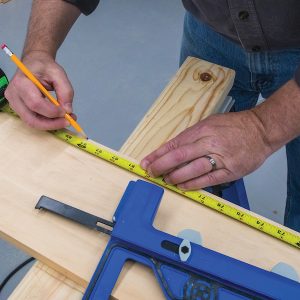 You can’t cut straight if you don’t know where you need to cut. So, it’s important to measure accurately and to mark your cutline clearly. It’s super frustrating to mark your cut, then not be able to find the mark. Be bold. Make it clear where you want to cut.
When you buy boards, the ends may not always be square or straight. Before you cut, it’s a good idea to trim a small amount off the end—just a fraction of an inch—to ensure that you start with a straight, square end.
What is a saw kerf?
Kerf is the term used to describe the width or thickness of the material removed by a saw blade during the cutting process. It represents the gap or slot created by the saw blade as it cuts through the workpiece.
When you cut using any kind of saw, it removes a bit of the wood. The part that gets cut away and turned into sawdust is called the kerf. With most saw blades, the kerf will be close to 1/8″ wide. So, it’s important that you cut on the correct side of your line. If you cut on the wrong side, the dimension of your piece will be off by the width of the kerf. With a circular saw, here’s an easy way to keep it straight:
- If you measure from the left, cut on the right side of your line.
- If you measure from the right, cut on the left side of your line.
Which side of the line do you cut with a circular saw?
When using a circular saw, you should cut on the waste side of the line or mark you’ve made on the workpiece. This means the blade should be positioned slightly to the waste side of the line, ensuring that the cut removes the material you don’t need.
Do you cut wood up or down on a circular saw?
With a circular saw, you generally cut downwards into the workpiece. The blade is designed to cut on the downward stroke, and cutting upwards can cause kickback, which is dangerous.
Can you cut accurately with a circular saw?
Yes, you can achieve accurate cuts with a circular saw, but it requires proper technique and the right saw blade — using a high-quality blade designed for the material you’re cutting, combined with a guide or straight edge, will help you make precise, straight cuts.
4. Using a circular saw guide
We could tell you a bunch of ways to guide your saw freehand, to learn to follow long cut lines, etc. It’s definitely possible with practice. But here’s the thing: You can make straight cuts with a circular saw way more easily by using saw guides.
Sure, we make saw guides, so it’s in our interest to tell you to use them. But we build and sell saw guides because they make cutting straight with a circular saw something you can do easily, predictably, safely, and confidently—every time. And isn’t that the goal? Plus, saw guides aren’t expensive, especially when compared to the cost of having to buy extra boards or a sheet of plywood because of a messed-up cut.
What type of guide you’ll want depends on what you’re cutting, as well as on your preferences for how you like to cut.
How does a saw guide work?
A saw guide is an accessory that attaches to a circular saw to help ensure straight, accurate cuts by providing a guide that runs along the workpiece.
Benefits of Using a Saw Guide
Straight cuts
The fence keeps the saw cutting in a perfectly straight line by preventing any sideways deviation as you push the saw forward.
Accurate measurements
Many saw guides have measurement markings that allow you to adjust the distance between the fence and blade for cutting boards to specific widths.
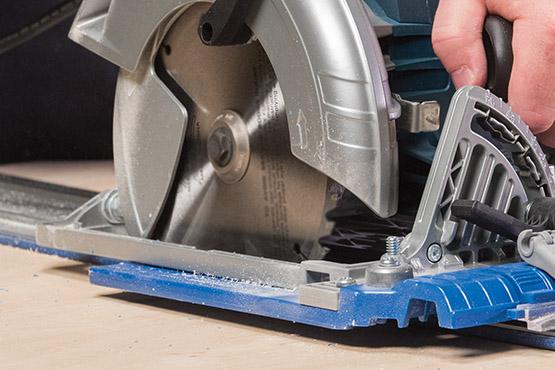
Splinter-free edges
High-quality saw guides often have anti-chip strips or sacrificial edges that provide tear-out protection for a cleaner cut edge.
Repeatable cuts
Once set to a measurement, a saw guide allows you to make multiple identical rip cuts efficiently.
Saw guides greatly improve cutting accuracy and are very helpful for ripping long boards, crosscuts, and any application requiring perfectly straight edges.
Guides for making straight cuts in boards:
For a lot of projects, you’ll be cutting long boards into shorter pieces. So, you need to make a straight cut across the width of the board. This is called a crosscut. There are a couple types of guides that you can use.
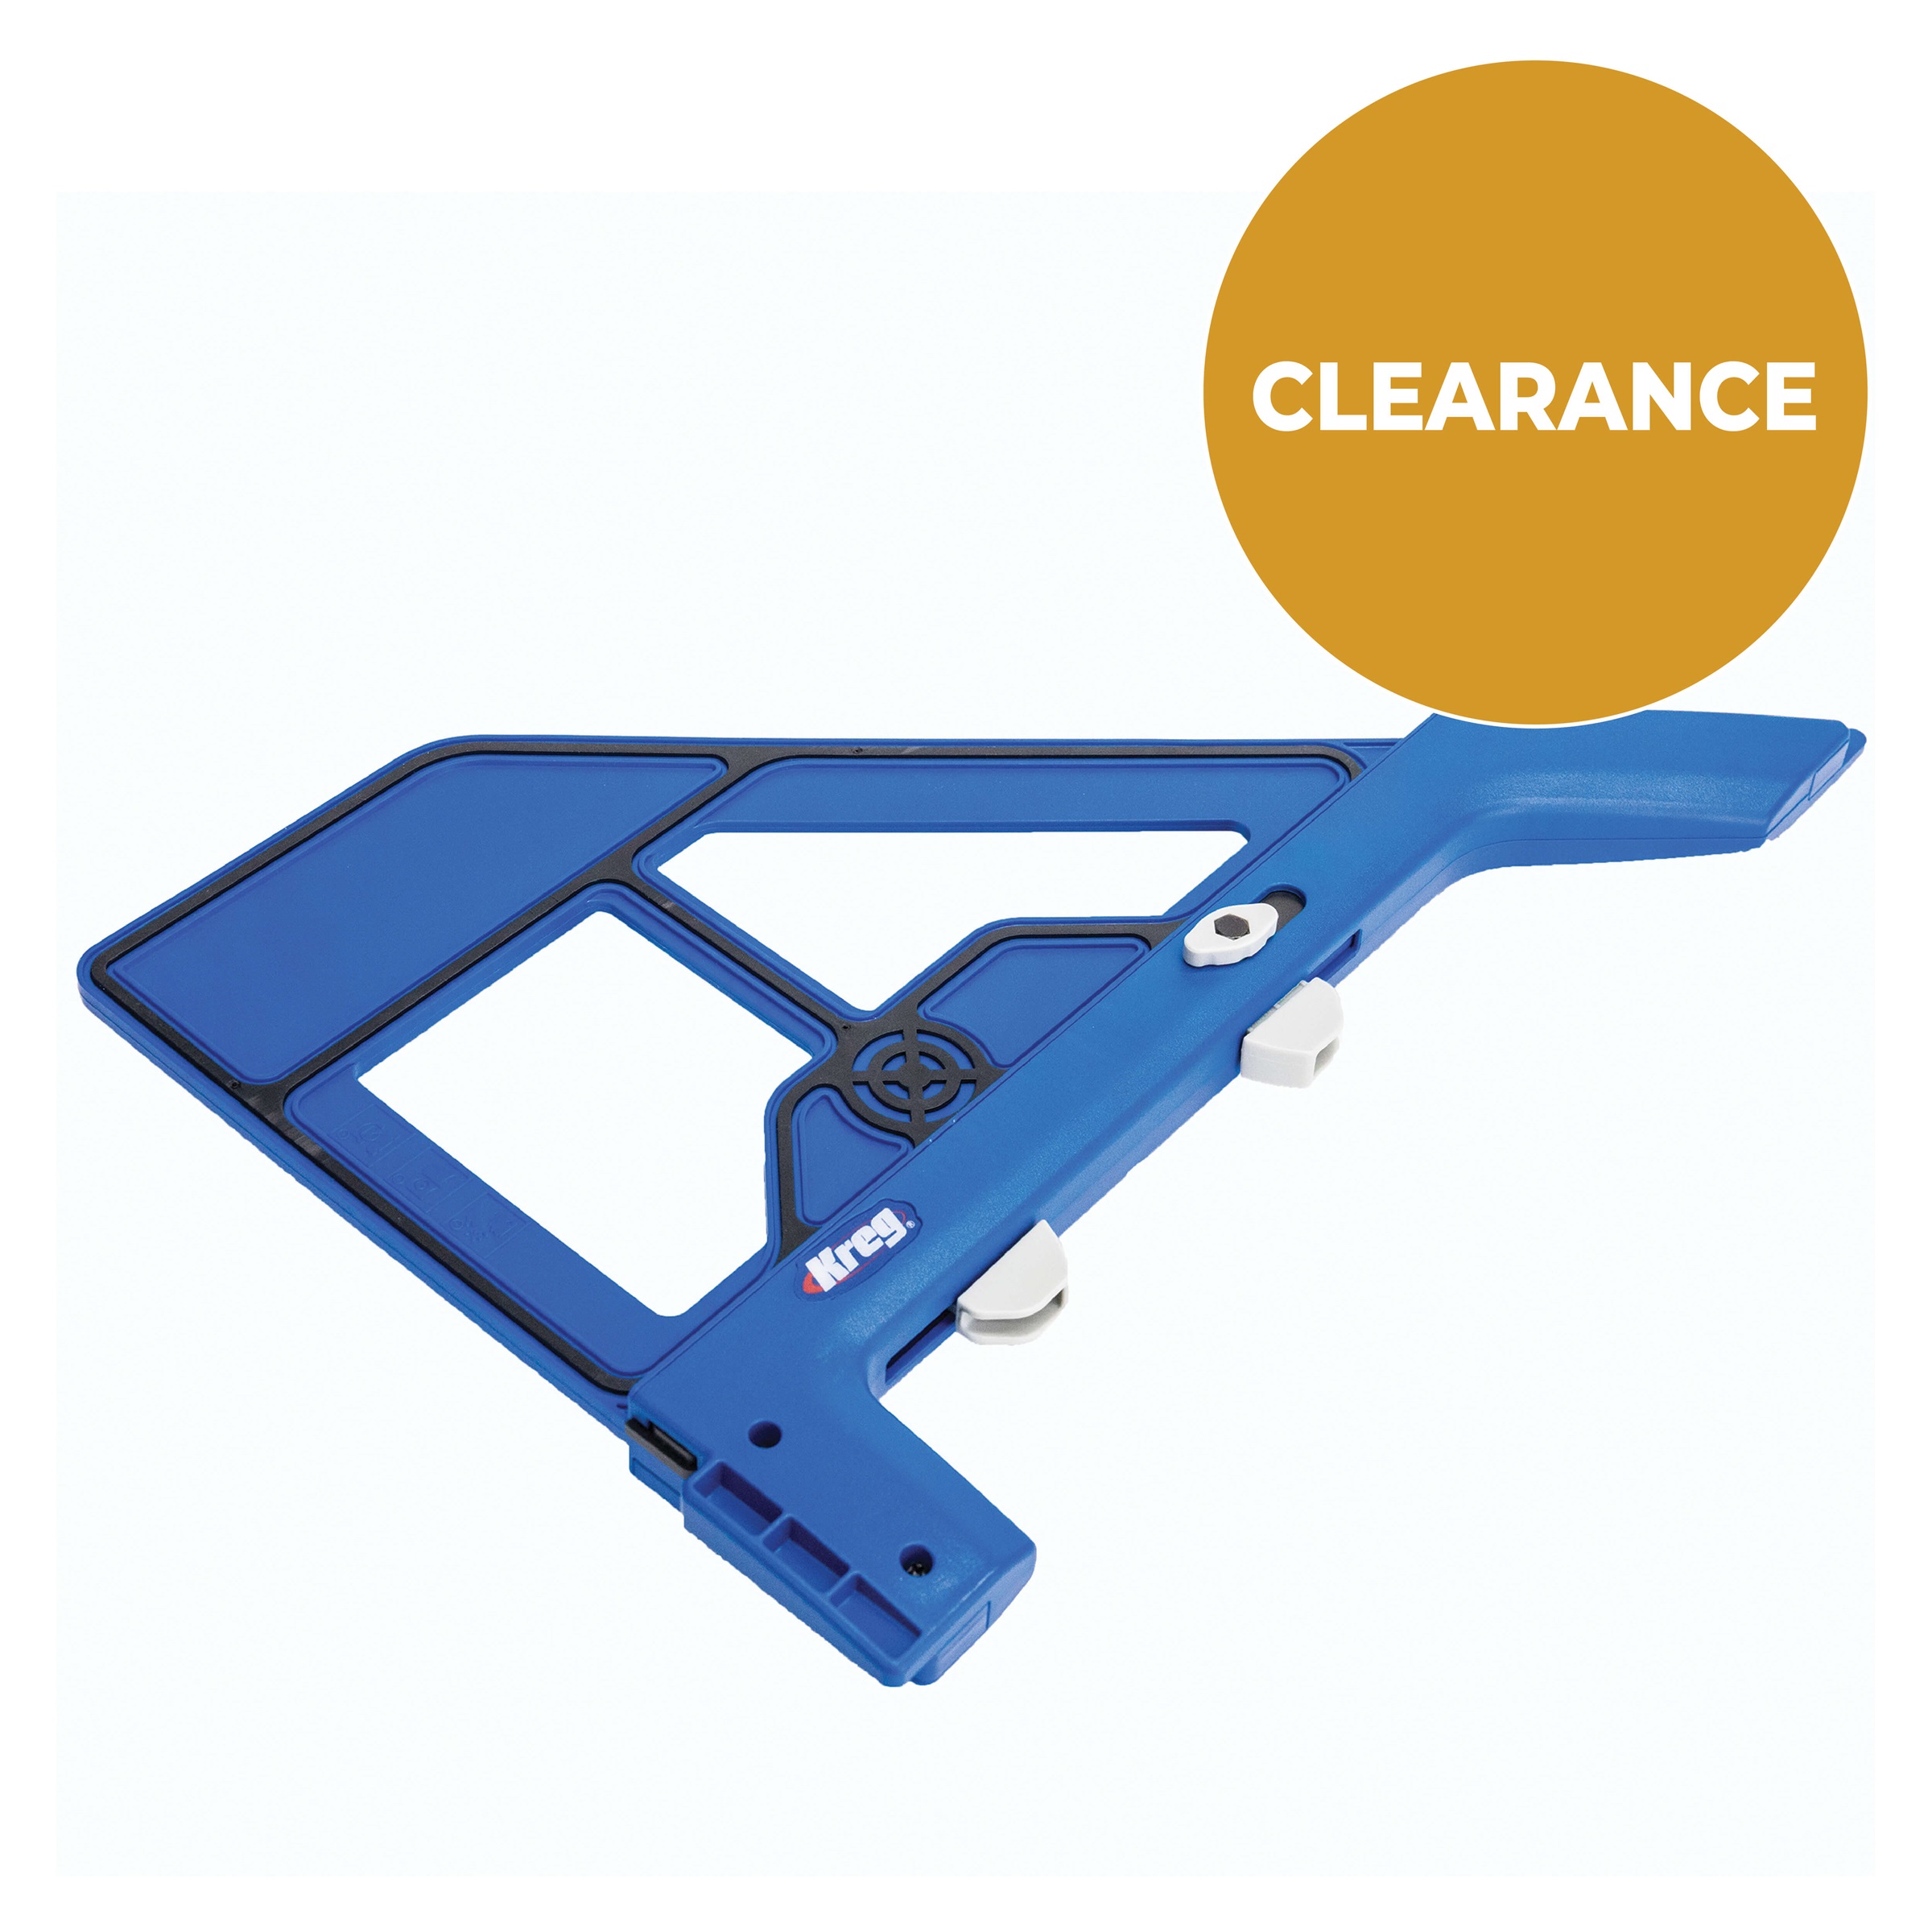
One type is a portable guide, like the Portable Crosscut. It allows you to cut straight across boards up to 8″ wide at 90° (a straight crosscut) or at a 45° angle (a miter cut). The Portable Crosscut rests on the face of your board with a fence that holds it tight to the edge. The edge of your saw base rides against the guide, so all you have to do to cut straight is push the saw along.
The Portable Crosscut also has a cutline indicator that you can adjust to match your saw. The indicator makes it easy to position the guide for an exact cut, so you can make cuts that are straight and accurate.
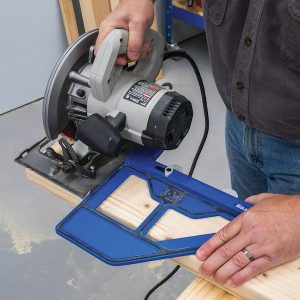
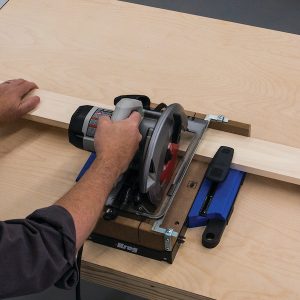
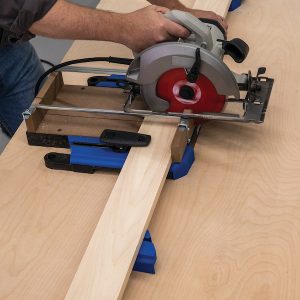 Another option for boards is the Crosscut Station. It makes your circular saw work more like a more-expensive miter saw. You mark your board, clamp it in place, and then cut by guiding your saw over the board on a set of rails. The rails ensure that your saw moves straight, and the station holds your board in place for accuracy and safety.
The Crosscut Station is also small and lightweight. That means it’s a lot easier to move around and to store than a big miter saw.
Guides for making straight cuts in plywood:
When you’re cutting plywood or other sheets, making a straight cut is even more challenging because the cuts are so much longer. So, you need something that will guide the saw over 4′ to make a crosscut across the sheet, or 8′ to make a rip cut along the sheet’s length.
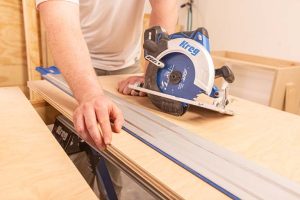
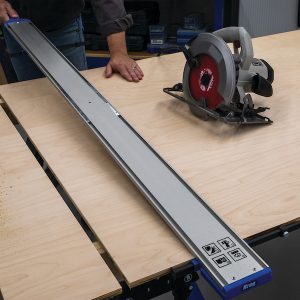
One option is the Straight Edge Guide. It guides your saw much like the Portable Crosscut does for boards—by allowing you to rest the edge of the saw base along the guide as you push it along and cut. The Straight Edge Guide also has adjustable cutline indicators that make setup easy, and this guide clamps securely onto the sheet so you can be confident it will stay put as you cut.
The Straight Edge Guide is available in 4′ capacity for crosscutting sheets and in and XL version with 8′ capacity for ripping. Or there’s an Extension that lets you start with the shorter version and then add more cutting capacity later. Whatever option you choose, the Straight Edge Guide can be broken down into shorter sections when needed.
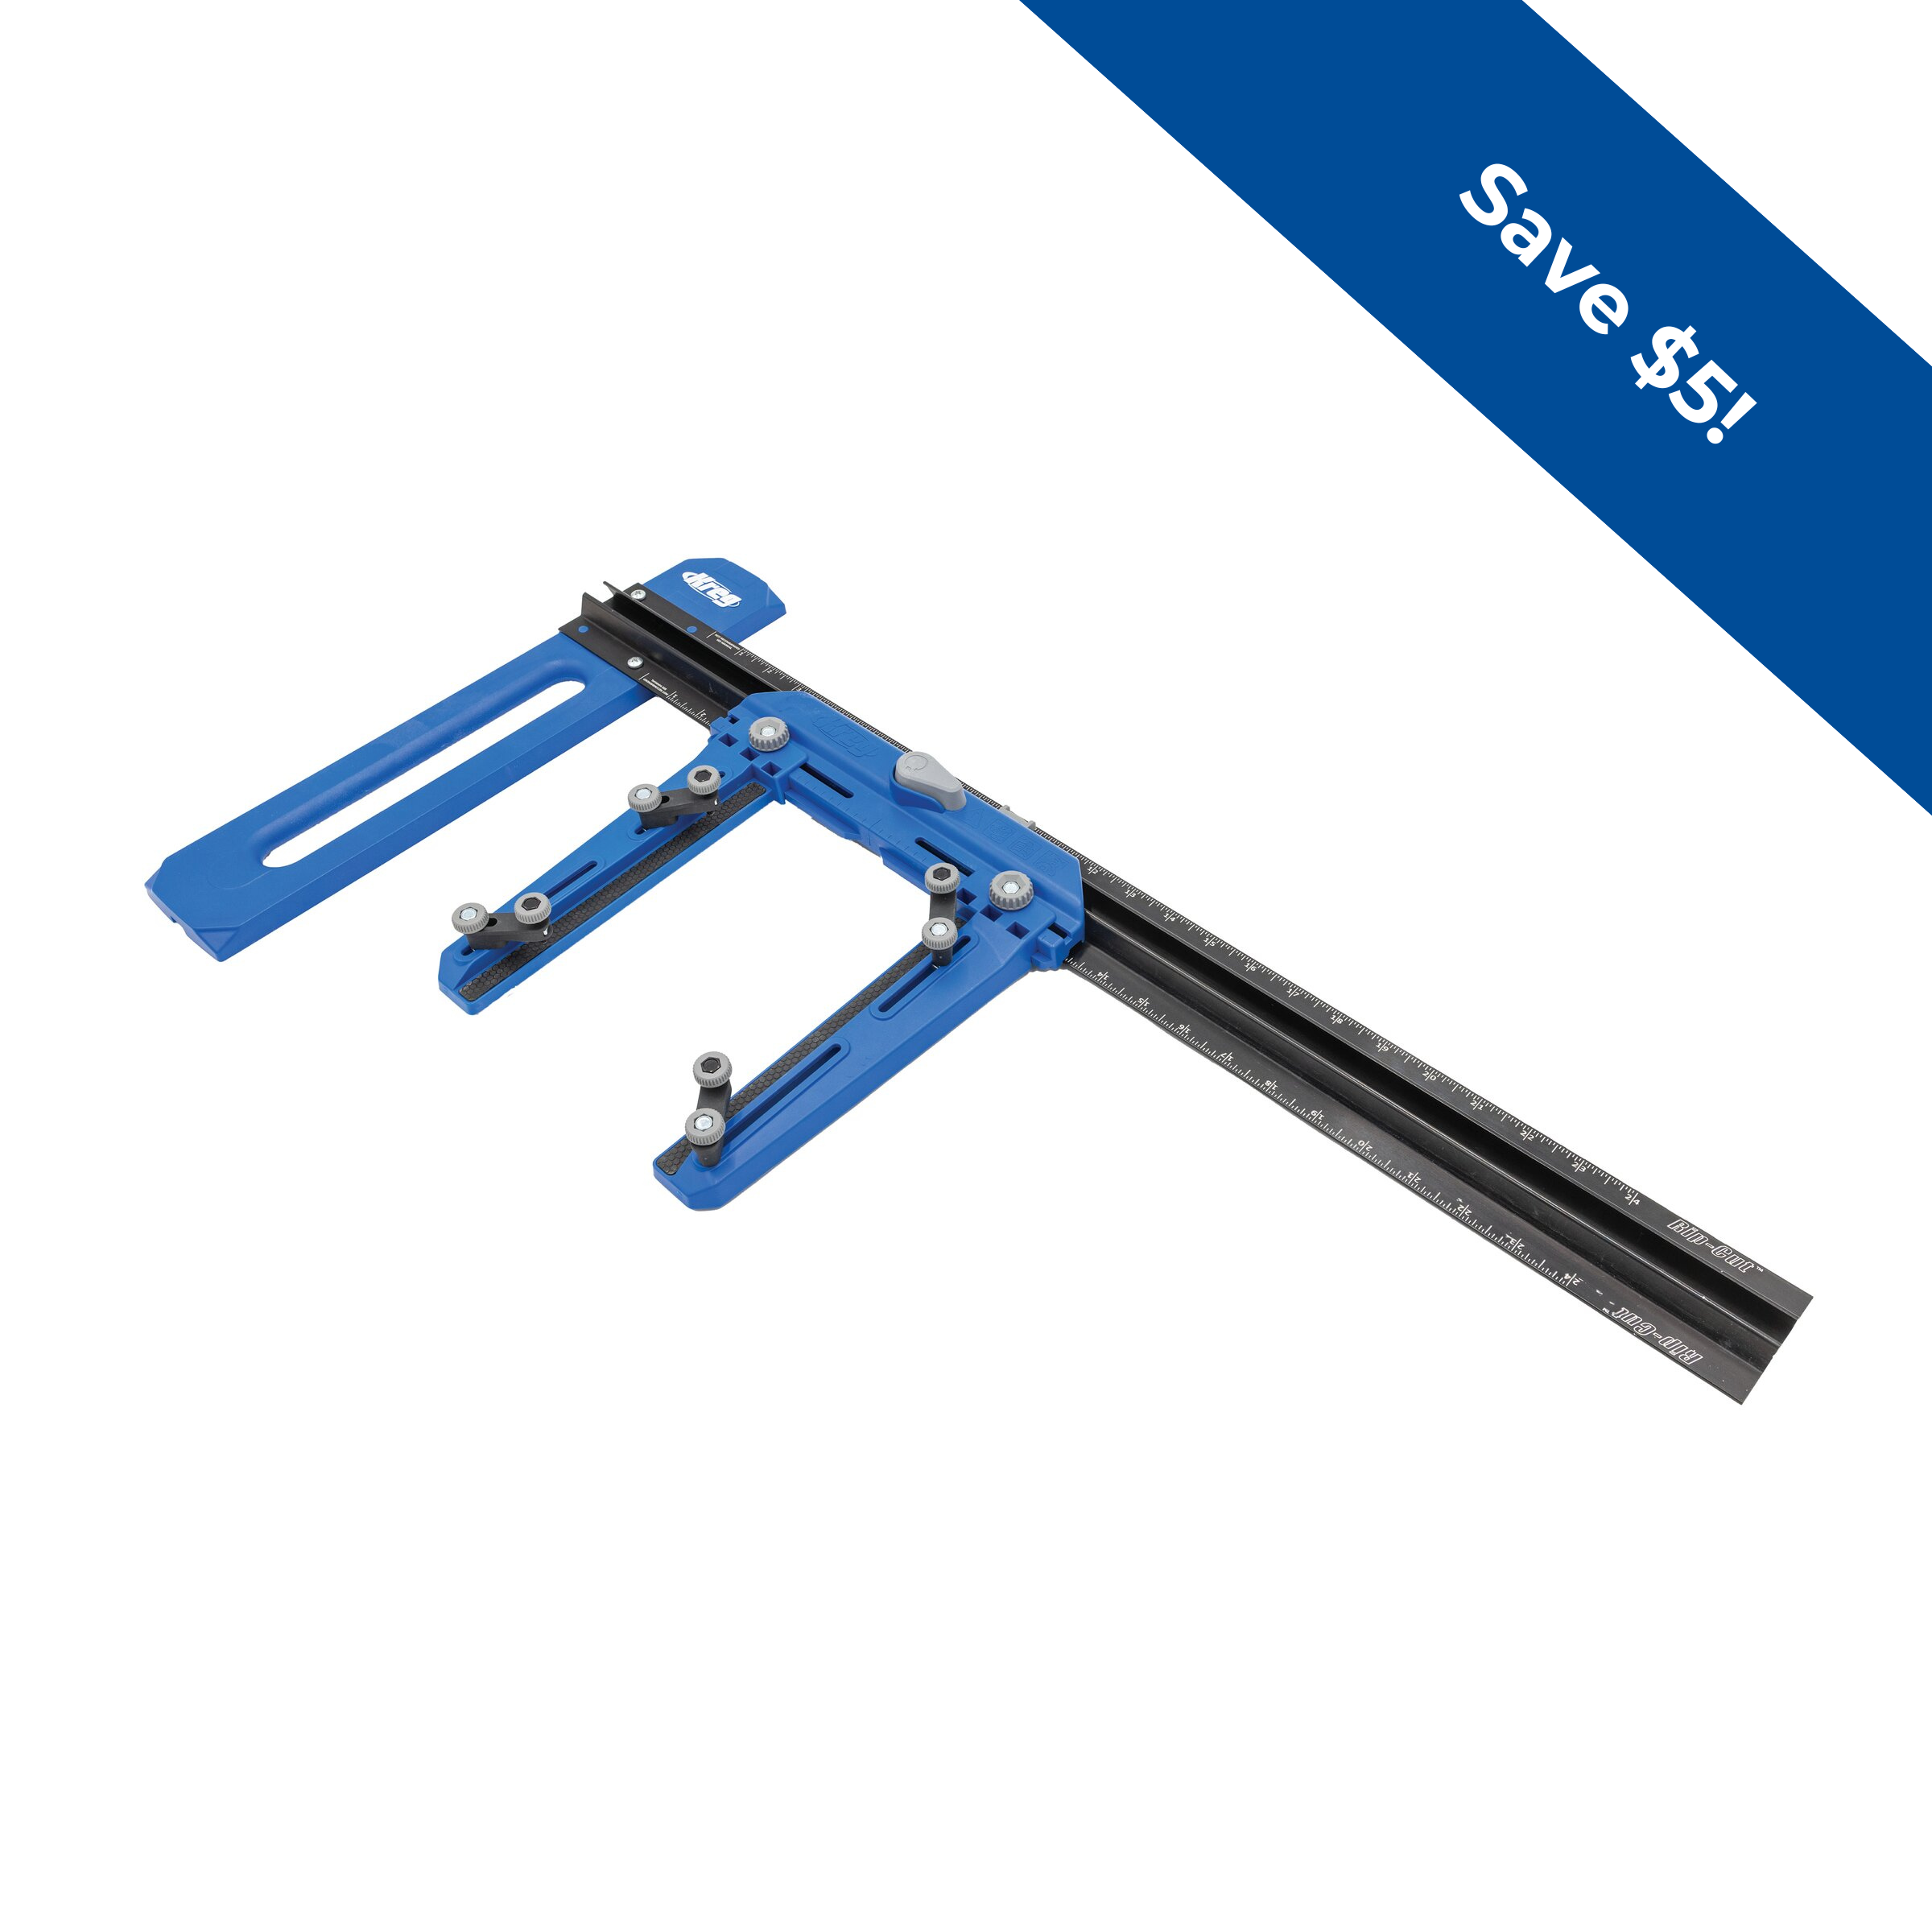
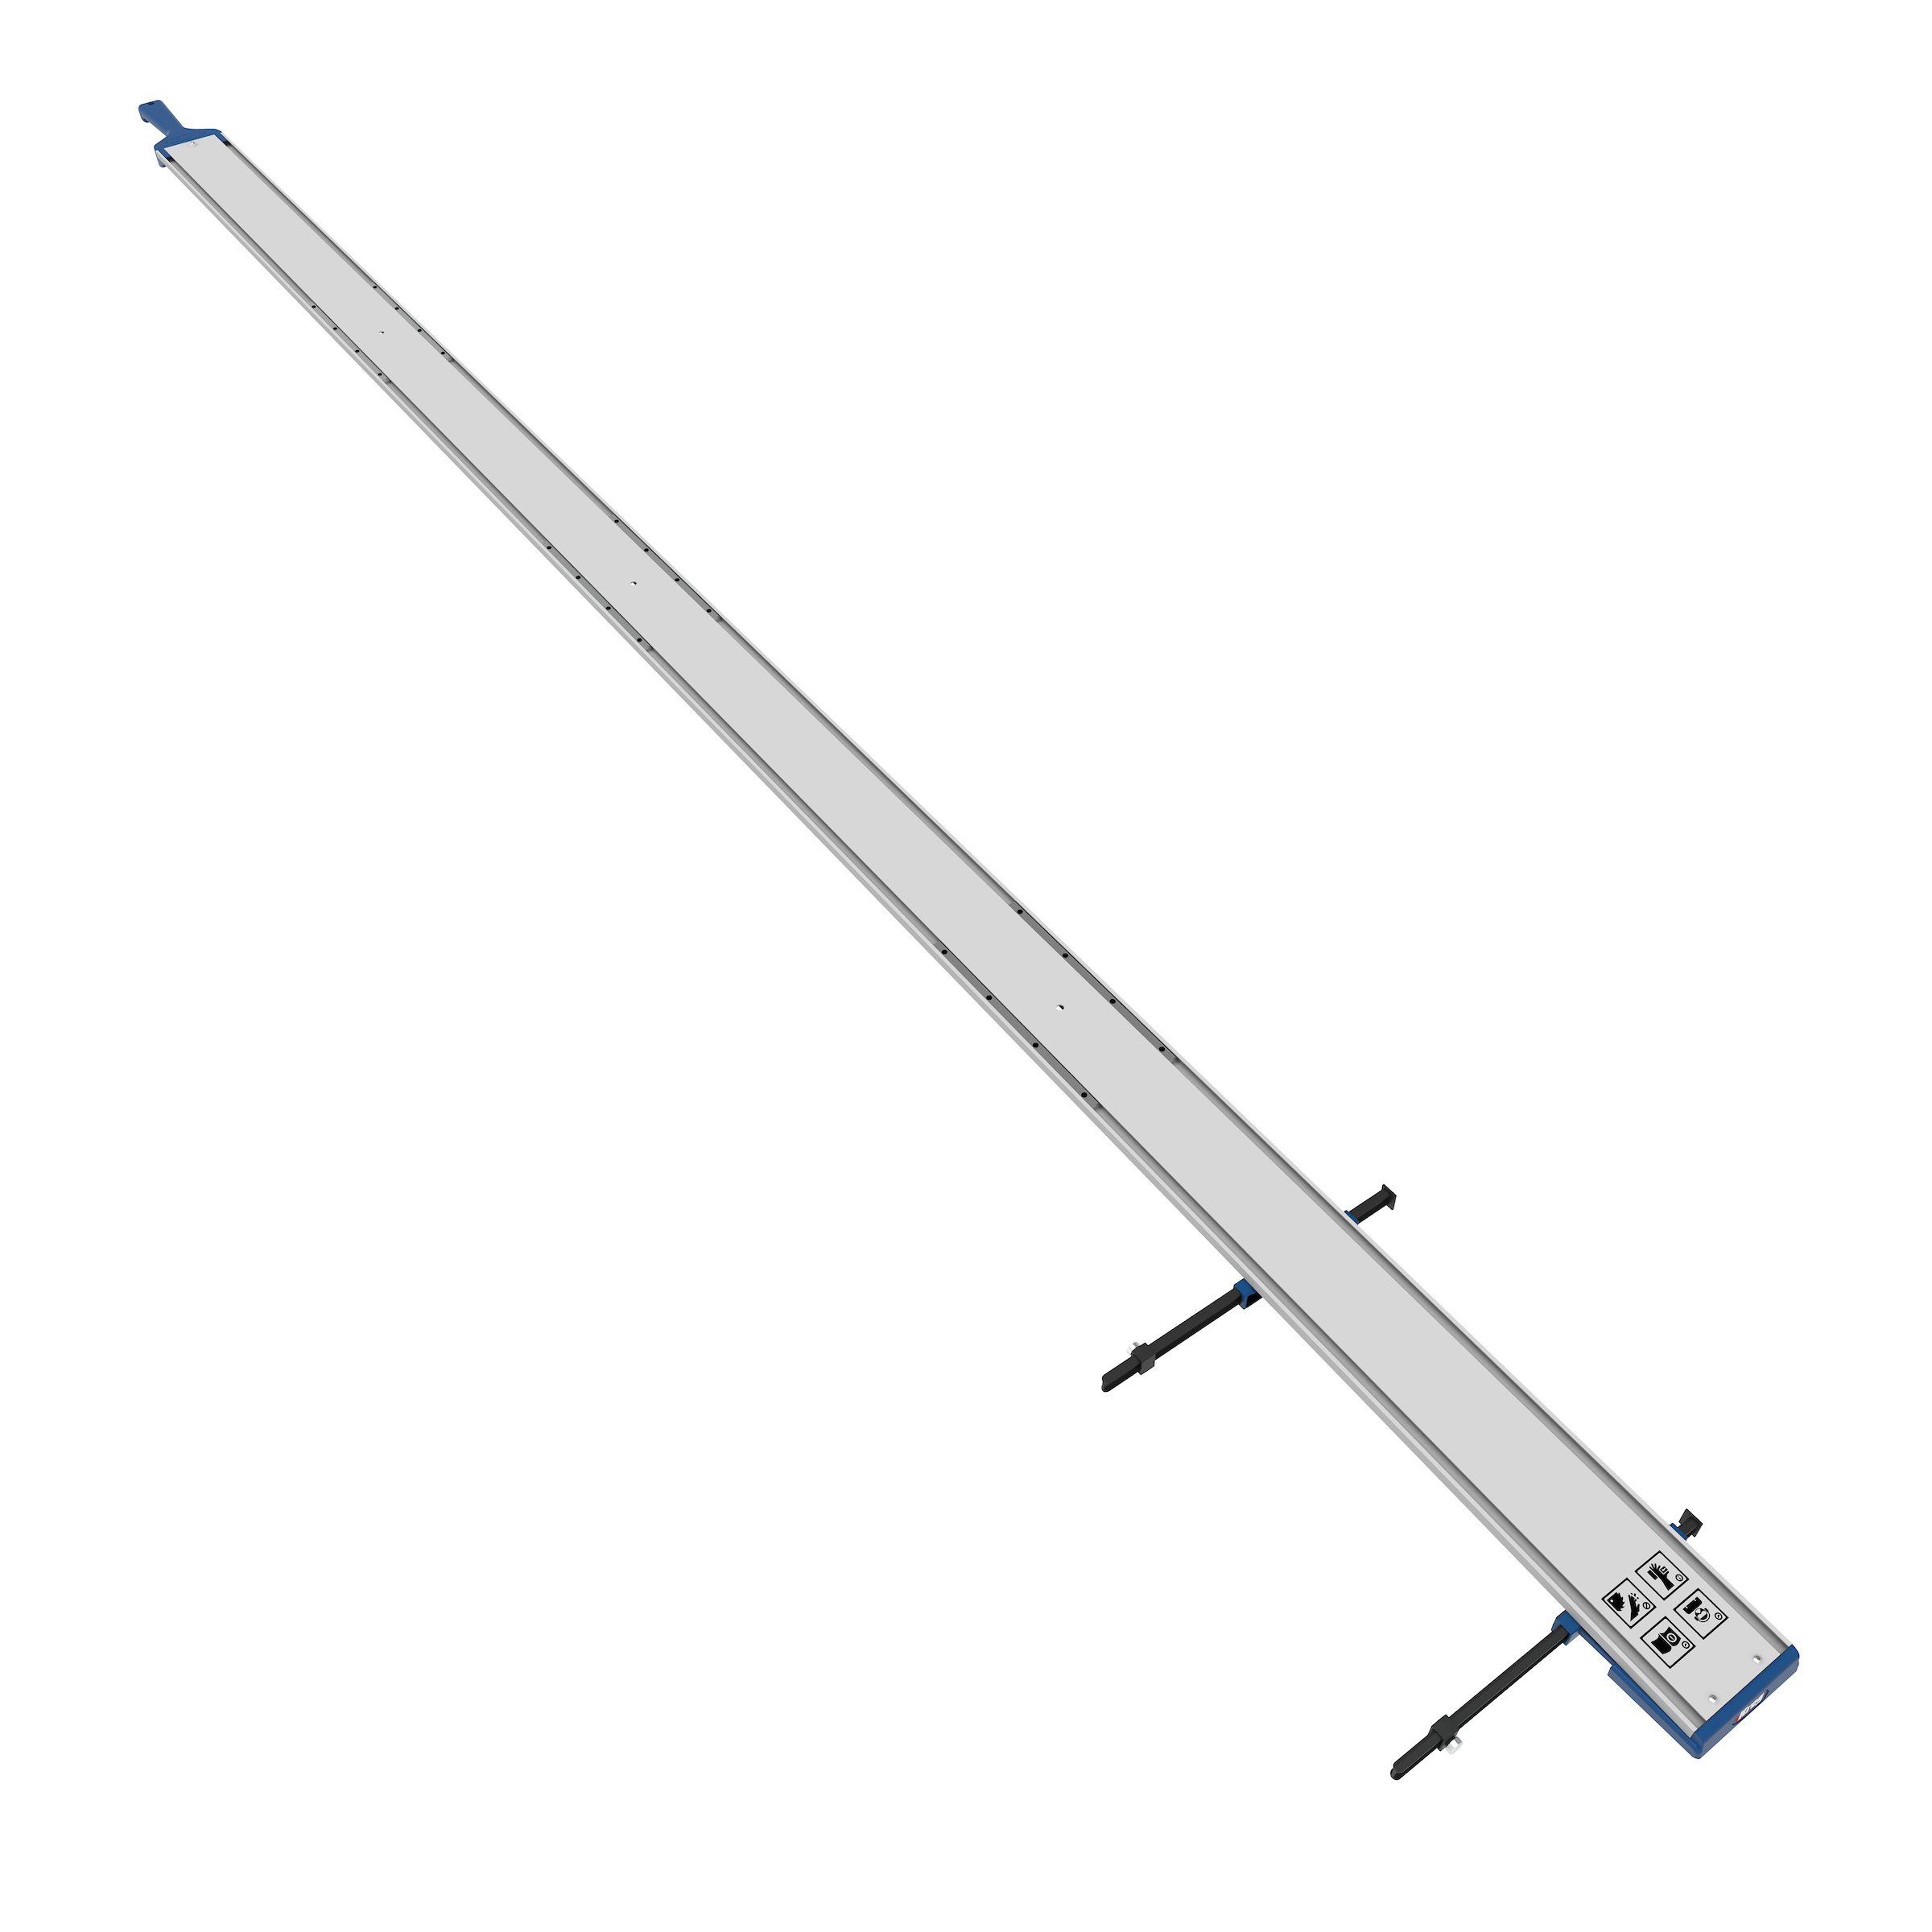
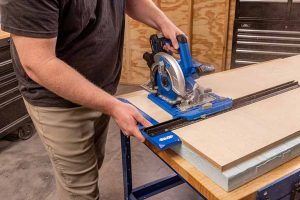 The Rip-Cut™ makes straight cuts in plywood sheets easy by using an edge guide that follows the edge or end of the plywood as you cut. Your saw gets attached to a sled that fits onto a rail that has a measuring scale. Just move the sled to any width from 1″ to 24″, lock it down, and you can make cuts of any length that are straight and accurate. You can remove your saw from the sled any time to use it elsewhere, and then reinstall it easily.
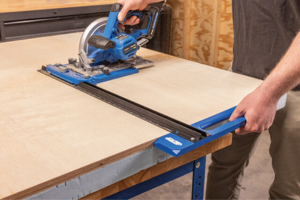
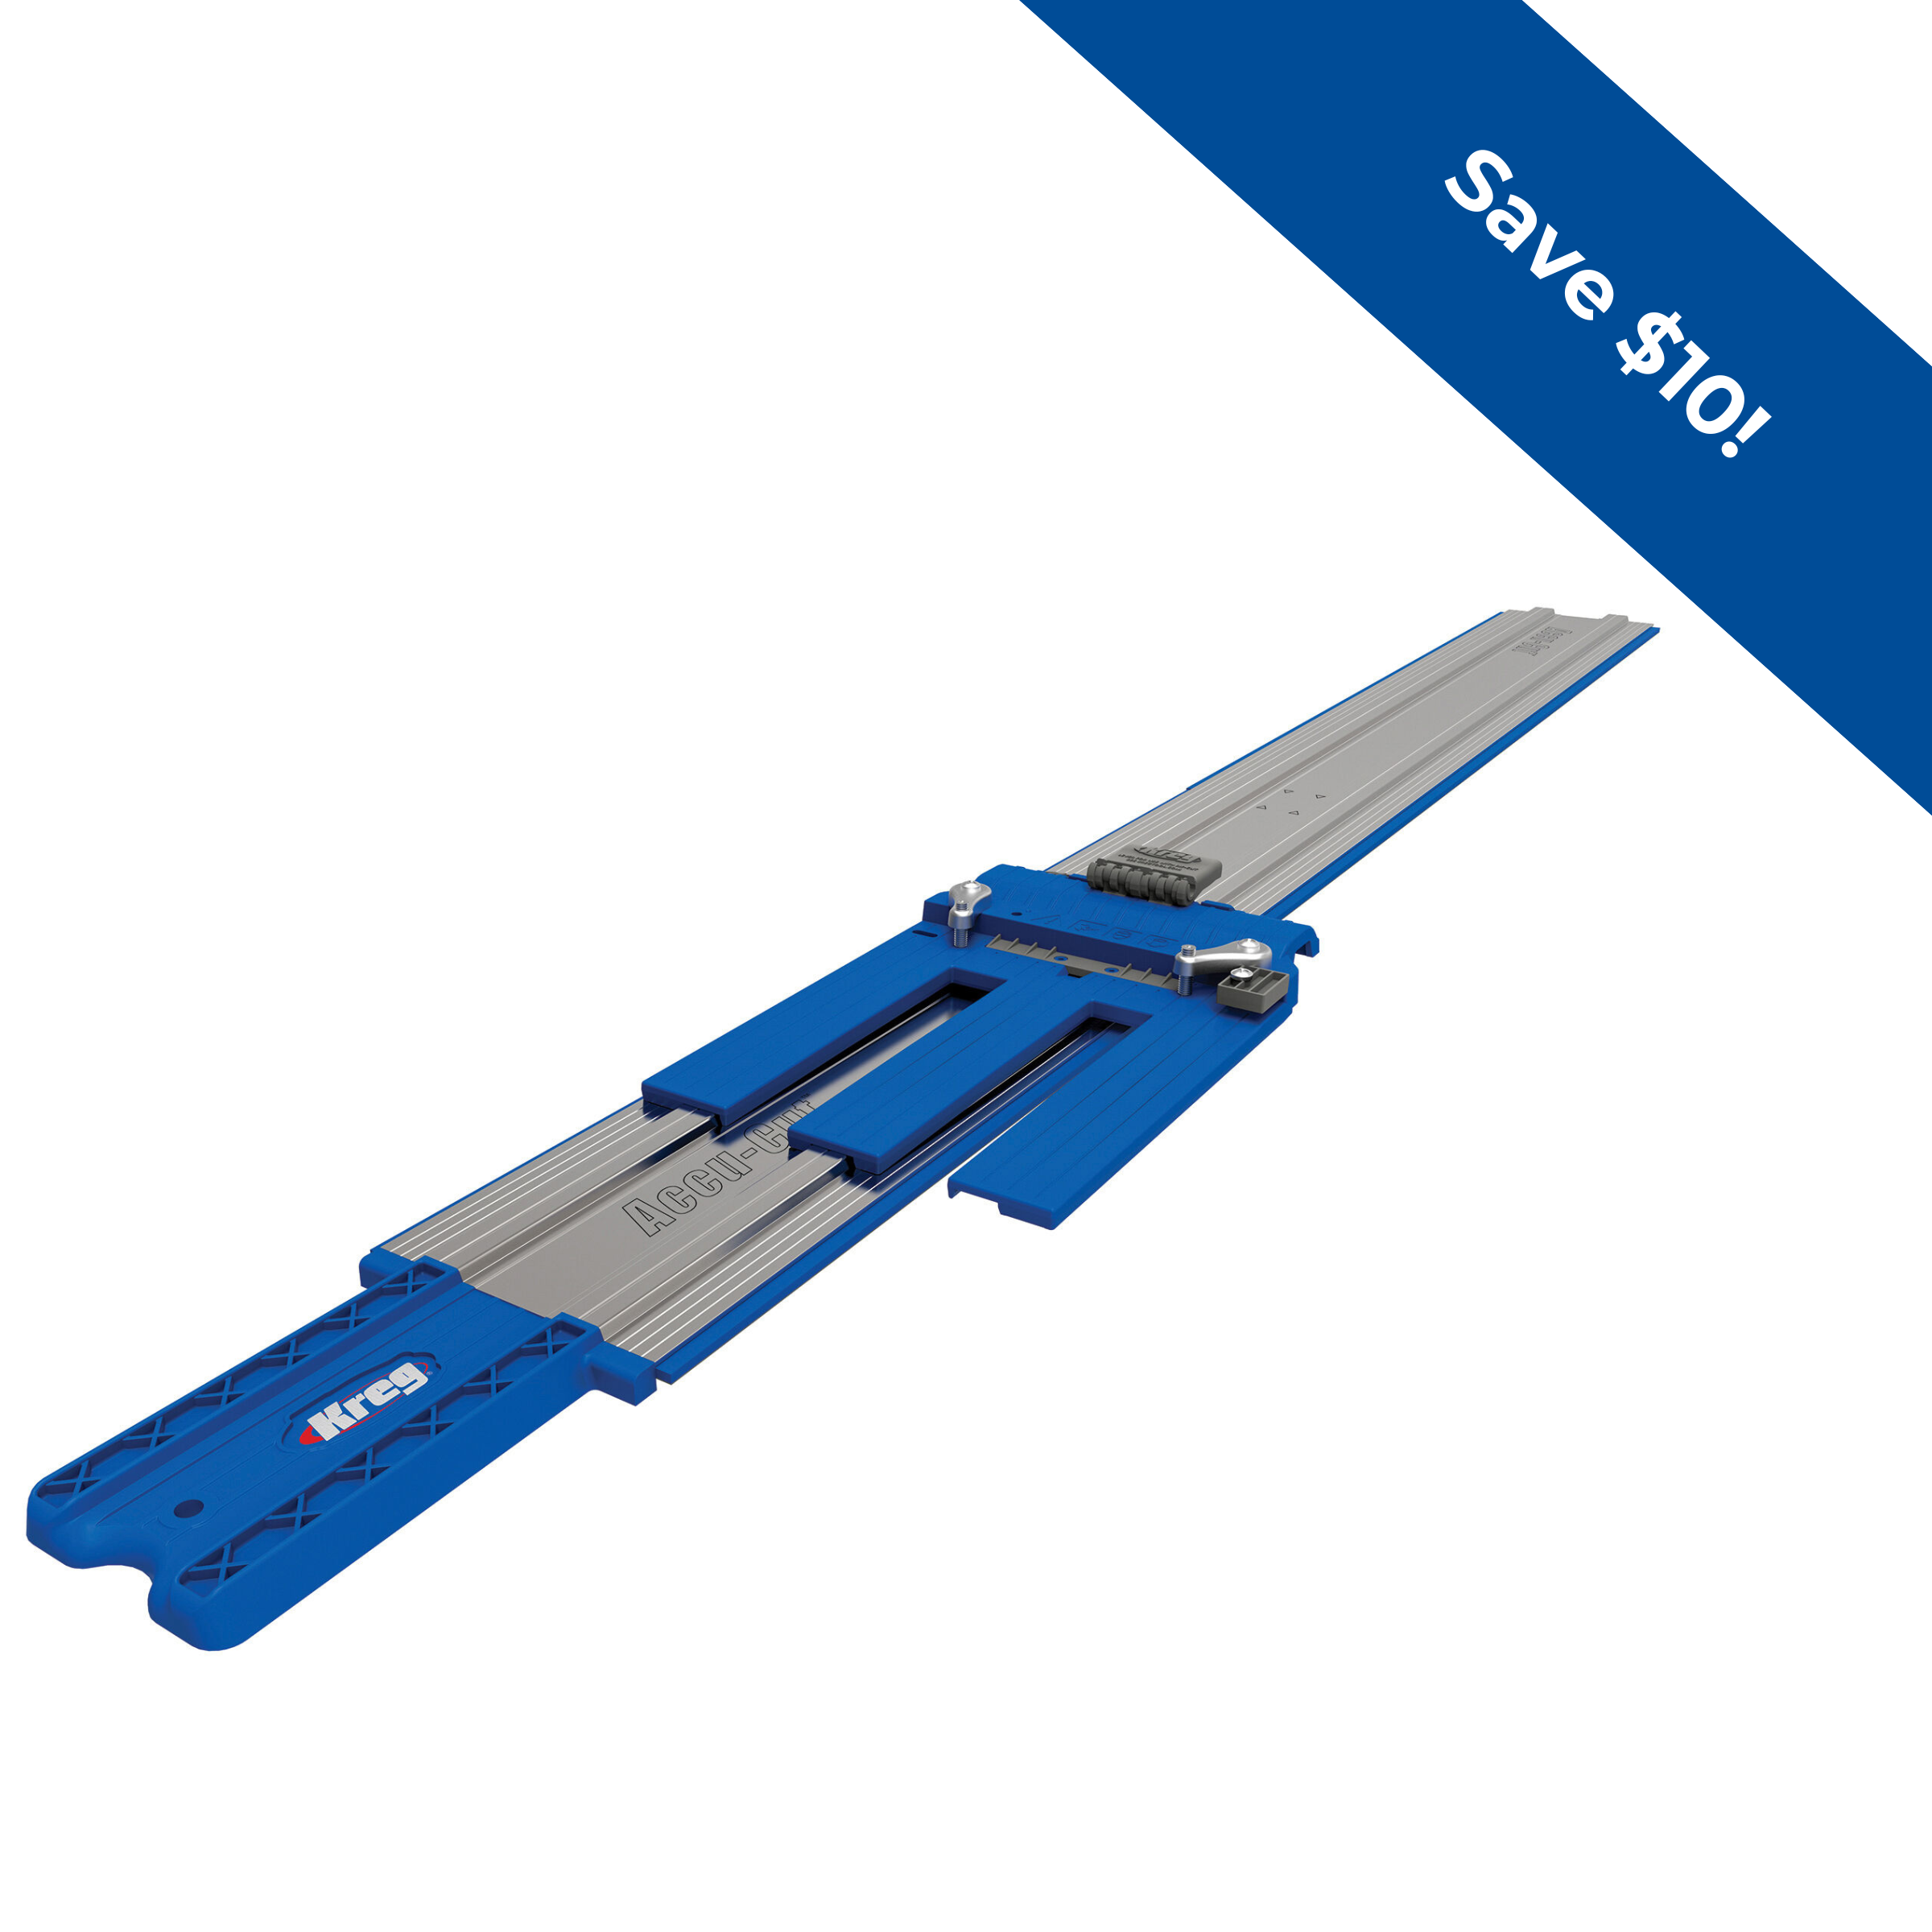
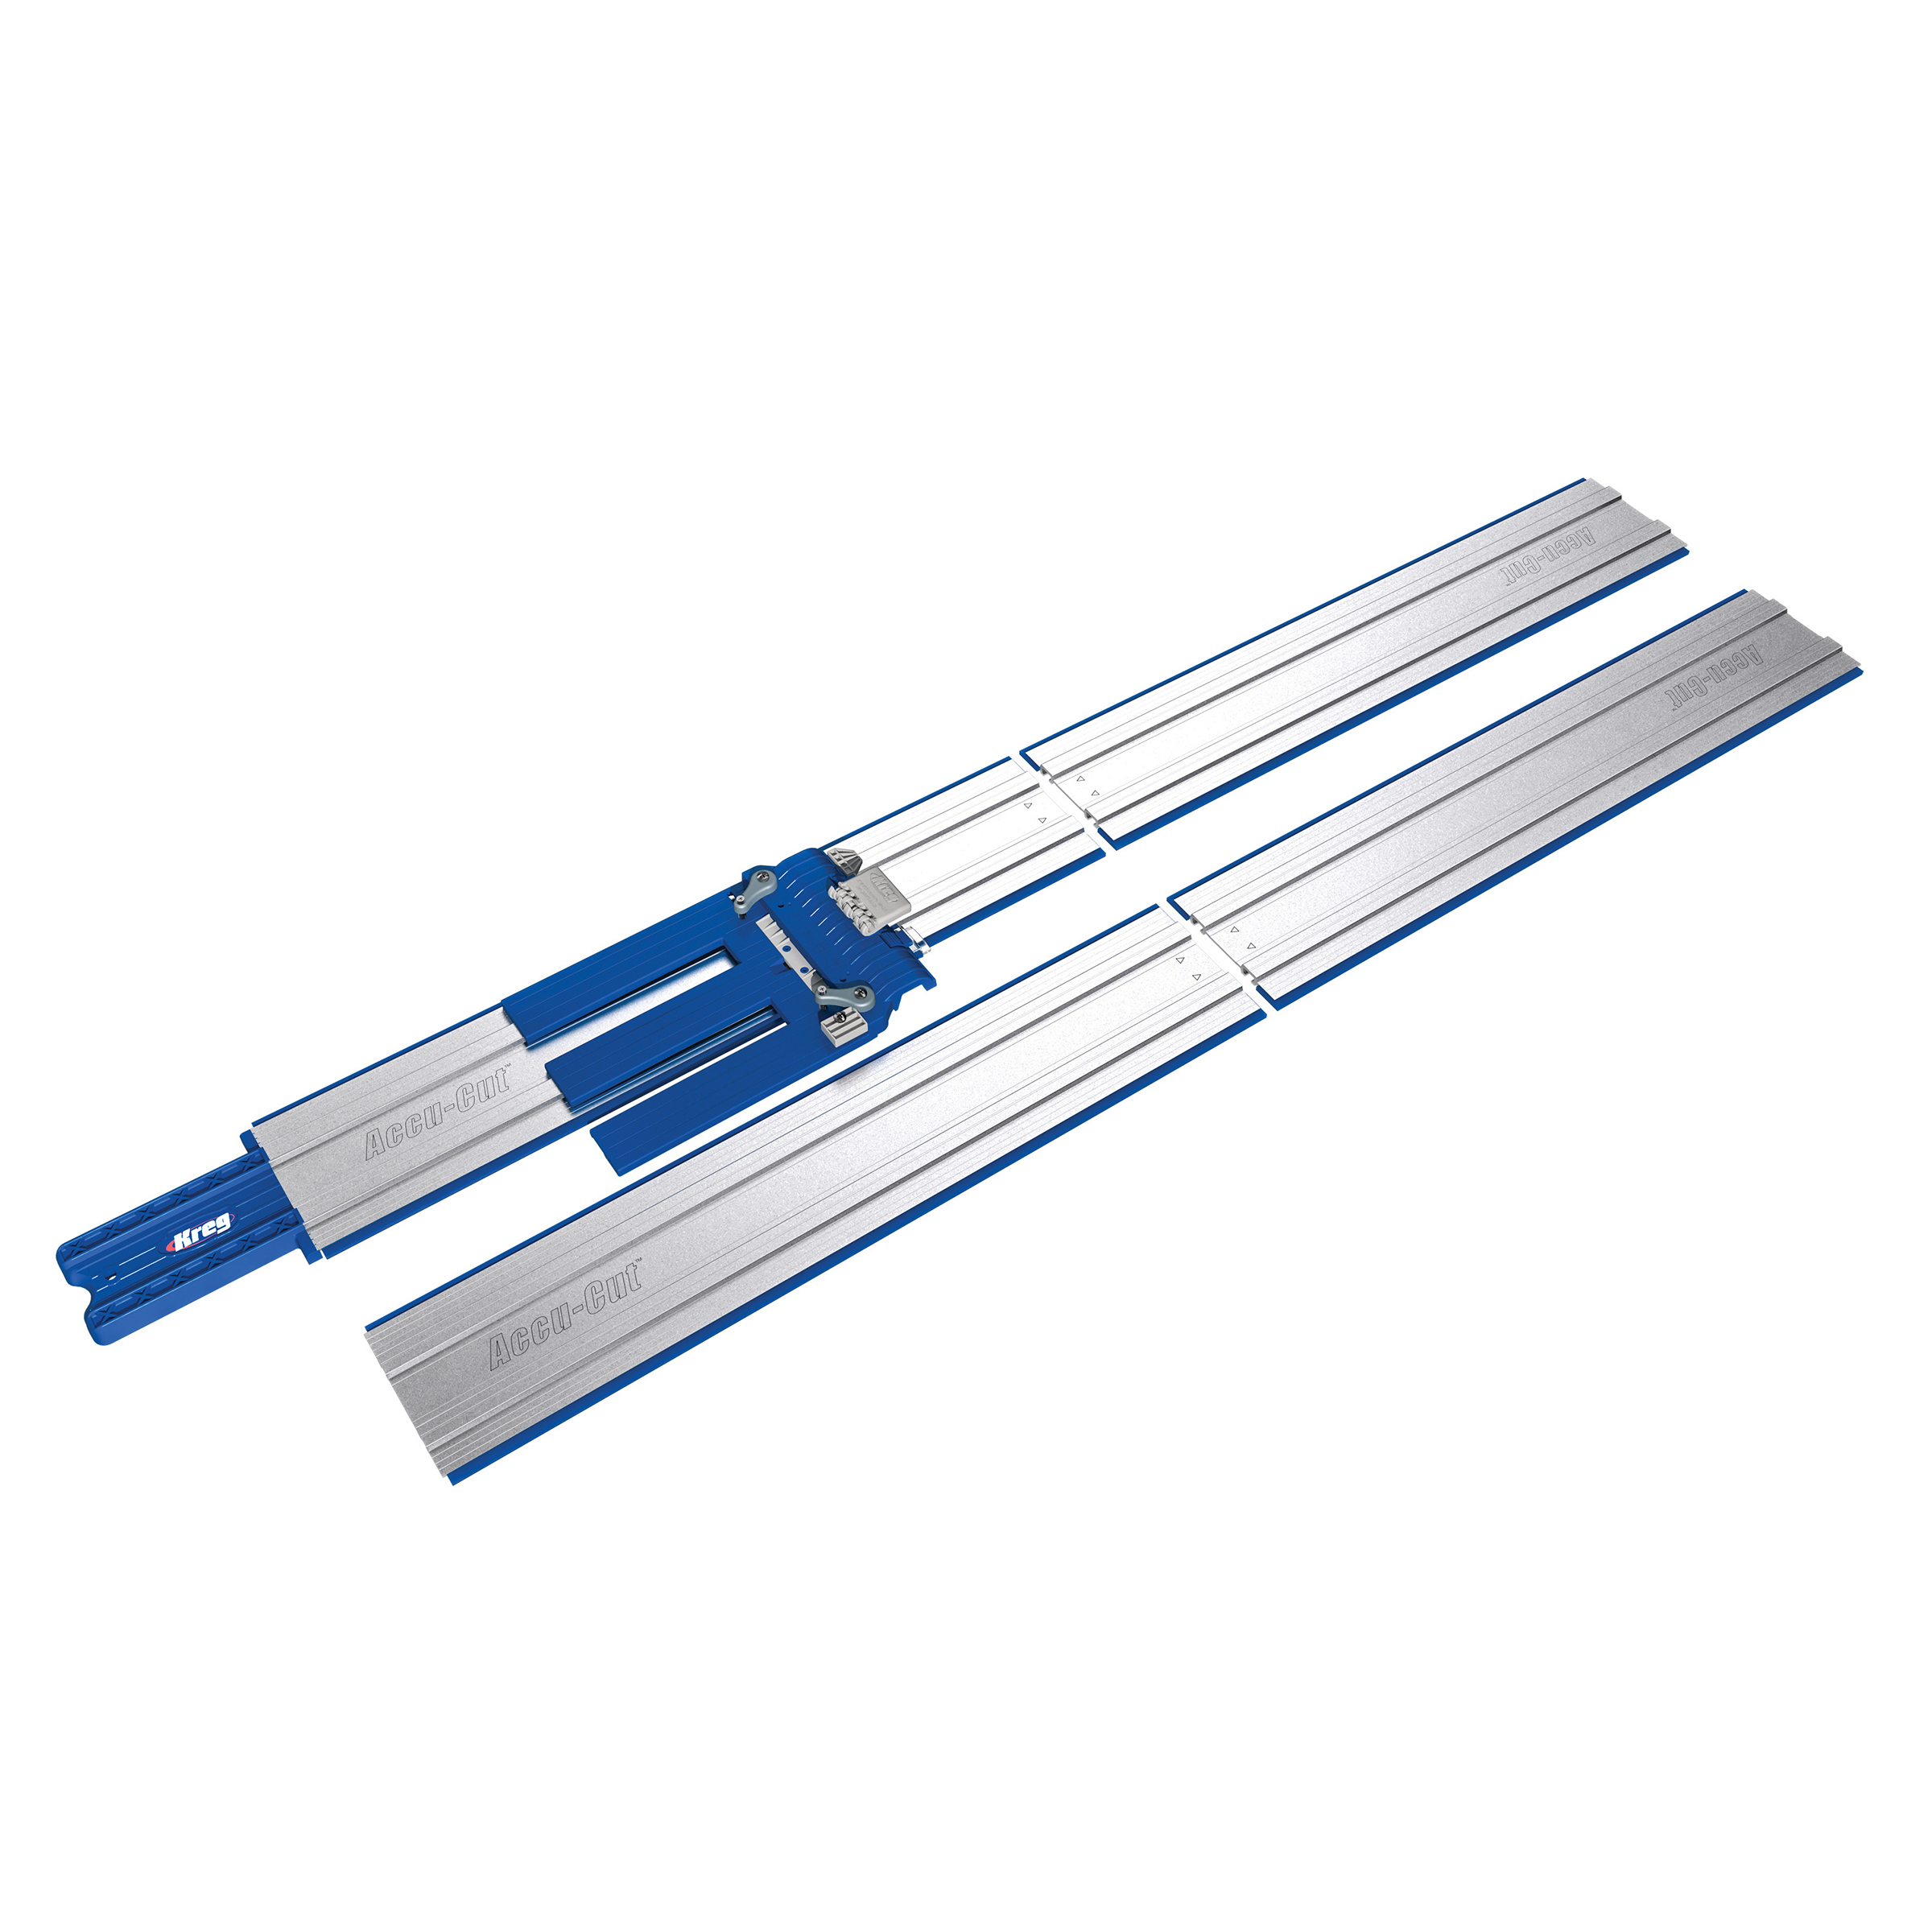
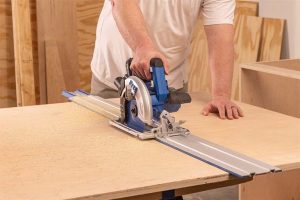 If you want to take straight cuts in plywood to an even higher level, check out the Accu-Cut™. It makes your circular saw work like a track saw. It uses the same sled as the Rip-Cut but, with the Accu-Cut, the sled rides on top of a long track to guarantee straight cuts. The blade rides against a built-in anti-chip strip to prevent splintering along the cutline, and the Accu-Cut stays in place without clamps because the strips grip onto the sheet. That also means you can use the Accu-Cut to cut sheets at any angle.
Like the Straight Edge Guide, you have choices for cutting capacity: the standard Accu-Cut with 4′ capacity, the Accu-Cut XL with 8′ capacity, and the Accu-Cut Expansion Pack.
With a cutting guide for boards and one for sheets, you’ll be able to confidently make straight, accurate cuts with your circular saw every time. The reason is simple: When you’re not worried about keeping your saw straight, then getting great-quality cuts is easy.
5. Practice makes perfect
Like everything in project building—and in life—you’ll become more comfortable and confident the more you do. Setting up your saw correctly and choosing a good saw guide will get you there more quickly, but experience still helps.
 That’s why it’s a good idea to practice cutting. Just pick up some inexpensive materials, use some leftovers from a previous project, or bum some scrap wood from a project-building friend. Then practice using your saw and your guide, as well as your cutting-support setup, to make cuts until you feel comfortable. Then you’ll be ready for game day when you take on a project with your trusty circular saw and make straight, accurate cuts to create awesome project parts.
And Finally…Don’t skimp on safety
We know. Nobody wants to be reminded about safety. But safety is especially important when you’re cutting. Be sure to protect yourself with the following things whenever you cut:
- Safety glasses: They protect your eyes of course, but also help keep sawdust from getting in your eyes as you cut. If you can’t see your cutline, it’s pretty hard to keep the saw straight.
- Hearing protection: Circular saws can be loud. Always protect your hearing with earplugs or sound-deadening muffs. And, if you’re wondering, your music earbuds are NOT the same.
- Breathing protection: We’ve all gotten used to wearing masks, so putting on a dust mask shouldn’t feel awkward, and it will keep you from inhaling sawdust that can damage your lungs. Some wood species are more irritating to lungs than others, and dust from pressure-treated wood can be damaging. It’s best to just get in the habit of always wearing a mask while cutting.
- Appropriate clothing: Comfortable clothes are great when you’re building projects, but make sure they don’t fit too loose. Long sleeves should be rolled or pulled up. Make sure there aren’t any strings or dangling things—including jewelry—that could hang down and get caught. Long pants are better than shorts for protecting your legs.
- Sturdy shoes: Just because that influencer you love works in sandals doesn’t mean you should. Wear closed-toe shoes that protect your feet. And if you’re serious about project building, get work shoes. They’re available in more styles than ever, and they’re comfortable. You can even get athletic-style work shoes now that have steel toes and puncture-resistant soles.


Associated Products
Portable Crosscut

Crosscut Station

Straight Edge Guide
Accu-Cut™
Rip-Cut™
Accu-Cut™ XL

Track Horse
