Welcome to our guide on building with plywood! Whether you’ve been doing projects for years or just starting out, plywood is a versatile and cost-effective material for various projects. Here we’ll cover the basics, provide valuable insights, and hopefully answer any questions you have about this do-it-all material.
Types and Sizes of Plywood
Understanding the different types and sizes of plywood is essential for selecting the right material for your project. There are three basic types of plywood you’ll come across in home centers:
- Sheathing — Mostly reserved for structural applications, plywood sheathing is strong, inexpensive, and unfinished.
- Sanded Plywood — Like the name says, this plywood is sanded during the manufacturing process, making it a budget-friendly choice for furniture, paneling, and shelving. Pine and fir are commonly used for sanded plywood.
- Hardwood Plywood — Heavy and strong, hardwood plywood is made from — you guessed it — hardwoods like birch, maple, and oak.
You can also get plywood project panels, which are pre-cut to specific sizes.
You’ll find plywood sold in standard sheets as well as smaller project panels.
- 4’ x 8’ (standard)
- 2’ x 2’ (project panel)
- 2’ x 4’ (project panel)
- 4’ x 4’ (project panel)
- 5’ x 5’ (project panel)
There are a variety of thicknesses available, but the most common you’ll find are:
- ¼”
- 3/8″
- ½”
- 5/8″
- ¾”
Note: ½” and ¾” are popular choices for woodworking and DIY projects.
Transporting Plywood
Moving around and carrying plywood sheets can be a big-time chore. Their size and weight make them awkward, and if you’re trying to wrestle them around by yourself, you can easily damage things around your shop or even injure yourself or others. There are a couple of great solutions for handling plywood when you don’t have an extra set of hands. Save yourself time and effort with two ingenious ways to carry plywood.
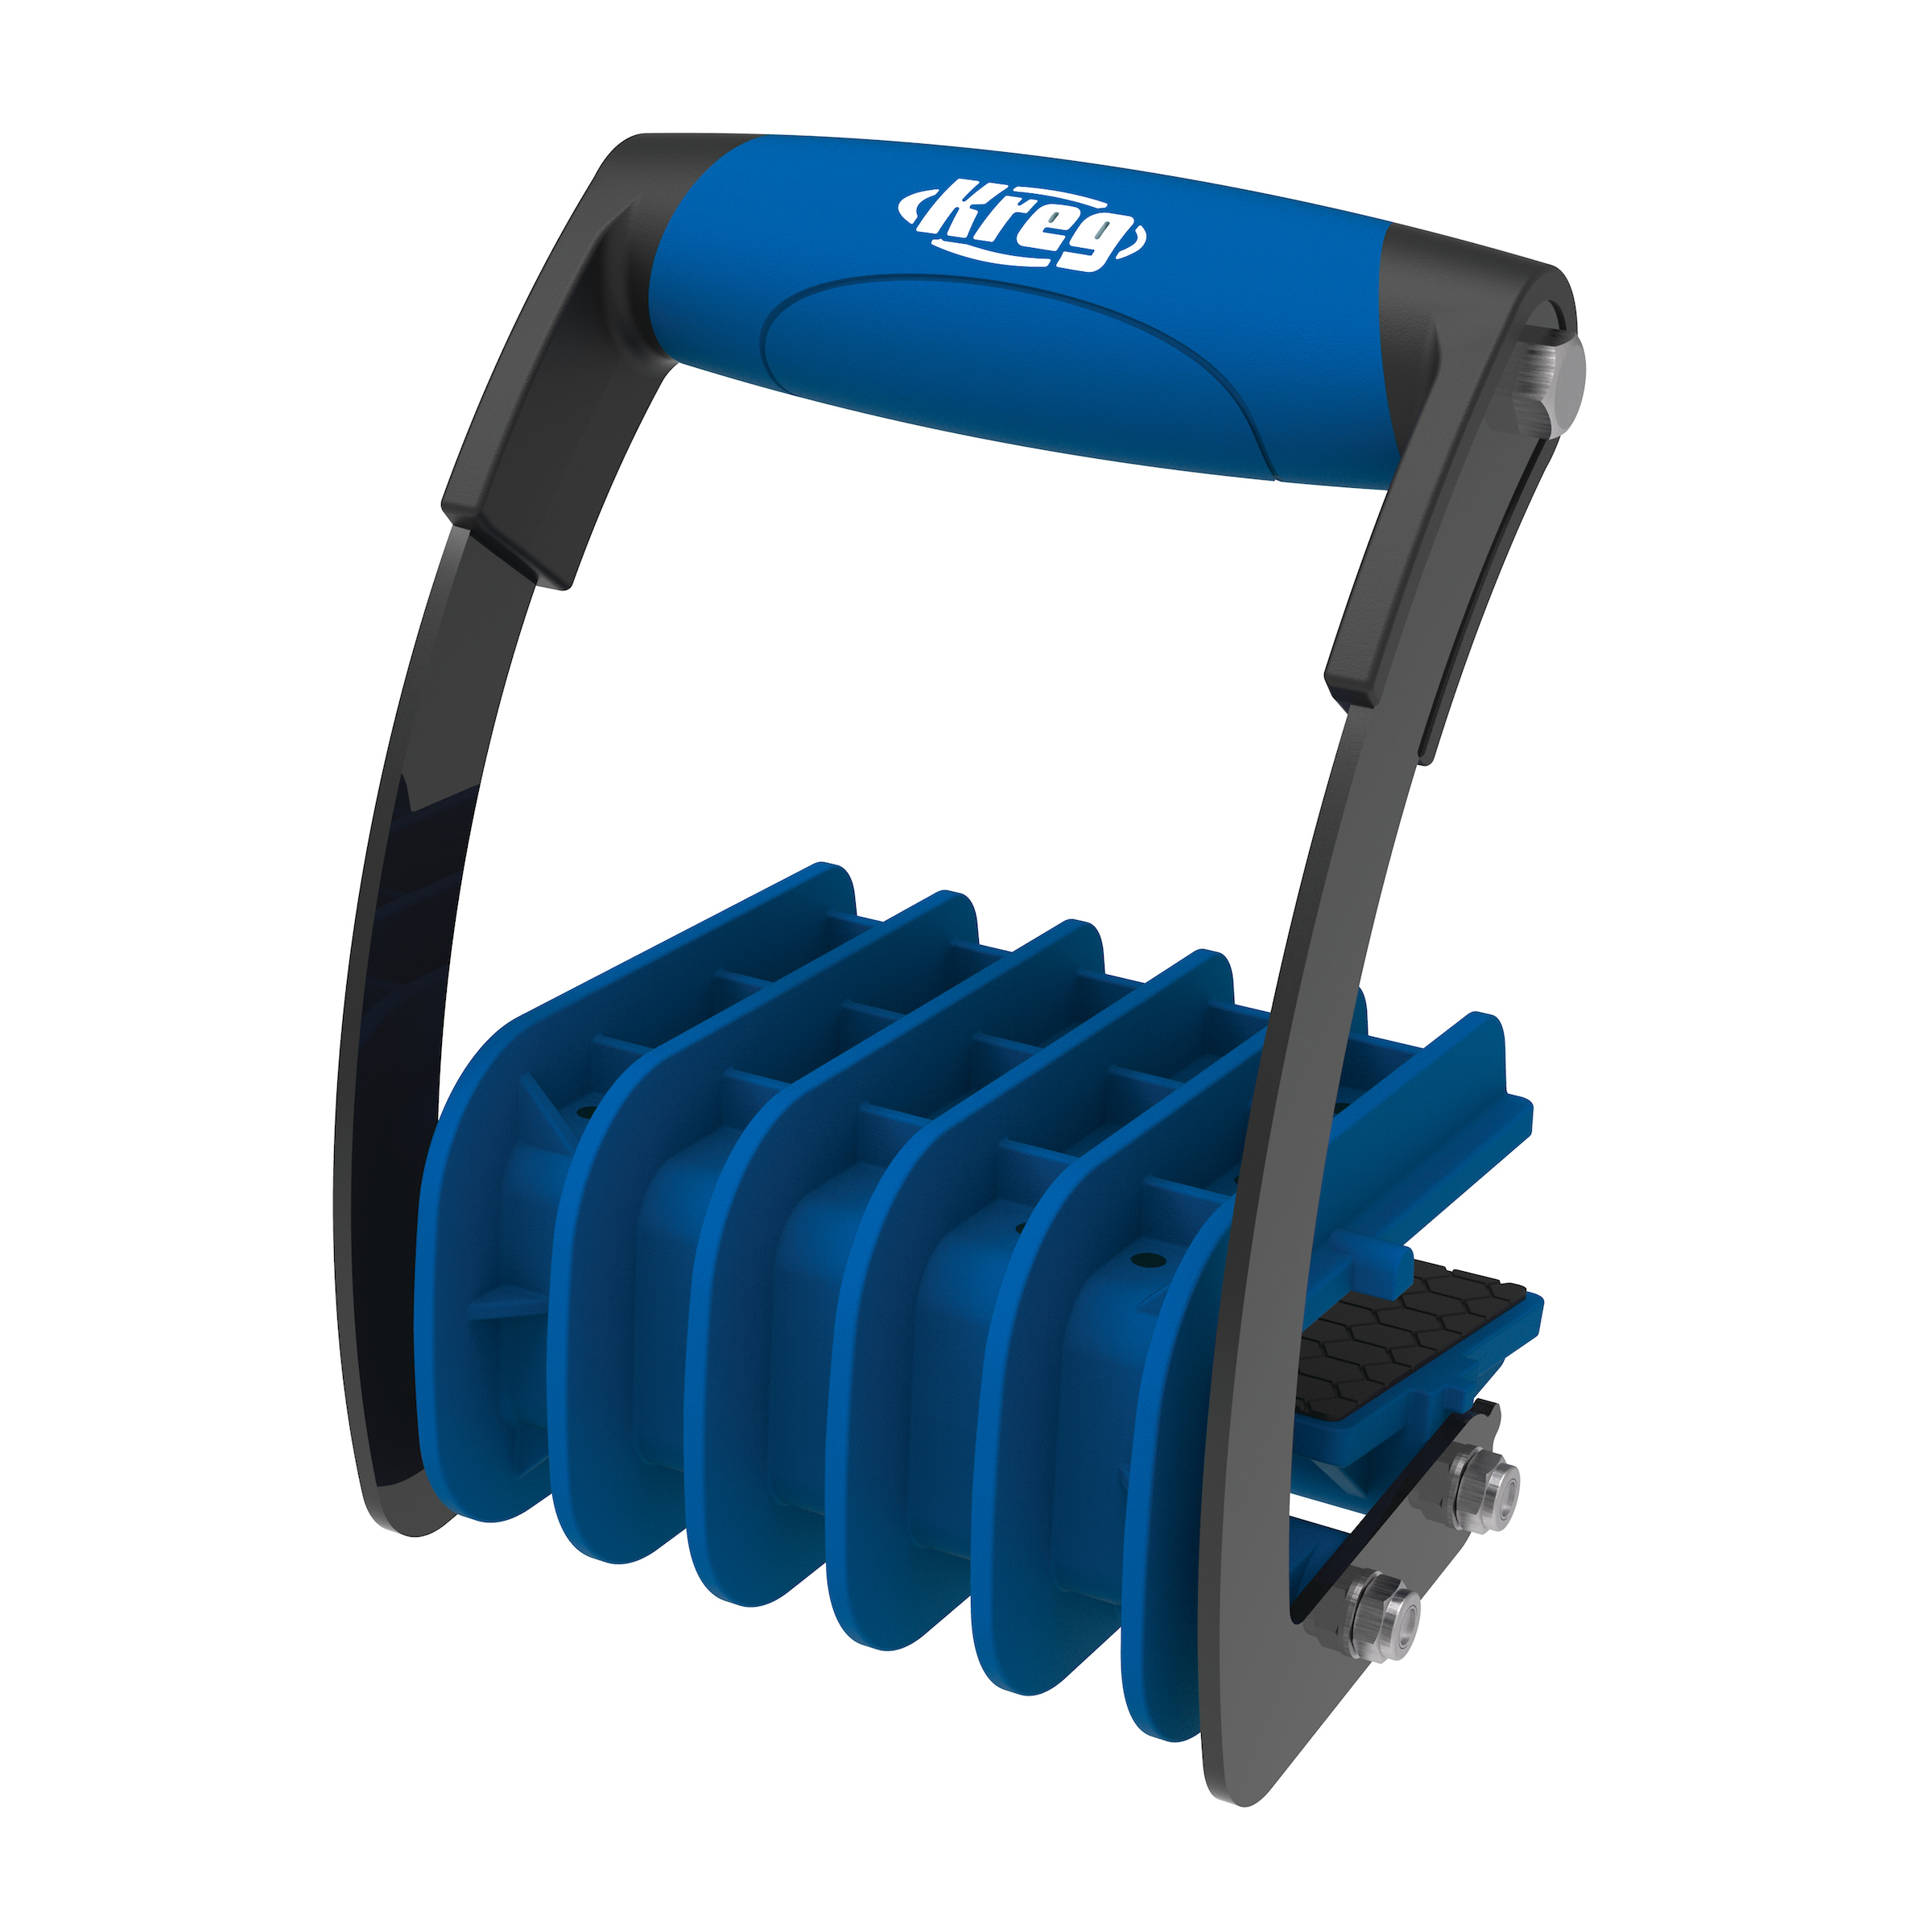
The first option is to get a panel carrier, which makes it very easy to carry full ¾”, 4’ x 8’ sheets by yourself. Our Kreg® panel carrier lets you grab sheets off the rack at the store, move them around your workspace, and unload them from a pickup or van without hassle.
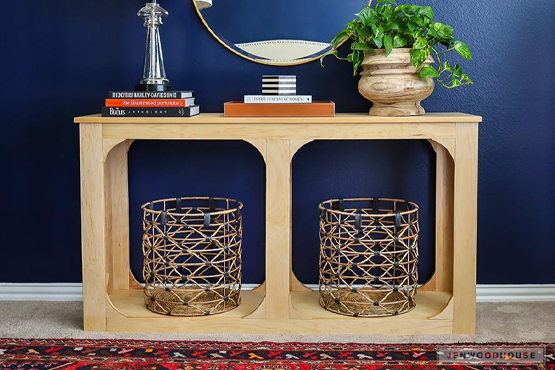
Another easy way to move plywood is by building your own plywood carrier, like the one below.
The parts list for this carrier can be found here.
Easiest Way to Cut Plywood
No matter your level of experience, making freehand cuts with a circular saw can be tricky. With the help of a cutting guide, though, it’s easy to get accurate, consistent cuts. With guided cutting, your saw follows a guide – either an edge guide or a track guide – to create the results you’re looking for. Better yet, these guides are portable, so you can easily set up your saw and guide wherever you’re building, rather than having to wrestle plywood sheets onto a table saw.
So how can you get started with guided cutting? And what’s the difference between edge guides and track guides? We’ll detail our guided cutting solutions so you can find the one that’s right for you.
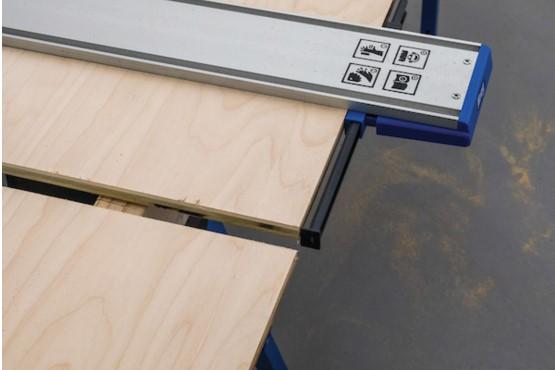
Break Down Sheet Goods Fast
With the edge-guided Rip-Cut™, breaking down large sheets has never been easier. The Rip-Cut rides along the edge of the sheet to ensure straight, accurate, and repeatable cuts with a quick setup. There’s no need to measure and mark layout lines thanks to the edge-guided design.
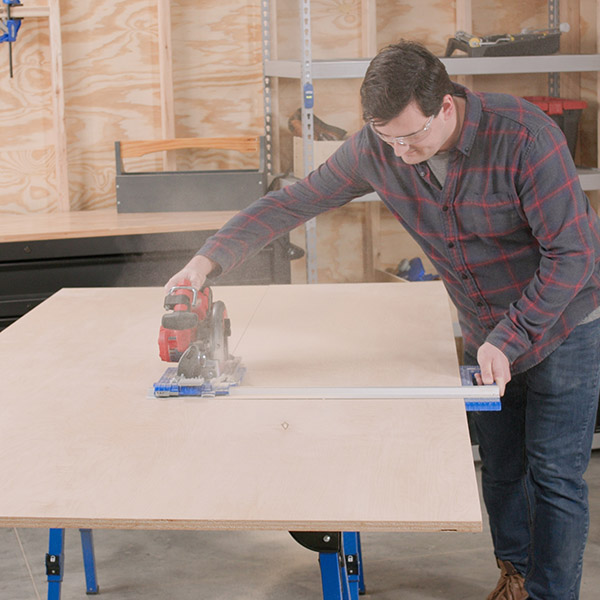
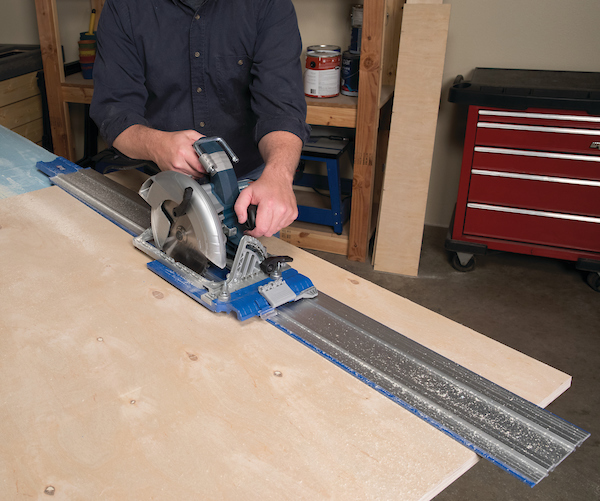
Experience Track Saw Performance
The Accu-Cut™ turns your circular saw into a precision track-guided saw, perfect for breaking down sheet goods with splinter-free results. The included guide strips are dual-purpose: no need for clamps with their anti-slip design, and they prevent tear out with an anti-chip feature. The Accu-Cut has a standard 50” cutting capacity, with a 50” extension available. If you want to go big right away, the Accu-Cut XL is also available with a 100” capacity for ripping full-sized sheets of plywood.
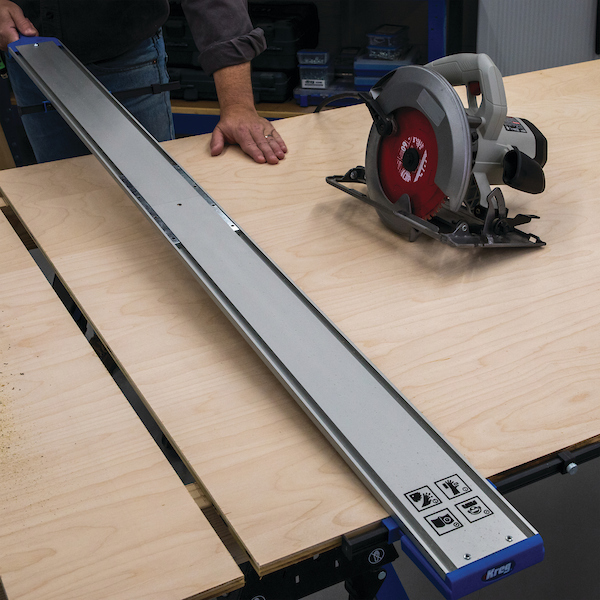
Get Perfectly Straight Cuts
Making straight cuts can be difficult when cutting down plywood and other large material. The Straight Edge Guide offers an intuitive and approachable way to break down sheet goods. Your saw rides against the aluminum guide, allowing you to make straight and precise cuts. The Accu-Cut has a standard 48” cutting capacity, with a 24” extension available. You can also get the Straight Edge Guide XL for 96” capacity.
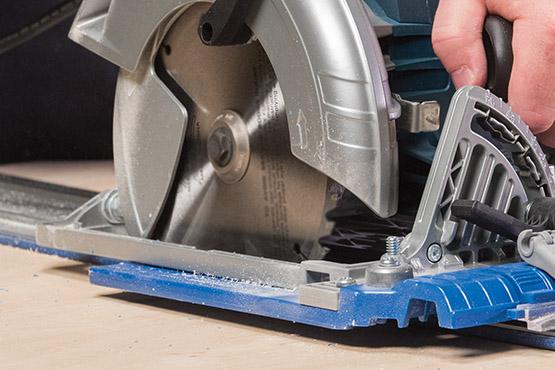
Getting Clean Edges: Choosing the Right Blade
Circular saws are great all-around tools for a variety of jobs. The blade that came with your saw is great for cutting soft lumber like pine, but it’s probably not the best if you’re looking for a smooth edge on the thin veneers of plywood. The video below shows how to shop for a circular saw blade that will give you the cuts you’re looking for.
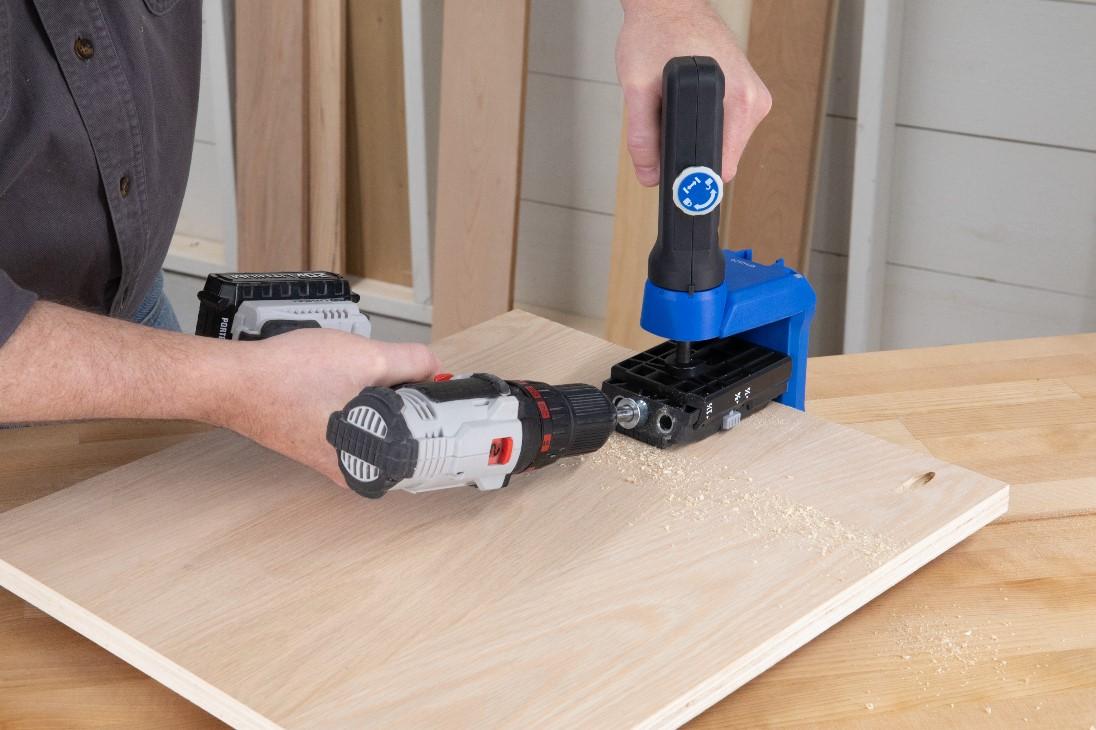
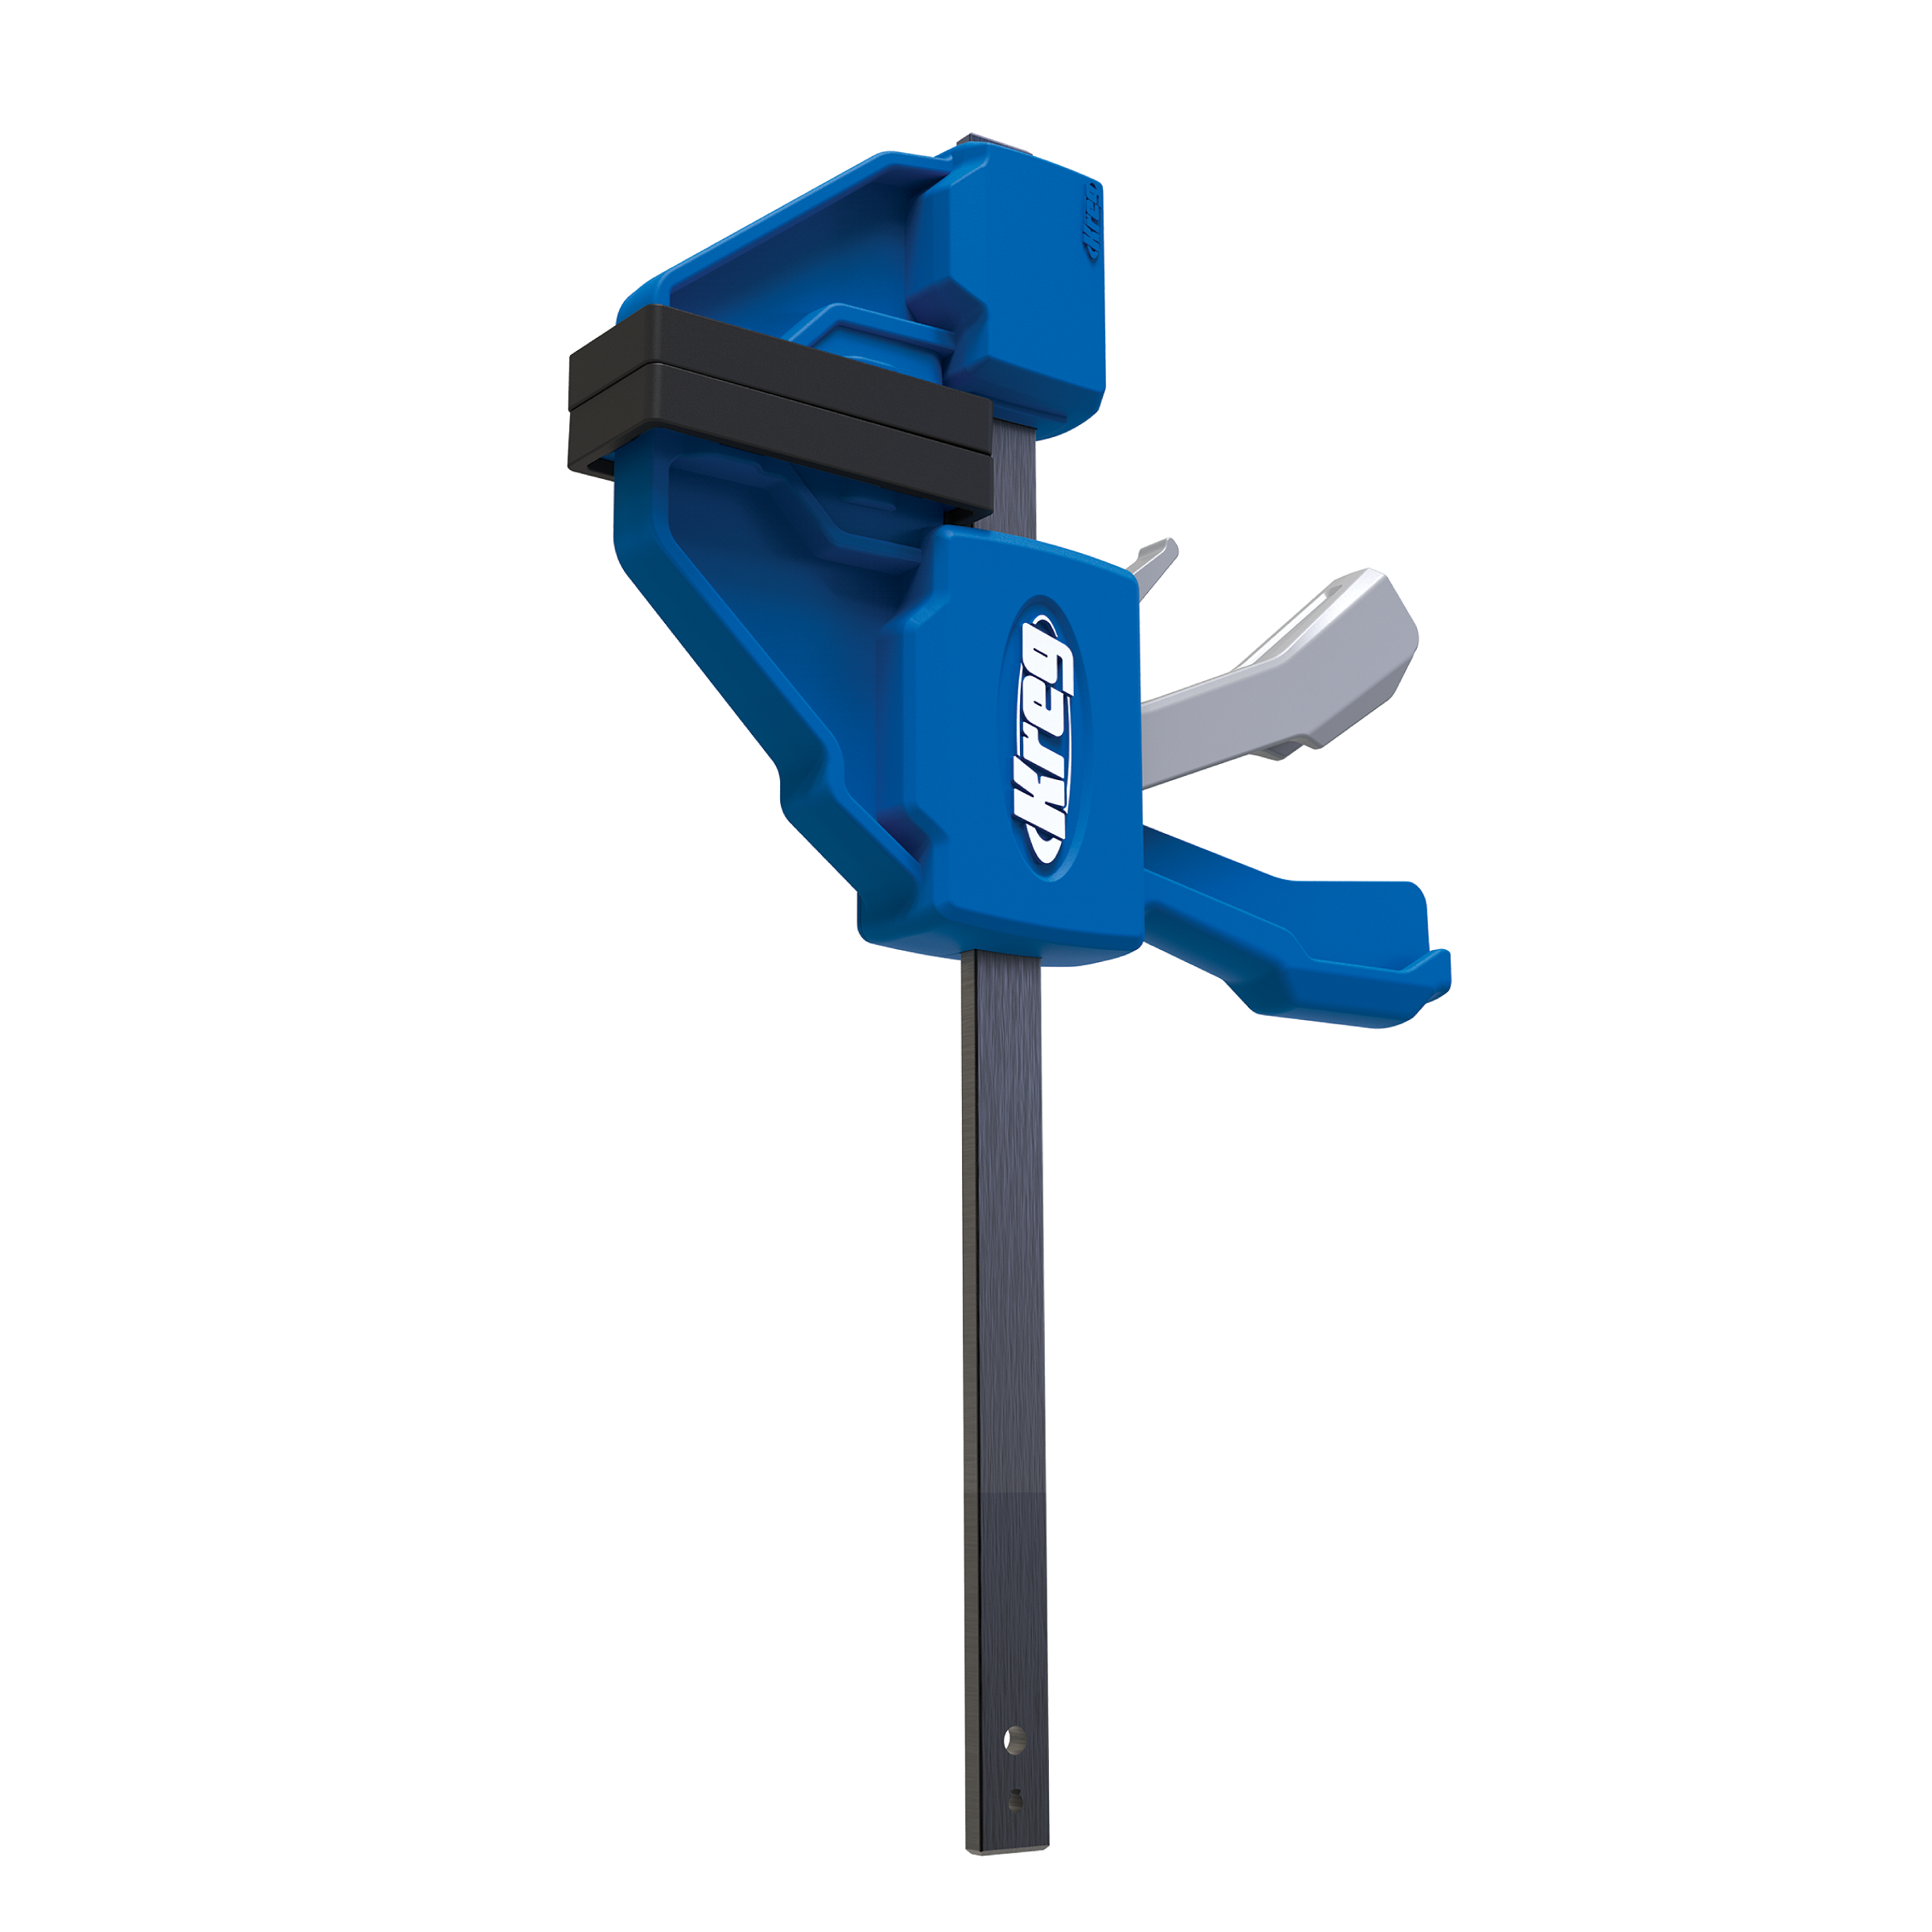
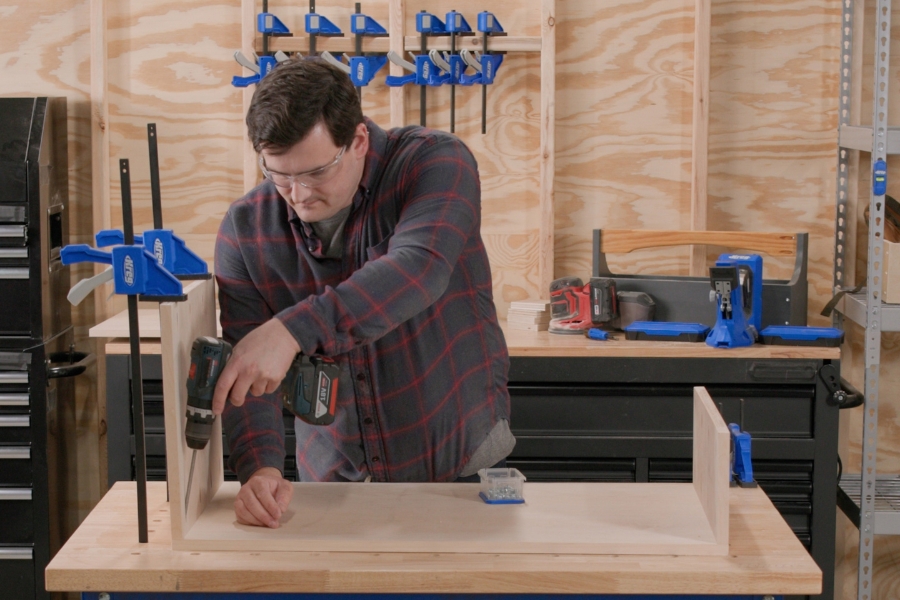
Using Pocket Holes with Plywood
Can you use pocket holes with plywood? Absolutely! Pocket-hole joinery is ideally suited to working with plywood, as it’s an incredibly fast, strong, and simple way of joining wood.
When you’re done assembling, there’s no need to leave your joint clamped up for hours, as glue is completely optional, and there are no frustrating alignment problems to deal with.
Which Screws to Use with Plywood
Generally speaking, coarse-thread screws are the preferred choice for sheet goods like plywood. And when you’re not sure which screw type what length of screw matches your material thickness, use our handy screw selector tool. In just a few steps you’ll know exactly what type of screw you need, and you’ll get drill bit and pocket-hole jig settings too.
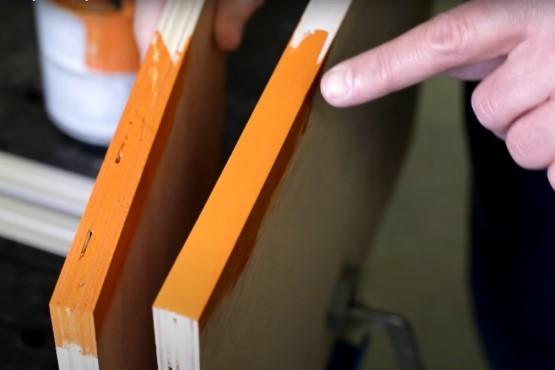
How to Finish Plywood Edges
When you build projects from plywood, exposed edges are always a challenge – even when the project will be painted. The plies, as well as any voids in those plies, always show through no matter how much you sand.
Because of that, real-wood veneer edgebanding can be a great way to get a polished look and add a little extra durability. Check out the video below for a step-by-step guide on how to get great looking edges on your next plywood project.
When painting your plywood projects, try using drywall spackle to fill in voids around the edges. It dries fast, goes on smoother and sands easier than wood filler, and readily accepts paint. Check out the video below to see how easy it is.
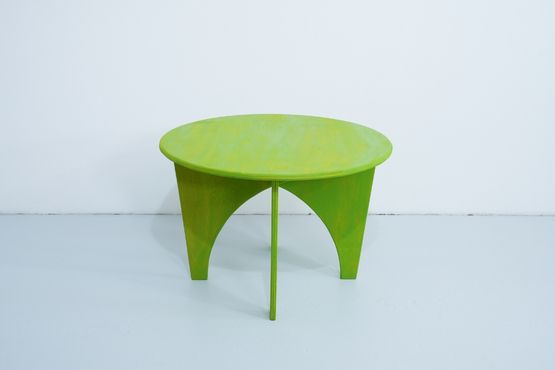
Building with plywood opens up a world of possibilities for woodworking projects, combining affordability with versatility. By understanding how to choose the right plywood, transport your materials safely, properly make clean cuts, use pocket holes, and cover edges, you can elevate your woodworking and DIY projects to new heights.
Feel free to bookmark this guide for future reference. Happy woodworking from your friends at Kreg!