One Sheet Plywood Bookshelf
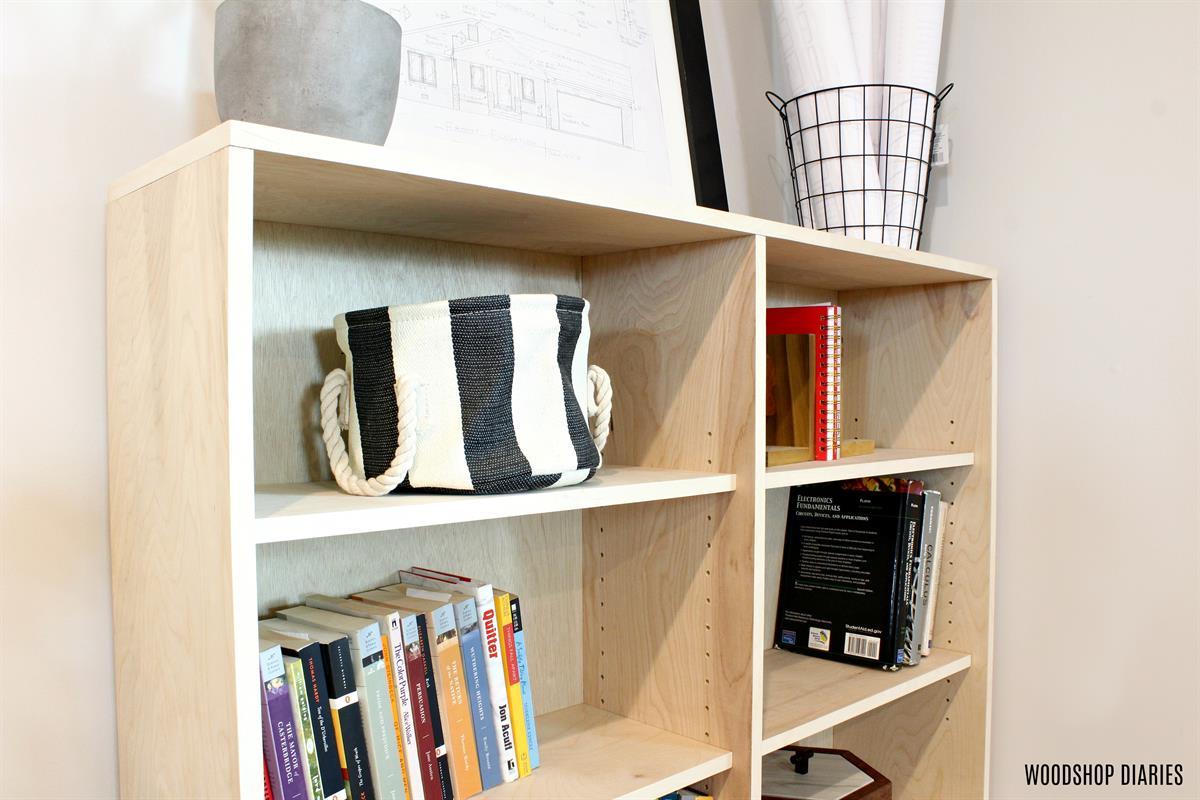
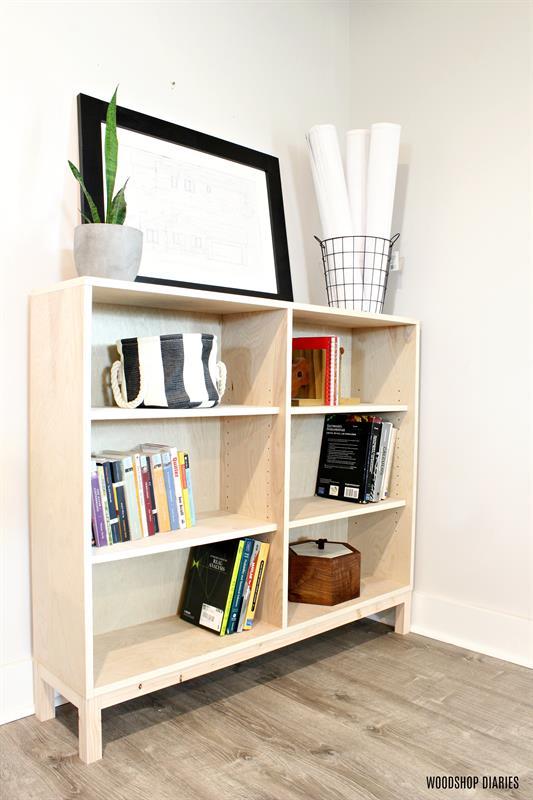
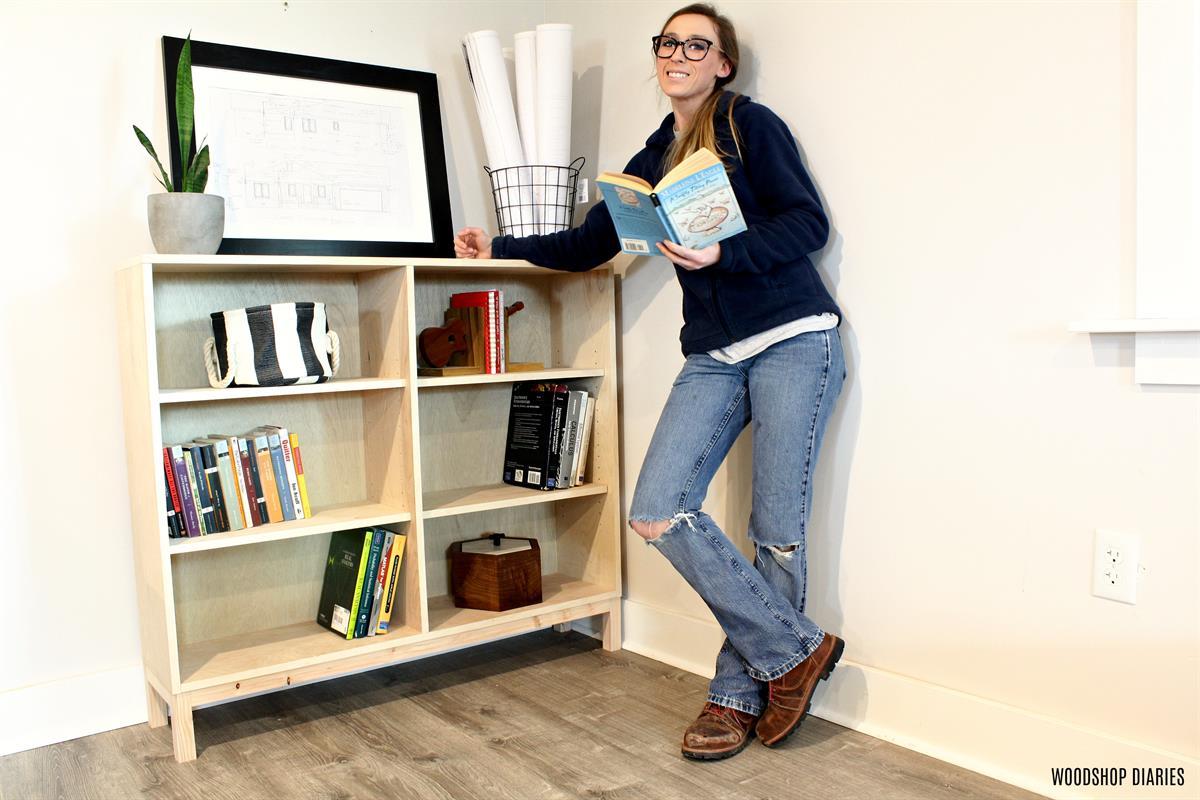
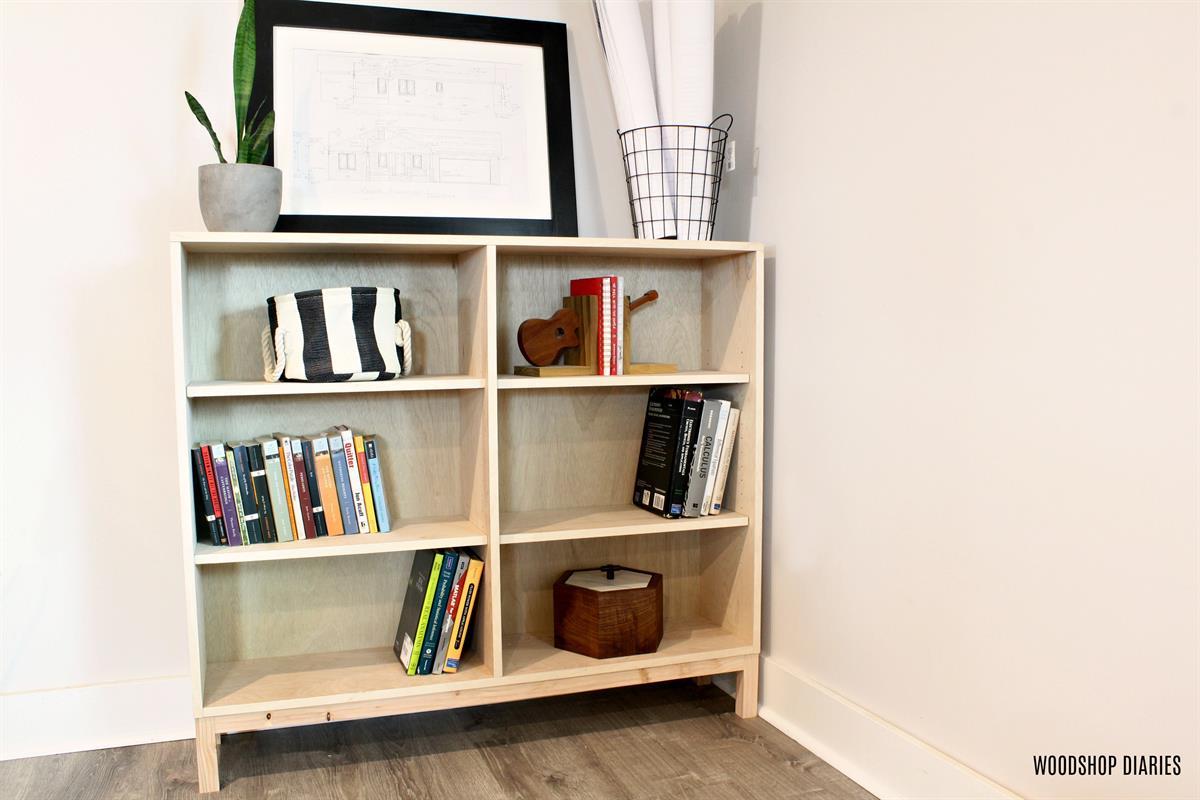
By Woodshop DiariesThis one sheet plywood bookshelf is a simple project that is perfect for a kid's room or a playroom to store books, toys, pictures, keepsakes, etc. With adjustable shelves, the possibilities are endless. The 2x2 base and the 1/4" plywood backer are inexpensive, but also optional pieces to add on.
Directions
-
Cut Down Plywood Sheet
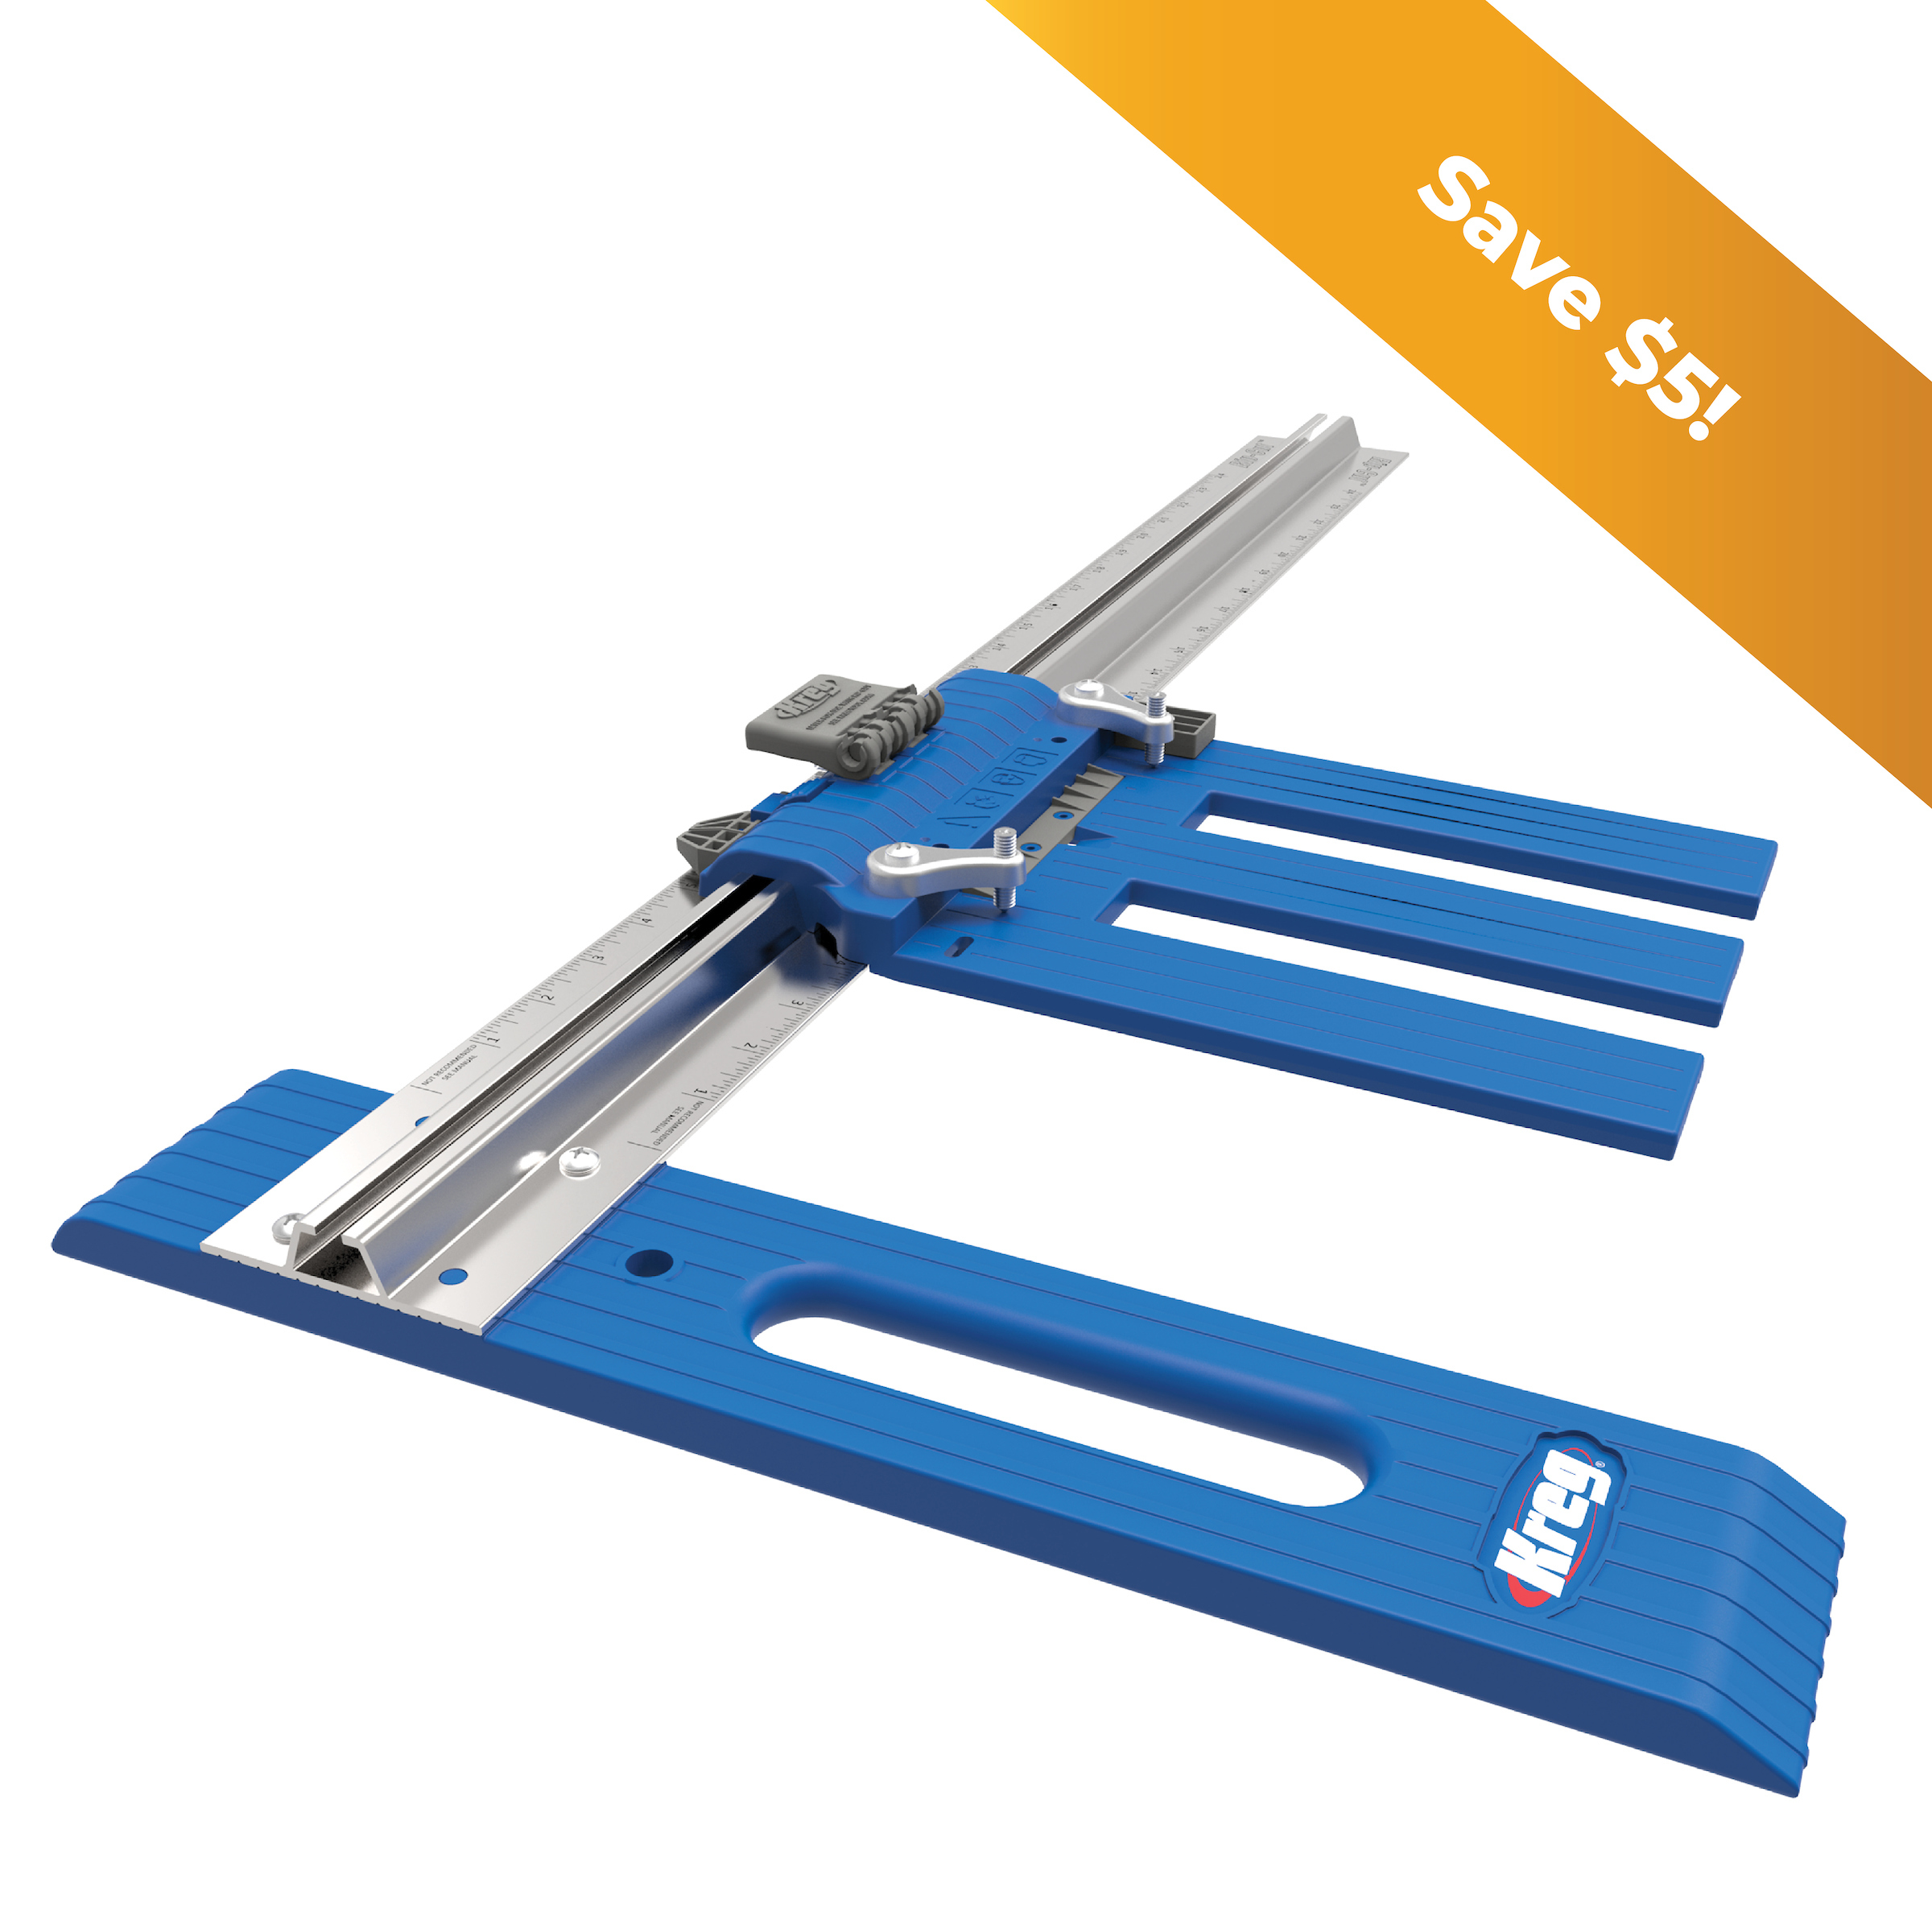
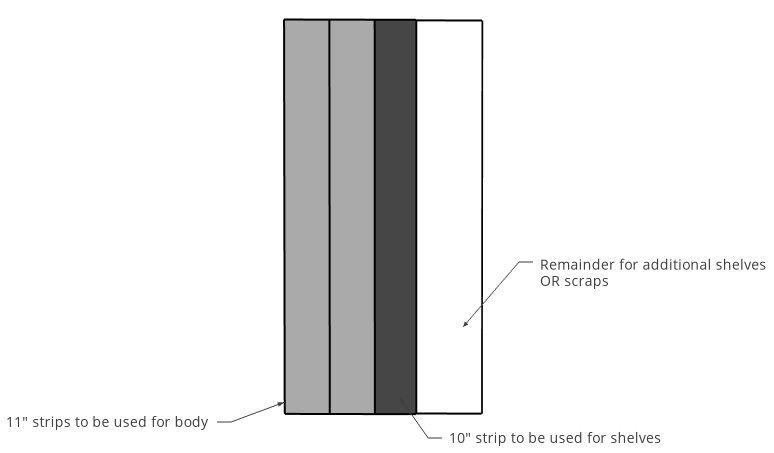
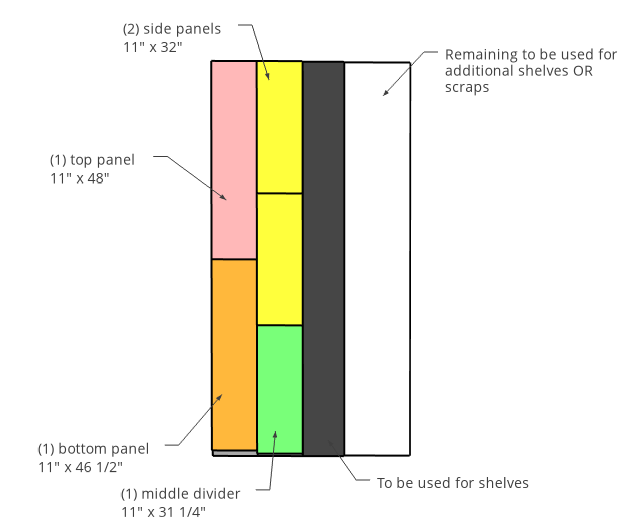
This project calls for one full sheet of 3/4" plywood. There will be some leftover for additional shelves or to save for another project later. First, using a Kreg Rip Cut and a circular saw, rip two 11" wide plywood strips and one 10" wide strip. The 10" strip will become the shelves later, so set it aside for now.
-
Cut Bookshelf Pieces
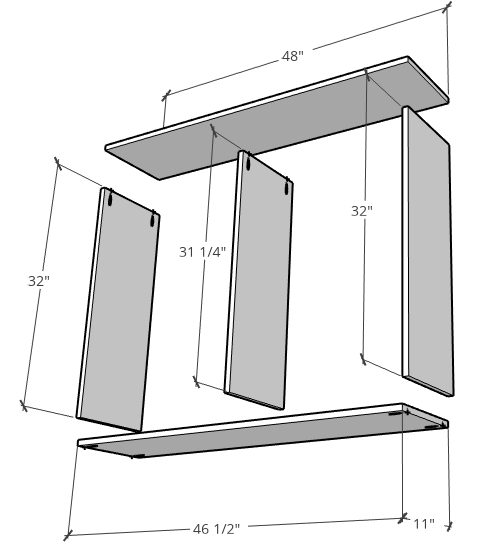
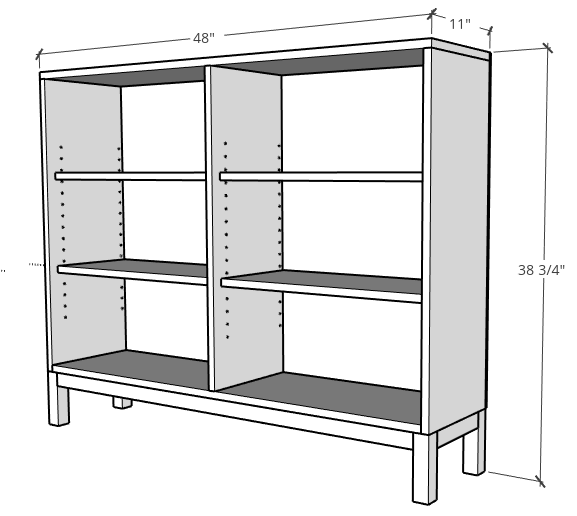
Cut pieces from the 11" strips to assemble the bookshelf from the cut list above--one top (11" x 48"), two sides (11" x 32"), one bottom (11" x 46 1/2") and one divider (11" x 31 1/4"). Apply edge banding as desired to cover the plywood edges.
-
Drill Pocket Holes to Assemble
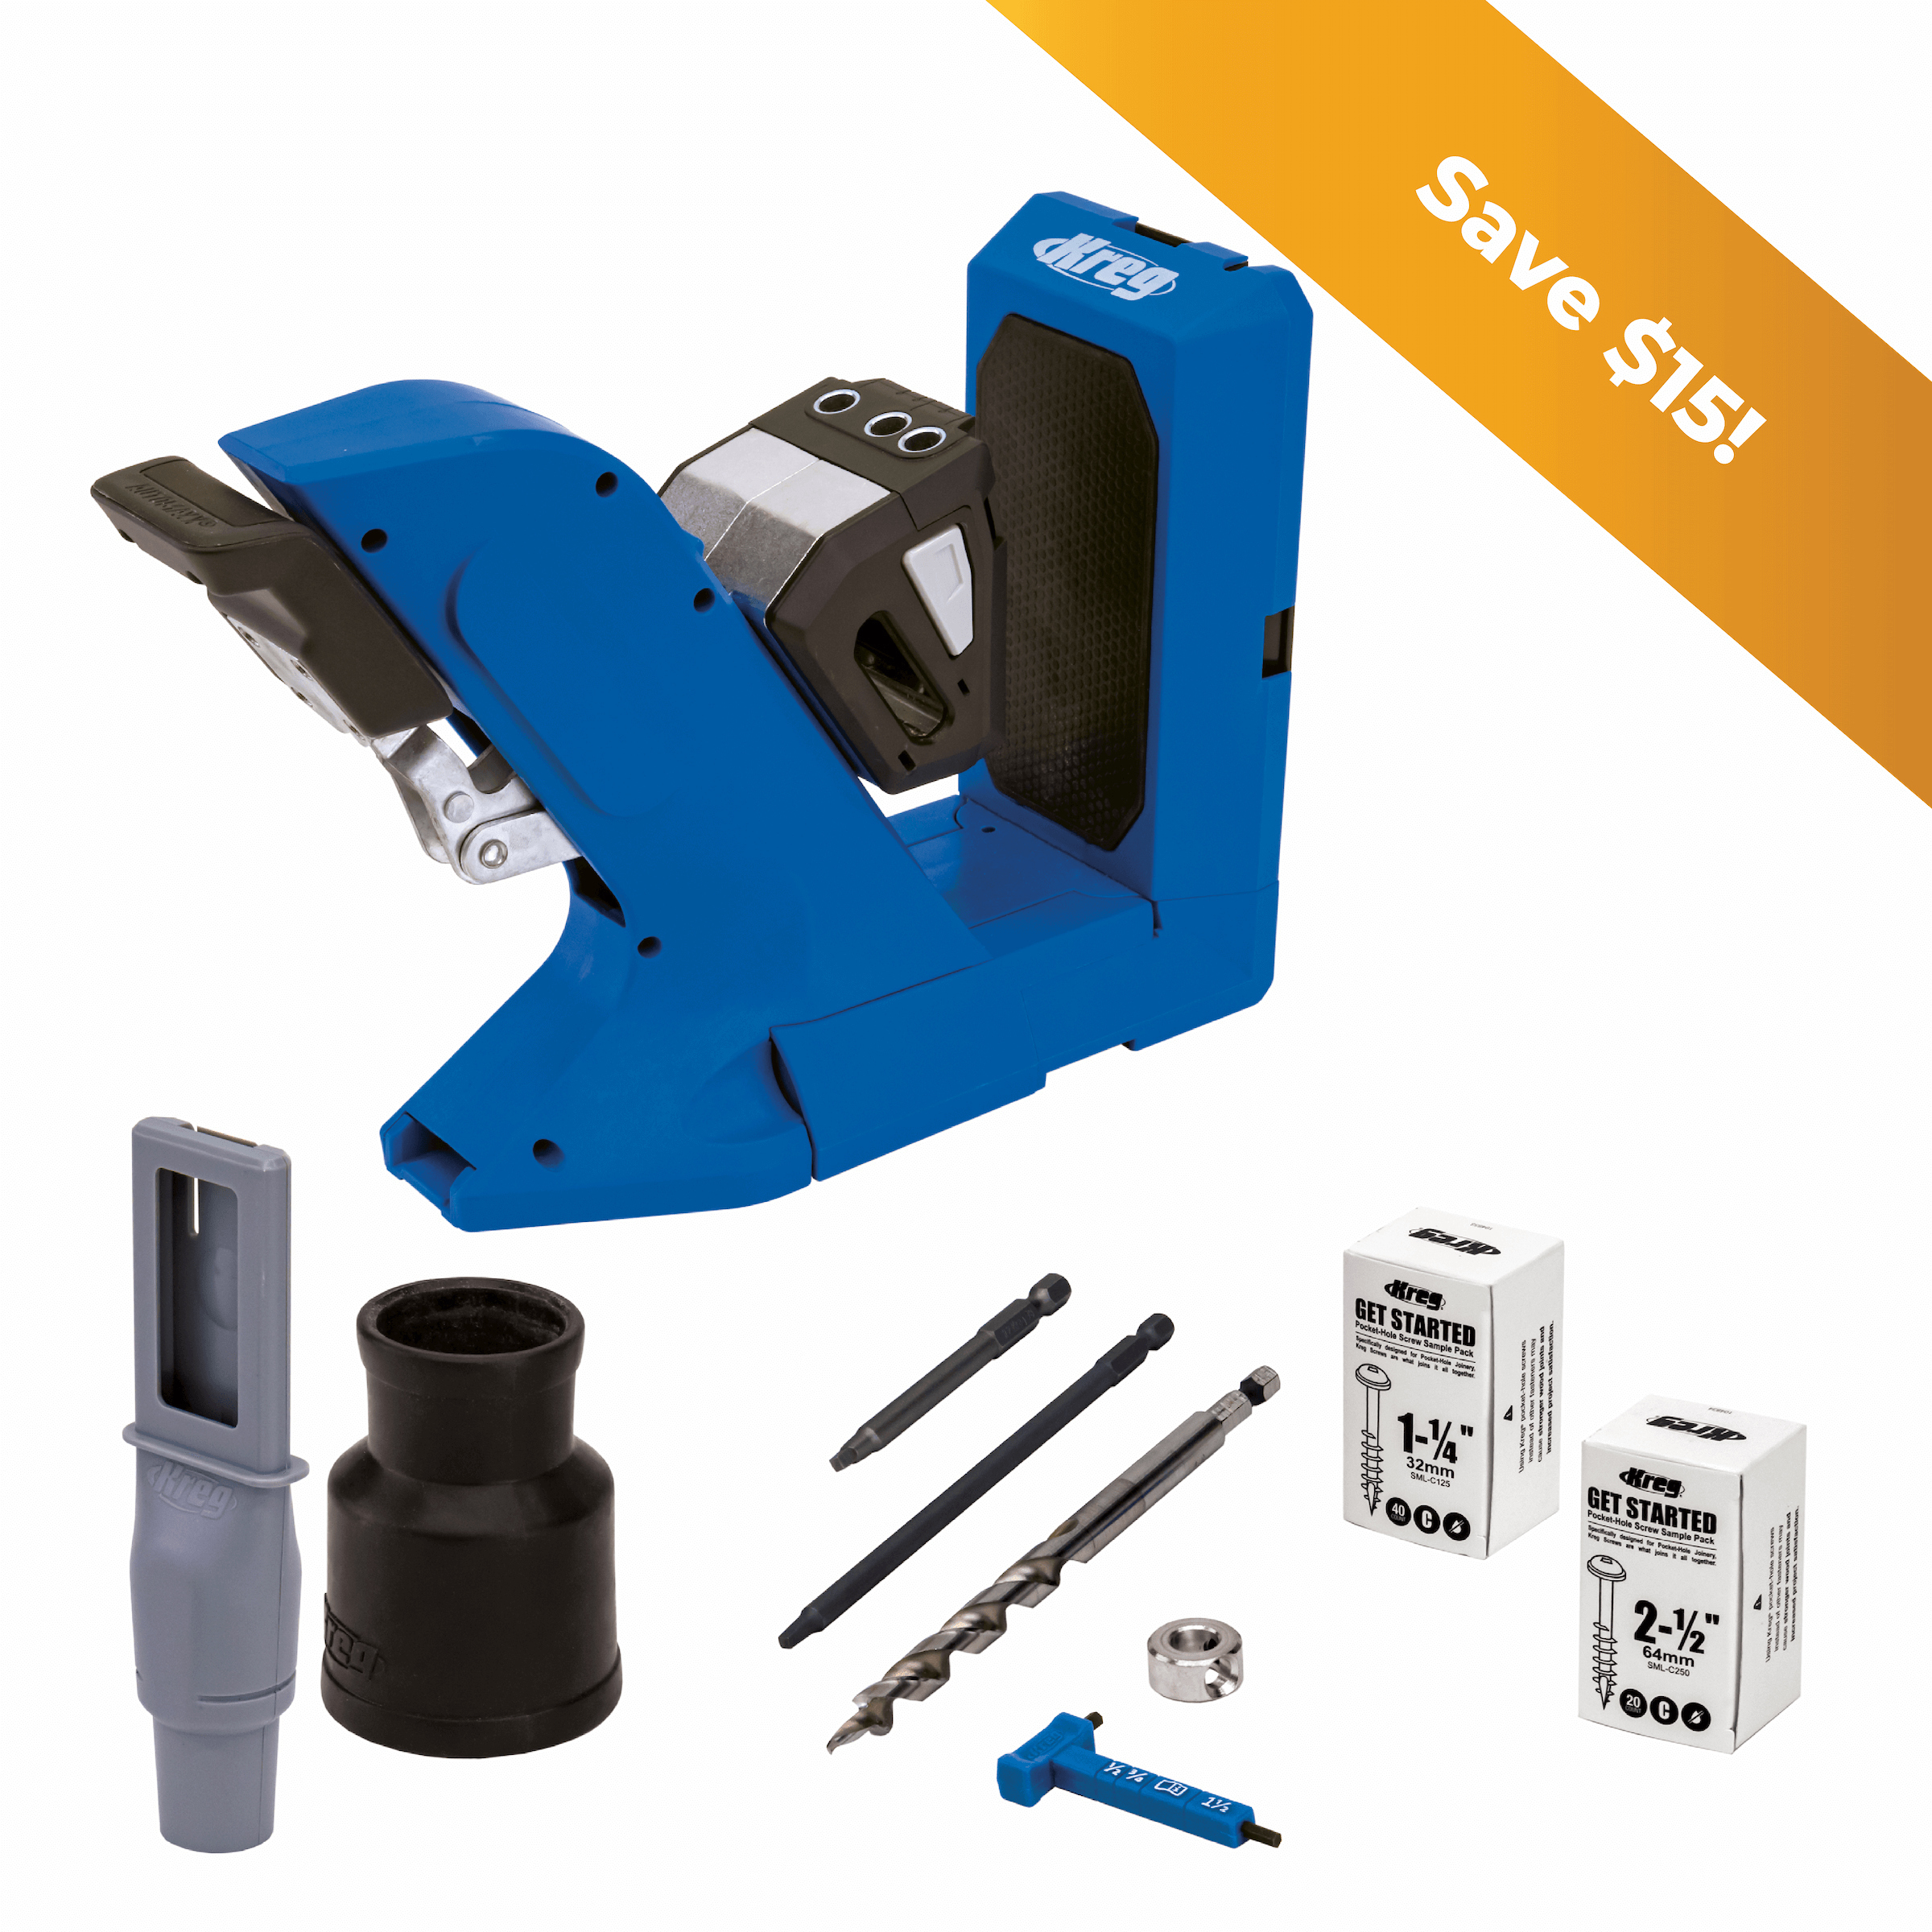
Drill 3/4" pocket holes into the TOP edges of the side panels, the TOP edge of the middle divider and into both ends of the bottom panel.
-
Assemble Bookshelf Body
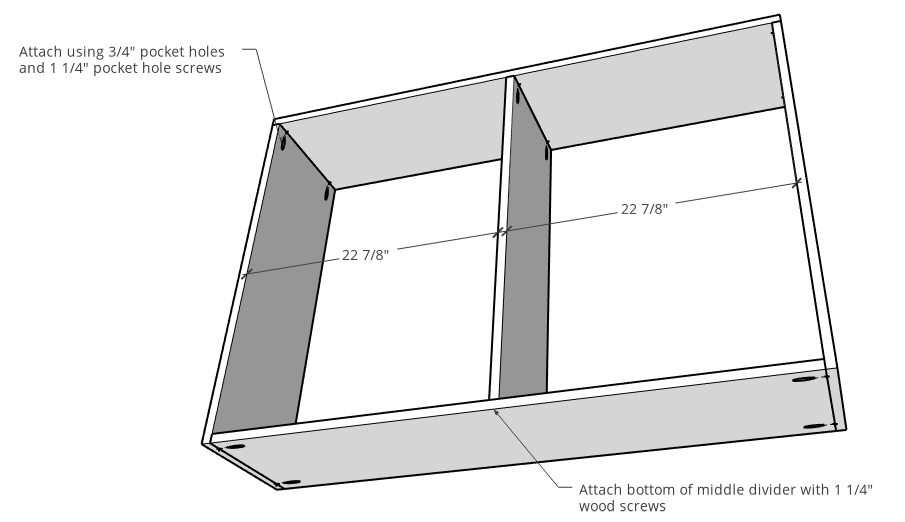
Assemble bookshelf body using 1 1/4" pocket hole screws through the pocket holes from step 3. Attach the bottom of the middle divider using 1 1/4" wood screws through the bottom panel into the middle divider. You can also using pocket holes and screws here as well, but this saves you from having to fill two more pocket holes later.
-
Plug Pocket Holes
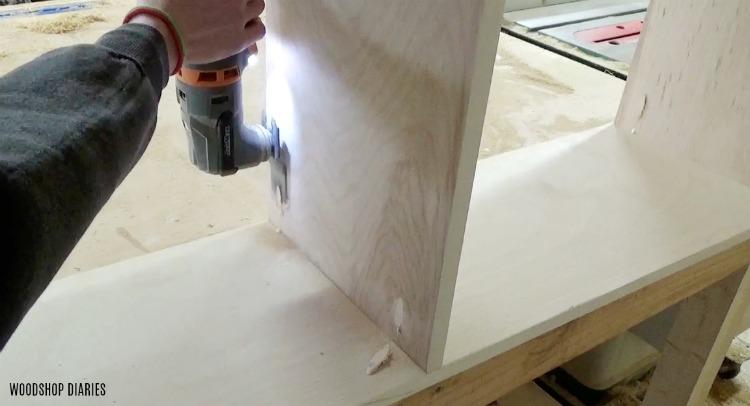
This step is optional. Because you can see the pocket holes at the top of the bookshelf, I used some Kreg pocket hole plugs and glued them into the holes. If you've worked with these before, you know they're kind of one size fits all. They fit nice and flush into 1 1/2" pocket holes but stick out a little with 3/4" pocket holes. Once the glue dries, it's easy to trim these down using an oscillating saw and a flush trim blade, then just sand smooth.
-
Assemble Bookshelf Base Short Sides
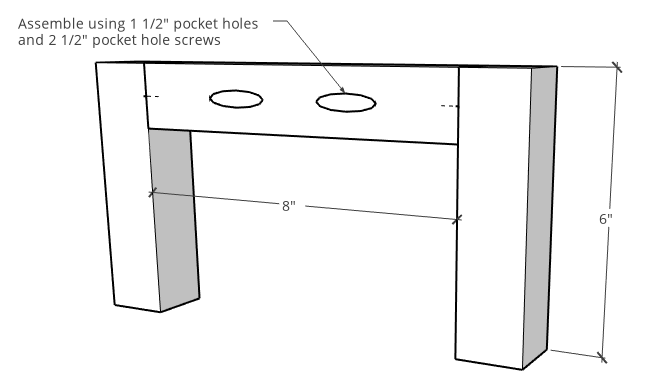
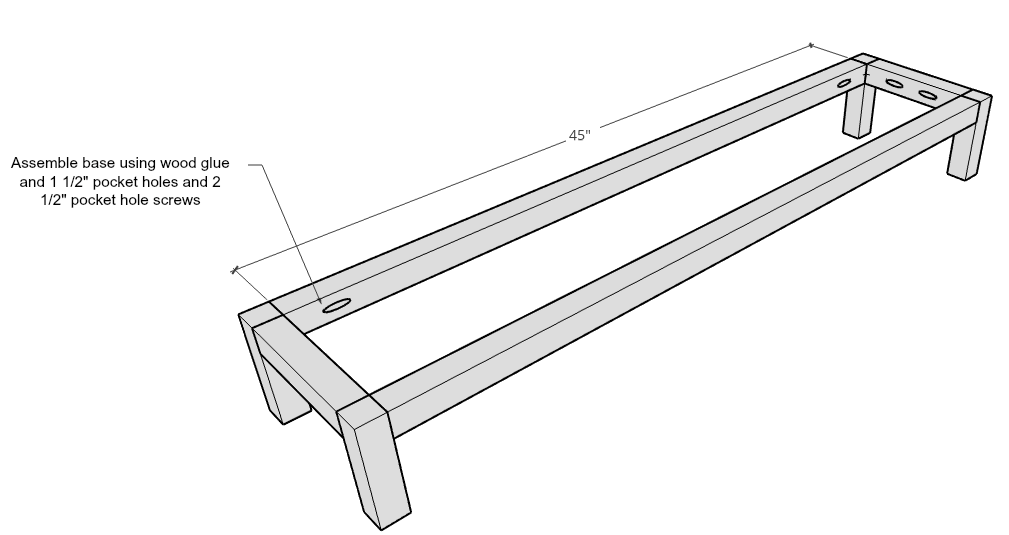
The base of the bookshelf was built from 2x2s. Cut the pieces to make the base from the cut list above. There should be four 6" legs, two 45" long supports and two 8" short supports. Drill one 1 1/2" pocket hole into each end of the long and short supports. Then, assemble two short sides like shown using wood glue and 2 1/2" pocket hole screws.
-
Assemble Bookshelf Base
Then, using wood glue and 2 1/2" pocket hole screws, assemble the rest of the base like shown.
-
Attach Base to Shelf
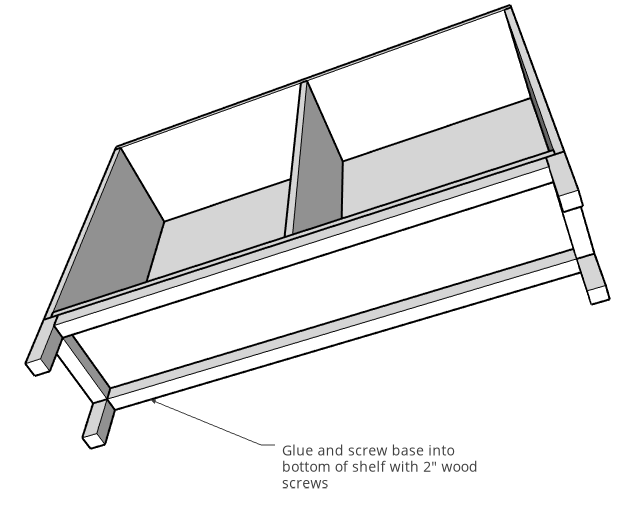
Apply wood glue to top of base and attach onto bottom of bookshelf with 2" wood screws.
-
Install Backer
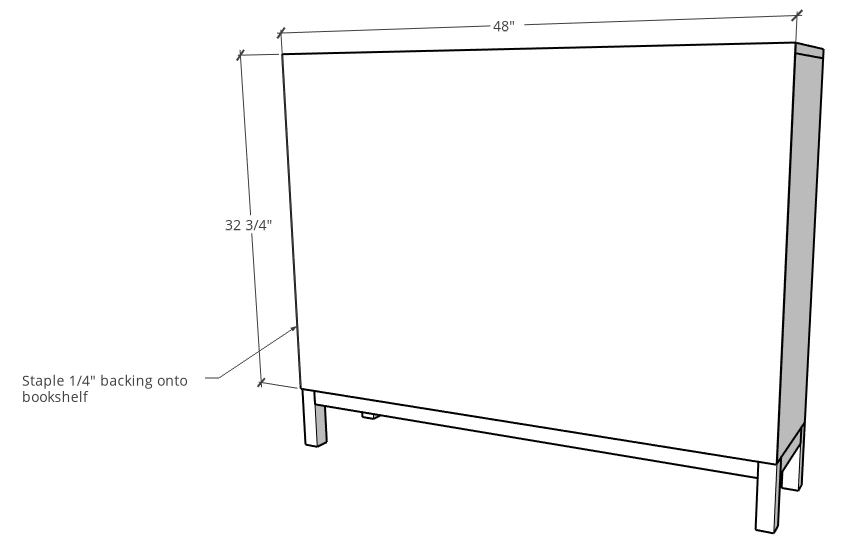
This step is also optional. If desired, cut a 1/4" backer like shown and staple or glue and nail onto the back side of the bookshelf.
-
Add Shelf Pins for Adjustable Shelv
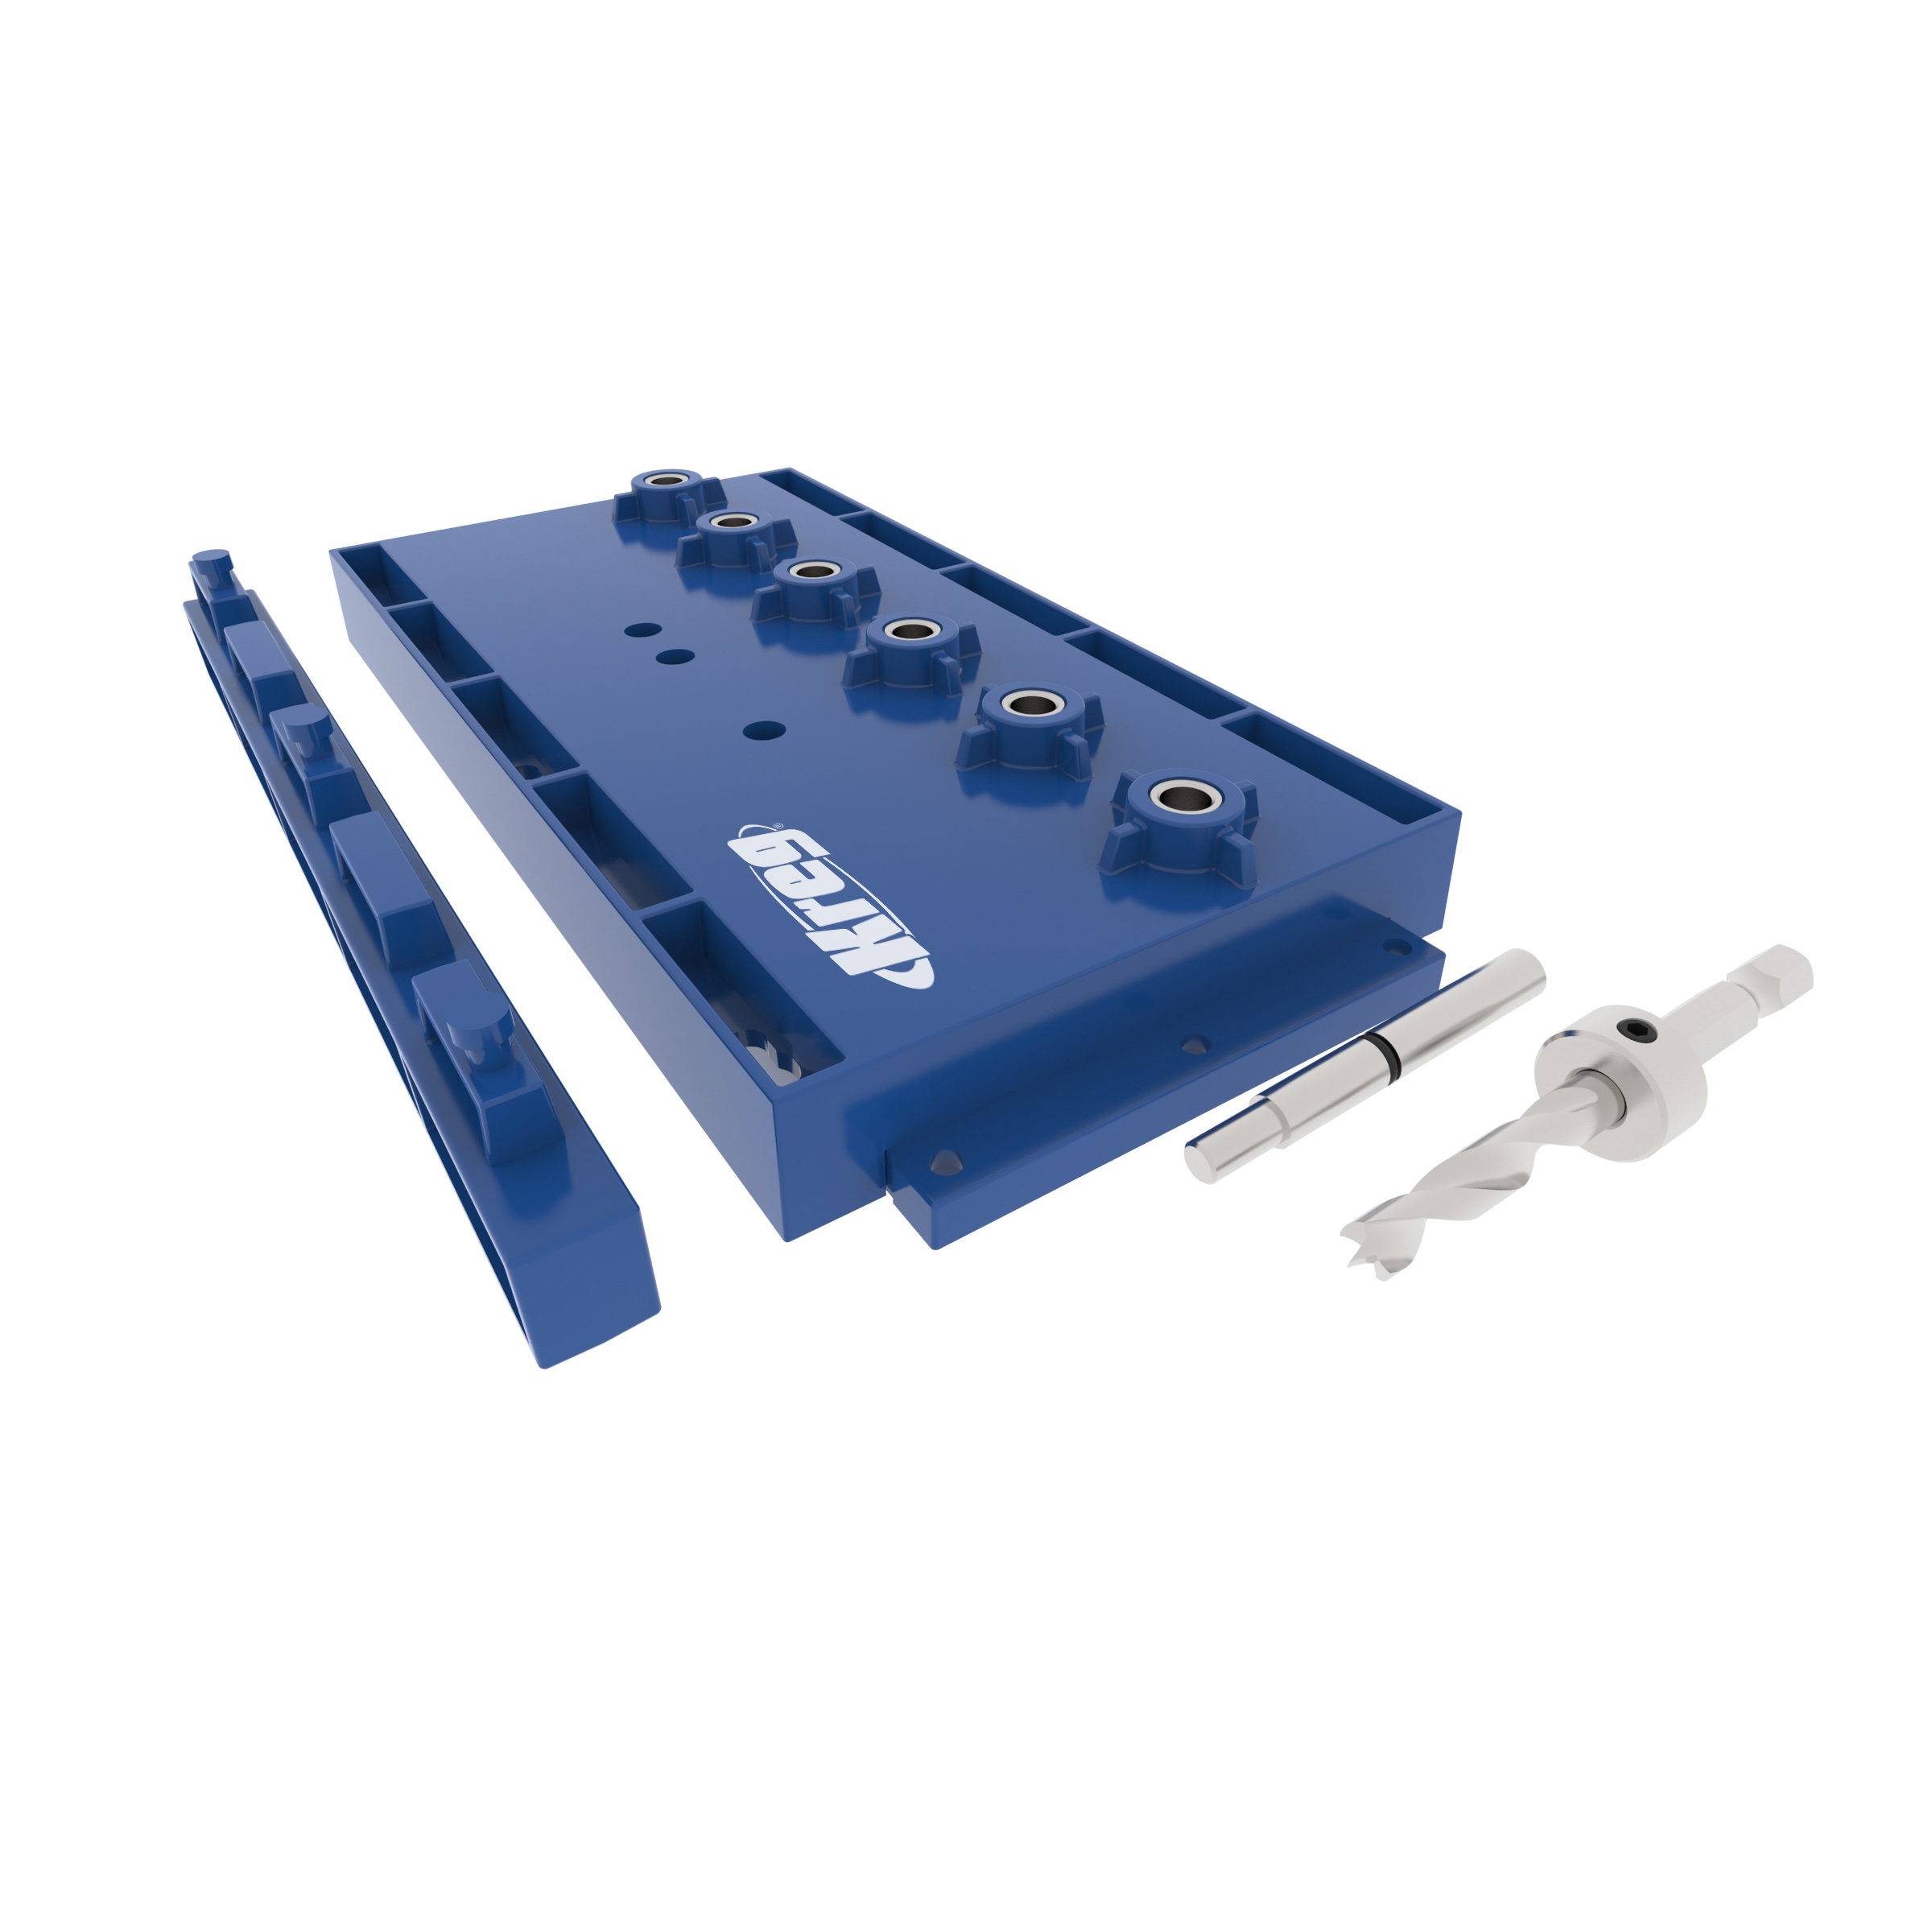
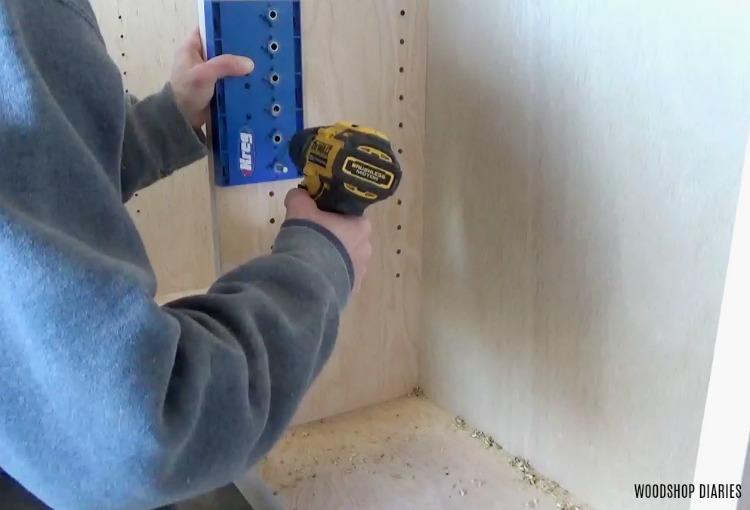
Using a Kreg Shelf Pin Jig, drill shelf pin holes along the sides and middle divider of the bookshelf like shown. This is so that you can add adjustable shelves later.
-
Install Shelves
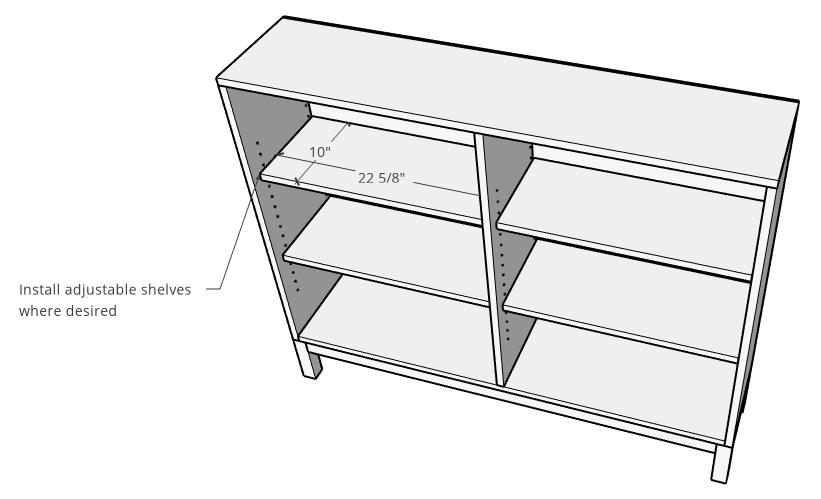
Cut four shelves like shown and install using shelf pins where desired. Cut she shelves 1/4" shorter than the width you will be placing them into so that they don't scrape the sides when you put them in place.
-
Finish
Finish as desired. Because of the nature of tall skinny bookshelves, it may be a good idea to anchor this to the wall once complete to avoid potential tip over.
Check out our top project plans for DIY bookshelves: