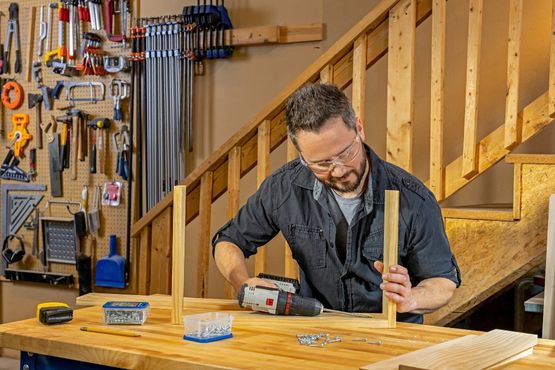
We asked the Kreg community what tips they’d share with someone just getting started with pocket-hole joinery, and here’s what they had to say. These quick tips will help you get the most out of your pocket hole projects.
Don’t Be Afraid To Get Started
The best way to learn pocket-hole joinery is to dive in and learn by doing. A member of the Kreg community shared this advice:
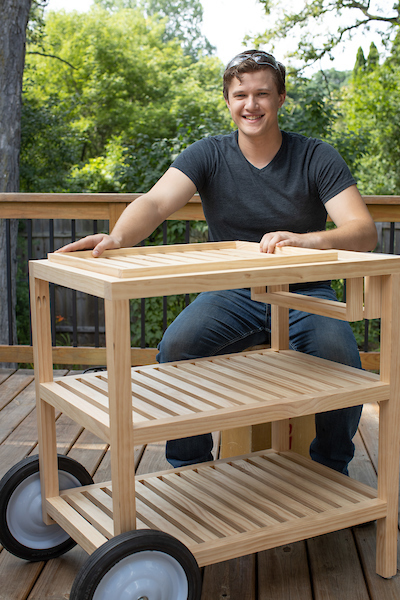
“Build something! Sounds funny, but I got really hooked when I finished my first couple of projects and showed them off. What to build? Find something that interests you and look around for plans or information. Kreg makes that easy with over 1,000 free plans. Build something, be proud, and then pick another project. It can get addicting.” – Scott C.
Browse our project library for inspiration and step-by-step plans.
Do A Test Run With Scrap Wood
When asked for tips that would help beginners, many people in our community suggested doing a test run with scrap wood before you drill into your project boards.
“I’ve been building for at least 10 years. Always check on a piece of scrap to make sure the screws are the right length and take your time building.” – Steve M.
If you’re doing a test run, make sure the scrap wood matches the thickness of your project boards.
“Spend an hour or two just practicing. Get a few scraps of wood and just drill baby drill. This will help you get familiar with the angle of the drill bit and direction the screws are traveling.” – Scott C.
Pocket-hole joinery is very simple to do and you’ll quickly get the hang of it!
Know Your Settings
“Read the guides for thickness & appropriate screw size and be sure to set the jig and drill to match the thickness of your wood.” – Rob
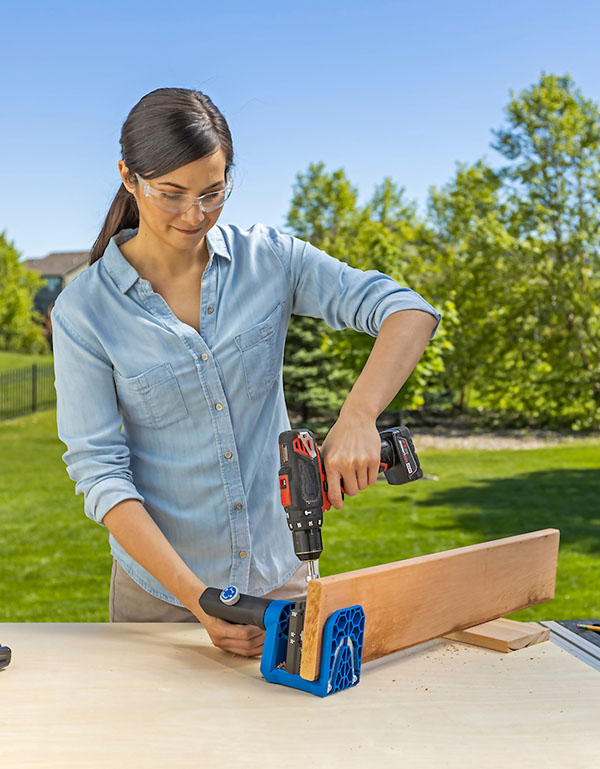
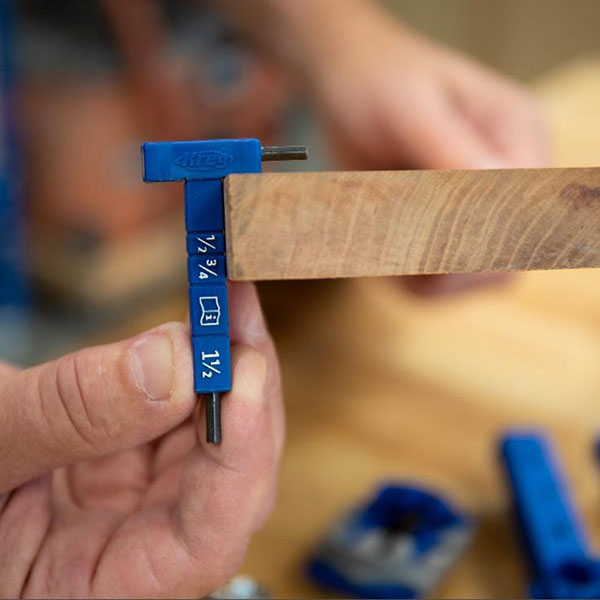
Beginners tend to be unsure of what settings to use, but it’s actually pretty simple! There are two settings you need to adjust, and both are based on the thickness of your material. If you’re not sure what the thickness is, use the blue material thickness gauge included with your pocket-hole jig.
First, adjust the stop collar on your drill bit to match the thickness of your wood. Second, adjust the drill guide on your pocket-hole jig to match the thickness of your wood. Note that the 720 and 720PRO adjust automatically so you won’t need to adjust anything on the jig itself, just ensure your drill bit is set correctly.
Watch this video for a quick overview of how to set up your pocket-hole jig.
Skip The Impact Driver
“Use a drill and not an impact.” -Nathan
Using an impact driver typically results in over-driving your pocket-hole screws. We recommend using a standard drill with the clutch set to a low setting instead. This ensures that the drill will stop driving the screw when it gets snug in the joint.
If you find that your screw isn’t going deep enough, adjust the clutch on your drill to a slightly higher setting until you get a strong, snug joint.
Learn more: How To Use A Drill Clutch

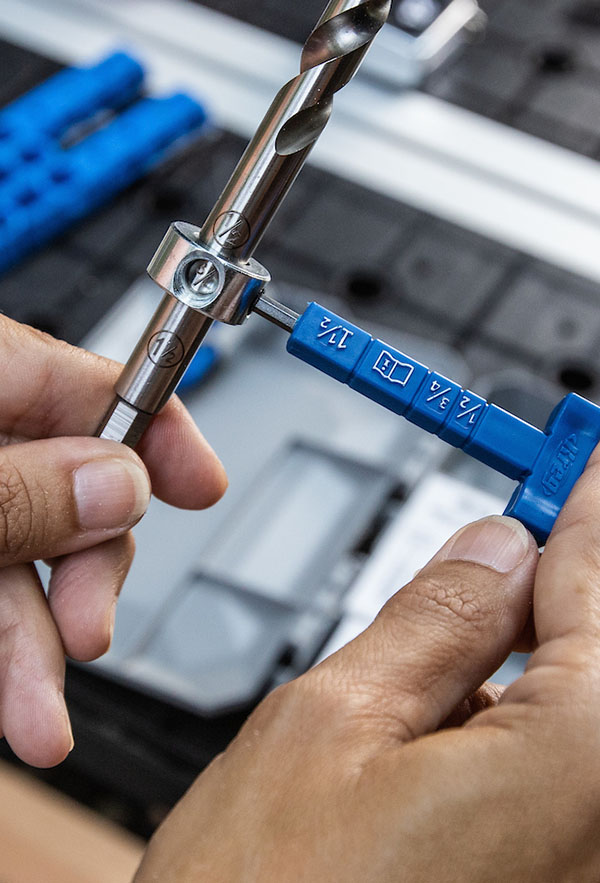
Check Your Stop Collar
Before you begin drilling pocket holes, always check the location of the stop collar on your easy-set drill bit.
“Remember to set your collar!” – Luke K.
The stop collar should be aligned with the setting for your material’s thickness. Our easy-set drill bit has etched markings, making this very simple.
“Check your depth often. Stop collars can shift.” – Tangelene R.
If you’re drilling a lot of pocket holes, it can be a good idea to double-check your stop collar’s location from time to time and make sure it hasn’t shifted on you due to the vibrations while drilling.
If you run into any trouble with your stop collar, check out this video for troubleshooting tips.
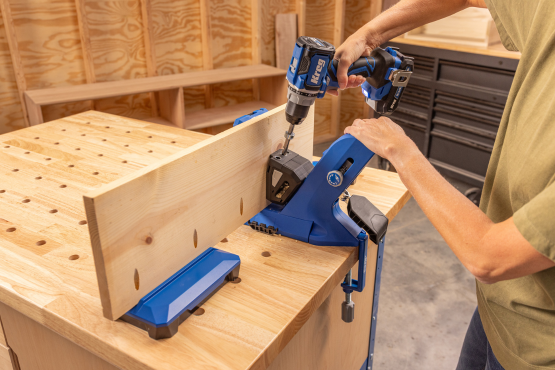
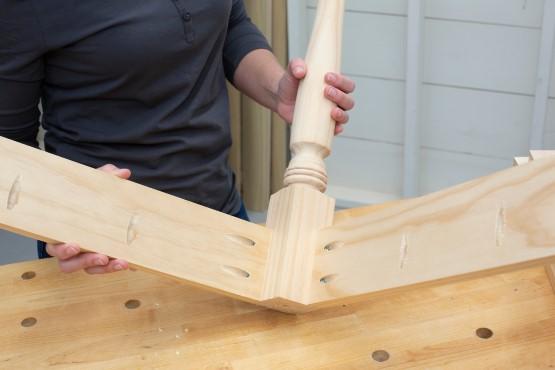
Clamps Are Helpful During Assembly
When asked what advice they’d give beginners, our community members mentioned clamps again and again.
“Clamps. Clamps. More Clamps. Maybe a couple right angle clamps as well.” – Joe G.
Assembling pocket-hole joints is simple since all you have to do is align the pieces and drive in the screw. But maintaining alignment can be tricky with just two hands, and that’s where clamps come in.
“Use clamps. There are times for some applications you can just hold and drive, but for most everything else it’s best to have all parts solidly clamped up. (And yes, check for square as you go.)” – Scott G.
Check out this article for tips on clamping each type of pocket-hole joint.

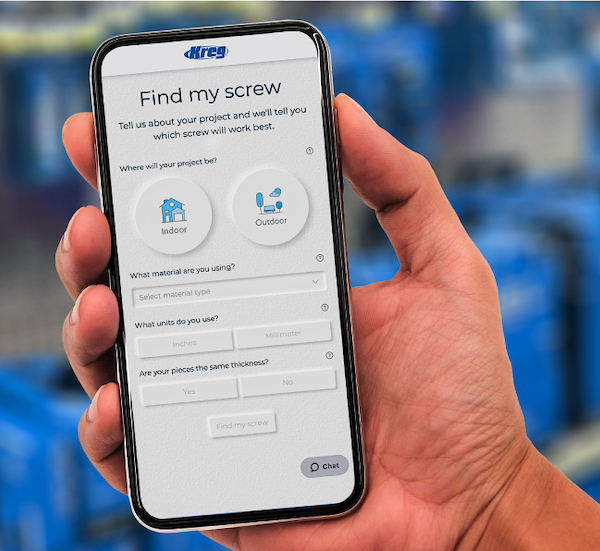
Use The Screw Selector
Our digital Screw Selector takes the guesswork out of choosing the right screw. Simply input a few pieces of information about your project and it will recommend the best screw to use.
“The online screw selection tool is really helpful. I keep it bookmarked!” – Sarah S.
If you want to learn the ins and outs of screw selection, check out this article: How to Select The Correct Pocket-Hole Screw
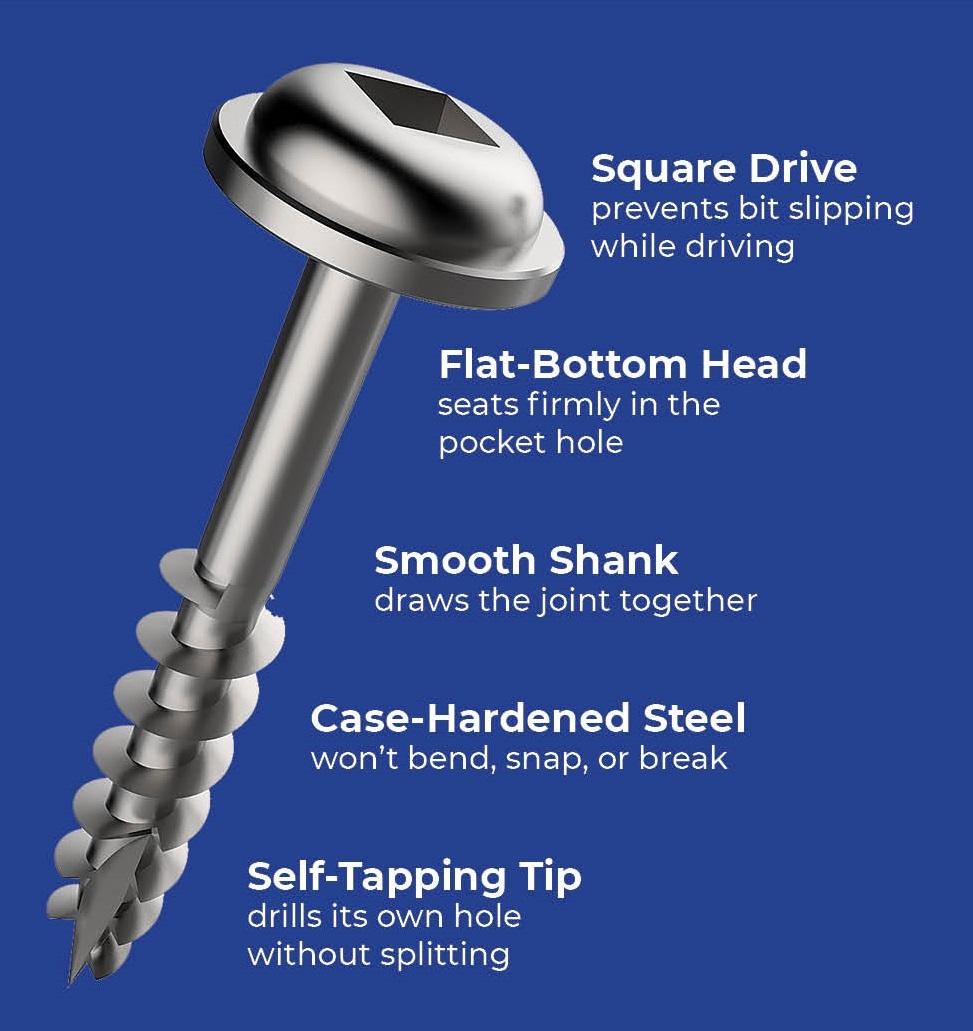
Use Quality Pocket-Hole Screws
“Use Kreg defined screws…they will save you lots of headaches.” Don B.
With all the kinds of screws you can buy in home centers, you might ask yourself if you really need to use Kreg Pocket-Hole Screws to build your projects. Why choose them over wood screws, drywall screws, or deck screws?
The answer is that Kreg Pocket-Hole Screws are engineered for pocket-hole joinery, with specific features that ensure the best performance. Ordinary woodworking screws and drywall screws have a head with a conical shape on the underside. The head on a Kreg Pocket-Hole Screw is perfectly flat on the underside to mates perfectly with the flat bottom in a Kreg pocket hole. When you drive a Kreg Screw into the pocket hole, this flat shape applies force straight toward the screw tip, so it holds the joint tightly together without deforming the pocket, which could split the wood.
Kreg Pocket-Hole Screws also feature a self-tapping tip that “drills” its own hole, so the screw drives in quickly and easily without splitting the wood — and without requiring a pilot hole in the mating workpiece.
Kreg screws are also great for other applications beyond pocket holes.
Join The Kreg Community
“Connect with other DIYers online! I’ve learned a lot in the Kreg group and other online communities over the years, they’re a good place to ask questions and go for advice. It’s also fun to see what others are building!” – Jessica L.
Connect with thousands of builders, makers, and DIYers inside the Kreg DIY Community. You can also connect with us on Instagram, Facebook, TikTok,YouTube, and X.

Associated Products


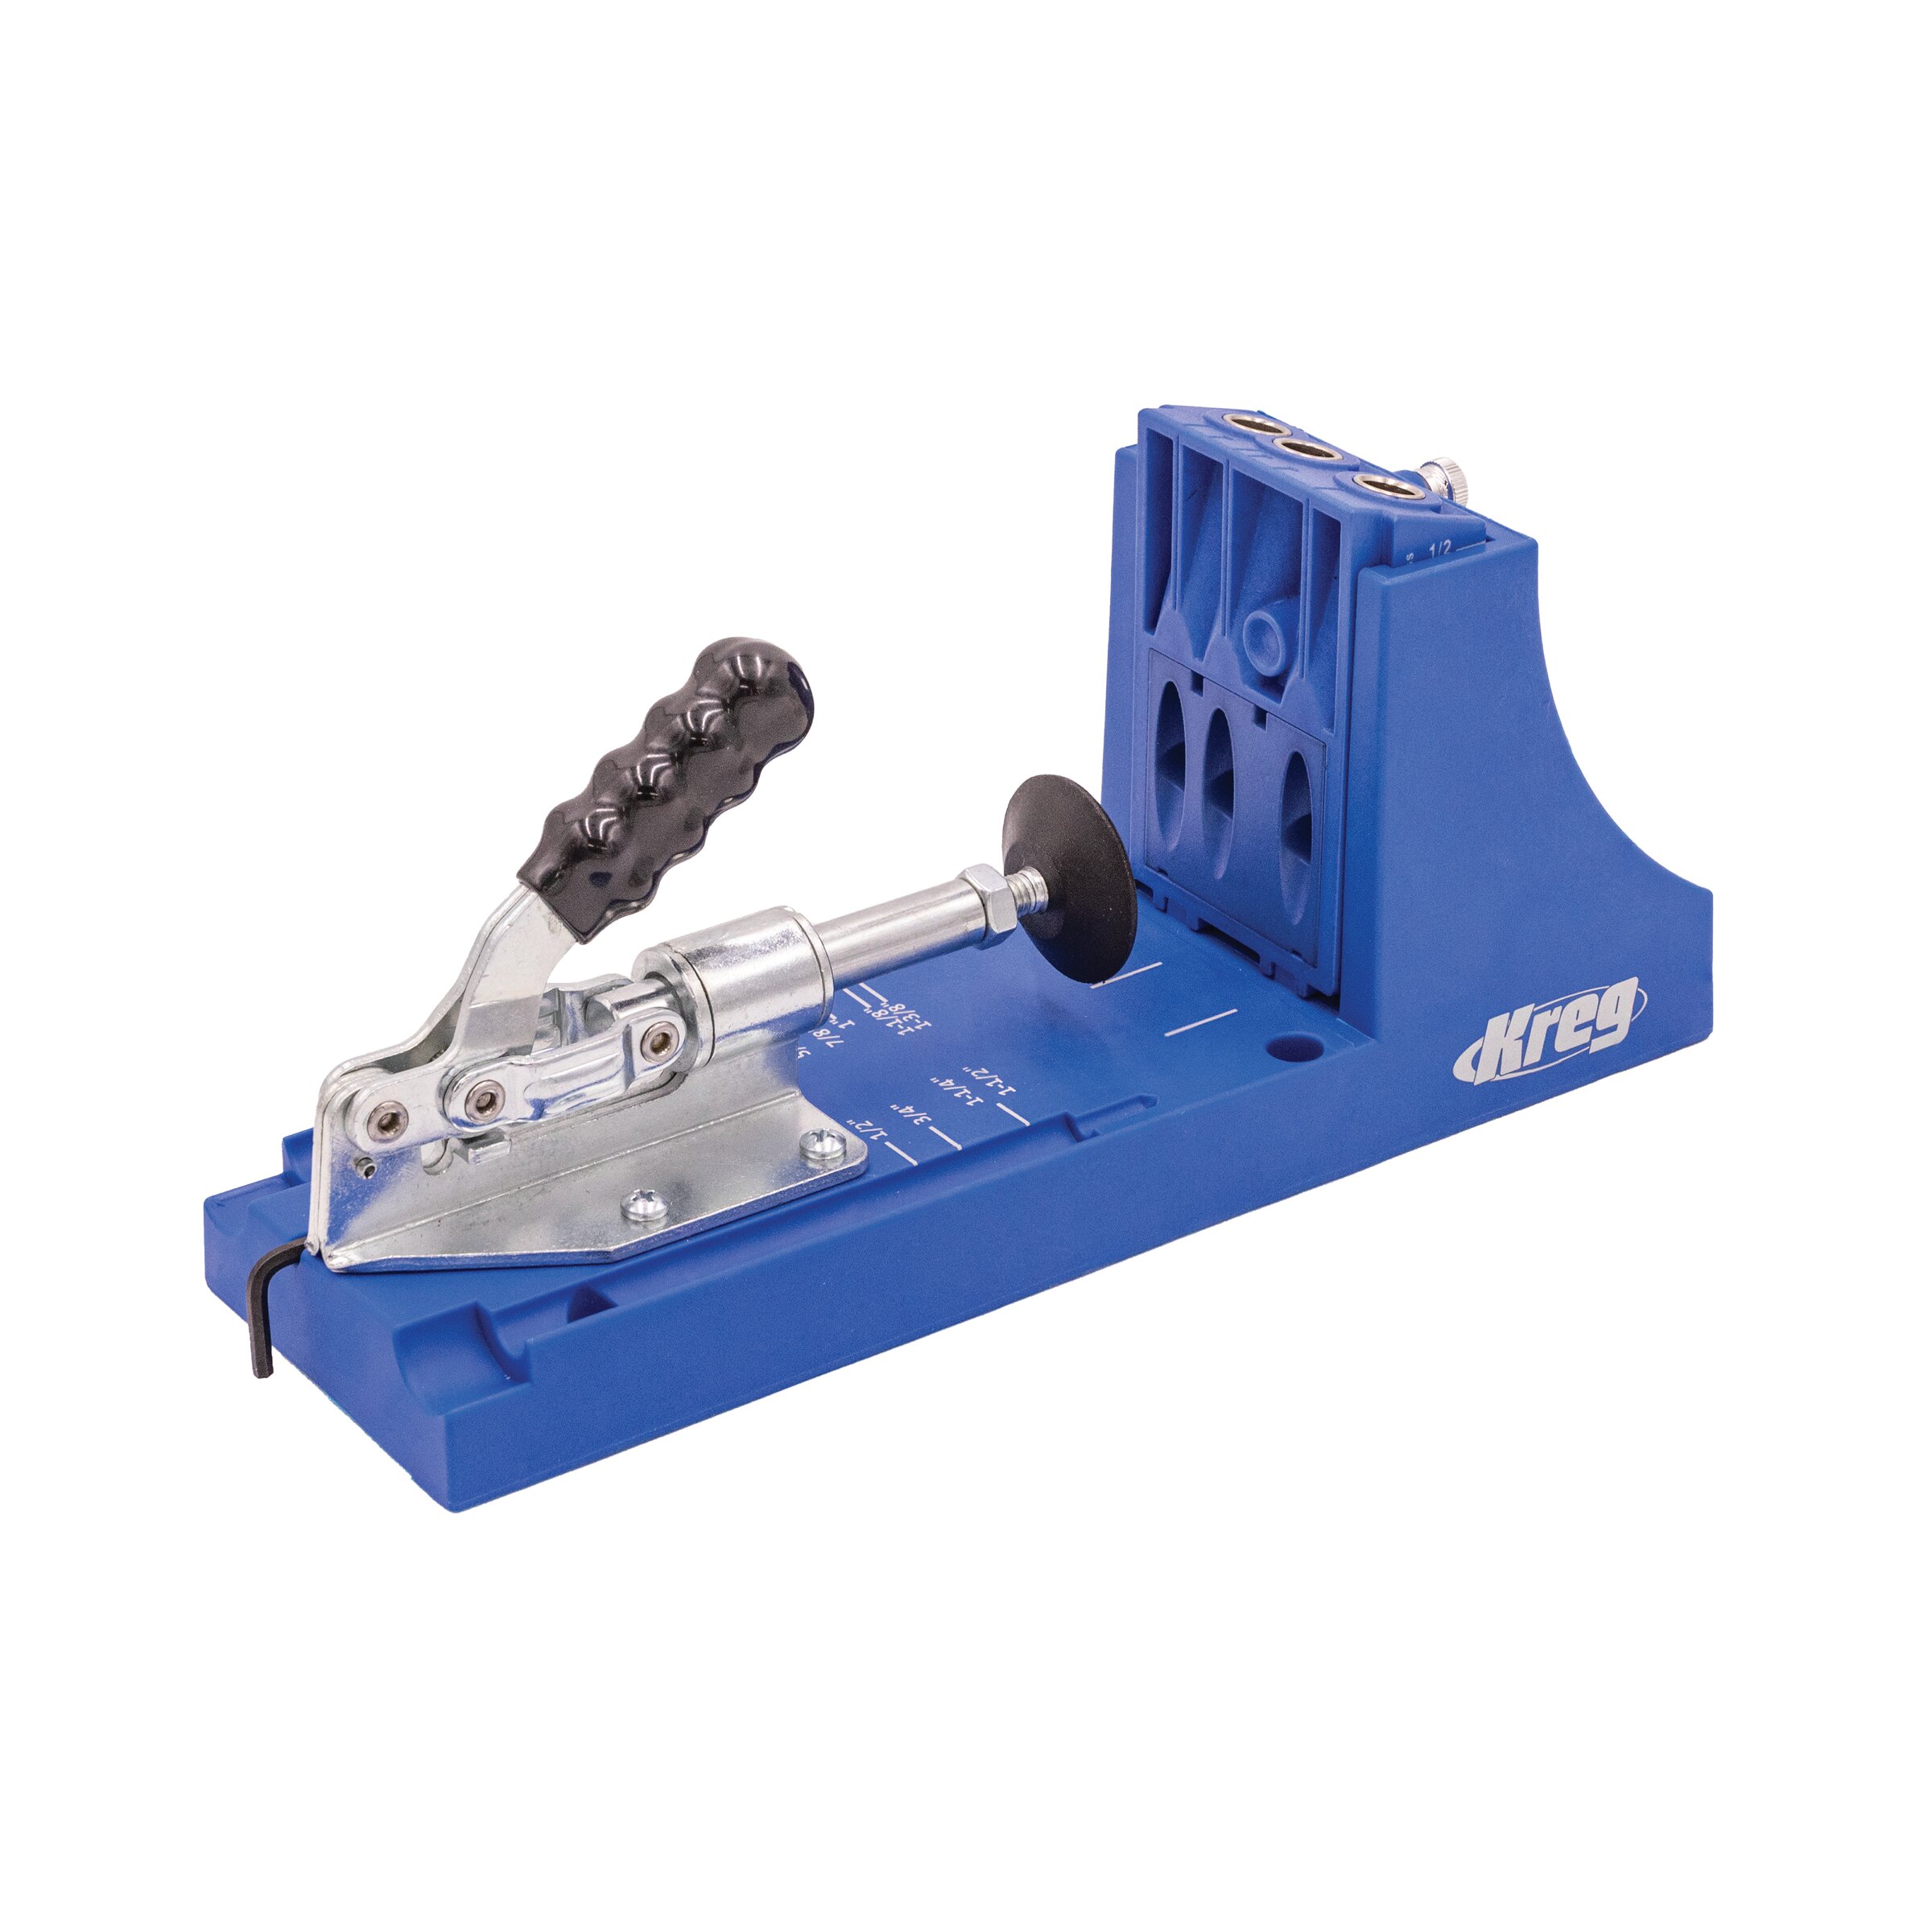
Kreg® Pocket-Hole Jig 520PRO