Get familiar with these simple joints to build projects of all kinds
So you’ve learned how to use a Kreg Pocket-Hole Jig. Now what? There’s no doubt that pocket-hole joinery makes it easier to build wood projects. When you have a Kreg jig and Pocket-Hole Screws, a drill, and your skill, there are so many things you can build. Plus, you can build them fast and build them to last.
You might think that means you’ll have to learn a bunch of different techniques for using your pocket-hole jig. Truth is, you can build an incredible variety of projects with a few pretty basic joints. We’ll take you through seven of them here. They fall into a couple of categories, based on how the pieces you are joining meet up: “flat” or at 90° angles.
Flat Joints
These kinds of joints are made by attaching two pieces side by side so that the faces remain flat and flush. This joint is simple, but incredibly versatile. Here are a just a few things you can make by creating flat pocket-hole joints.
1. Edge Joints:
By joining boards together edge-to-edge, you can create wide panels for things such as table tops, cutting boards, or even a workbench top.
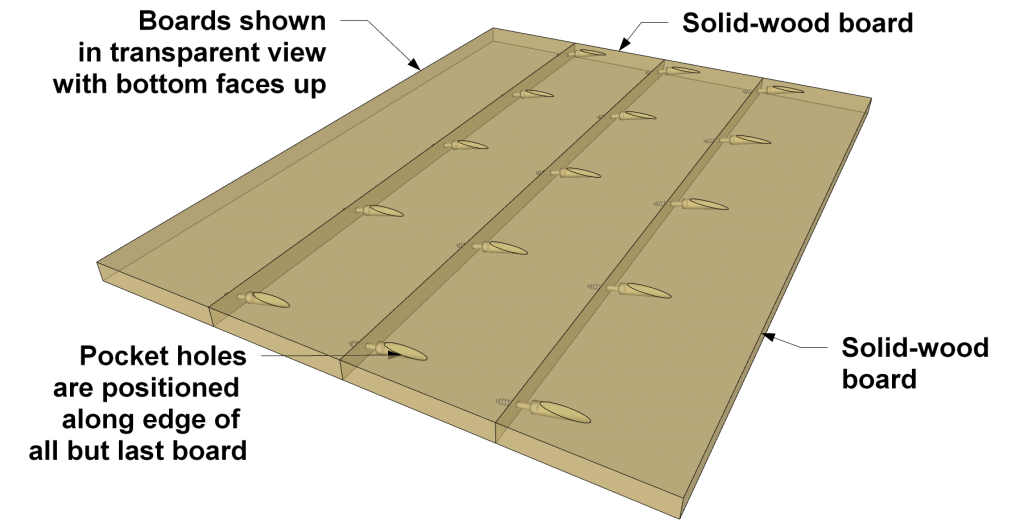
Here’s how:
1. Lay out your boards and mark them.
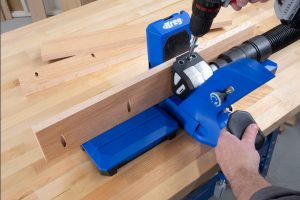
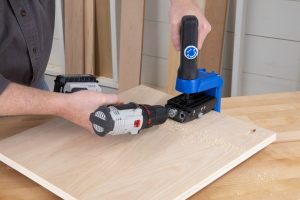
2. Set up your pocket-hole jig for the thickness of material you’re using, and then drill pocket holes along one edge of all the boards except the last one.
3. Assemble the boards using Kreg Pocket-Hole Screws. Make sure you have the boards in the order you want, and the edges and ends aligned. Check your owner’s manual to find the correct screw length for your material thickness. Use coarse-thread screws for softwoods, or fine-thread screws for hardwoods. And if you’re ever looking for a quick way to find out exactly what kind your project needs, try our online Screw Selector tool.
 TIP: Clamp your joints for best results
To hold the faces of the boards flush as you assemble them, clamp across each joint as you drive in the screws. There are many kinds of Kreg Clamps that are designed to make pocket-hole construction easier, including Wood Project Clamps, Bench Clamps, or Classic Face Clamps.
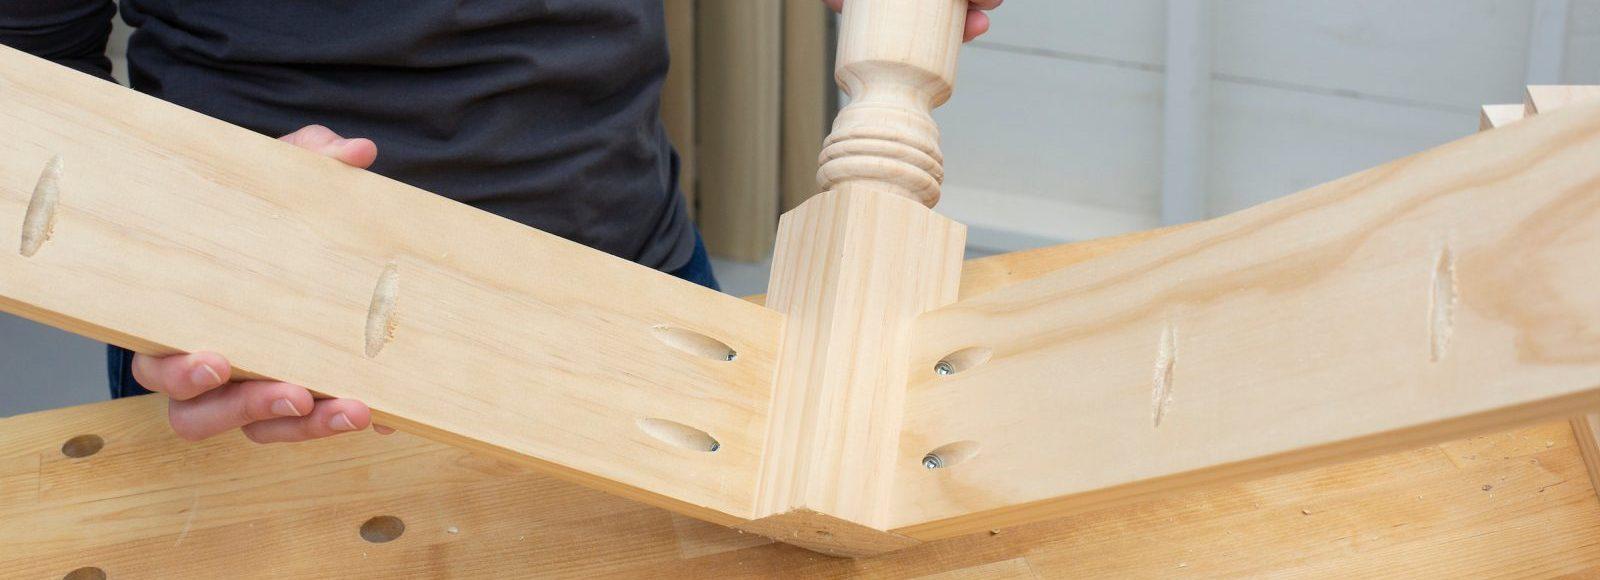
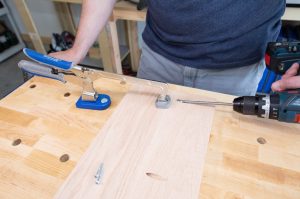
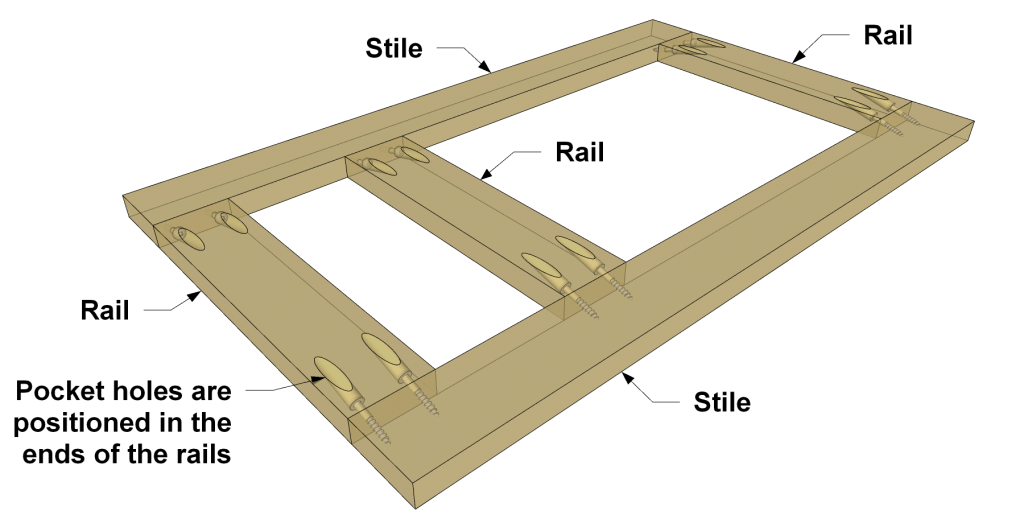
2. Butt Joints:
If you attach the end of one board to the edge of another, you’ll create “Butt Joint” that essentially is an “L” or “T” shape. These are perfect for making a face frame for a cabinet or bookcase, or for making a frame-and-panel door.
Here’s how:
1. Cut your pieces, making sure the “rails” (horizontal pieces) are all the same length, and that the “stiles” (vertical pieces) all match one another. This way, you’ll get tight joints and square corners.
2. 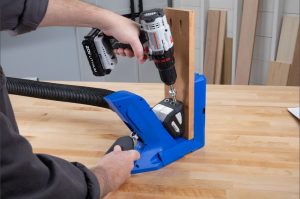 Drill pocket holes in the ends of all the rails. Your Kreg Pocket-Hole Jig offers easy hole-spacing options based on the width of your rails. You’ll find a handy guide in the owners manual–which you can even access online.
3. Assemble the rails and stiles using Kreg Pocket-Hole Screws.
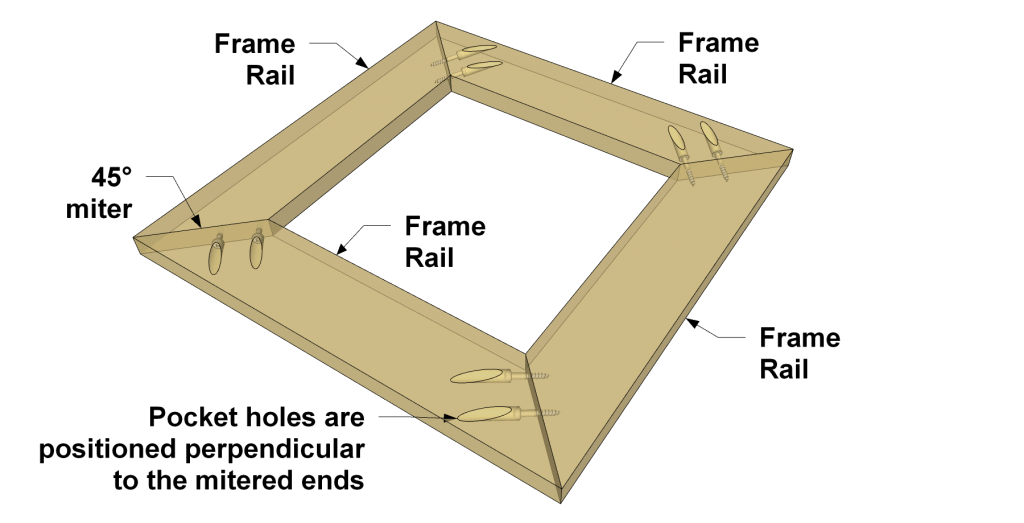
3. Mitered Joints:
If you’ve ever wanted to build your own frames for photos or other artwork, or you’ve wanted to dress up a plywood tabletop to look like real wood, you’ll be happy to know that pocket-hole joinery makes building mitered frames easy.
Here’s how:
1. Cut your pieces to length, mitering all the corners at 45°. Check that you have a tight fit.
2. Drill pocket holes so they are perpendicular to the mitered end. If you can’t fit two pocket holes on one side, you may be able to bring one in from each direction.
3. Align the pieces, then spread glue on the mating ends. You don’t need glue for strength, but it will help hold the pieces tightly together as seasonal humidity changes cause the boards to shrink or swell.
4. Assemble the boards using Kreg Pocket-Hole Screws.
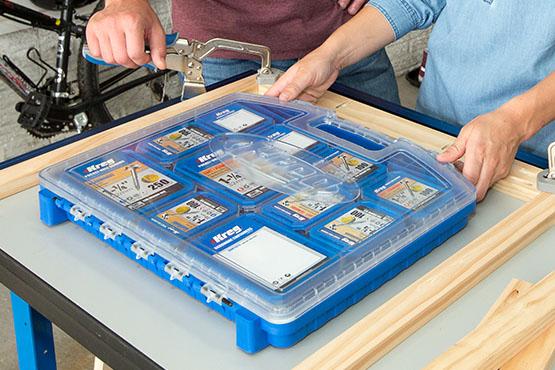
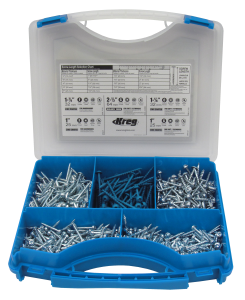 TIP: Use the right pocket-hole screw
When you’re building projects with pocket-hole joints, it’s important to choose the right screw. Pocket-hole screws come in multiple types and lengths that are optimized to ensure you get great strength and easy assembly. Just as importantly, Kreg Screws are designed for pocket-hole joinery.
There are several factors that determine which one is right for you, including the type of wood you are using, and its thickness. Check out this guide to choosing the right screw to learn more. You can also find the right screw, quickly and easily, with our online Screw Selector tool.
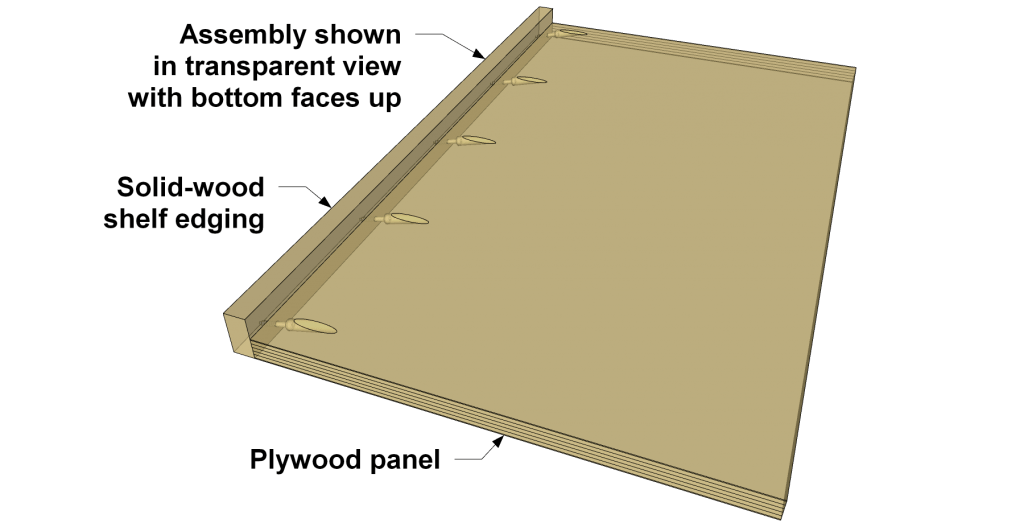
4. Edge Banding Joints:
Plywood is a great material for project building but, in many cases, you won’t want to see the ply edges. With pocket-hole joinery, you can cover those edges using solid wood with an edge banding joint.

Here’s how:
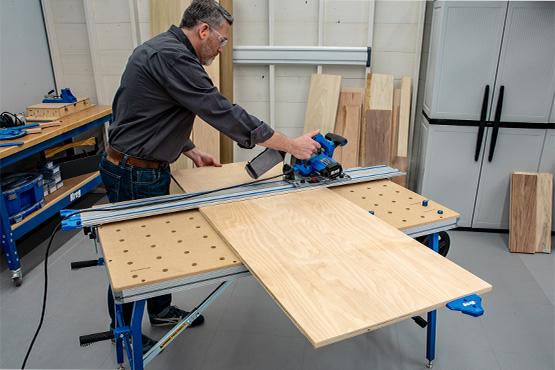
1. Cut your edging piece(s) to length, and to width if necessary. You can make your solid-wood edging as wide as you want, and you can easily use dimensional boards. Or you can rip edging to any width you want using the Adaptive Cutting System. The minimum width you’ll want to use is 1/2″, as that’s the narrowest width that will accept a pocket-hole screw.
2.  Drill pocket holes in the plywood along the edge(s) where you wish to add solid wood.
3. For the most seamless transition from the plywood to the solid wood, spread a thin layer of wood glue along the edge of the plywood.
4. Clamp the edging to the plywood. Note that plywood is almost always thinner than solid wood of the same stated thickness. So, make sure you align the faces that will show. You can sand to bring the faces flush, if needed.
5. Drive in pocket-hole screws to secure the edging. For 3/4″ plywood and edging that’s at least 3/4″ wide, use 1 1/4″ screws. If you’re using 1/2″-wide edging, choose 1″ screws, instead. If your edging is softwood, use coarse-thread screws. If you’re using hardwood edging, choose fine-thread screws.
90° Joints
These kinds of joints are made by attaching two pieces at 90° angles to one another so that they form an “L” shape, like you’d use when assembling a box. Just like with flat joints, these are simple, and make it possible to build many types of structures. Here are a just a few things you can make by creating 90° pocket-hole joints.
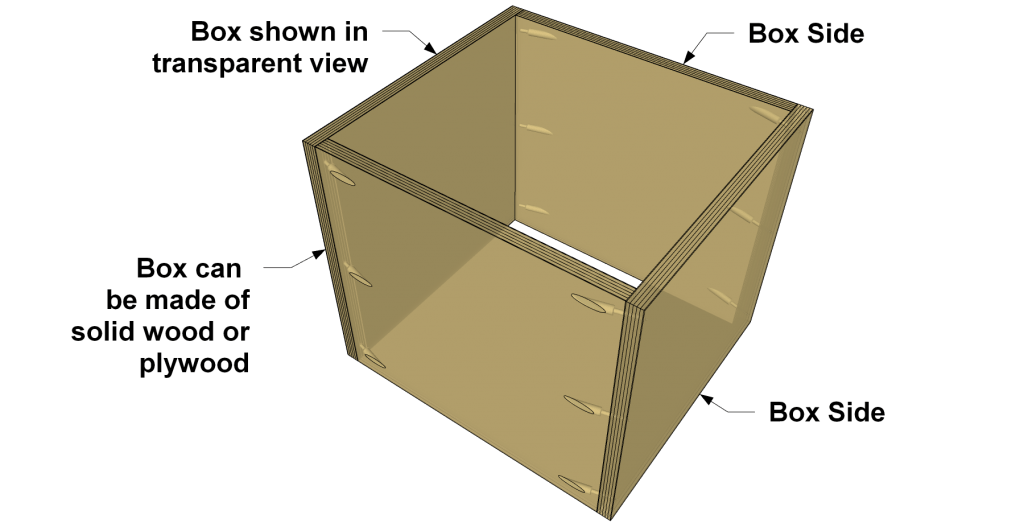
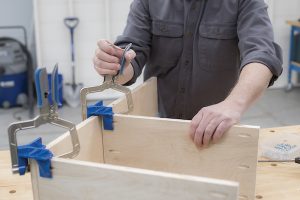
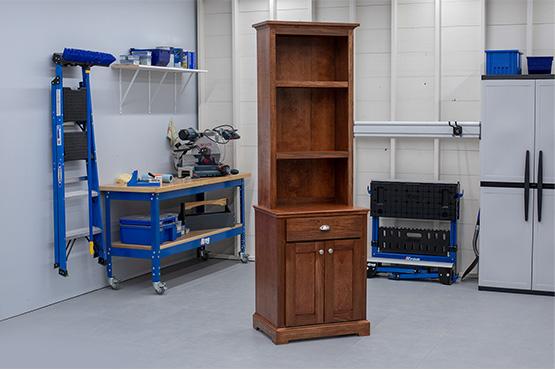
5. Box Joints:
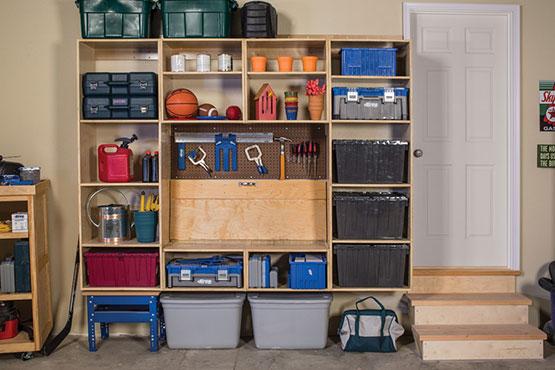
By joining boards or plywood panels together at 90° angles, you can easily build boxes of almost any size and shape. You might think “cool, but I don’t really need to build a lot of boxes,” but think about it a little more. You’ll realize that many things have boxes at their core.
Kitchen cabinets, bookcases, closet and garage organizers, bathroom vanities, entertainment centers, and so many more things are basically boxes that then get dressed up or embellished in some way. So, building boxes is something you’ll definitely want to know how to do.
Here’s how:
1. Figure out the dimensions of the “box” you need to create, and then cut the pieces to size. Smaller structures can be built from solid-wood. Plywood is great for larger structures.
2. 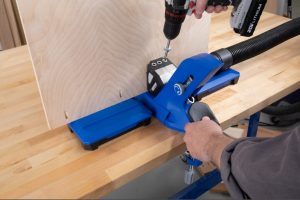 Determine where you want to drill your pocket holes. If the outside of your box will show, like on an entertainment center, you’ll want the pocket holes on the inside faces. If the inside will show and the outside is hidden, such as on most kitchen cabinets, you can place the pocket holes on outside faces.
3. Set up your Kreg Pocket-Hole Jig to match your material thickness, and then drill the pocket holes. Place holes about 1-2″ from each end of the board or panel, and then every 6″ or so in between. The material support wings on the Kreg Docking Station (included with the Pocket-Hole Jig 720PRO, and available for the Pocket-Hole Jig 520PRO2), offer great support for large and long pieces while you drill. If you’re using really big panels, the Pocket-Hole Jig 520PRO2 can easily be positioned on the panel.
4. Assemble your structure using Kreg Pocket-Hole Screws. If you’re building with plywood or MDF, use coarse-thread screws. For solid woods, screw choice depends on the wood: coarse-thread for softwoods, fine-thread for hardwoods.
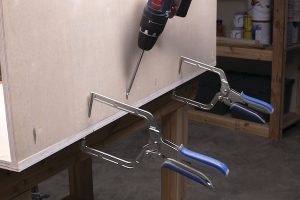 TIP: Hold 90° corners easily during assembly
Holding corners together while you’re assembling boxes, especially with big pieces, can be challenging. Kreg offers a couple of clamps that make it a whole lot easier: The Right Angle Clamp and the 90° Corner Clamp. Though these clamps work differently, they both help hold the corner together at the proper angle. Plus, both clamps offer an extra hand, so you have both of yours free to handle your drill and screws.
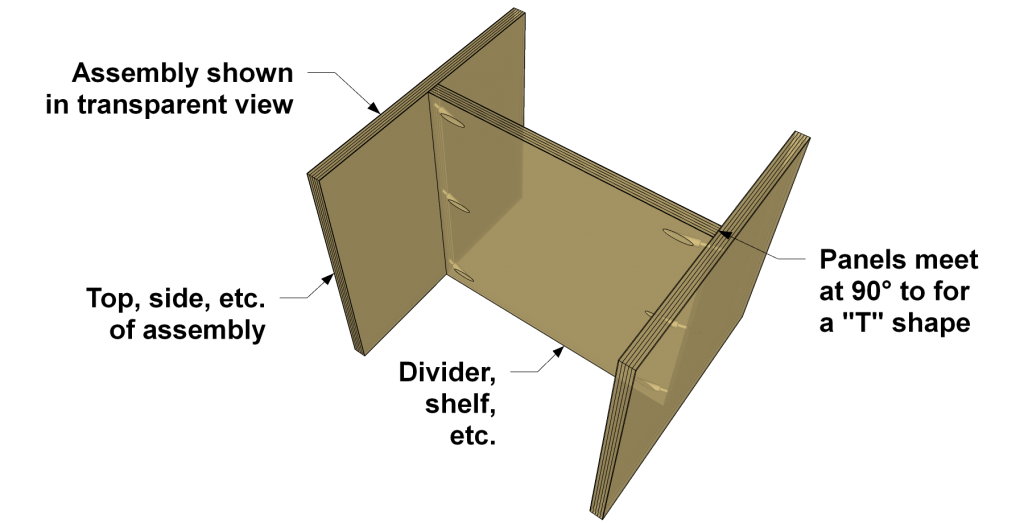
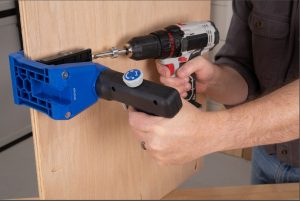
6. T Joints
If you want to turn a basic box into something more, you may want to add dividers, shelves, or some other internal structure where you’ll be creating a 90° joint that’s not at a corner. This is known as a “T” joint, and is made in essentially the same way as a box corner joint.
Here’s how:
1. Figure out the dimensions divider, shelf, or internal panel you need to create, and then cut it to size.
 2. Drill pocket holes along the ends or edges, as needed, to attach this piece into your box structure.
3. Align the panel and then attach it using pocket-hole screws.
 TIP: Create corner joints easily
When you’re installing dividers and shelves, holding the pieces in perfect alignment can be a challenge. To make it easier, try using a 90° Corner Clamp. This clamp works great on corners. It simplifies the process by securing the pieces, and by holding them at 90° angles to one another. It’s perfect for assembling T joints because it has a gap in the clamp jaws that allow just one clamp to fit over both pieces.
7. Offset Edge Joints:
Similar to regular edge joints, here you are typically covering the edge of another piece or adding strength or decorative appeal where the two pieces are different thicknesses. A great example of this is on bookshelves. Whether you build them from solid wood or plywood, they tend to sag over time under the weight of their load. With pocket-hole joinery, you can strengthen shelves by adding edging at a 90° angle to the edge. Most of the time, edging is oriented so it’s flush with the top face of the shelf, and then hangs below. But you can also position the edging so it sticks up above the shelf to help hold items in place.
Here’s how:
1. Cut your edging piece(s) to length, and to width if necessary. A good rule is to make the edging twice as wide as the thickness of your shelf. So, if you’re using 3/4″ plywood shelves, then 1×2 boards (3/4″ x 1 1/2″ actual dimensions) works great. Or you can make your edging yourself by ripping boards to the width you need using the Adaptive Cutting System.
2. Drill pocket holes in the underside of your shelf along the edge where you want to add the edging. Place holes about 1-2″ from each end of the shelf, and then every 6″ or so in between.
3. Attach the edging to your shelf using Kreg Pocket-Hole Screws. If your edging is softwood, use coarse-thread screws. If you’re using hardwood edging, choose fine-thread screws.
It’s easy to see that you can create many kinds of do-it-yourself and woodworking projects with these two types of pocket-hole joints. Of course, there are many more things you can do with your pocket-hole jig. Now, go get building! Check out our Projects and Plans page ideas, inspiration, and step-by-step instructions for your next project.
Associated Products
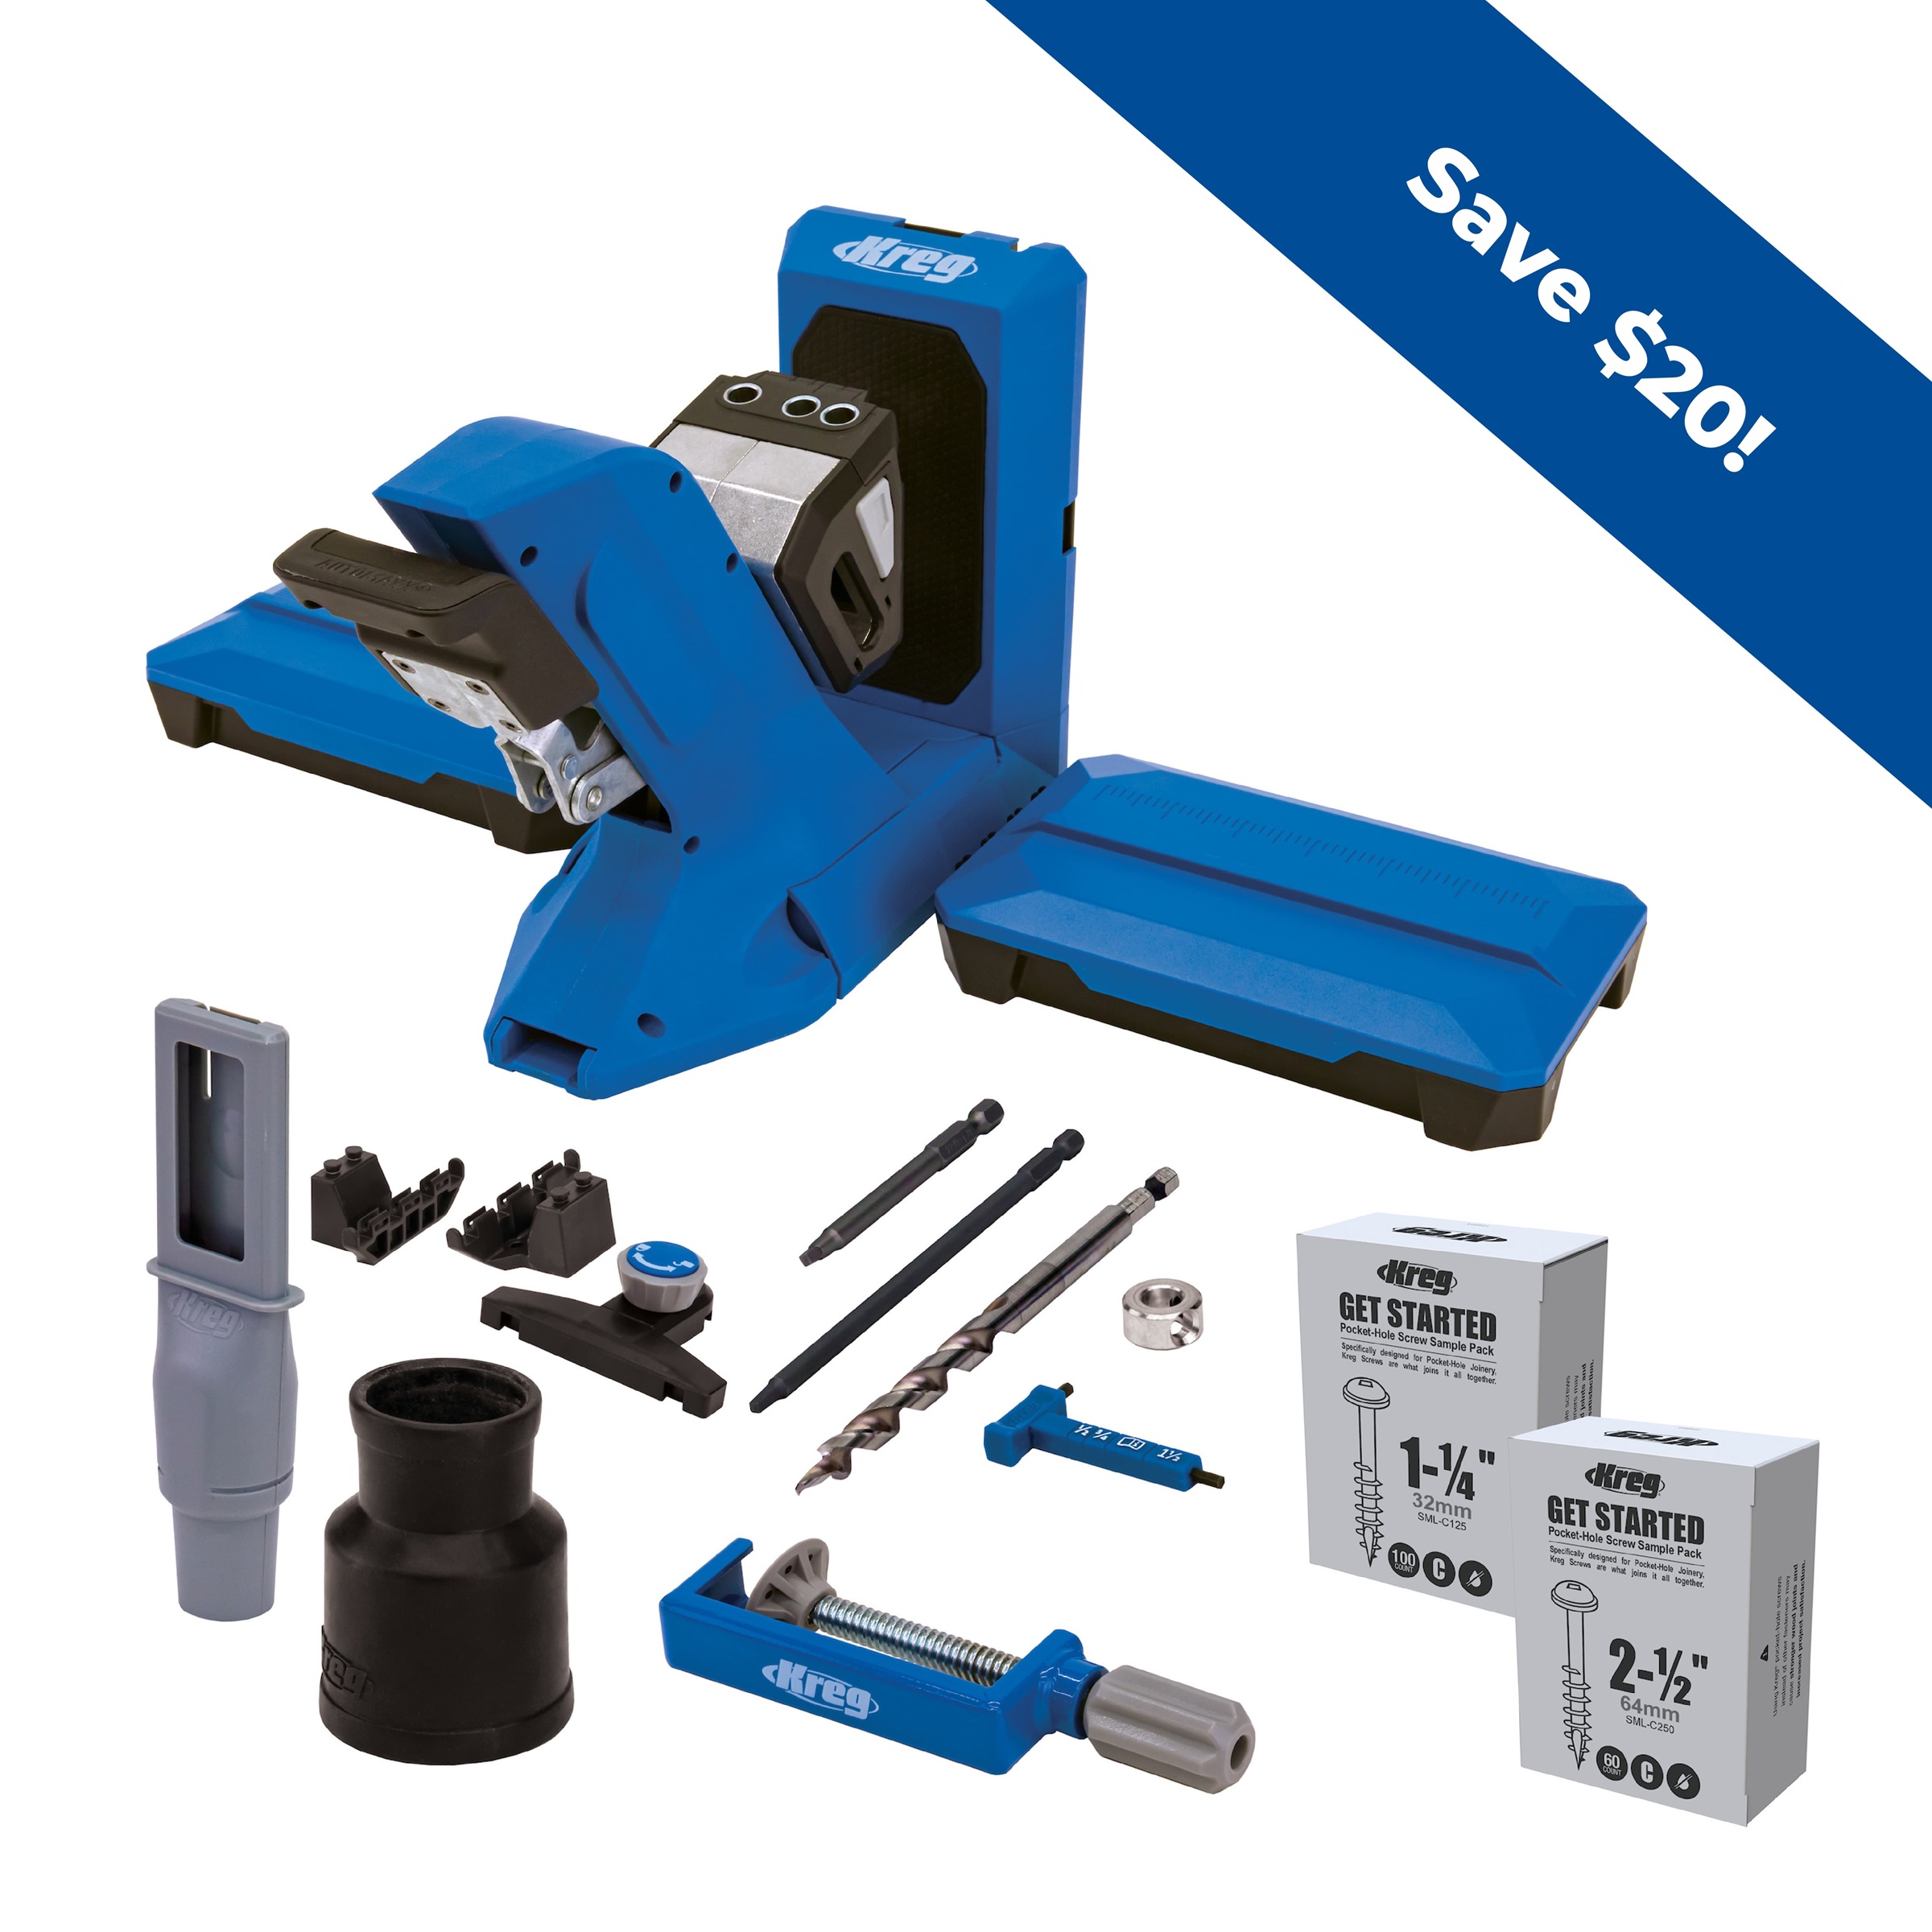
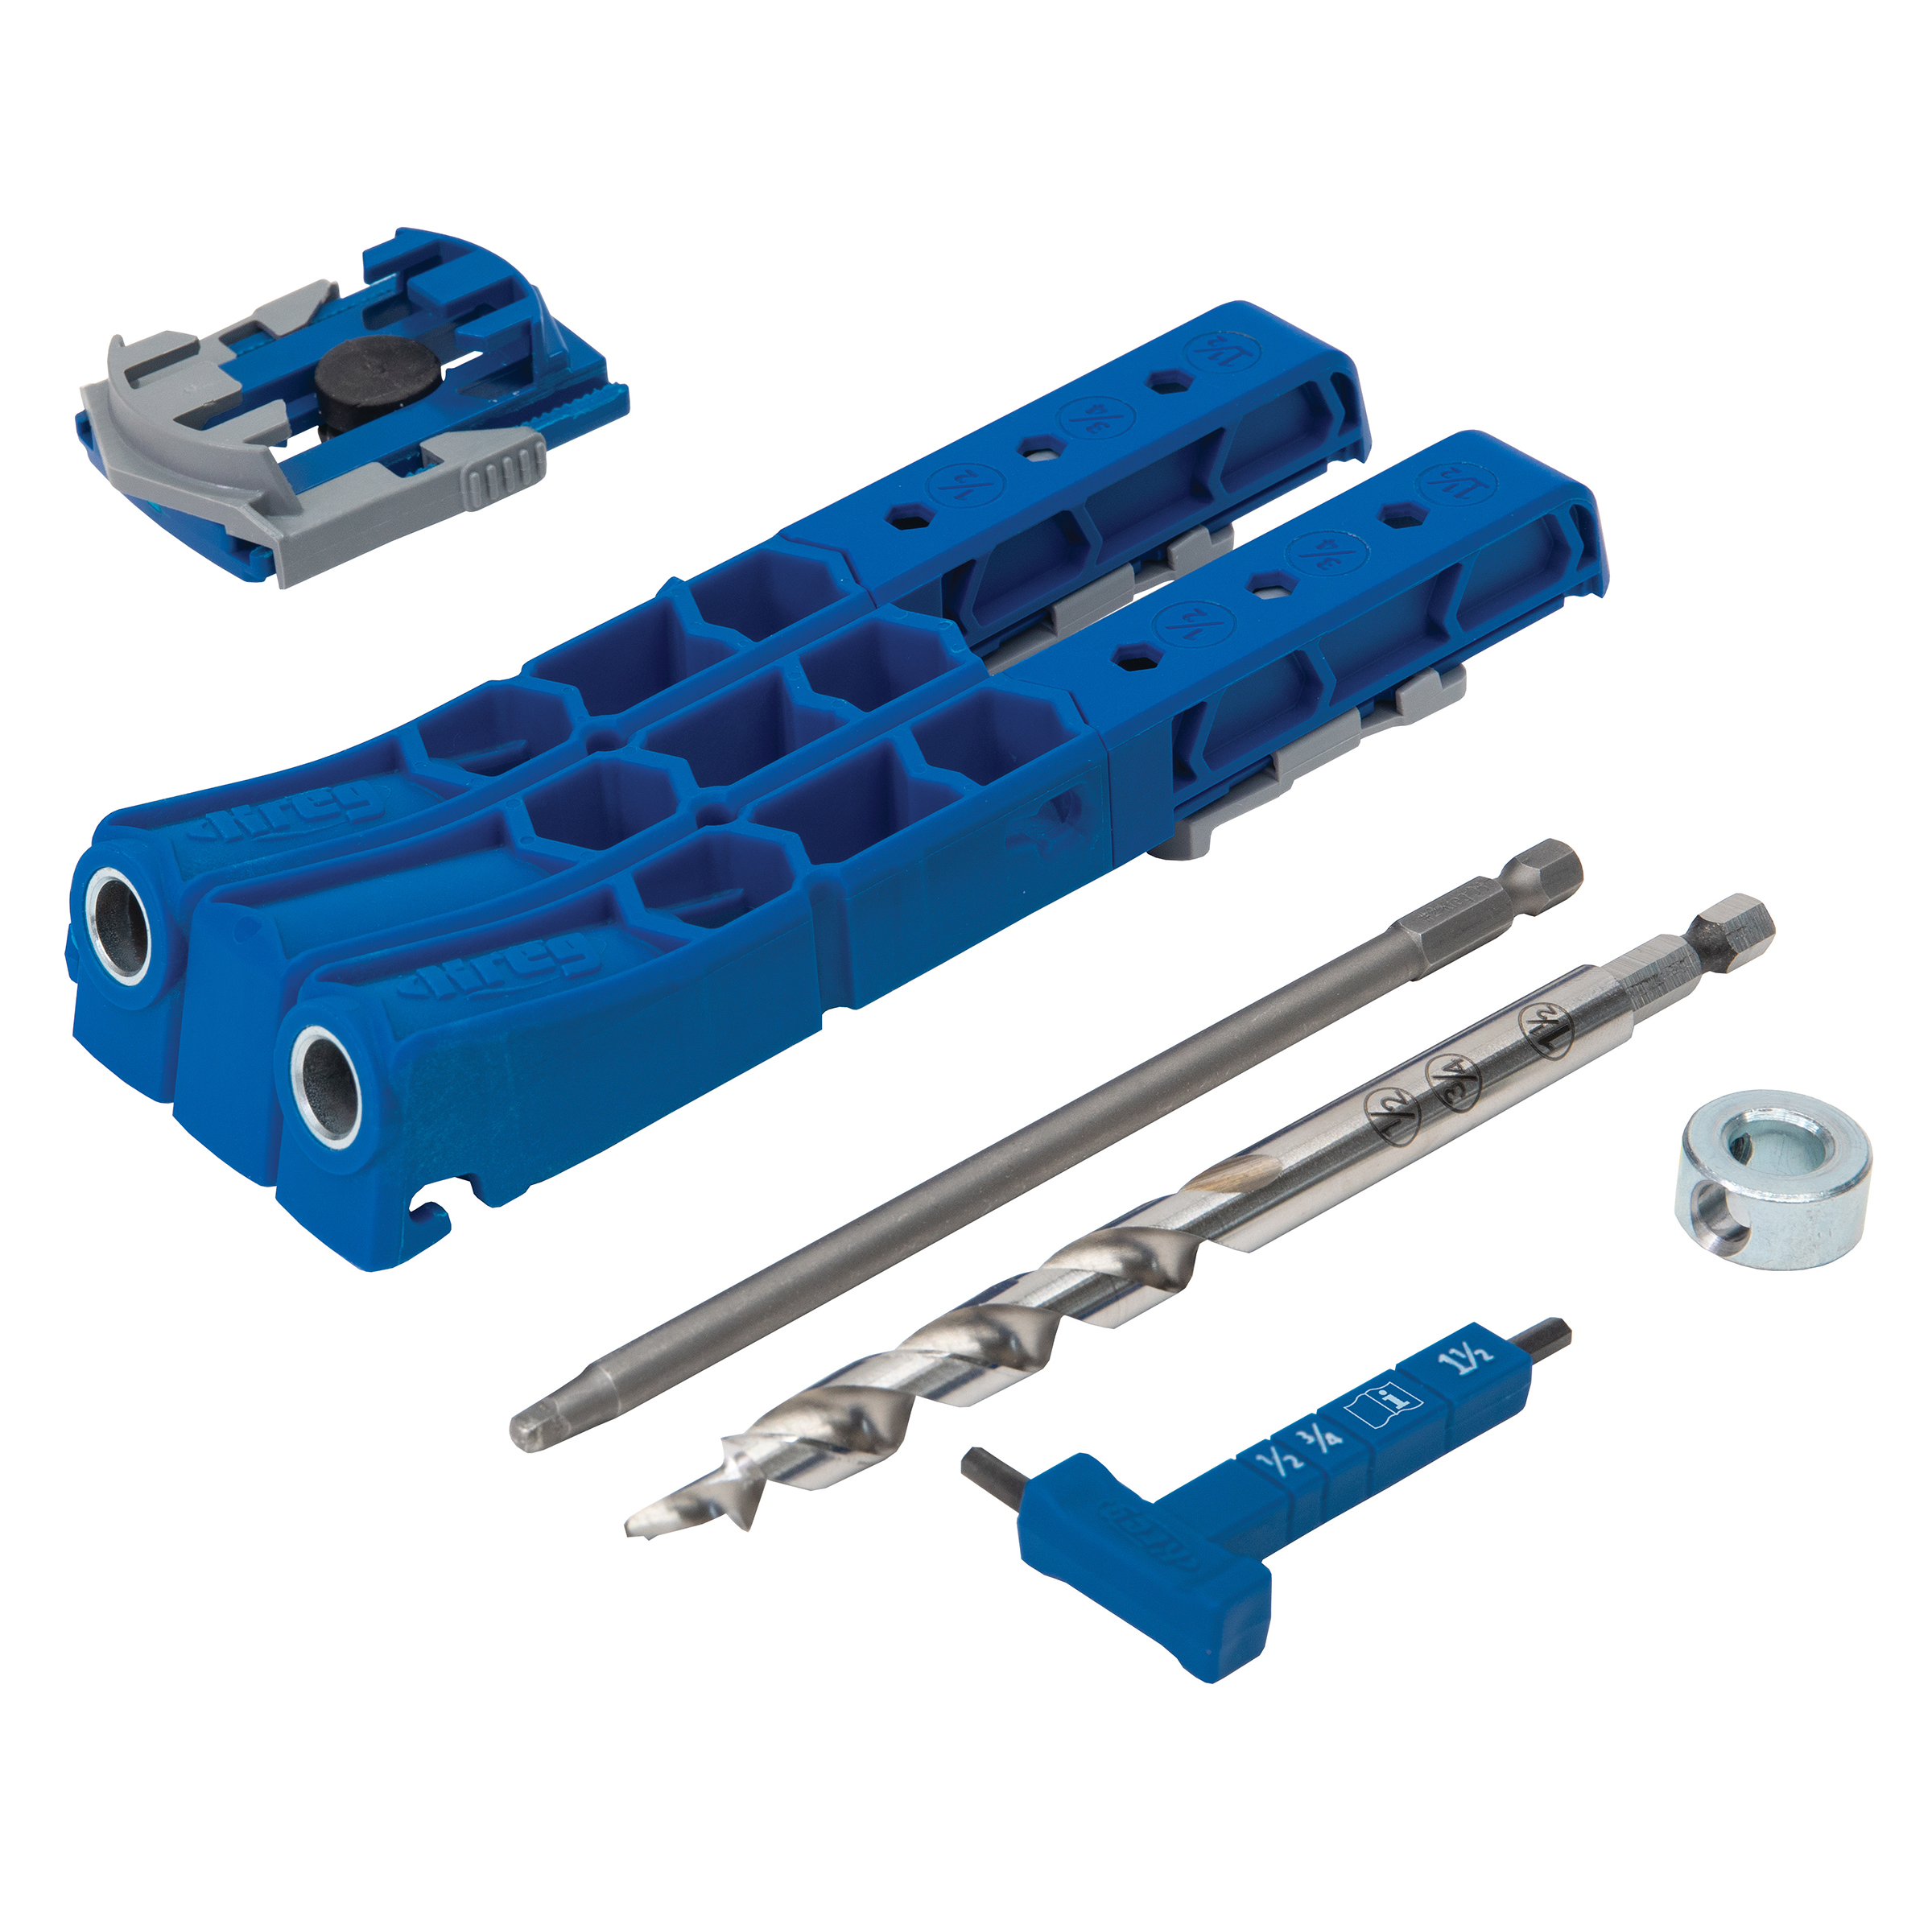
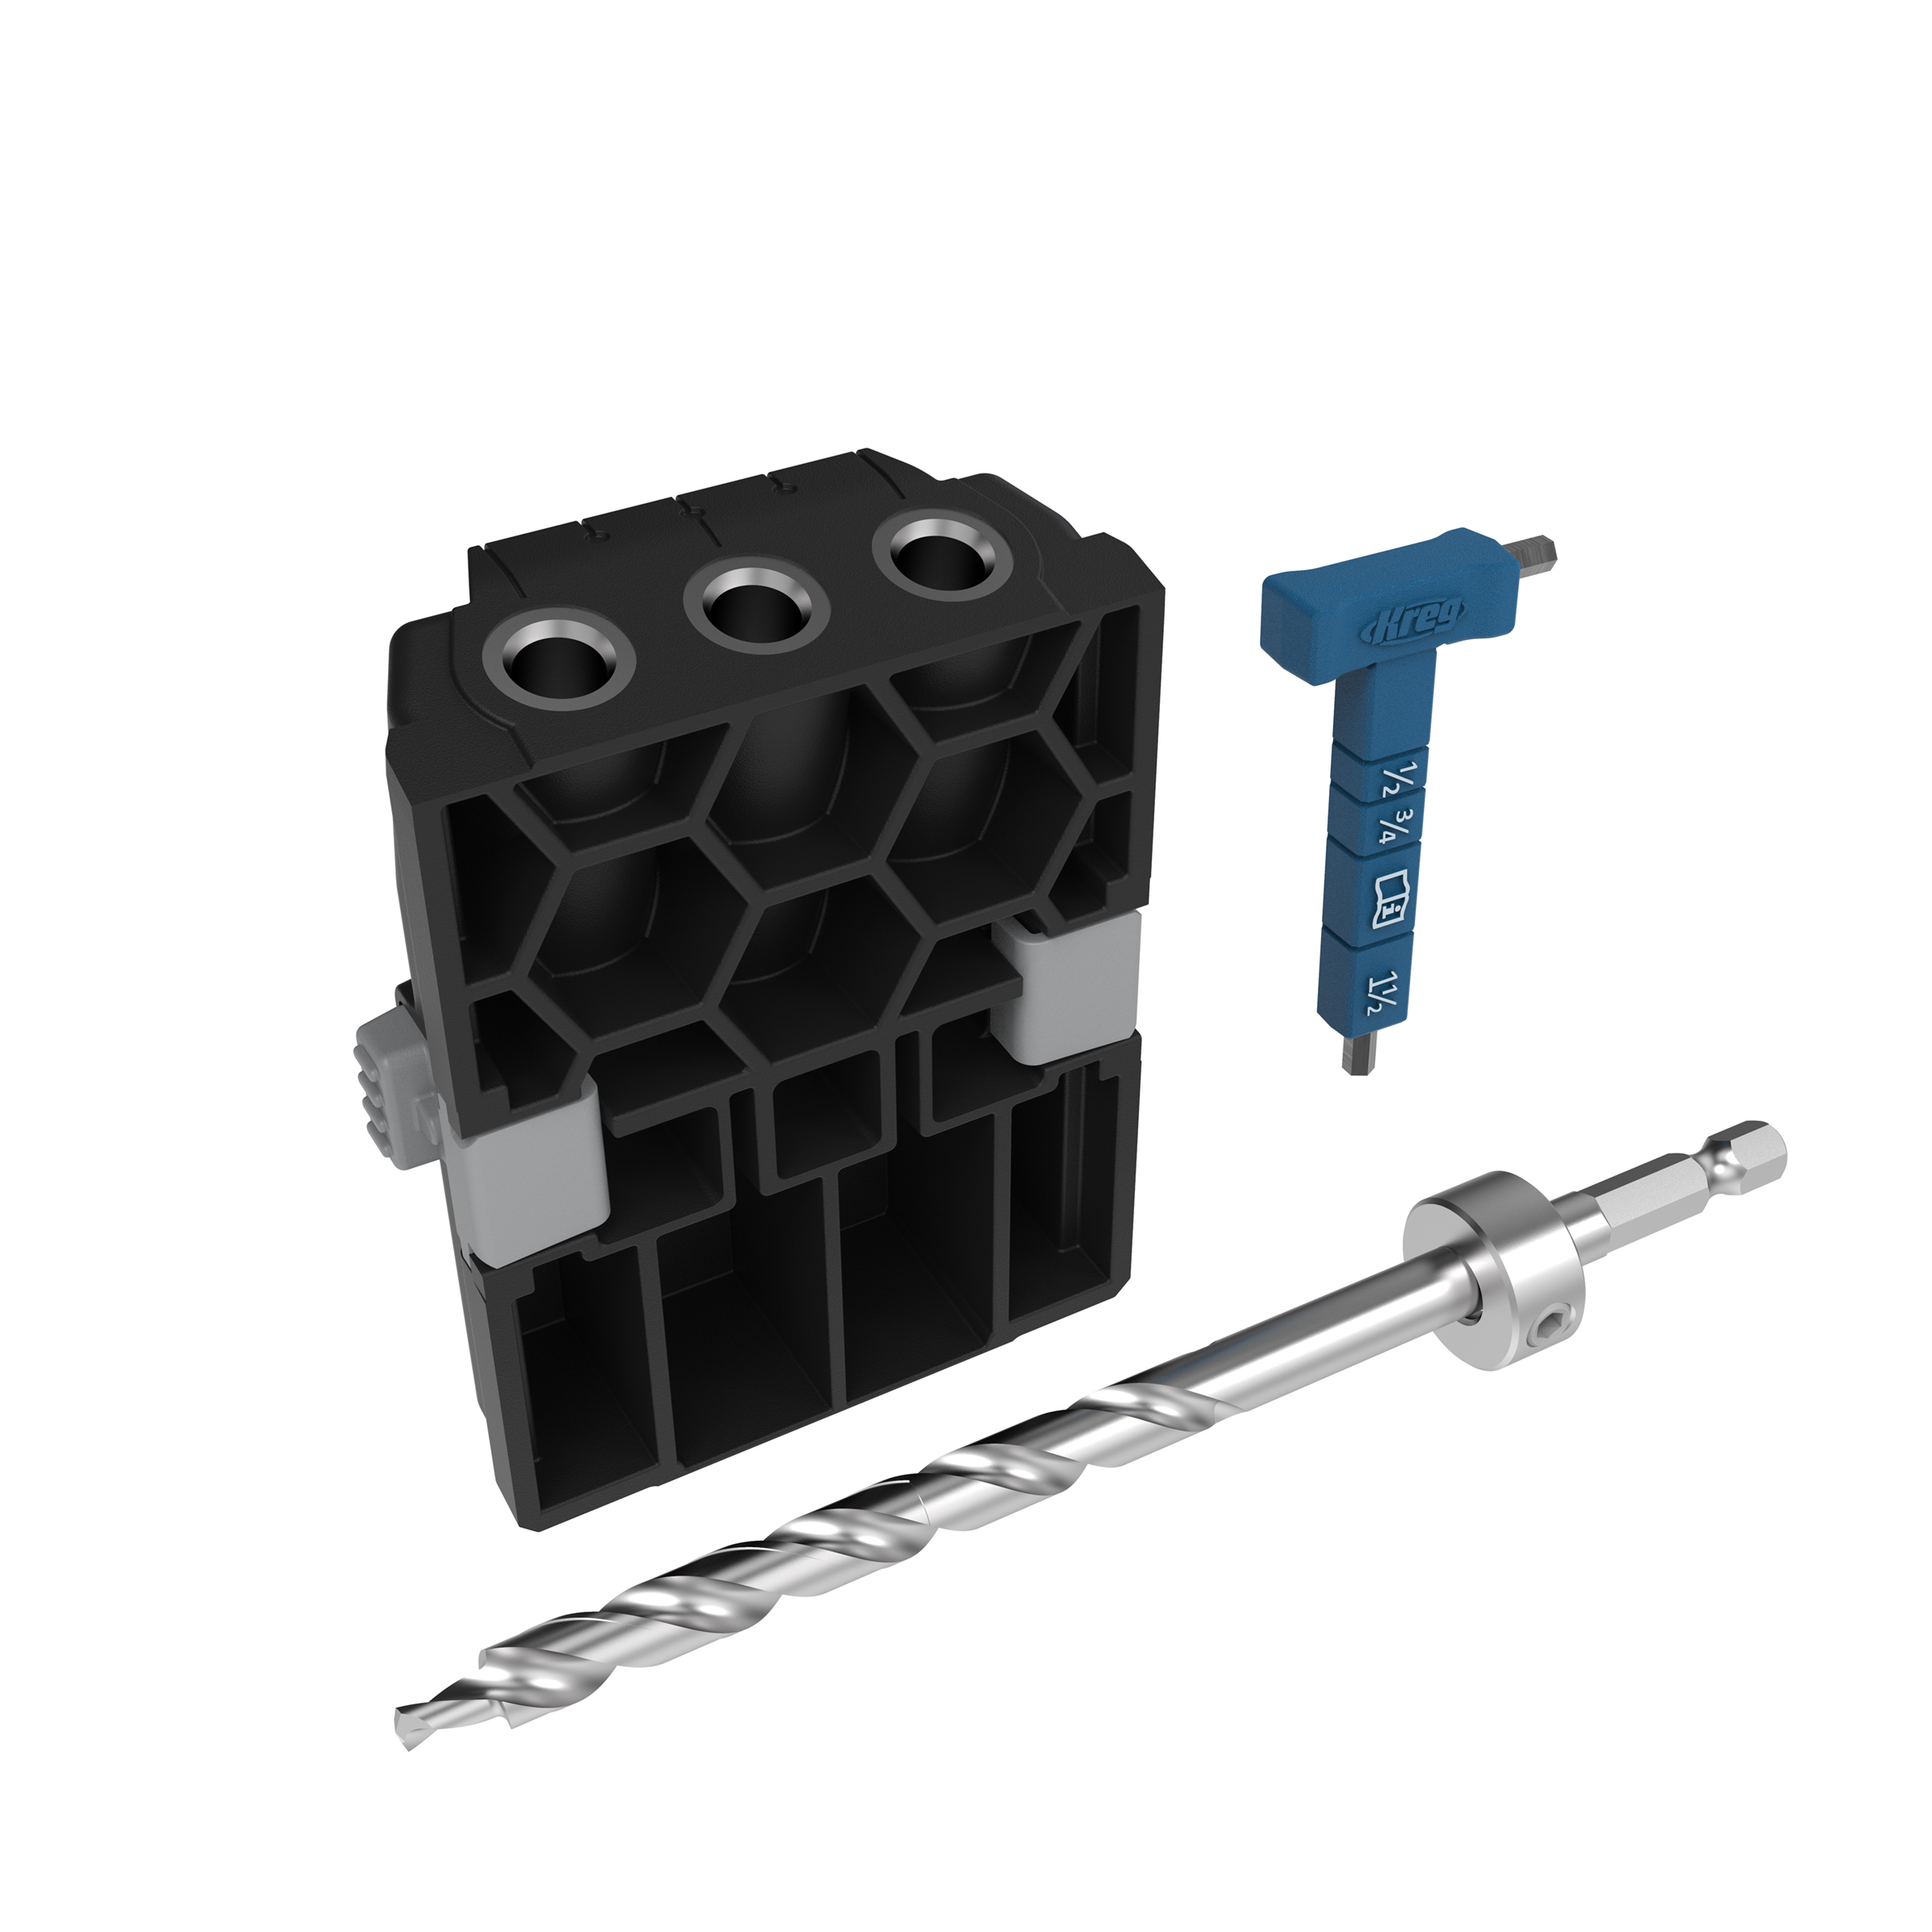
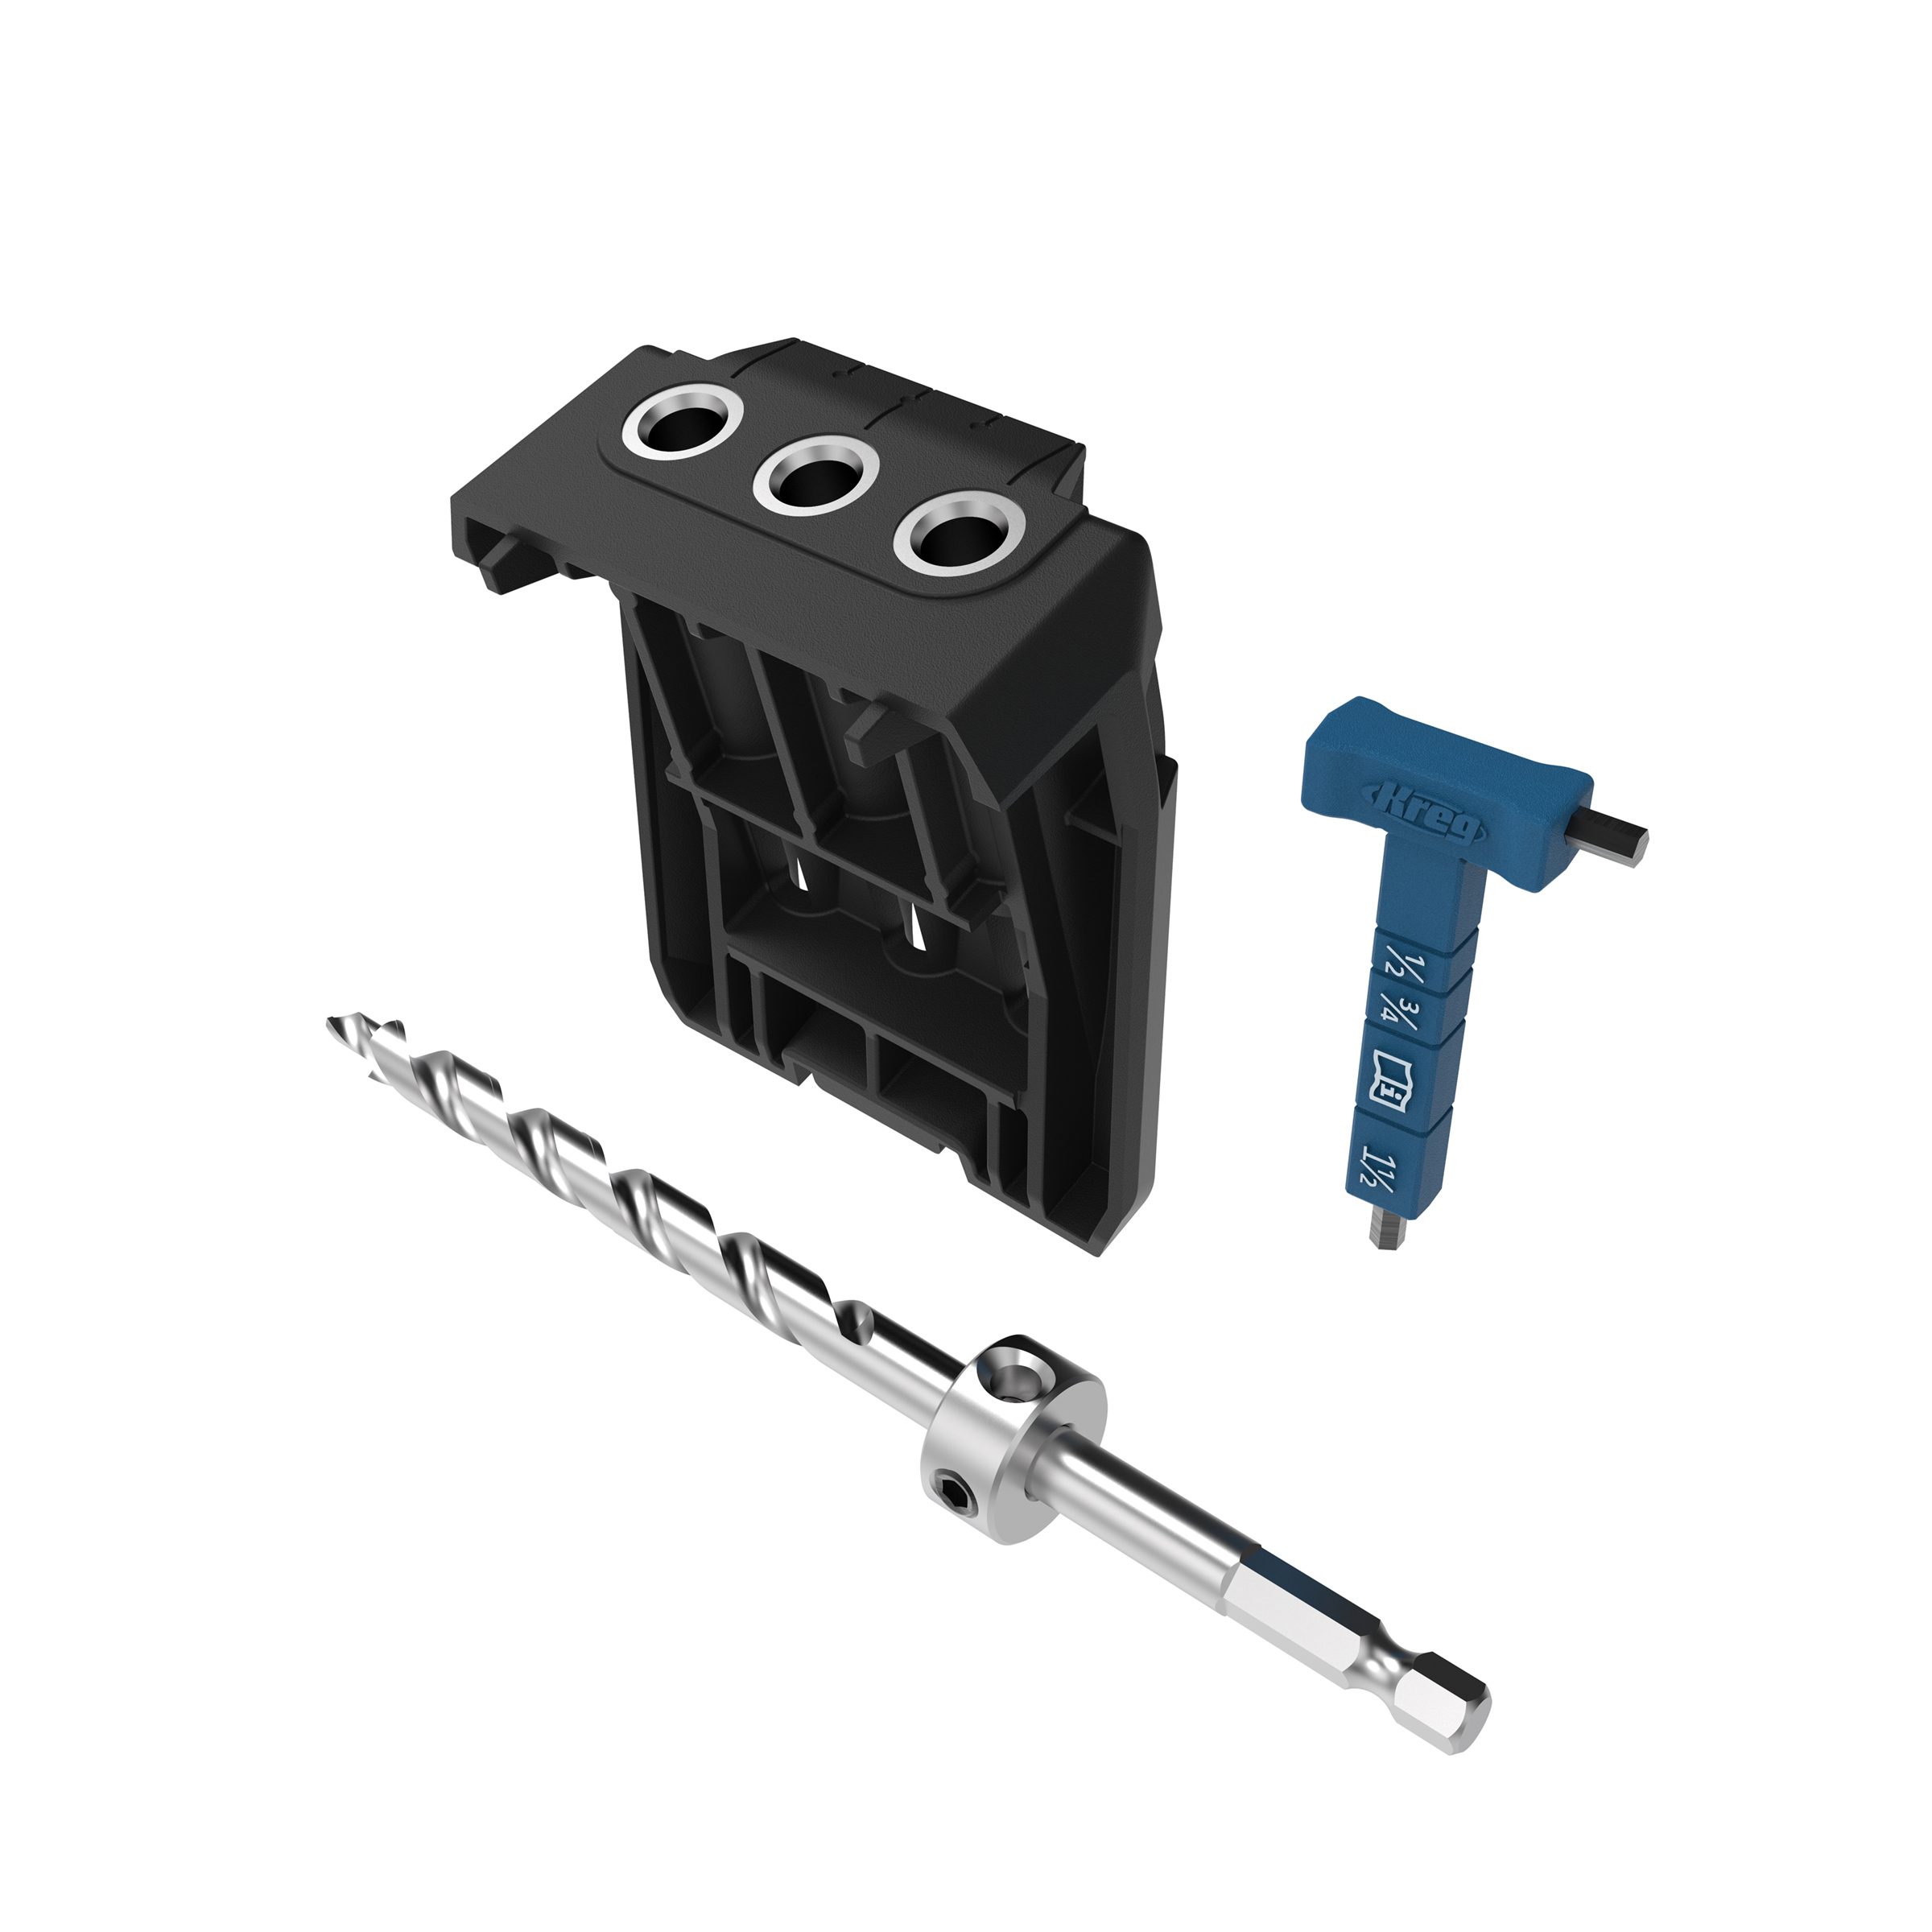
Kreg® Pocket-Hole Jig 720