Scrap Wood Lantern
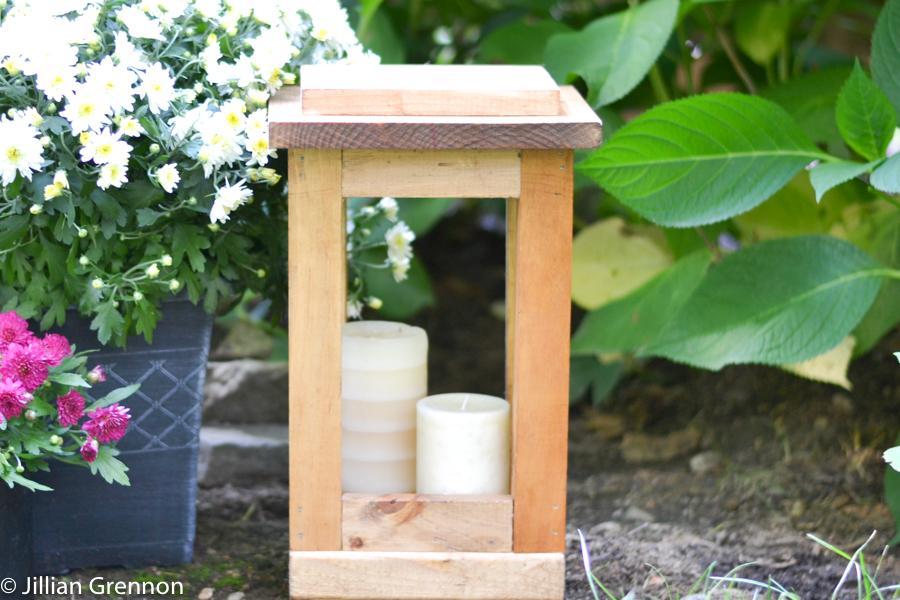
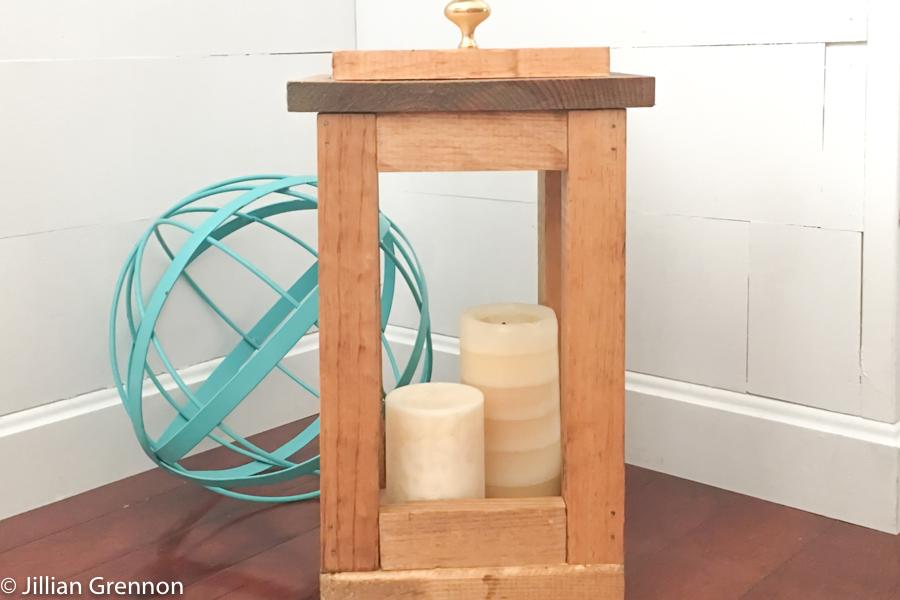
By Jill ApprovedUpdate your outdoor decor with a beautiful scrap wood lantern. Use battery powered candles that cycle on and off and you will have a beautiful glow on your patio or porch for hours into the night.
Directions
-
Step 1
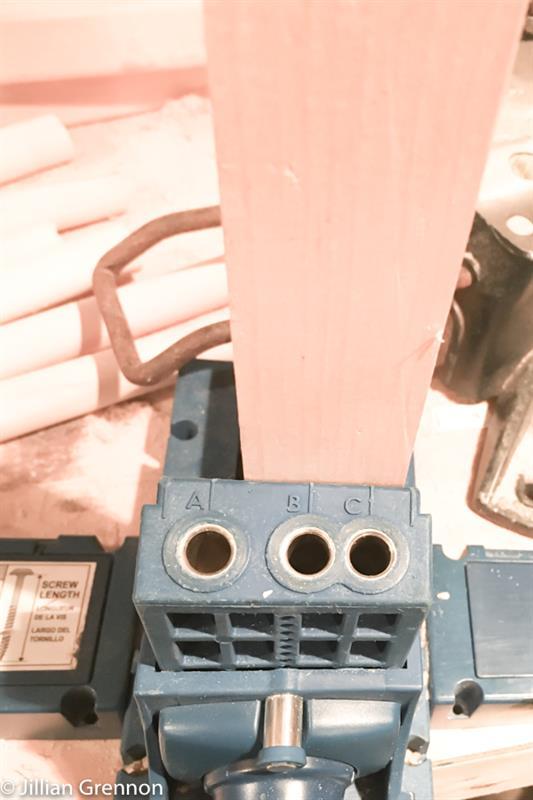
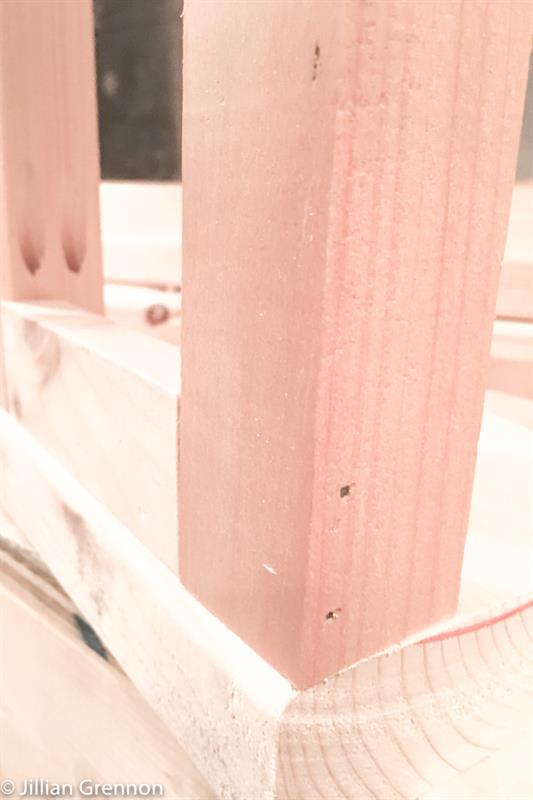
Create 2 pocket holes in each of the 2x2 corner pieces. Use the B/C slots to guide the holes.
-
Step 2
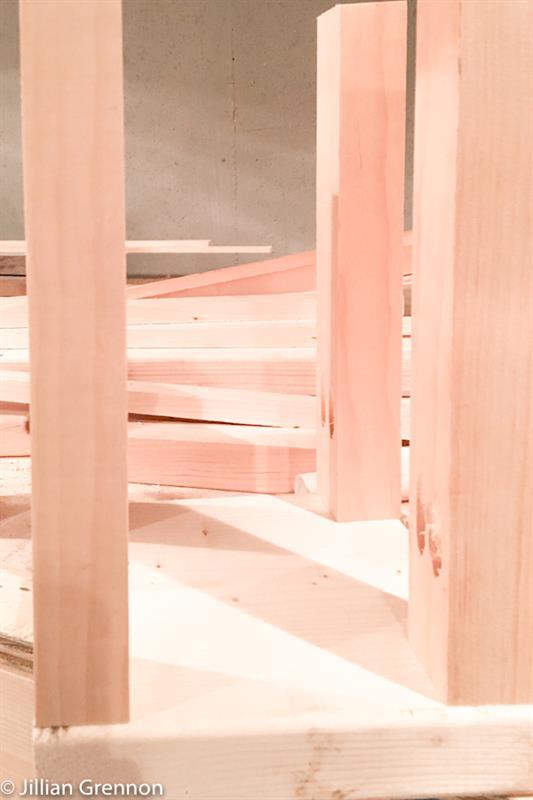
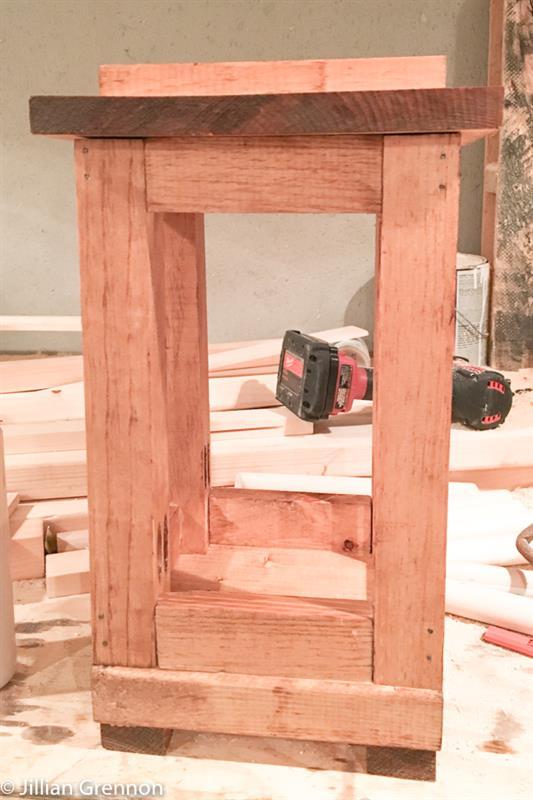
Attach 4- 2x2 corners to each corner of the 2x8 base using wood glue and pocket hole screws.
-
Step 3
Measure the space between the 2x2s on each side and cut 1x2 pieces to fit at the bottom. Attach using wood glue and 2" brad nails.
-
Step 4
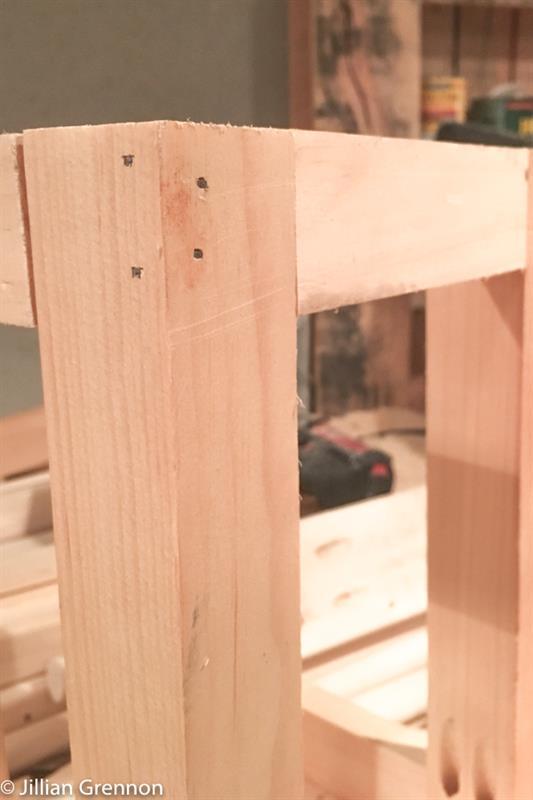
Measure the space between each 2x2 at the top and cut 1x2 pieces to fit. Attach with glue and 2" brad nails.
-
Step 5
Cut 4- 1" sections of the remaining 1x2 to make feet for your lantern. Attach them with wood glue and 2" brad nails.
-
Step 6
To create the top of this lantern you can get as creative as you want. You could add a finial at the top, use a cool drawer pull you have laying around, or you could stack it with some additional wood cuts.
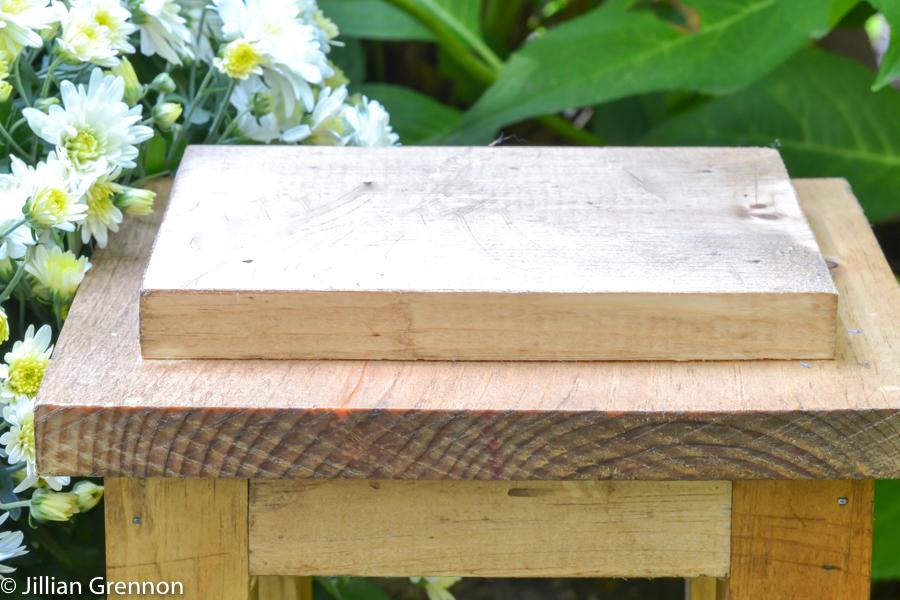
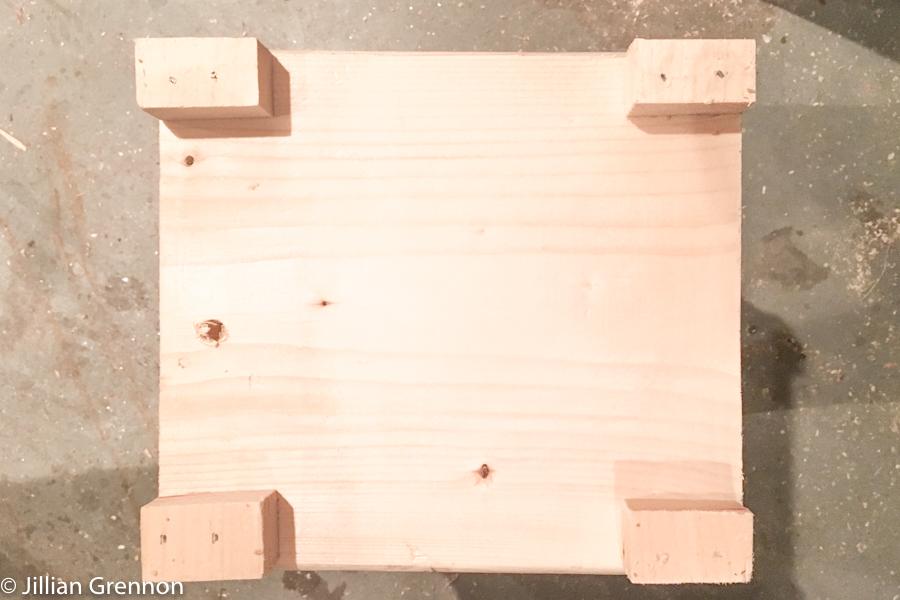
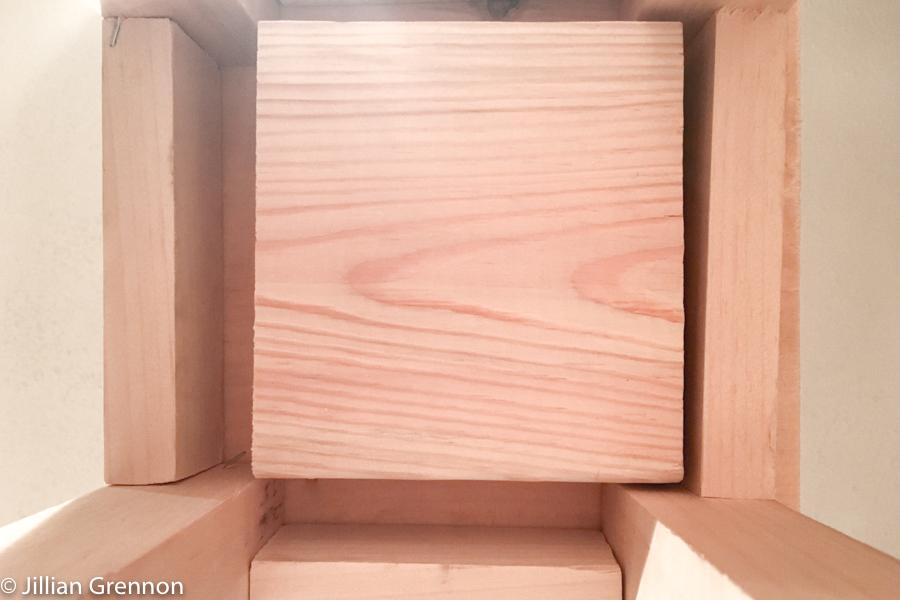
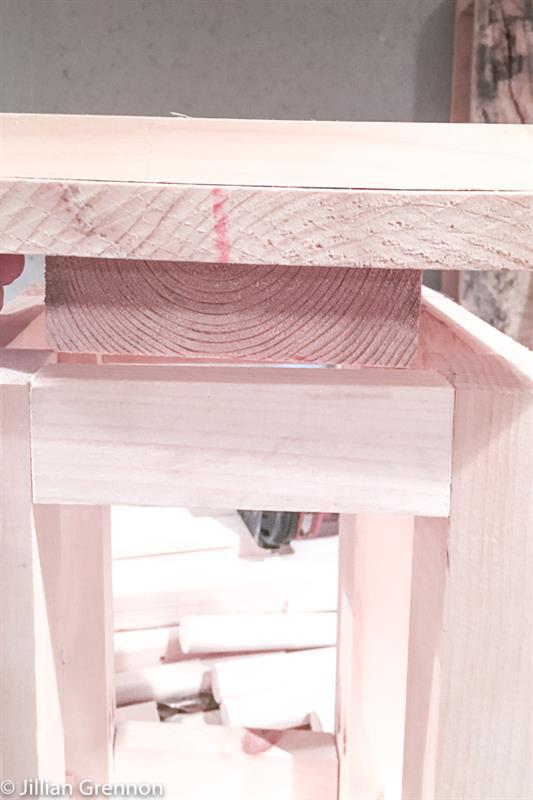
To create the top as shown, start with a 2x6 cut to 4 1/2"x4 3/4". This will sit into the top opening of the lantern and prevent the lid from sliding right off. The picture shows this piece from inside the lantern. Be sure you have it positioned to fit into the opening before you attach the next piece to it. -
Step 7
Using wood glue in between, stack the 1x10 @ 8 1/4" and then the 1x6 @ 7 1/4" on top of the 2x6, center them and secure with 2" brad nails through the top of the stack.
-
Step 8
Fill the pocket holes with wood putty if desired, then stain or paint the lantern. If you will be using this lantern outside, be sure to weatherproof it with outdoor polyurethane or paint.


