Shop Vacuum Boom Arm
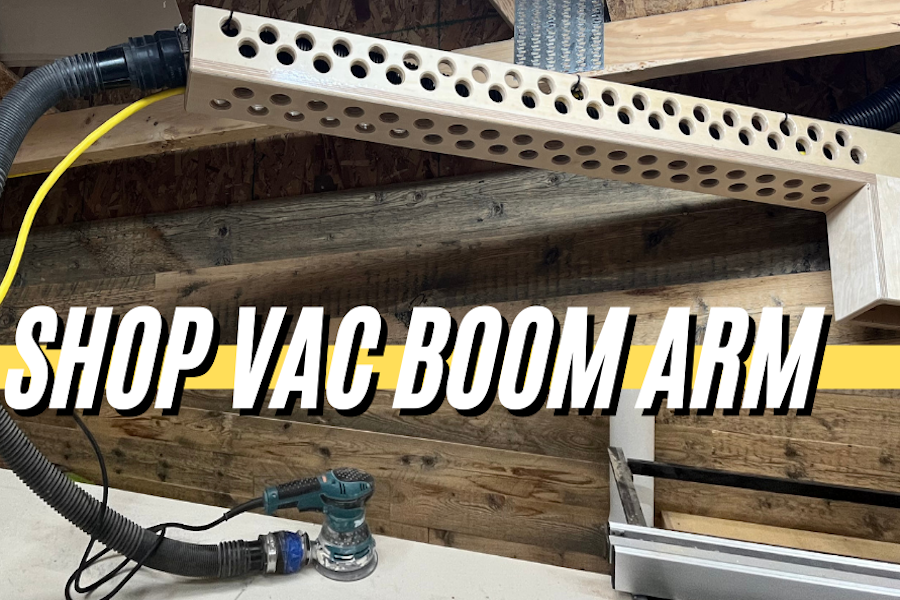
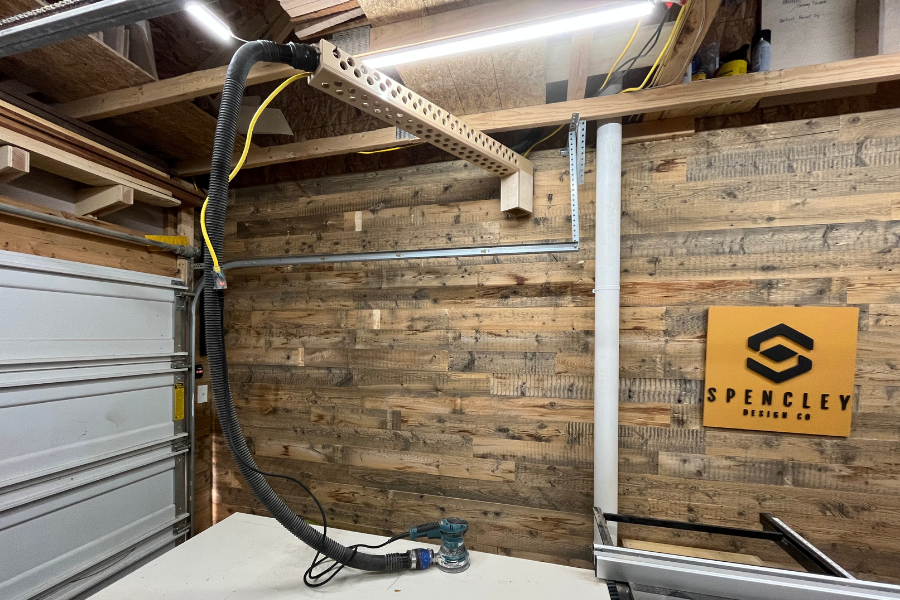
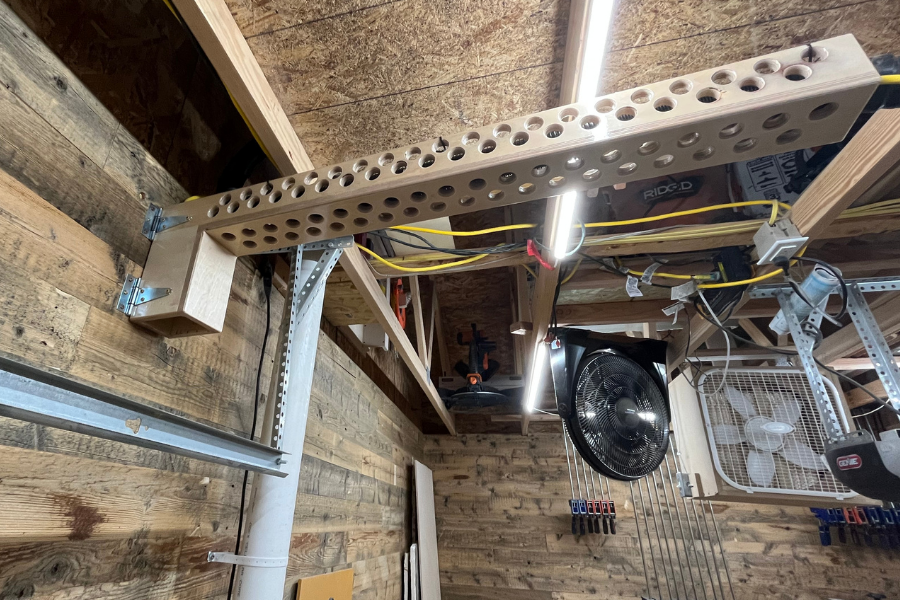
By Spencley Design Co.This boom arm is the perfect complement to any shop! Gone are the days of fumbling around with your shop vac hose getting caught on your workbench. Get your hose up and out of the way to dramatically increase the productivity in your shop!
Directions
-
Cut Plywood
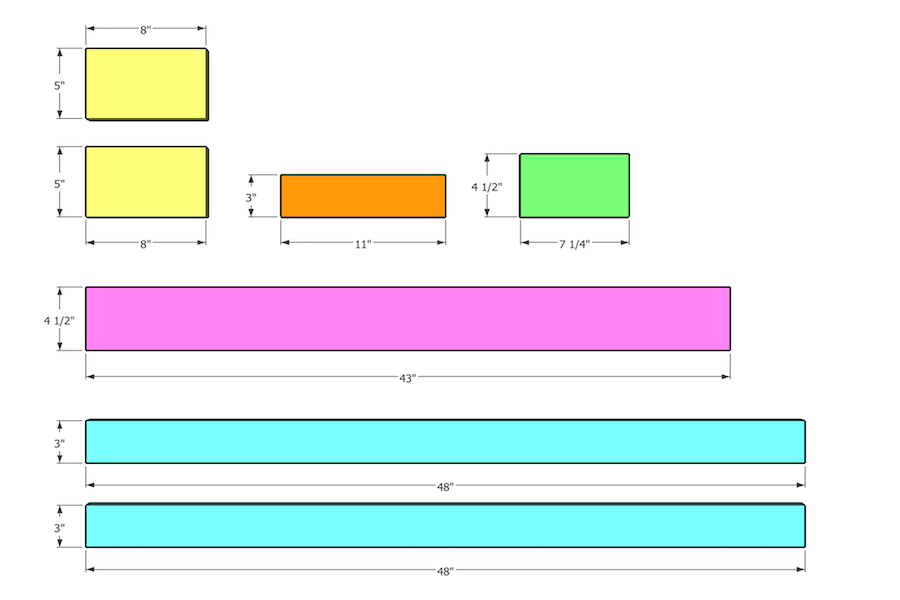
Cut all pieces according to the cut list. Note that all of the pieces on this project are made out of ¾” plywood. Feel free to substitute thinner plywood, but ¾” thick would be your best bet to ensure stability of the boom arm
Tip:
I highly recommend watching the full build video to help your better understand how this project comes together. There are many aspects that are better explained through video compared to text.
-
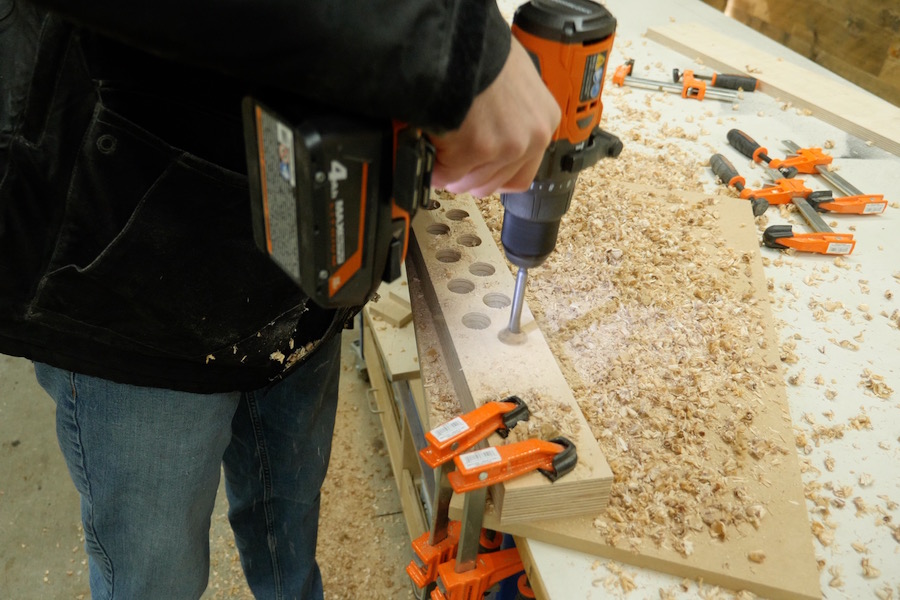
Drill weight reduction holes
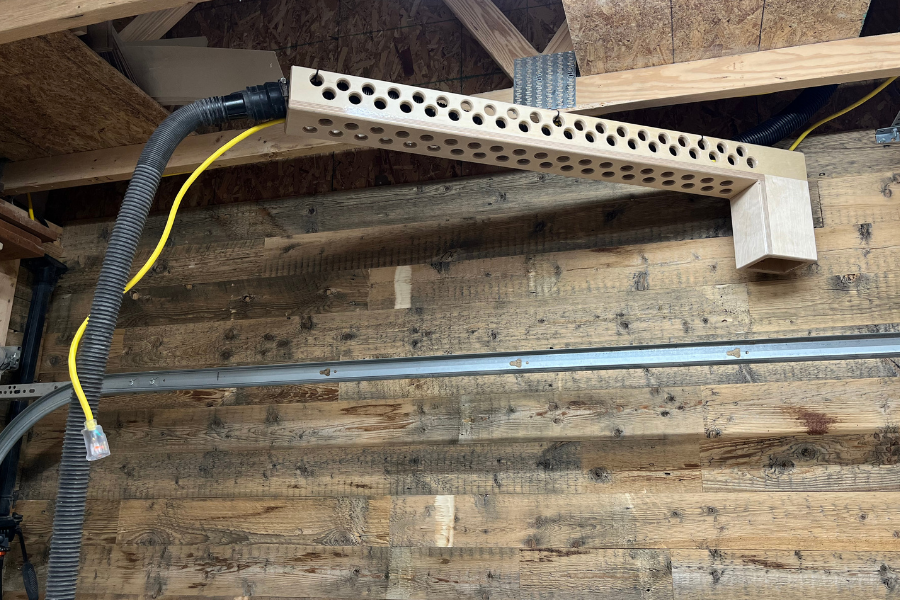
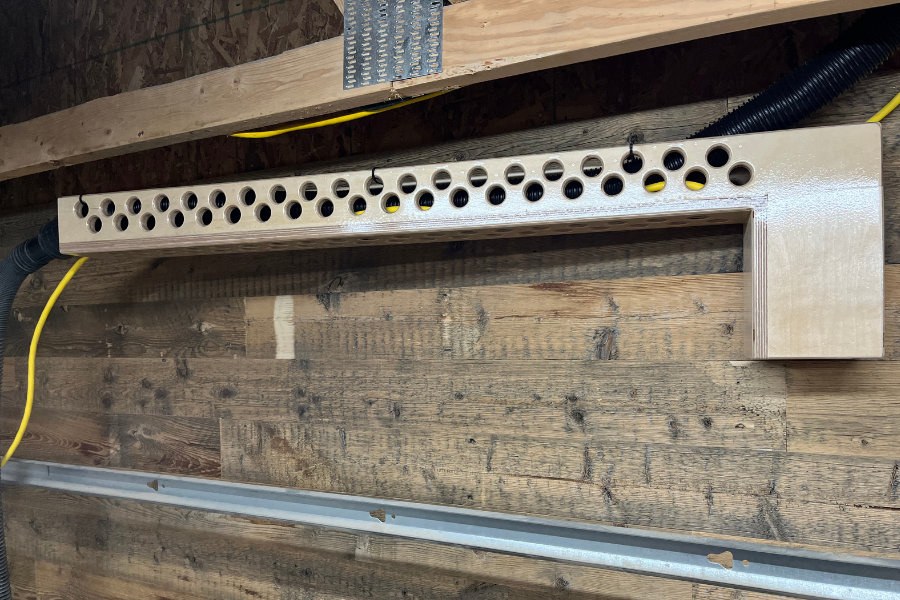
(OPTIONAL) To help reduce the weight, consider drilling out holes on the boom arm pieces.
-
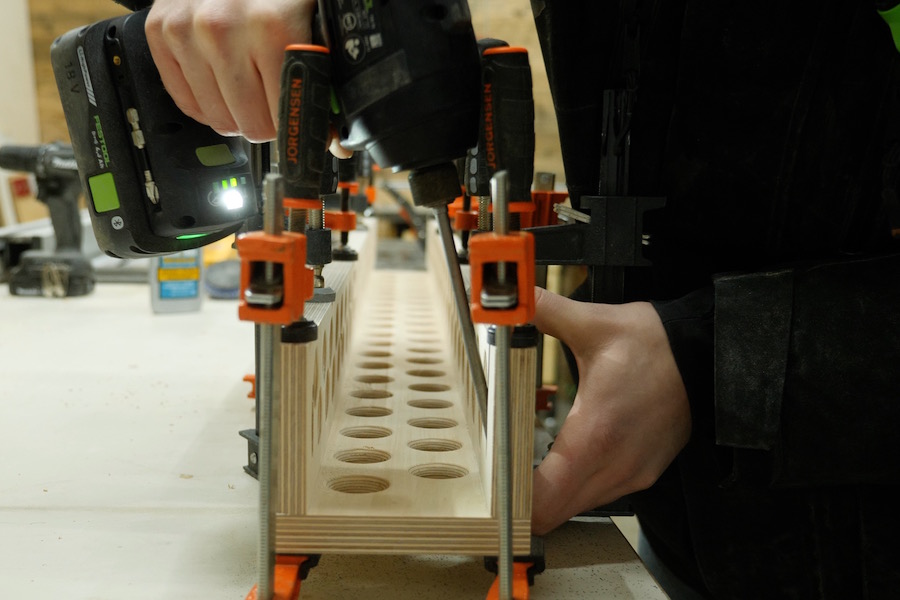
Attach boom arm pieces
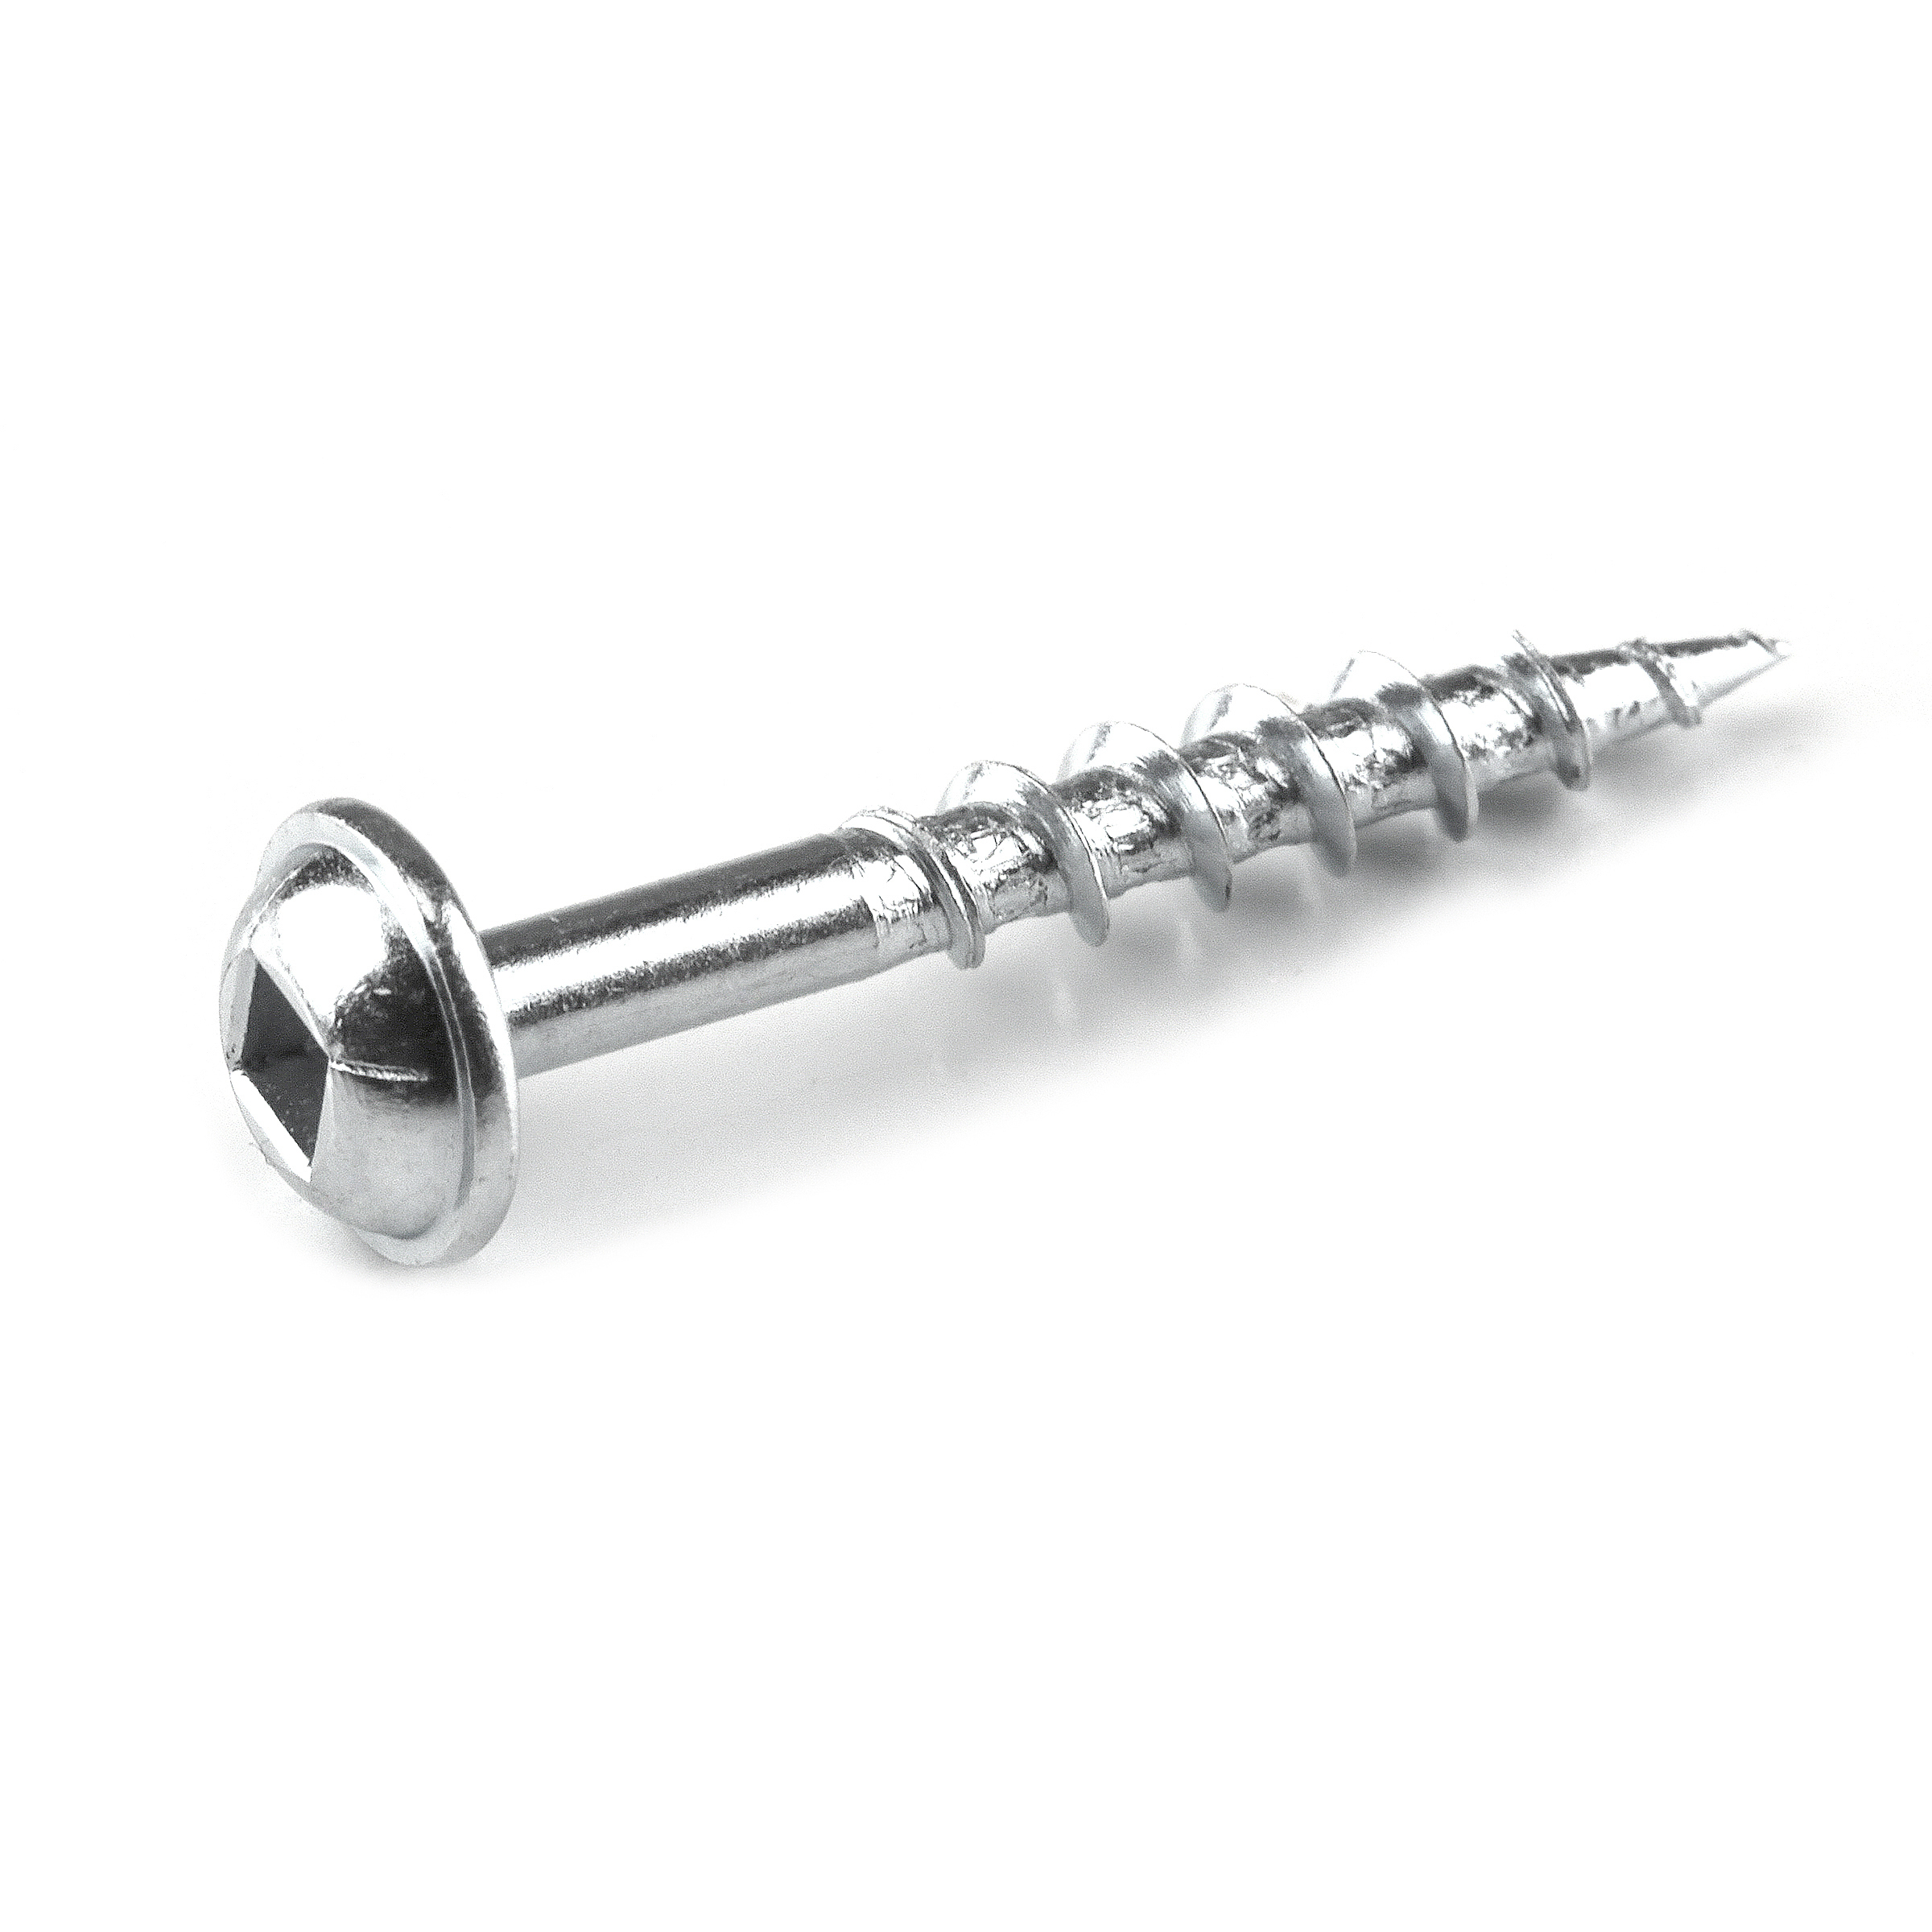
Assemble to main frame of the boom arm using pocket holes and 1 ¼” pocket hole screws
-
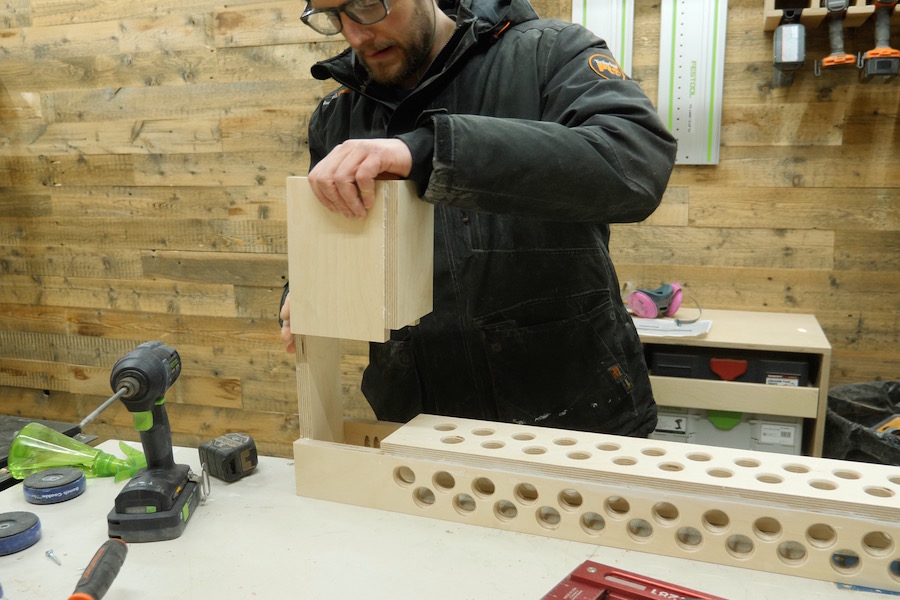
Build back box
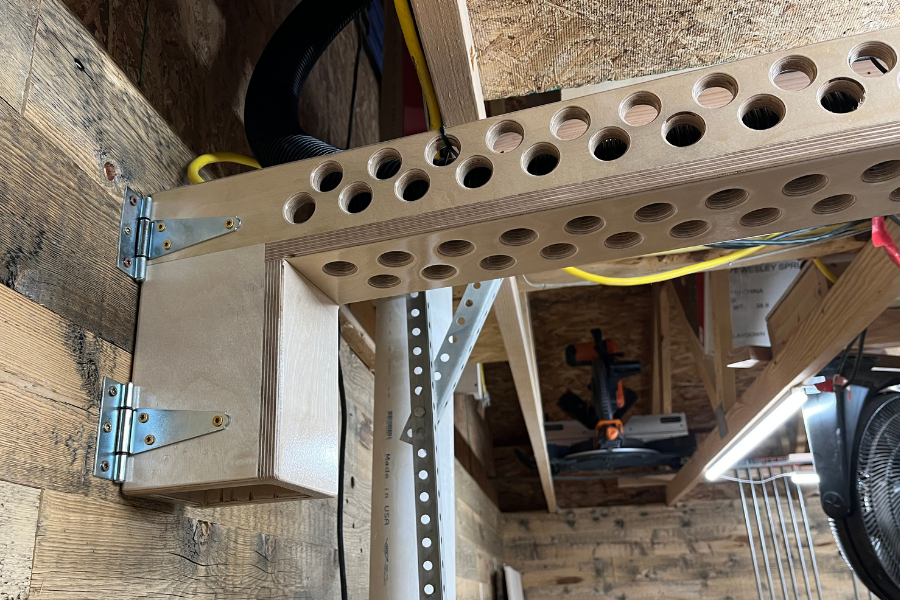
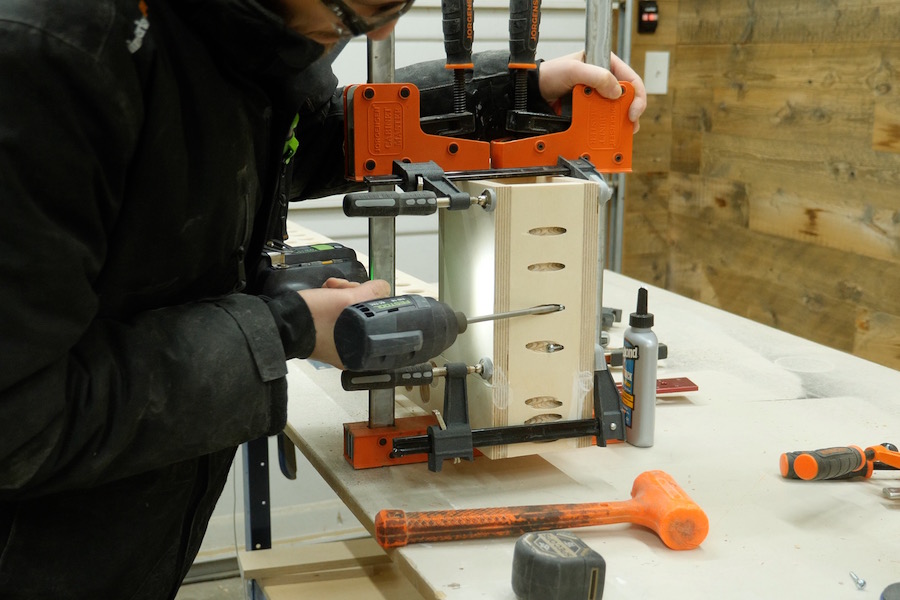
Using more pocket holes and 1 ¼” pocket hole screws, build the back box frame
-
Secure back box
Secure the back box frame to the boom arm using 1 ¼” pocket hole screws
-
Secure to wall
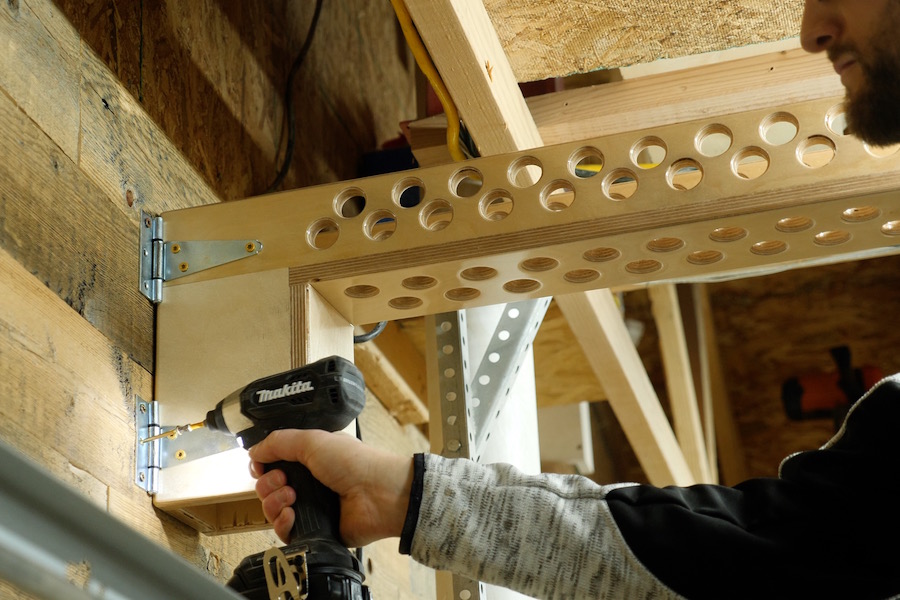
Attach 2 hinges to the back box frame, and secure it to studs on the wall
-
Insert shop vac hose
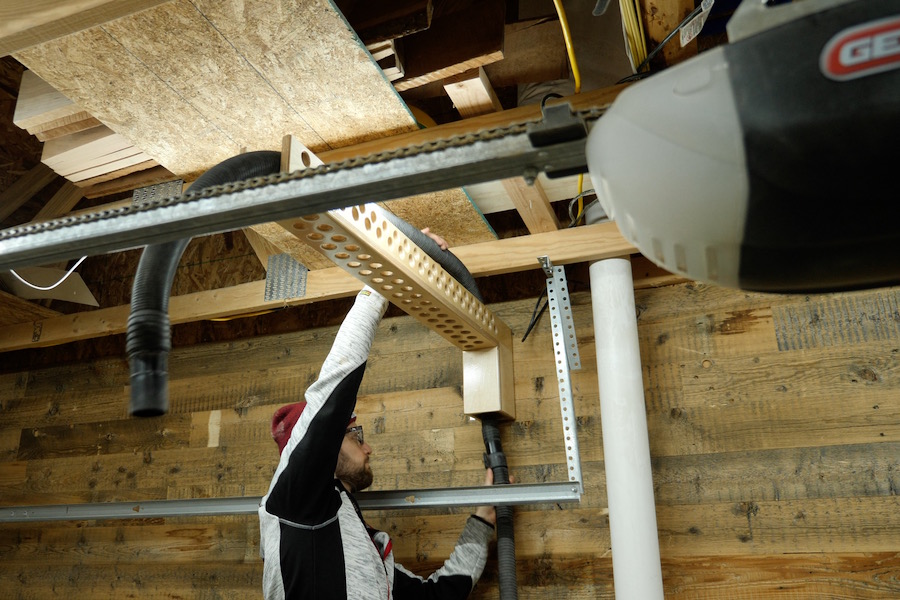
Run your shop vac hose up through the rear of the boom arm and secure with zip ties and you are finished!


