DIY Cornhole Boards – How To Build Cornhole Boards
Difficulty
easy

Elevate your outdoor gatherings by adding cornhole boards to the mix. Whether you’re a woodworking novice or pro, these plans provide step-by-step instructions for crafting custom, regulation-size boards. Add a touch of fun to your backyard with these versatile and entertaining DIY projects.
There’s a certain magic in transforming a pile of lumber into a personalized entertainment centerpiece. DIY cornhole boards are more than just a game; they’re a canvas for creativity, a woodworking adventure that brings joy to your backyard gatherings. The allure lies in the process — the satisfaction of crafting something functional and fun with your own hands.
Cornhole has transcended its humble origins to become a staple at social events. Its simplicity, paired with the thrill of competition, has elevated it to a beloved outdoor game. With this surge in popularity, the appeal of crafting DIY cornhole boards has skyrocketed. Woodworking enthusiasts are drawn to the idea of creating their own unique sets, adding a personal touch to a game that has become a social phenomenon.
Before you dive into crafting your cornhole boards, it’s crucial to understand the game’s basics. Cornhole is deceptively simple — toss bags filled with corn kernels into a hole in a raised platform. The boards are placed a set distance apart, and points are scored based on where the bags land. Knowing the rules and setup ensures your DIY boards will meet the standards for an authentic and enjoyable game.
“Why not just buy a set?” you might ask. Crafting your cornhole boards offers a host of advantages. Firstly, there’s the cost savings. Commercial sets can be pricey, and a DIY approach allows you to tailor your expenses. Beyond financial considerations, there’s the joy of customization. Design your boards to reflect your personality, favorite sports team, or anything else. The satisfaction of completing a woodworking project, from planning to the first game, is a reward that store-bought sets can’t match.
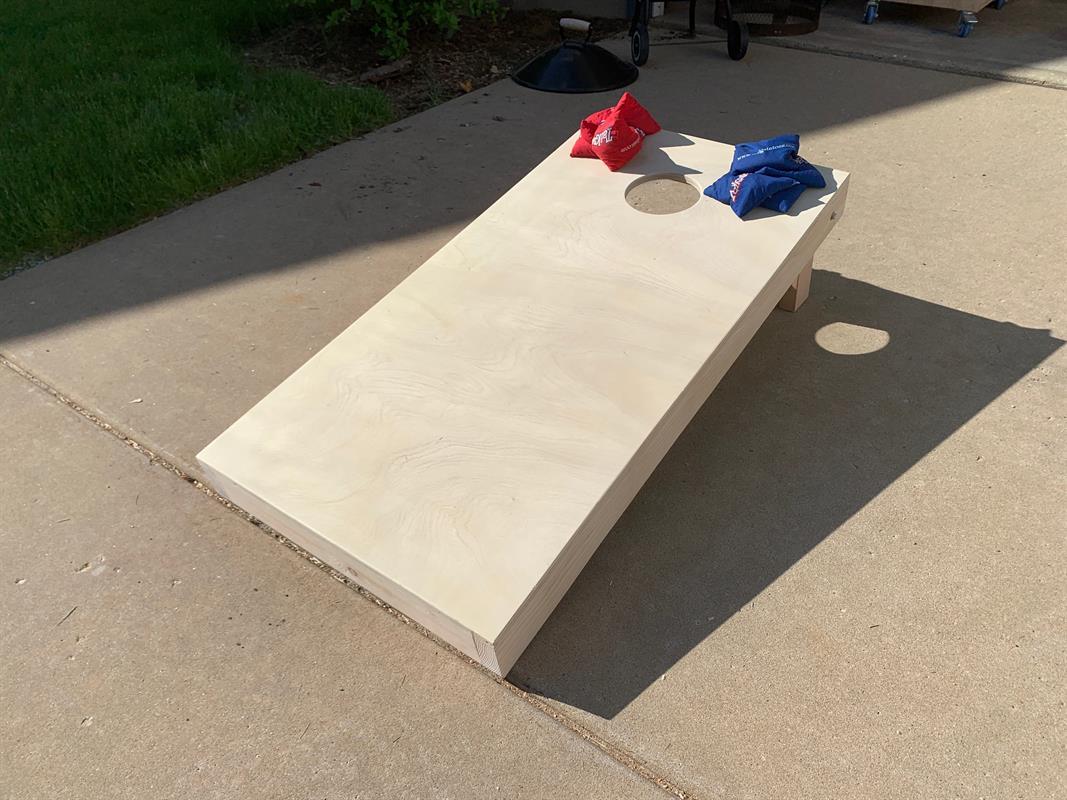
Before you hit the workshop, familiarize yourself with the standard dimensions for regulation cornhole boards. Each board should be 2 feet by 4 feet, with a 6-inch diameter hole centered 9 inches from the top. Adhering to these specifications ensures consistency across games, making your DIY boards suitable for tournaments and casual play alike.
The choice of wood significantly influences the durability and weight of your cornhole boards. Commonly used woods include plywood, birch, and pine. Plywood is a popular choice for its affordability, while hardwoods like birch add a touch of elegance. Consider the weight of the boards for portability — you want them sturdy but not unwieldy.
Equipping yourself with the right tools is crucial for a successful DIY project. Basic woodworking tools include a circular saw, power drill, jigsaw, and a sander. Accurate measurements and clean cuts are essential, so ensure your tools are in good condition before starting.
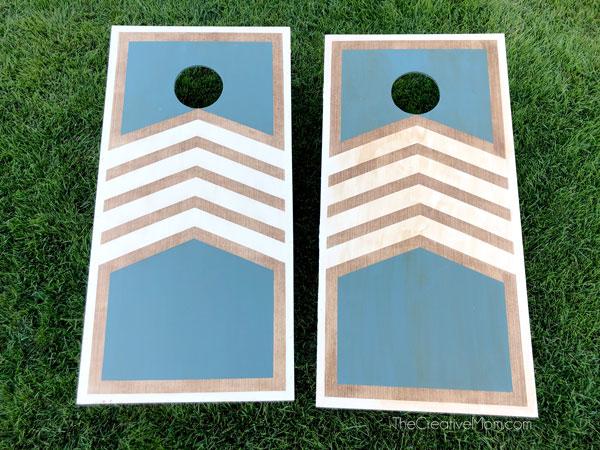
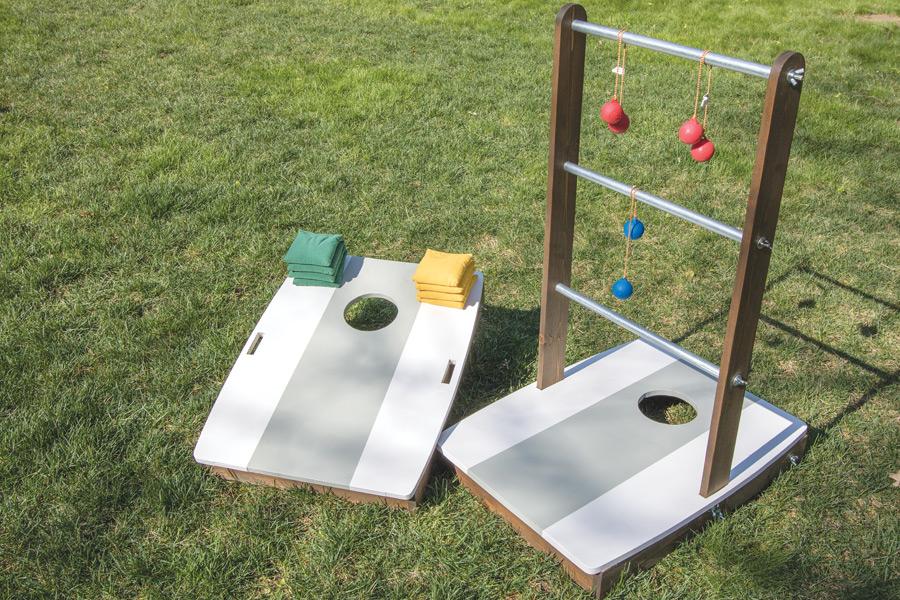
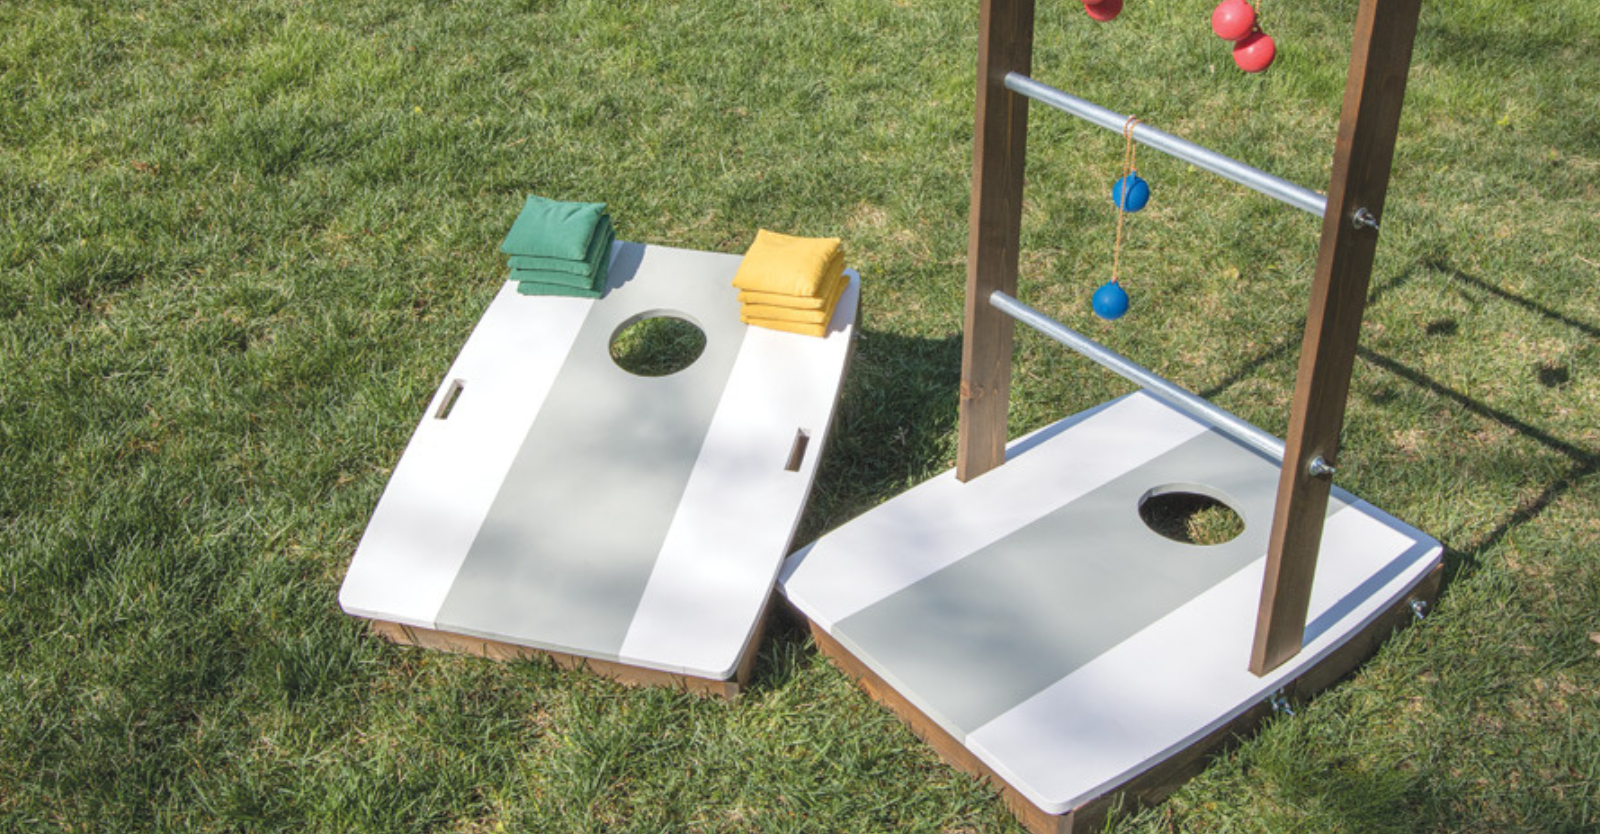
Now that you have the basics down, it’s time to get creative. Sketch out your board design, considering the overall theme, color scheme, and any additional features like a foldable leg design for easy storage. Your boards are not just game pieces; they’re an expression of your style and personality.
Your DIY cornhole boards are an investment in fun, and proper maintenance ensures they stand the test of time. Here are some tips for keeping them in top condition:
While cornhole boards are designed for outdoor use, storing them indoors during prolonged periods of non-use can prevent weather-related wear and tear.
Wipe down the boards with a damp cloth to remove dirt, dust, or any spills. This simple routine keeps them looking fresh.
Regularly inspect the boards for any signs of damage, such as loose screws or chipped paint. Addressing issues promptly prevents further deterioration.
If you notice minor damage, such as a small chip in the paint or a loose screw, make the necessary repairs using wood filler or additional screws.
To ensure your DIY cornhole boards withstand the elements, consider these weatherproofing techniques:
Apply a weather-resistant sealant to the boards to protect them from moisture, UV rays, and temperature fluctuations.
If not done during the customization phase, apply a clear varnish or outdoor paint as an additional layer of protection.
Invest in or build a cover to shield the boards from rain, sun, and other harsh weather conditions when not in use.
Remember, prevention is key. By weatherproofing your boards, you’re ensuring they remain vibrant and functional for countless games to come.
Proper storage is crucial to maintaining the structural integrity of your DIY cornhole boards, especially during off-seasons or extended periods of non-use. Consider the following storage options:
If space allows, store the boards vertically to minimize the footprint. Ensure they are secured to prevent accidental falls.
Install wall mounts to hang the boards securely. This not only saves space but also adds a decorative element to your storage solution.
Craft or purchase custom storage bags that fit your boards perfectly. This not only protects them from dust but also makes transportation easier.
Remember, the goal is to keep your boards safe and well-maintained when they’re not in action.