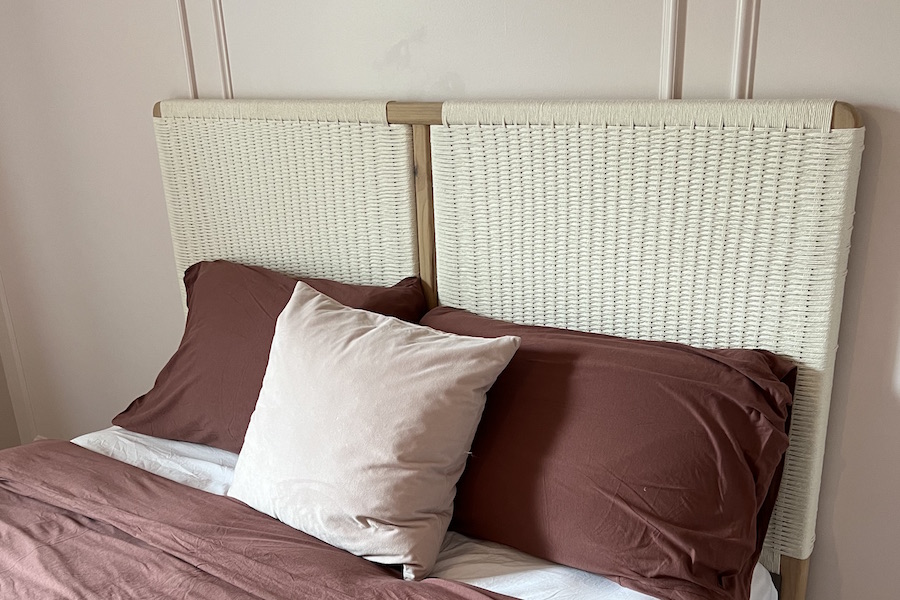


This woven headboards is a great project to test your skills. It's the perfect focal point for your bedroom!
Tools
Kreg Tools


Other Tools
-
Miter saw

-
Clamps
-
Hand saw (optional)
-
1/2" roundover bit (optional)
Materials
Wood Products
- 3 Pine board , 2"x2"x8'
Hardware & Supplies
- 1 Wood glue
- 1 Stain
- 1 Macrame Coard 1000 yards
- 5 Furniture tack
- 1 Crochet hook
- 1 Box of 1/2" L Nails (~300)
- 1 80, 120, 220 Grit sandpaper
Directions
-
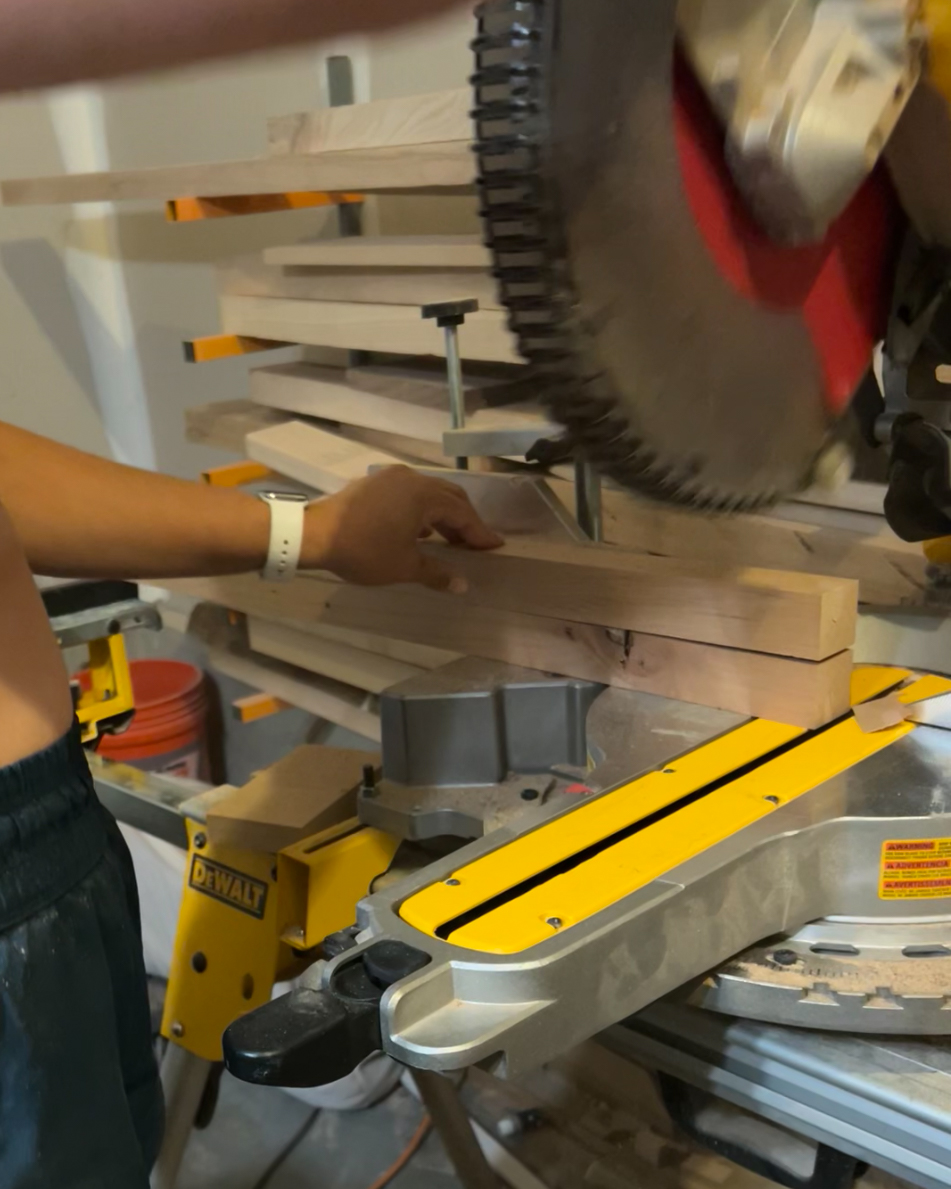
Step One
Cut all the materials.
-
Step Two
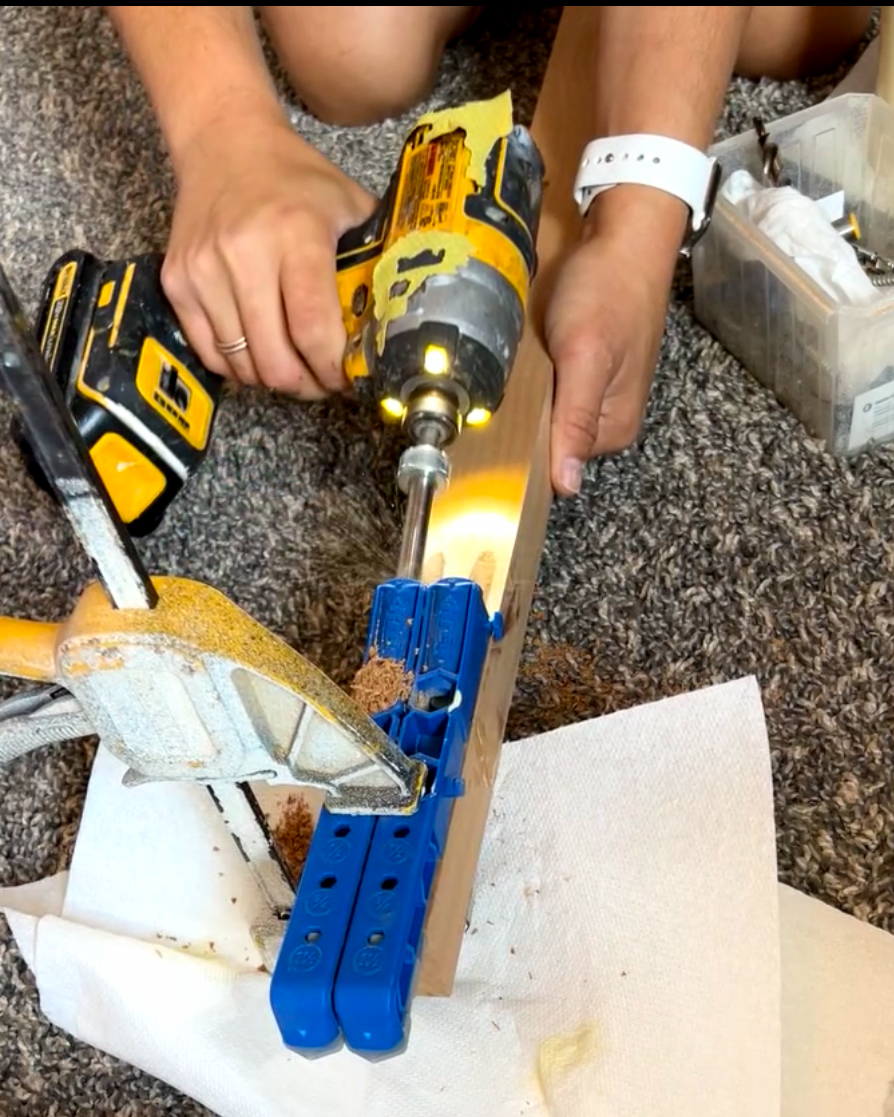
With all the materials cut you are going to set your pocket hole jig to 1 1/2” and the stop collar on the drill bit to 1 1/2”. Drill pocket holes on each side of both the upper and lower rails and on each end of the center supports.
-
Step three
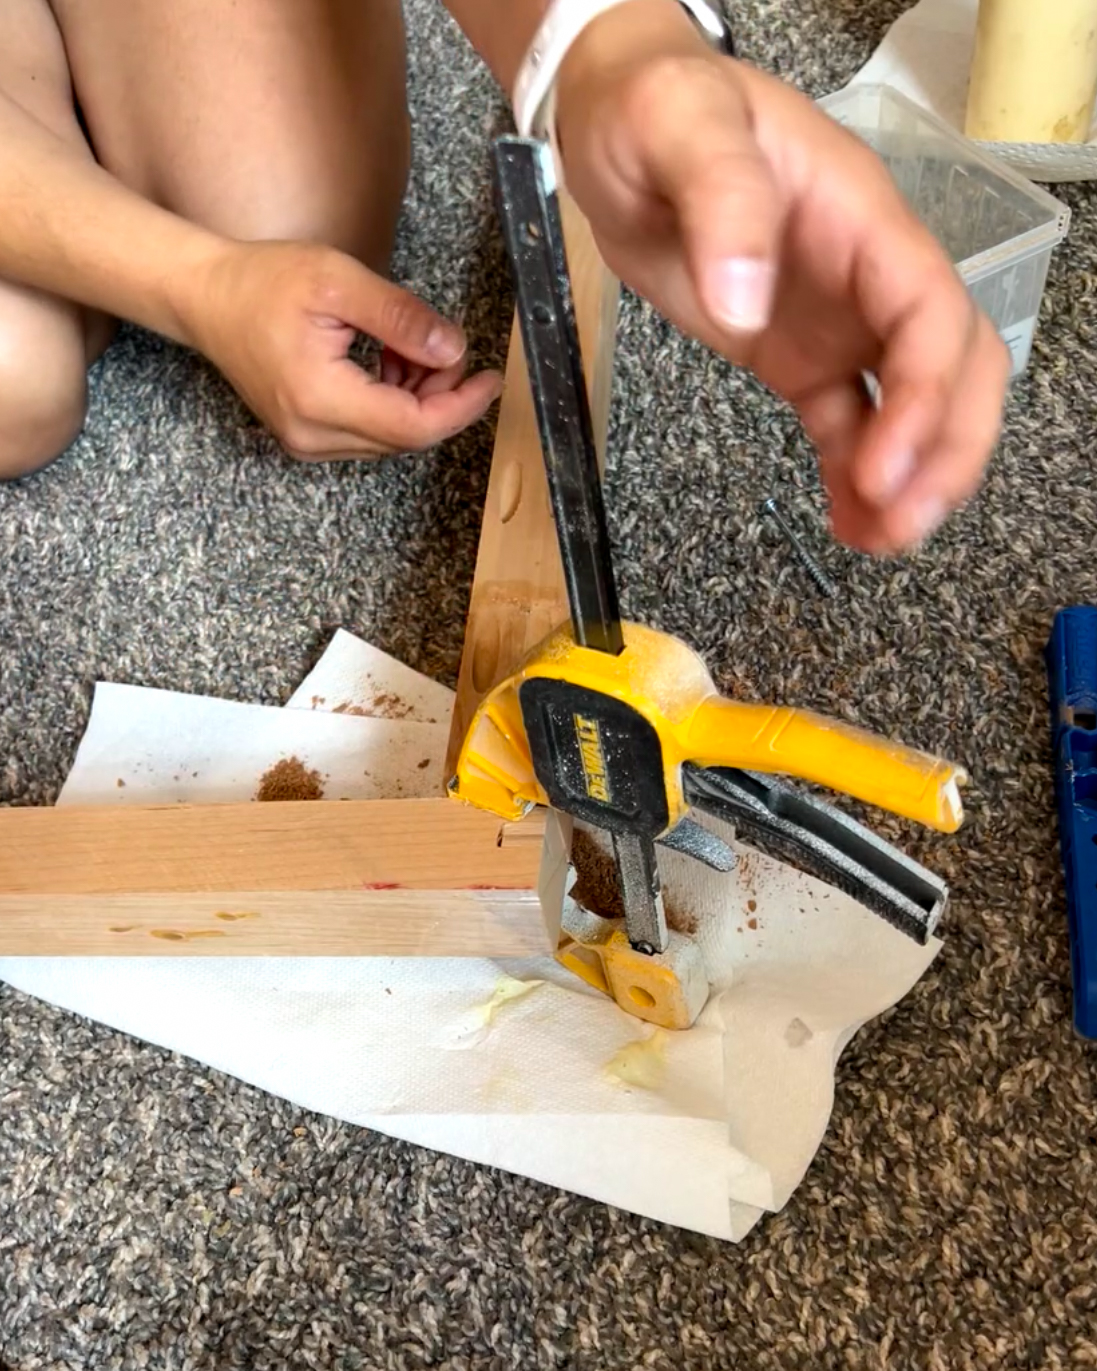
Attach the upper and lower supports to each leg using 2 1/2” pocket hole screws and wood glue. Use a clamp to make sure the boards are flush with each other. Make sure the pocket holes are facing the back of your headboard when screwing them in. Place the lower 31.5” from the top of the upper rail.
-
Step four
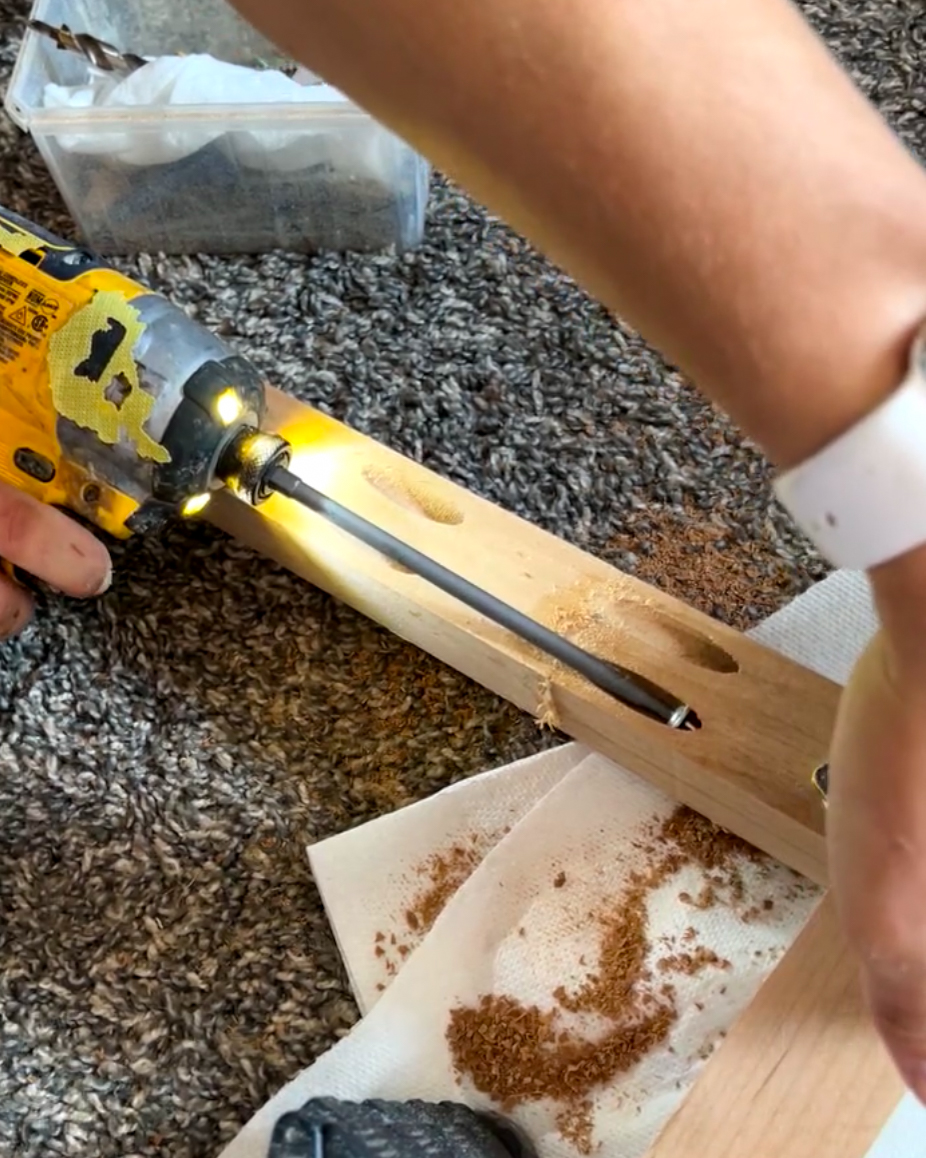
Attach the 3 center supports using 2 1/2” pocket holes screws and wood glue. The first center support should be placed in the center of the headboard and the 2 other center supports should be spaced 1/4” away from the main center support.
-
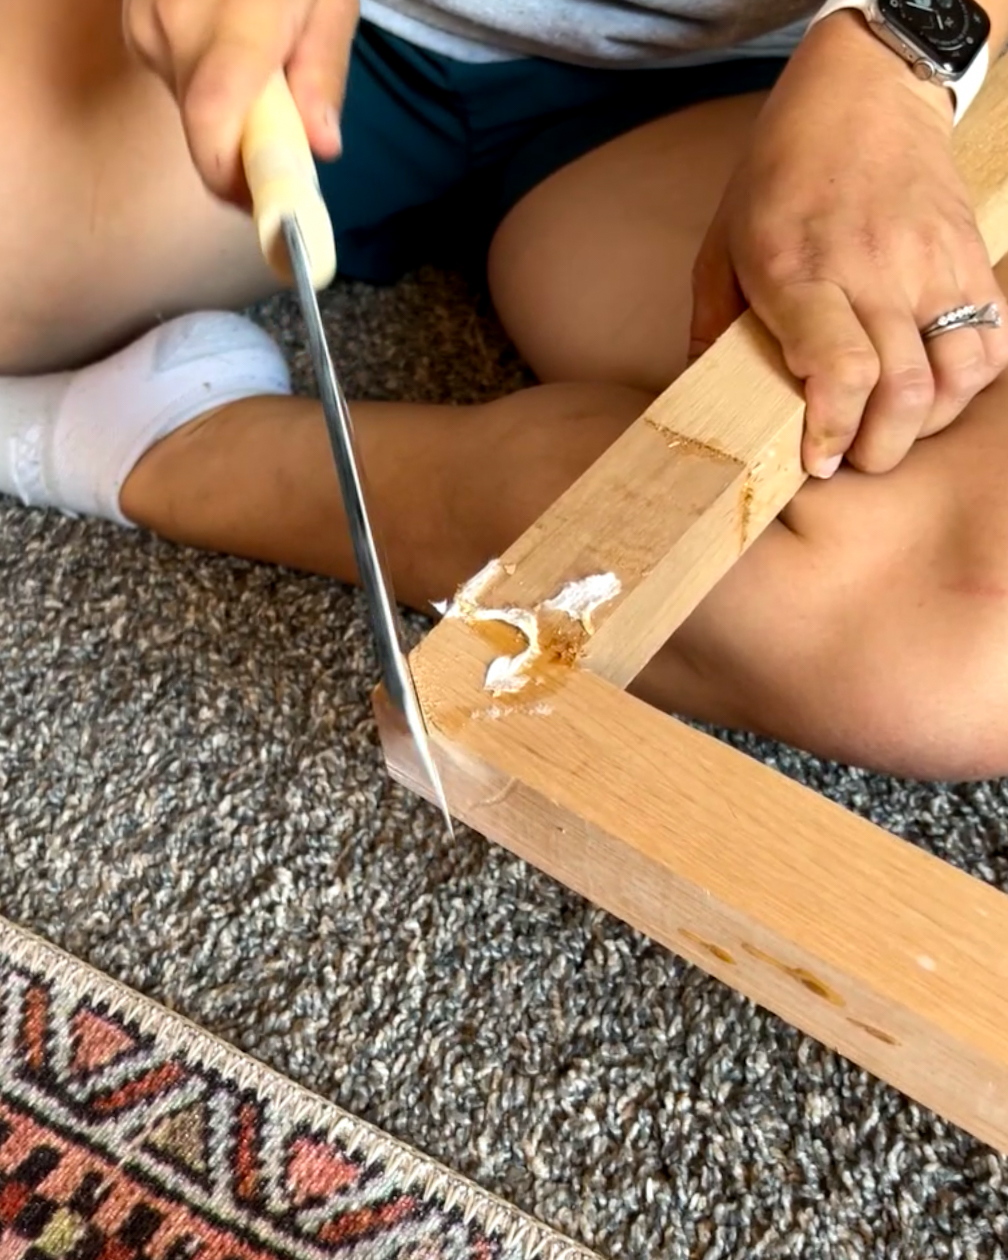
Step 5
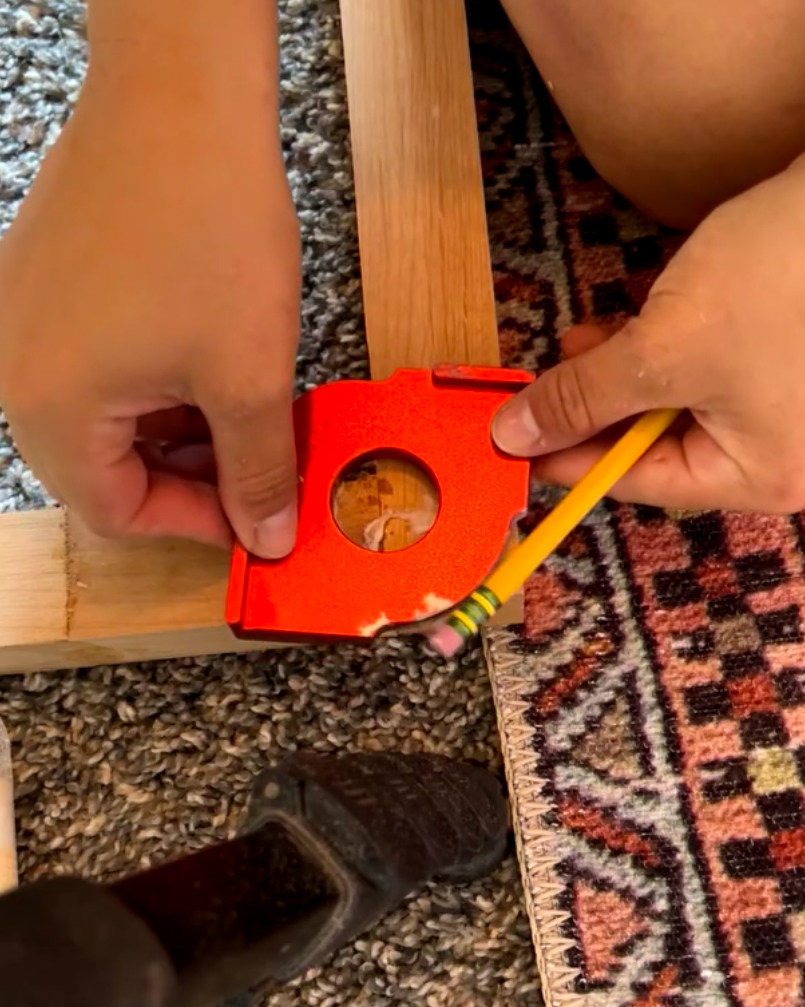
Optional step: Using a router template, trace a rounded end on the top of the headboard legs. Cut with a hand saw and roundover with sandpaper.
-
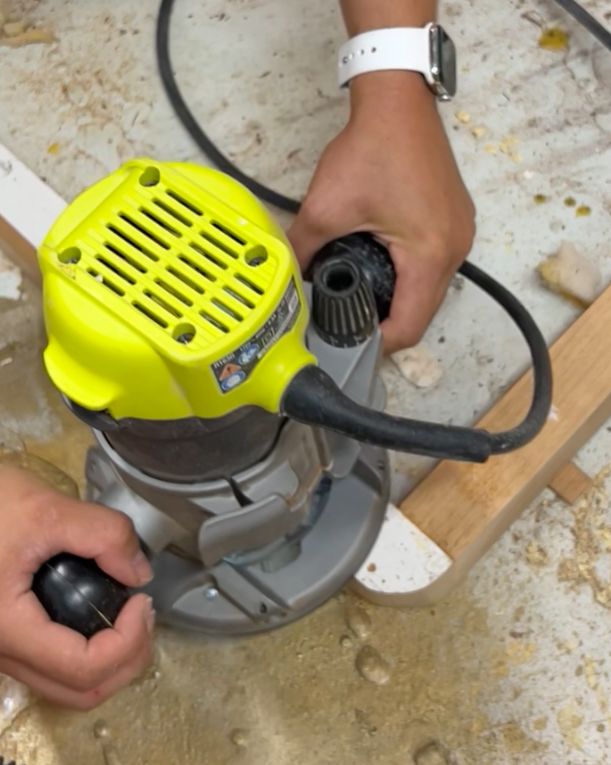
Step six
Optional step: Using a router and a 1/2” roundover bit, roundover all edges of the headboard.
-
Step seven
Sand and stain the headboard.
-
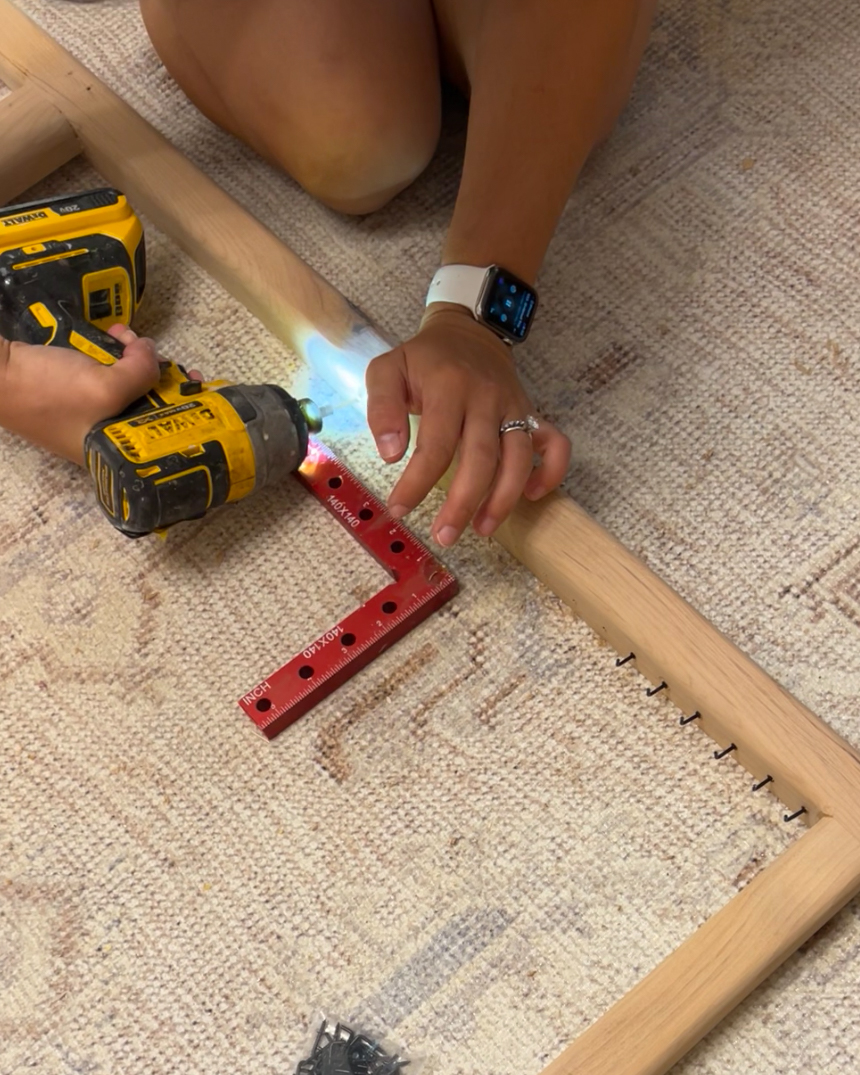
Step eight
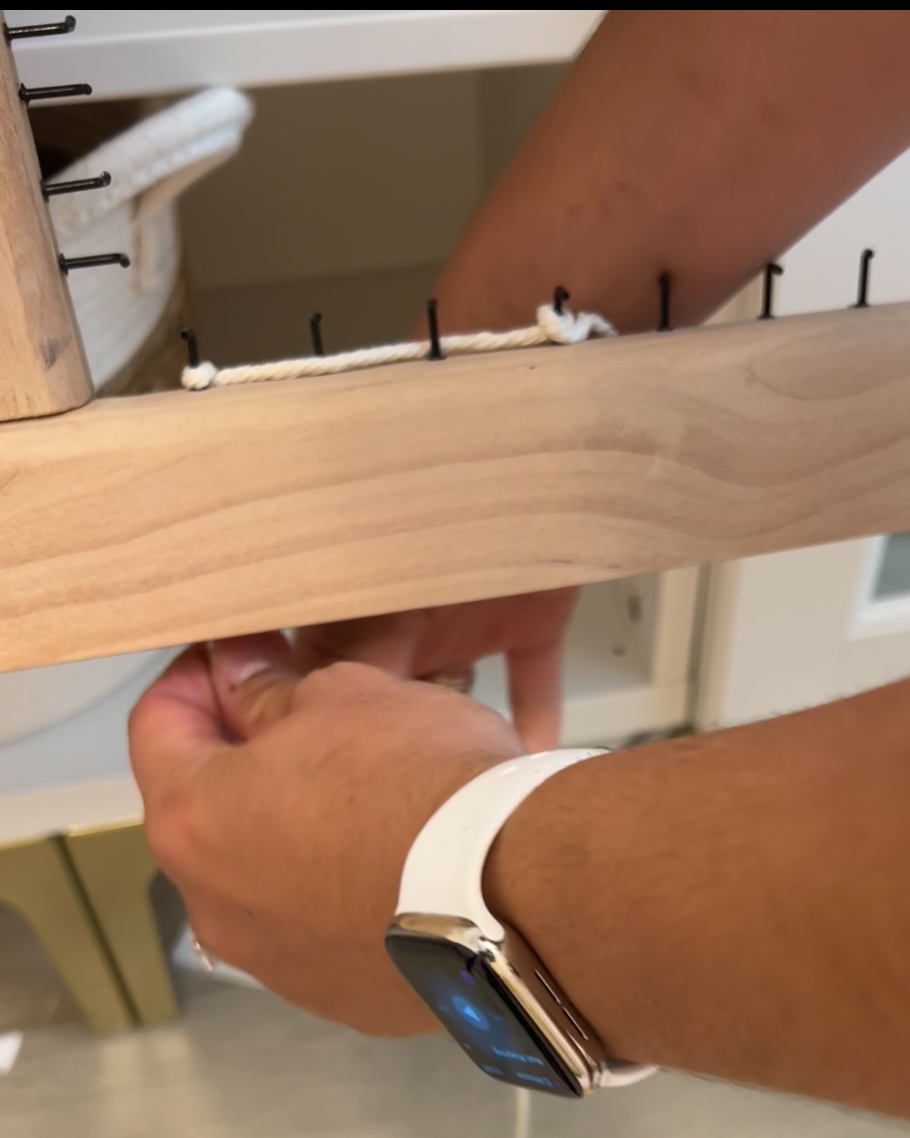
Using your drill and an 1/8” drill bit, drill pilot holes about 1” apart around the inside of all edges of the headboard. Then screw in the L nails into the holes.
-
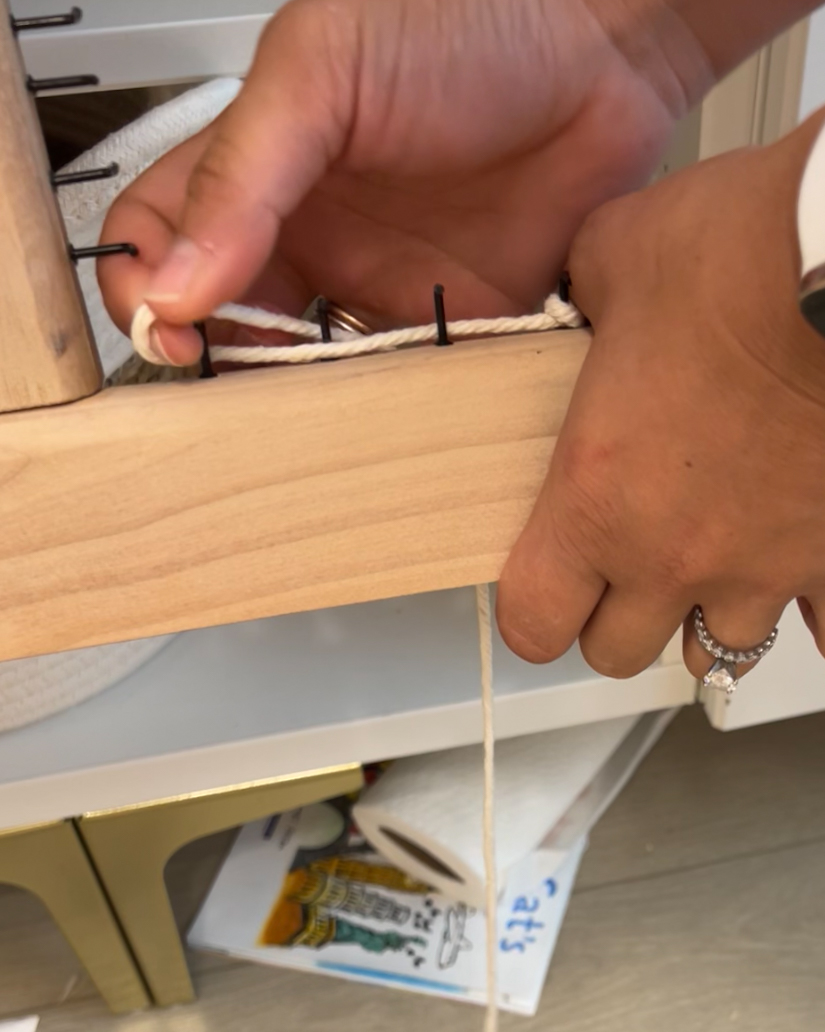
Step nine
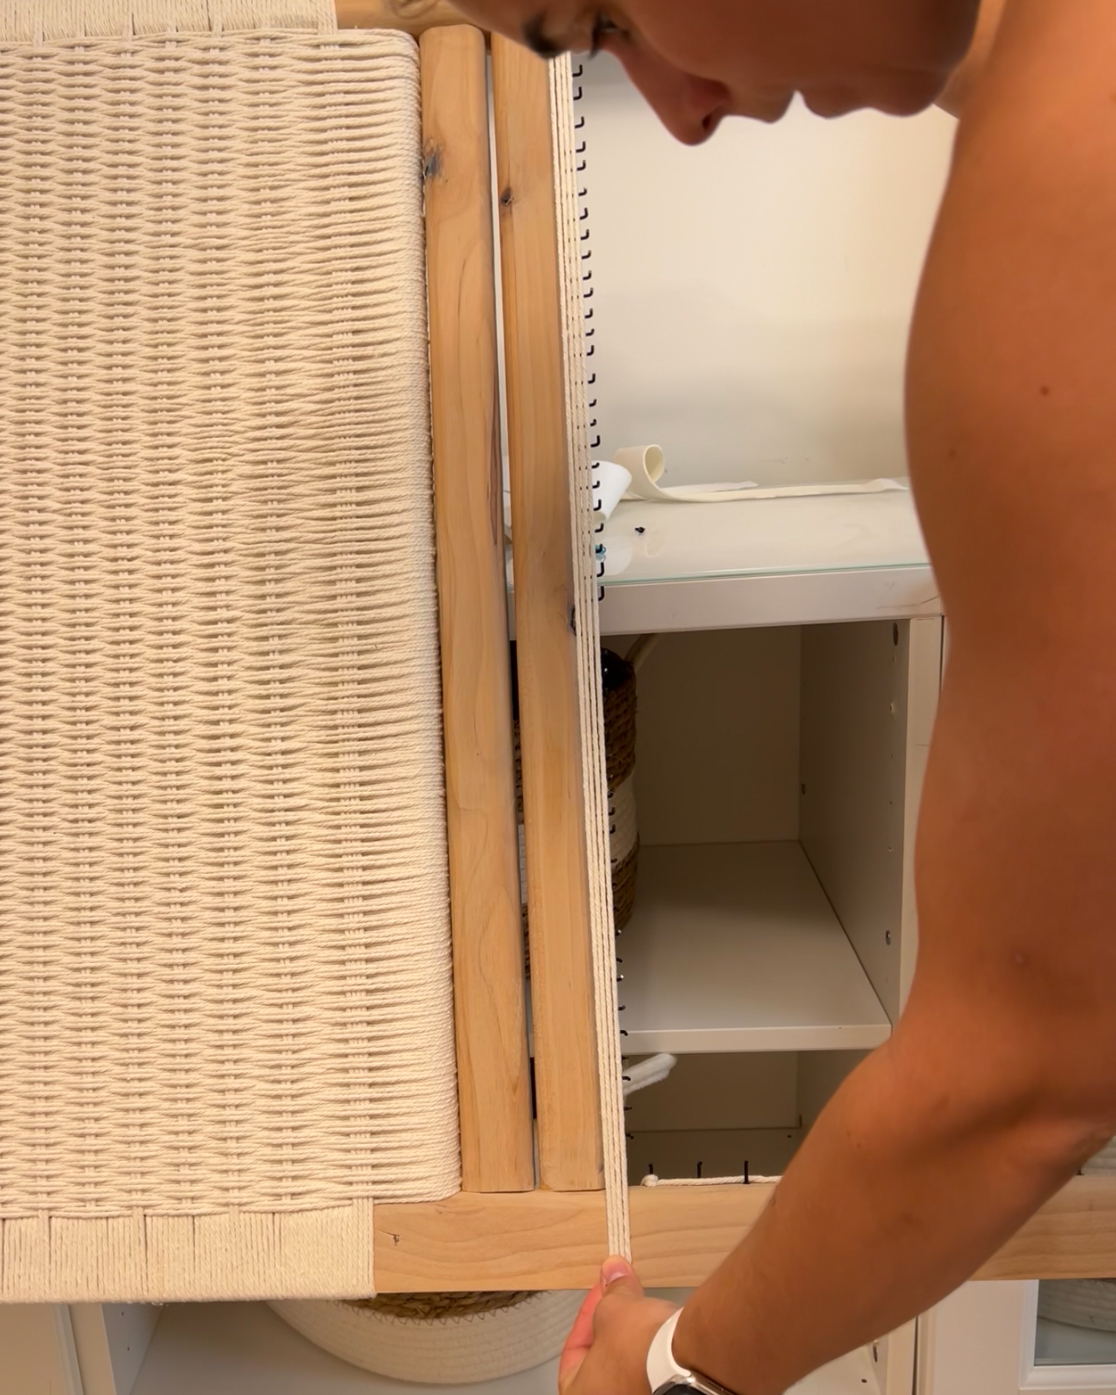
Starting on the bottom rail of the headboard weave the macrame cord around 4 L nails. Make sure the cord is behind the headboard. Weave the cord up and over the bottom rail to the top rail, loop it under an L nail and bring it back to the lower rail. Do this 4 times.
-
Step ten
Hook the cord around 2 L nails on the bottom rail of the headboard. Bring the cord up and hook it around 1 L nail on the top rail and bring it back down. Continue this pattern until you reach the last 2 L nails.
-
Step eleven
Repeat the same 4 strands at the end of the headboard as you did at the beginning.
-
Step twelve
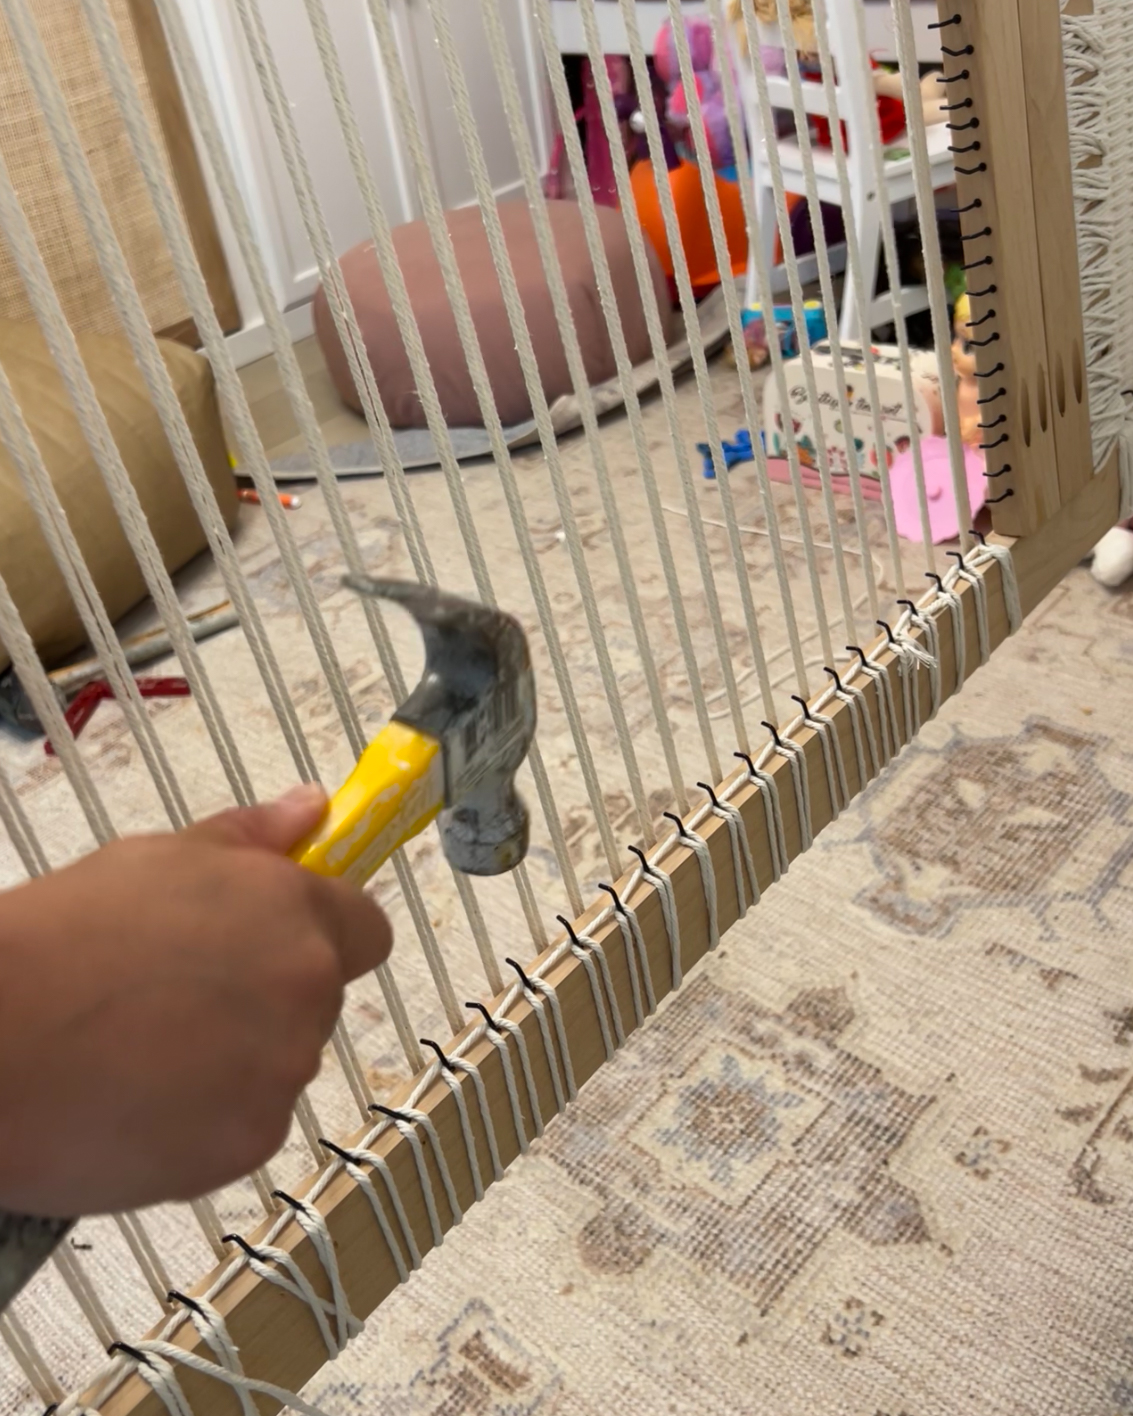
Cut the end piece of cord leaving a short tail and wrap it behind bottom 4 L nails. Hammer down the L nails on the bottom and top rails beside the center L nail.
-
Step thirteen
Starting a new strand cut about 100 ft of cord and find the center. Hook the center in the back of the bottom rail on the center L nail and hammer it down.
-
Step fourteen
Weave about 6-7 strands between each double strand on the bottom and top rail. Tack each end with a furniture tack.
-
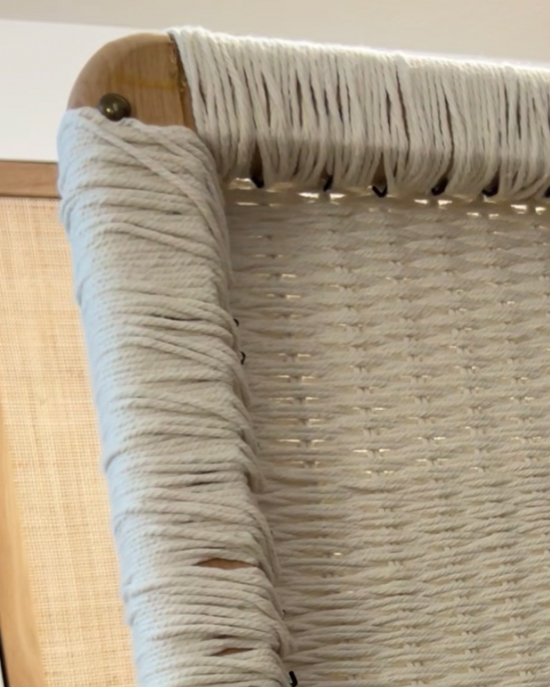
Step fifteen
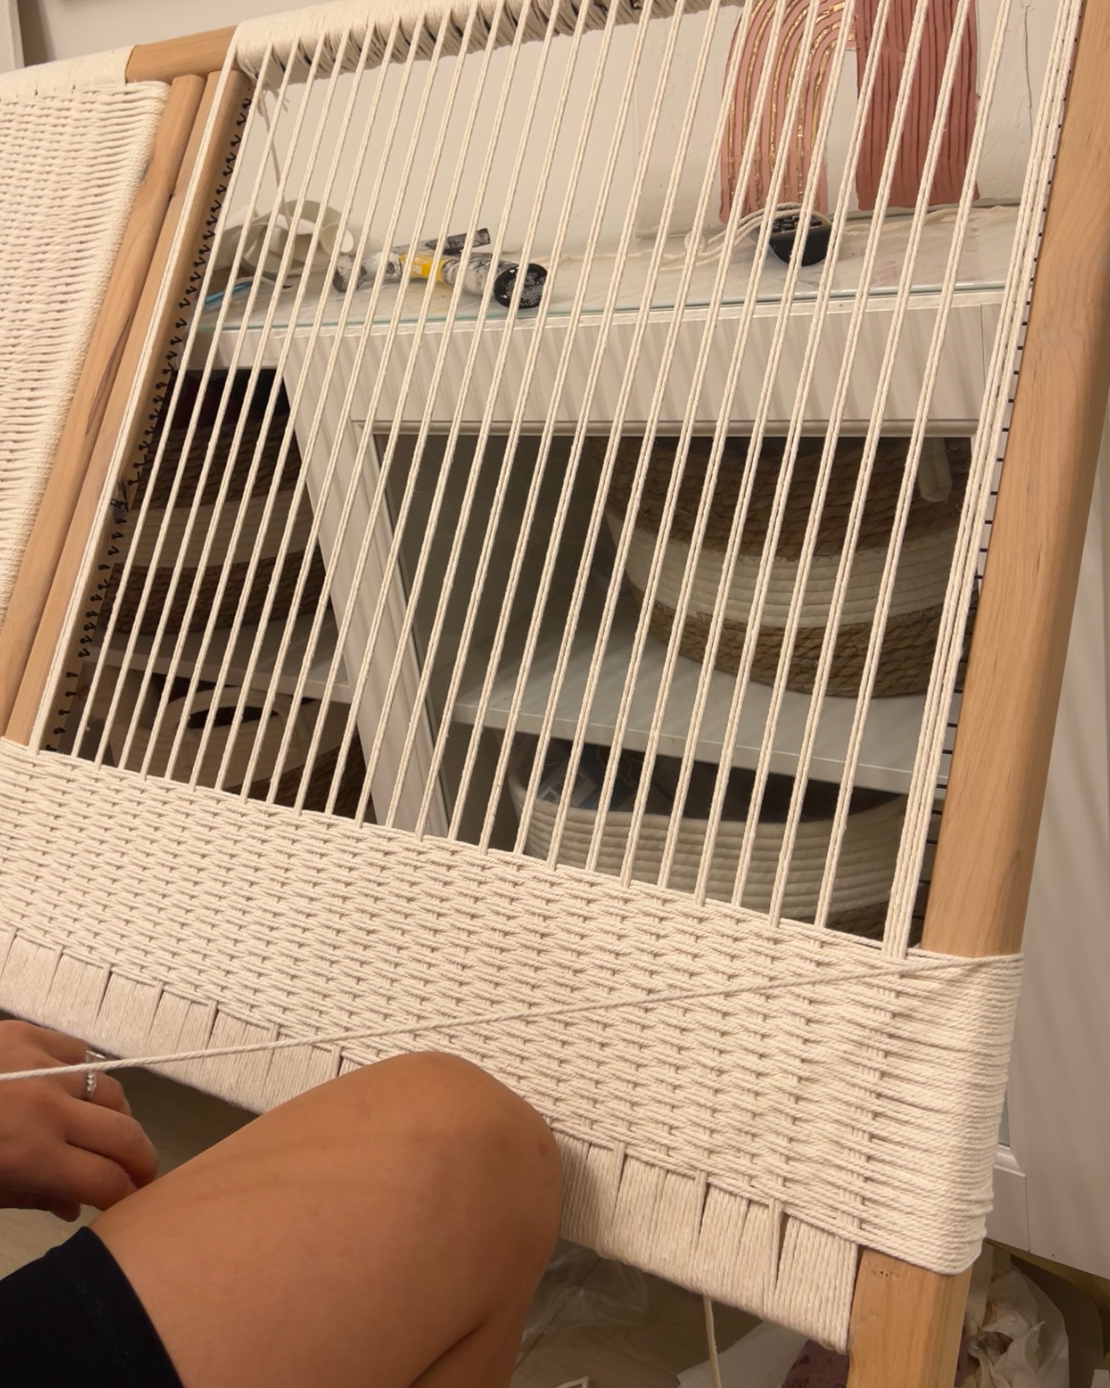
Starting with the roll of cord begin weaving. On the left side weave the cord through 4 L nails.

-
Step sixteen
Weave over and under. You should have a double strand as you are weaving. At the end of each weave, pull the cord through and loop around an L nail. Pull the cord tight and push the whole row into place. Continue until the whole weave is finished.
-
Step seventeen
Near the end of the weave it will be hard to get your fingers through the strands. Use a crochet hook to weave the strands. Tack the final strand of cord onto the backside of the headboard.

-
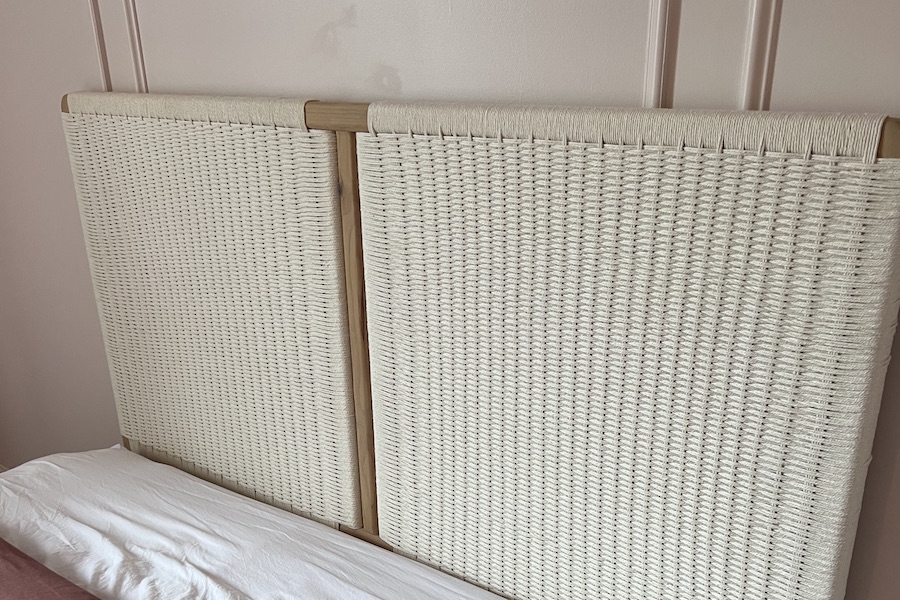
Step eighteen
Repeat on the second section of the headboard.