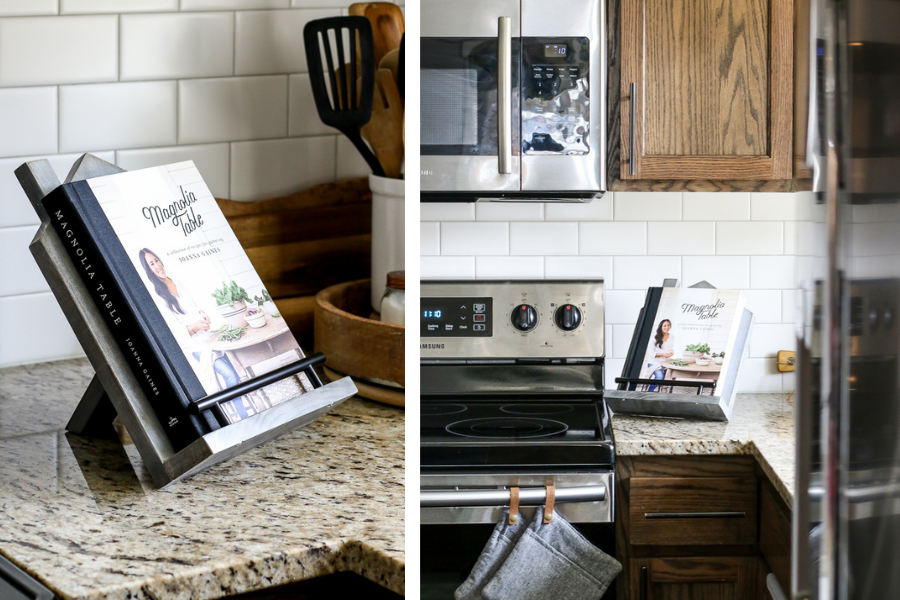
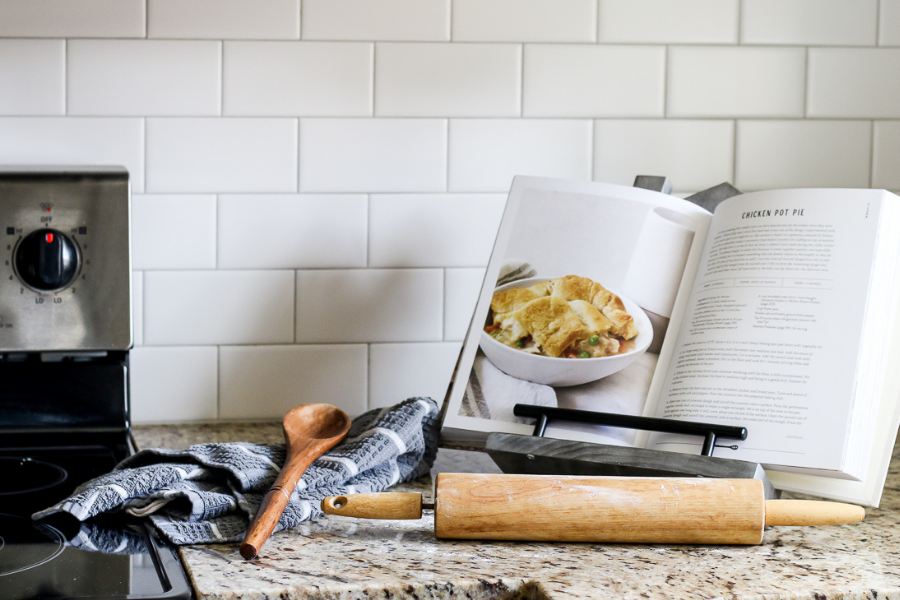
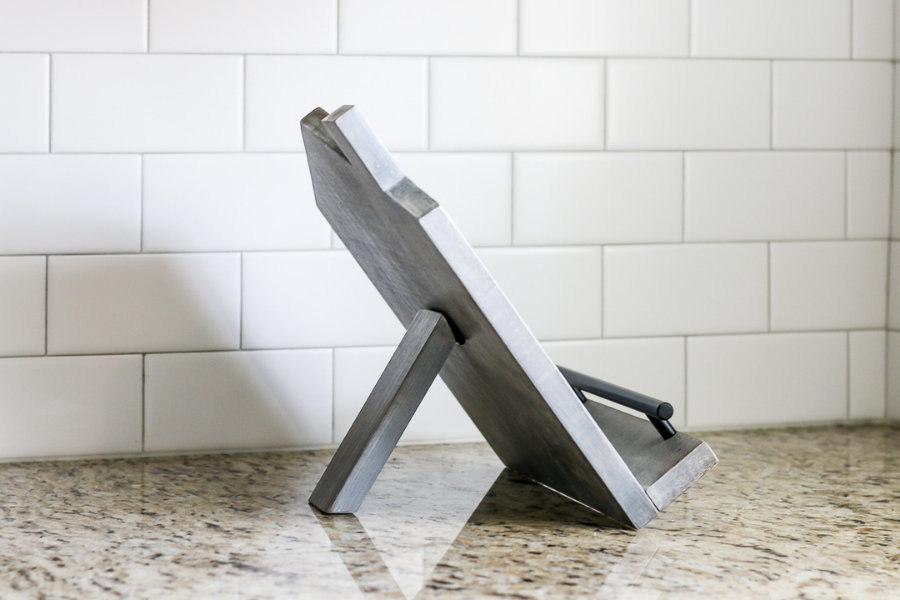


Need a good gift idea? Make this easy wooden cookbook holder, which incorporates pocket hole joinery! This modern house shape design looks great on your countertops.
Tools
Kreg Tools


Other Tools
-
Miter saw

-
Table saw
-
Tape measure
-
Scroll saw
Materials
Wood Products
- 1 Poplar Project Board , ¾” x 11 ¼” x 24”
Hardware & Supplies
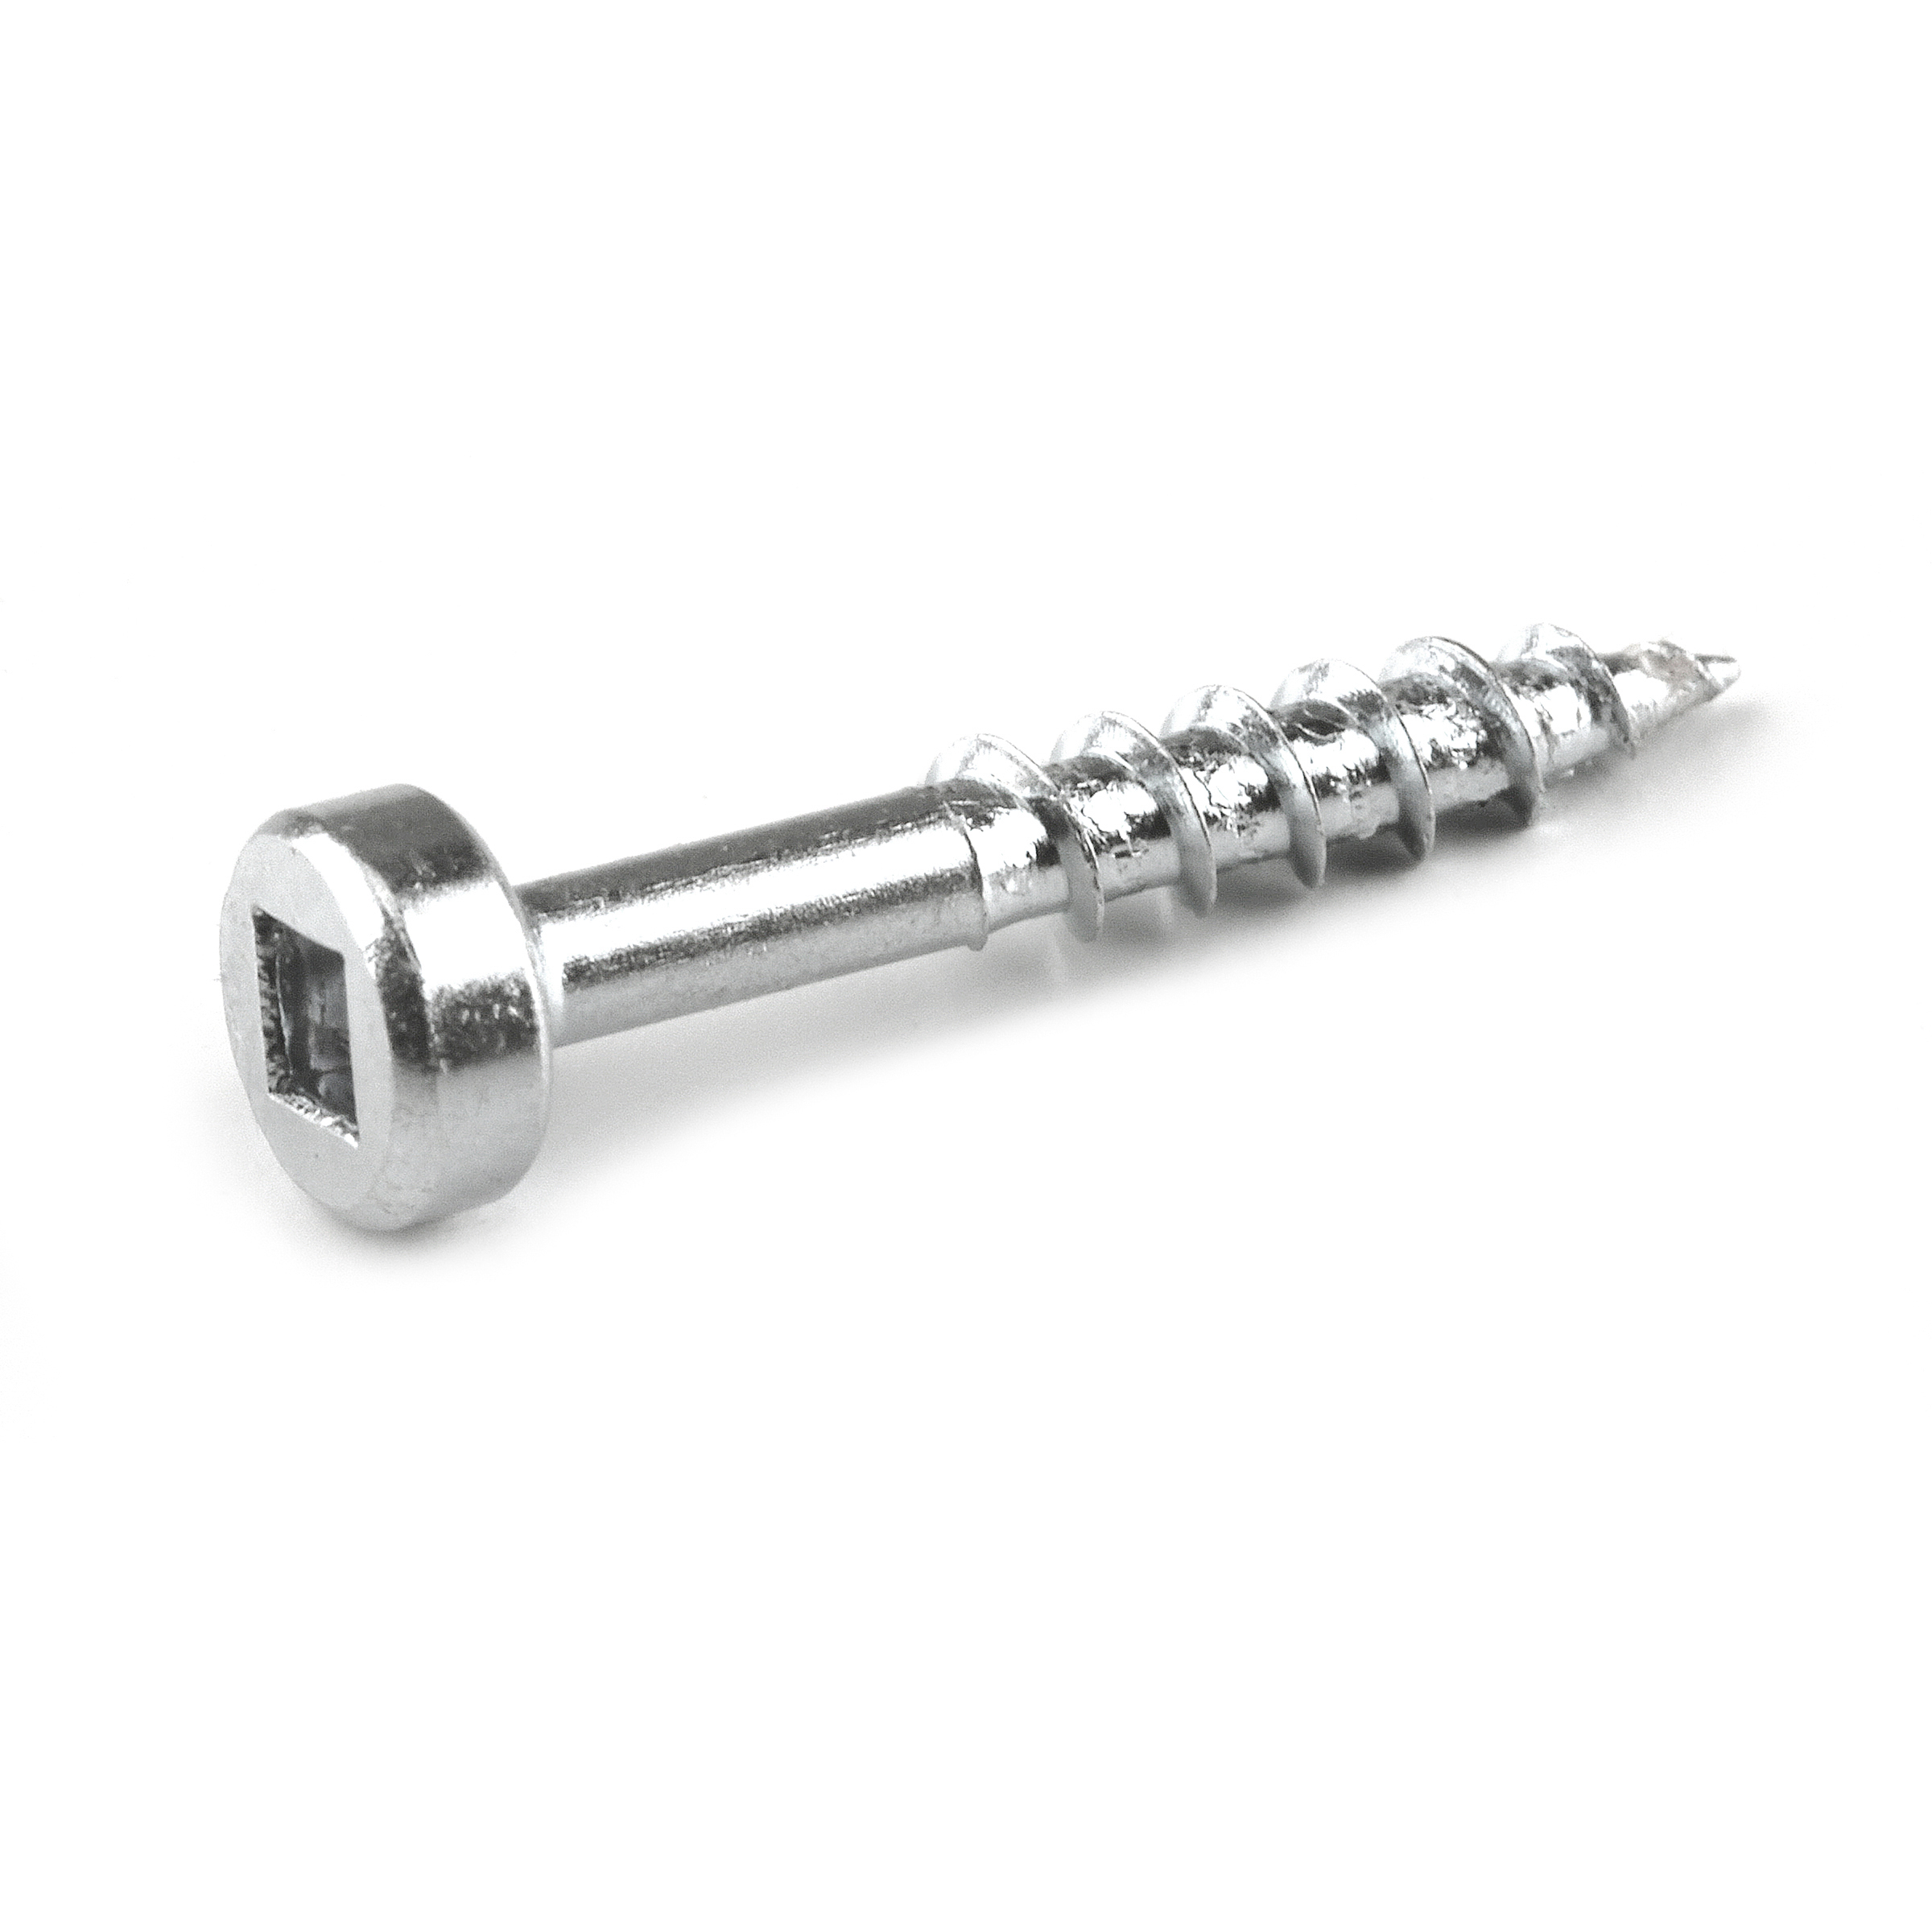
- 1 Box of 1" Kreg panhead pocket hole screws (See tools list)
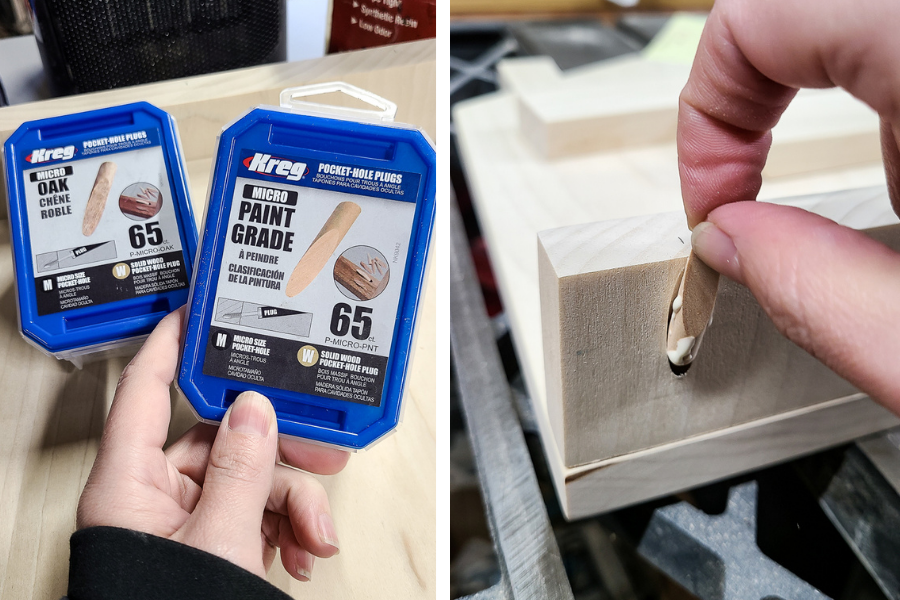
- 1 Box of paint grade Kreg micro pocket hole plugs
- 1 80 grit sandpaper
- 1 150 grit sandpaper
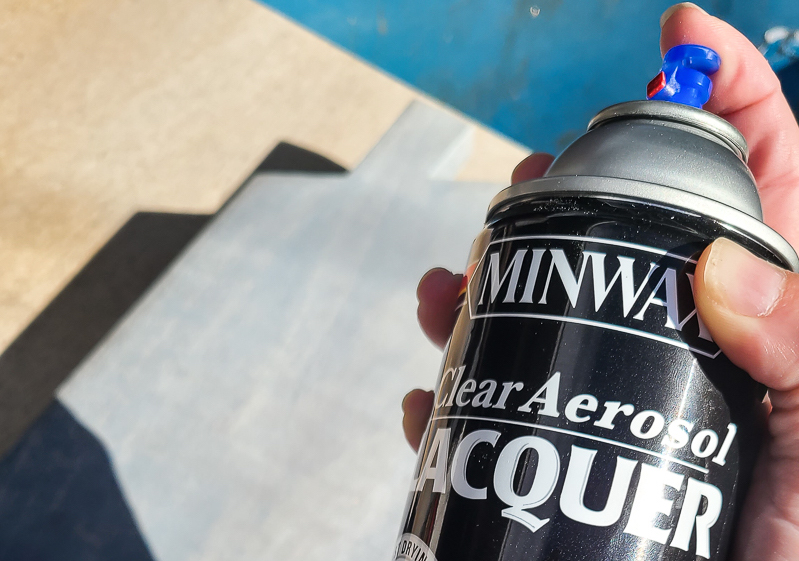
- 1 Clear lacquer spray
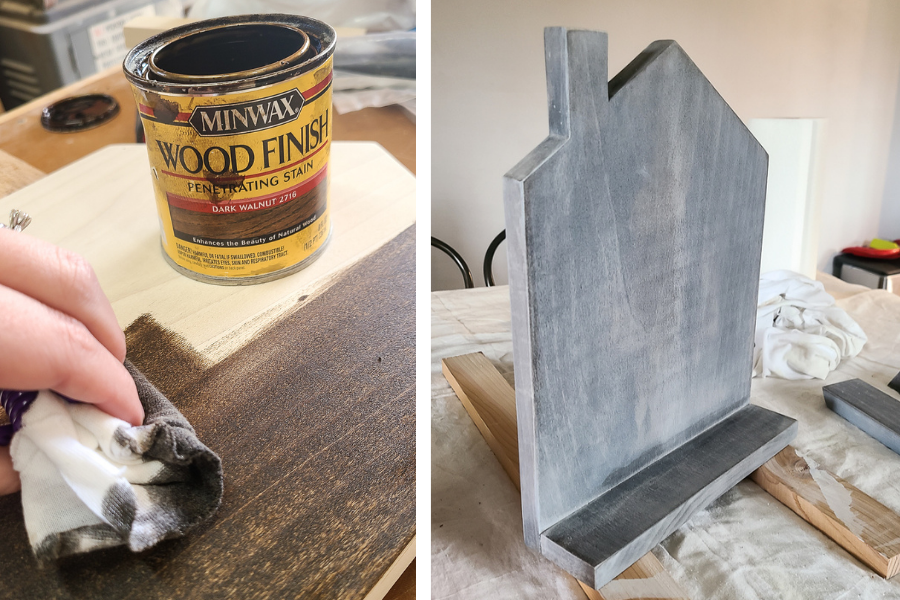
- 1 Dark walnut stain
- 1 White paint
- 1 Foam paint brush
- 1 Paint rag
- 1 Hinge
- 1 Drawer pull
Directions
-
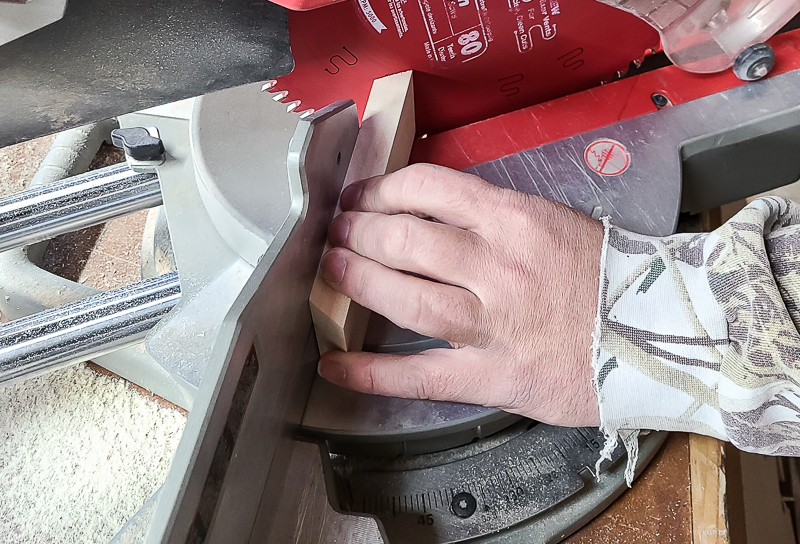
Cut wood.
Cut pieces from the poplar project board according to the visual cut list in the woodworking plans with a miter saw. You will have to rip down some pieces with a table saw. Some pieces will also require angled cuts using a miter saw.
-
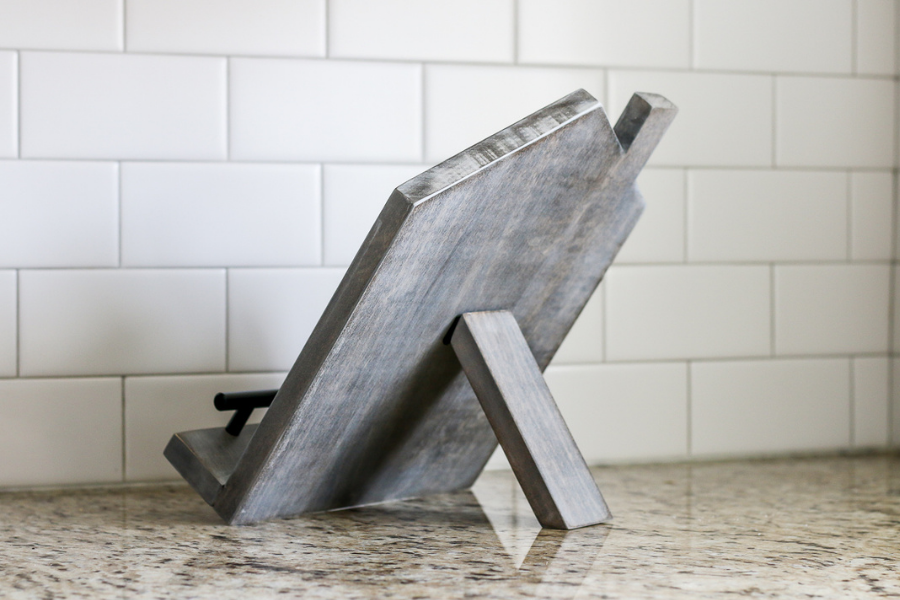
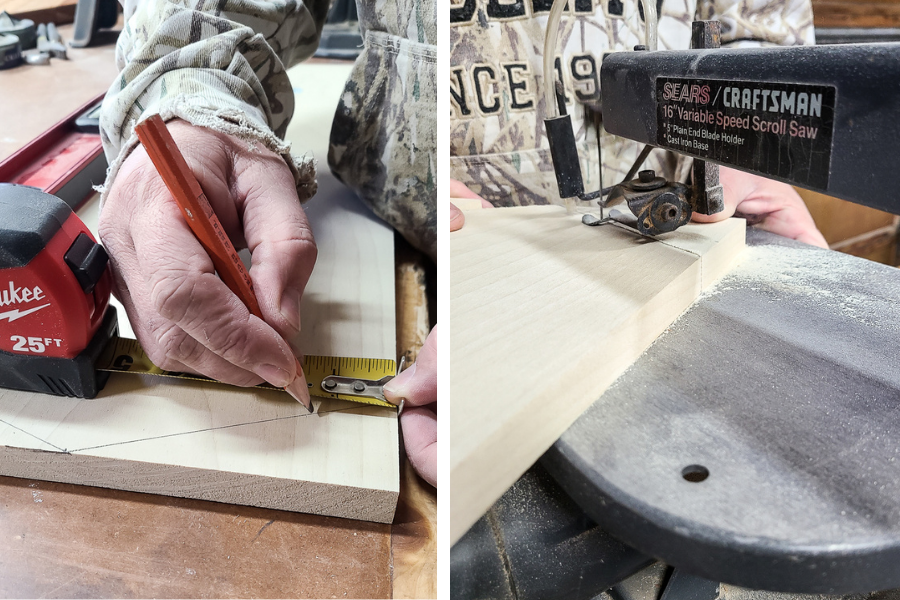
Mark and cut the house shape.
On the back piece measure 3 inches down on both sides for the bottom edge of the roof design. Then make a mark in the middle on the top of the back piece. Draw a line from your marks to make the roof. Move up the left side of the roof 1 ⅝” and make a chimney 2” wide. There are detailed measurements for this design in the woodworking plans. Cut along the lines with the scroll saw. Once the pieces have been cut, lightly sand everything with 80 grit and 150 grit sandpaper with an orbital sander.
-
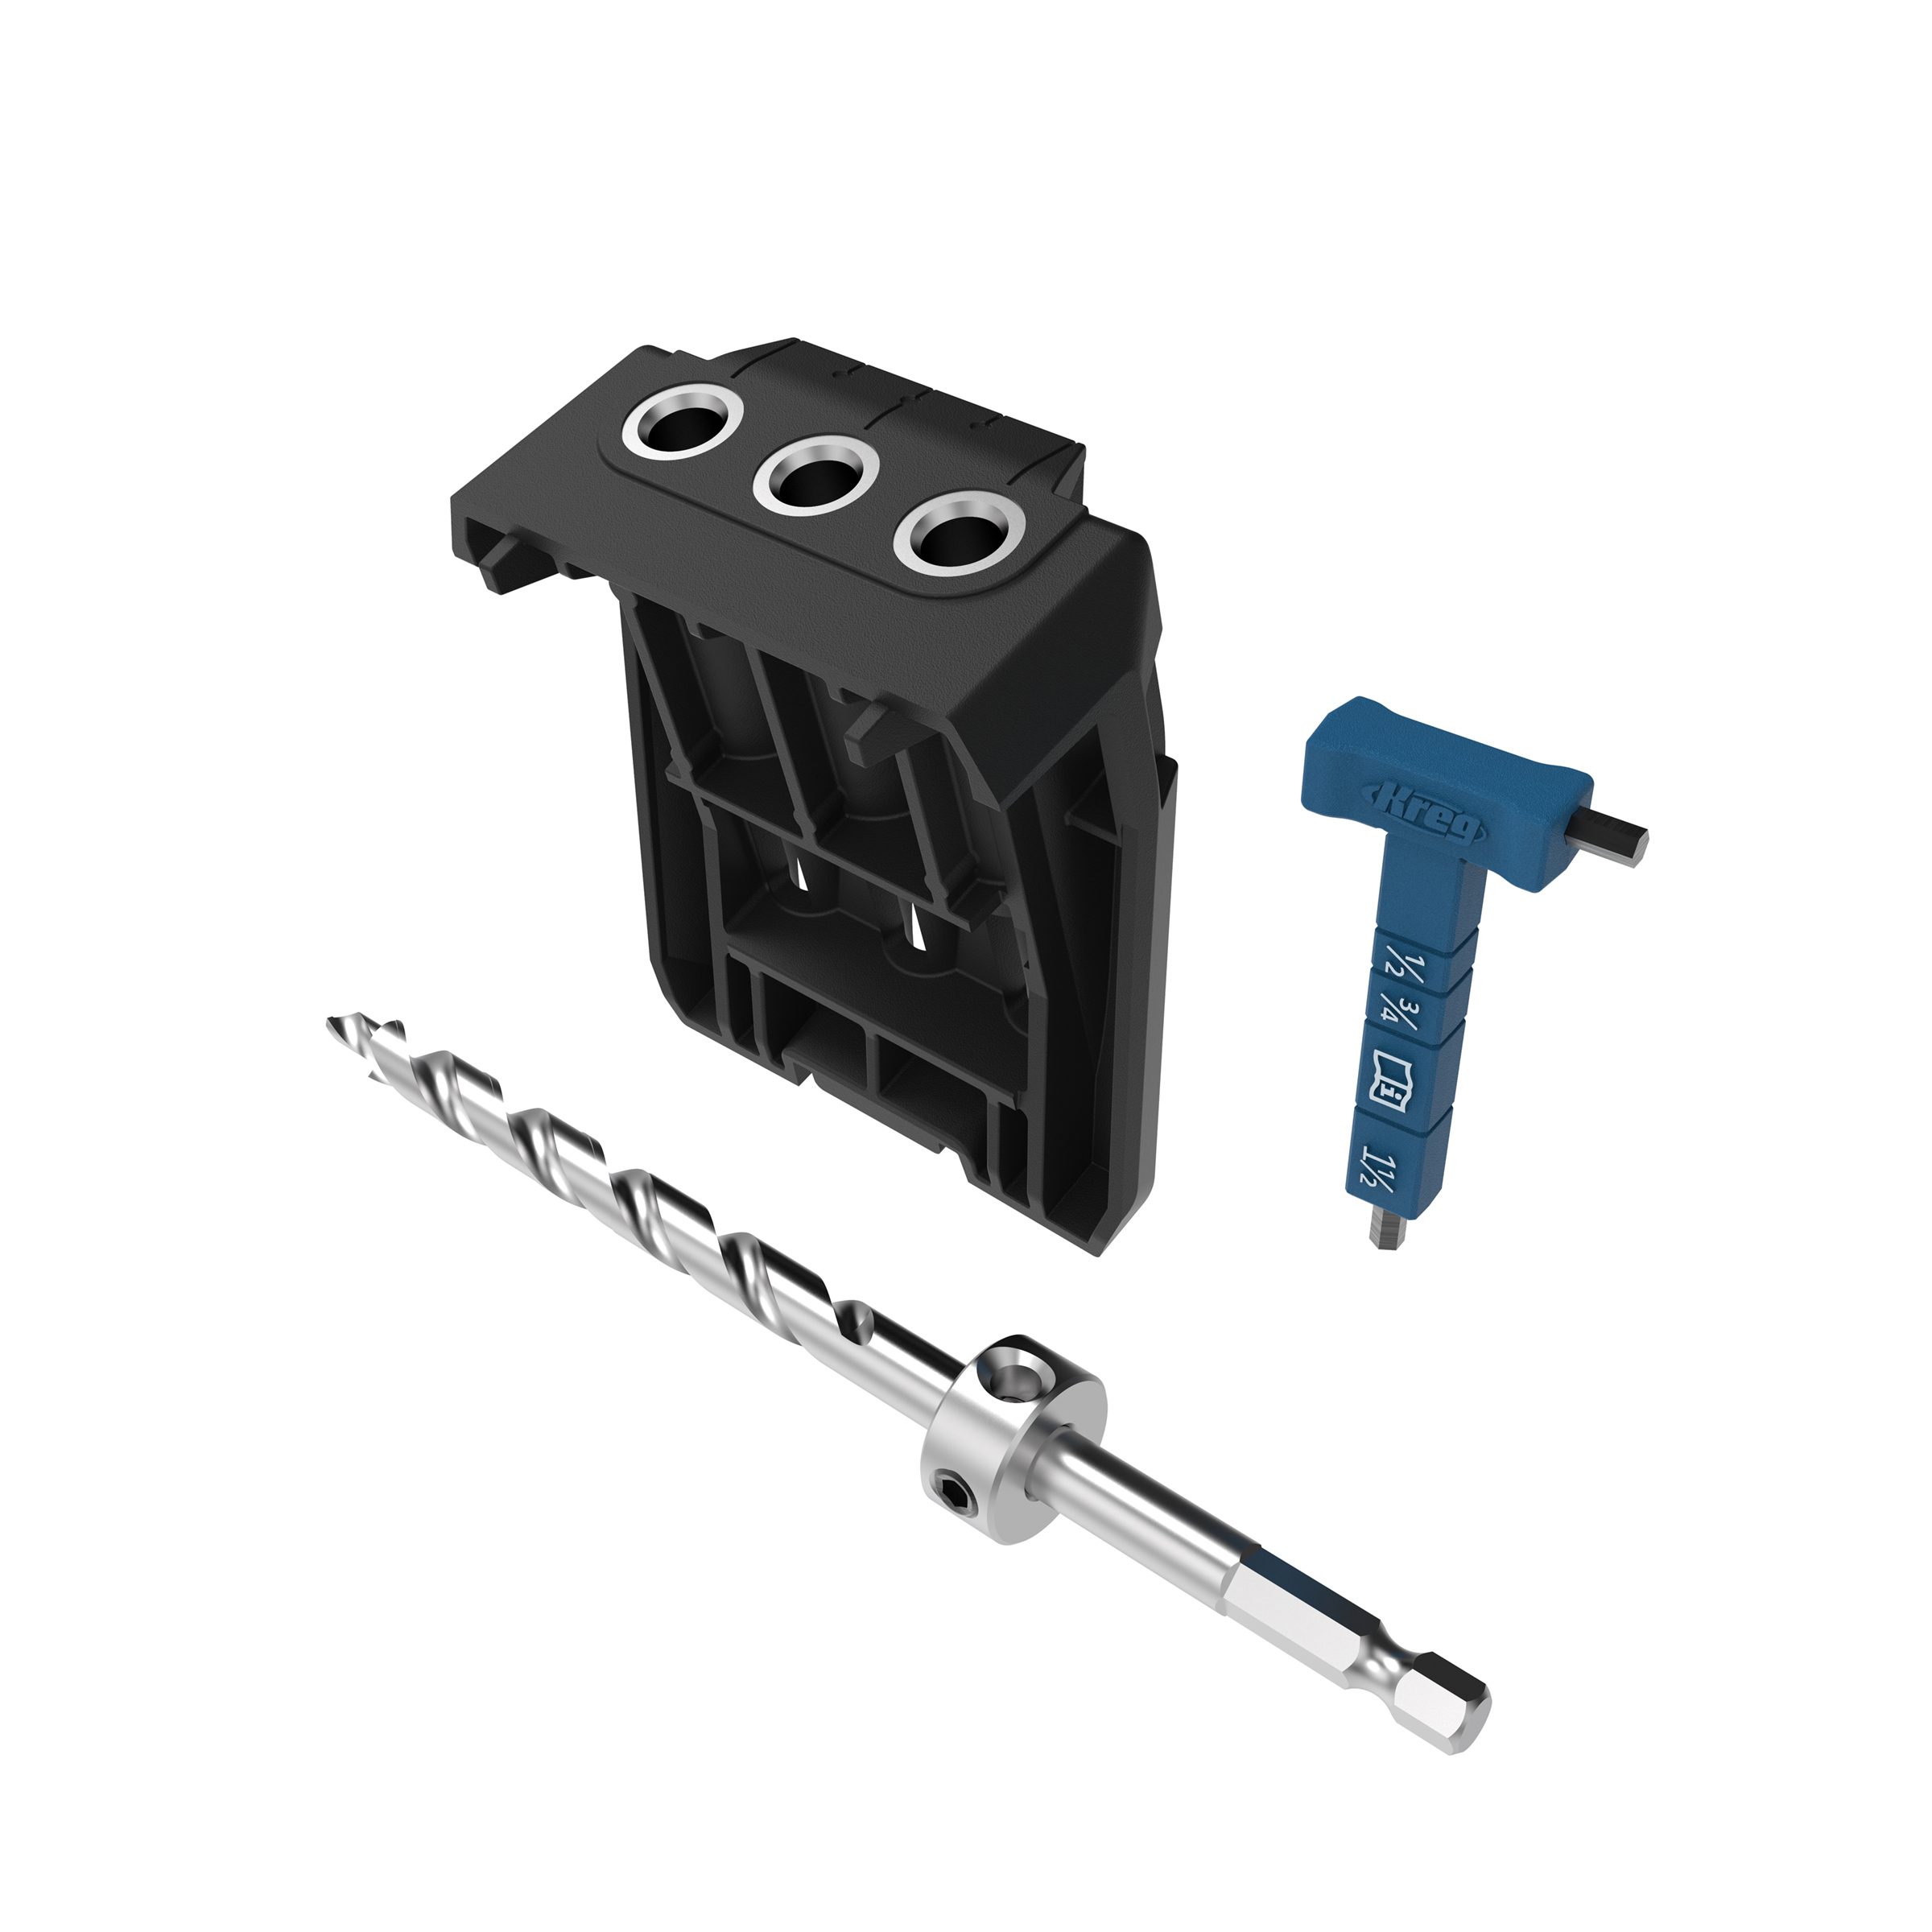
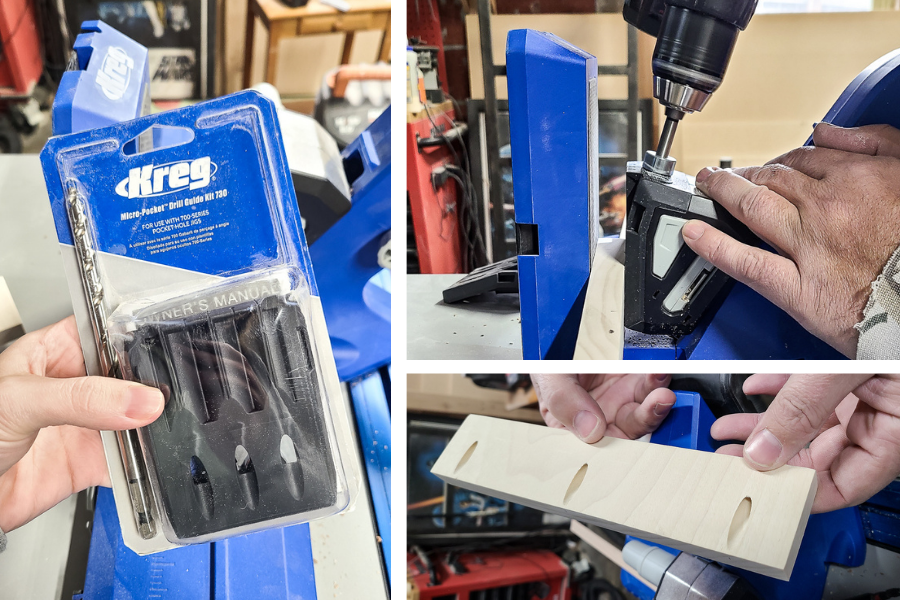
Drill pocket holes.
Drill micro pocket holes on the front lip as shown in the woodworking plans. We used the Kreg 720Pro pocket hole jig with the mico pocket hole guide. Regular size pocket holes are too big for the front lip.
-
Attach the front lip to the back piece.
Using 1” pan head screws, attach the front lip to the house shape. Be sure to clamp and make sure everything is flush here before attaching. Kreg’s 90-degree corner clamp works great for this.

-
Fill pocket holes with plugs.
Using the micro side pocket hole plugs, attach the plug to the pocket holes with wood glue. Once dry, sand smooth. Fill any holes or imperfections with wood filler and sand smooth.
-
Stain.
Take your chosen stain and apply it to your cookbook holder. This is easier to do before you add the stand to the back. After the stain dried, we opted to add a gray-wash treatment over the stain. We accomplished this by mixing paint and water at a 50/50 ratio. Brushed watered-down paint over the cookbook stand and wipe the paint off with a dry paint rag within 30 seconds.
-
Seal.
Once dry, seal with a clear lacquer spray in the sheen you want. We would recommend a satin sheen or higher because this will be in the kitchen and it's a little more durable and resistant to stains and moisture than a matte or eggshell.
-
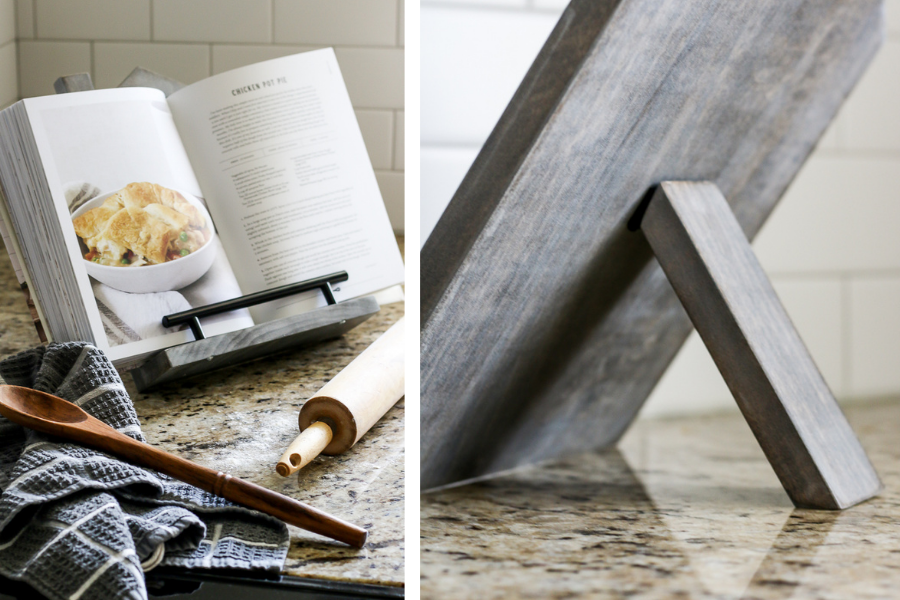
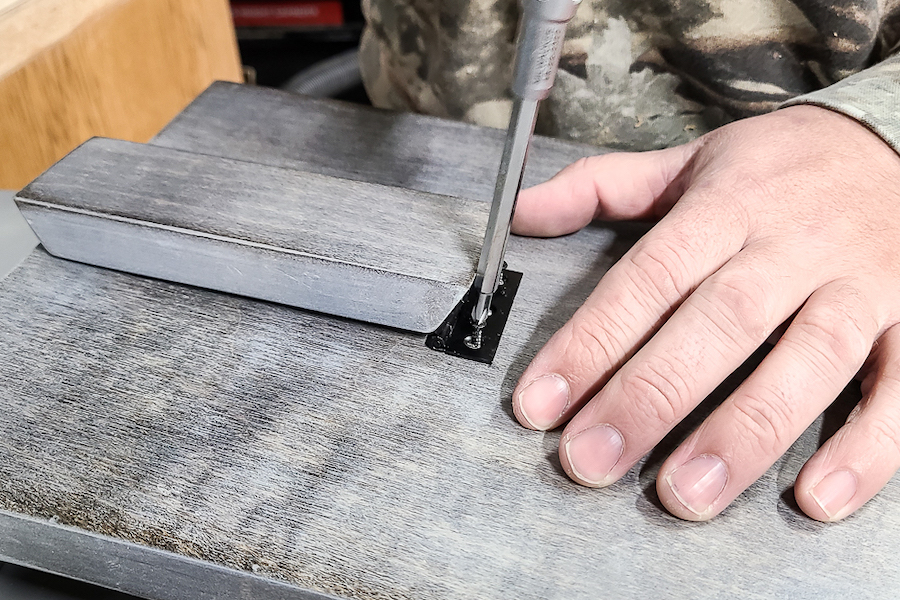
Attach the back stand with the hinge.
To finish the cookbook stand, add the hinge on the back. Start by pre-drilling holes into your stand and back piece because the angle here will be hard to screw in. With pre-drilled holes, you’ll be able to get the screws in easier.
-
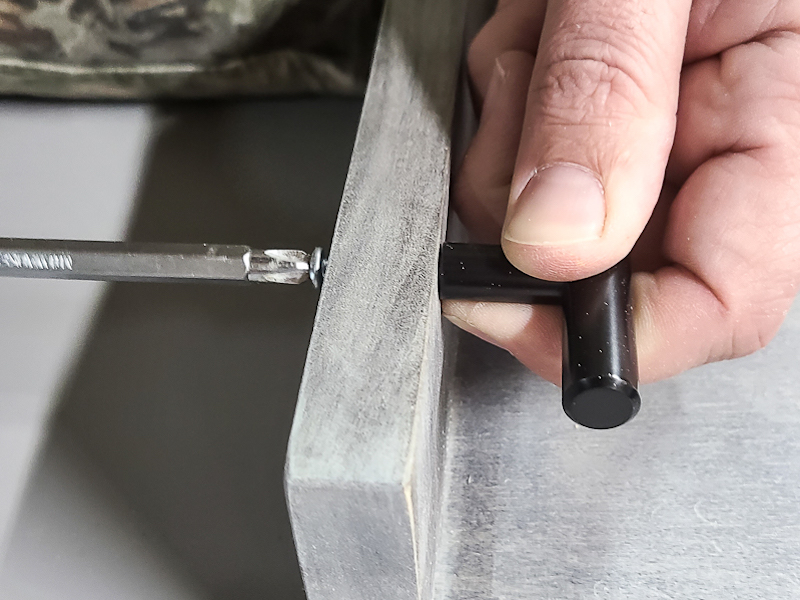
Attach pull to front lip.
On the front of the lip, add the drawer pull. This serves as a way for the pages of the cookbook to stay open when using the cookbook stand.