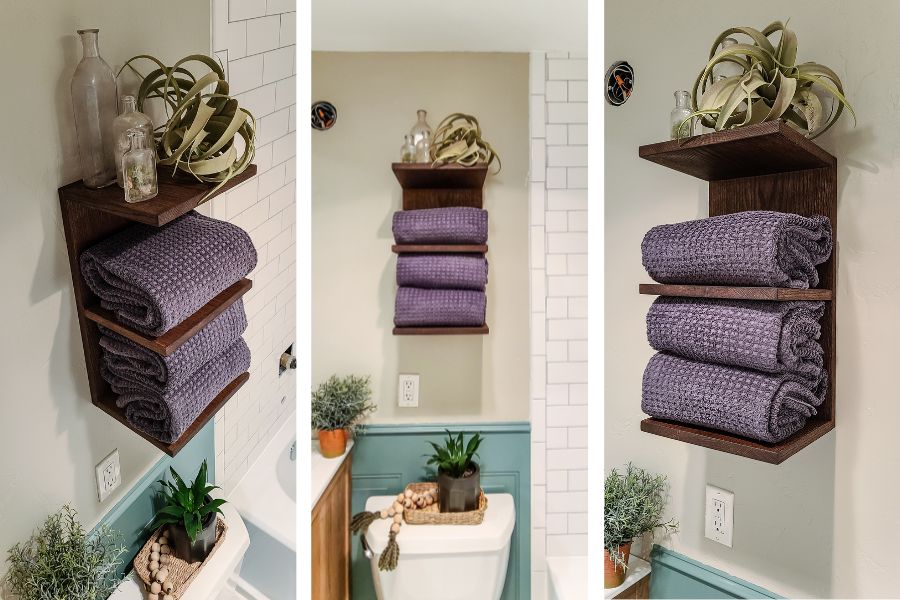
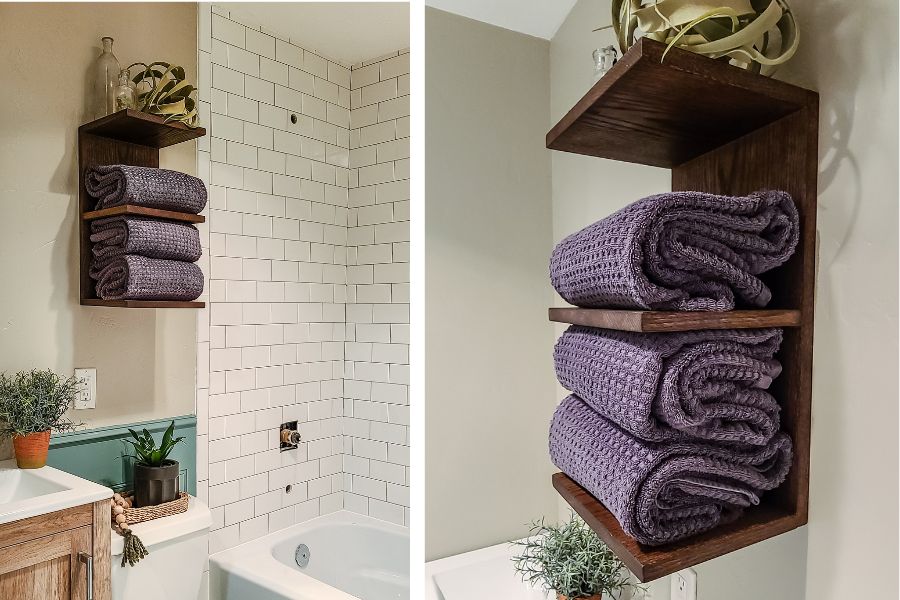


Description: Learn how to make a wall-mounted wooden towel shelf with just ONE 1x12 board! This project is super easy and great for beginners!
Tools
Kreg Tools


Other Tools
-
Miter Saw

-
Tape Measure
Materials
Wood Products
- 1 Red oak board , ¾” x 11 ¼” x 4’
Hardware & Supplies
- 1 Box of Kreg Screws (see tool list)
- 1 80 grit sandpaper
- 1 150 grit sandpaper
- 1 Stain
- 1 Spray lacquer
- 1 Wood glue
- 1 Box of 2" wood screws
Directions
-
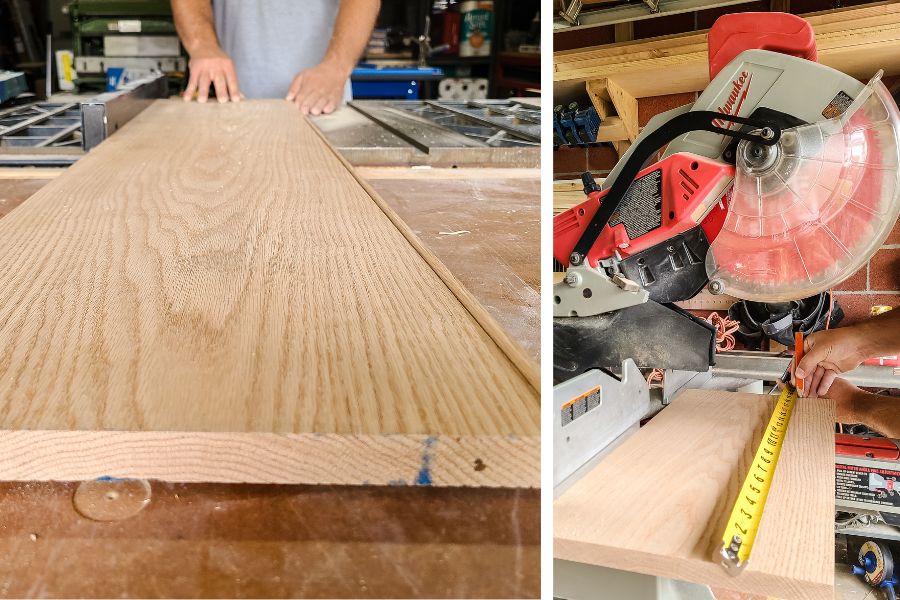
Cut wood.
Cut wood according to the visual cut list in the woodworking plans. Start by trimming off the factory edge of the board so that it is 11” wide using a table saw or Kreg Rip-Cut. Next, cut the lengths with a miter saw or Kreg’s Cutting Station.
-
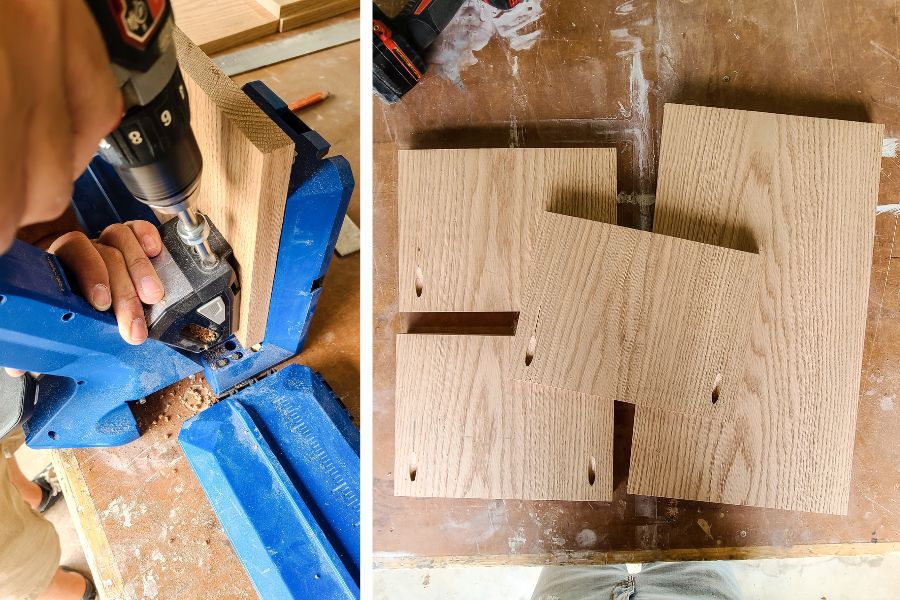
Drill pocket holes.
Drill pocket holes as shown in the woodworking plans. There will be two pocket holes drilled into each of the three shelf pieces. We used the Kreg 720 Pro.
-
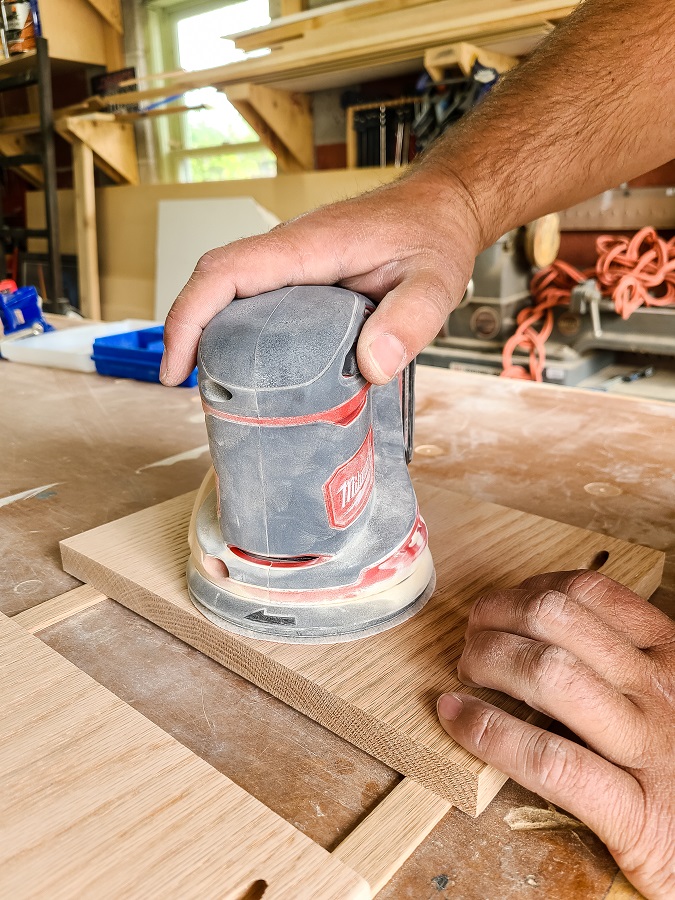
Sand.
Sand all of the pieces with an orbital sander and 80-grit sandpaper followed by 150-grit sandpaper.
-
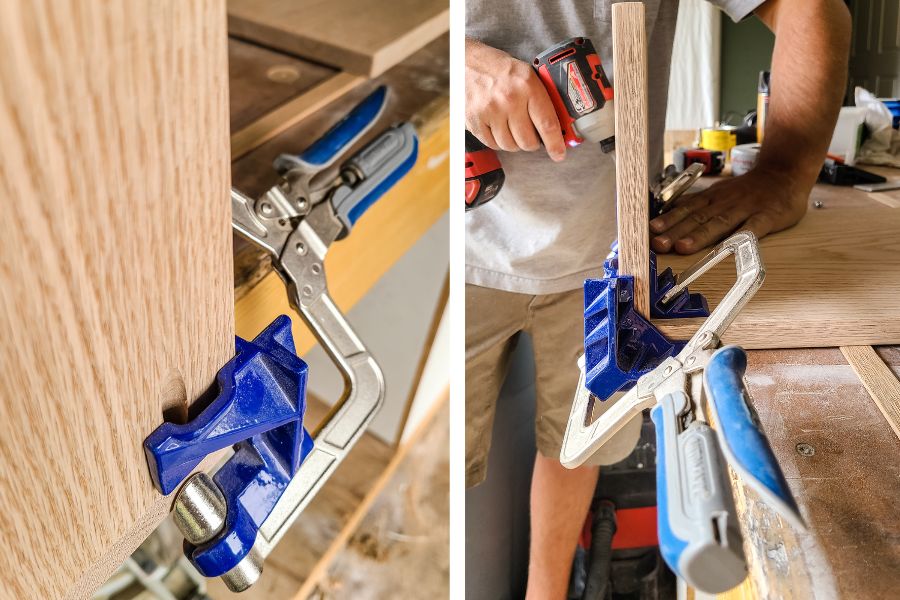
Attach the shelves to the back panel.
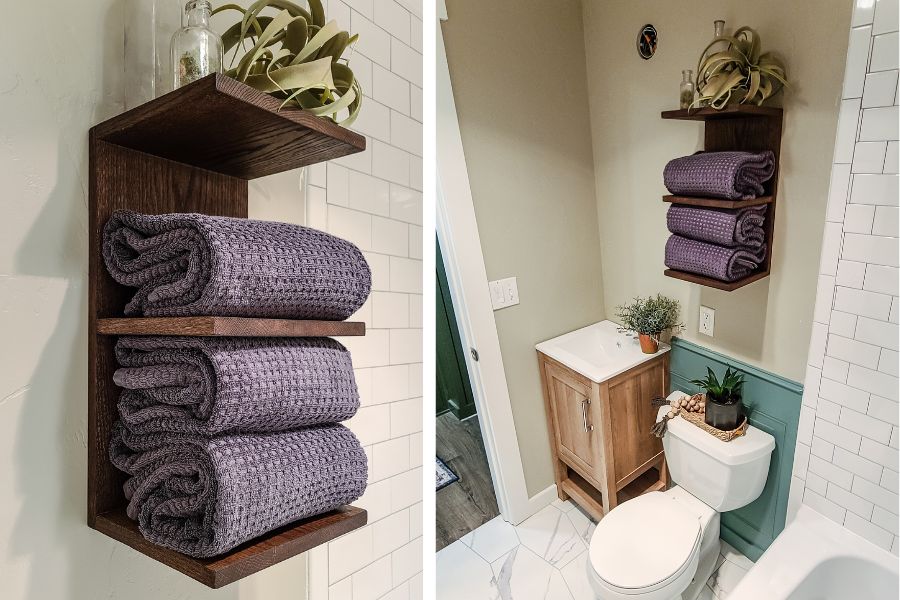
Using clamps, attach the shelves to the back panel with the pre-drilled pocket holes. The Kreg 90 degree corner clamps work great for keeping everything square while you assemble. Be sure to measure where the shelves will be mounted. (Note: we decided to put the top shelf pocket hole on top so it would be hidden once mounted on the wall above eye level. For the other two shelves, the pocket holes are on the bottom side of the shelves.)
-
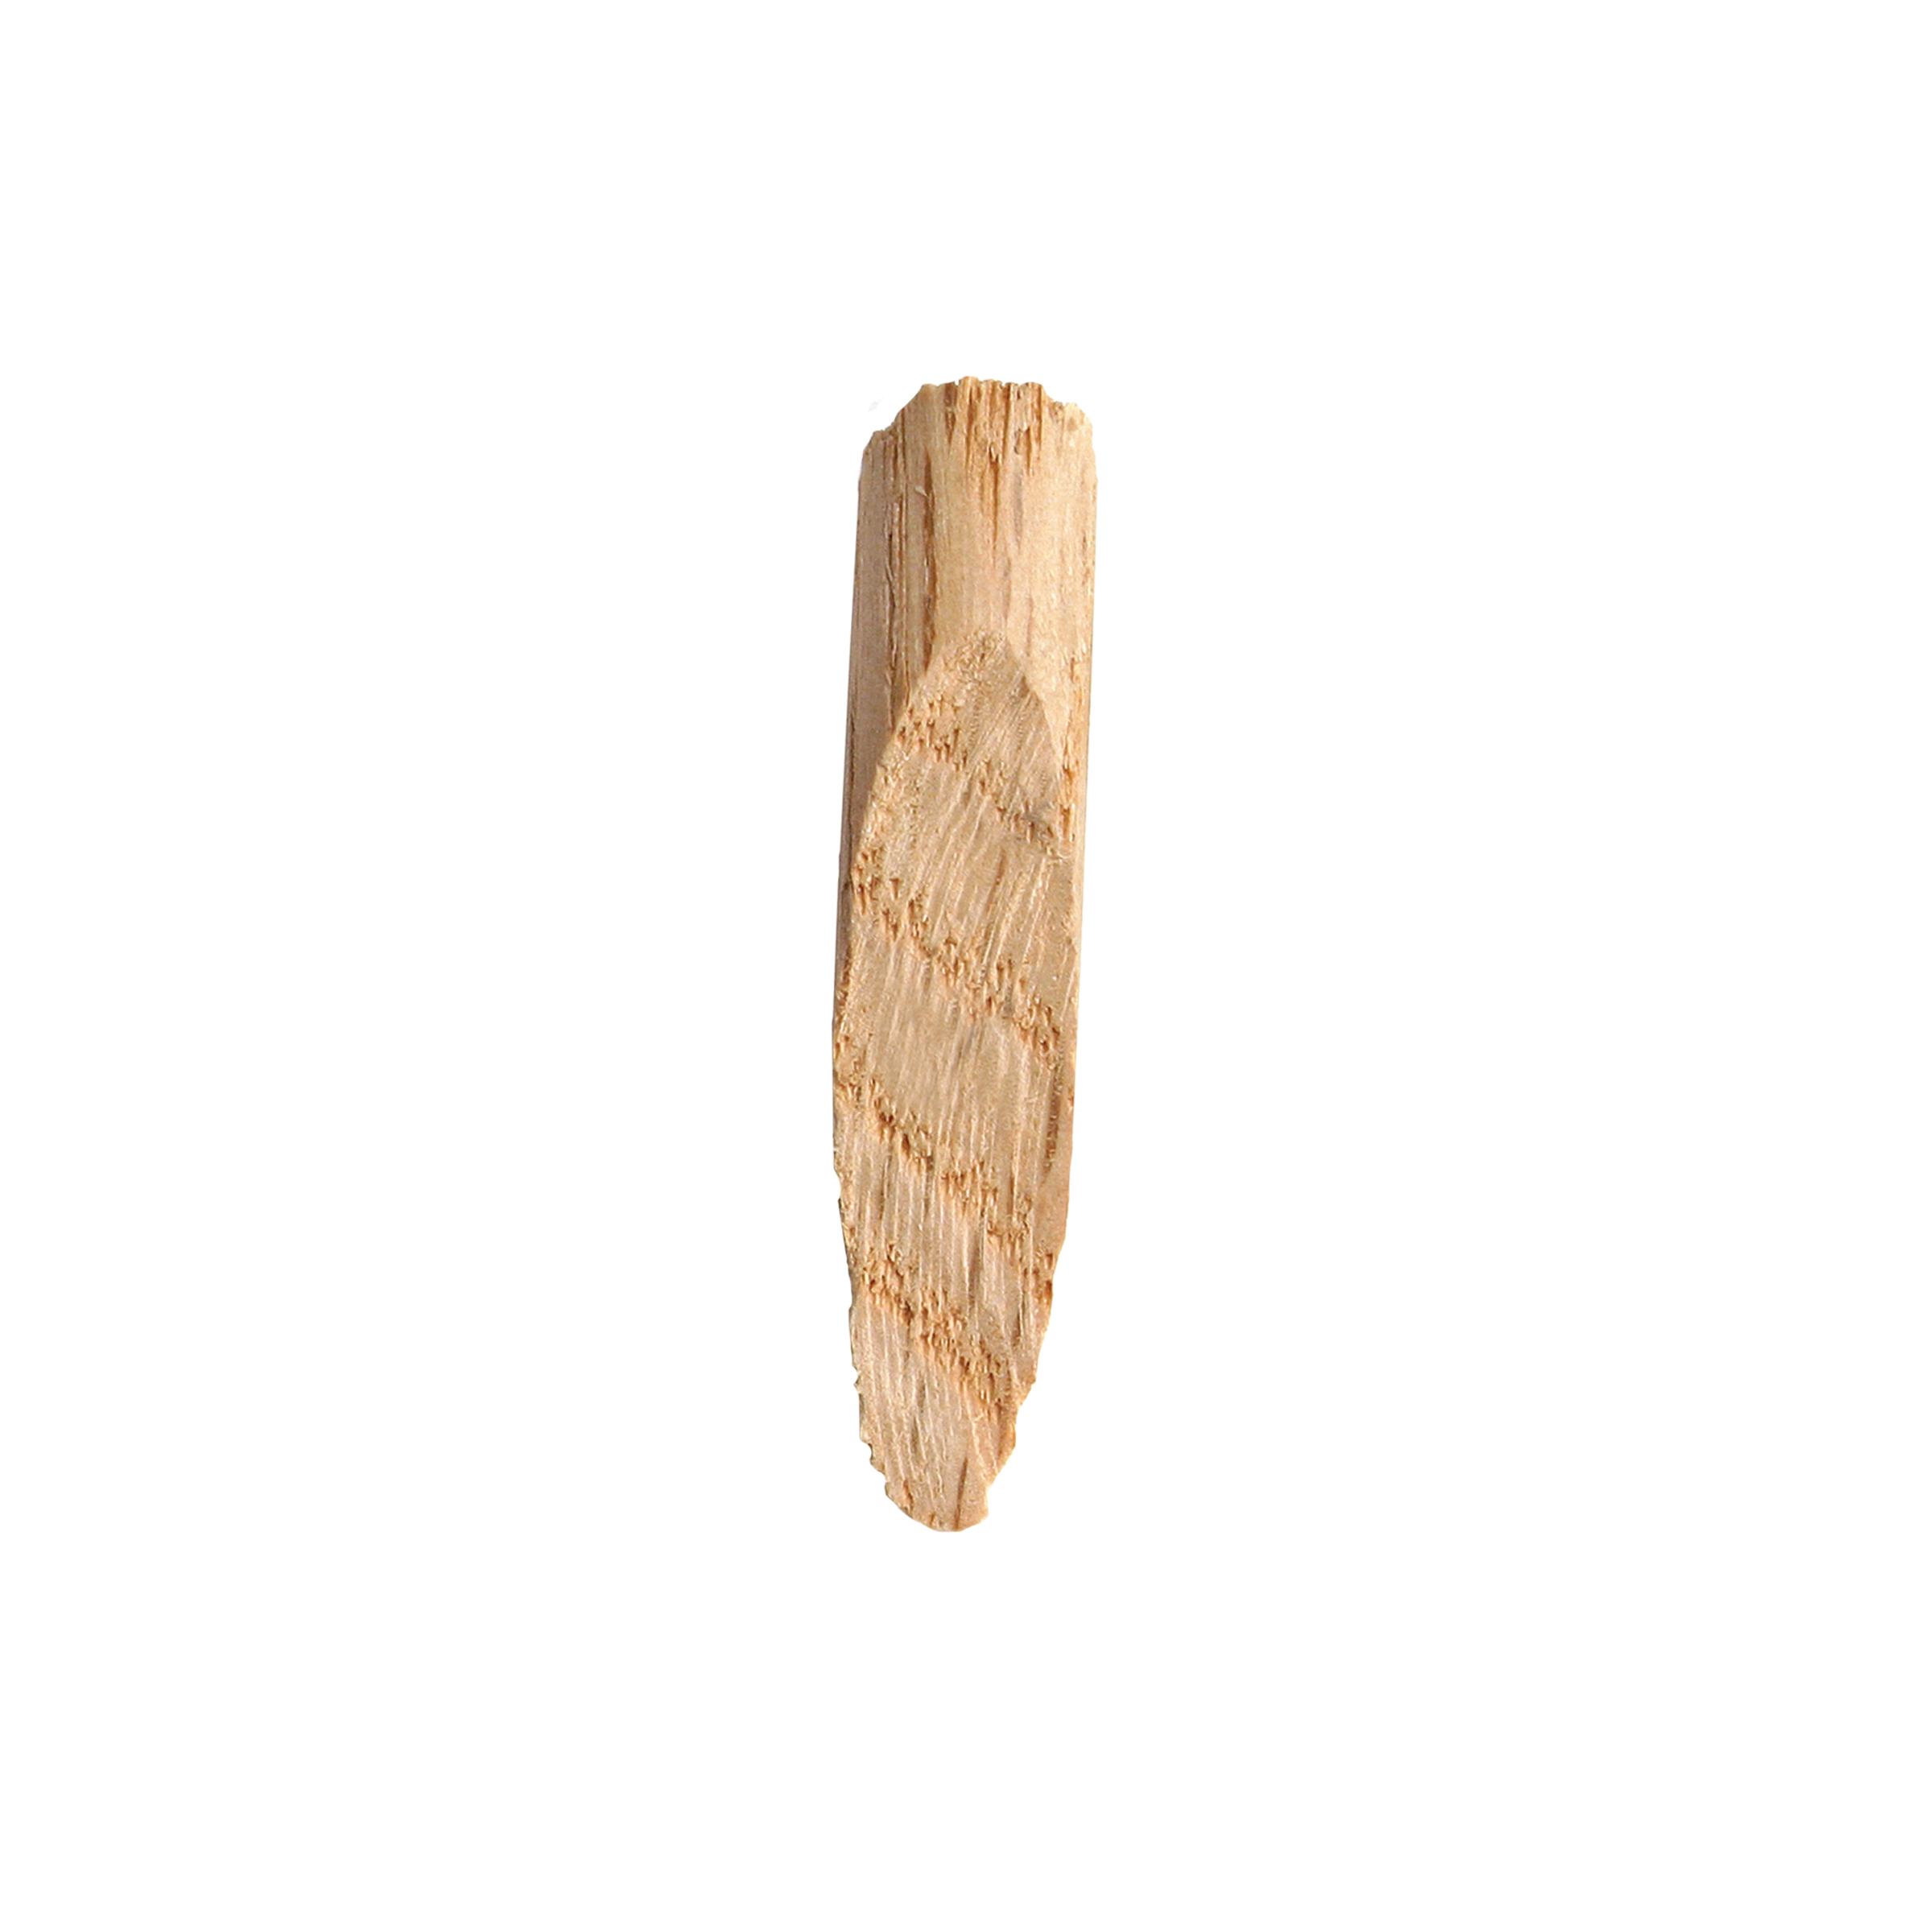
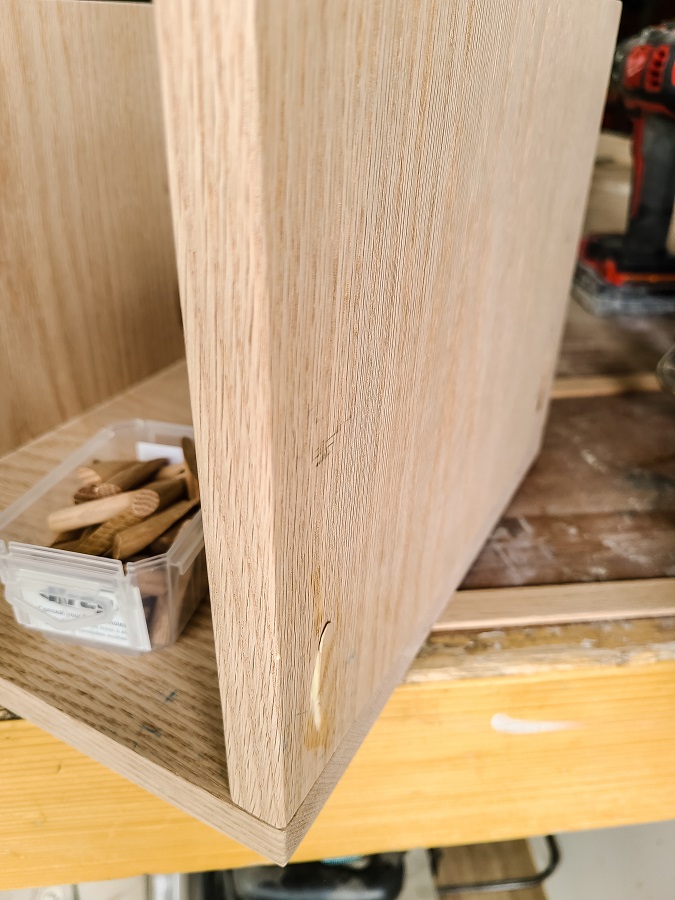
Fill pocket holes
Using oak pocket hole plugs, fill each pocket hole. Apply wood glue and add the plug. Once dry, sand each plug smooth and wipe away all sanding dust.
-
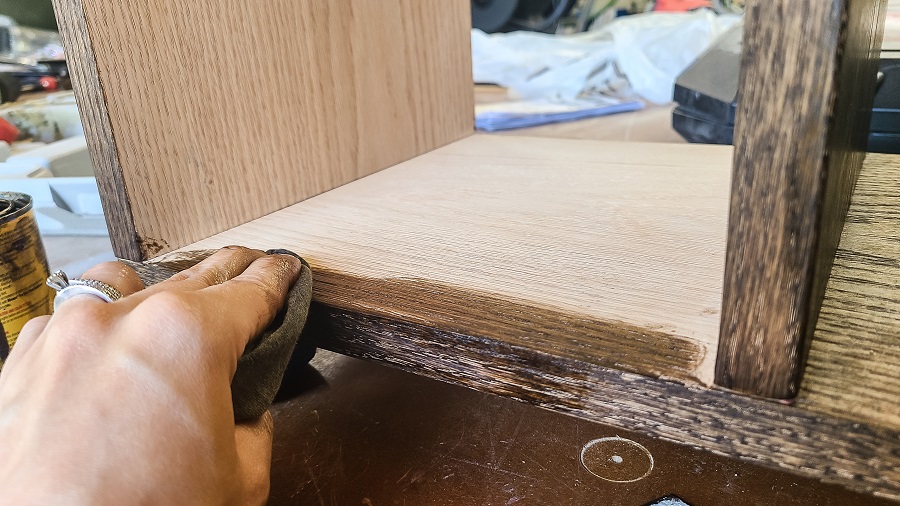
Stain & seal.
Next, stain with the color of your choice and seal. We went with Minwax Jacobean stain and an aerosol clear lacquer to seal.
-
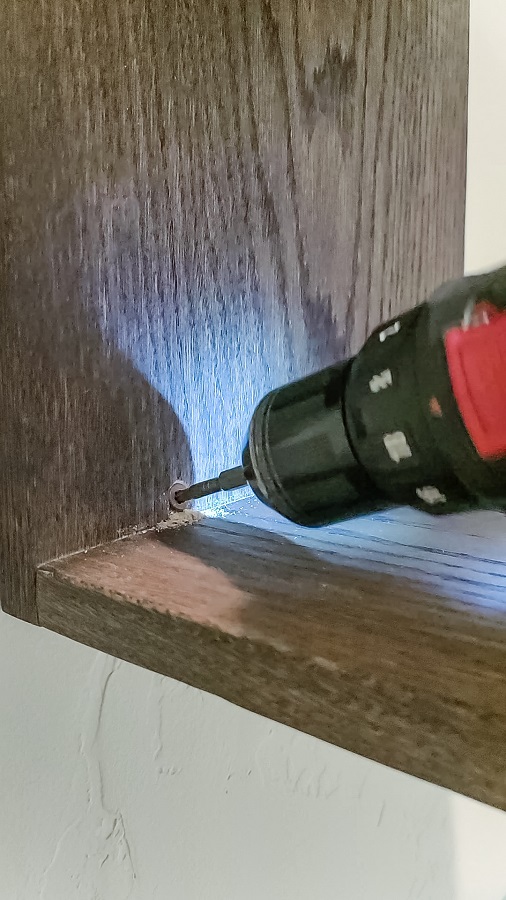
Mount on the wall.
Finally, mount your towel shelf in your desired location and you are all set. We added 2” wood screws in a couple of places at the base of the shelves so they would be hidden by the towels on the shelves. We also made sure that the screws were at drilled in at the location of studs in the wall.