Wall Mounted Scrap Wood Storage
By Charleston CraftedThis wall-mounted scrap wood storage is perfect for small spaces that don't have much ground space. Going vertical with storage is always a good option, as it frees up ground space and takes advantage of unused space up high. It made such a difference in a garage. Take a look!
Directions
-
Make Cuts
Make all cuts listed in the cut list, then sand each piece.
-
Drill Pocket Holes
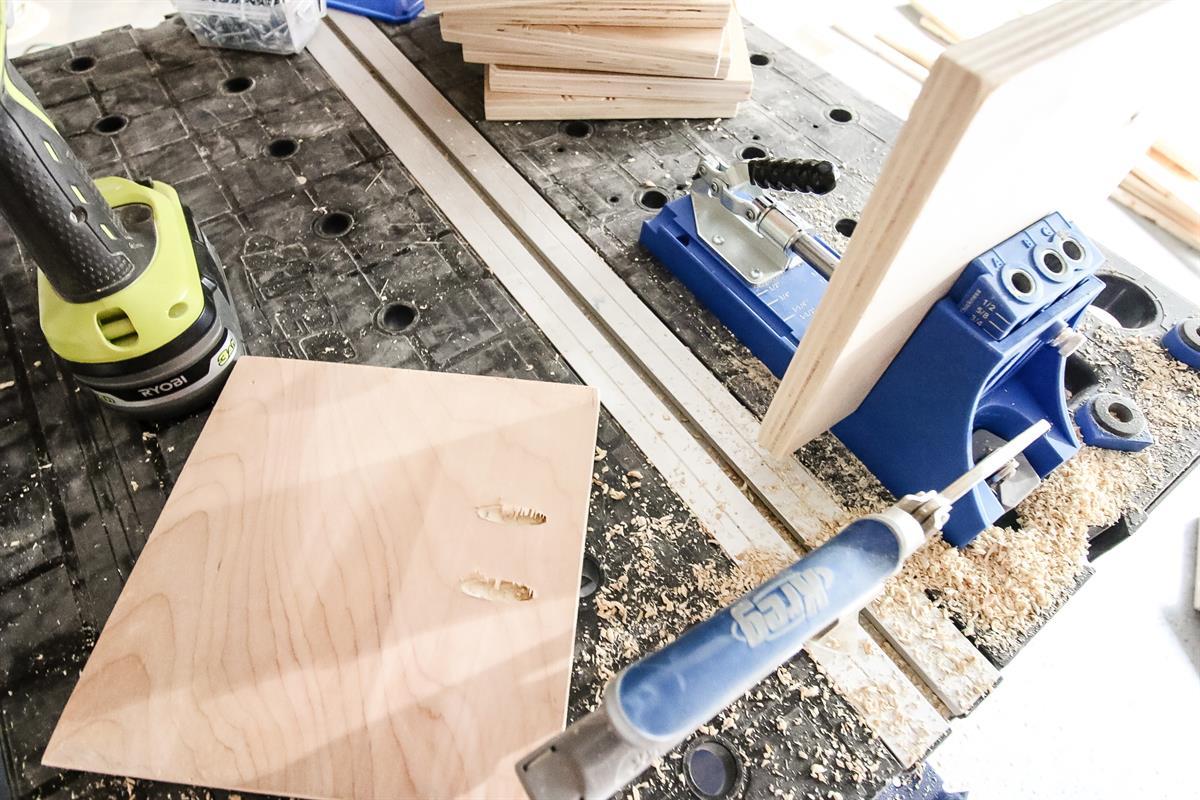
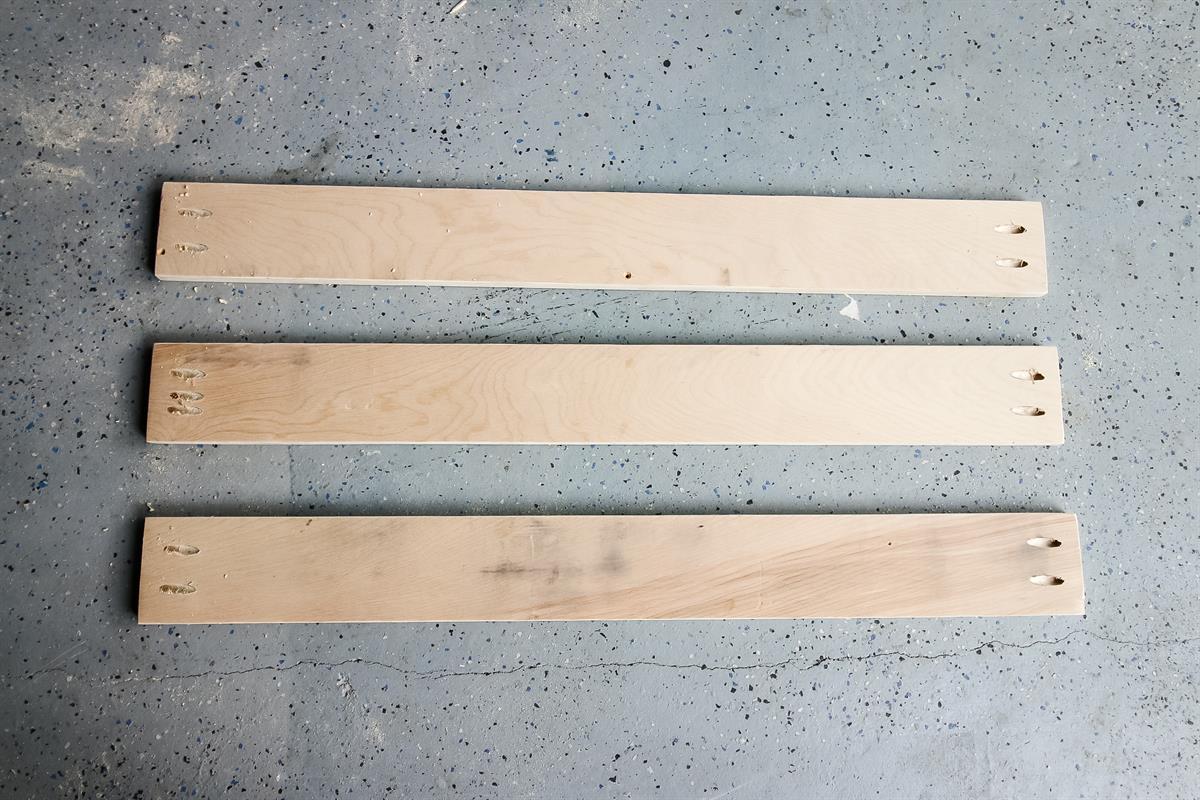
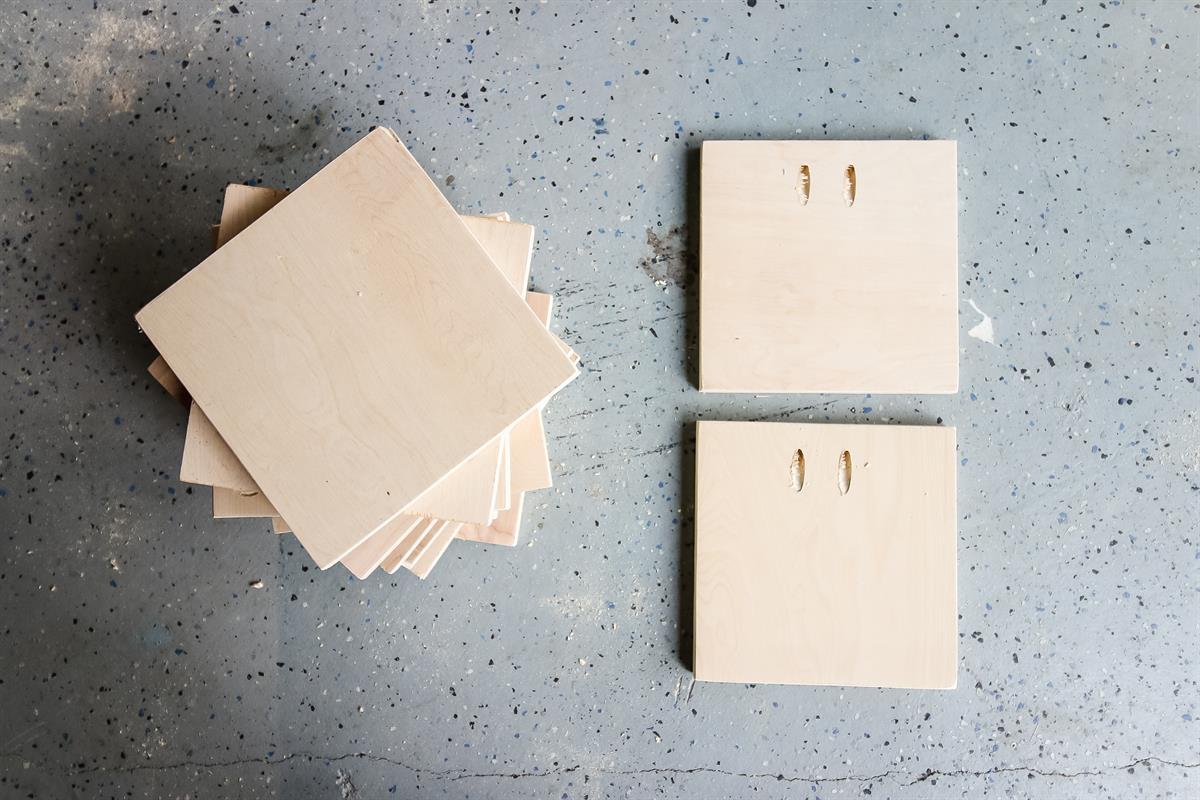
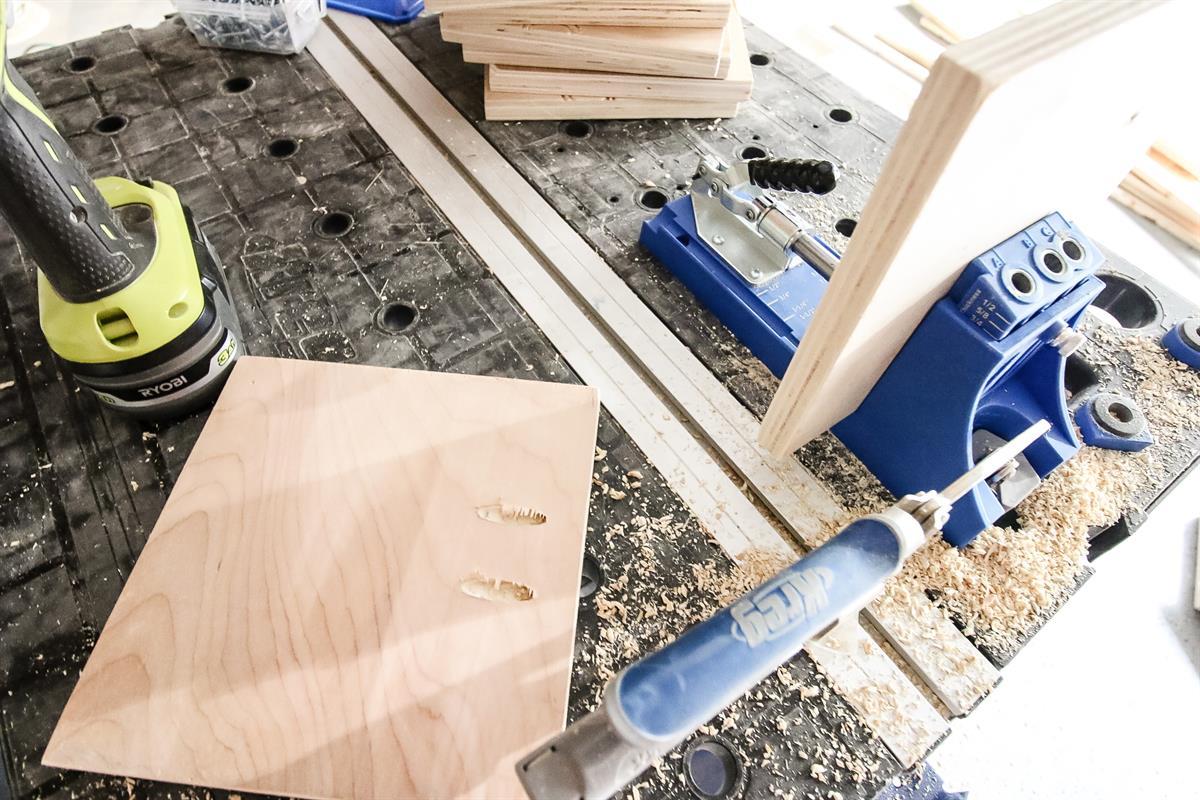
Drill pocket holes on one side of 12 of the Cube Pieces and on each end of the three Horizontal Pieces.
-
Attach Cubes Pieces
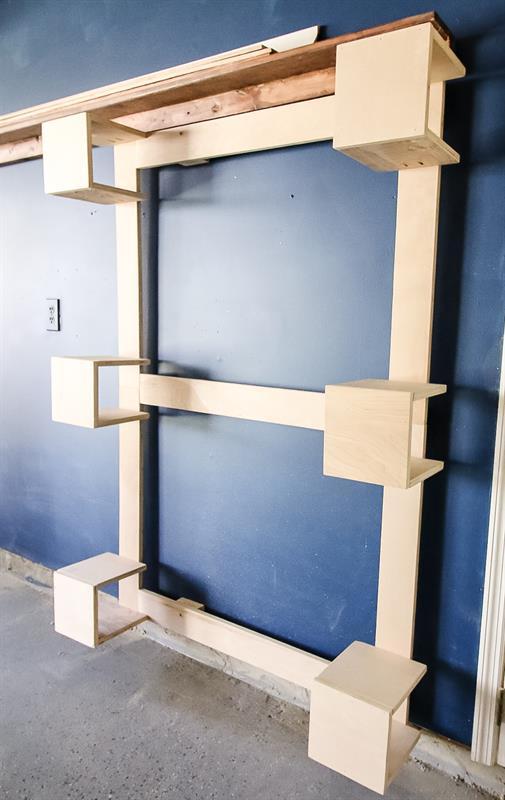
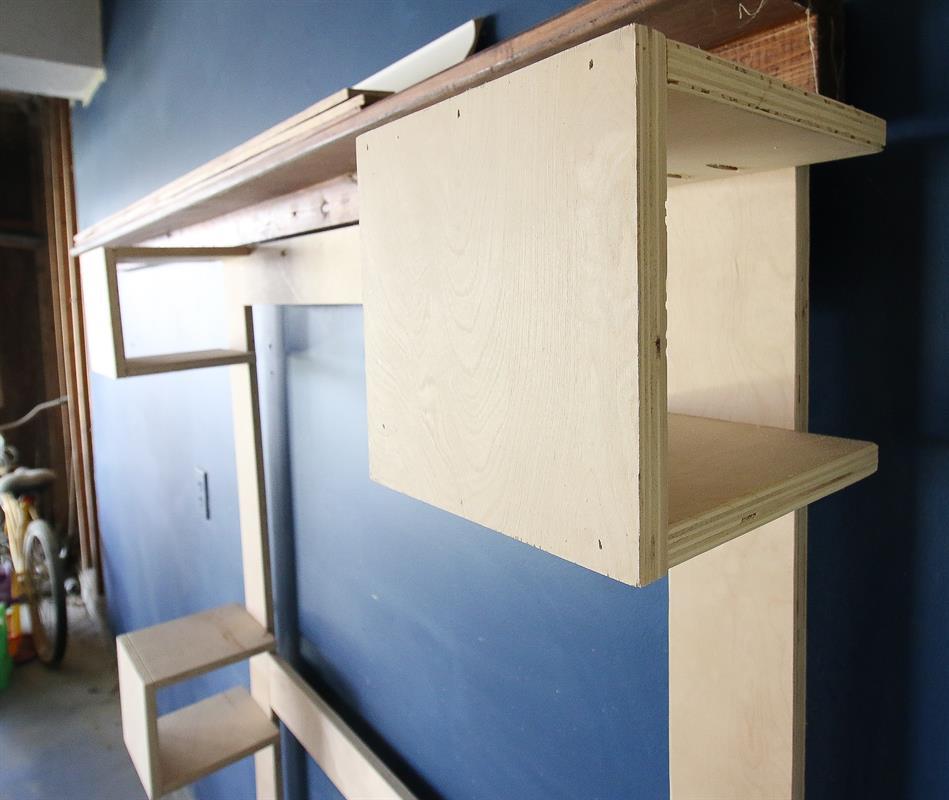
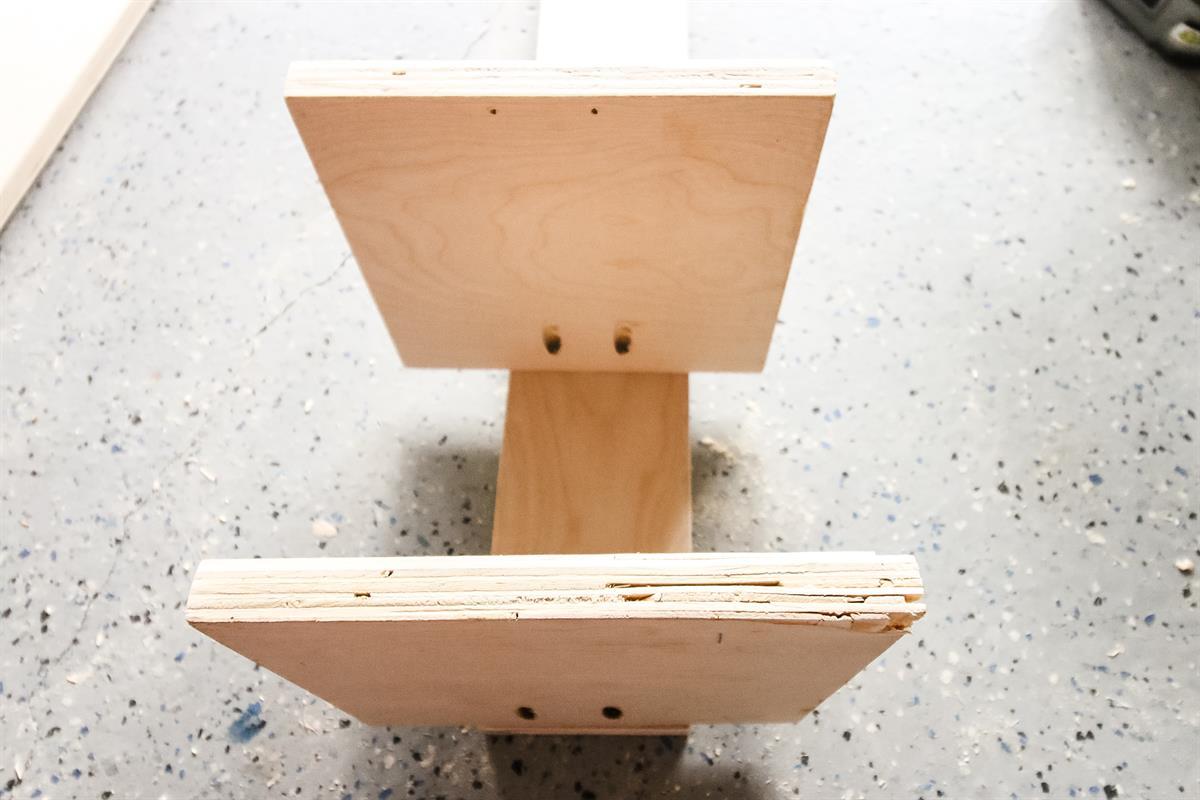
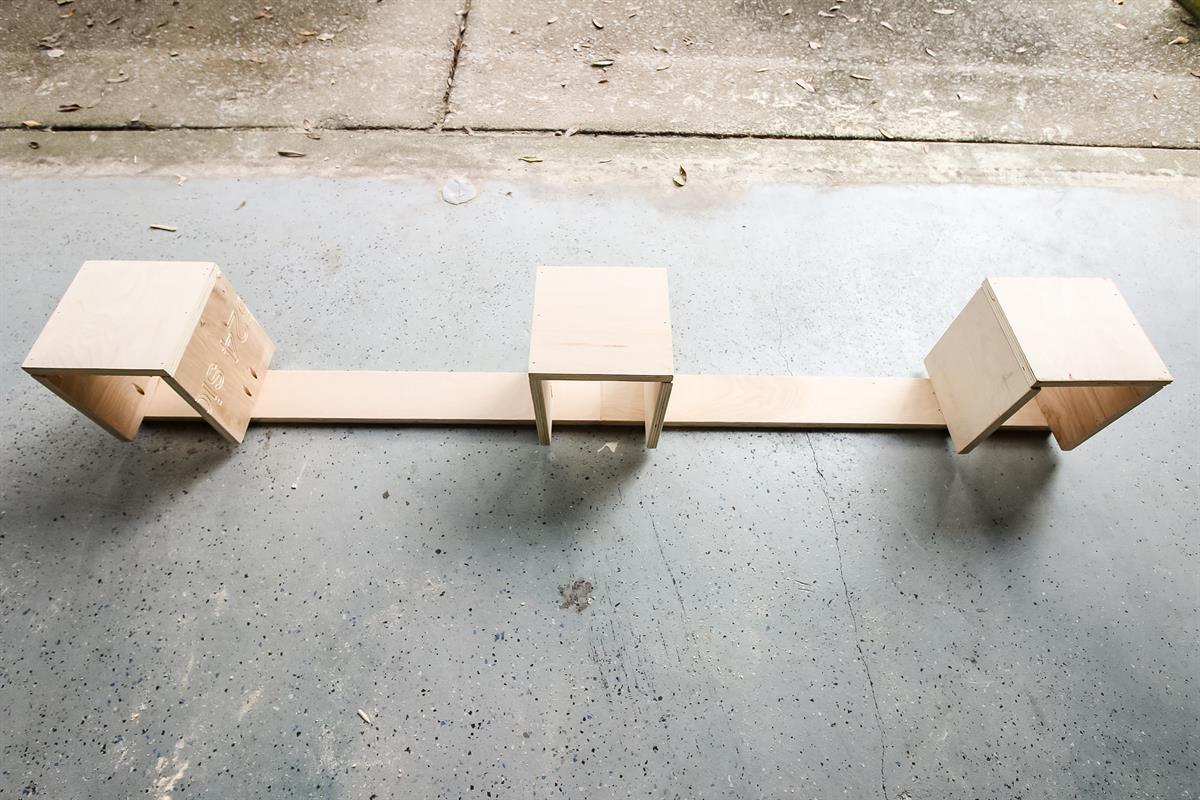
Build three cubes attached to each of the two Vertical Pieces. For each cube, attach two of the Kreg-ed Cube Pieces to the Vertical Pieces, spaced so that another piece can attach to the front. The cubes should align with the top, bottom and center of the Vertical Pieces.
-
Attach Cube Fronts
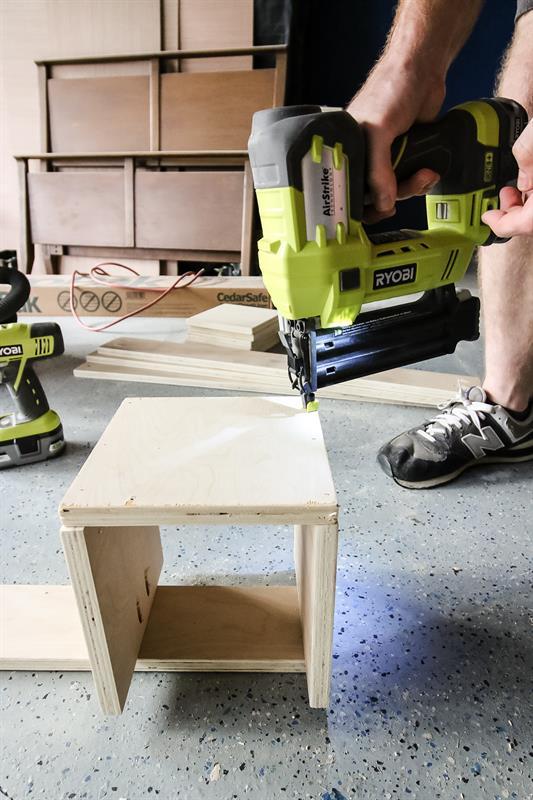
Use a nail gun to attach 6 more Cube Pieces to form six three-sided cubes.
-
Build Two Pillars
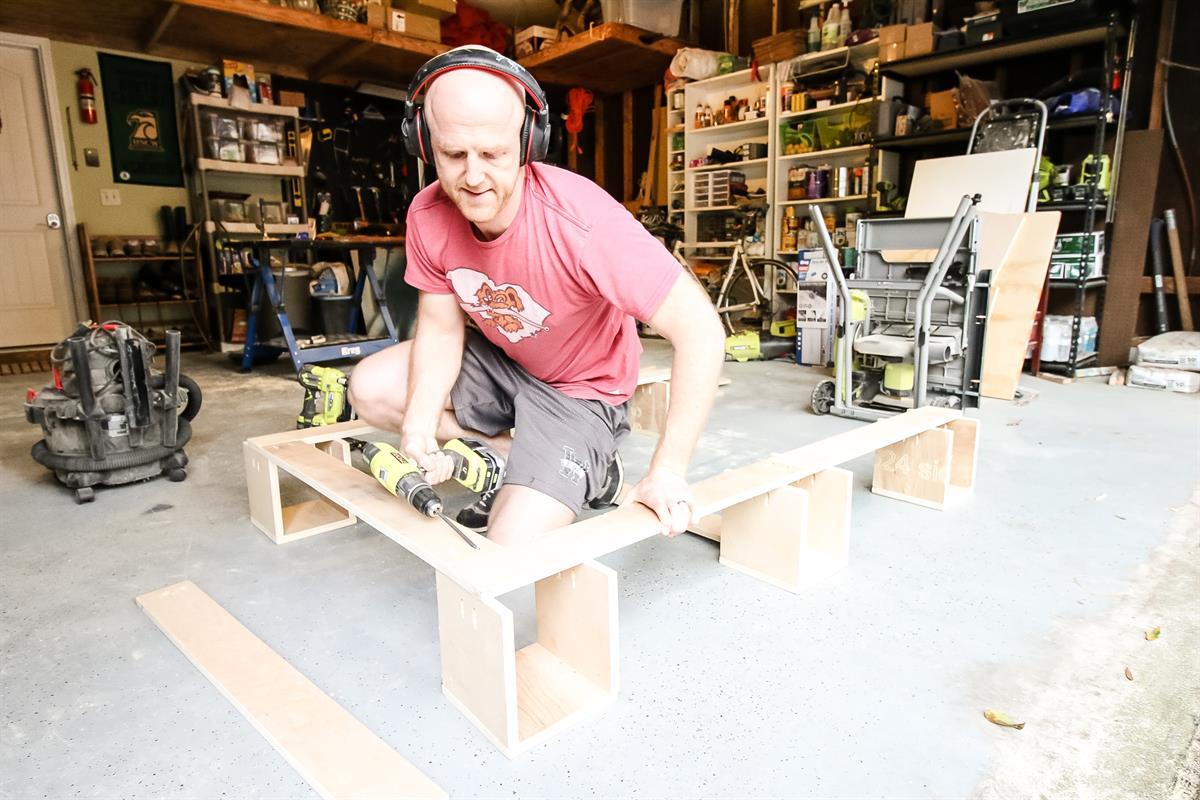
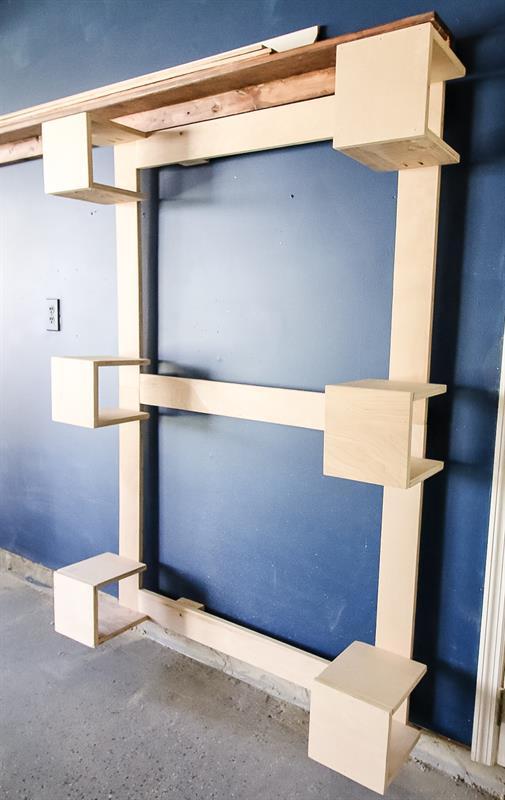
Create two pillars of three cubes.
-
Connect Pillars
Use the Horizontal pieces to attach the two pillars. Attach at the top, bottom and center.
-
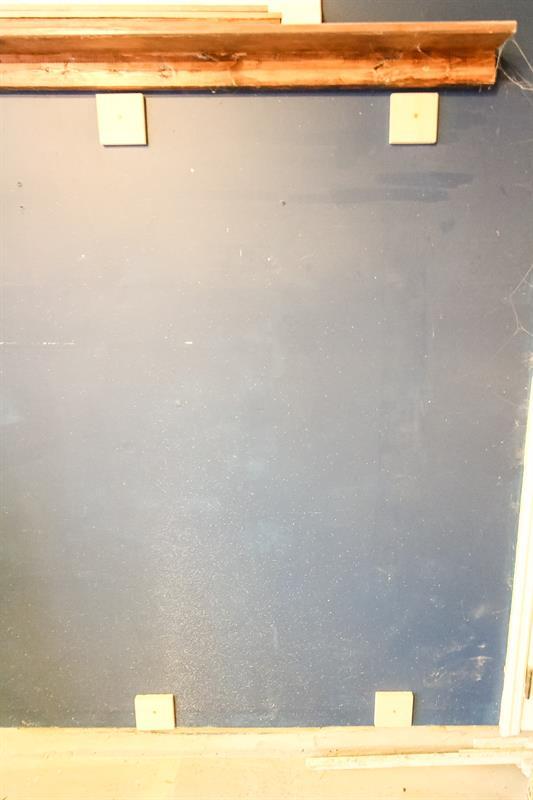
Add Wall Spacers
Create four thick spacers by gluing two Wall Spacers together four times. Attach them to the wall where the four corners of the storage unit will go.
-
Attach Storage Unit to Wall
Attach the storage unit to the wall spacers.
-
Load Wood Scraps!
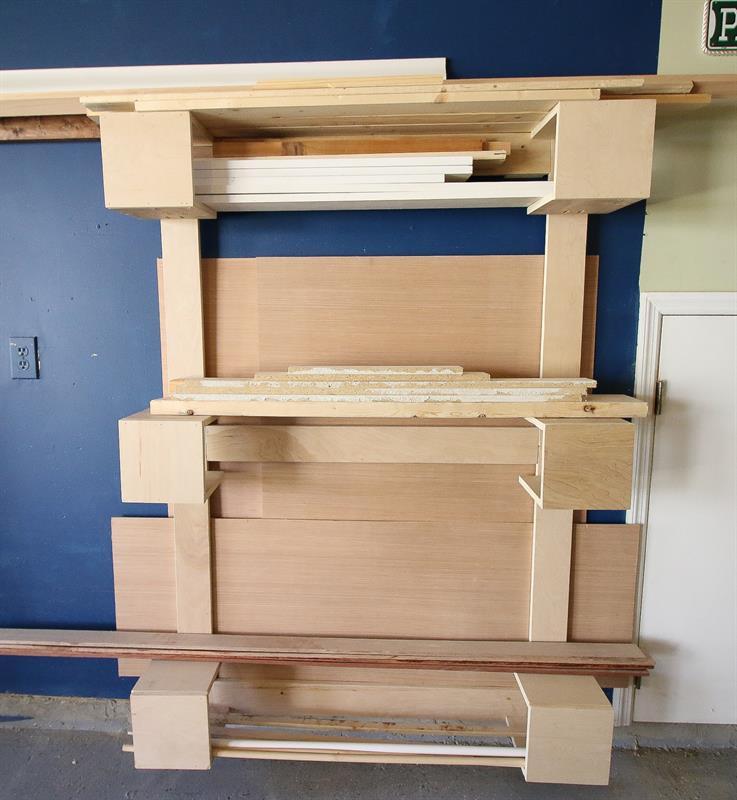
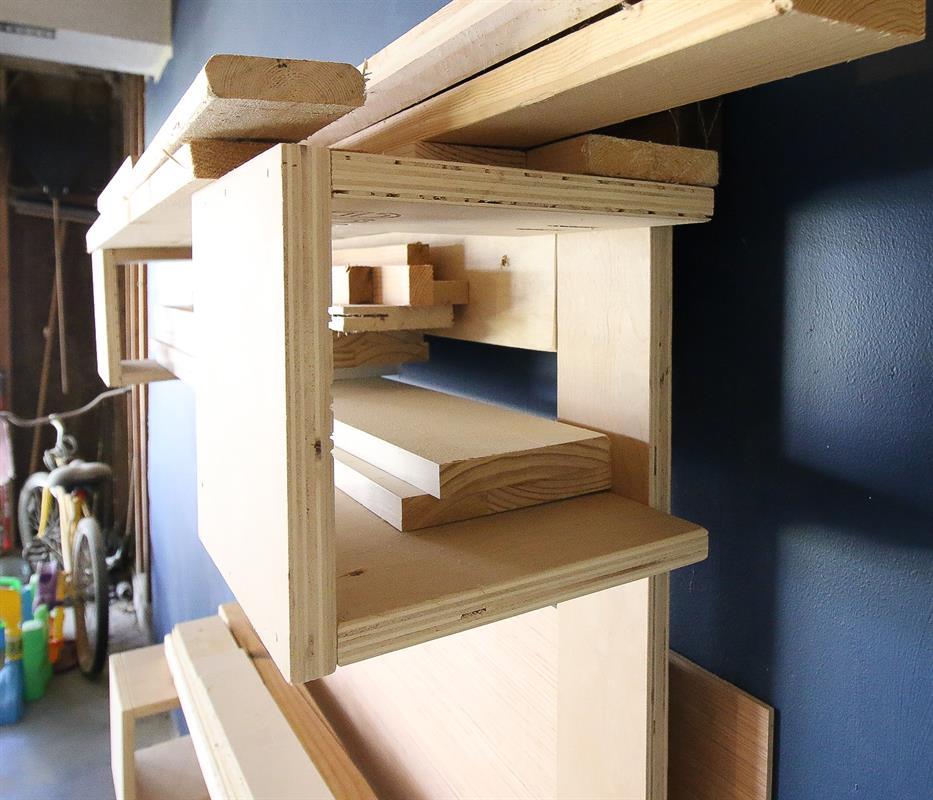
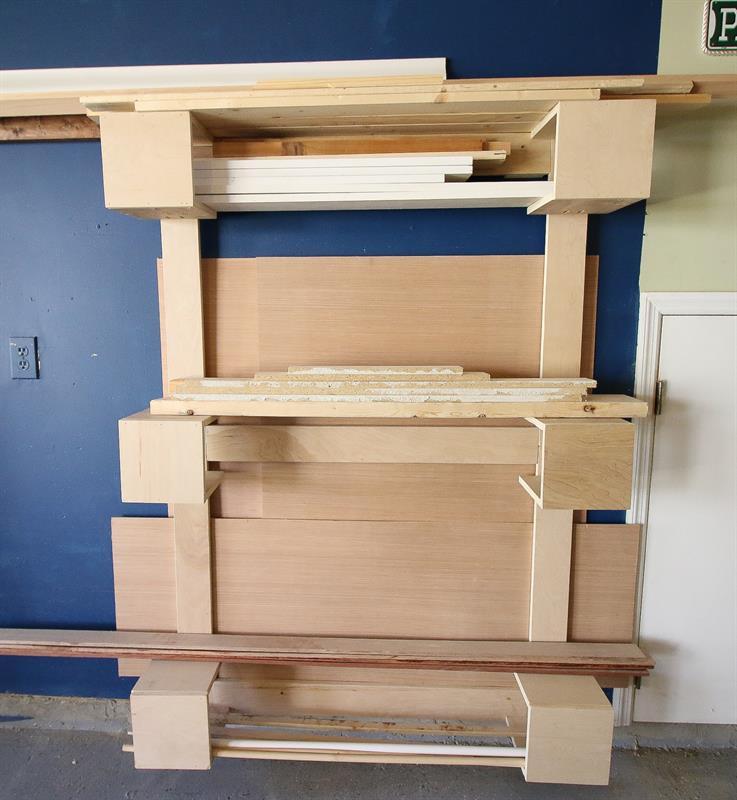
Load up all your scraps! The beauty of this unit is that you are able to store long pieces on top of the cubes and medium or small pieces inside of the cubes. The spacers between the unit and the wall also allows for large pieces of plywood to slide behind the unit for storage.
-
See more at CharlestonCrafted.com
Check out more pictures and more projects at our website, www.CharlestonCrafted.com.


