

Need a place to keep your mail and keys? Make this wall-mounted mail and key rack with a unique and modern look. It is a beginner-friendly woodworking project using pocket hole joinery.
Tools
Kreg Tools


Other Tools
-
Miter saw

-
Tape measure
-
Clamps
-
Pencil
-
80 and 150 grit sandpaper
-
Painter's tape
Materials
Wood Products
- 1 Birch , 2’ x 3 1⁄2” x 3⁄4”
- 1 Teak Round , 15” x 15” x 1”
Hardware & Supplies
- 1 Box of 1 1⁄4” Kreg Pocket Hole Screws (see tools list)
- 1 Box of Kreg paint-grade plugs (see tools list)
- 1 Level
- 1 Paint of choice
- 1 Paint brush
- 1 Spray primer
- 1 Drawer pull of choice
- 3 Two-prong hooks
Directions
-
Cut wood
Cut wood according to the visual cut list in the woodworking plans with a table saw and miter saw. Cut the length of the birch board with a miter
saw. You can either purchase a ready to-use 15” wood round or cut your own.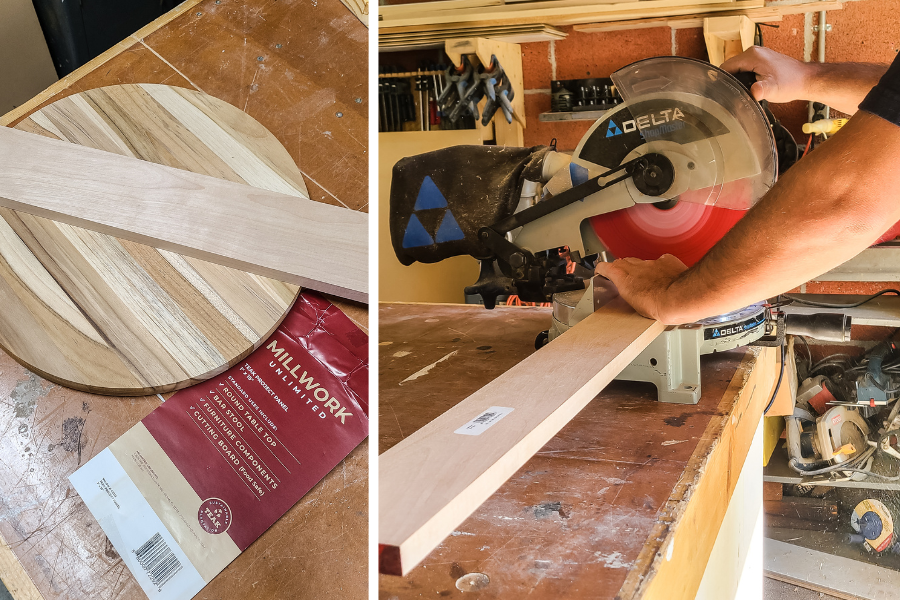
-
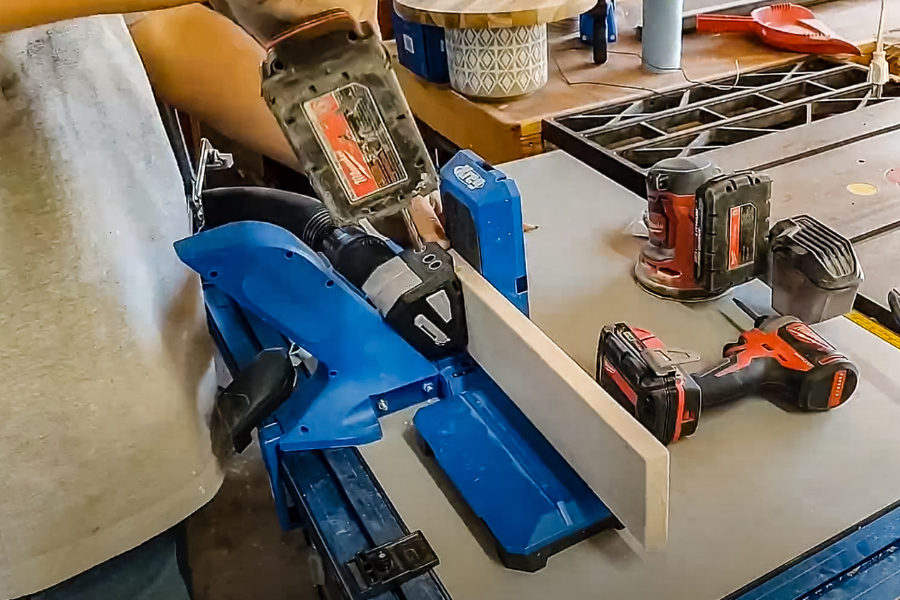
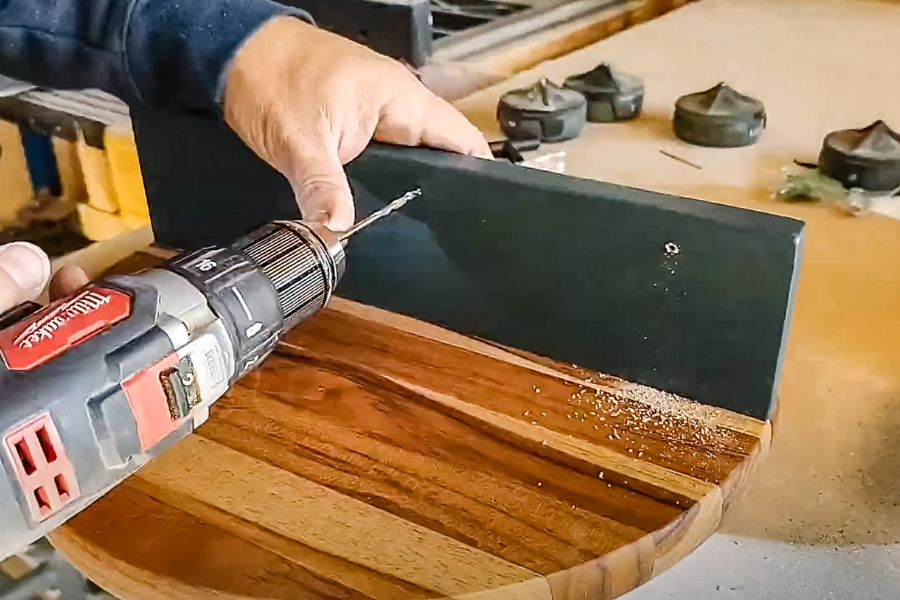
Drill pocket holes
Drill pocket holes on the bottom of the shelf as shown in the woodworking plans. We used the Kreg 720 Pro.
-
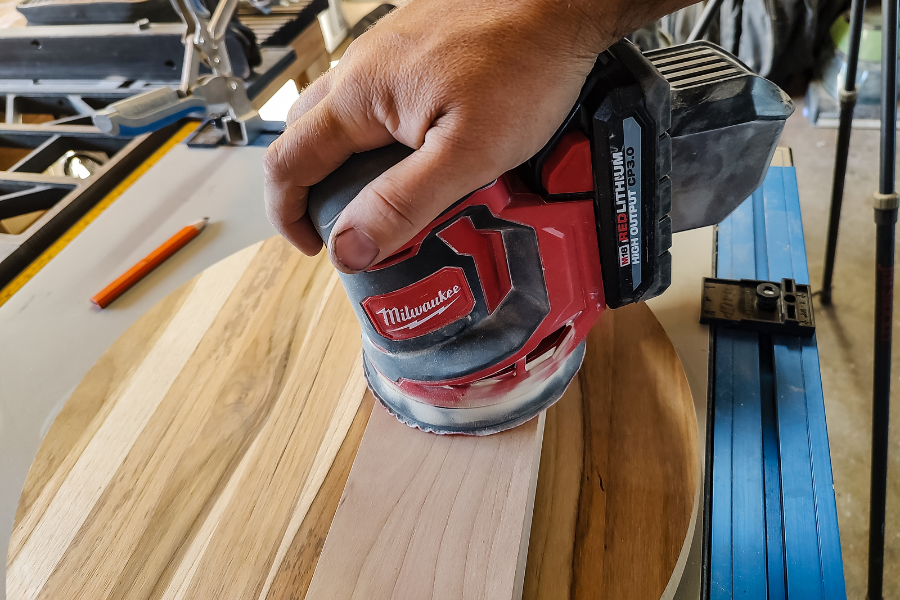
Taper the edges of the shelf and sand
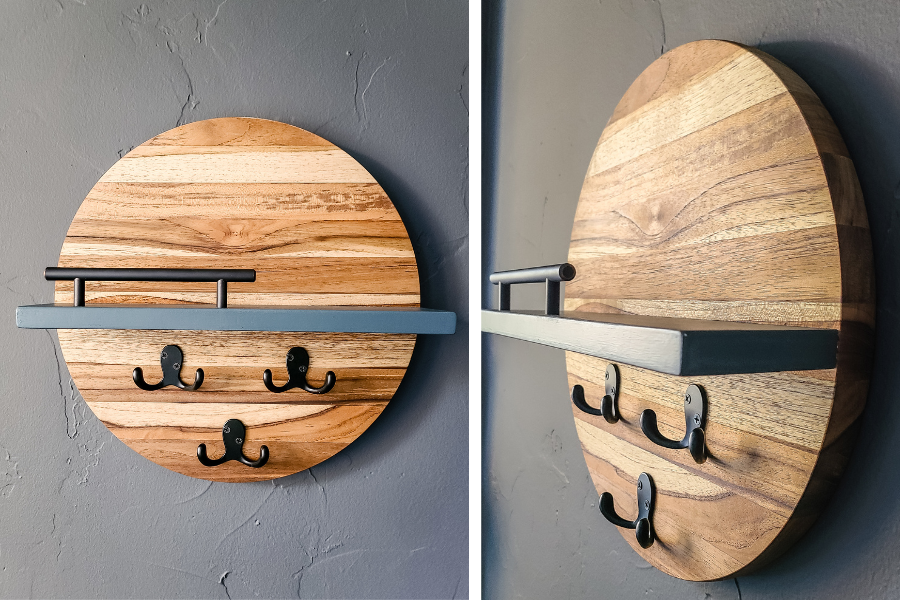
Hold the shelf up to the correct location on the wood round and mark any edges of overlap due to the rounded edges. Sand the edges of the shelf so they match up with the edge of the wood round using 80-grit sandpaper and an orbital sander. Follow up with 150-grit sandpaper on the entire shelf.
-
Attach the shelf
Using clamps, secure the shelf to the correct location on the wood round. Use a level to make sure it is nice and straight. Then attach the shelf to the round with Kreg pocket hole softwood screws.

-
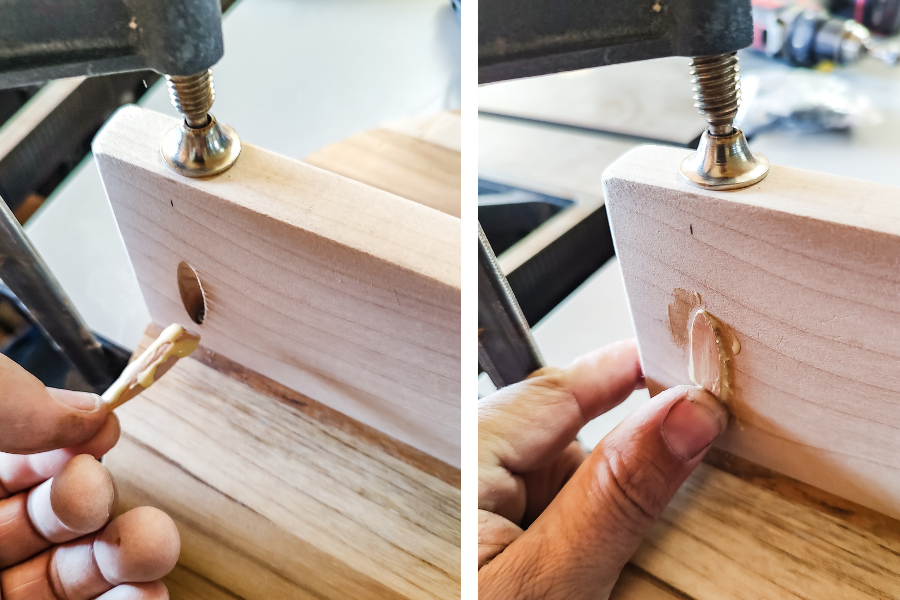
Fill pocket holes with plugs
Once attached fill the pocket holes with wood glue and pocket hole plugs. Let dry.
-
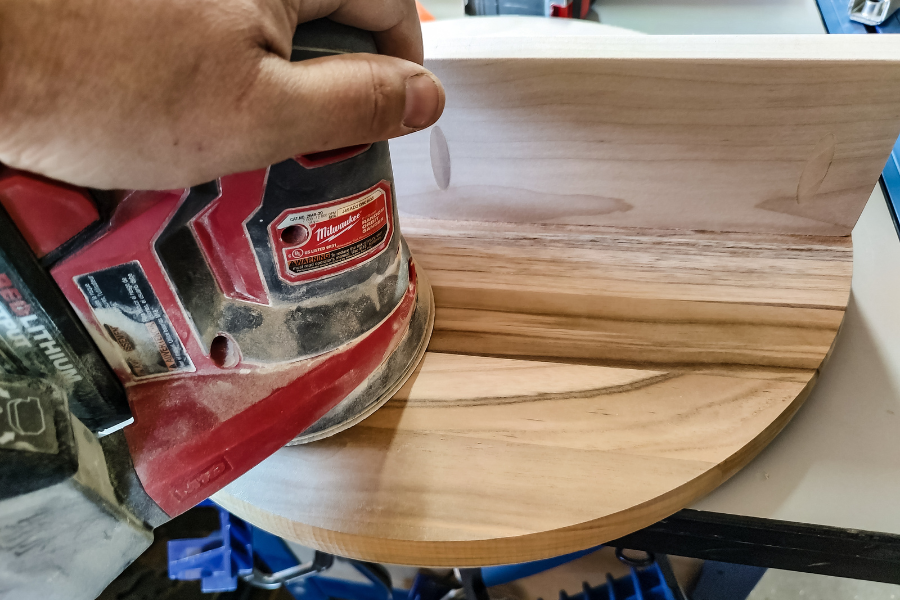
Sand
Sand off the excess plugs and glue with 80-grit sandpaper and an orbital sander. Sand everything with 150-grit sandpaper until smooth.
-
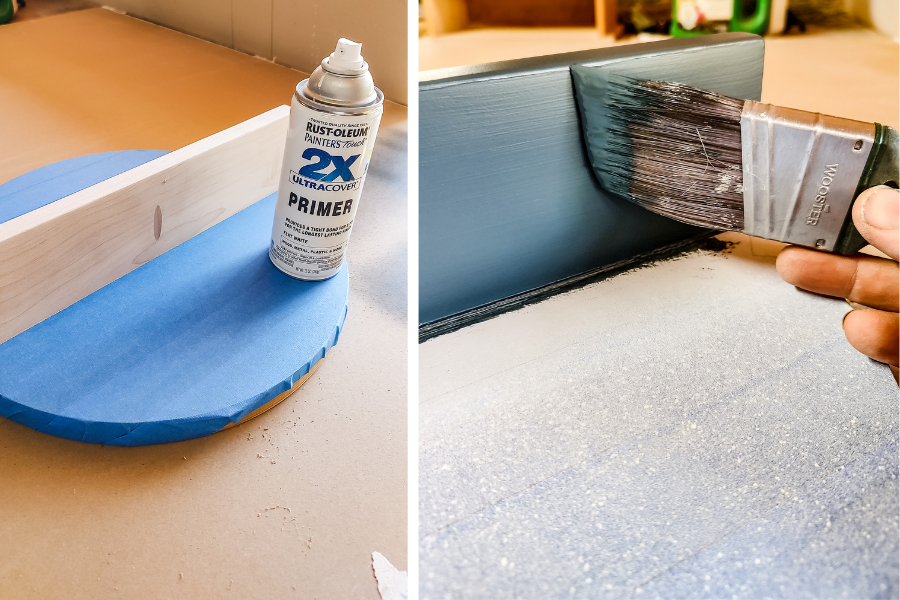
Tape off the shelf and paint
Tape around the shelf using painter’s tape. Apply 3 coats of primer. We used a spray primer. Then use your desired color paint to put on a final 2 coats. Remove the tape with done.
-
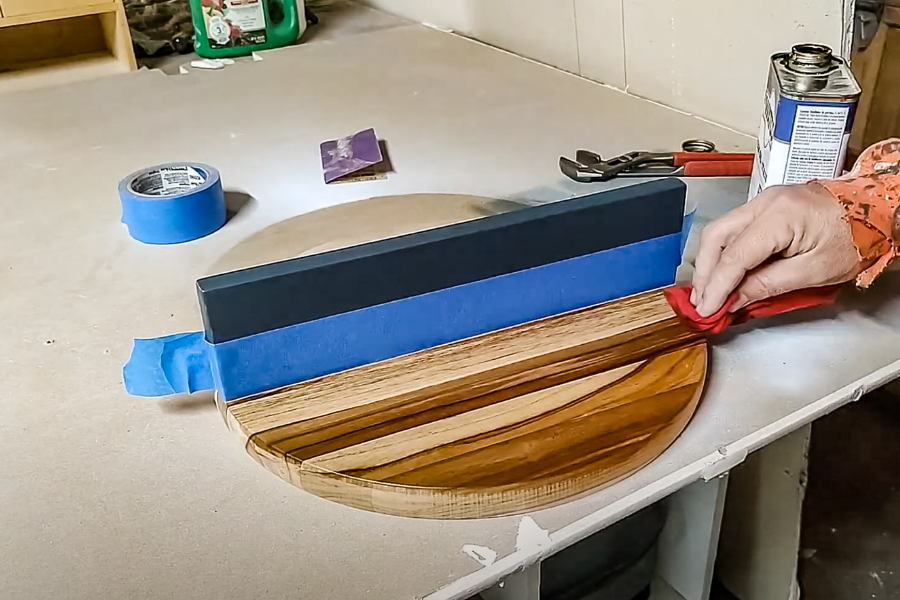
Apply teak oil finish to the round
After a day, tape off the shelf and apply teak oil on the wood round to bring out the natural wood look. Apply 2 coats and let dry.
-
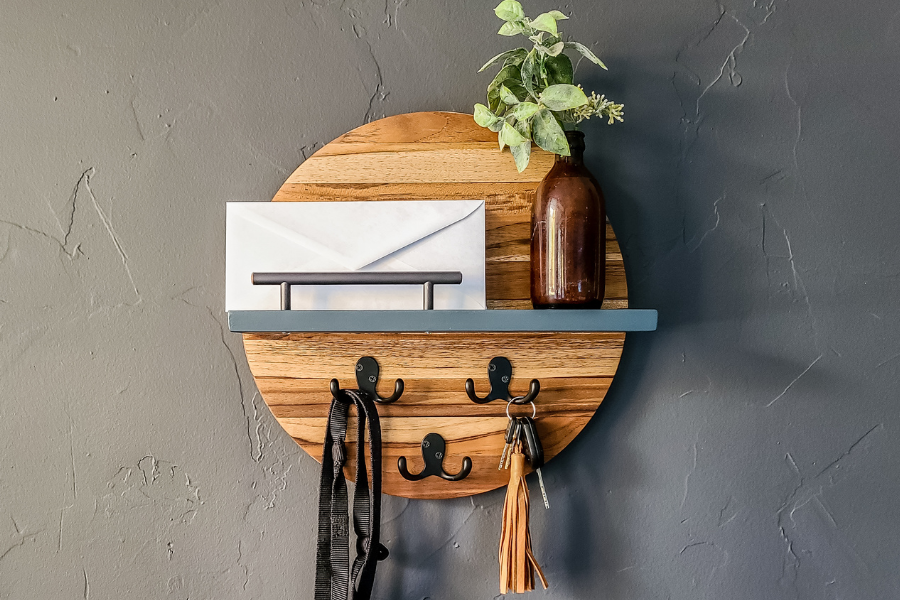
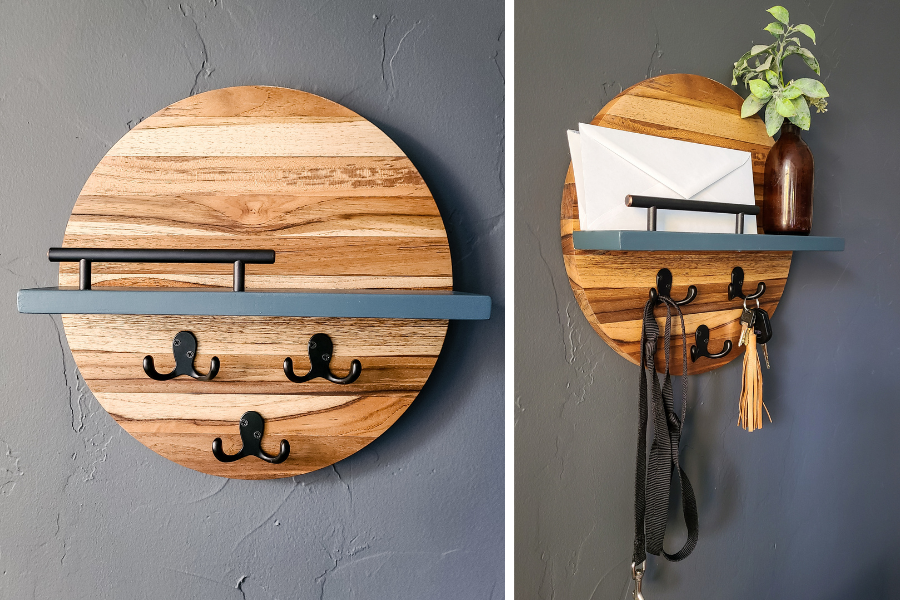
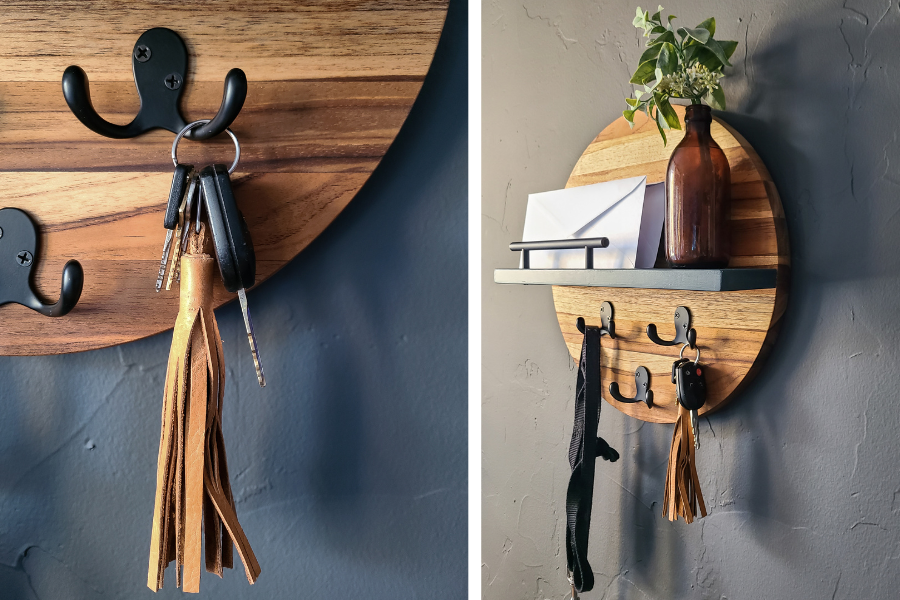
Add hardware
To finish off the mail and key organizer. Add hooks to the bottom half of the wood round. Lastly, add a drawer pull to the shelf as a place to keep mail organized.
-
Hang on the wall
Hang on your wall to start using your key and mail organizer. You can use either picture-hanging hardware or heavy-duty Command picture-hanging strips.