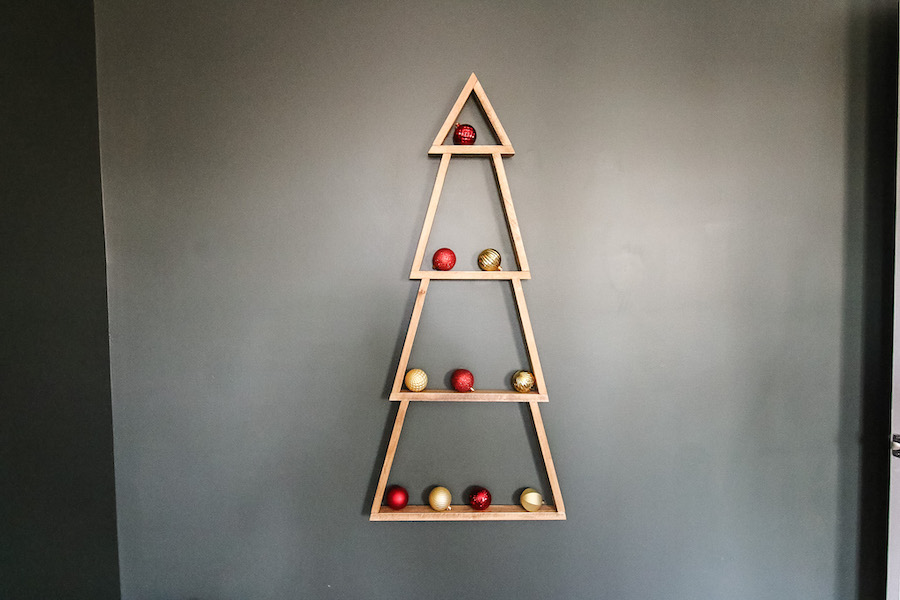
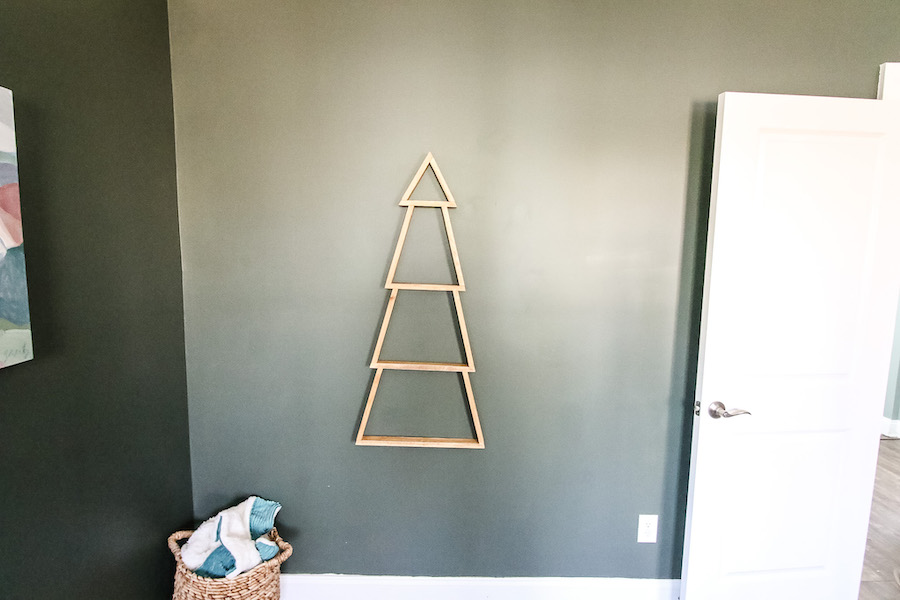


Check out how to make a DIY flush mount wall Christmas tree! This is a perfect option for tight spaces to display ornaments or decor! You could even use this as your Christmas tree for minimalist style!
Tools
Kreg Tools


Other Tools
-
Table Saw

Materials
Wood Products
- 1 Board of choice , 3/4" x 3 1/2" x 8' , 8'
Hardware & Supplies
- 30 1 1/4" Kreg Screws
- 30 Kreg pocket hole plugs
- 2 Picture hanging hooks
- 1 Stain or paint
- 1 Wood glue
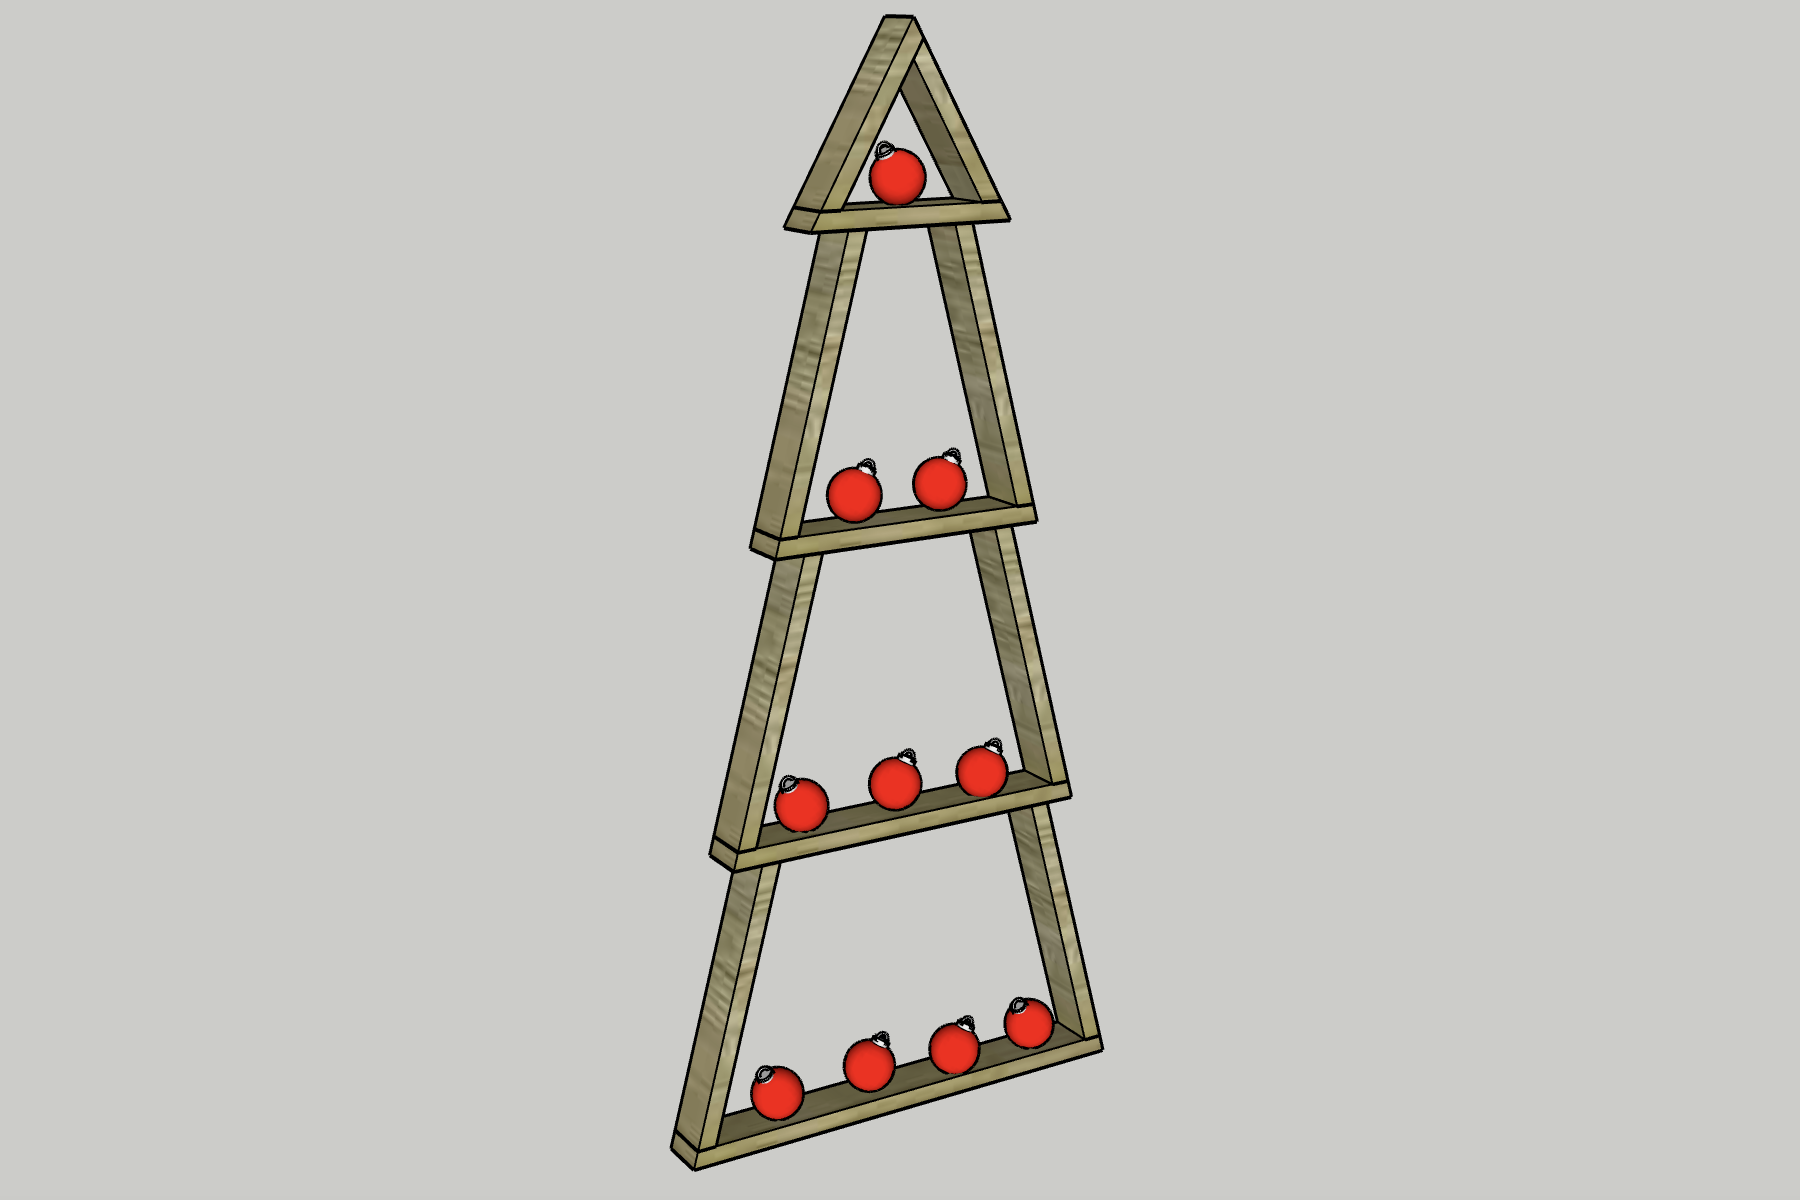
Cut List & Parts
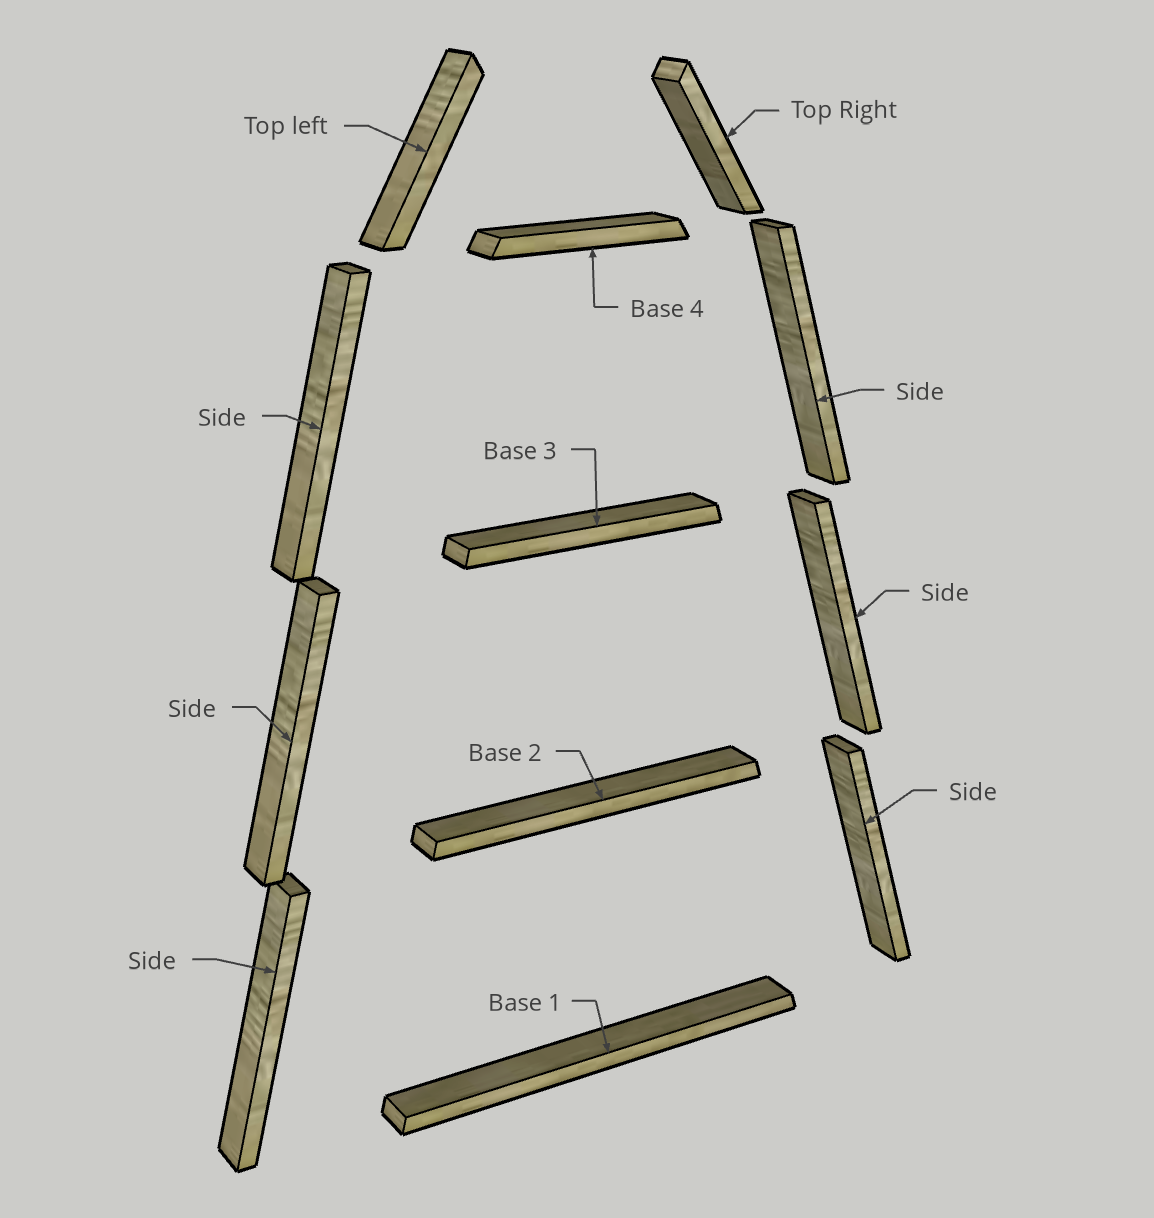
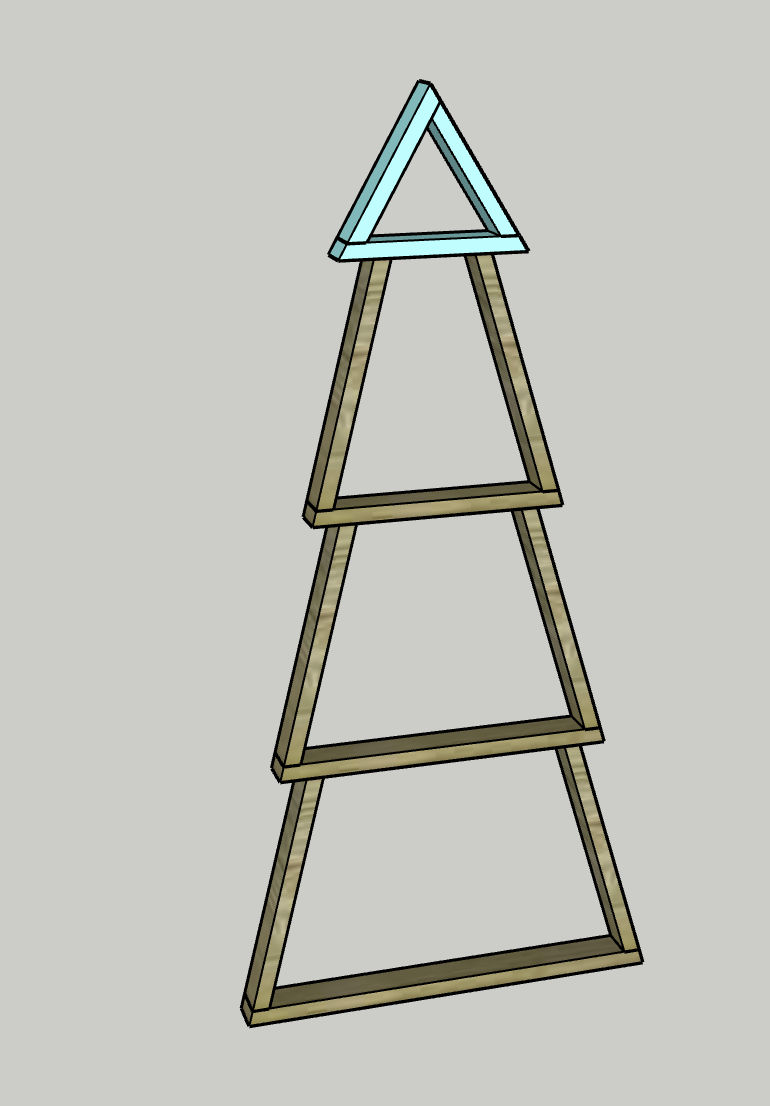
- 1 Base 1 , 20" x 2" x 3/4" with opposing 15 degree bevels
- 1 Base 2 , 16" x 2" x 3/4" with opposing 15 degree bevels
- 1 Base 3 , 12" x 2" x 3/4" with opposing 15 degree bevels
- 1 Base 4 , 8 1/2" x 2" x 3/4" with opposing 30 degree bevels
- 6 Sides , 11 3/4" x 2" x 3/4" with parallel 15 degree bevels
- 1 Top Left , 8" x 2" x 3/4" with opposing 30 degree bevels
- 1 Top Right , 7" x 2" x 3/4" with opposing 30 degree bevels
Directions
-
Cuts and pocket holes
- Cut down your board into 2" wide, or cut down a strip of plywood.
- Cut all the beveled angles on each piece.
- Drill all your pocket holes at once.
- Drill two pocket holes in each end of all the Side and Top Right pieces.
- Drill two pocket holes on one end of the Top Left piece. -
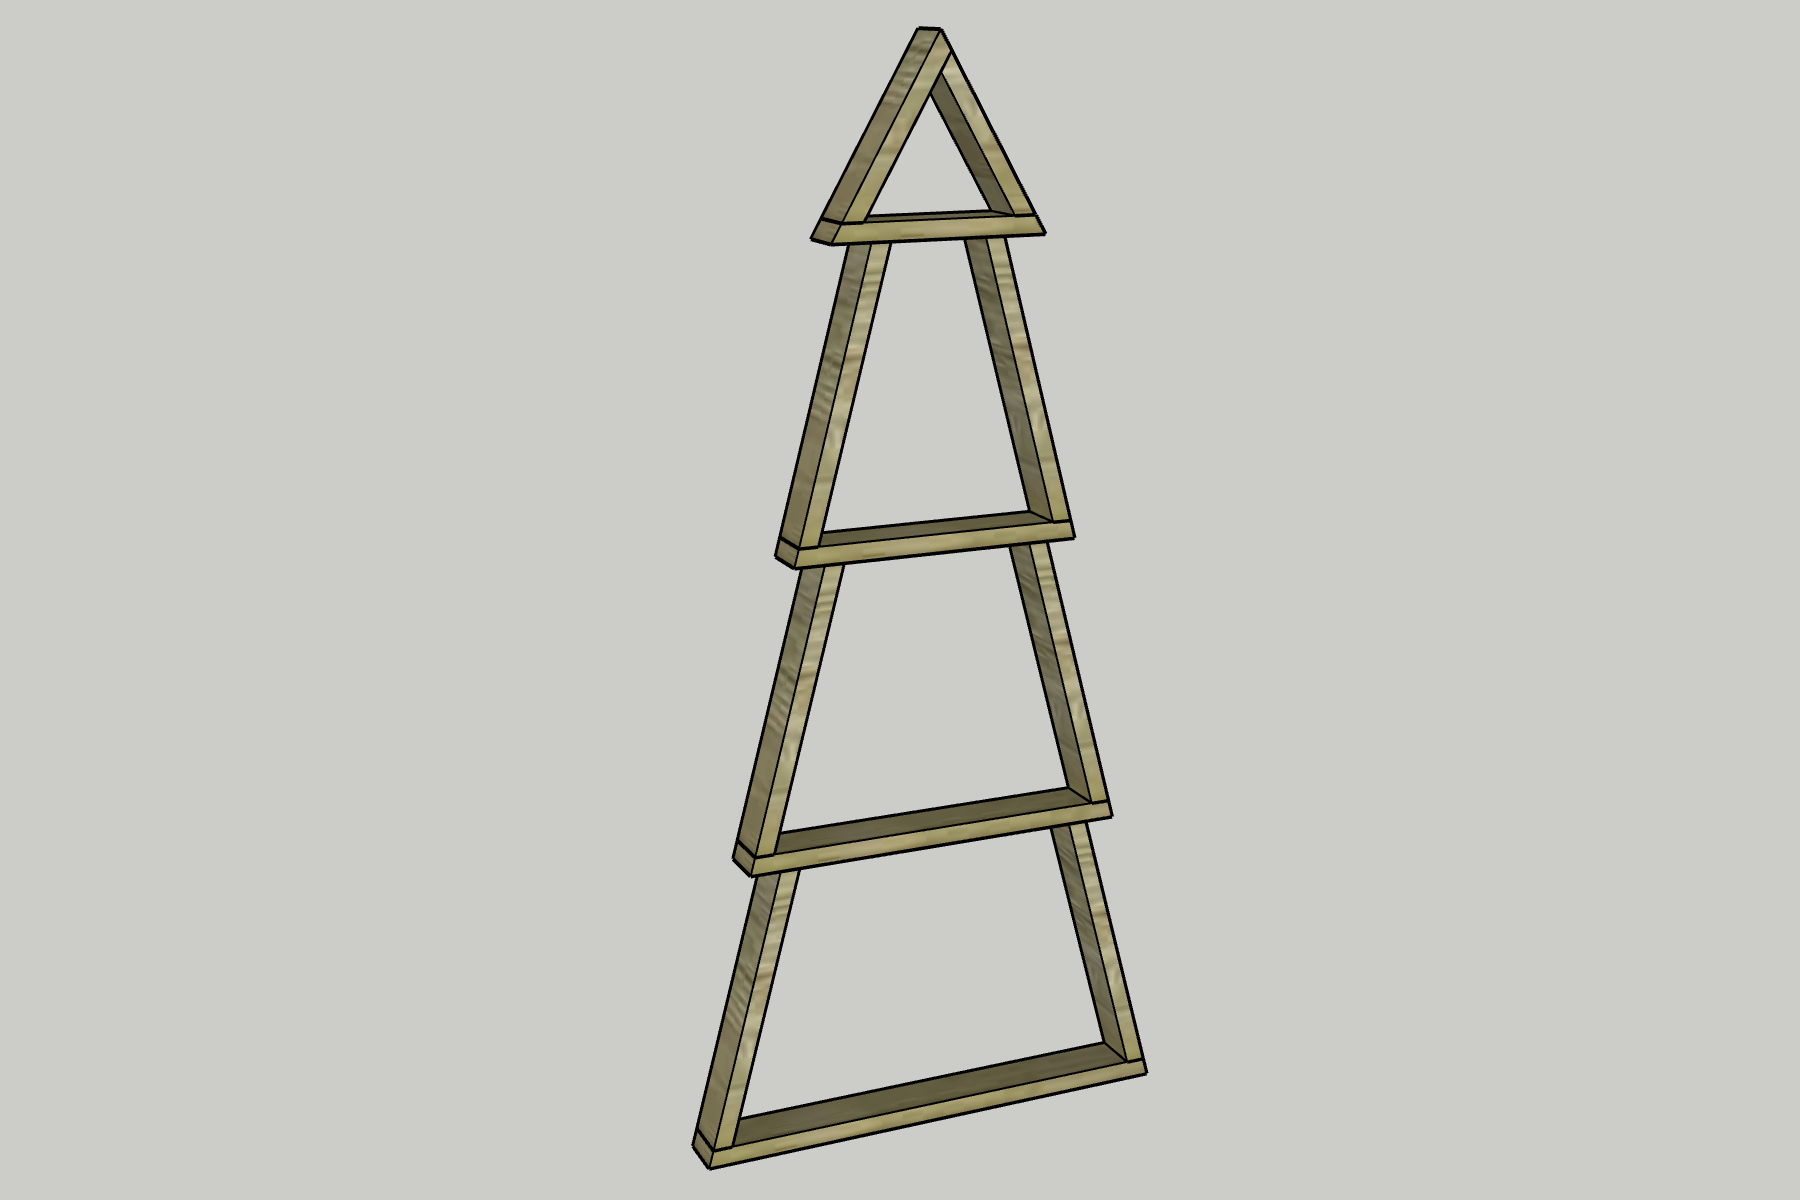
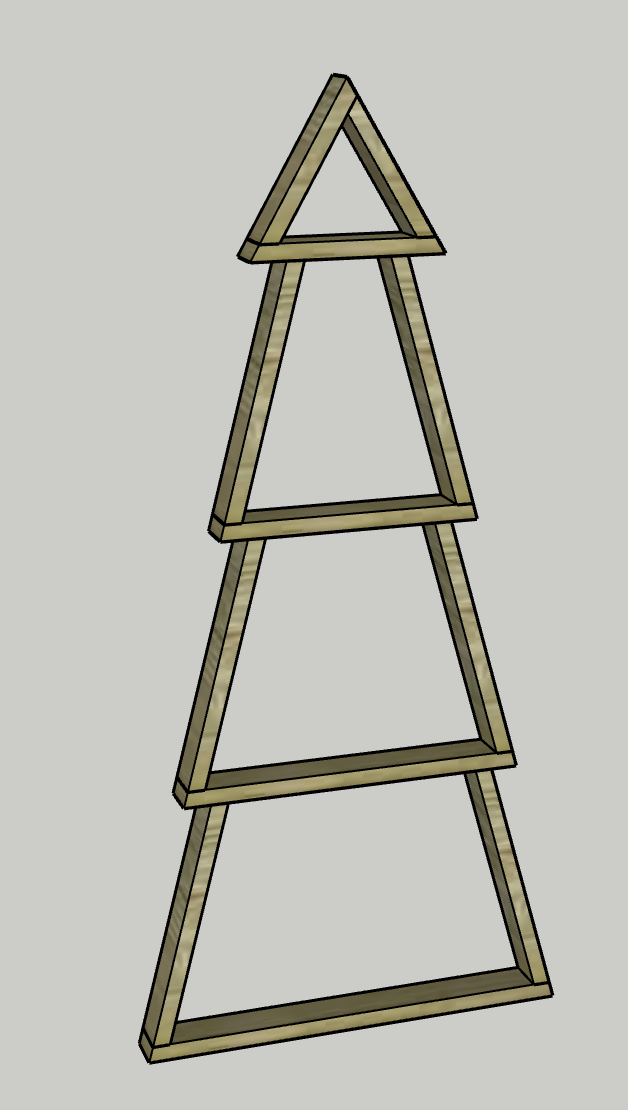
Create tree layers
- Using wood glue and pocket hole screws, connect two of the Side pieces on top of Base 1, flush against the angled edges so the angles align.
- Clamp down on these boards because you're drilling at an angle and you don't want the boards to slip!
- Repeat these steps for the next two layers using Base 2 and Base 3.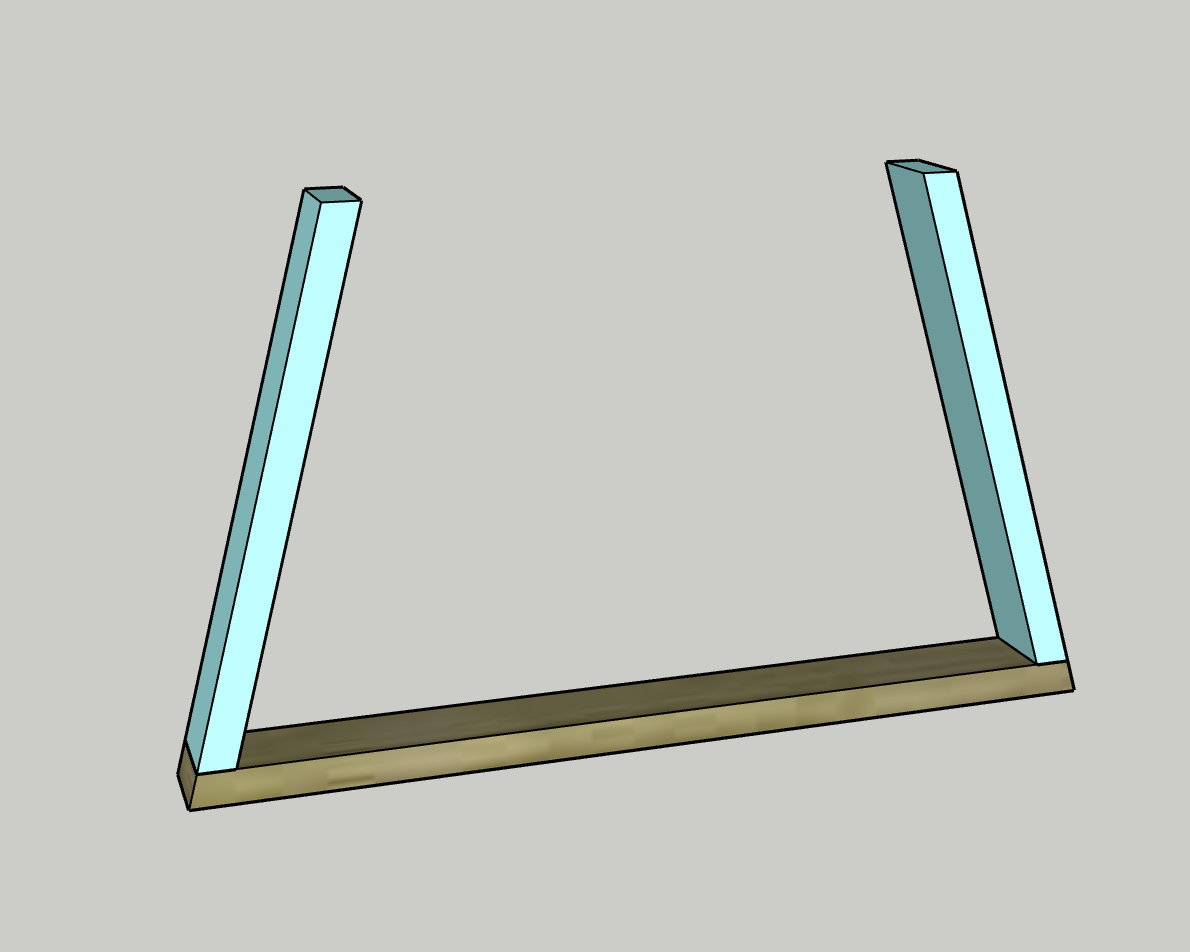
-
Connect layers
- Using wood glue and pocket hole screws, attach the Sides connected to Base 1 into the bottom of Base 2. These should be 1 1/4" away from the ends.
- Repeat to connect this unit into the bottom of Base 3 the same way.
-
Build Top
- Using wood glue and pocket hole screws, attach the Top Left into the top of Base 4 so that the angles align on the left side.
- Using wood glue and pocket hole screws, attach the Top Right into Base 4 and the Top Left.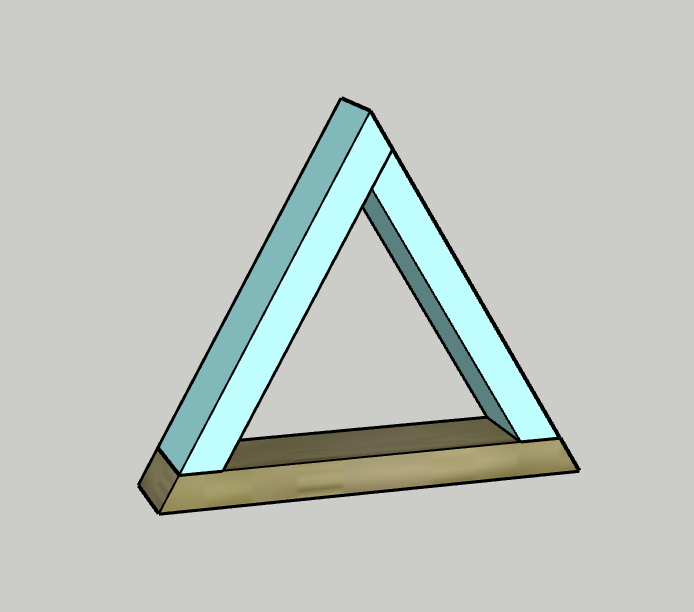
-
Connect Top
- Using wood glue and pocket hole screws, attach the Sides connected to Base 3 into the bottom of Base 1. These should be 1 1/4" away from the ends.
-
Fill Pocket Holes
- If you’d like, use wood glue and Kreg pocket hole plugs to fill all the pocket holes and conceal them.
- Once dry, use a flush cut saw to cut them flush with the sides and then sand smooth. -
Stain
- Apply your favorite color of wood stain and a layer of polyurethane to your Christmas tree.
-
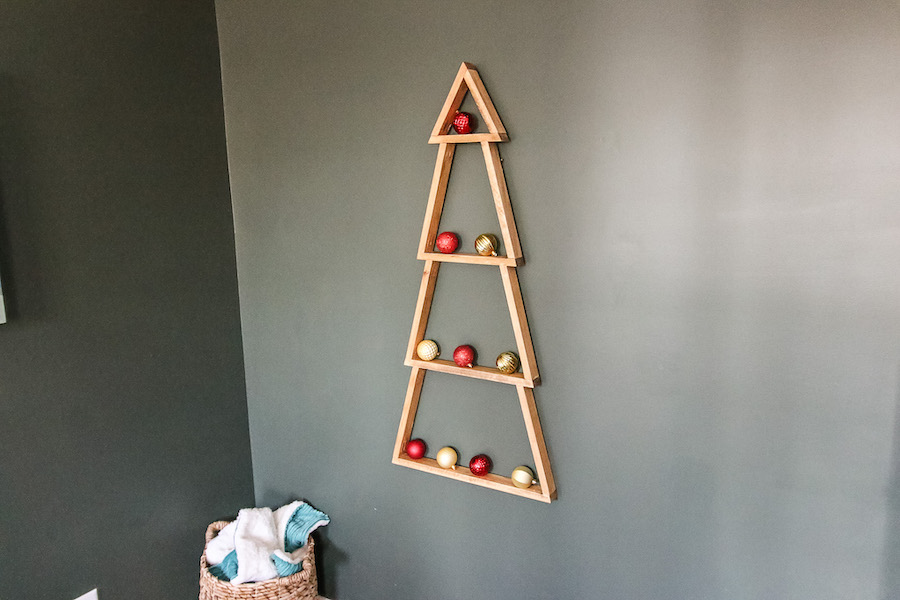
Hang
- Attach wall hangers to the back of the Sides in the third section.
- Add brackets to the wall and then hang your tree.
- Decorate with Christmas lights, ornaments or any holiday decor you’d like!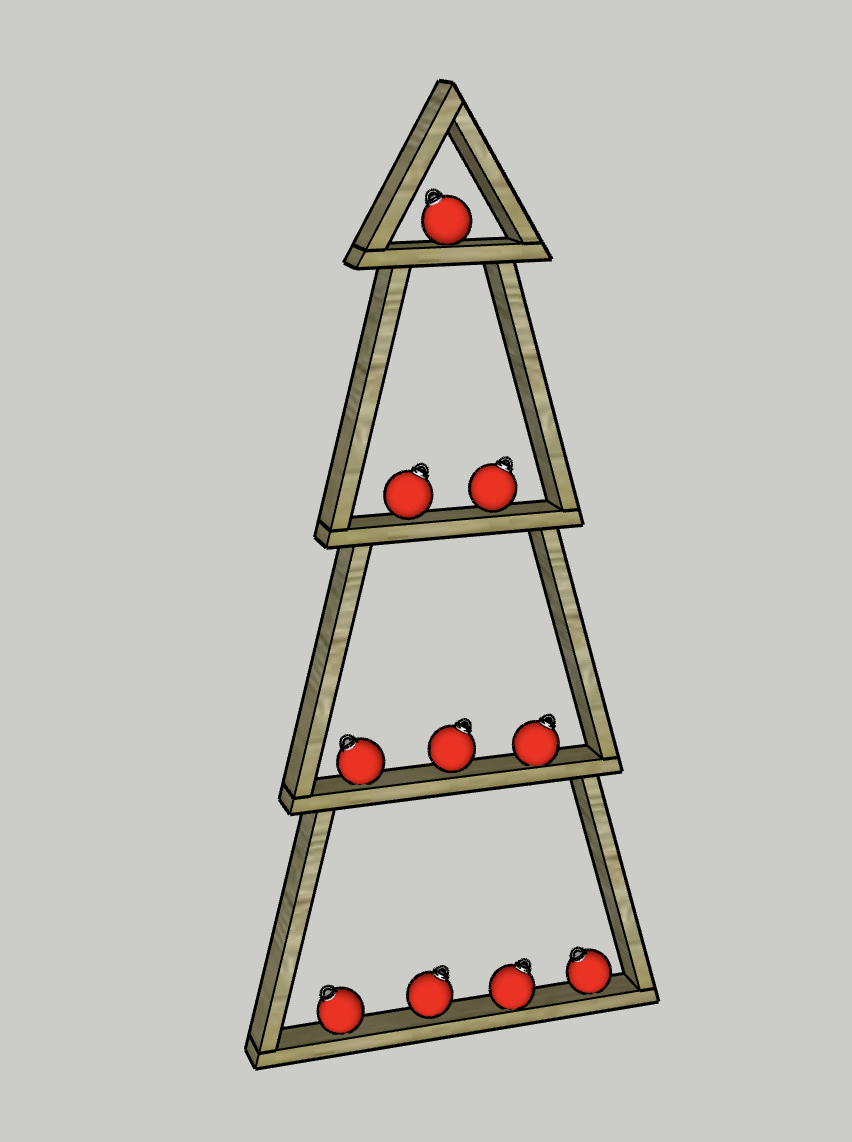
-
Enjoy!
Enjoy your handiwork and tag @CharlestonCrafted on Instagram with a picture!