

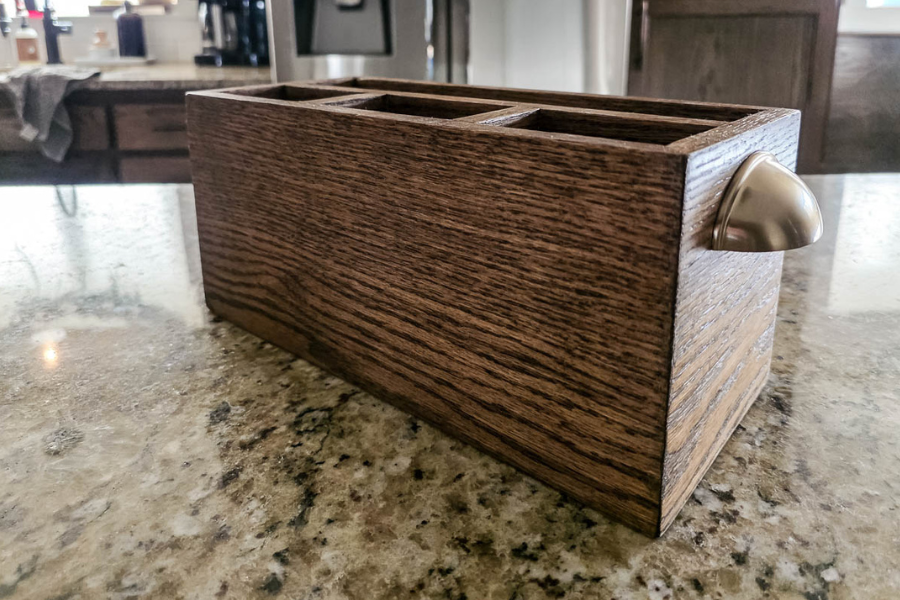
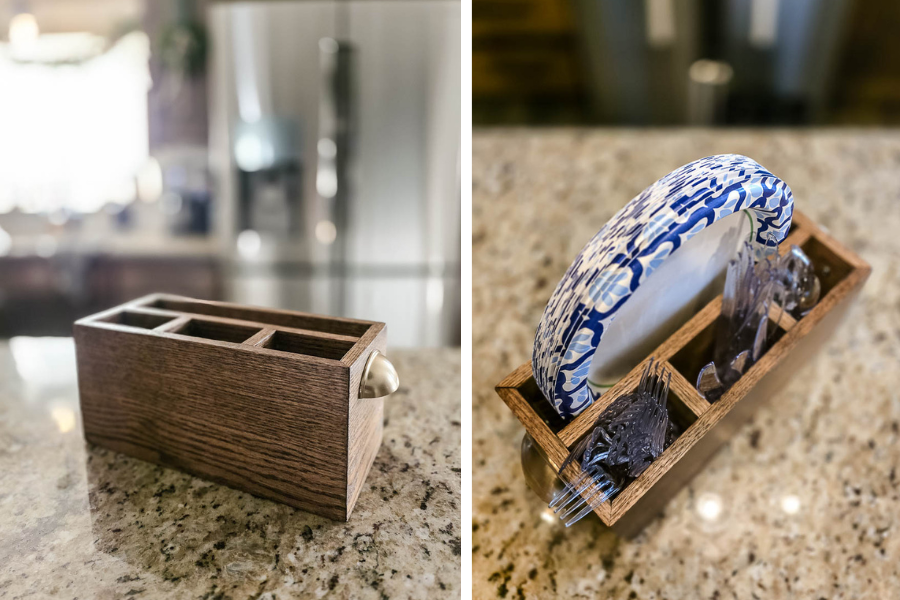
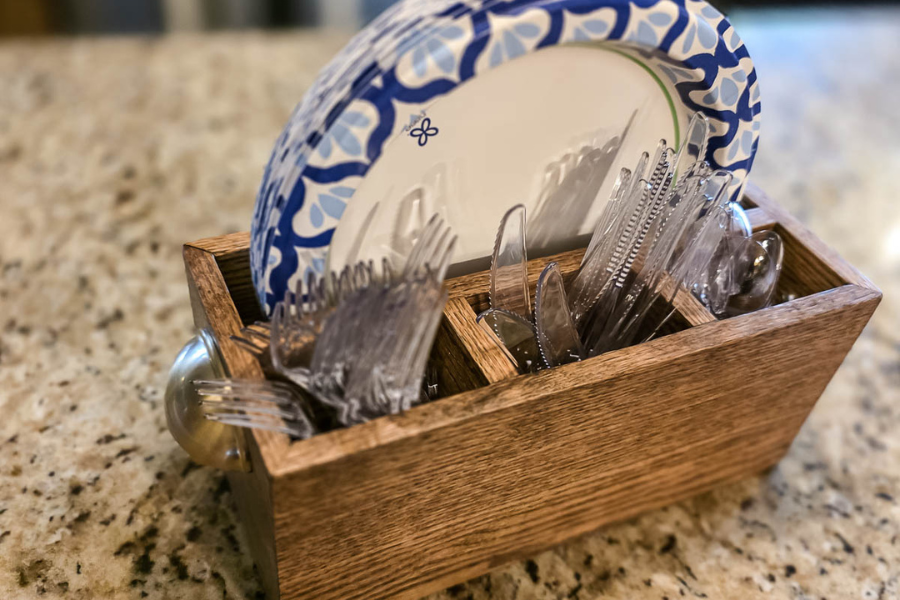

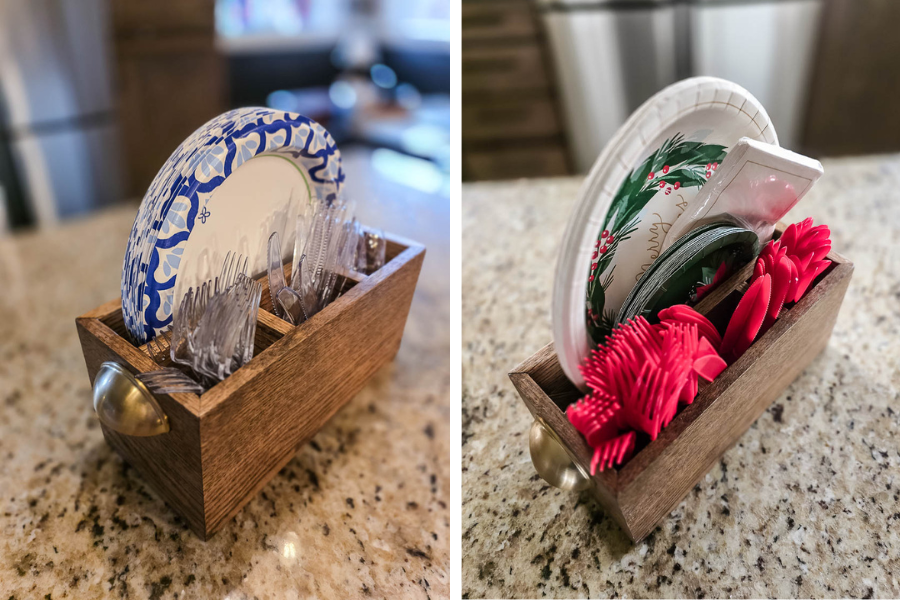


Keep this paper plate and disposable utensil holder stocked and ready for parties. Just grab it and set it out on the counter when you are hosting!
Tools
Kreg Tools


Other Tools
-
Miter saw

-
Table saw
-
Rubber mallet
-
Tape measure
Materials
Wood Products
- 1 Oak , ½” x 6” , 6 linear feet
- 1 Oak , ¼” x 6” , 2 linear feet
Hardware & Supplies
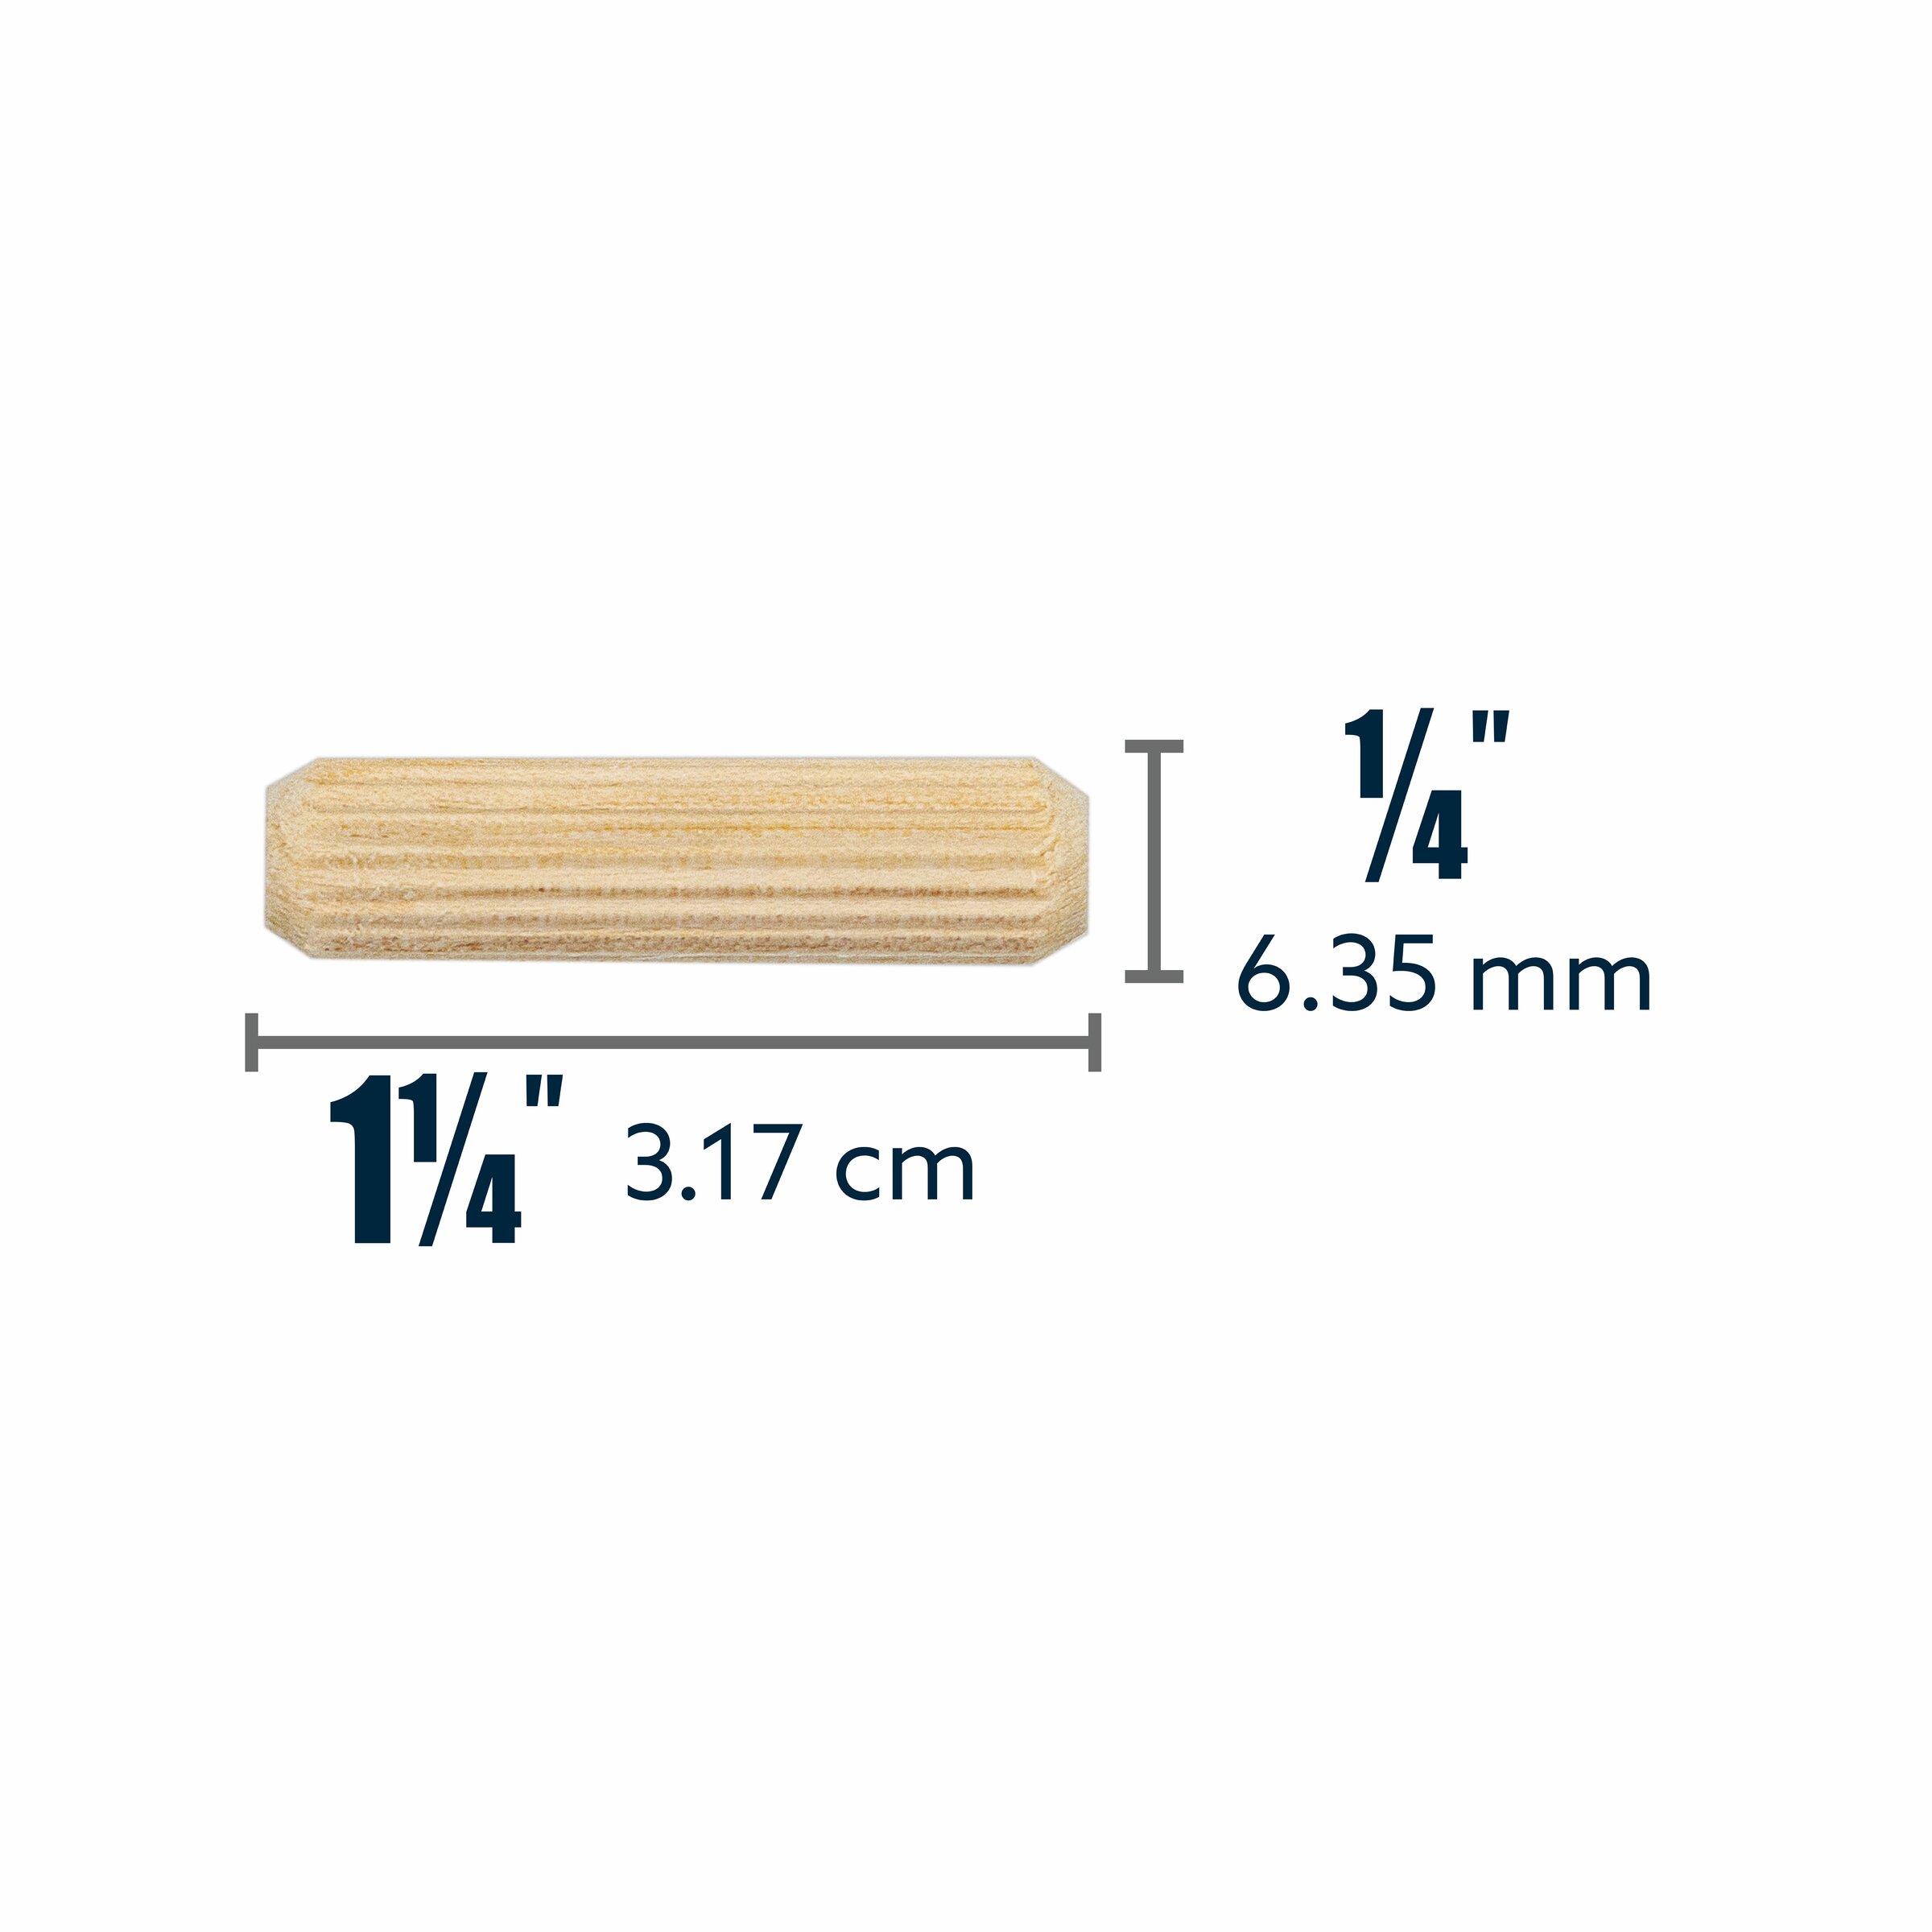
- -- Kreg 1/4" Dowels (see tools list)
- -- Sandpaper
- -- Wood glue
- -- Wood filler
- -- Wood stain
- -- Spray lacquer
- -- Cup handles
Cut List & Parts
- 1 Bottom Panel, 1/4" x 4 3/4" x 11 1/4"
- 2 Long Sides, 1/2" x 5 1/2" x 12" , With groove at bottom and mitered edges
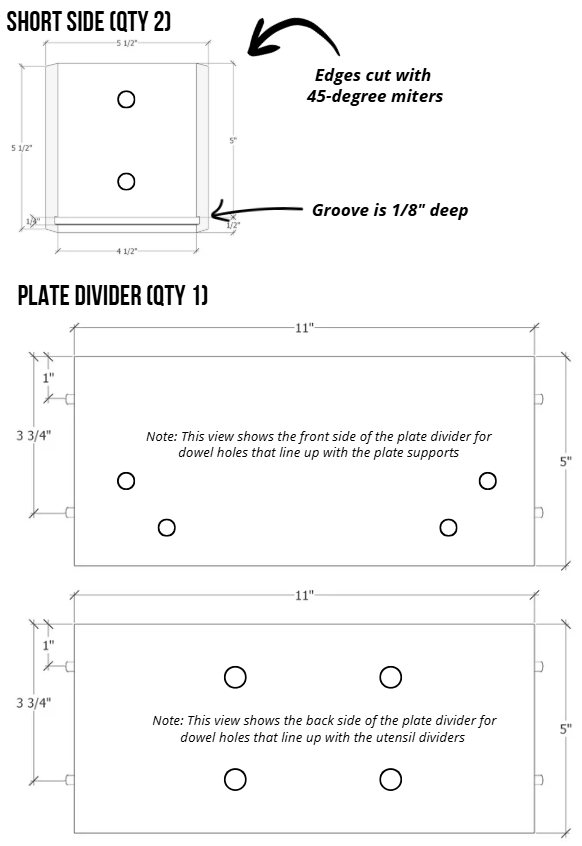
- 2 Short Sides, 1/2" x 5 1/2" x 5 1/2" , With groove at bottom and mitered edges
- 1 Plate Divider, 1/2" x 5" x 11"
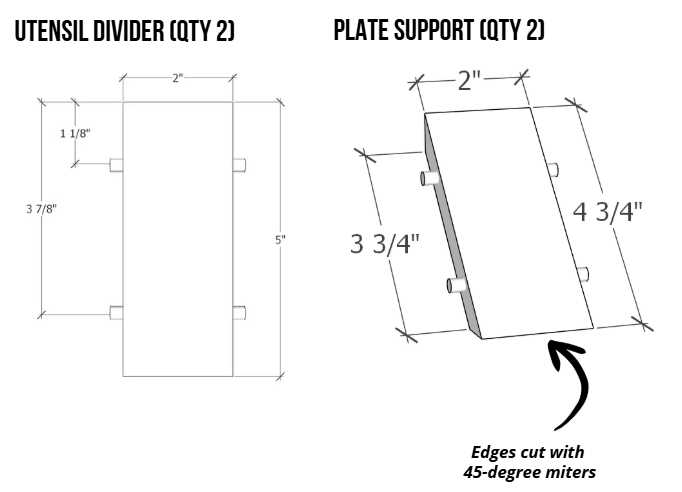
- 2 Utensil Dividers, 1/2" x 2" x 5"
- 2 Plate Supports, 1/2" x 2" x 4 3/4" , With mitered edges

Directions
-
Cut wood.
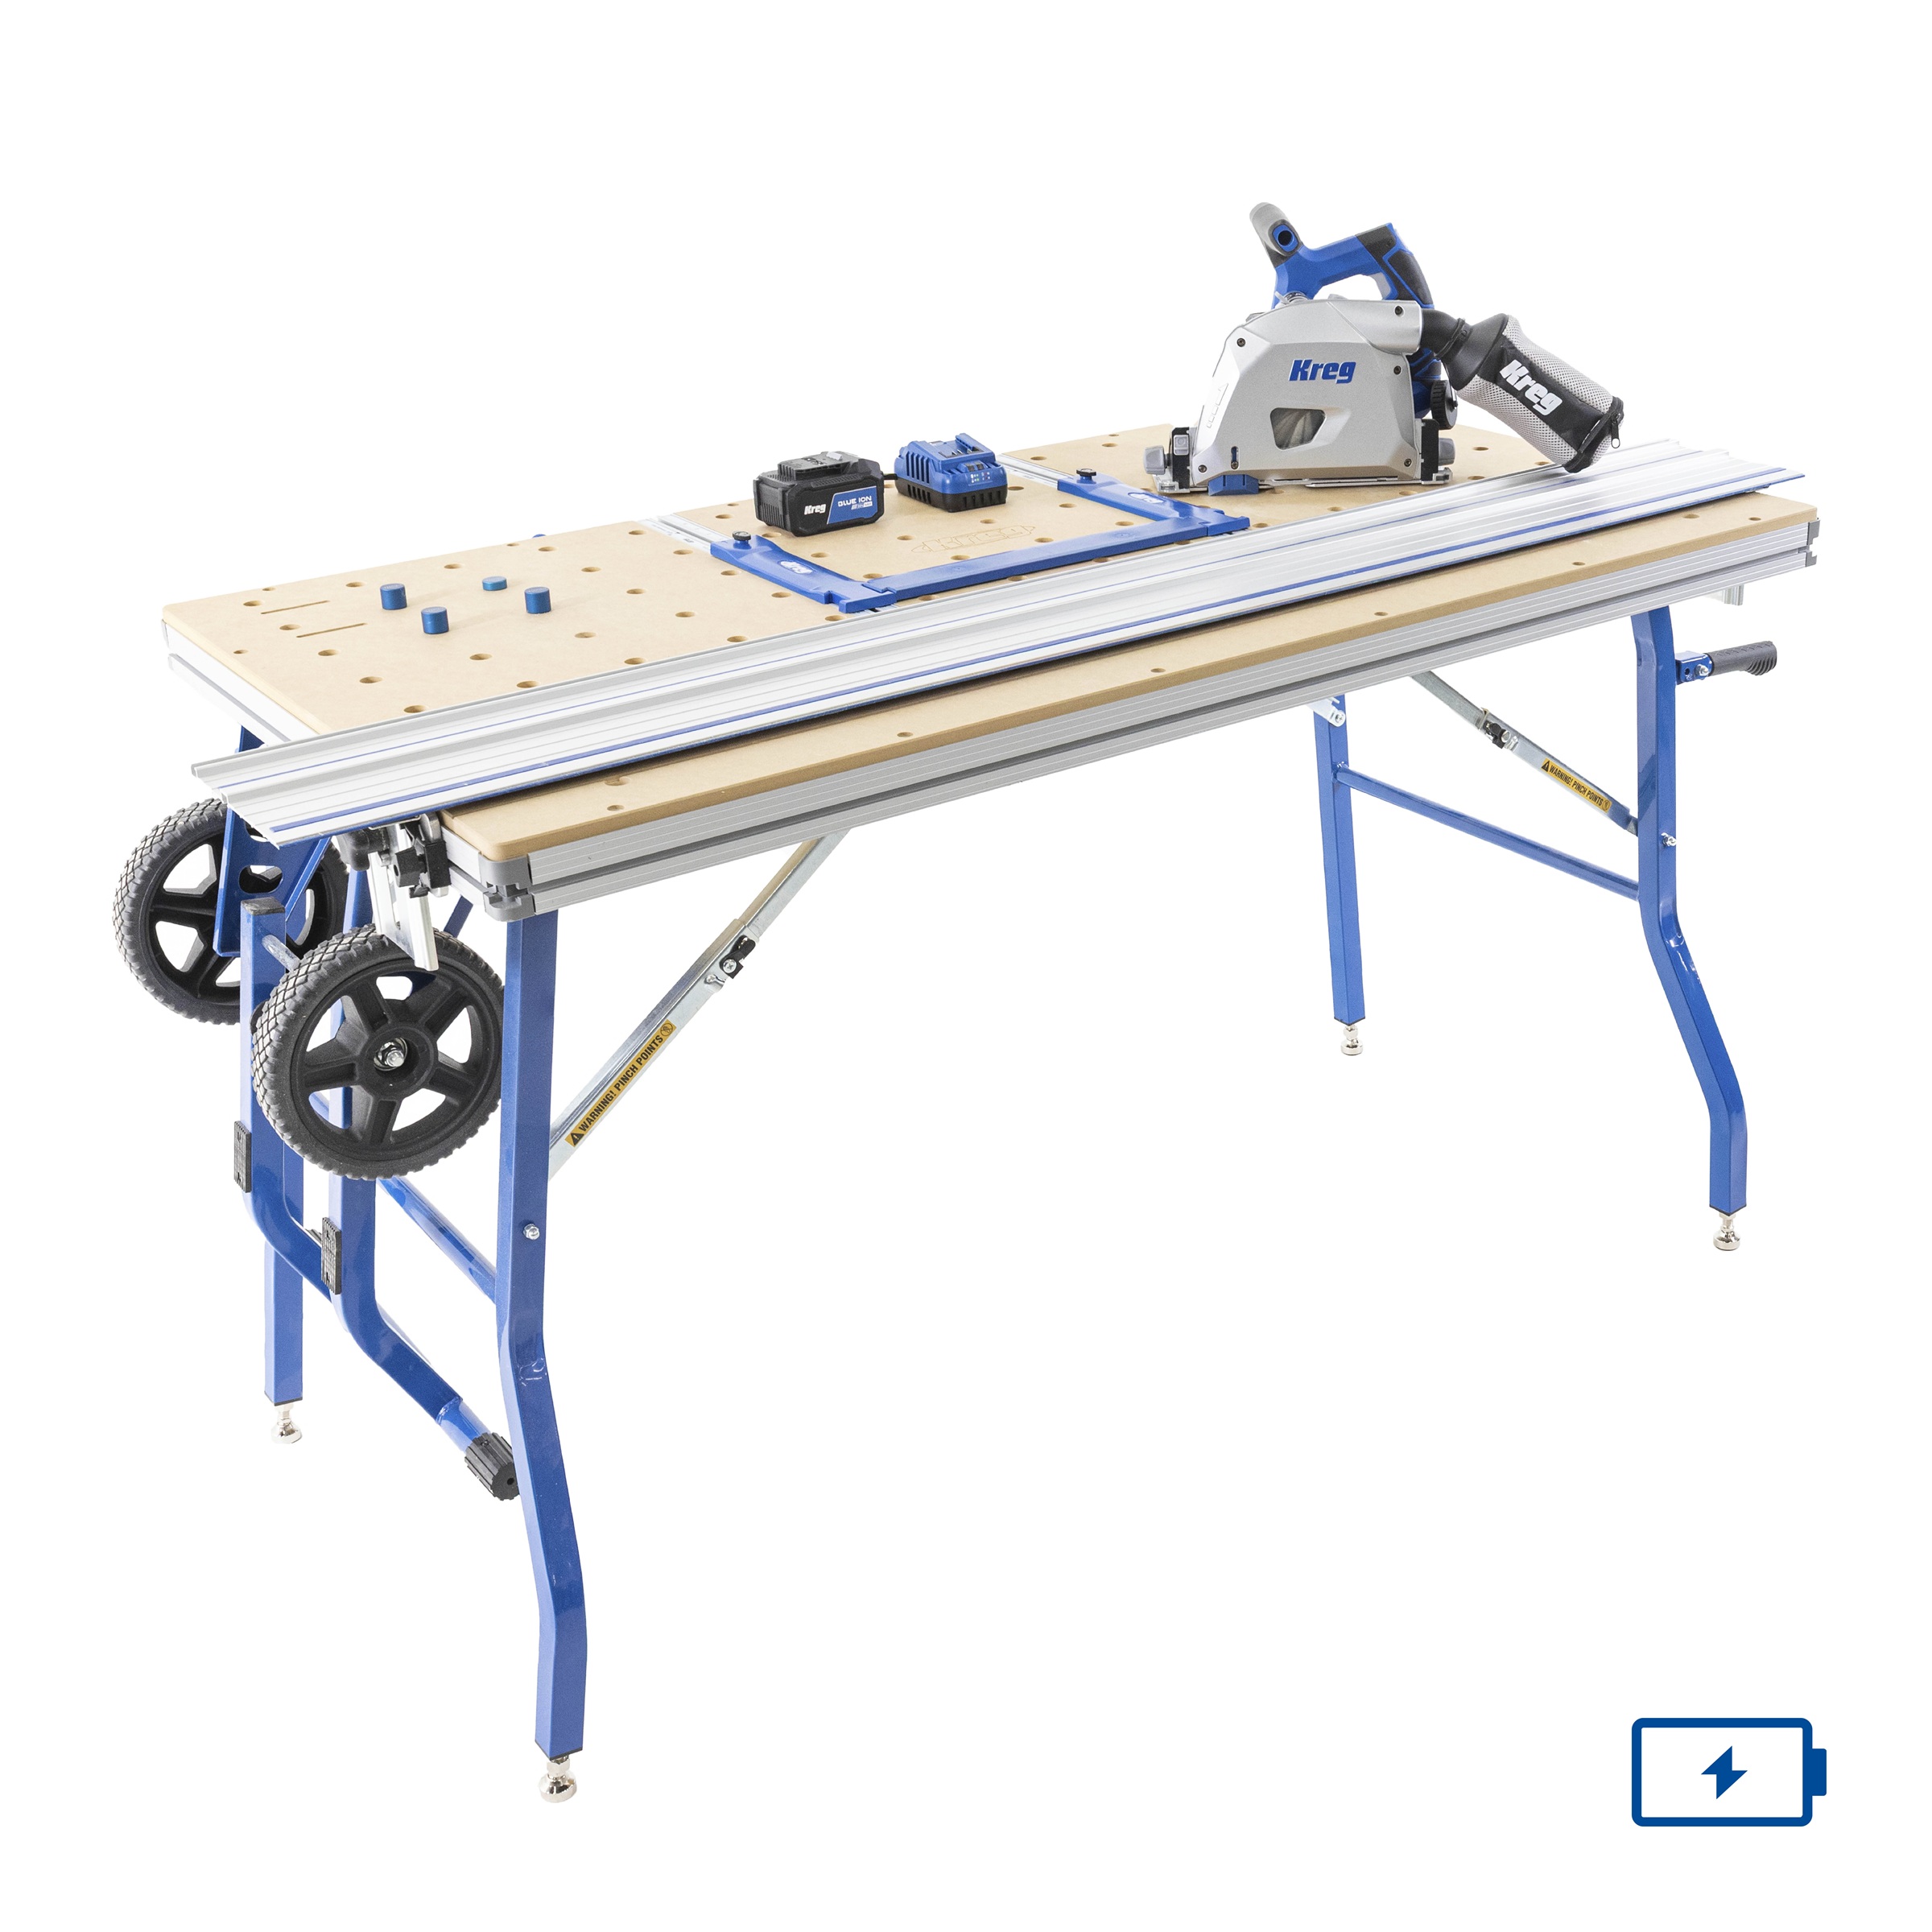
Cut the wood down to size according to the visual cut list in the woodworking plans. We used the Kreg Adapative Cutting System to cut almost everything down to size. This was great because we were making a few versions of this for gifts, so we were able to do quick, repeatable cuts! For the mitered edges, you’ll need a miter saw. You’ll also need a table saw for the groove for the bottom panel.

-
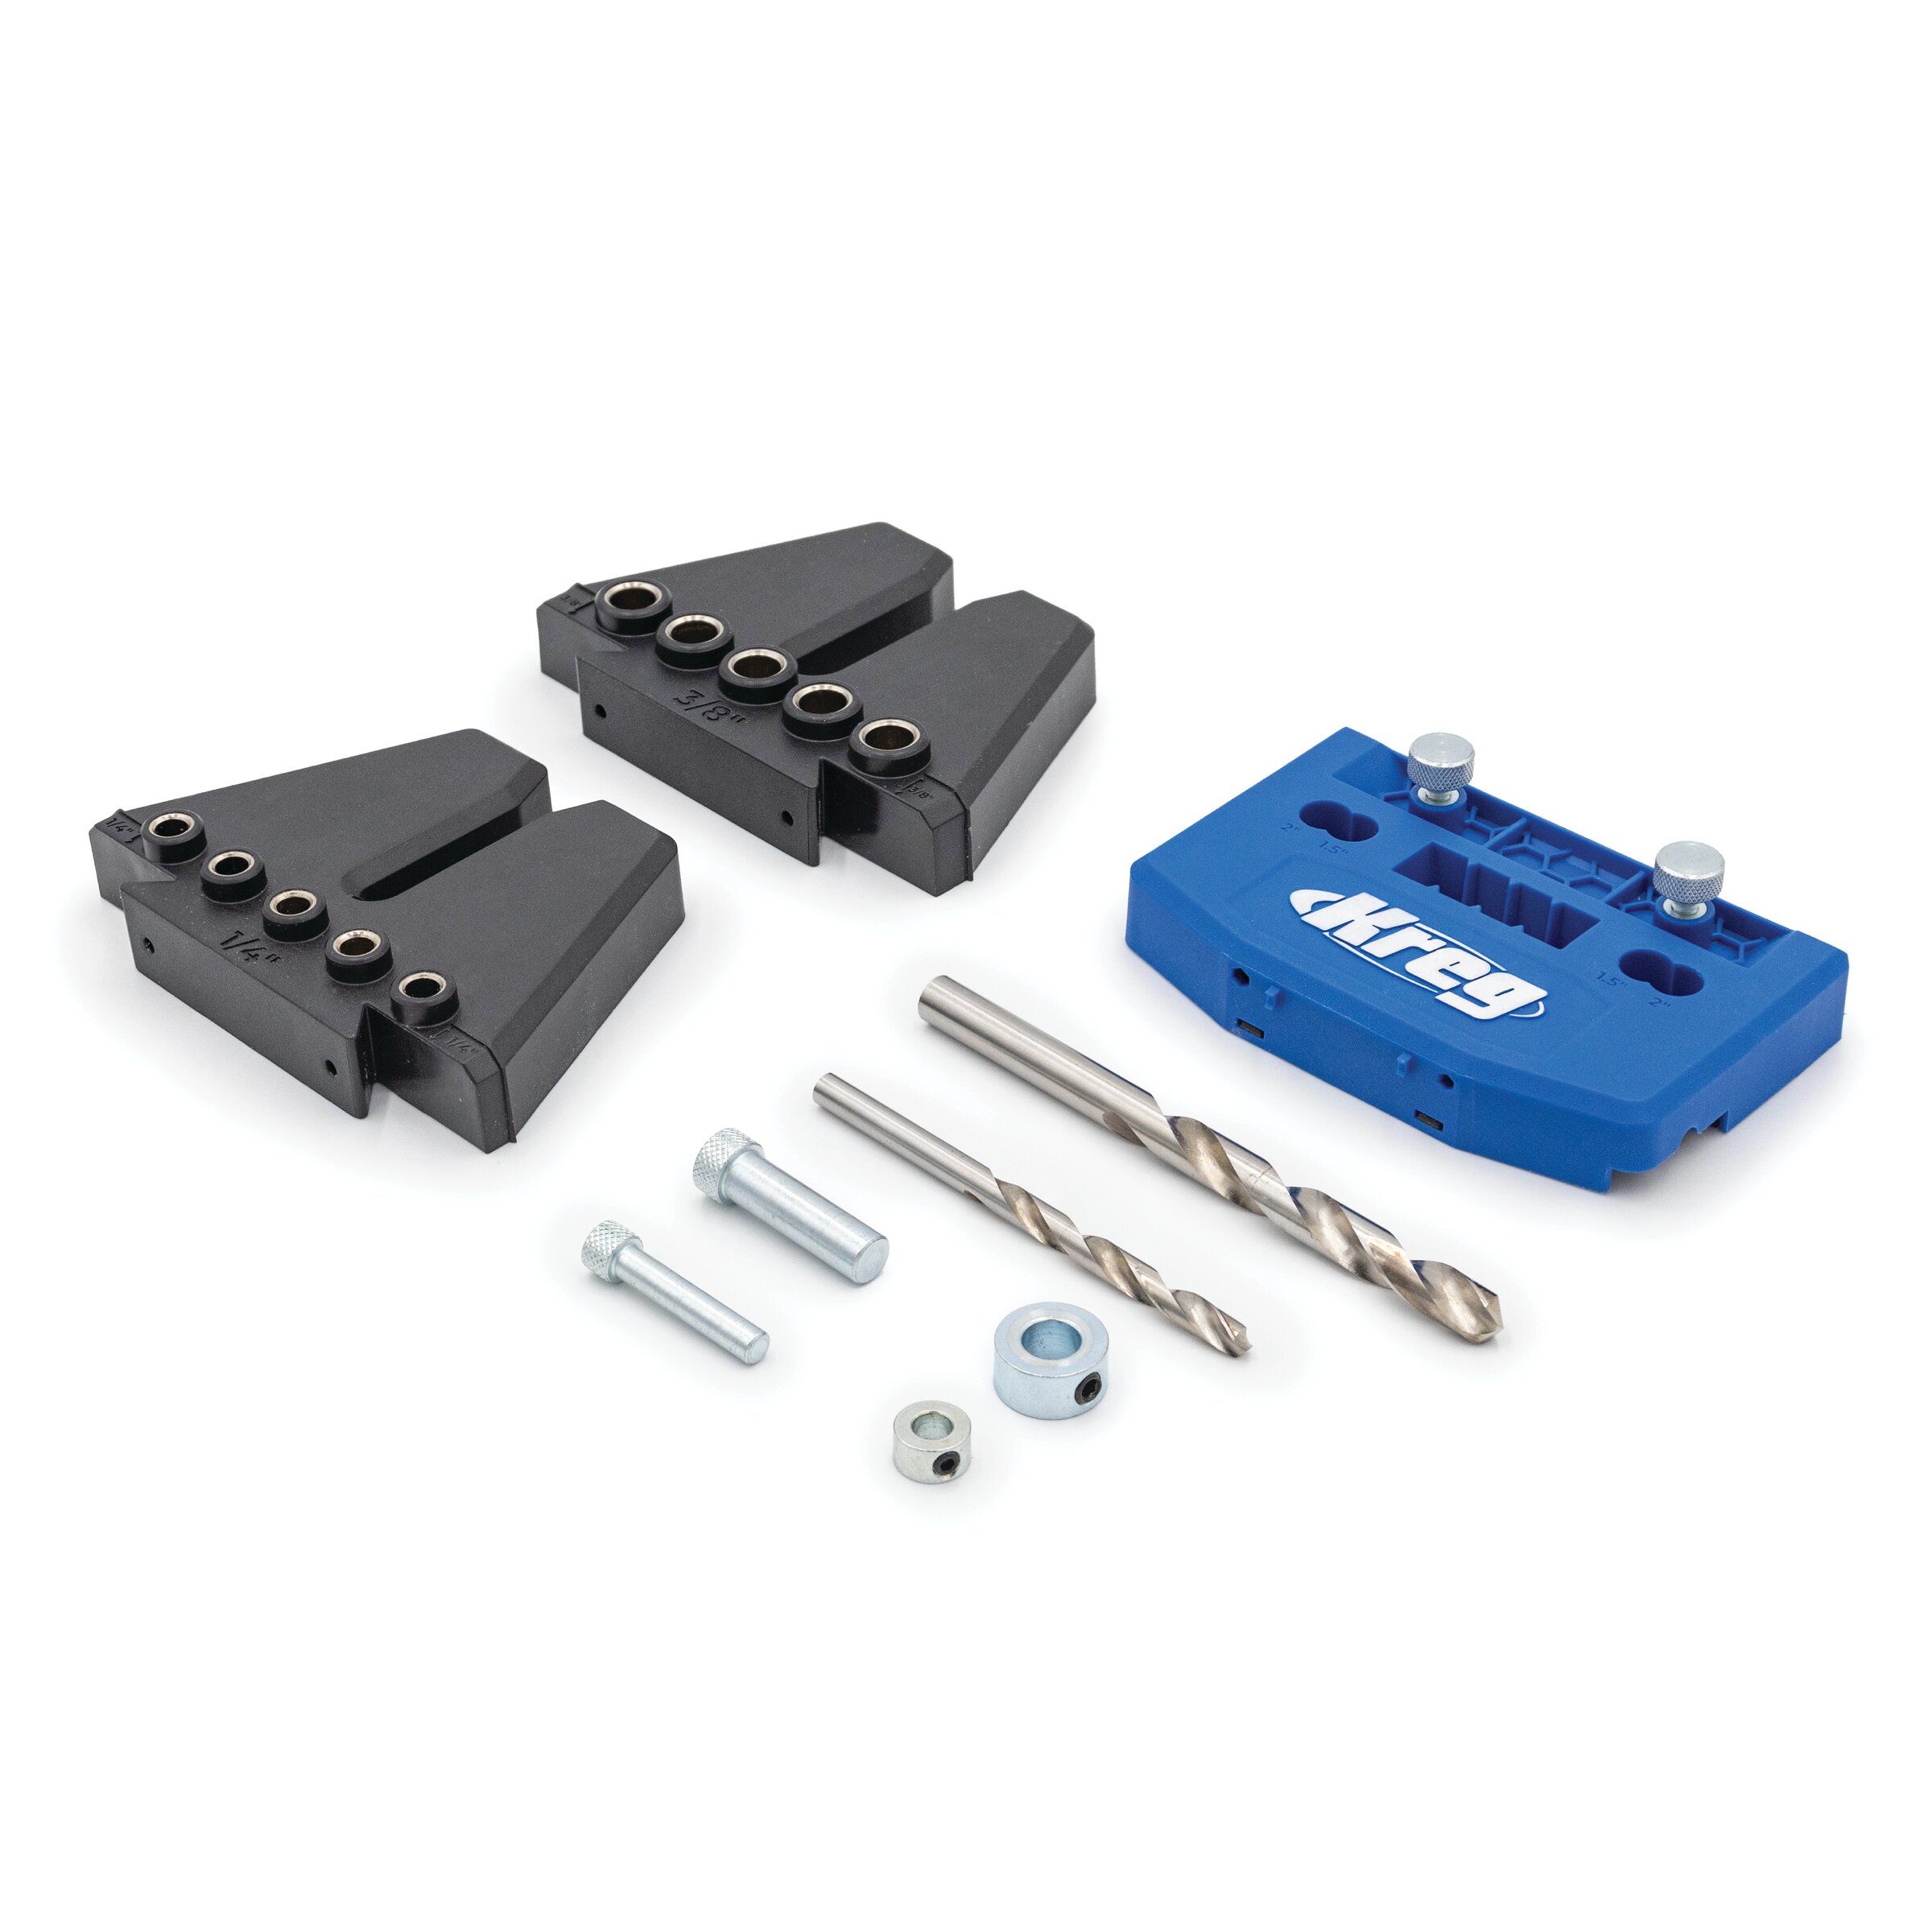
Make dowel holes.
Dry fit all of the pieces together to mark the locations for the dowel holes. Using the Kreg dowel jig, drill the holes for the dowels. Use the index pins that come with the Kreg dowel jig for consistent spacing. The locations of the dowel holes are approximate in the woodworking plans. All joinery on this project uses dowels, except for the mitered corners.

-
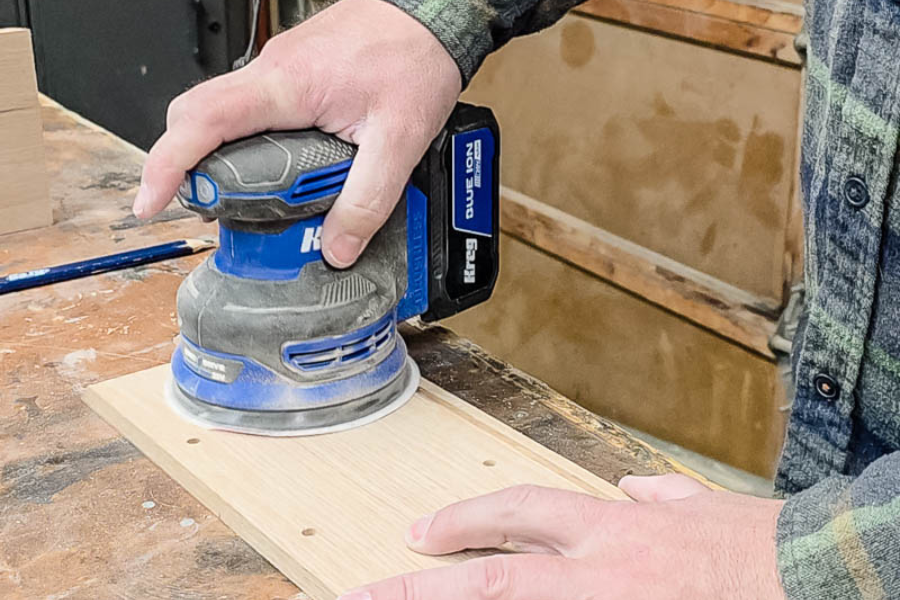
Sand.
Sand everything smooth with 120-grit sandpaper and an orbital sander.
-
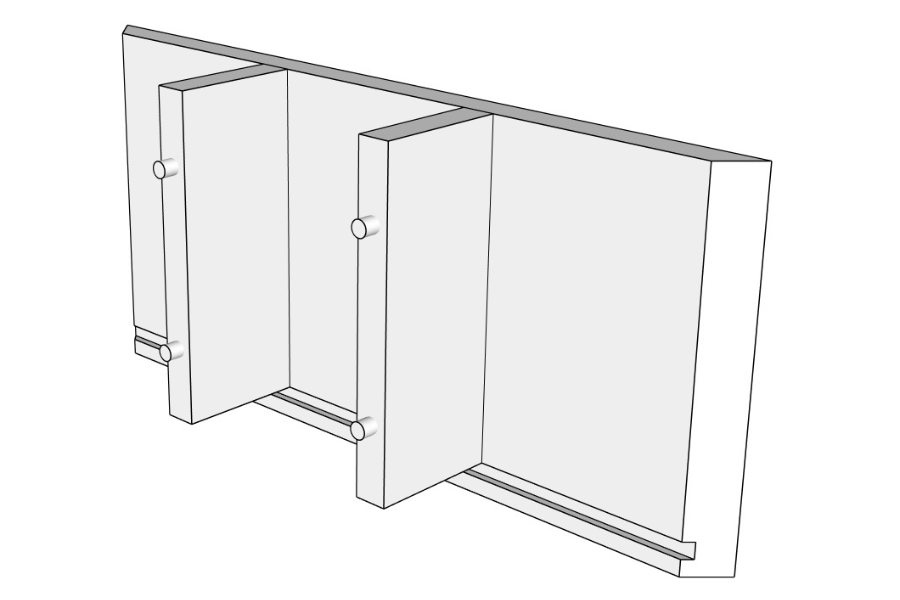
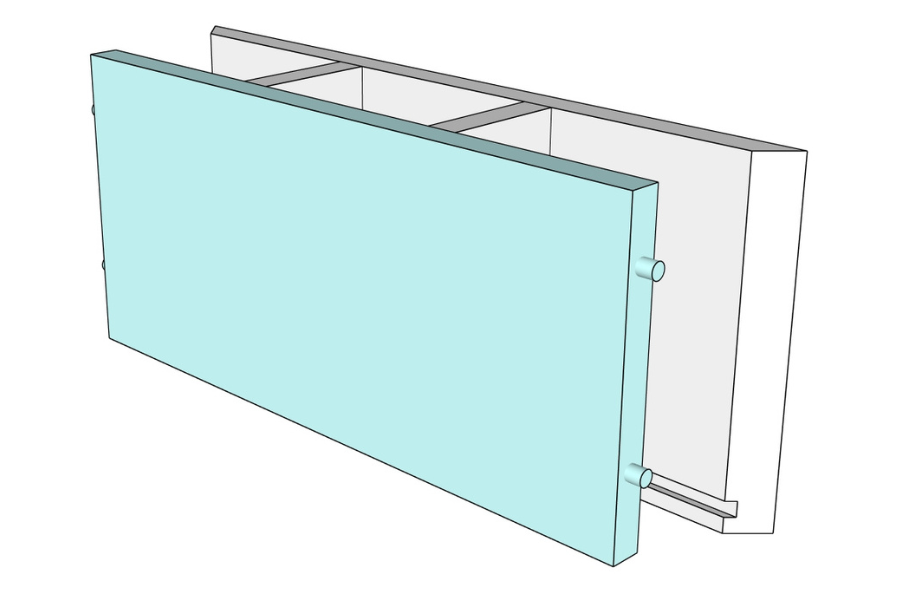
Attach utensil dividers to long side back.
Start assembling by attaching the two utensil dividers to the long side back piece first with wood glue and dowels. Apply wood glue to the holes and add the dowels to the holes. Then gently tap the utensil dividers into place with a rubber mallet.
-
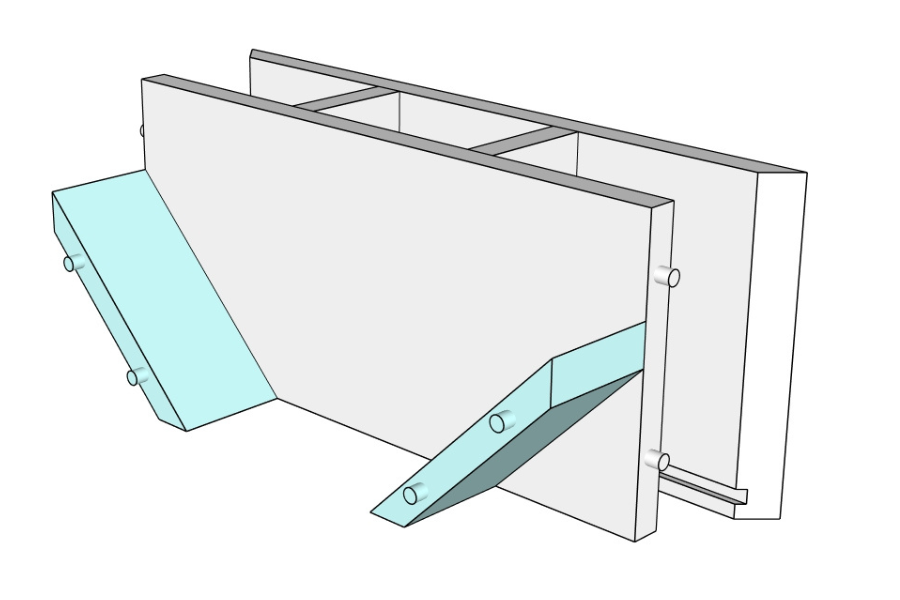
Add plate divider.
Next, add the plate divider to the top of the utensil dividers with the pre-drilled dowel holes.
-
Add plate supports.
Add the diagonal plate supports to the bottom corners of the plate divider using the pre-drilled dowel holes. Keep the mitered edges lined up with the edge of the wood.
-
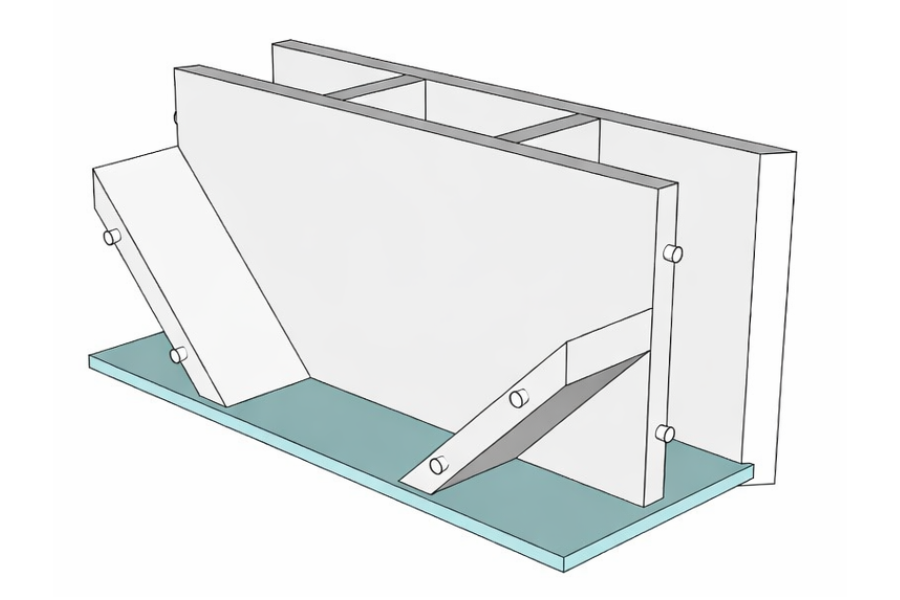
Add bottom panel.
Add wood glue and slide the ¼” bottom panel into the groove on the long side.
-
Attach short sides.
Next, attach both short sides to the edges of the caddy with wood glue and dowel joinery. Be sure the panel is lined up in the groove. Use wood glue on corner miter joints and clamp immediately.

-
Attach the long side front.
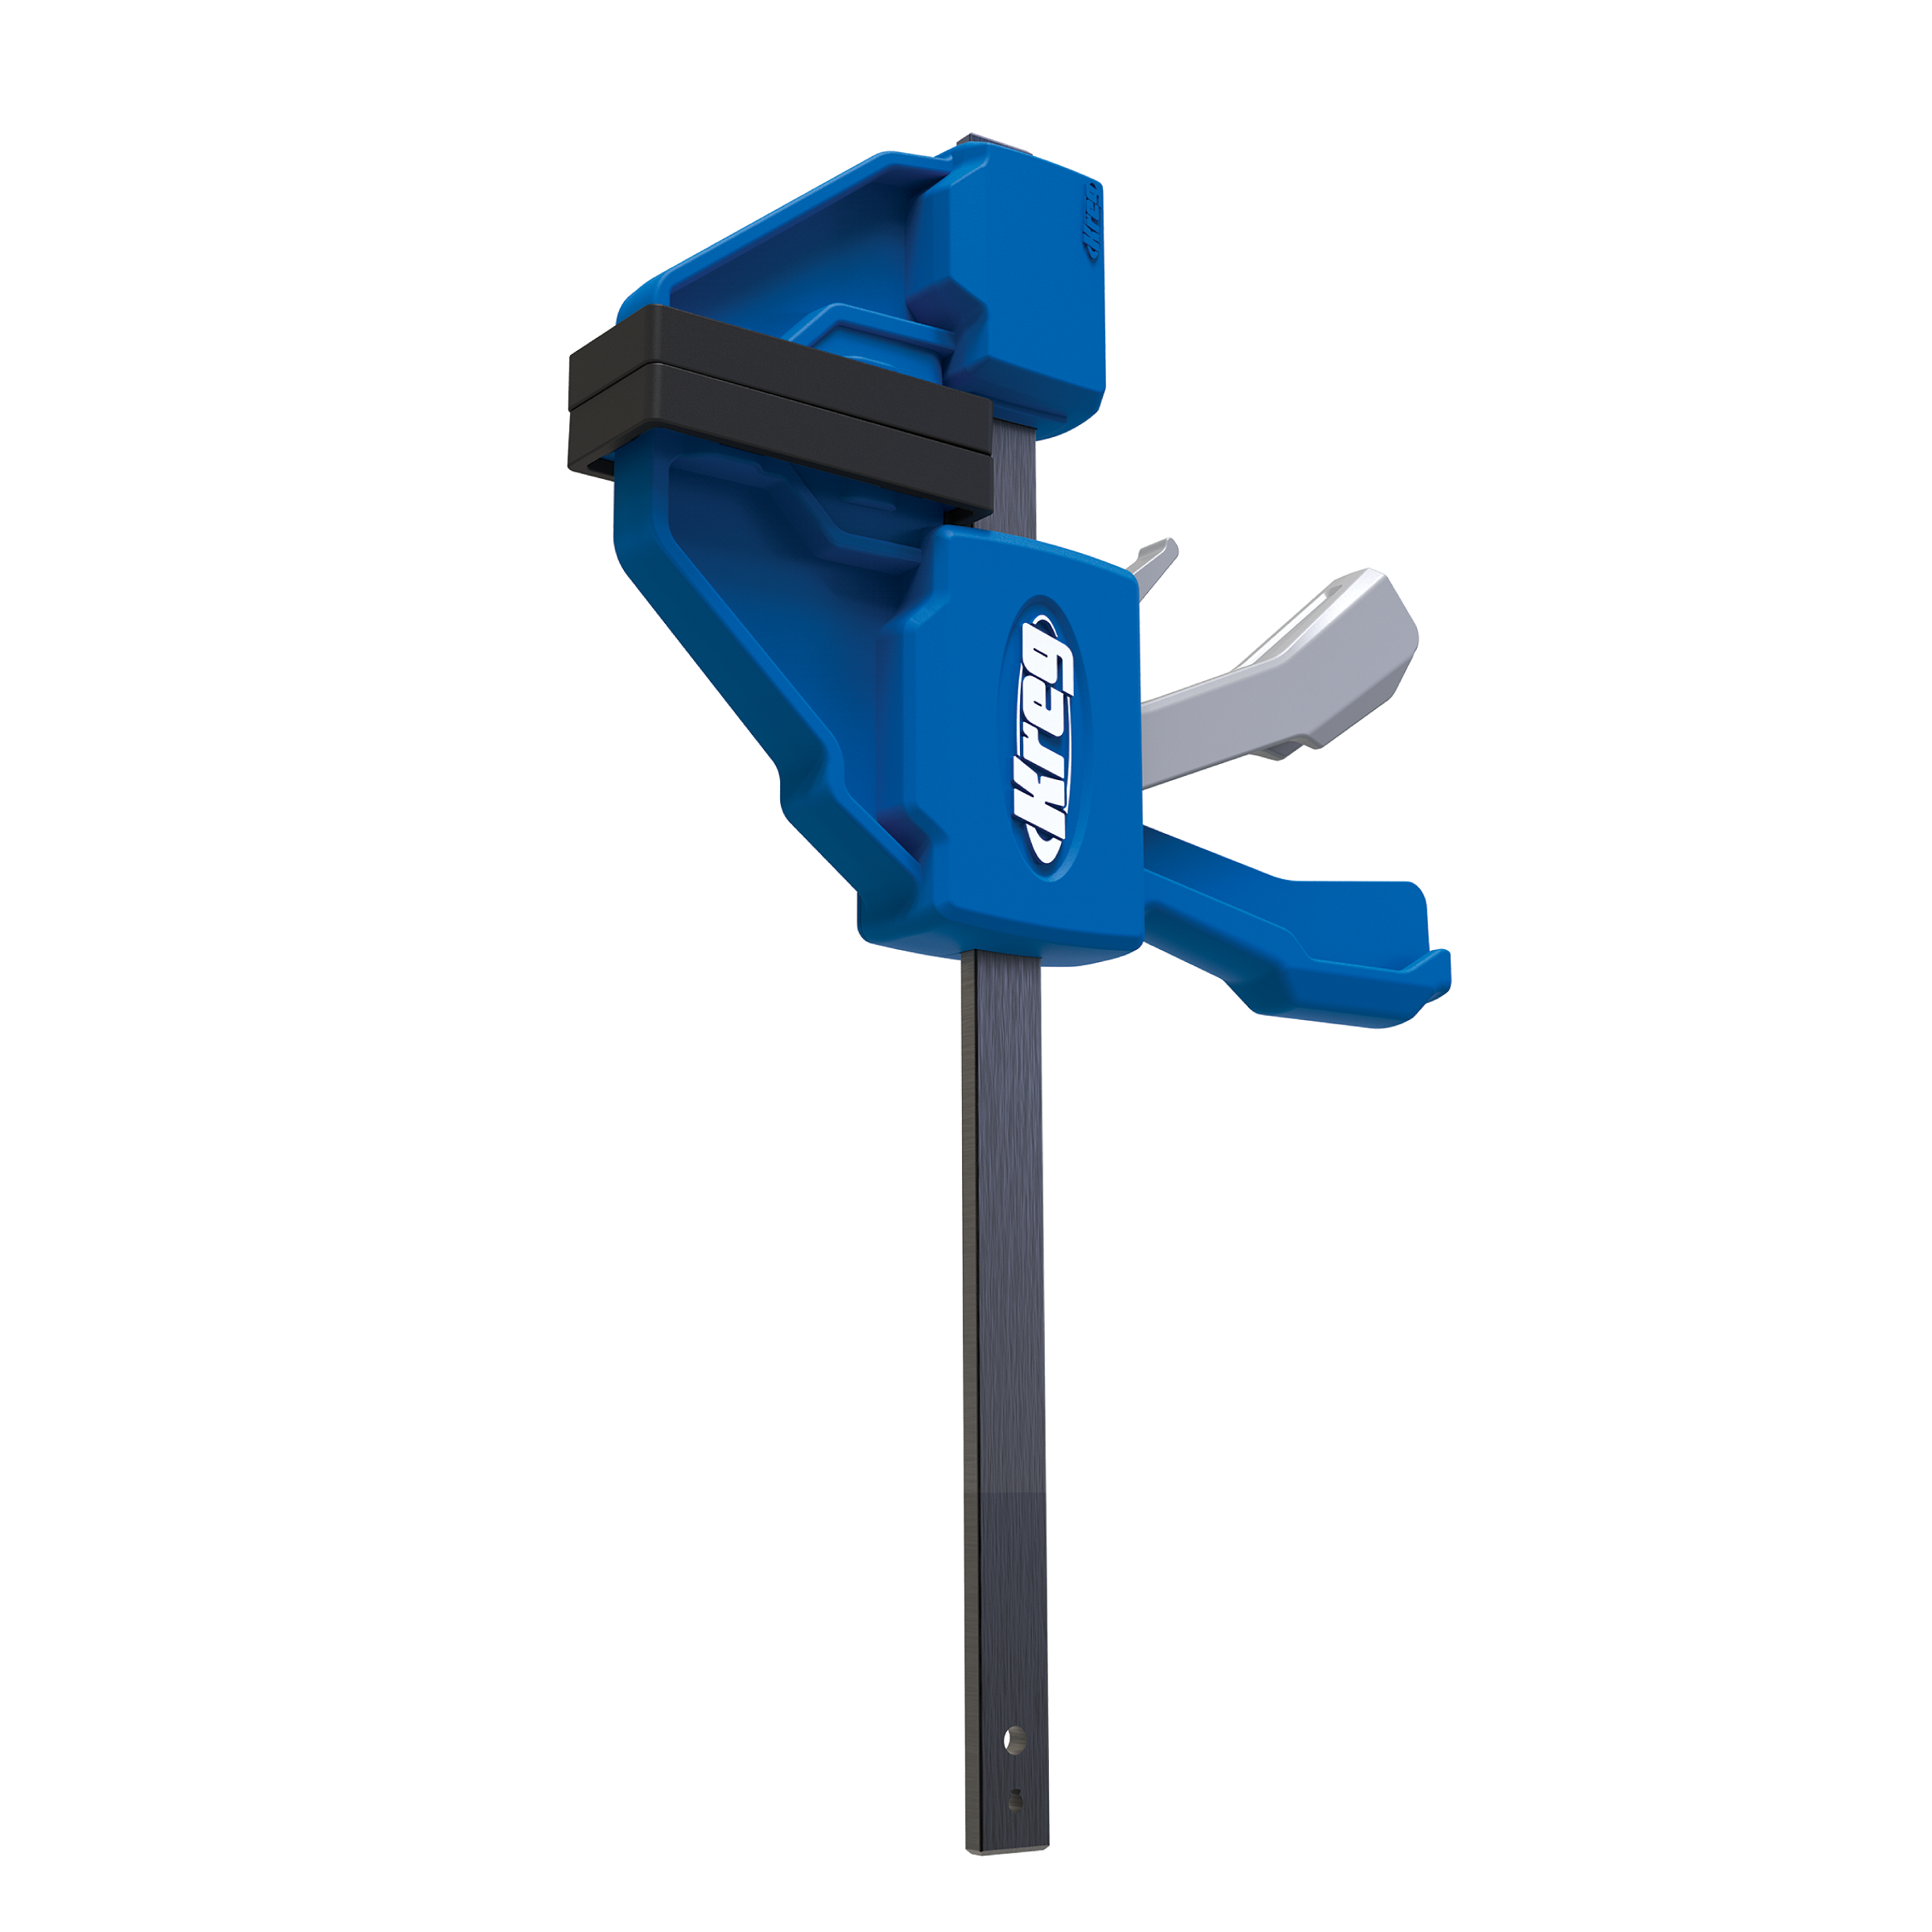
Lastly, attach the front long side piece with wood glue and dowel joinery to the plate supports. Use wood glue on the corners and clamp immediately. After the last piece is added, clamp the entire project together from all sides, paying attention to the alignment of the mitered corners. Let dry for 24 hours.

-
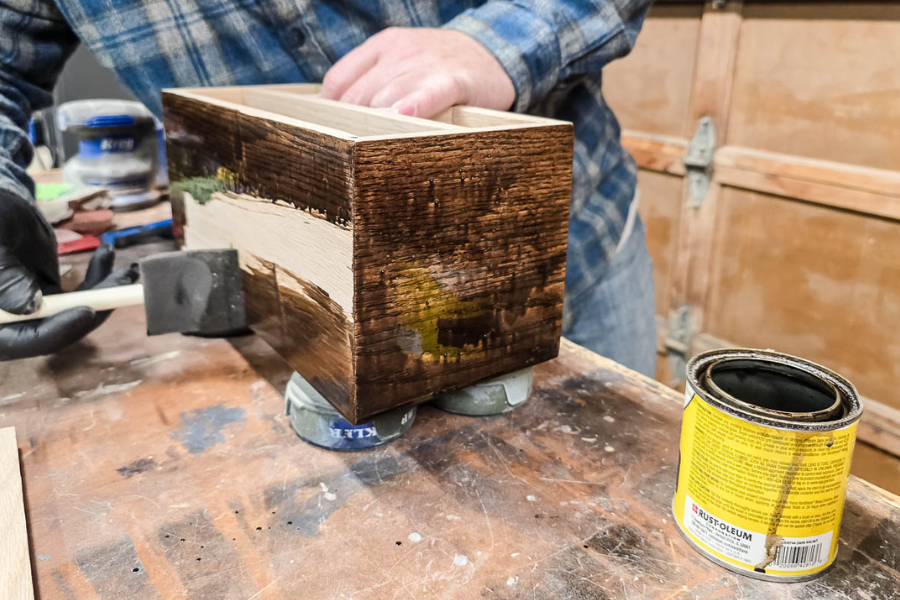
Sand and fill.
Remove clamps and sand everything with 120-grit sandpaper, followed by 220-grit sandpaper. Fill any gaps with wood filler that matches your stain color. Let it dry, and then sand the wood filler smooth.

-
Stain and seal.
Stain the project with the color of your choice. We used Dark Walnut. Seal everything with several light coats of spray lacquer and let it dry.
-
Attach handles.
Attach cup handles to the edges.