

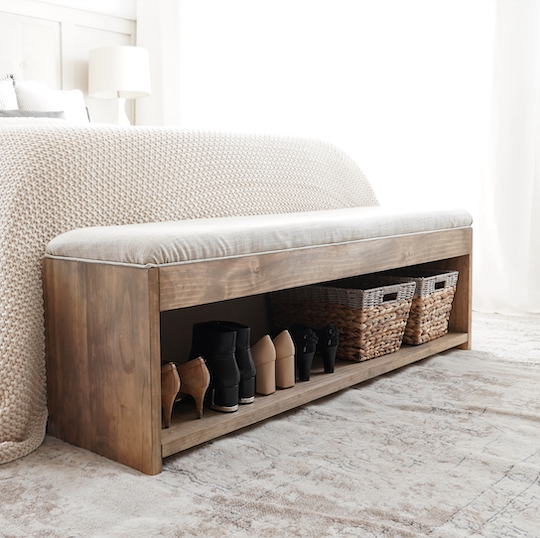


Want a bench that looks great and also offers storage for a bedroom or entryway? This upholstered bench adds style to any space without breaking the bank. This is a beginner friendly build that is comfy, sturdy, and one of a kind.
Tools
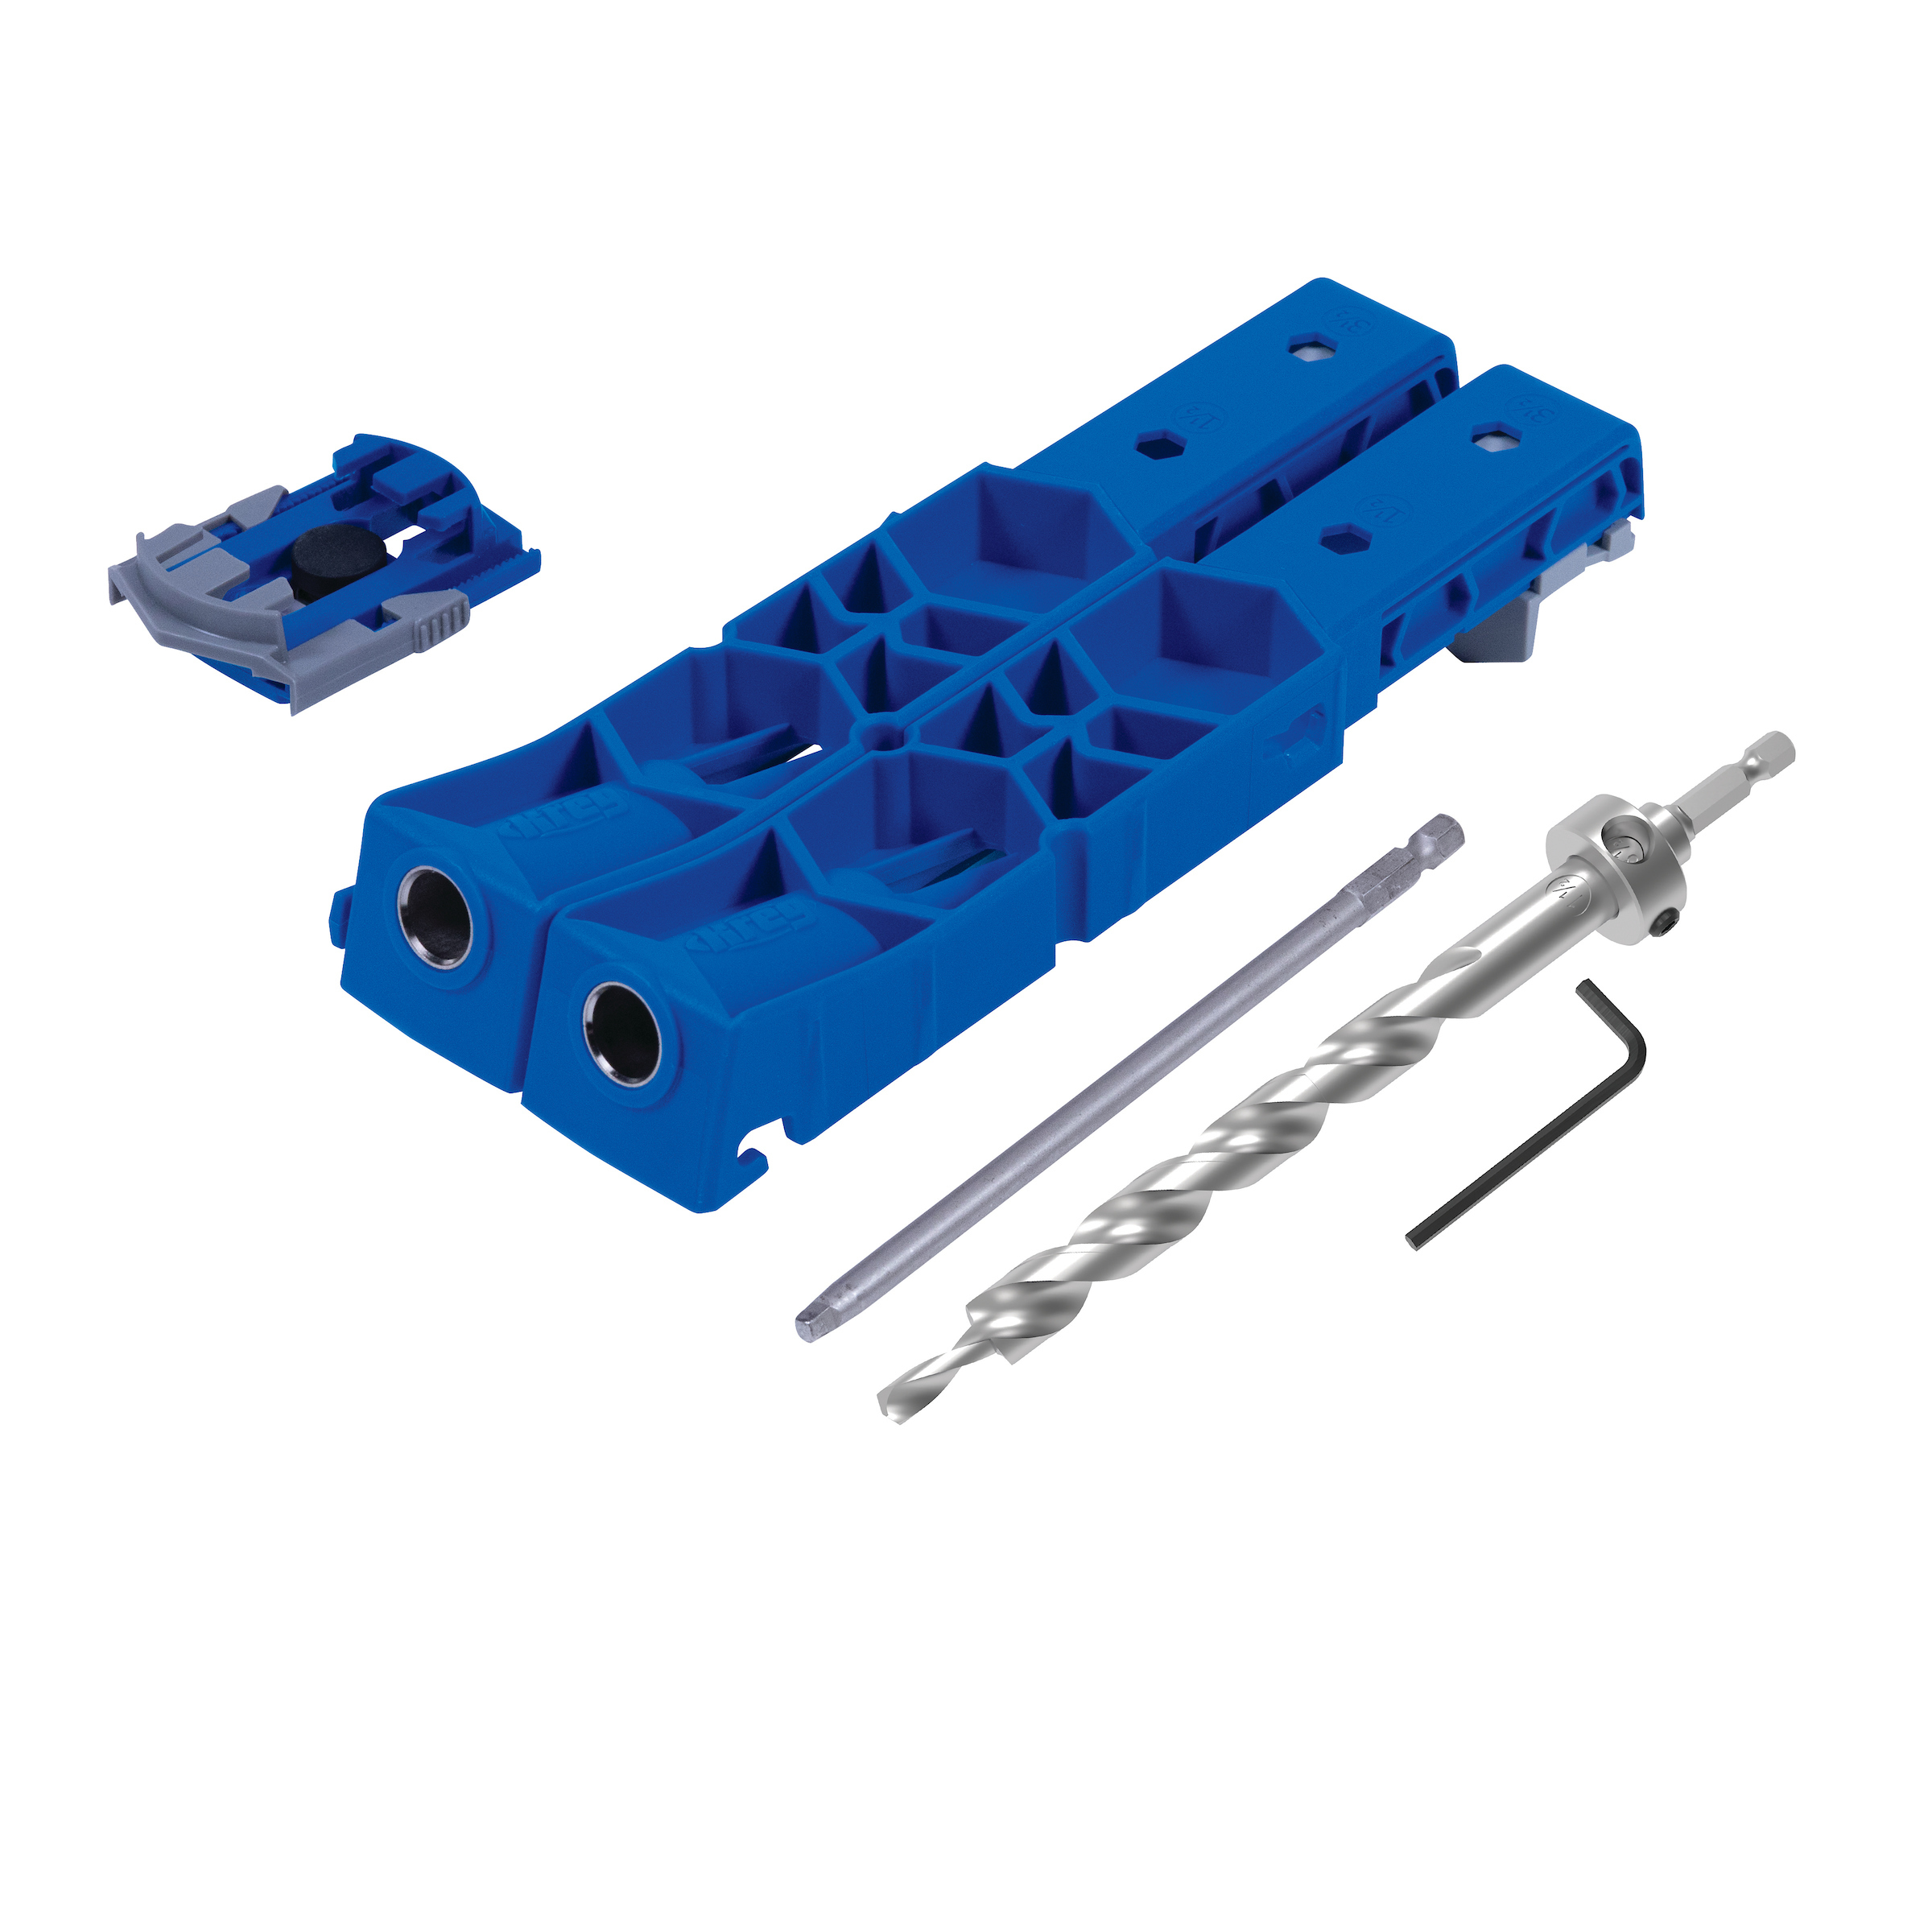
Kreg Tools


Other Tools
-
Miter Saw

-
Pull Saw Or Multi Tool
-
Staple Gun
-
Level
Materials
Wood Products
- 2 2x4 , 8 feet long
- 2 2x8 , 8 feet long
- 1 3/4" Plywood , 4x8 sheet
Hardware & Supplies
- -- Foam
- -- Batting (Yard and a Half)
- -- Fabric (Yard and a Half)
- -- Cording (Optional)
- -- Staples
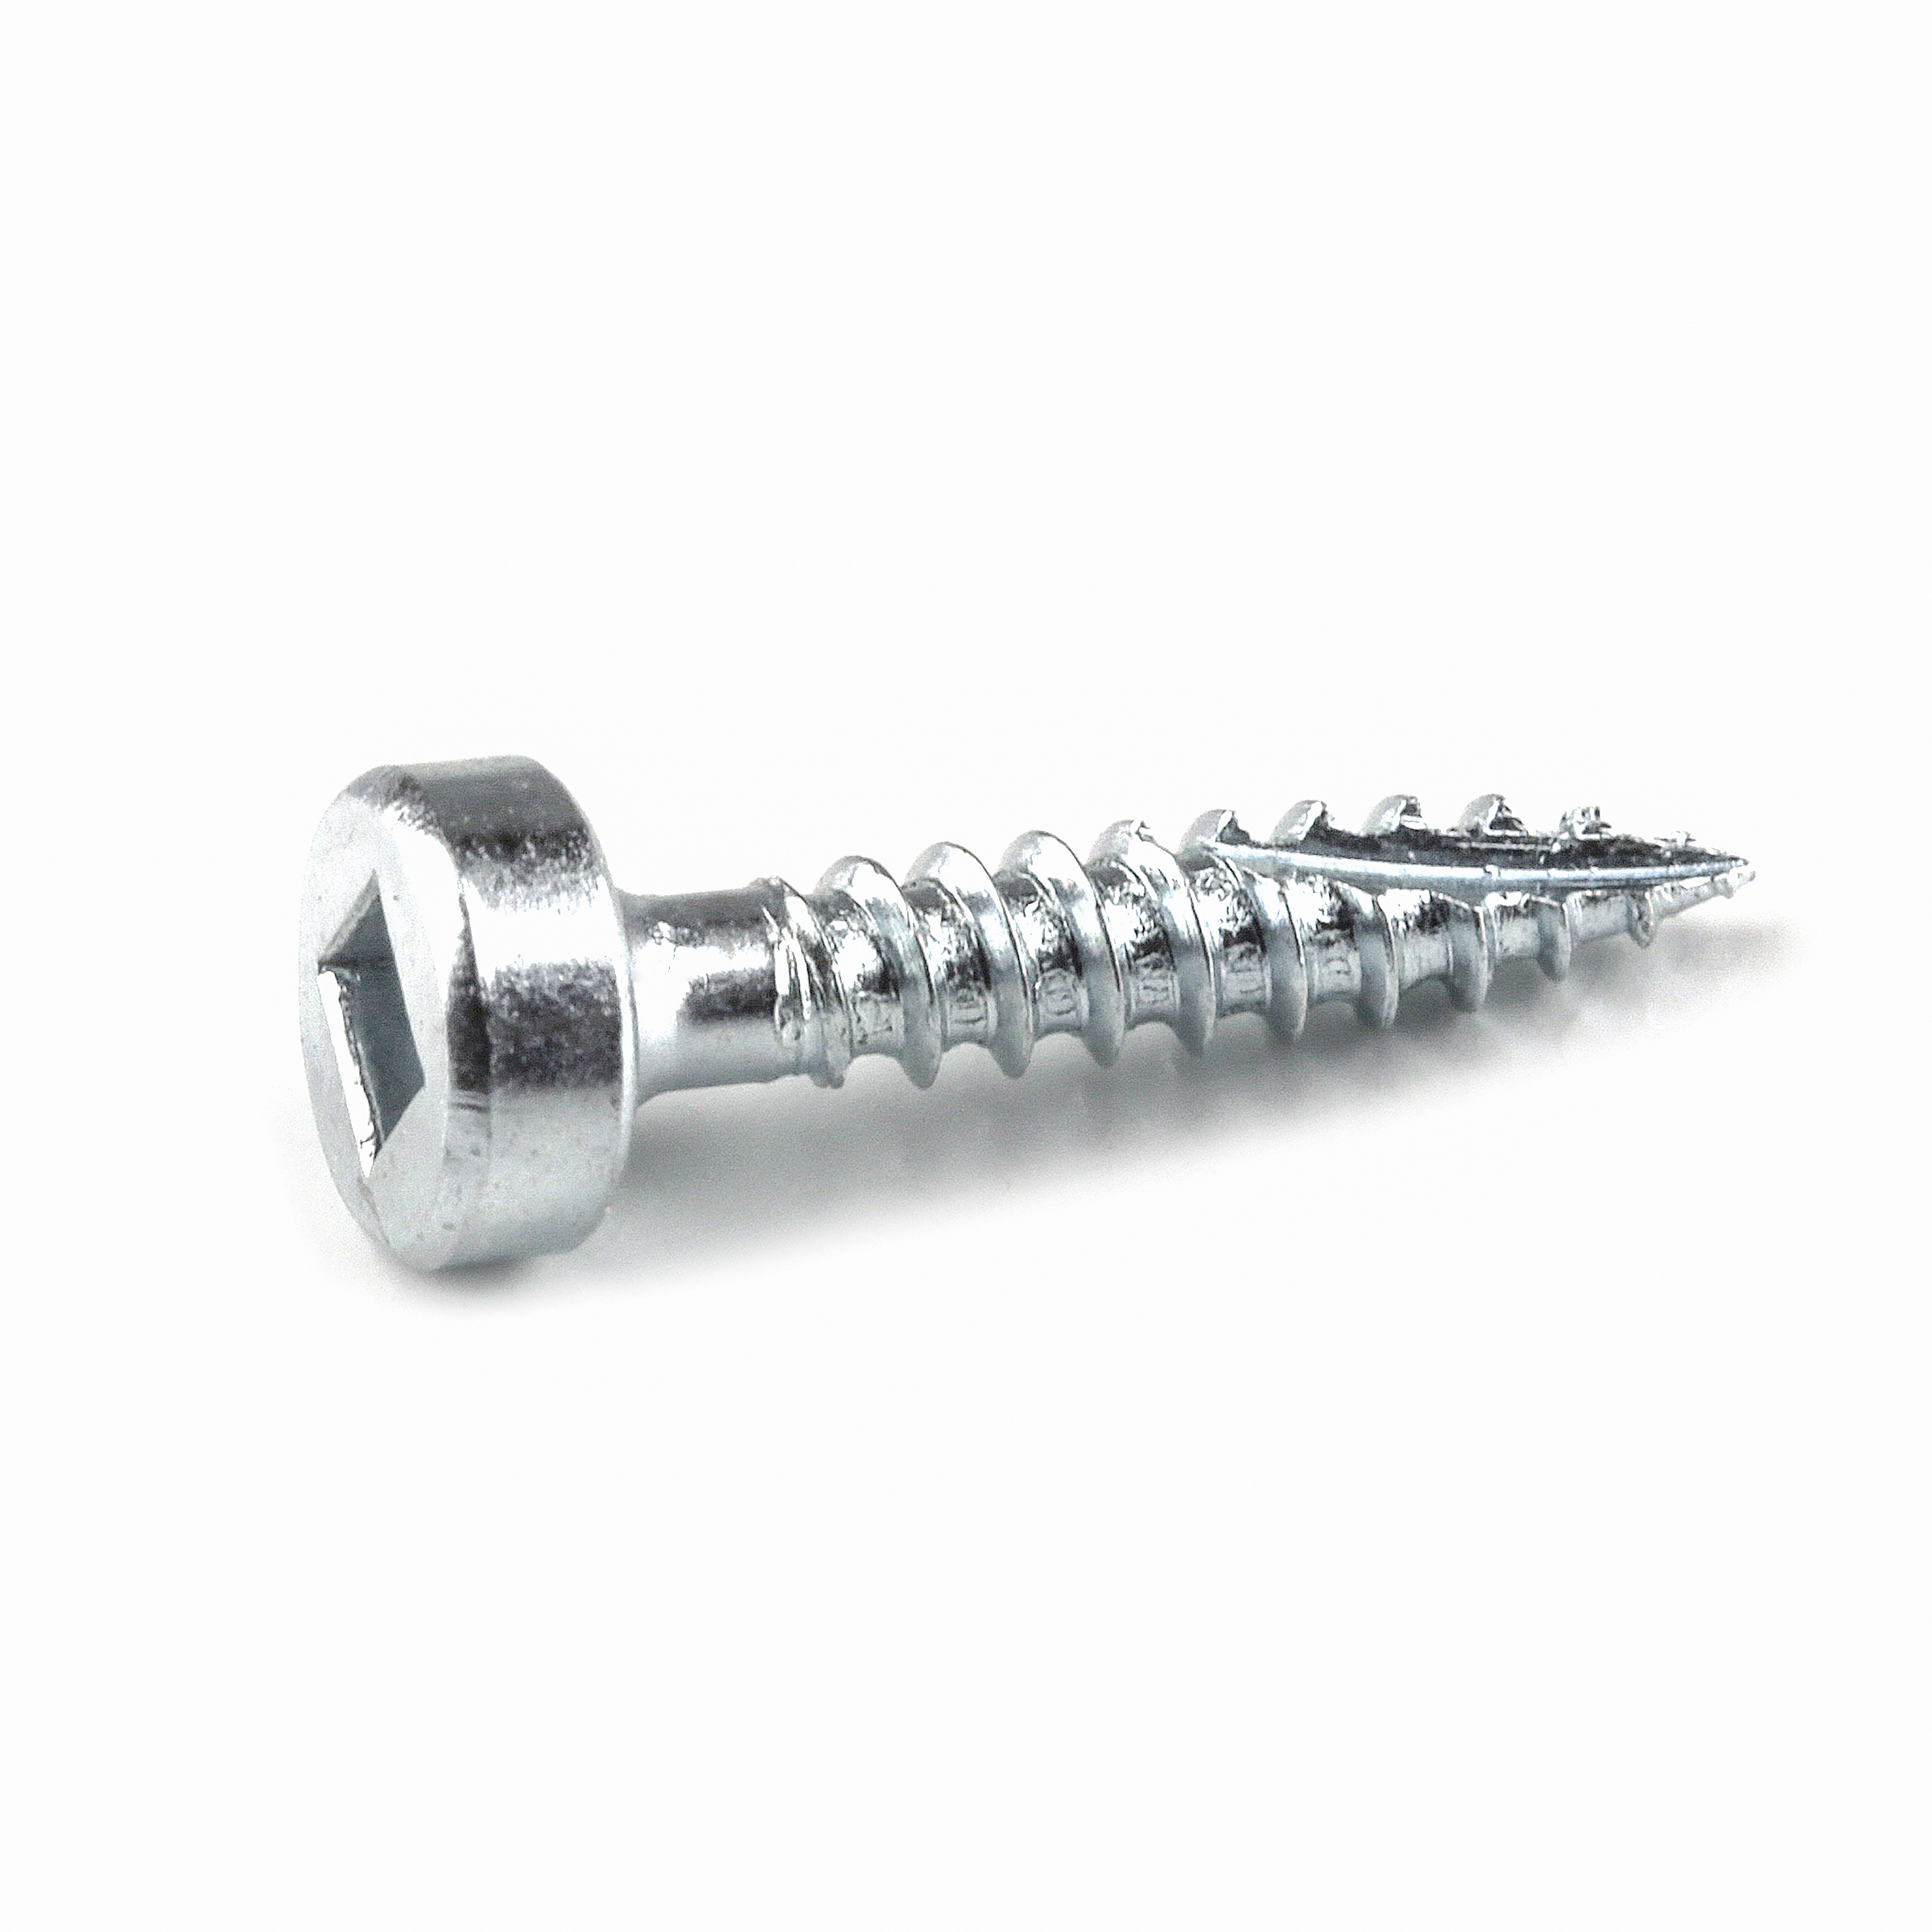
- -- 2 Inch Wood Screws
- -- Stain or Paint
- -- Clamps
- -- Upholstery Adhesive
- -- Serrated Knife
Directions
-
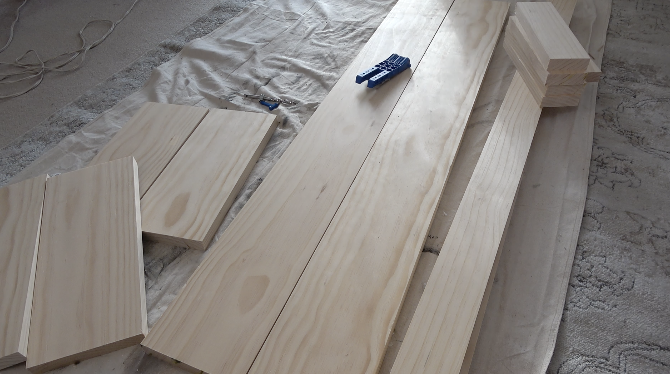
Cutting Pieces for Bench
Begin by cutting all the pieces for the bench base. Take the 2x8s and cut 2 pieces to 57 inches and 4 pieces to 17 inches. Take the 2x4s and cut 2 pieces to 57 inches and 5 pieces to 11 inches. After cutting the pieces, sand all the boards to clean up sharp edges and any rough spots.
-
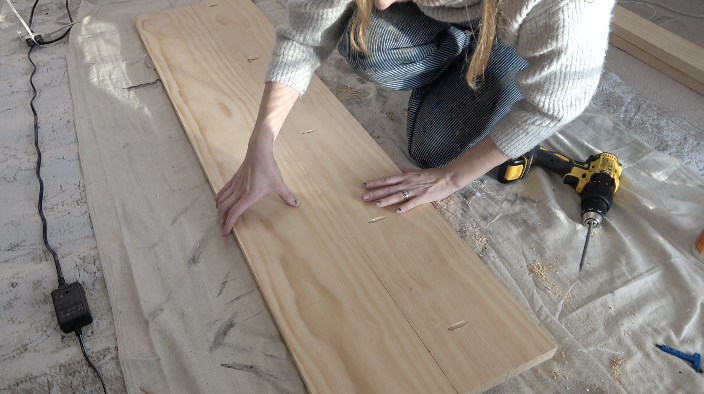
Building the Shelf
Take the 57 inch 2x8 pieces and drill pocket holes along one side of 1 of the pieces. Then use those pocket holes with pocket hole screws and wood glue to attach the 2 pieces together.
-
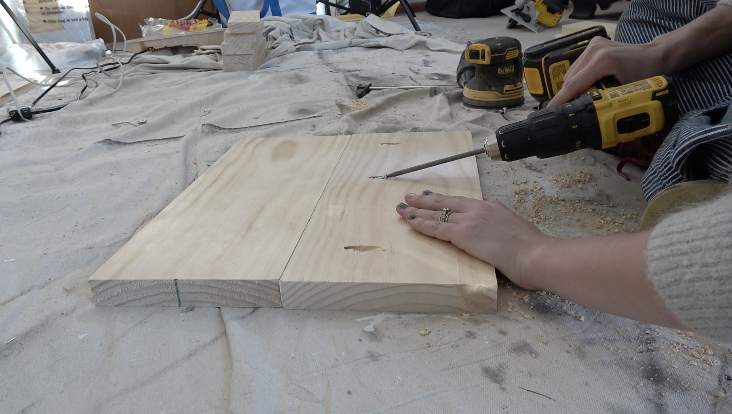
Building the Legs
Take 2 of the 17 inch 2x8 pieces and drill pocket holes along one side of the board. Then use those pocket holes with pocket hole screws and wood glue to attach the 2 pieces together. Then repeat the process with the remaining 17 inch 2x8 pieces.
-
Drilling Pocket Holes for Frame
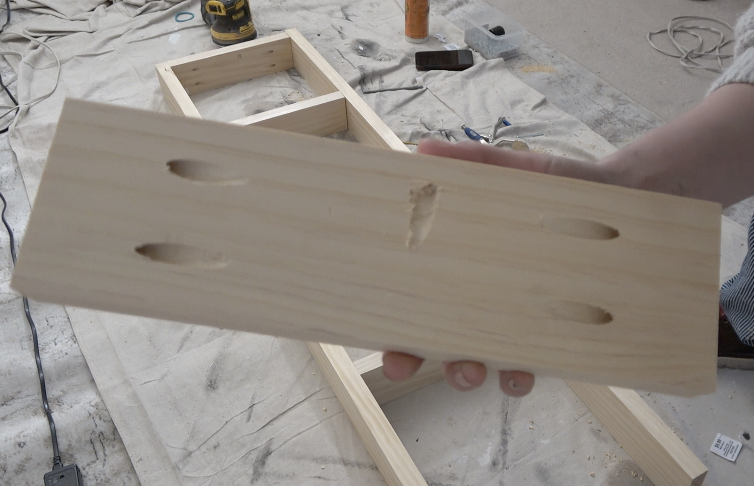
Take all of the 11 inch 2x4 pieces and drill 2 pocket holes on each end of each board. Then drill 1 pocket hole roughly in the middle of the broad side of the piece.
-
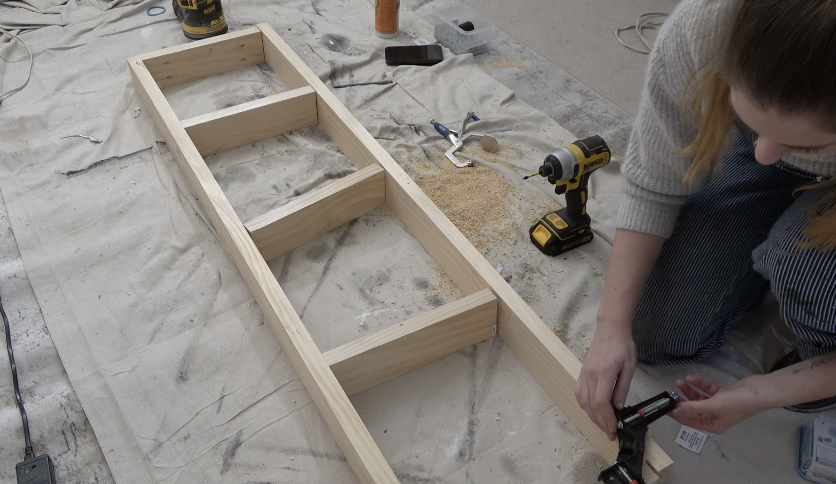
Build Frame
Take 1 of the 57 inch 2x4 pieces and attach all the 11 inch pieces evenly across the board. Use pocket hole screws and wood glue to attach the pieces. Then flip over and attach the 11 inch pieces to the second 57 inch 2x4 piece.
Board Orientation
Make sure the pocket holes on the broad side of the boards face the same direction.
-
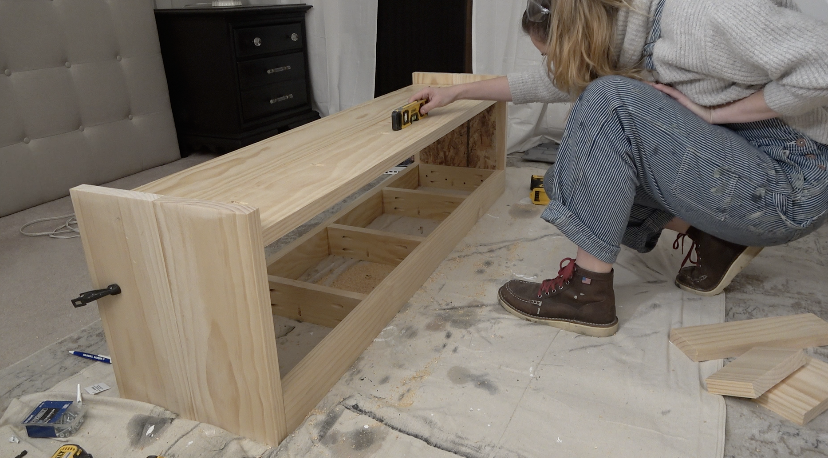
Attaching Frame to Legs
Once the frame is built, attach each leg to the frame. Line the frame up at the top of each leg and use 2 inch wood screws with wood glue to attach the frame.
Pocket Hole Orientation
When attaching the frame to the legs, make sure the pocket holes are facing up to allow bench top attachment to the base.

-
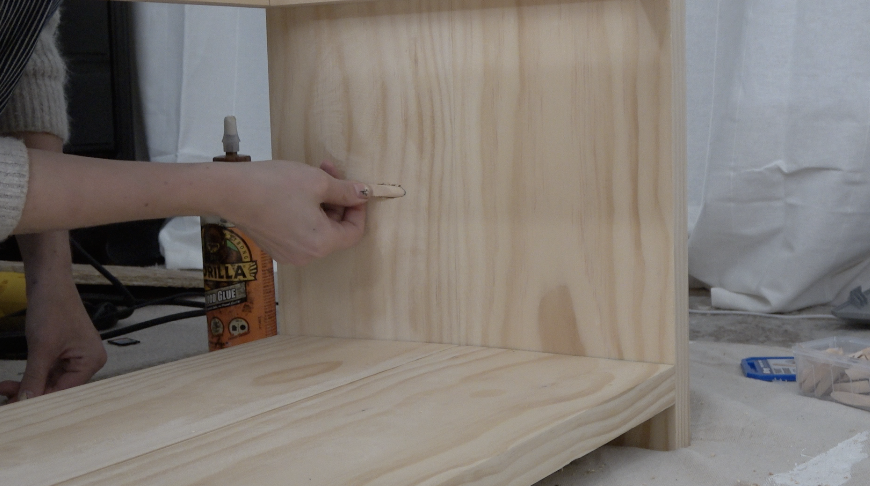
Setting and Attaching Shelf Piece
Take the shelf piece and drill pocket holes on each end of the shelf piece. Take a scrap piece of wood and cut 2 pieces to 11 inches. Attach 1 scrap piece to each leg using a clamp. These scrap pieces will help hold the bottom shelf piece in place while you attach it to the legs. Use pocket hole screws and wood glue to attach the bottom shelf piece.
Level
Use a level to make sure the shelf is level from side to side and front to back.
-
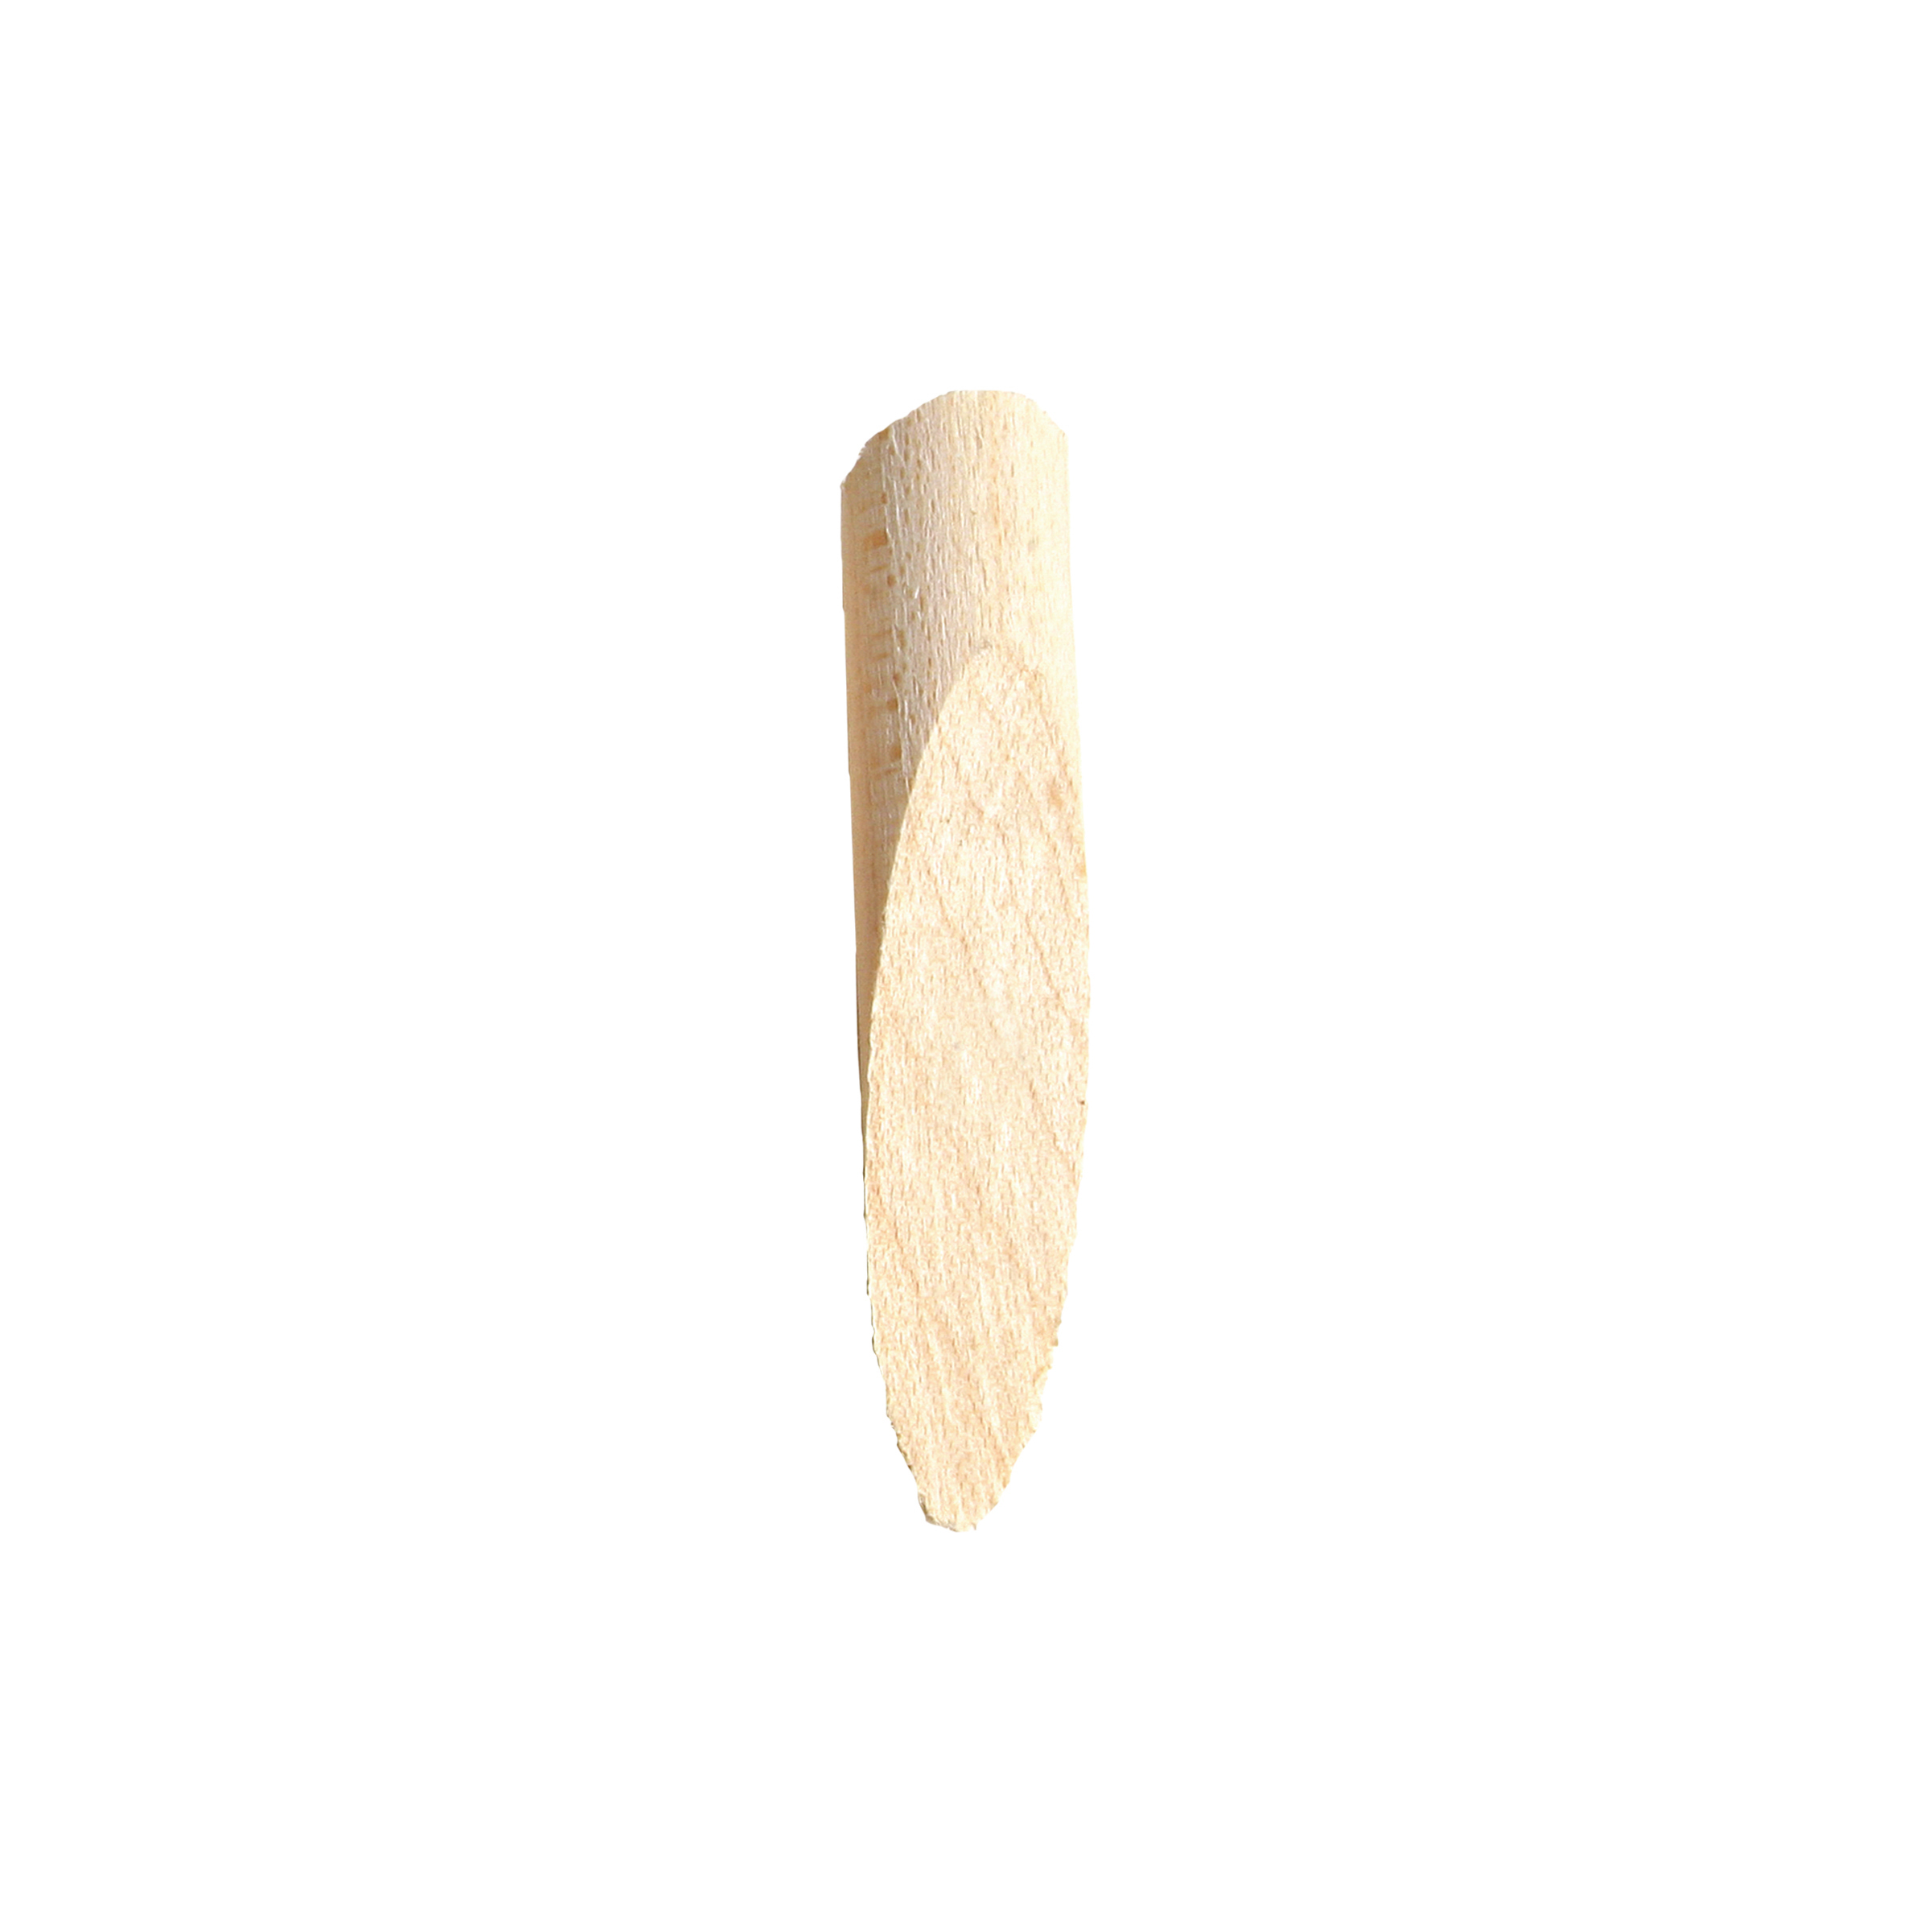
Fill In Visible Pocket Holes
Use pocket hole plugs and wood glue to fill in visible pocket holes on the inside of the bench on the legs. Once the wood glue is dry use either a pull saw or multi tool to trim the plugs flush. Then sand them smooth.
-
Stain
Stain or paint the bench for your desired look.
-
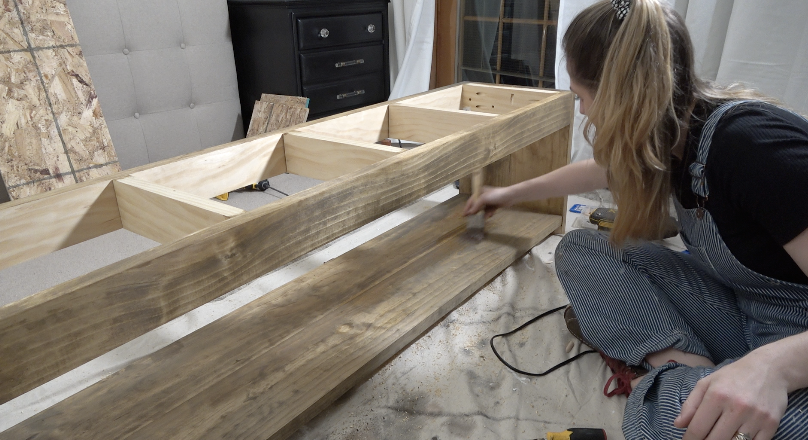
Making and Attaching Cording (Optional)
Cut a strip of fabric 2 inches wide and 150 inches long. Fold the fabric strip in half. Stick cording in the fold and sew the cording into the fabric. For a no sew option use fabric glue or hot glue to close up the cording in the fabric. Once the cording is made attach it to the top outer edge of the bench using a staple gun and staples.
Cutting Multiple Two Inch Strips
Depending on how much fabric you get. You may have to cut multiple two inch wide strips and sew or glue them together.
-
Cutting and Attaching Foam
Take the plywood and cut a piece to 14x60 inches. Once the piece is cut use upholstery adhesive to attach the foam to the top. Use a serrated knife to cut the foam to fit the plywood as needed.
Top Dimensions with Cording
If you added cording remove 1/4 inch and cut the bench top to 13 3/4 by 59 3/4.

-
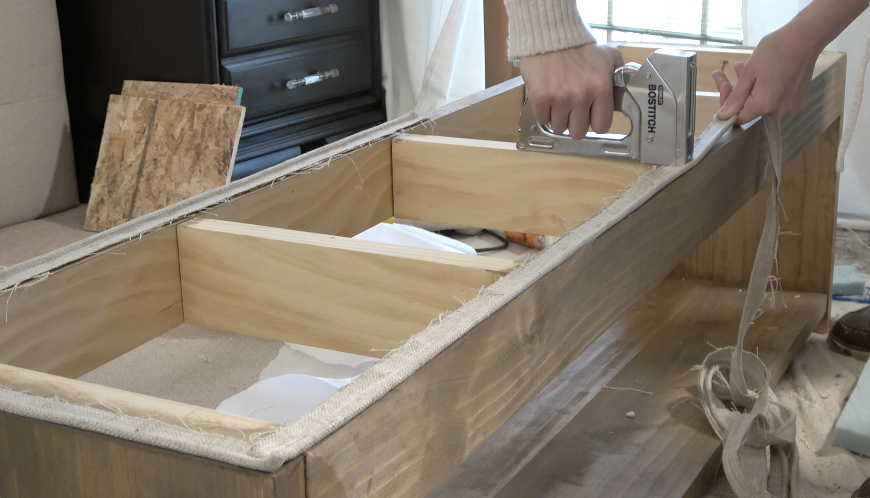
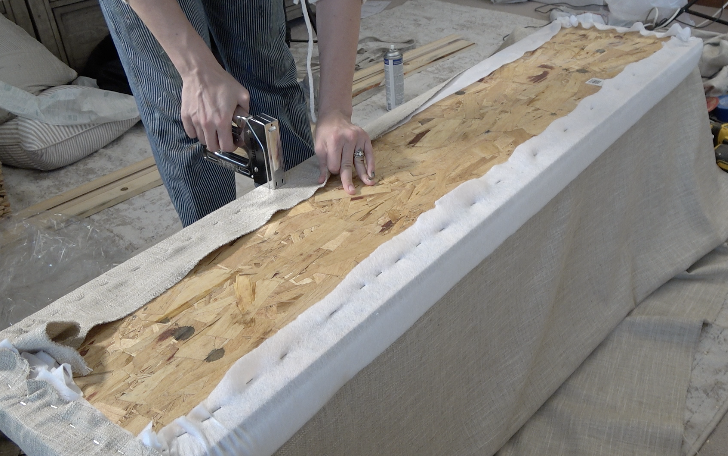
Batting and Fabric
Once the foam is attached, cover the foam with batting. Wrap the batting around the edge and staple to the bottom of the plywood using a staple gun and staples. Then repeat the process with the fabric.
Purpose of Batting
Batting creates a smoother appearance and adds padding.
-
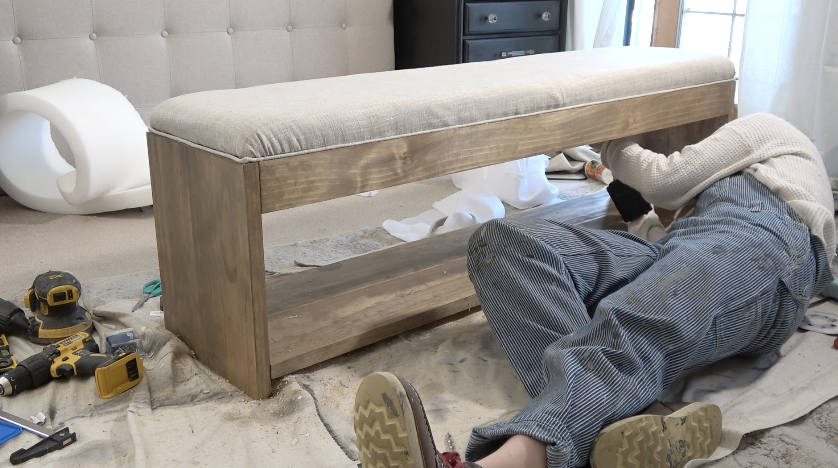
Attaching the Upholstered Bench Top
Once the fabric is attached, lay the top on the bench. Once you have it where you want it, use the pocket holes you drilled in the frame to attach the top to the bench.
-
All Done
Add baskets, shoes or whatever else you would like to store on the bottom shelf. YOU ARE DONE!